
This guide is aimed at teaching those failing in this game’s first scenario, showing them why people do things and how to help them survive, starting from day 1 and covering to night 4.
Other Frostpunk Guides:
- Some Basic Hints and Tips.
- New Home Survivor Mode.
- Extreme Endless Endurance.
- How to Build a Successfull City.
- Complete Unlocks: Golden Path.
Introduction – New Player’s Woes
Let me guess, you tried going into Frostpunk, started up your generator… and now 5 days in your out of coal, your people are sick and dieing, discontent is on the rise and your about to get kicked out cause the generator is shutting down…
Been there done that, i know how you feel.
Which…. and i cannot ‘stress’ this enough… is why i created this build last year and am now sharing it not only with you PC players, but also our Console peasants who have now joined us in the frozen world.
I cannot stress again, how long this took to perfect… it took me ‘over a hundred attempts’, restarting, fine tuning, experimenting, branching with laws, builds, building placements, building orders, decisions, worker alocating etc etc etc!
Let’s get started! Get to work people, move, there’s plenty to do!

Day 1 – New London!
Now listen up, before i ‘actually begin… pay attention because this is important… this build has been ‘timed’, and tested to the second. if you miss something or mess up somewhere along the line ‘dont panic’ but just remember, it does skewer things further down the line. it took me over a hundred attempts before i finally perfected it to the point where everything is done automatically almost.
I will also be explaining in this guide, what a lot of other guides dont teach you, is ‘why’ you are doing certain things so you can understand why they are important…
So remember that, now lets get started…

Cozy little town, missing buildings, got a nice generator, little baby generator… but its enough to start with.
Now this is for ‘standard’ mode, meaning normal difficulty, you can try this on Hard but unless you know what your doing your going to have a ‘harder time’ using this guide. It can be done, i’ve tested it, but you will really have to push your management skills to make it work, for now lets get back to normal…
Step 1
As soon as you can, ‘pause the game’, so that you can get all your orders and everything situationed.
Reason why is because most people who jump in, just run the game normal and dont stop to think about their decisions. They just go plodding along and before they realize it they are trying to do fifty different things using only 5 fingers, and everything blows up in their face. They have 15 engineers spread out along 7 medical tents trying to heal everyone but nobody is getting well fast enough before ‘more’ get sick, and even the tents are getting sick…
So pause, and look at your situation and think about what you need to do, get everything in order, ‘then’ begin.

Step 2
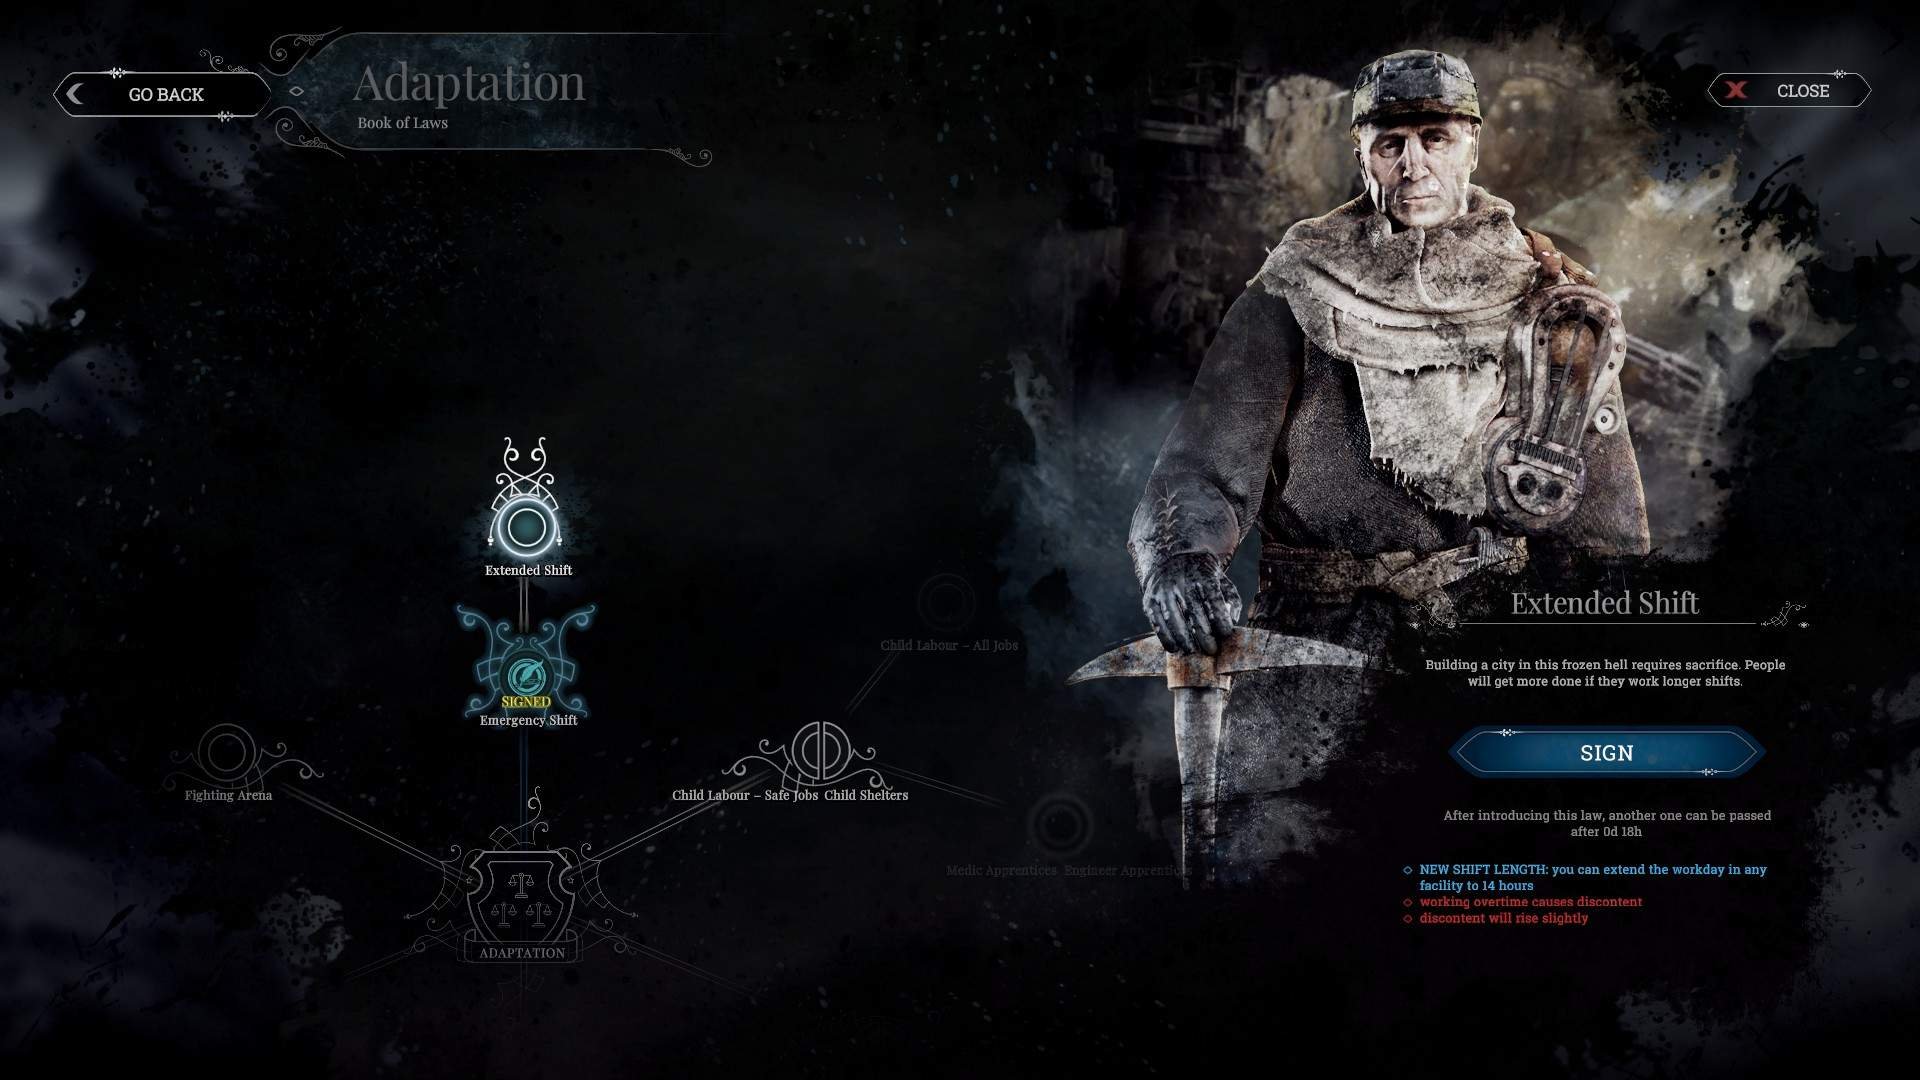
Sign the 24 hr shift law, but don’t actually use it, you only need it signed, this is unlocking the next law which is our main goal, called extended shifts.
You dont need to ‘use’ every law you sign, some laws you can just sign to unlock other laws without actually making use of them. 24 hr shift laws are only meant for “Emergency” purposes, dont use em unless its an emergency, as in ‘you need this now or you are going to die’ kind of situation. Using it runs the risk of people ‘dying’ from exhaustion, and you can’t afford people dying.
Step 3
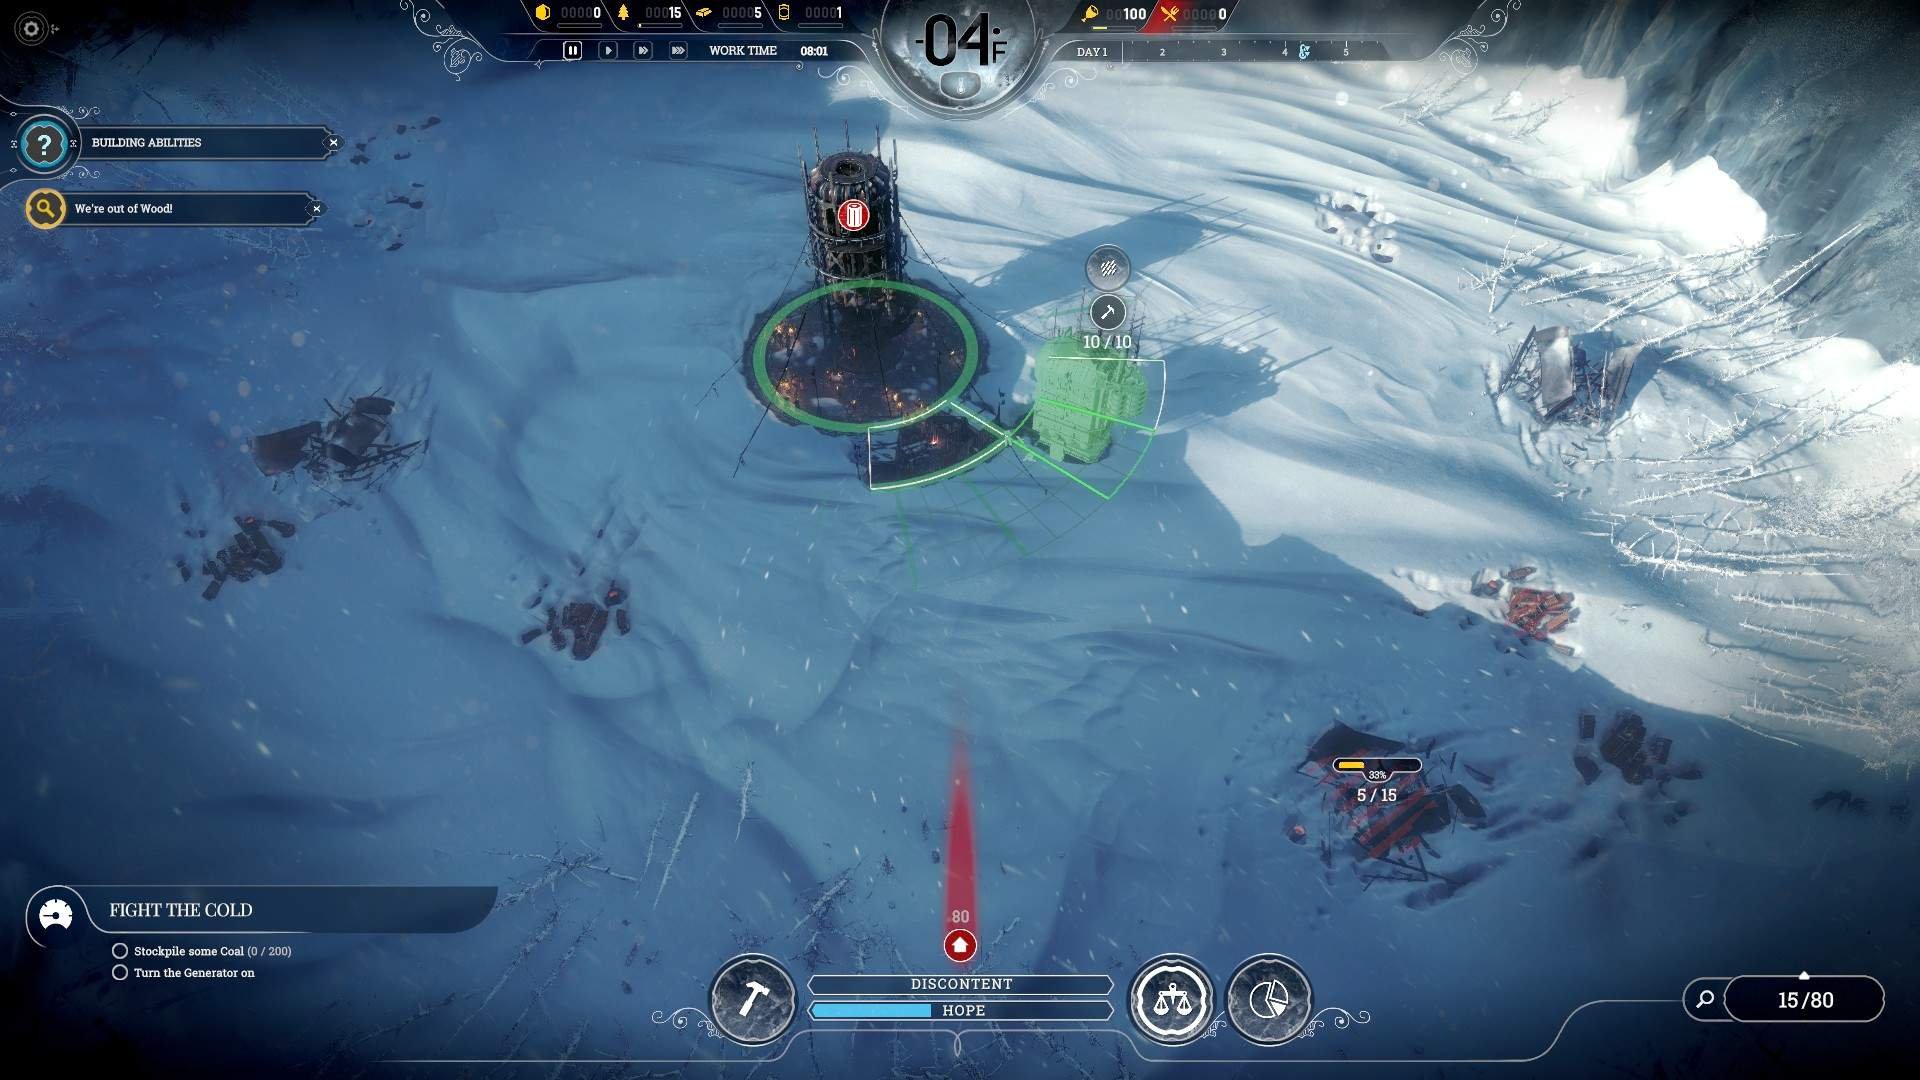
Build ‘2’ workshops, have them lined up on the ‘right side’ of the stockpiles just behind it, look at the picture to see what i mean. The first is touching it while the 2nd isn’t, keep them tight together and when wood is available, connect the second one to the road as you can see in the image.
Building workshops on day 1, especially 2, is a boon to your research. not only do you begin researching asap but the 2nd workshop adds a 30% research speed bonus, which in the early stages is a godsend. you can get starting tech done in less than a day, which is what you need!

Step 4
Assign all workers and ‘5’ engineers to harvesting wood, and a total of 10 people (engineers workers doesnt matter) to gathering steel.
Most people try to get coal day one and not consider what they need, which is building materials. sure the generator may be turned on but that coal is all you get at first, burning it day one is going to be a nightmare later on when you arent fully situated, those resources you start out with wont last forever and will be drained quickly, you have to make them last as long as possible until your ready.
Now that all 4 steps are done, run time!
Step 5
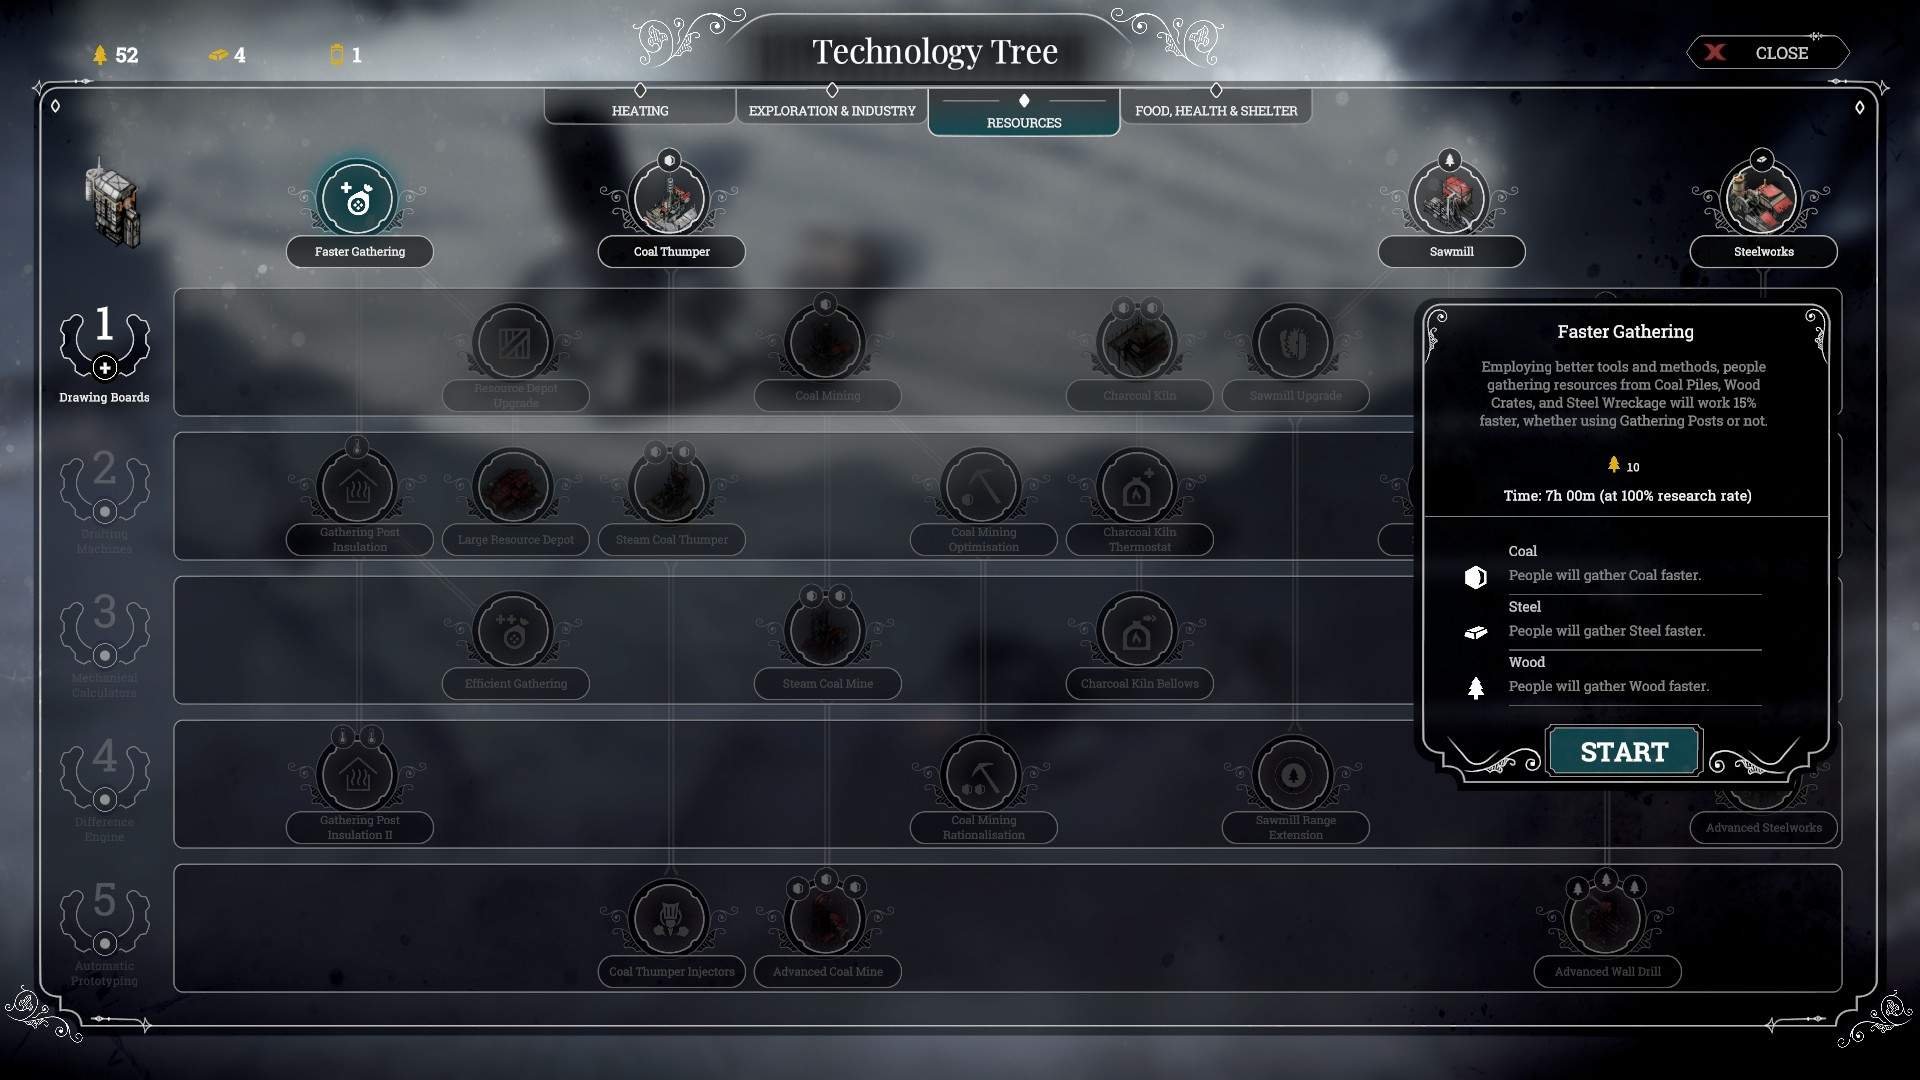
As soon as a workshop becomes finished, put 5 engineers in it and begin researching Faster Gathering.
As your gathering wood/steel/coal early on, this tech is vital, getting it will speed up how fast you drain those resources, and make it easier to get everything situated later on for your city. This also will help with coal gathering later on should you use Coal Thumpers with Gathering Posts, as gathering posts use that tech as well, and you ‘will’ be using gathering posts for this build.
Step 6
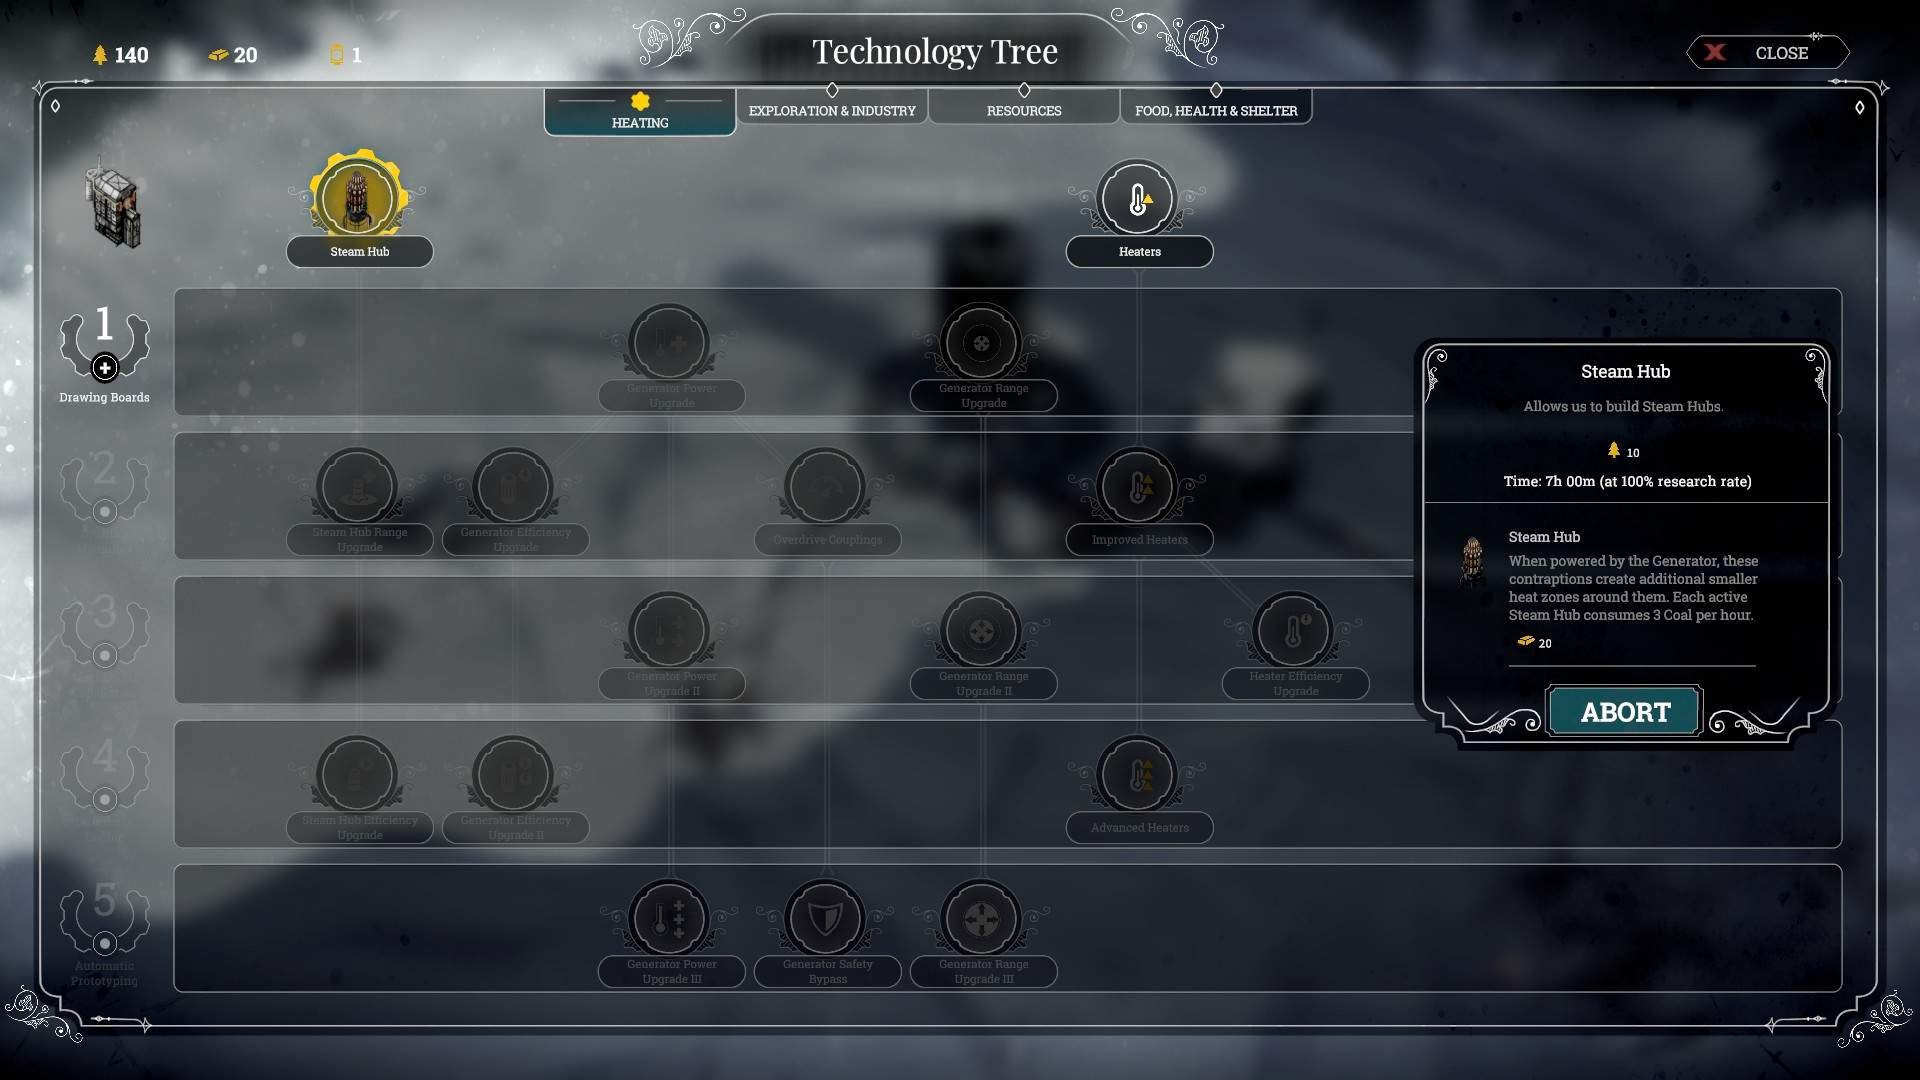
Next Tech, Steam hubs, these are used for extending heat zones where the generator can’t reach, but dont worry about building it yet, just get it for now, we’ll use it later on.
Some tech you dont need right away, but you will use later on, this is why you get em now so you dont need to later on. better to get it early and have it in your pocket, then to be later on scrambling to get it.
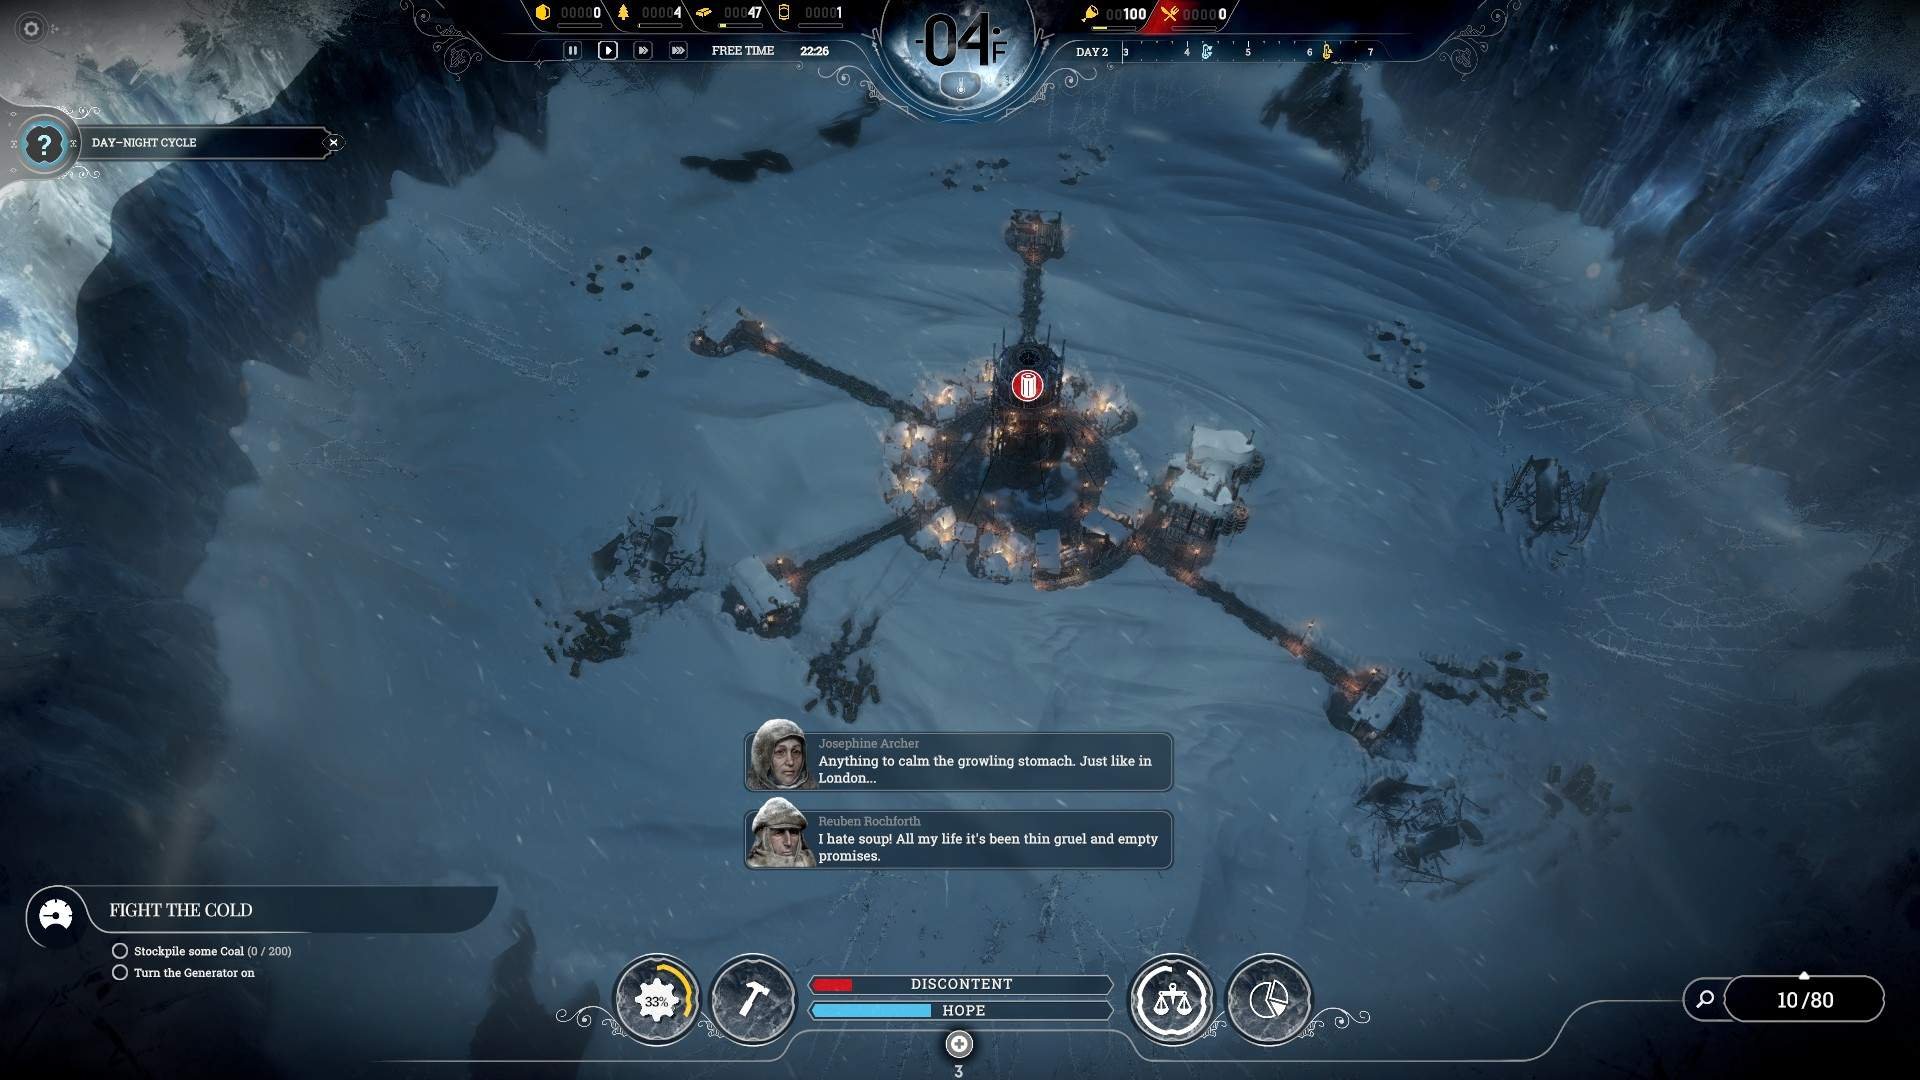
Night 1 – It’s Very Cold at Night!

On night one you will be pressed to build houses, go ahead and select ‘build houses for everyone’, for the mission to get hope bonus.
If you know 100% you can finish it, go for the maximum promise, this will deliver the best hope bonus for you. If you can’t get it, or doubt you can achieve it, better to take a discontent rise hit and say “i won’t talk about it now”. Cant win everything, have to meet promises you can get then to promise and not deliver.
Step 1
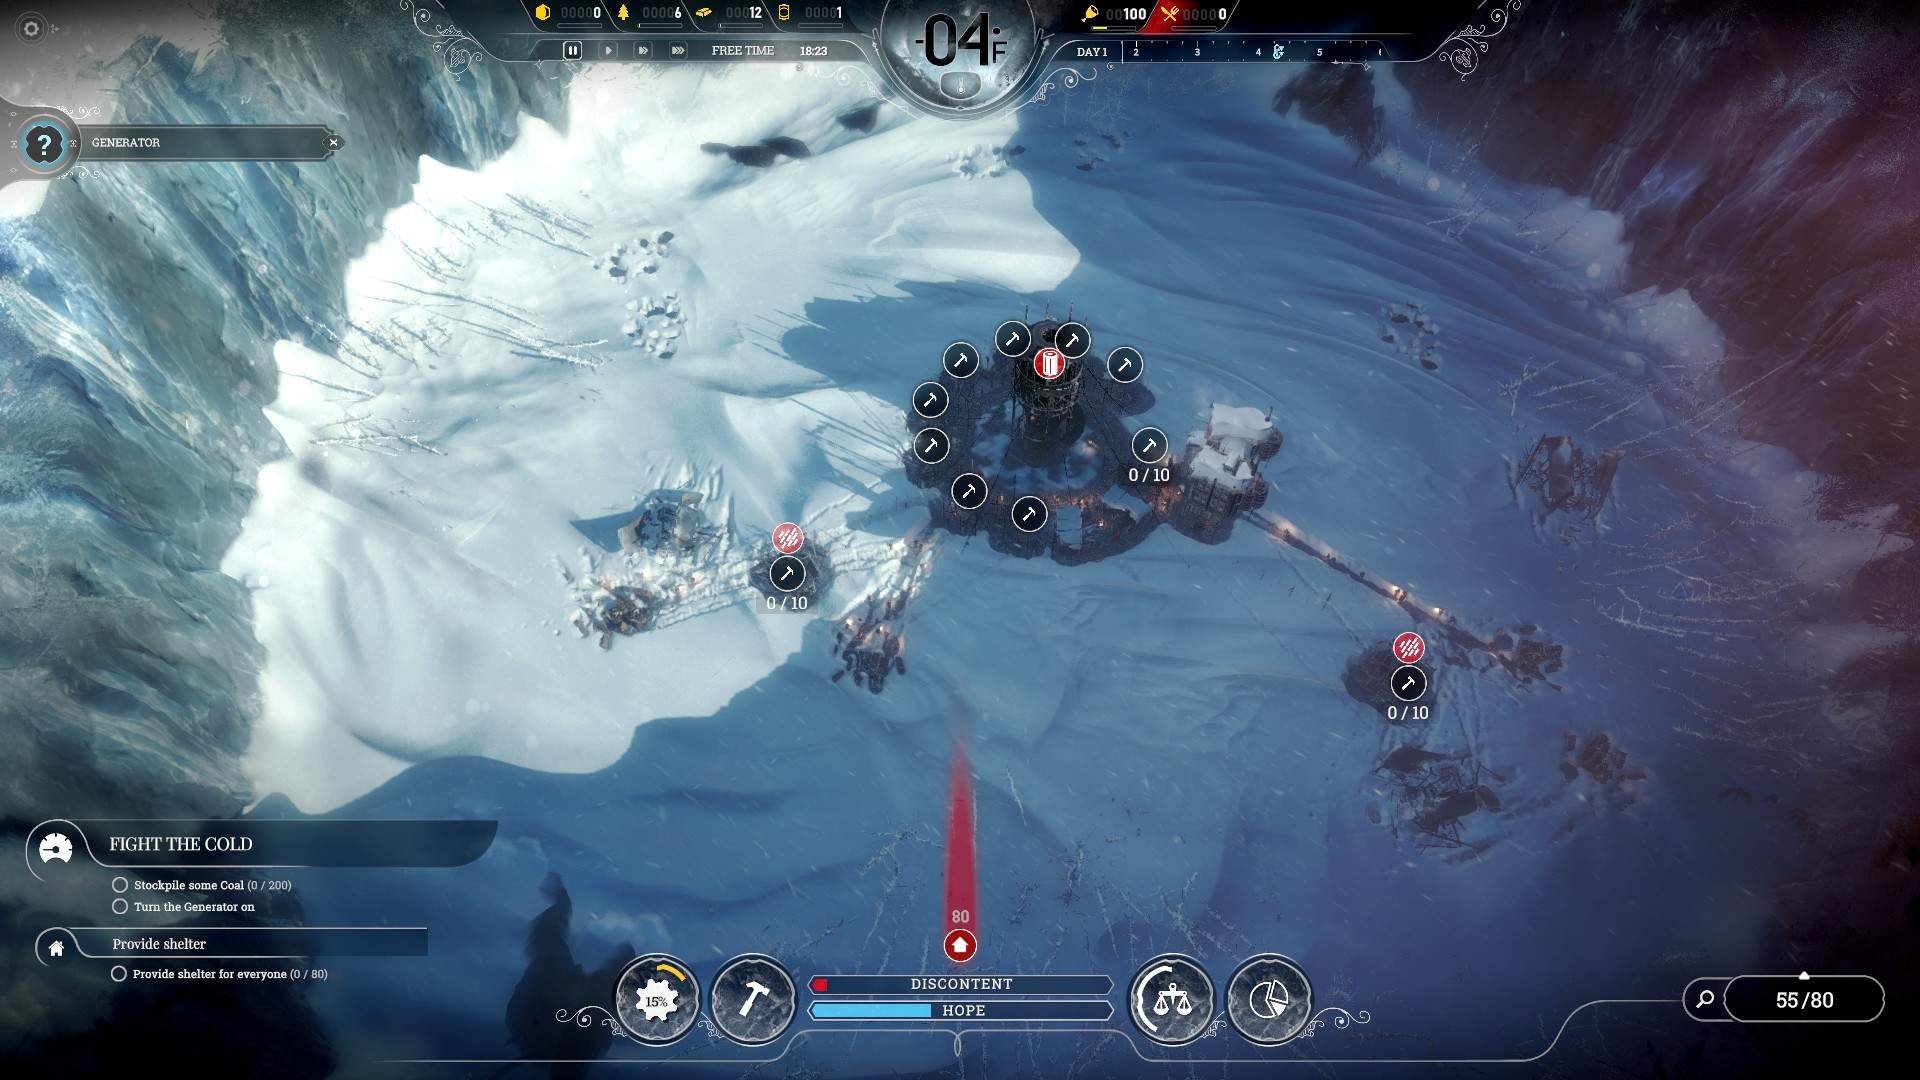
On night 1 unassign all engineers/workers gathering wood/steel, and begin constructing 8 tents and 1 medical tent in the inner ring surrounding the generator, pack them as close as you can, you should be able to fit 12 tents/10 tents 2 medical tents, 11 tents 1 medical tent or so in that ring if you dont try spacing them out.
Keep all buildings as compact and close as possible, keep em nearer to the generator to save on coal and heat everything without having to fear or worry about heat zones. You will have time to worry about htat later on. for now, focus on essential priorities, and that means planting those 8 tents to meet the promise you made.
The medical tent is necessary night one because you will be getting sick people, they have a chance to get sick during working hours or at night. for the first 3 days the temperature is high enough that a tent alone will keep them nice and cozy warm without the generator needing to be on, which saves you on coal.
However they were working in the cold, so the medical tent is needed. once built assign 5 engineers to it and the sick will be taken care of in no time. about a day will be all it takes to heal them up.
Minimize your sick is the name of hte game, you can’t avoid it when you play this game starting out, its inevitable, but by doing this you minimize the damage greatly.
Step 2
Build 2 gathering posts, you should have enough leftover to build gathering posts, about 2 if your following my guide and have everything managed. These will provide a safe working environment, allowing workers to gather resources in safety.
Gathering Posts gather multiple sets of resources, wood piles/steel wreckage/coal piles at the same time, the process is slower but you gather multiple at once, for the price of only 10 workers. Instead of harvesting 3 piles using 45 people you can harvest 3 using only 10, and the people are working in a safe environment, which will negate the risk of getting sick.
People often suffer because they don’t use the gathering posts and just harvest directly, thinking its the right way, its not ‘wrong’ but there are other options. always look for alternative ways before going for the most direct route. think to yourself ‘is there a better way or more efficient way?’
Step 3
When the gathering posts are being built, build them as close to the generator as you can, while making sure they cover ‘all resources’ they can, the more you can fit the better.
Doing this ensures you gather the maximum number of resources and minimizes the ammount of wood you will spend connecting them to the road, keep your roads as straight as possible as seen in the image, dont twist or make em bend. also as long as they are simply touching the building, its sufficient to make them powered by the generator.
Step 4
Sign the extended shift law as soon as its available. This will set work places to a 14 hr shift, letting you get more work done for the cost of a discontent penalty.
use this early on to get a lot more done, but dont rely too heavily on it, people will demand you stop and let them rest for a while, and that discontent bonus will grow and grow out of control. But this will let you research more, get more resources, and generally make your life “better” in the long run.
Use extended shifts over 24 hr shifts, wherever and whenever possible, use it to get a lot done but dont make it your “standard”.
Day 2 – The Grind
Before day 2 begins, make sure work places, namely the gathering posts and workshops are on extended shift. double check to ensure they are!

Step 1
Research tech lvl 1
Once your steamhubs research is done get tech lvl 1, known as Drawing Boards, and get it. If you haven’t the wood get Heaters instead, it doesnt matter which you get, this build allows you to branch either way, you’ll end up the same on day 3.
Getting the advanced tech allows you to get more powerful and needed tech. Geting this early on gives you more branches to pick from and look through when picking technology later on.

Step 2
Sign the soup law, this will extend your rations more and feed more with the same raw food you have.
Getting Soup will cause discontent over the long term, however its essential that you prioritize feeding everyone, and getting soup will be your friend in those moments where food shortage is a problem. Until you increase your raw food income, soup is what you’ll have to rely on in those dire times. Just dont use it only, as that discontent will grow, unless you sign a law further on down the line starting with the fighting arena, you will suffer massive discontent the longer you force people to eat soup.
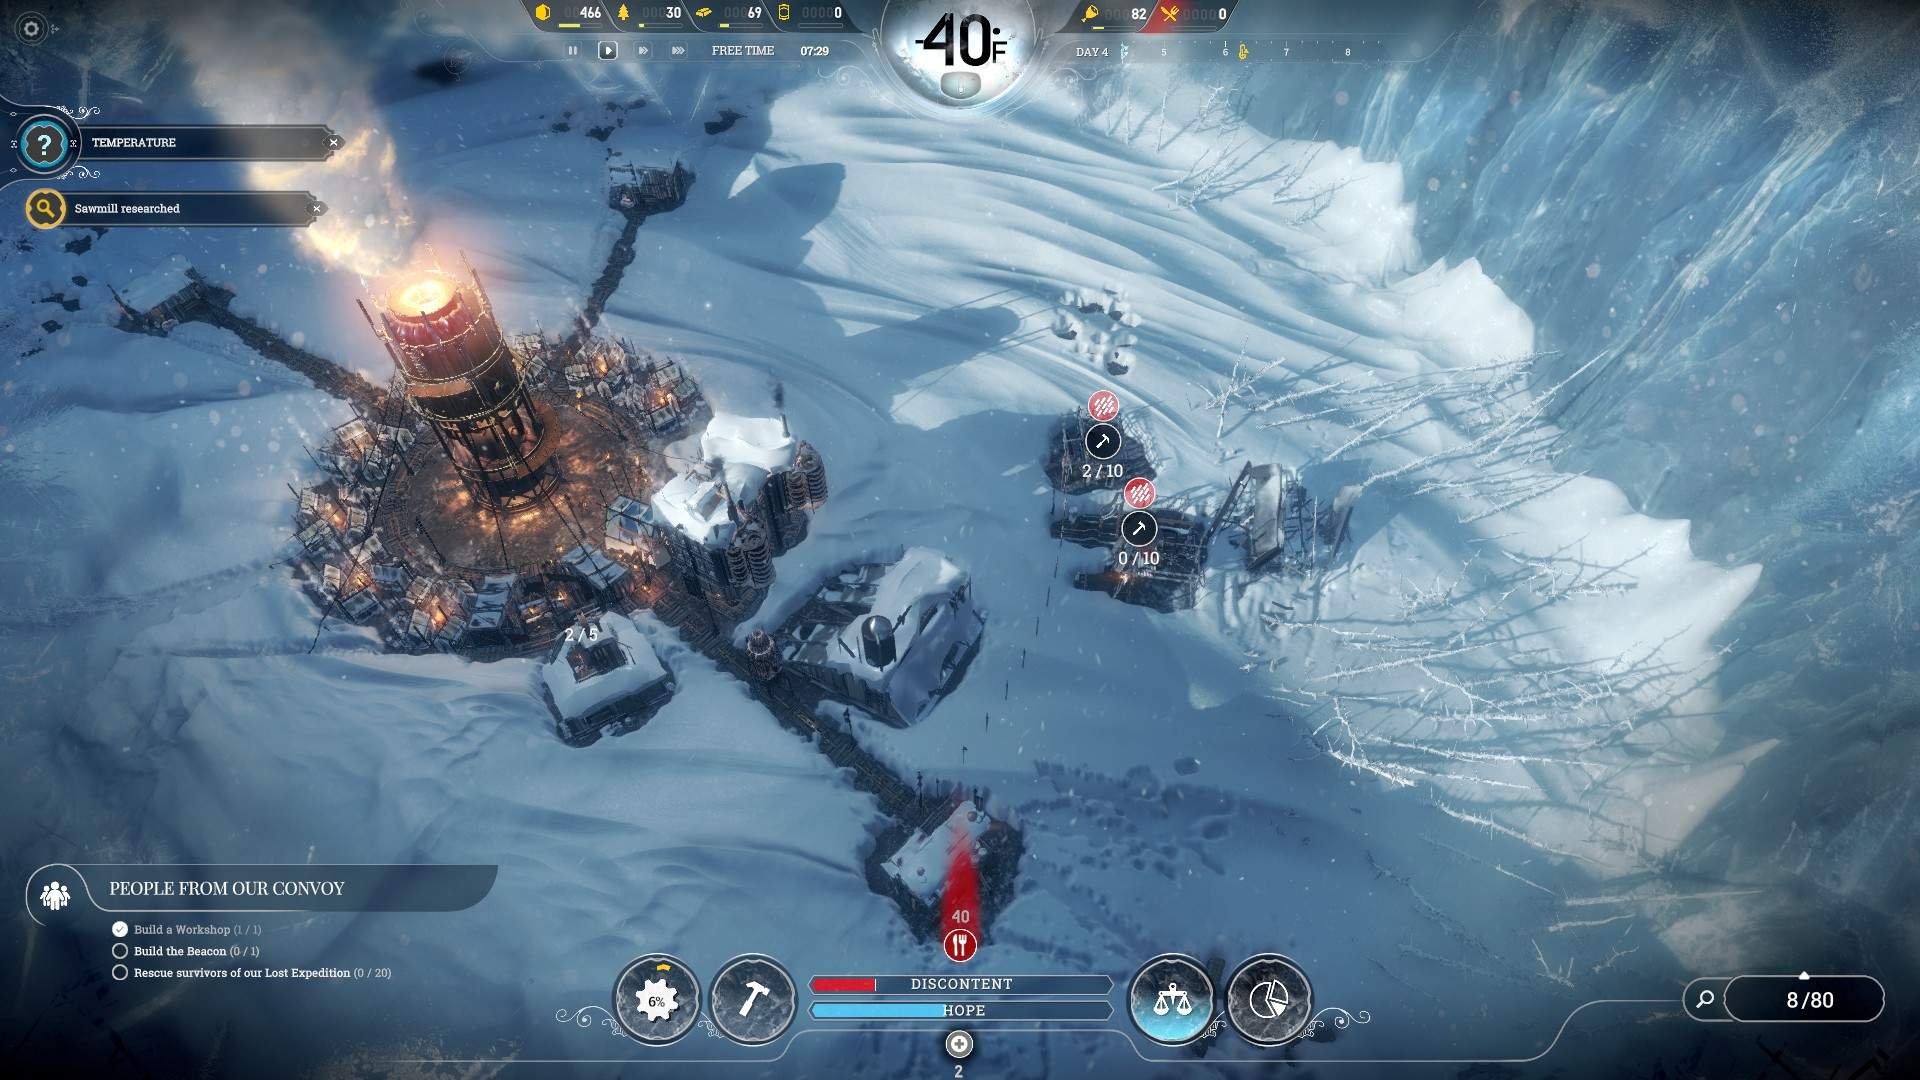
Night 2 – The Branches Spread
It’s night 2 and this is where things get important, if you look at the picture you’ll see two gathering posts being built. Build your own in similiar locations using the same methods as the others, building them as close to the generator while also covering the resources they have to gather to save on wood.
By now your other gathering posts are either running out of resources or are running out, and you need to ‘delete’ them. This will get you some resources back and allocate those workers to other places. Always double check gathering posts to make sure they have resources, and if they are out delete them.
You can also delete the road connecting them if you want but its not 100% necessary, though it does get you some wood back.
Assign workers to those gathering posts and leave em on standard shifts.
Let the night whistle on.
Day 3 – Final Free Push
Step 1
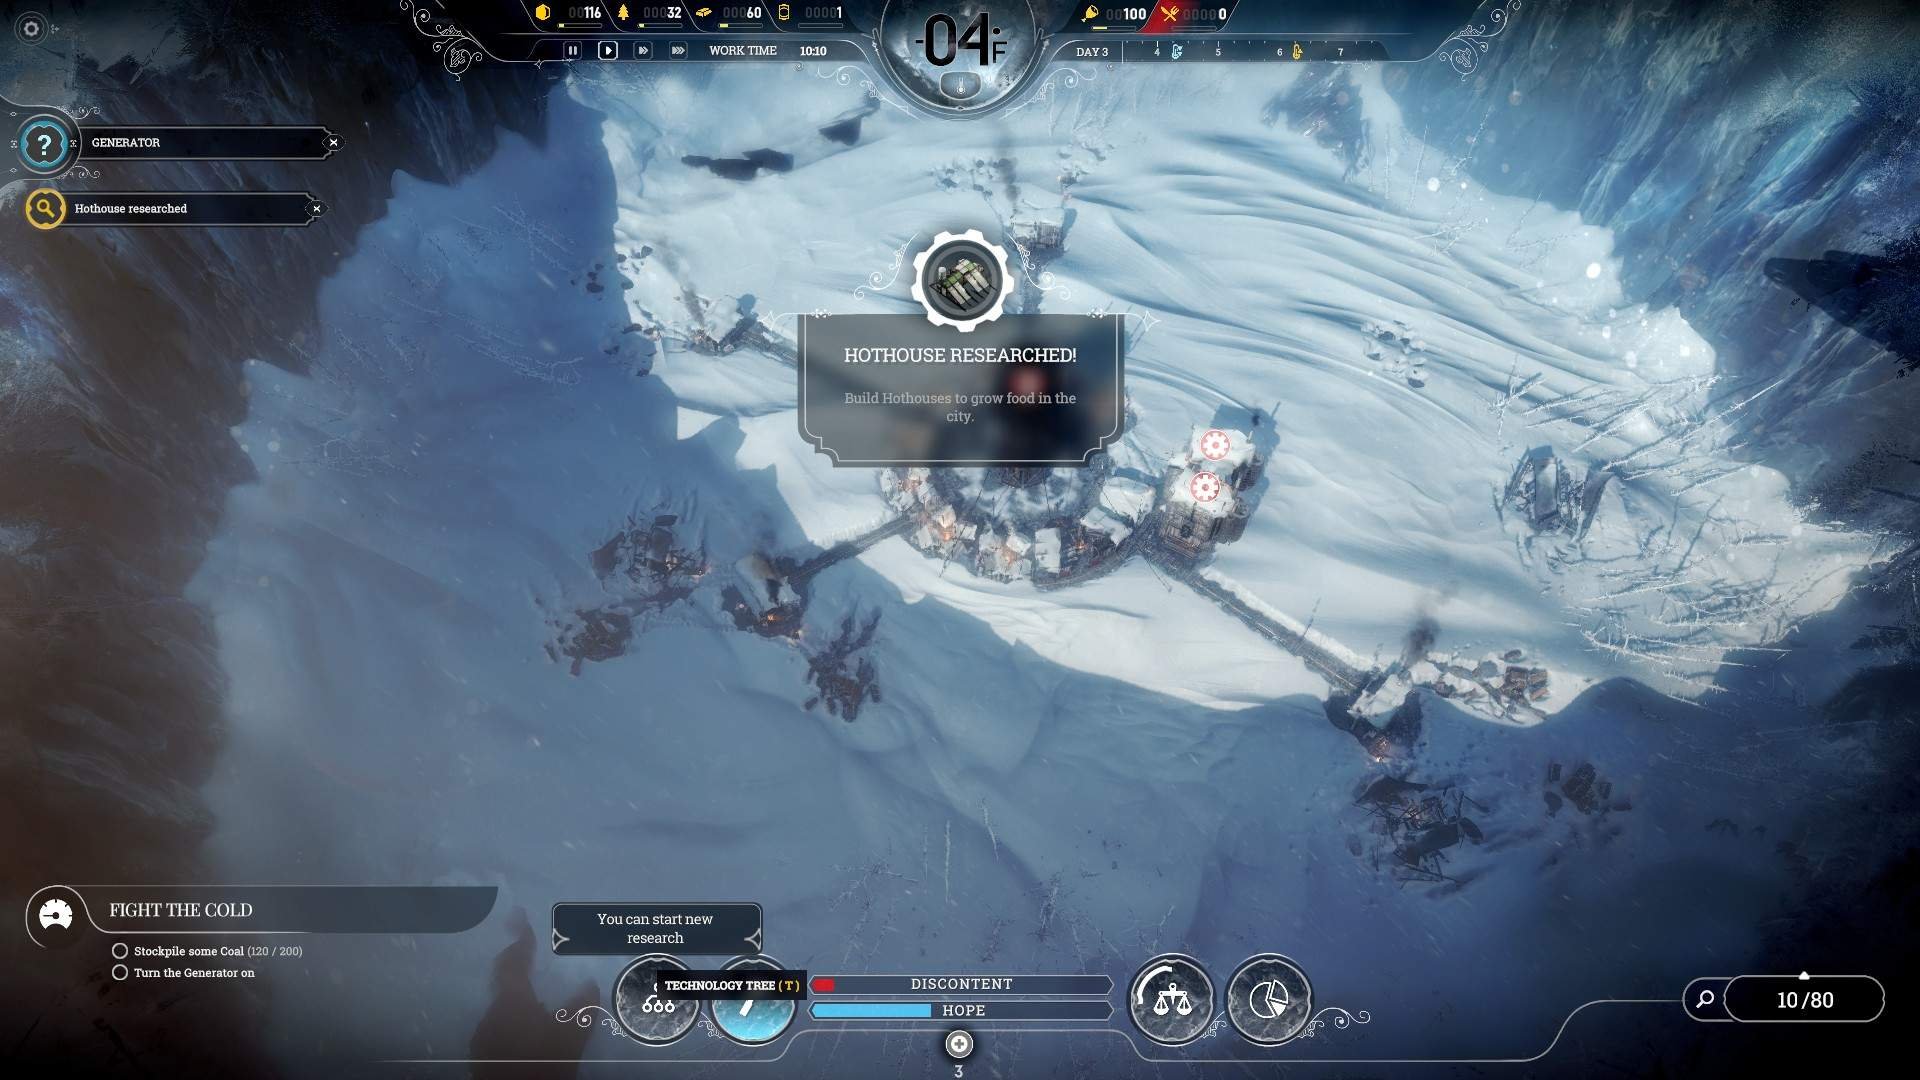
As soon as tech is finished, whatever you chose be it drawing boards/heaters, instantly choose Hothouse if you got drawing boards, or get drawing boards if you picked heaters.
Many people get hunters huts early on, and while there isn’t anything wrong, using Hothouses is more efficient which i will talk about later on in a later step.
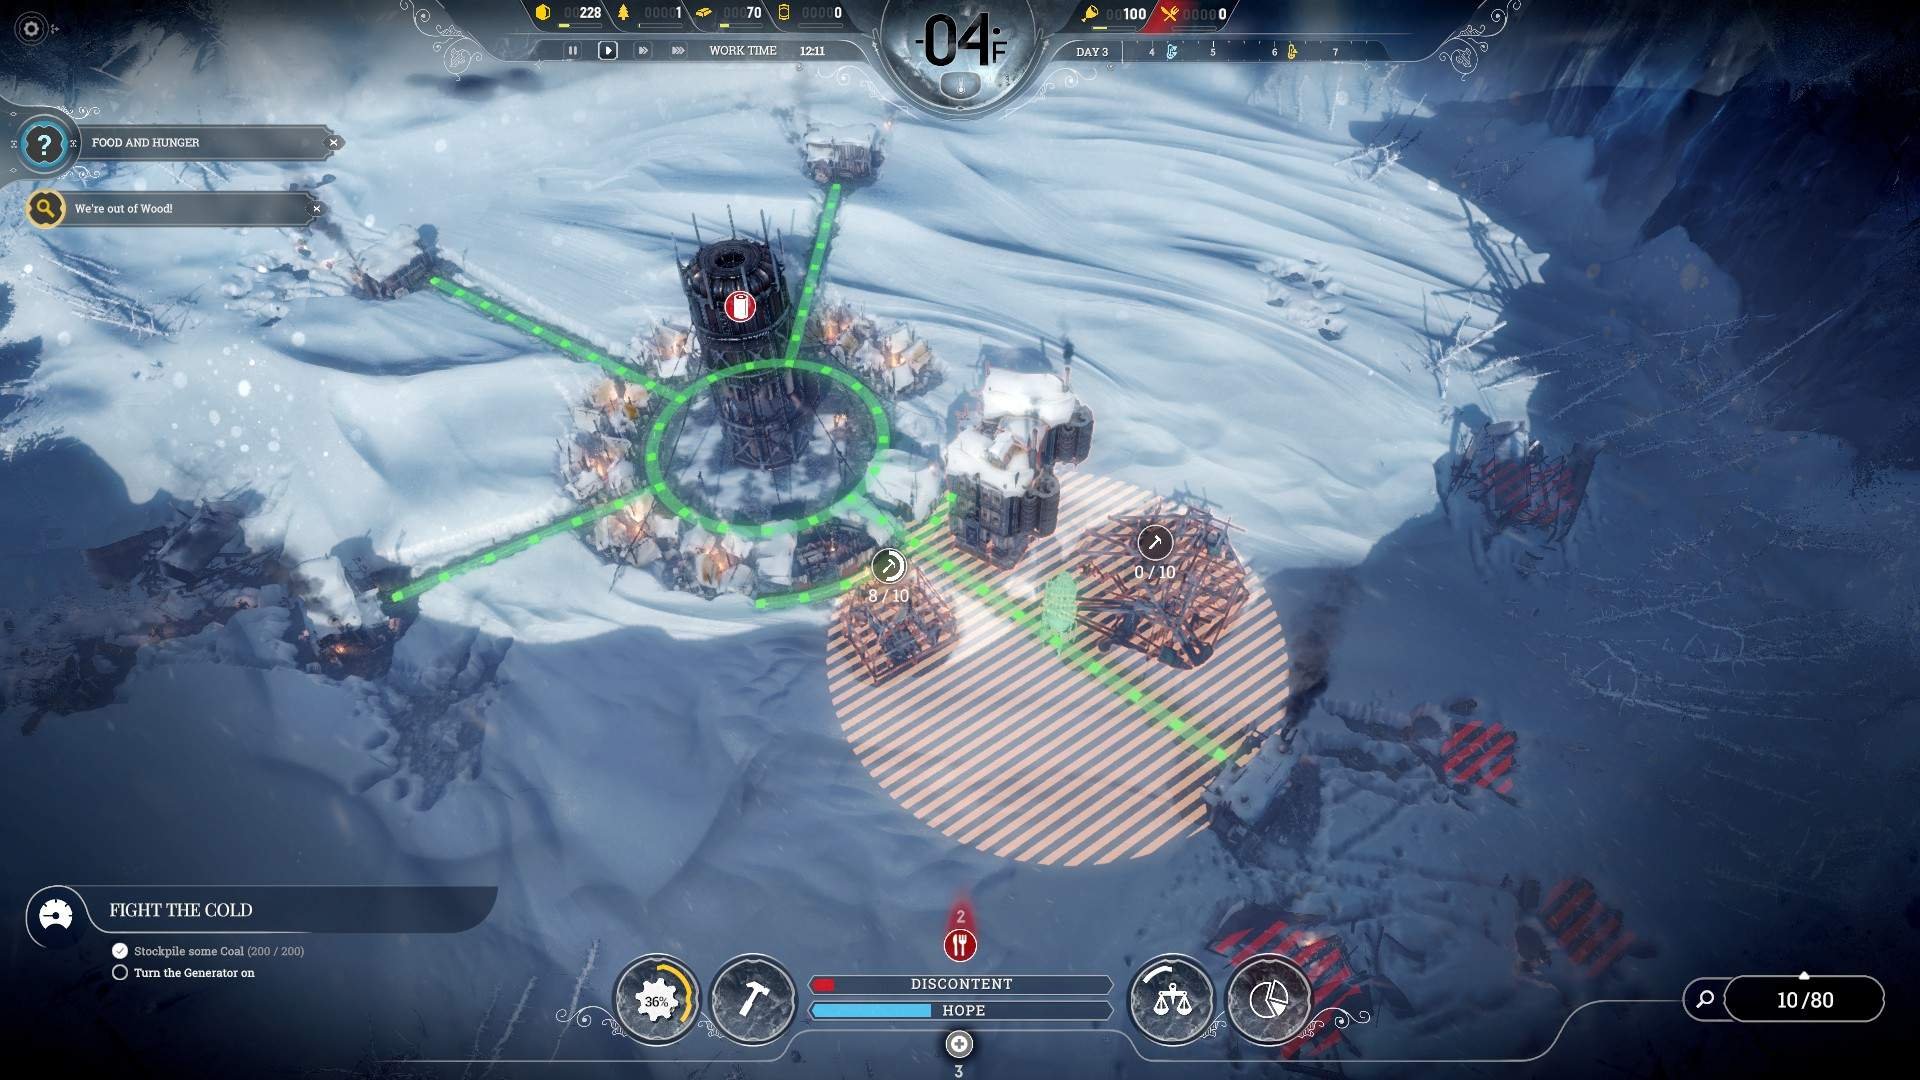
Step 2
Once hothouse tech is researched, place down a cookhouse to the left of the workshops, directly behind the stockpiles, and place a hothouse to the right, behind the workshops. with the steamhubs you researched earlier, build a single steamhub so that its heat radius covers all 4 buildings, Workshops (2) Cookhouse (1) and Hothouse (1), without touching the interior buildings that are covered by the generator.
The Hothouse is massive, and is more expensive then the hunters hut, costing a precious steam core. It also ‘requires’ it to be heated and warm to keep food growing and being produced. Hothouses however, for this negative, offer a substantial food bonus in terms of raw production compared to a hunters hut combined with manpower requirement. For 15 workers you get 15 raw food, 20 if upgraded using a hunters hut. whereas a Hothouse produces 30 raw food using only 10 workers/engineers.
Positioning the steam hub so it covers all buildings lets you heat everything at once and minimze the cost needed to keep everything warm by using multiple steam hubs, thus saving you cores, it also keeps everything neat and tidy for you to use and see.
Step 3
Set cookhouse to making Soup
Look to previous night about soup for explanation
Step 4
Dismantle any gathering posts that are drained of resources, relocate elsewhere. Once hothouse tech is done begin researching Sawmill / Steelworks / Beacon in whatever order you choose.
You have enough resources leftover at this point to purchase the beacon, build it, and send out a team. However you will strain whats left and you need to start getting resource gathering buildings asap. Geting the necessity buildings, Sawmill/Steelworks is a priority. without those two you will get nothing done. You need wood to get steelworks, and steel to get more advanced buildings / tech done.
Night 3 – Final Calm Before Frozen Sunrise

You dont need to be told now, but this is the last night before things get cold.
By this night you shoudl have a hothouse built and cookhouse ready, if you have heaters as well get them switched on for all buildings, especially the medical tent and hothouse. before morning comes go to your steamhub and switch it’s working hours to ‘standard shift’.
If you wish you can turn on the generator, it isn’t needed now but turn it on ‘before’ morning comes so people aren’t freezing in working places.
Day 4 – Bundle Up it’s Getting Cold!
Step 1
Sawmill, research, build, now!
Get the sawmill researched, build one near the last set of resources and connect it and build another Gathering post to the generator, you can extend the road near the 2nd of night 1’s gathering posts to save on wood.
Man the sawmill and get it churnin wood out.
Night Four – Goodbye and Good Luck!

Night 4 step includes only 1 step, so follow it.

Step 1
When night hits, turn on Generator Overdrive.
There will be times when the generator’s heating alone is not enough to keep people or workplaces warm, for this situation, you can turn on the Generator’s Overdrive function. This will put the generator into overdrive (duh) and pump the heating level up another level, 2 with upgrades. Allowing you to heat up places and homes for a brief period of time.
The Overdrive Function does not consume extra coal, but what it does do is generate stress upon the generator. A red bar fills up on the generator indicating stress rising, if the stress reaches critical levels it will explode and you will lose.
The generator offers a total of 24 hours of overdrive unupgraded, and for each hour of overdrive you run it requires 2 hours of time shut off to de-stress the generator.
Run the overdrive at night to minimize sick people during the night, turn it off during the day to make your overdrive last longer. during the the day heaters and the generator will provide warmer working conditions, but at night heaters do not run in tents, so this is where Overdrive is crucial.
Final Messages
This is where i tell you goodbye and good luck, this build was created by me, perfected to the point where if you follow it, you will have a very good situation for your city. This build can be used in Endless mode but it has ‘variations’ on how it works. It can also be used in Hard difficulty for New Home scenario, but if you do it on hard using this you MUST know what your doing, since a lot of this is done on normal difficulty.
I have confirmed it works on hard but the build changes to match the difficulty.
I hope you enjoy using it, and please…
Don’t put your kids in the coal mine alone numnuts!
Seriously, if i see one more person throwing 10 children into a coal mine and say “why are these kids getting injured and losing limbs?” one more time…


Be the first to comment