
This is just an informal introduction to the game that will outline the first few things you need to understand and do in order to set yourself up for success in Darkest Dungeon. This is more of a tips and tricks type of thing for beginners and will feature as few spoilers as possible.
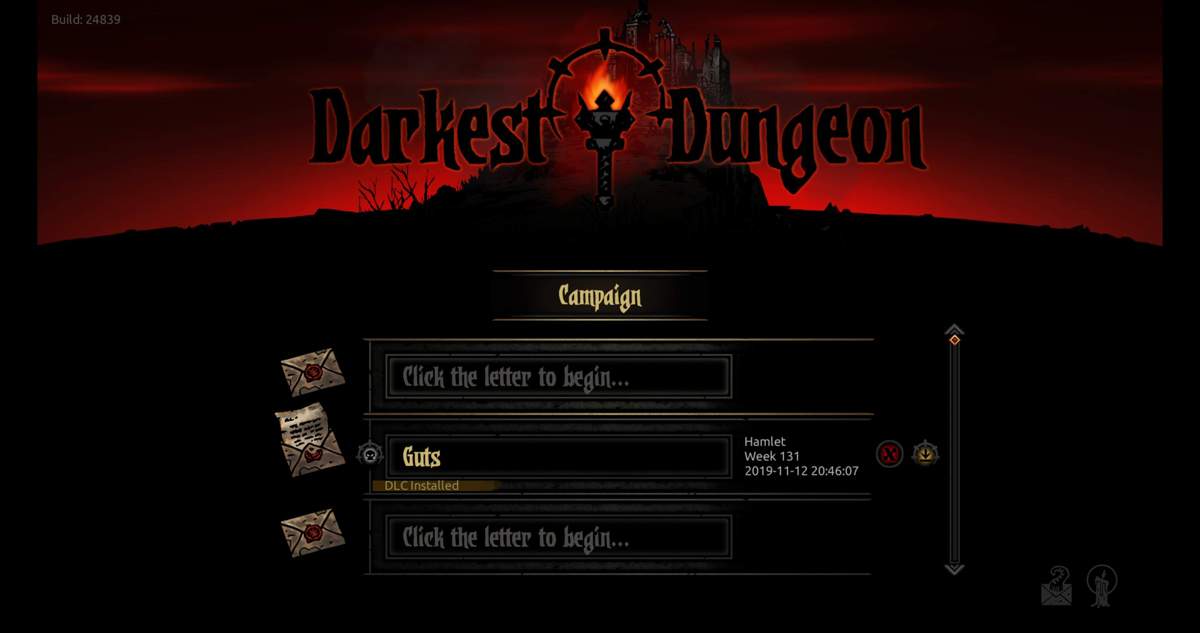
Before File Creation
Introduction
Darkest Dungeon is intentionally a notoriously challenging game that will ask the player to accept defeat and setbacks periodically. The reason you need to know this before creating your file is because there are a few choices you will make that will determine how frequent and severe those setbacks are during your playthrough, as well as the kinds of challenges you will encounter. You can learn the game more quickly and avoid unnecessary setbacks, for now, by both disabling any DLC you might have purchased and not choosing the hardest difficulty on your first playthrough.
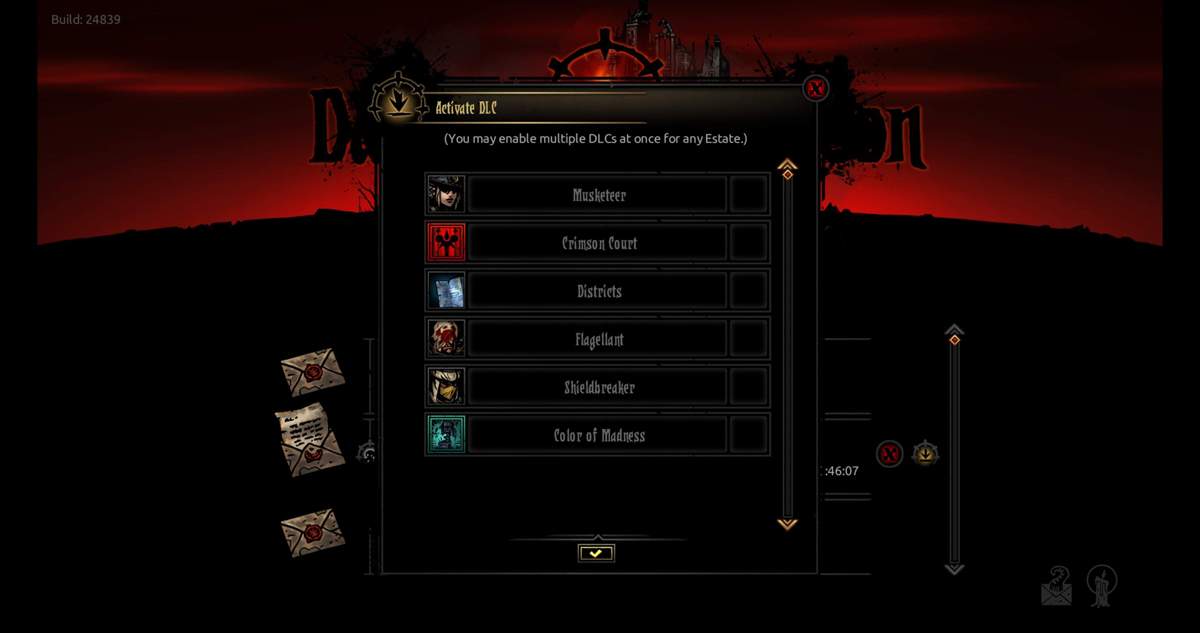
DLC
Please unselect each of these boxes before continuing in order to disable DLC.
Reasoning: DLC contains enemies, afflictions and town events that greatly complicate the game after a short number of runs. These affect all the dungeons in the game, not just the ones added by the DLC. The extra units appearing early on will potentially prevent you from seeing core members of your teams that you are going to want to learn how to use before moving on to the DLC units.
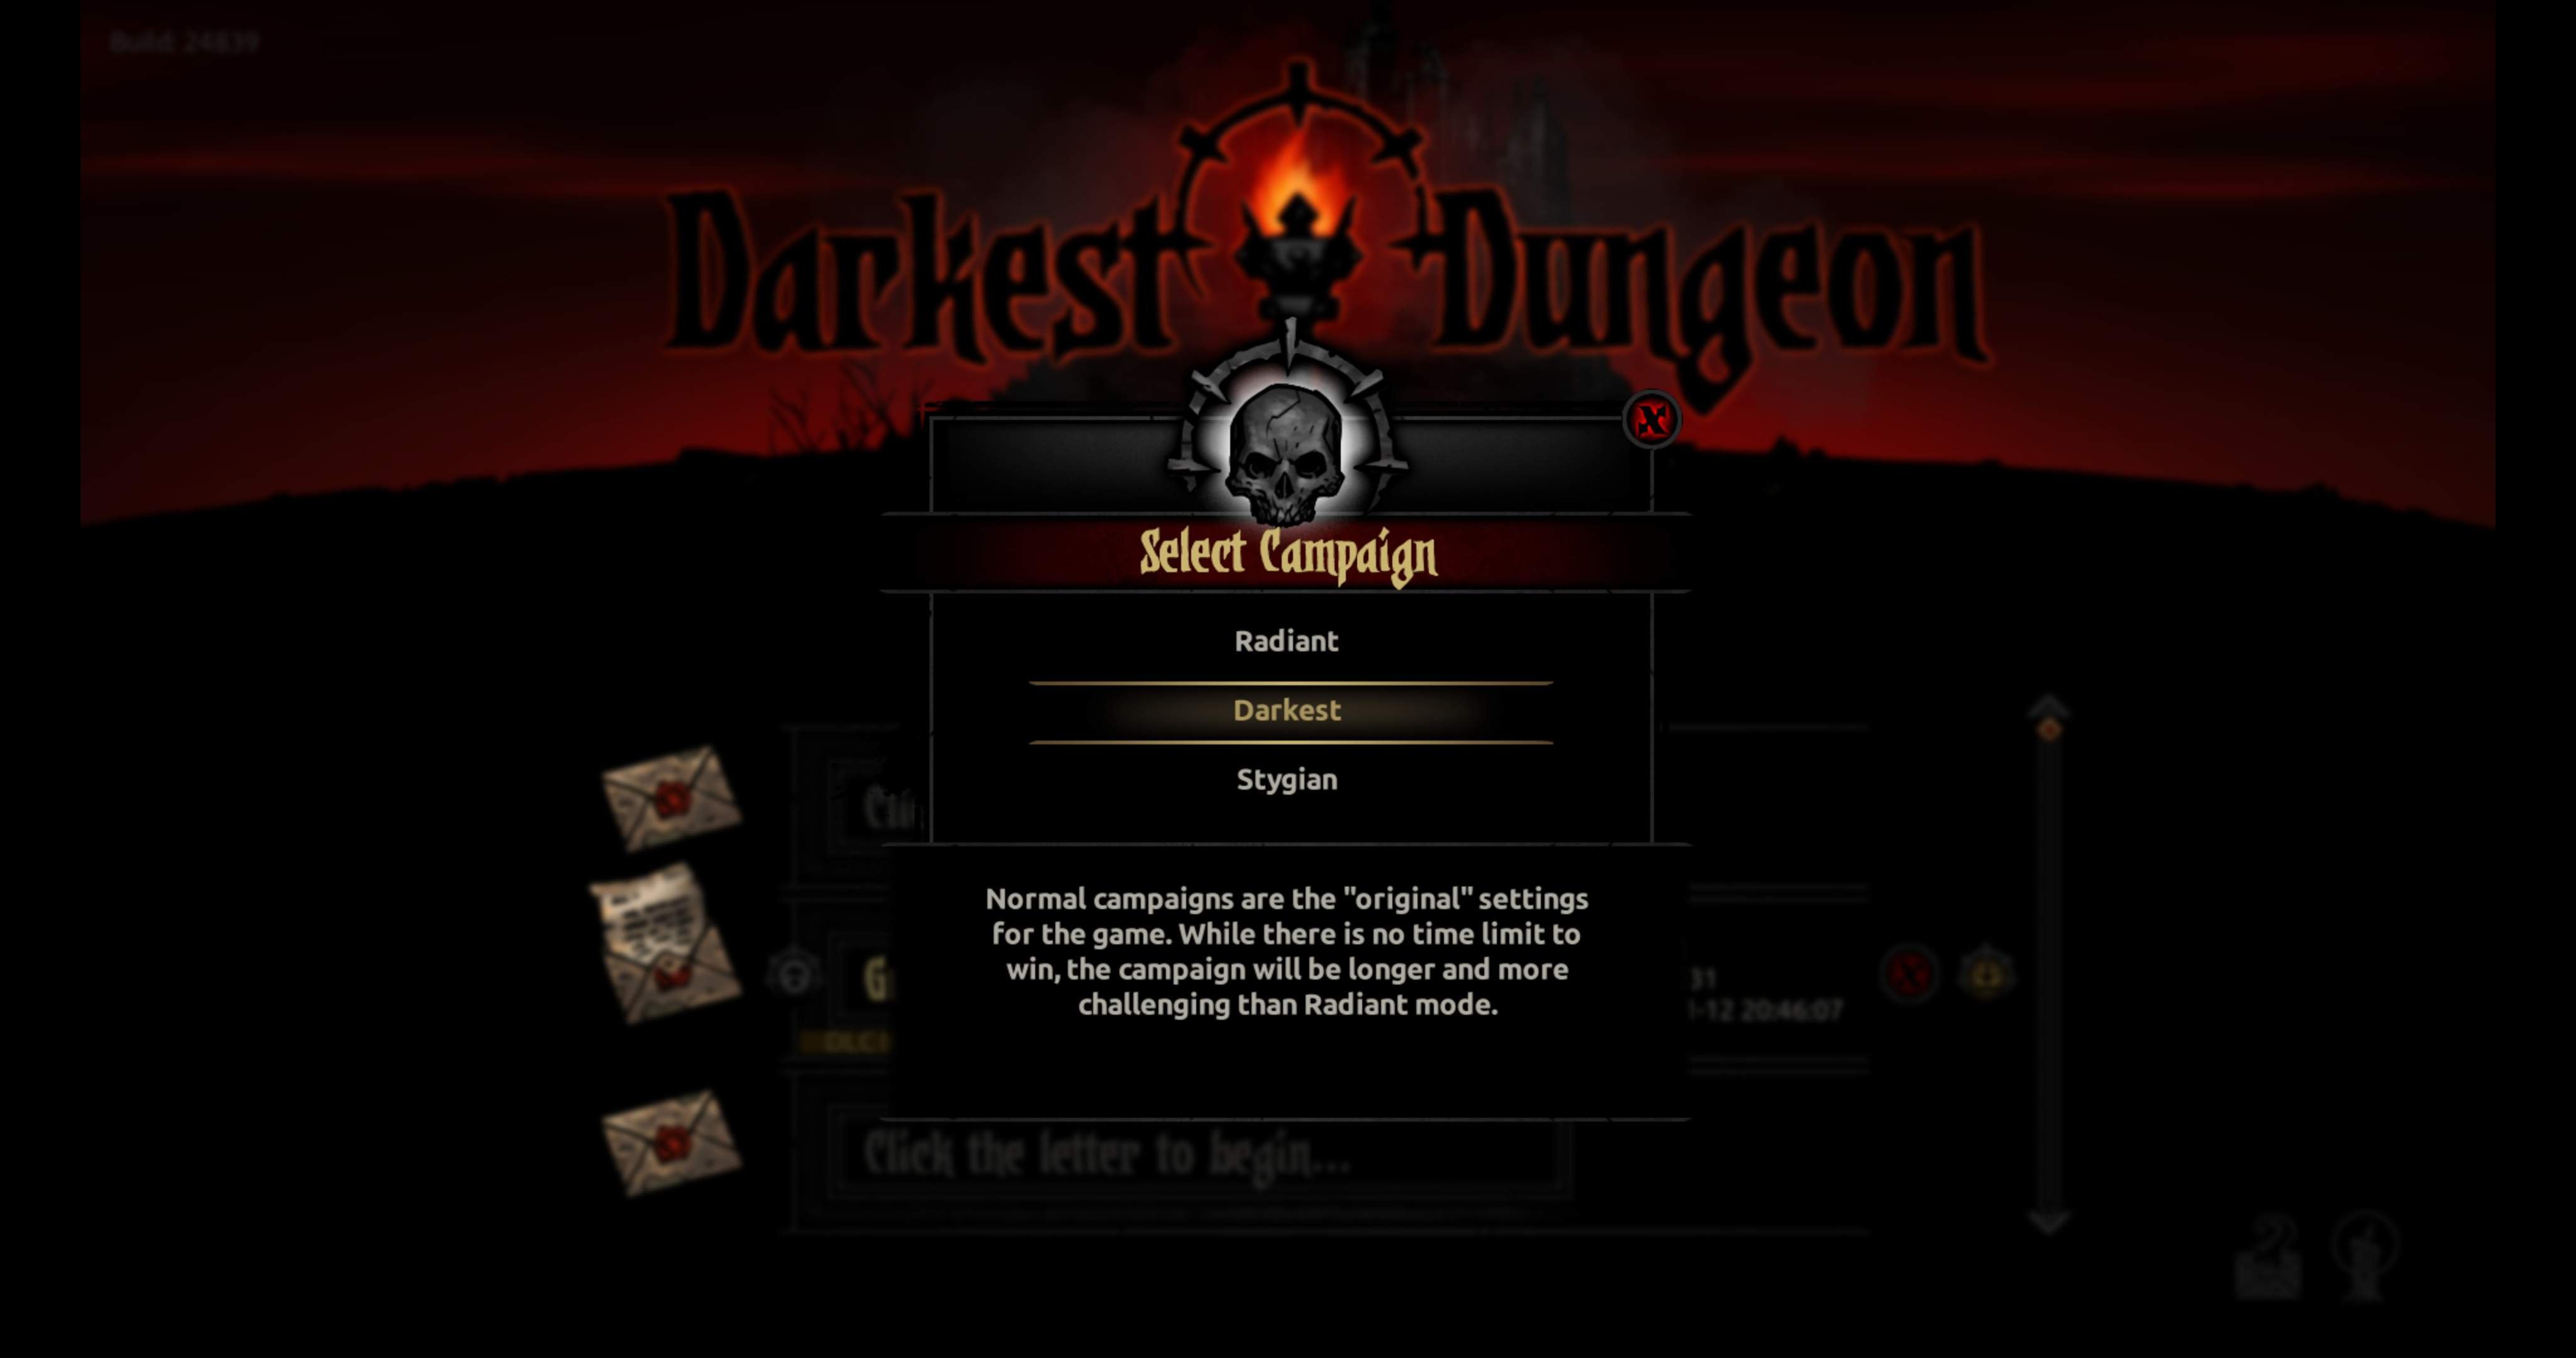
Difficulty
Please select Radiant or Darkest, not Stygian, on difficulty.
Reasoning: Darkest Dungeon is primarily a game about playing odds well and maintaining resources. On Stygian difficulty, the game dramatically lessens your odds of survival and more rapidly takes those resources away from you. Understanding how the game functions and even completing a playthrough on a lower difficulty before creating a file on Stygian will help you better prepare yourself to manage risk and reward in the game.
After The Tutorial
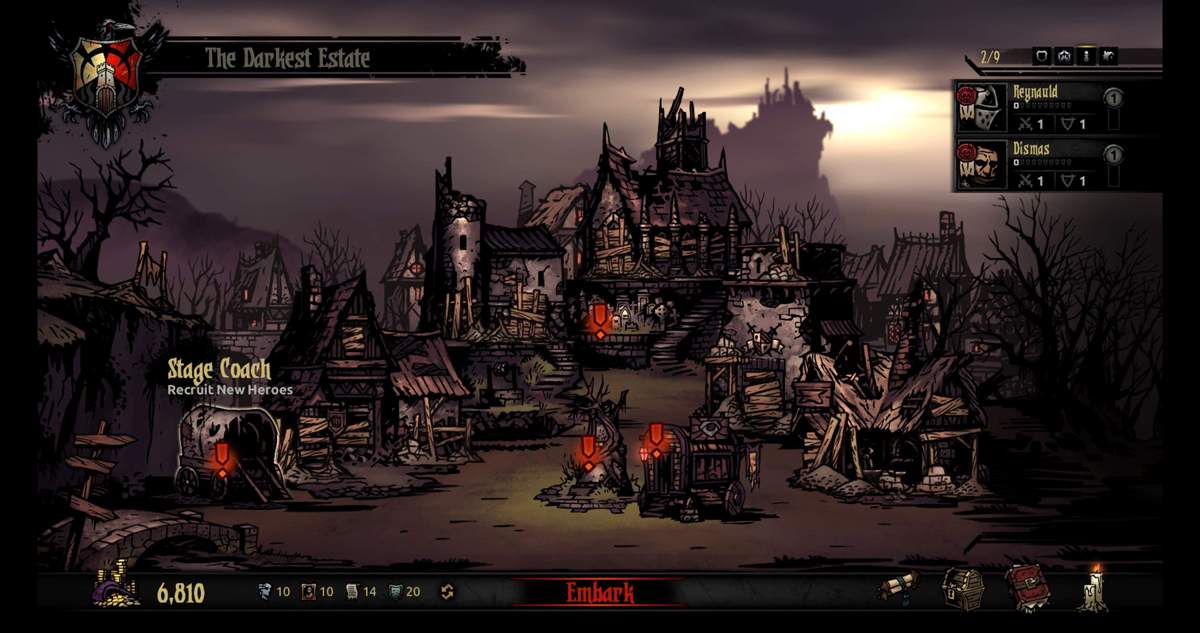
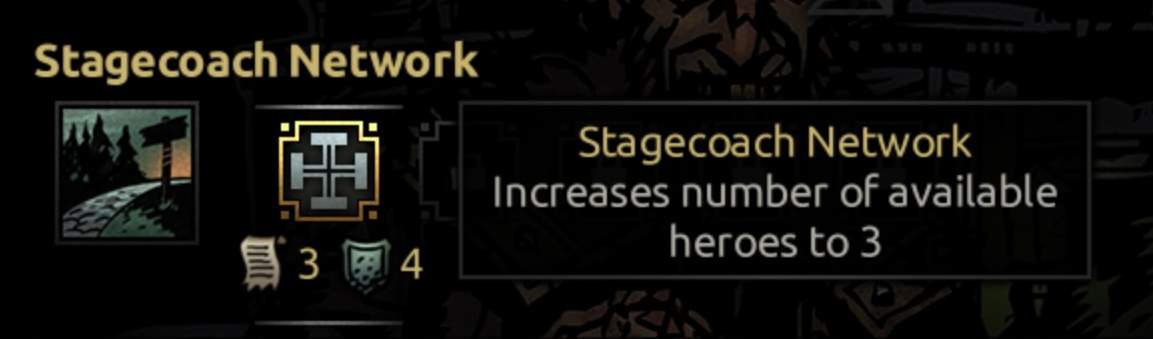
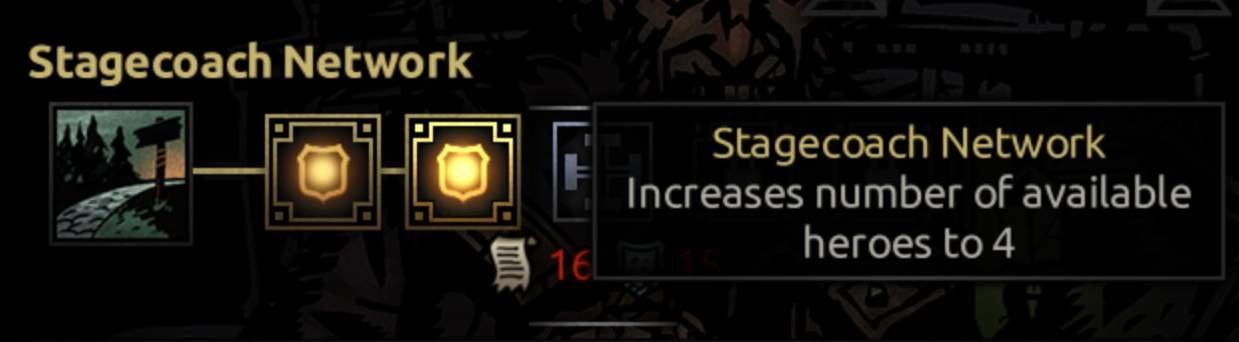
Upgrading The Stagecoach
Once in town, the game does not emphasize the seriousness of upgrading the buildings in your town greatly enough. Upgrading the stagecoach to provide 4 heroes per week is crucial to having a good experience in this game. Fortunately, the current build seems to provide you enough heirlooms to do this right away once you’ve finished the tutorial mission.
Find and click the large plus signs before setting out on your first full mission in order to make sure this is taken care of (See the screenshots below).
The Stagecoach:
Before Upgrade and After:
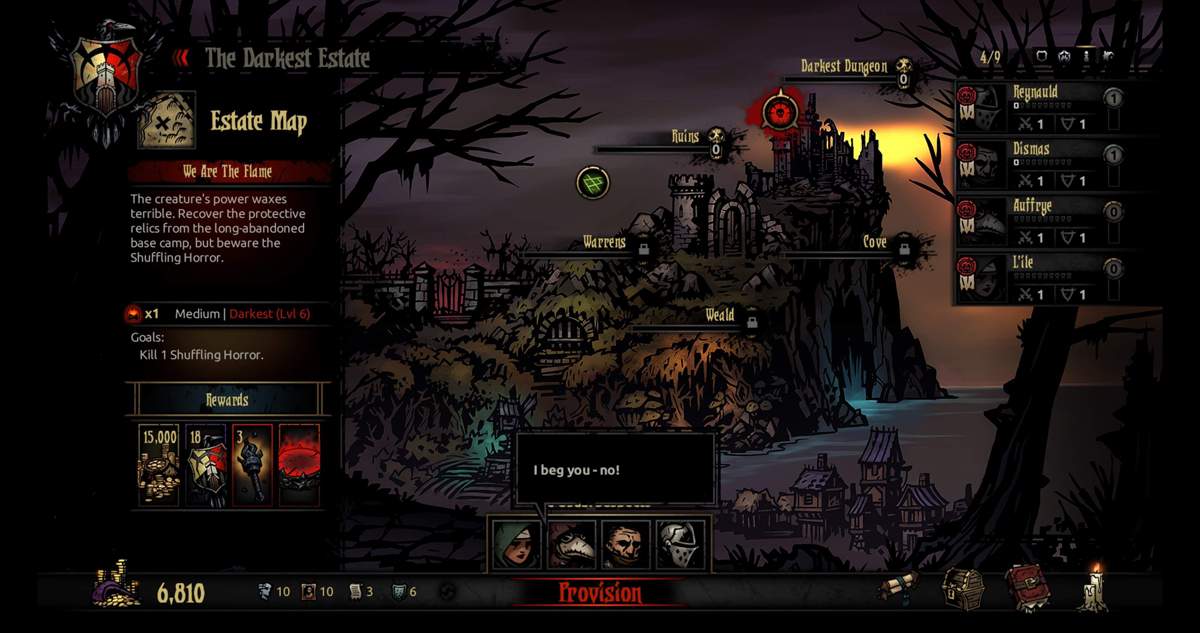
Get Going
Once you do this, then you can click “Embark” at the bottom of the screen, and pick your heroes and a dungeon to explore. The game is pretty good at showing you how this works, so there’s no need to explain this all in detail here.
The Right Mindset
A very important thing to do before you play any further is to adopt the Darkest Dungeon mindset. I have listed some tips and aphorisms below which I believe are necessary to embrace in order to learn the game quickly without becoming too discouraged.
Don’t worry too much about fully understanding the finer details just yet; Just try to take in the idea that these are things that will help you accept the struggle of the game and see through it as much as possible to what’s really going on.
- Hit Percent Is Nothing But a Suggestion: Know first and foremost that the percentage chance to hit shown when you mouse over an enemy in this game with a particular skill selected is nothing more than a mere suggestion. Very often you will find that the number of times you hit has nearly nothing to do with the percentage chance you were promised. Just understand that you have enough chances to attack to overcome this, or else the game wouldn’t be able to be completed. Don’t ignore the percentage, as better chances do matter. But the number of times this game will force you to miss in a row with good chances to hit just to laugh at you is significant. You will feel frustration from this. It will cost you heroes and runs. The trick is to know the point at which a fight is unwinnable or a quest is impossible to complete and abandoning it in order to soften the consequences of failure, and to limit the beating you take as a result of compounding failures. There will be a point at which your characters are too stressed out and/or too low on health to continue. Which will lead into my next mindset point:
- Abandon Quests: Once in a dungeon, there is an “Abandon Quest” icon in the top left corner. There will be quests early on where your only goal will be to run through a dungeon as fast as possible opening containers to find gold. You will take minimal or no food and torches on these runs. Sometimes, even on quests that you care about, you will run into enemies that can wipe out your team. You lose everything in your inventory and the trinkets equipped to your characters if the team is wiped out, so if you are above your break-even point, or trinkets you need are attached to the characters in the party, Escape from Combat and Abandon Quest. The only time you will care about not doing this is much later in the game, when some quests will warn you that abandoning them is either impossible or will result in the death of a character. Ignore the consequences upon your characters otherwise. More runs and gold with fresh adventurers can be used to fix those later. There will always be a green (newbie) quest available for your new heroes to go do, so don’t be too concerned about needing to quit the one you’re in.
- Get Rid of Characters: Your roster will pile up quickly with lots of characters with classes and moves you don’t need or care about, many of which will have too high resolve level to go on quests with other characters or high stress from abandoning quests. Don’t waste your resources resting them. Get rid of them instead. Early in the game, space on your roster is precious because you need at least 4 slots for a team you like and 4 more for new heroes to mill through. You will just barely have enough for those. Open the character screen by right clicking a character’s face panel in the roster and then click the orange icon beneath their names that says “Dismiss Hero” when you mouse over it. This will free up space on the roster to grab heroes with classes and skills more favorable to your strategy when they appear, even if you don’t need a whole new team to take out into the dungeons. Over time this will increase the ease with which you can complete quests because you will be able to bring more heroes you like with combinations of skills you know work well together in order to clear dungeons these combos are well-suited for.
- Takes Money To Make Money: Don’t be afraid to spend 5000 or more gold to prepare for a quest you intend to complete. (Don’t spend a lot more than this either, unless you know that you need to.) That’s a nominal amount of money compared to what you will begin to haul in once you start to understand and succeed at the game. We’ll talk more about how to spend this money later. Just consider for now that in general, medium length quests and “collect/cleanse/activate 3 of whatever” type quests are generally the most lucrative and easiest to complete. Remember that you can always send some poor souls out to scrounge like we talked about earlier if you happen to run short. Also, you’ll need to gradually make upgrades to the buildings in your town to reduce the costs of the various services, because you will want to pepper in some spending here and there to get things you want to prepare your heroes for their next quest. This is a necessary expense and you will start to understand when it’s helpful to spend this money by researching what gear/skill upgrades and stress/disease/quirk healing you can give to your heroes. Stay away from buying trinkets or removing expensive quirks until you’re rolling in dough though; Those aren’t affordable.
- Learn Something: If you pay close attention to information in the game, you will learn over time what items and skills work well for which enemies and dungeons. Keep an open mind to look for it when you do things. Consider: Each area dungeons pop up in have different enemies and containers, meaning you may need different items and hero skills to succeed in them. Containers let you drag items in your inventory to them to obtain different results. Every time you get a hero, read their skills to see what they do and what base chance to hit they have. The dots on each skill indicate what position on the team they can be used from and what positions on the enemy team they can hit, for instance. Buffs that can be used once per battle generally stick around for the whole battle. Some buffs stack twice. Putting damage-over-time on certain enemies might be a more effective way of dealing damage than just hitting them. Some attacks might ignore armor. Mousing over enemies during combat will show you their health, what they resist, their protection and dodge stats, and what attacks they’ve used that you’ve seen, as well as what those attacks do. All of these are examples of information you can notice that will help you do better on each following run.
Making It Easy On Yourself
The following are guidelines that you want to follow until you get used to the game, about what to do in order to make the game easier on yourself. Consider these mild spoilers, but things you can figure out fairly quickly with trial and error.
What Dungeons To Do
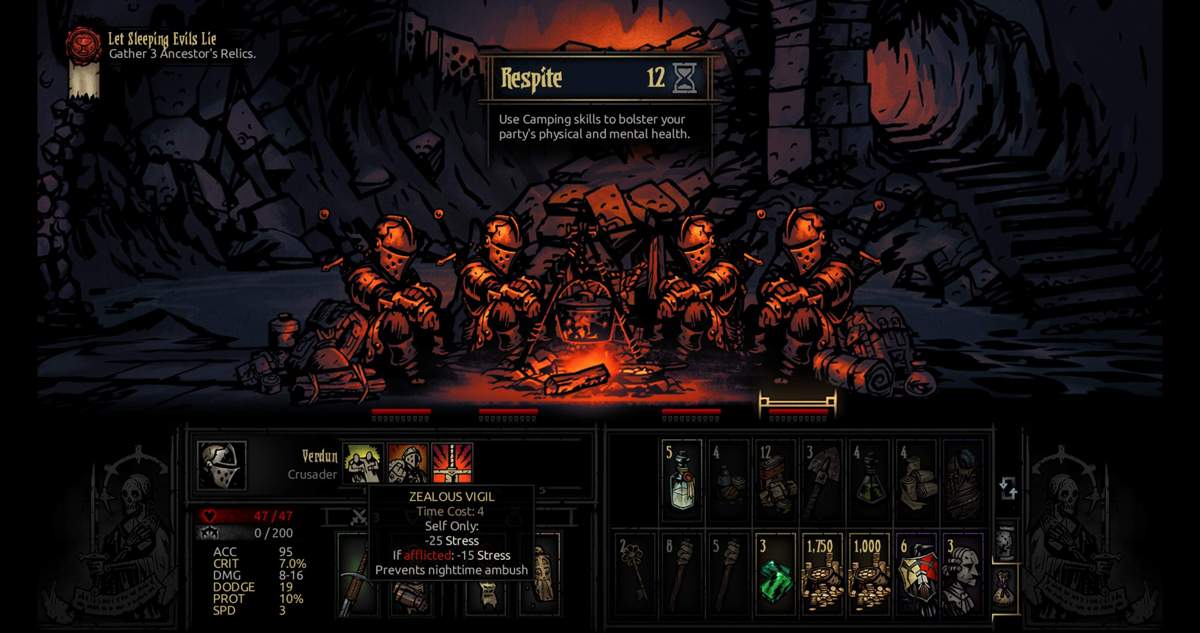
Take a dungeon that says medium whenever possible. Resting at a campfire generally lets you do a lot of things you want to do, including remove tons of stress. This will often let you get in multiple runs with the same team. Length of dungeons matters greatly because Short and Long dungeons result in a lot of stress and don’t pay out as well for the time that they take. Getting a camping skill that lets you prevent nighttime ambush is also very helpful in this regard. Watch out for those. During a dungeon, hitting 100 stress will make a character unreliable, and 200 stress will kill them. These skills are very useful in preventing that.
Additionally, take dungeons that say to interact with 3 objects. You can sometimes luck out and have the quest objectives show up early or require relatively few fights to retrieve.
What To Buy
In the Provision screen, a good rule of thumb is to bring all the food, then 1.5, 2, and 3 stacks of torches for short/medium/long dungeons, respectively. Taking two shovels, bandages, anti-venom, herbs, holy water and keys is also advisable. Be mindful that sometimes heroes bring their own items to help you add up to that. Many of these items have more than one use, so be sure to read them to know what those are.
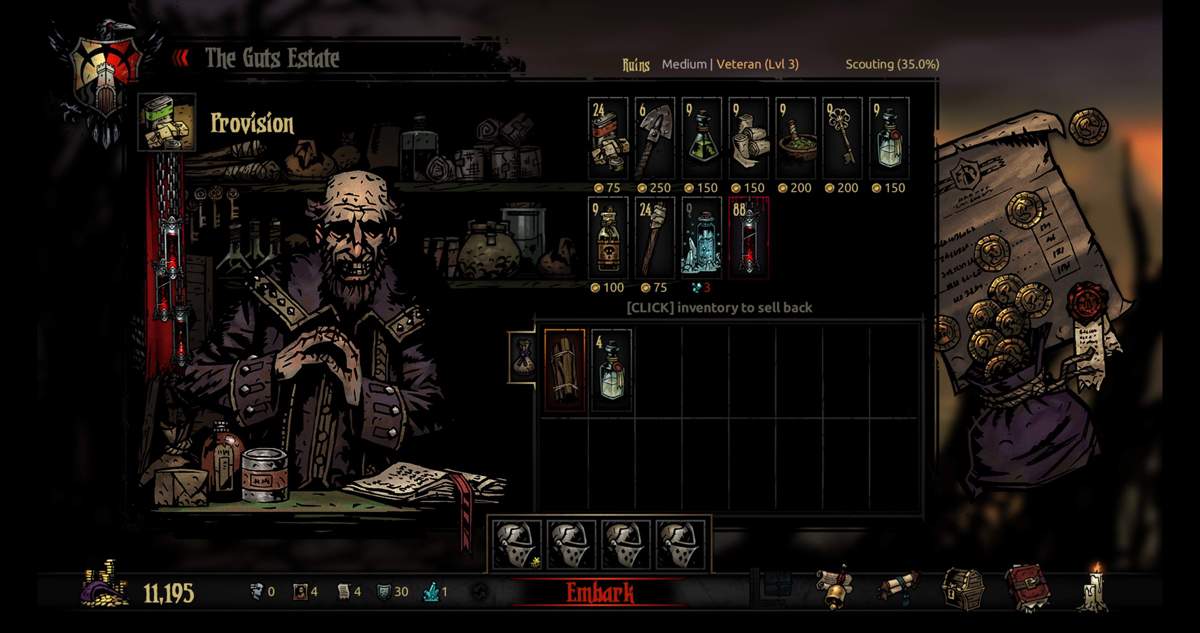
Remember while in a dungeon that if a hero is severely low on HP, you can feed them some food to recover some health. Just don’t feed them too much or you’ll run out. (Camping and exploring also costs food.) You do this buy clicking on the character then right-clicking one of your stacks of food in your inventory.
Light Level
Remember that keeping the light level in the dungeon high is important, and you should spend a torch every time the light level is about to drop from the highest tick mark. Opening doors to rooms drops the torch also, so have your inventory open so you can click another torch when this happens, as this will affect the encounter in the room, if there is one.

Traps
Sometimes you can see these and certain characters are good at disarming them, but it is always worth clicking on them to see if you can disarm them because successfully doing so lowers the stress of the character who does so a little. (Failing has a negative effect, so don’t do this with a character in risk.) Watch out for them whenever they are visible.

You can get characters and trinkets to increase scouting between rooms to reveal these and other things that will be beneficial for you, as well as allow you to navigate around unnecessary encounters. The game shows you these things on the map pretty clearly when it happens.
Curios
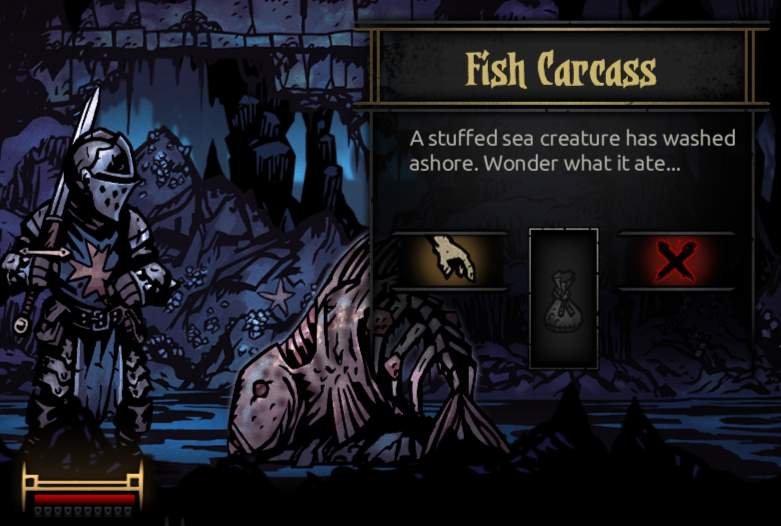
Whenever you are in a dungeon, remember that when you touch a container, applicable containers or “curios” will allow you to drag these items you purchased to them to try to obtain a beneficial affect or loot. Learn which are which and learn when it’s best to use these during dungeons. Each time you do this, the next time the item will be marked to remind you what the outcome was.
Classes That All-Round Well
The All-Rounder classes are Vestal and Crusader. (The cleric and the knight.) Vestal can heal tons of damage and whack enemies, as well as stun people and heal themselves while attacking. Crusader can heal, attack and tank tons of damage. They also get trinkets that make them much tougher earlier on than other classes. Both classes have useful camping skills that lower stress dramatically. A team of two vestals and two crusaders, one vestal and three crusaders, or straight up four crusaders, can all be a great way to clear some easy dungeons and learn the mechanics of the game.


Thank you this was very useful