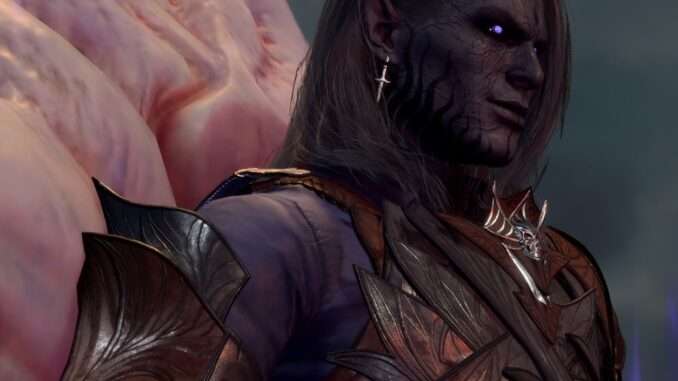
Using the hammer of the Grymforge is so easy, the devs needed an achievement to force players to try other methods. Here’s how I did it.
How to Obtain A Grym Fate Achievement
Grym
Check his stats page (right click him, Examine) – he’s only slightly weak to bludgeoning and piercing damage. He’s also only weak to those when he’s standing in lava. He’s immune to all magic and other kinds of damage. Whoop.
He hits heavy, and sends the lava away every 3 turns or so.
Whoever last deals him damage before his turn will become his prime target. Depending on how the turn order works out, you will need to attack accordingly. Ensure his prime target remains a fighter/tank.
Therefore, the plan of attack needs:
- Bludgeoning weapons.
- Tanks (fighters with good health).
- Good team placement.
Party
Your party members need to do the following:
- Deal damage.
- Turn the lava wheel throughout the fight.
- Heal.
- Buff the other characters.
My team was two fighters, one healer/buff, and one extra whose sole role was to turn the lava back on and fire some arrows during other turns. This was Karlach (Barbarian), Lae’zel (Fighter), Shadowheart (Cleric), and my Tav (Druid).
Fighters
They need bludgeoning (or piercing) weapons, ideally big ones. Ensure they have Speed potions to hand (this grants an extra action per turn). Any strength modification potions will also help. If they also have the feat Great Weapons Mastery, you’ll find this fight a doddle.
Cleric/Healer/Buff
Make sure healing spells are distance, so the cleric doesn’t decide to wade through lava mid-fight to touch an ally.
Grym is tough to hit (and a tough hitter), so buffing spells and/or potions that raise the fighters’ ability rolls and savings checks will be helpful too i.e. Bless, Enhance Ability.
Spiritual Weapon is also an excellent spell to have – floats over the lava, deals one significant blow per turn, and is in effect a temporary extra fighter without all the grunting and bloodlust.
Lava wheel turner
Turning the lava wheel takes one action. This person will stand next to the wheel and isn’t allowed to move. When the lava is present, they can shoot arrows and chip away at Grym. Potions that rise precision and ranged strikes can be helpful here.
Placement
Put the fighters together on the same platform. I used the central one, but any that forces Grym to wade through lava and stand in lava will do. Make sure they’re in the centre of the platform – not so close to the edge that they step into lava to hit Grym, but not so far back that he climbs out of the lava to hit them.
The wheel turner obviously stays next to the wheel.
Cleric/healer should be on a separate platform to the fighters, but close enough to cast helpful heals and buffs when needed.
The Fight
Providing no one decides to take a lava bath or a misclick sends everything to the Nine Hells, the fight is mostly bonking, wheel-turning when the lava turns off, and healing/buffing. It’s a little tedious if your fighters are low level or low-strength, but persistence is key.
Some things to keep in mind:
- Keeping the fight on the level where Grym emerged means you only contend with him.
- If he’s your only opponent, that means turn order can be manipulated to your favour. Depending on how turn order plays out, your party will have at least two characters who can change turn order, if not four in a row. So when he turns the lava off, you choose your wheel turner to go next and turn the lava back on, therefore ensuring your fighters’ next turns involve hits that actually deal damage.
- Potions thrown on the two fighters will affect them both.
After the Fight
Hooray! You’ve killed Grym and popped the achievement!
Here’s something extra that took me a while to figure out after the fight: if his body lies across the central platform, where the hammer strikes the forge, it can’t be moved, BUT this is not a problem.
I tried to open the mould casing to get the adamantine item I created, but kept getting the “blocked” message. I thought his body was blocking it, but no! I hadn’t completed the forging process – after all, he rudely interrupted me.
Complete the forging process: turn the lava on, pull the lever for the hammer, so that it strikes the central platform, then retrieve the completed item. Even if Grym’s body is over the central platform, as far as the game’s concerned, he’s not there. He’s not blocking anything. Try completing the forging process before wailing and gnashing your teeth that his heavy corpse is blocking you from the precious loot.


Be the first to comment