
Contents
Learning About the Nightsong
Aradin
The first time the party enters the proximity of the Druid Grove, a number of adventurers are banging on the gates, begging to be let in. Shortly after, the Grove is attacked by a raiding party of goblins. After the battle, the survivors enter the Grove. Inside, a man name Aradin argues with the leader of the tieflings, Zevlor, over the danger that was brought to the Grove.
He also asks Aradin where the First Druid, Halsin is, to which Aradin explains he got captured at the Goblin Camp. The party can either defuse tensions, knock out Aradin, or let Zevlor knock him out. Later, Aradin can be found drinking at the Grove. Aradin is by the stone door at The Hollow, under a blue tent.
If the party asks what happened to the First Druid, Aradin explains that him and his crew were hired to track down an ancient relic, the Nightsong, by a wizard in Baldur’s Gate. When Halsin got wind of their plans, he eagerly asked to accompany them. Unfortunately, the group was ambushed by goblins and Halsin was captured.
Liam
Liam is being tortured for information.
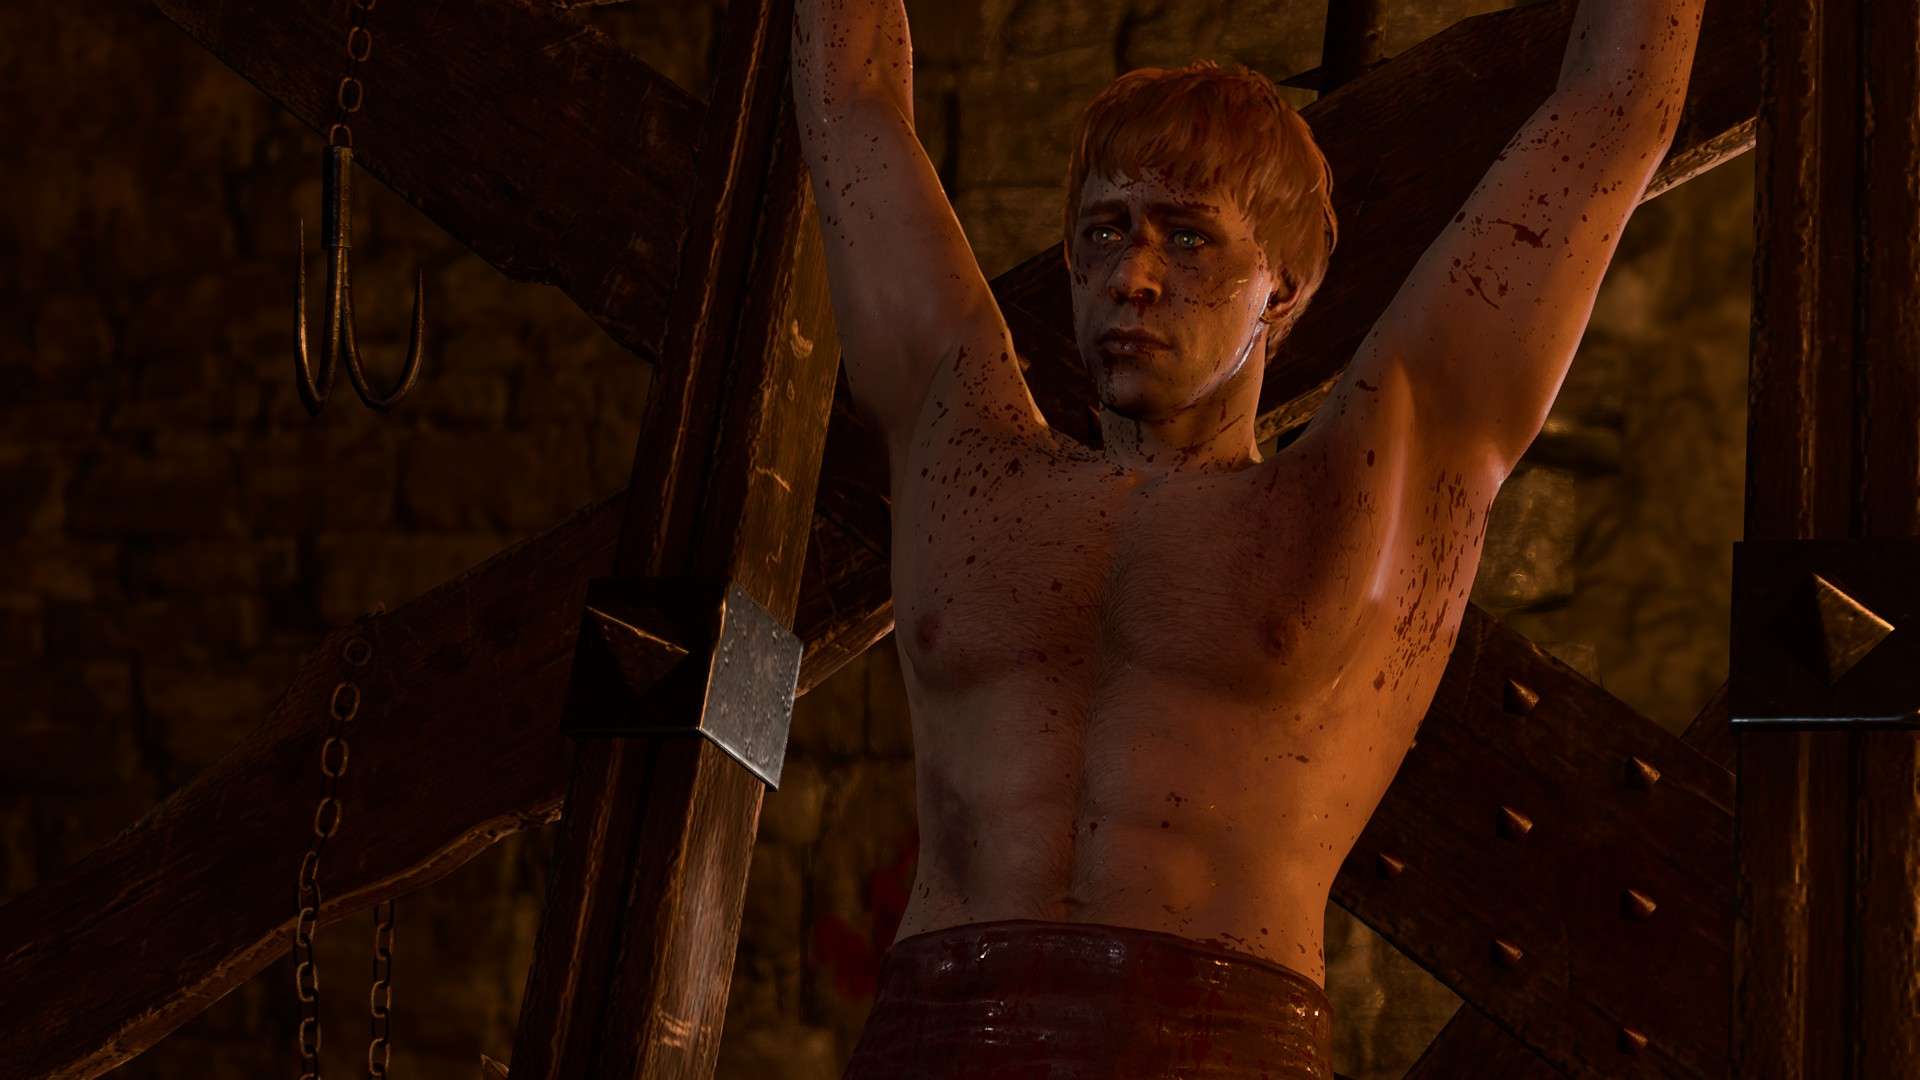
Within the Shattered Sanctum, in a room east of Priestess Gut is a man being tortured by goblins, led by Torturer Spike. This man is Liam, one of the adventurers who was working with Aradin.
The party can convince the goblins to clear off by reading his mind and explaining that the drow sent them, deceiving them to leave (DC 15) or using illithid powers to command them to leave. If the party asks him how he got on the rack, he explains that a wizard named Lorroakan tasked his group to track down the Nightsong, and Halsin was imprisoned when the goblins attacked. Liam can be freed with a Sleight of Hand check (DC 7) or by taking the key from Spike (either by killing him or pickpocketing him).
Brian
Brian was a dwarf on the expedition, unfortunately, he’s been cut to pieces by the goblins and turned into a spit roast. However, one of the goblins, Tracker Klagga, has his belongings. Speak to Klagga and he mentions a poem owned by the dwarf. Select “I love poetry – can I see?”
- For a Bard/Dwarf DC 5 Deception check. “I think I know him. That’s Piltrid the Warbler, the worst bard in Faerûn.”
- DC 10 Persuasion check. “You’re wasting your time. Dwarven poetry is worthless.”
- Detect Thoughts DC 9 Intelligence check. “Ah, you’re a secret poetry-lover. How cute.”
- For Drow or those Disguised as one. “I didn’t make myself clear. Give it to me now.”
- What’s your price? 250 Gold at a base Charisma of 10.
Convince Klagga to get the poem, which is actually a set of clues on how to enter the temple below the Shattered Sanctum, known as the Defiled Temple.
The Selunite Outpost
The correct combination for the Defiled Temple puzzle.

One path to the Defiled Temple is through the Sanctum itself. The entrance can be accessed through Priestess Gut’s chambers, but is guarded by her ogre servant Polma.
An easy way to avoid the need to sneak past the guard is by speaking to Gut (X:297, Y:-18) as part of Ask the Goblin Priestess for Help. Use a non-Elf/Half-Elf character to follow her to her chambers and take the potion and do not attempt to escape. A cutscene plays which results in both Gut and the ogre being killed.
Once in the Selûnite temple, there is a puzzle blocking the way forward. There are four overlapping circles. The goal is to get the black circles into the southernmost circle. Follow the combination to unlock the door:
- South
- East
- South
- North
- East
This opens up the way to a long abandoned Selûnite Outpost.
Alternatively, there is another way into the temple. Enter the Underdark through the Whispering Depths by using Feather Fall and jumping into the chasm.
Then, go to the area with the Spectator near Dhourn (Detailed in The Adamantine Forge). Jump across the rocks west of where the Spectator first appears and climb the knotted roots. Near the top of the roots is a broken window that can be used to enter the Outpost and bypass the temple entirely.
Unfortunately, the trail goes cold in the Underdark. The are no more clues to the Nightsong until towards the end of Act Two.
The Gauntlet of Shar
The trail picks up as the party enters the Grand Mausoleum as part of Infiltrate Moonrise Towers. The Grand Mausoleum is north of the House of Healing. Enter the Mausoleum after being accosted by Raphael and there is a small puzzle to proceed forward.
There are three paintings with buttons underneath them, press them in the following order to open the way: Moonrise Towers, Grief, General. Move north using the traversal gem to enter the Gauntlet of Shar.
The purple glyphs reveal a path to the umbral gem.

Once inside, Shar speaks to the party, inviting them to take on her trials and prove themselves worthy. The first task is to access an Umbral Gem at a statue. To do this, the party must snuff out eight Mystic Thuribles around the room. There are two levels to the north and south of each side of the room.
The rooms are protected by pressure plates, which can be disarmed (DC 10) as well as vents that activate with the plates. Hit the levers to lower the Thuribles, then interact with them to snuff out their lights. Getting too close to the statue before the Thuribles are snuffed out causes it to magically repel the party. Any Moonlanterns must also be unequipped, as they emit light. Once the room is shrouded in darkness, purple glyphs are revealed around the statue. Follow the gaps in the glyphs to touch the Umbral Gem. This opens the way north.
Follow the path forward and the party eventually encounters a group of Reconstituted Duelists. They try to warn the party away, but are interrupted by tremors. A group of undead Justiciars attack the party and Umbral Tremors appear. The Umbral Tremors can summor more Justiciars until they disappear.
The tremors persist until the party moves west and encounters more Reconstituted Duelists. The tremors begin in earnest as more Umbral Tremors and Justiciars are summoned to attack the party. Several waves appear, until finally a Justiciar Crusader appears. Defeat it and its minions and the path opens, revealing Balthazar, a servant of Ketheric Thorm who has been tasked with retrieving the Nightsong.
Balthazar tells the party to go and complete the trials for him, as the Justiciars have been making it impossible for them to move forward. The party can either agree to help him or attack him outright. If the party agrees to help him, they can convince him to offer help in the form of a summoning item that summons his brother, Flesh. Otherwise, Balthazar attacks with flesh and three Ghoul Medics.
The Trials of Shar
Soft-Step Trial
The key to the Soft-Step Trial.

After entering the room (X:-767, Y:-755), the party notices a sacrificial bowl. The party must give a blood offering to continue onto the trial. If Shadowheart is in the party, she offers to do this. Once the offering is given, the party can proceed to the trial.
The Soft-Step Trial is a stealth trial. There are two shadows patrolling a small maze, which the party must sneak past to get to the umbral gem. If the party is detected by a shadow, they are transported back to the start of the maze. Find the Soft-Step Key in the hidden room of the maze to proceed forward, lockpick the door open, or use Misty Step to bypass it entirely.
Self-Same Trial
As with the Soft-Step Trial, proceed to the offering bowl with an offering of blood to proceed.
In this trial (X:-767, Y:-727), the party faces replicas of themselves. If the party attacks a replica of a different character, they gain a debuff that lowers their ability scores. An easy way to end this trial quickly is to remove all equipment until the replicas appear, then add the equipment again, so that the replicas are weaker. Using only one party member can also help, as it avoids the debuff. Once the replica has been defeated, an Umbral Gem is dropped.
Faith-Step Trial
The dimly lit path in the Faith-Step Trial.

The Faith-Step trial can be accessed by moving north of the other two trials and then following the stairs down (X:-752, Y:-727).
To complete this trial, the party must walk along a chasm, with a barely visible pathway allowing them to move forward. After blood is offered to the trial, the room is plunged in darkness, making the path forward difficult to see (and impossible to see from the overhead camera view).
There are several ways to trivialize this trial:
- Use the spell Daylight to make the pathway extremely obvious and easy to traverse.
- Use Fly, Misty Step, or Dimension Door to bypass the pathway entirely by utilizing the patforms with the statues.
Yurgir’s Umbral Gem
There is one more Umbral Gem, which is in the possession of Yurgir, the orthon that Raphael is hunting. The party can either kill him as part of Kill Raphael’s Old Enemy, trick him into killing himself, or help him as part of Break Yurgir’s Contract.
Regardless of how the conflict is resolved, the party can take the gem, which is in front of his throne of skulls (X:-641, Y:-754).
The Silent Library
Before placing the Umbral Gems on the Pedestal of Reckoning, Shadowheart has one final request if she is in the party. She states that she needs to obtain the Spear of Night if she is to become a Dark Justiciar. The Spear is in the Silent Library.
The Silent Library is south of the Faith-Step Trial. Once inside, Silence is cast over the party. If the party is detected, a number of Justiciar Soulhunter and Justiciar Nightweaver attack. Defeating The Librarian at the centre of the room ends the Silence spell. With a successful Perception check, the party notices a button (X:-784, Y:-747) that unlocks the locked gate to the west.
To access the hidden room, the party must offer the correct book to the pedestal. The correct book is Teachings of Loss: The Nightsinger (X:-771, Y:-742) which is inside a trapped bookshelf (DC 15). Interact with the Riddle of the Night and combine it with the book to open the way.
Inside is the Spear of Night, as well as Dark Justiciar Half-Plate and a Dark Justiciar Helmet. Giving the Spear to Shadowheart allows her to claim her place as a Dark Justiciar.
Return to the Pedestal of Reckoning and use the Umbral Gems to activate the moving disks. The path ends at a pool of water to The Shadowfell.
Shadowfell
Warning: Entering Shadowfell locks the player out of many side quests, and pushes the player to the end of the act. Do NOT enter until all other business in the area has been resolved.
If Balthazar was not killed, he arrives in the Shadowfell immediately after the player, thanking them for their service in completing the trials. He floats ahead and tells the party to come with him to witness greatness. Once the party leaps to the heart of the Shadowfell, they learn the Nightsong is not an object, but an aasimar woman named Dame Aylin. She has been held captive by Thorm using the power of Balthazar to share her immortal life with him.
After this, several events can play out:
- If Balzathar is alive, the party can let him take her to Moonrise Towers
- If Shadowheart is in the party, she can kill the Nightsong and become the Dark Justiciar she always dreamed she’d be.
- Dame Aylin can be set free, resulting in a battle with Balthazar and requiring Shadowheart to be convinced to spare her.
If Shadowheart is not brought along, then she immediately confronts the party for denying her the destiny she’d always dreamed of. She leaves the party. Additionally, the Nightsong can only be killed by Shadowheart – otherwise, attempting to do so does nothing but annoy Dame Aylin.
If the party lets Balthazar take the Nightsong to Moonrise Towers, then he tells them to meet them there to receive Ketheric Thorm’s favour. Once the party arrives and speaks to Disciple Z’rell, she only lets them proceed if Resolve the Abduction is completed. The party must kidnap Isobel from the Last Light Inn to be allowed to see Thorm. If Isobel is already dead, then Z’rell lets that party up to face judgement.
If the Nightsong is freed, she thanks the party. If Shadowheart spared her, then she throws the Spear of Night into the abyss of the Shadowfell. However, Dame Aylin grants her a new weapon as thanks – the Moonlight Glaive. Then, Aylin flies off to face Thorm, starting Defeat Ketheric Thorm. After leaving the Shadowfell, Lady Shar subjects Shadowheart to unimaginable torment before sending her back to the mortal realm, and Shadowheart loses her favor. Once the battle with Thorm is over, Aylin and Isobel, if she is alive, stay at camp.
If Shadowheart kills the Nightsong, she becomes the Dark Justiciar and gains the Shar’s Spear of Evening. However, the party loses a valuable ally in the Nightsong.
Sorcerous Sundries
Sorcerous Sundries (X:-15, Y:-68) is in the Lower City, southwest of the Baldur’s Mouth building and southeast of the Lower City Central Wall Waypoint. If Aradin is alive, he is at the entrance to the store, arguing with a sentient armour. He demands payment and orders the construct to let him through. After he notices the party, he asks if they found the Nightsong, to which the party can lie or tell him they found her. If Aradin believes the party has her, he later appears at camp with a group of seven mercenaries to take the Nightsong by force.
If Rolan was left alive, he greets the party at the front desk and provides them with a flyer about the Nightsong, with Lorroakan offering a grand reward for the “relic.” Go up the stairs and a projection of Lorroakan appears and tells the party to proceed through the correct portal if they have information on the Nightsong.
There are four portals, each with a plaque next to them. When the plaques are read, they state different claims about what the Nightsong is. The party needs to go through the portal with the correct information. Choose the blue portal on the western end that states the Nightsong is an immortal being, the child of a deity to proceed to Ramazith’s Tower.
Lorroakan purchased a wand from a Calisham Warlock that can control celestials.

Once inside the tower, Lorroakan confronts the party and accuses them of wasting his time since they didn’t bring the Nightsong to him. In the conversation, the party can tell Lorroakan they know where Aylin is, tell him she’s dead (whether this is true or not), or tell him they left her in the Shadowfell (again, whether this is true or not).
Getting Kicked Out
If the party uses the wrong portal, they are banned from Sorcerous Sundries. Reentering causes the entire place to become hostile, and the projection of Lorroakan kicks out the party if he sees them. However, if the party uses Disguise Self, they can enter safely. Invisibility also works.
The Nightsong’s Fate
If the Nightsong is alive in Act Three, her fate depends on how the party deals with Lorroakan. If the party lies to Lorroakan and tells him Aylin is dead or trapped, the party gains no allies either way, but Aylin won’t be captured.
The party can choose to tell Aylin that Lorroakan is hunting her and intends to try to steal her immortality. Aylin, furious, goes to confront him and asks the party to help her. Go back to the tower and Aylin will arrive, ready to destroy the wizard. The party can either side with Aylin and take down Lorroakan, or side with Lorroakan to capture Aylin. If the party sides with Aylin, Lorroakan is joined by a Water Myrmidon, Air Myrmidon, Earth Myrmidon, Fire Myrmidon, Krank, and Miklaur. If the party sides with Lorroakan, it is just Aylin against the entire tower.
Rewards
- 5000 Gold for giving Nightsong to Lorroakan
- Lorroakan or Dame Aylin and Isobel as allies for Gather Your Allies
Notes
- The Act Two portion of this quest locks out many quests in the area as well as doing normal activities in Moonrise Towers (ie trading with the Zhentarim or Araj Oblodra). It is highly recommended to avoid the Gauntlet of Shar entirely until the party is ready to end Act Two and move on to Act Three.
- There is a glitch in Act Three where talking to Nightsong about Lorroakan before visiting him in Sorcerous Sundries causes Aylin to disappear and not return. The best way to avoid this is by going to Sorcerous Sundries first before speaking about it with Aylin.
- This quest is heavily intersected with The Chosen of Shar in Act Two. As such, it’s highly recommended to bring Shadowheart in the party.

Be the first to comment