
Locating the Hag
After Help the Hag Survivors has been completed, Mayrina explains that she is in Baldur’s Gate hunting a hag. A hag was the one who cursed her to become a sheep, because she knew that she was onto her. She had found the hag through the case of a missing girl, who she believed the hag kidnapped.
She implores the party to help. If the party agrees, they start by speaking to the girl’s mother, initiating Save Vanra. If Save Vanra has already been started, then the party can simply mention they have heard of Vanra.
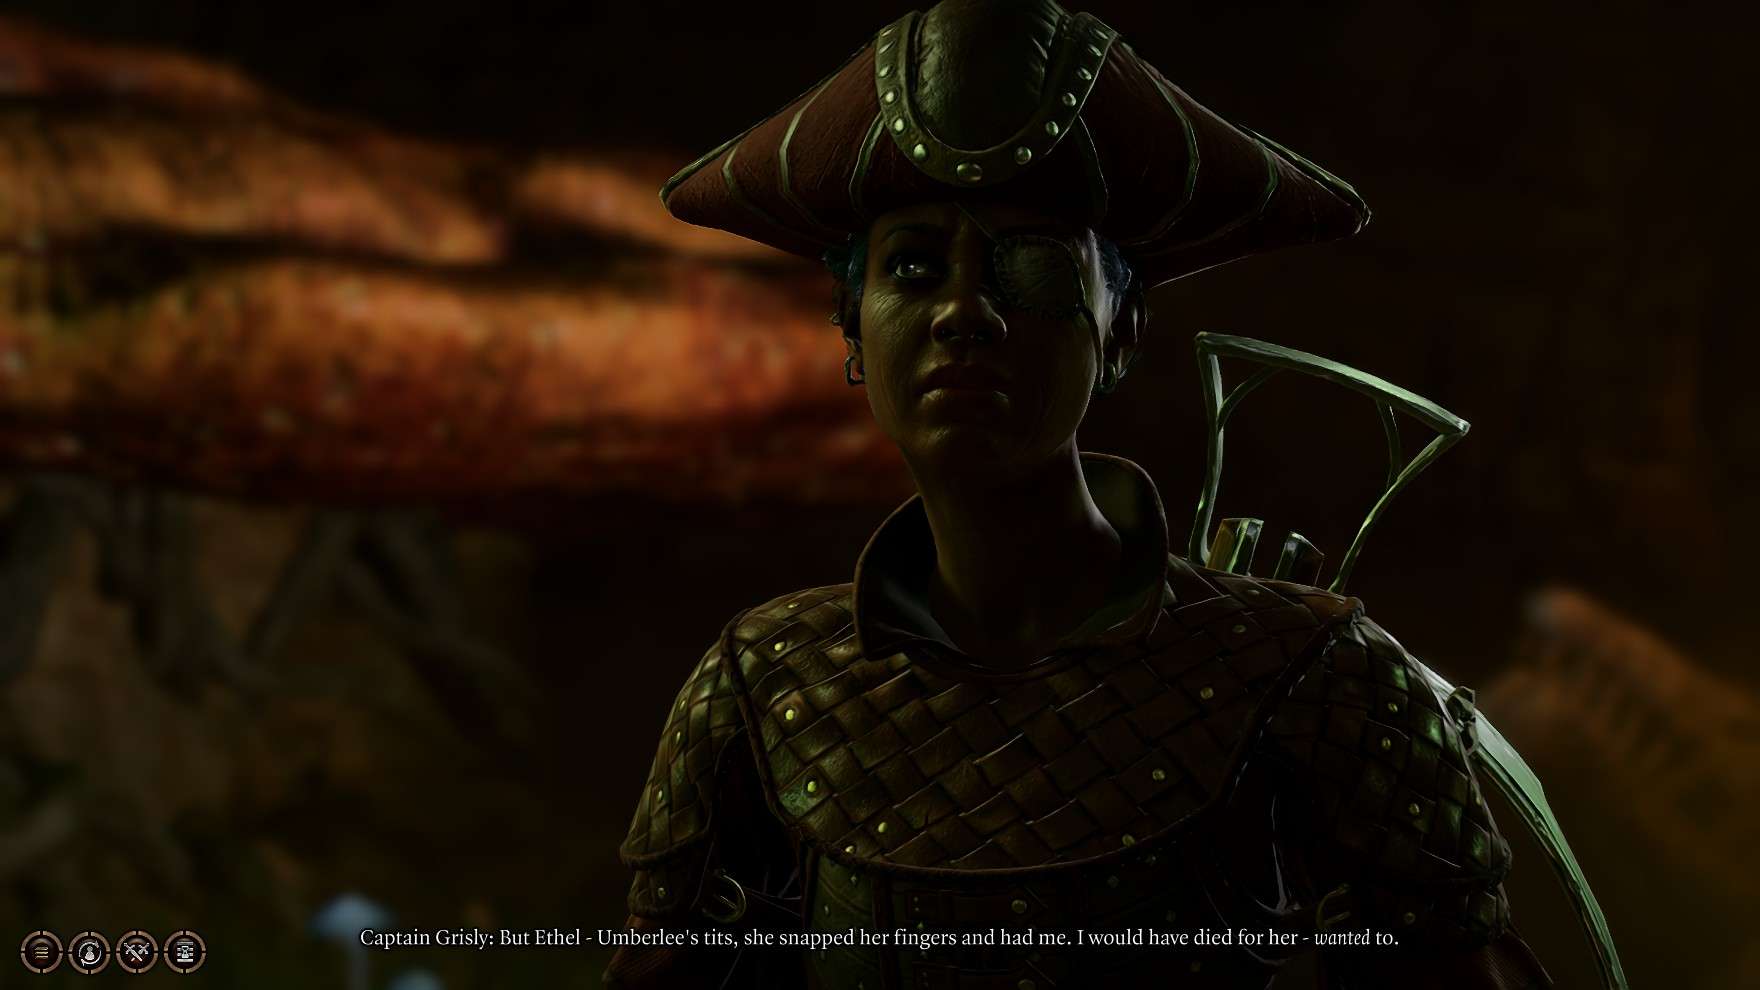
After the party starts Save Vanra and speaks to Lora, Vanra’s mother, then the party is directed to investigate the Blushing Mermaid and speak to Captain Grisly. If Lora has not been spoken to, then Grisly will not speak to the party and says she is too hungover to talk.
Speaking to Grisly about Vanra’s disappearance, she claims that Lora has gone mad and is dangerous, threatening her customers. She states that Vanra isn’t real, and is a delusion that Lora cooked up.
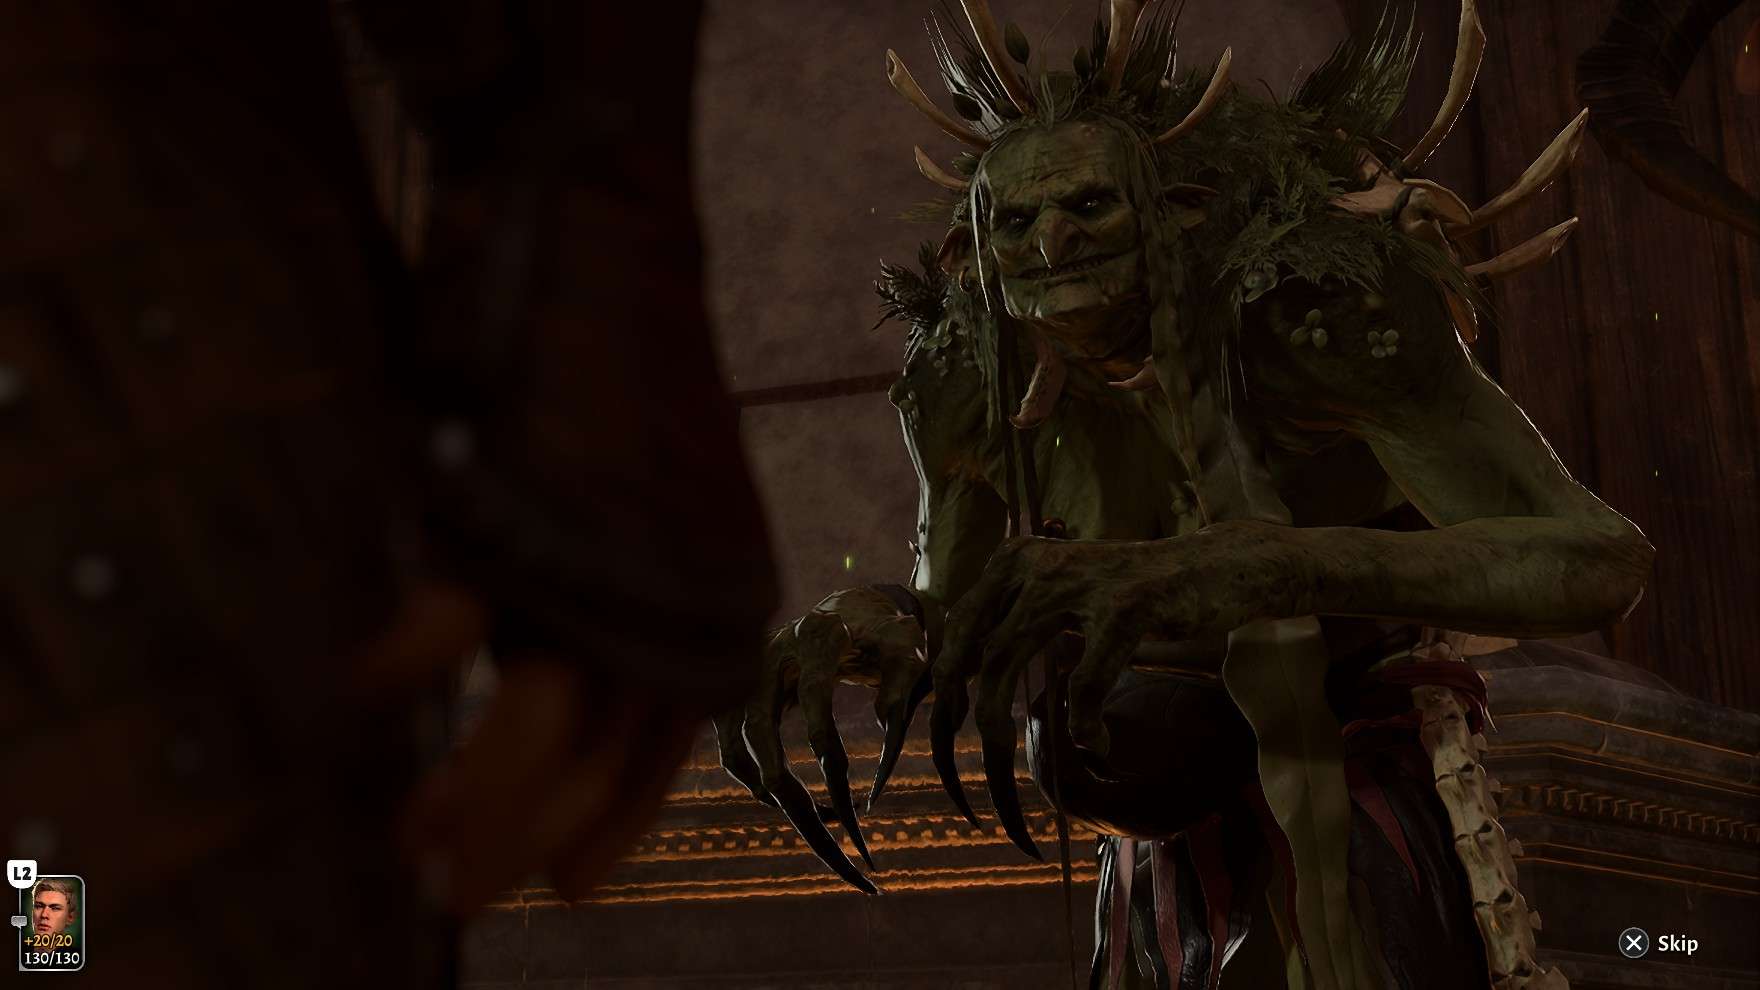
Believing Lora to be a threat, she intends to put a hit out on her, and offers 3000 gold to the party if they are willing to take her out. If, after being given Grisly’s offer, the party chooses “Absolutely not – I refuse to do your dirty work.” then “Grisly” drops the act and reveals herself to be Auntie Ethel, a hag.
Ethel reveals herself.
Grisly’s true identity can also be exposed by finding a note in the Blushing Mermaid which contains a report on Old Garlow’s, using terms like “Auntie.” The note is inside a rosewood desk in the same room as Grisly (X:-123, Y:-93). Afterwards, the party can confront Grisly on the note they found and she instantly drops the act.
Dealing with the Hag
After Ethel’s identity has been revealed, she tells the party that she ate Vanra, and the girl sits in her belly, slowly transforming into a new hag. She tells the party that she would fight them, but she doesn’t want to exert herself while she is “pregnant” – demanding they instead walk away and let her make a new hag. The party can tell her off, or tell her to make a better offer, or simply walk away as she asks.
If the party tells her off, she tells them not to mess with her and that Vanra will die if they do, while she will simply resurrect again. Then, she disappears to her lair and the entire bar transforms into hostile redcaps. If the party agrees to walk away, Ethel disappears, but the bar does not turn hostile. If the party attempts to deal with Ethel by stating “make me an offer,” then Ethel only deals with the party if they didn’t kill her during Save Mayrina. Otherwise, she says they lost that privilege when they killed her.
If the party killed Lora and agrees to stay out of Ethel’s business, she agrees to fight alongside the party in the final battle and is added to Gather Your Allies. She also provides 6000 gold for “her favorite mommy-killer.” She states that this deal is only in place if the party stays away and doesn’t go after her.
The Hag’s Basement
Entrance to the hag’s door.
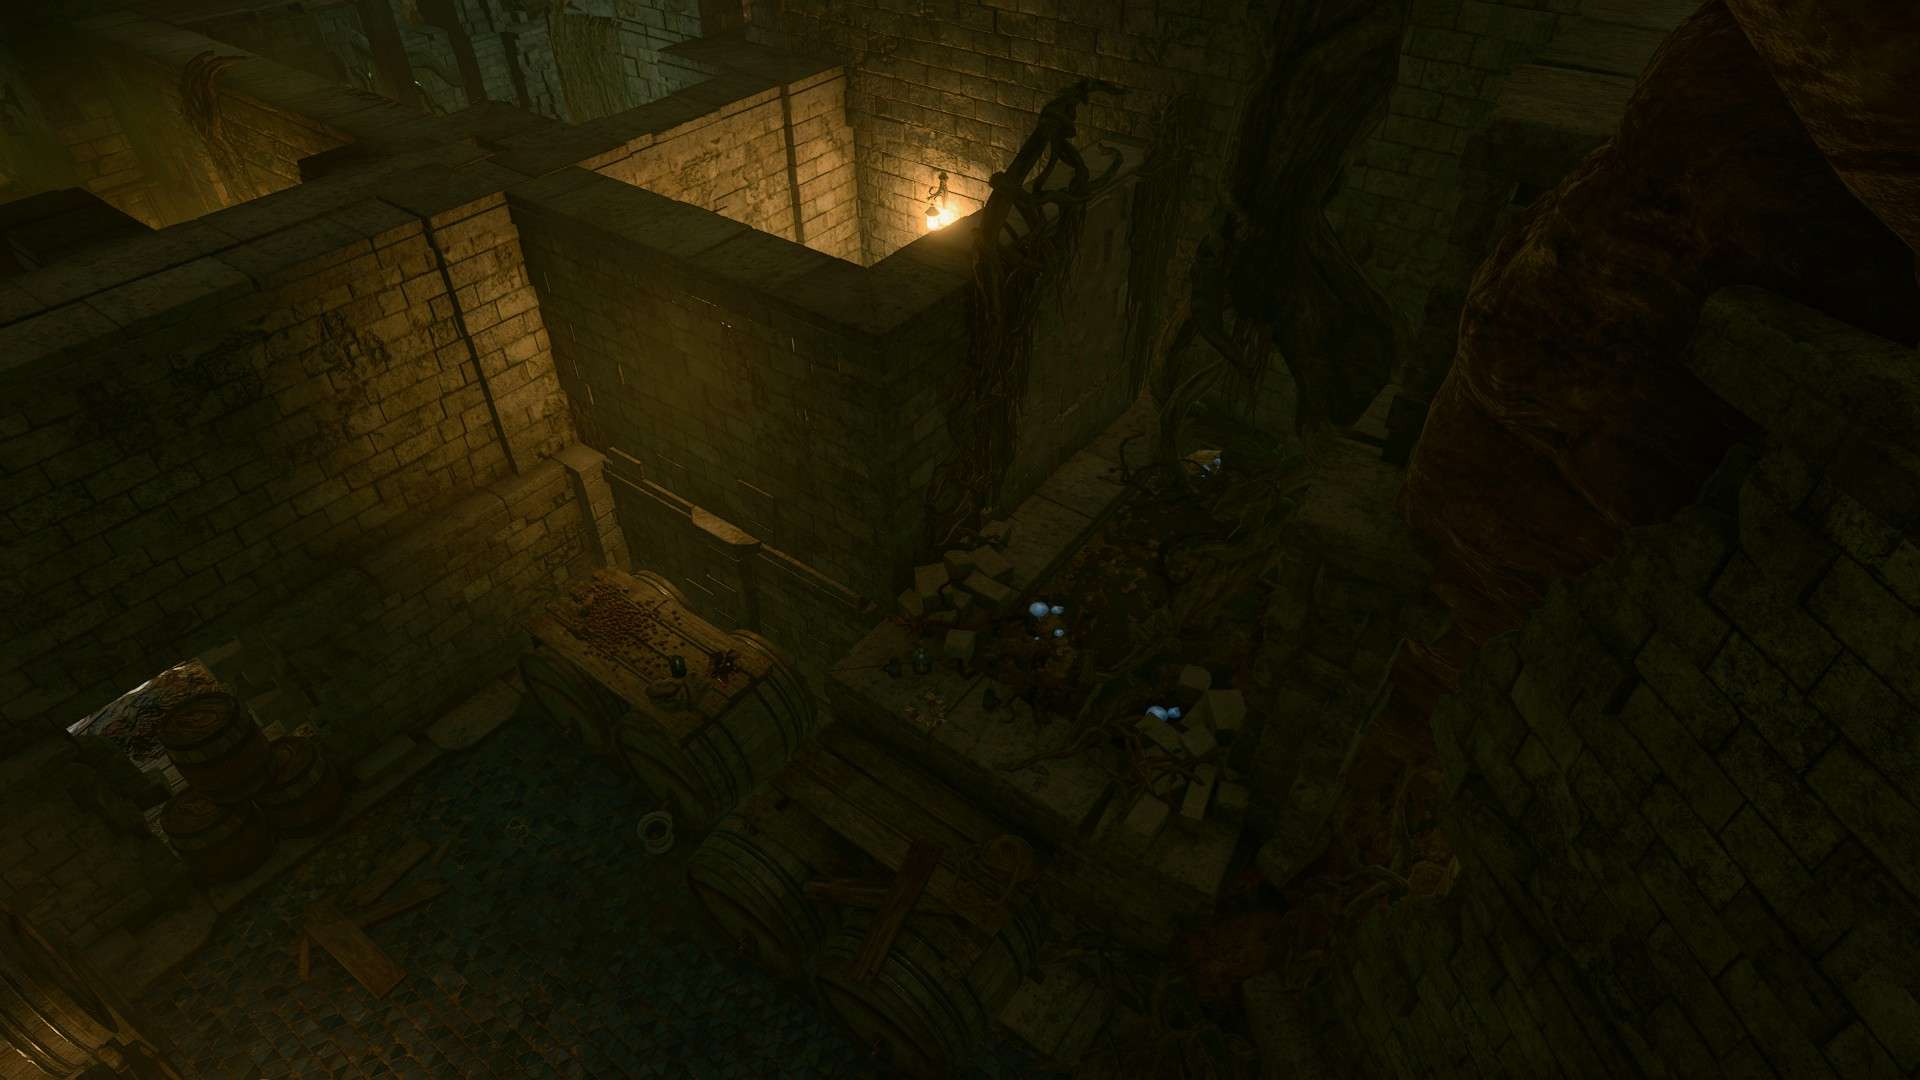
The Hag’s basement can be found by entering either the old oak door near the entrance to the Blushing Mermaid or the cellar door down the stairs in the same room Grisly was wandering. Jumping up on top of the alcohol barrels and moving towards the small passage starts an Investigation check.
Succeeding reveals that the wall is an illusion that the party can simply walk through, climb down a ladder, and through a set of double doors that can be unlocked with Auntie Ethel’s Lair Key or by lockpicking the door.
Hag Basement map.

The wooden wall door.
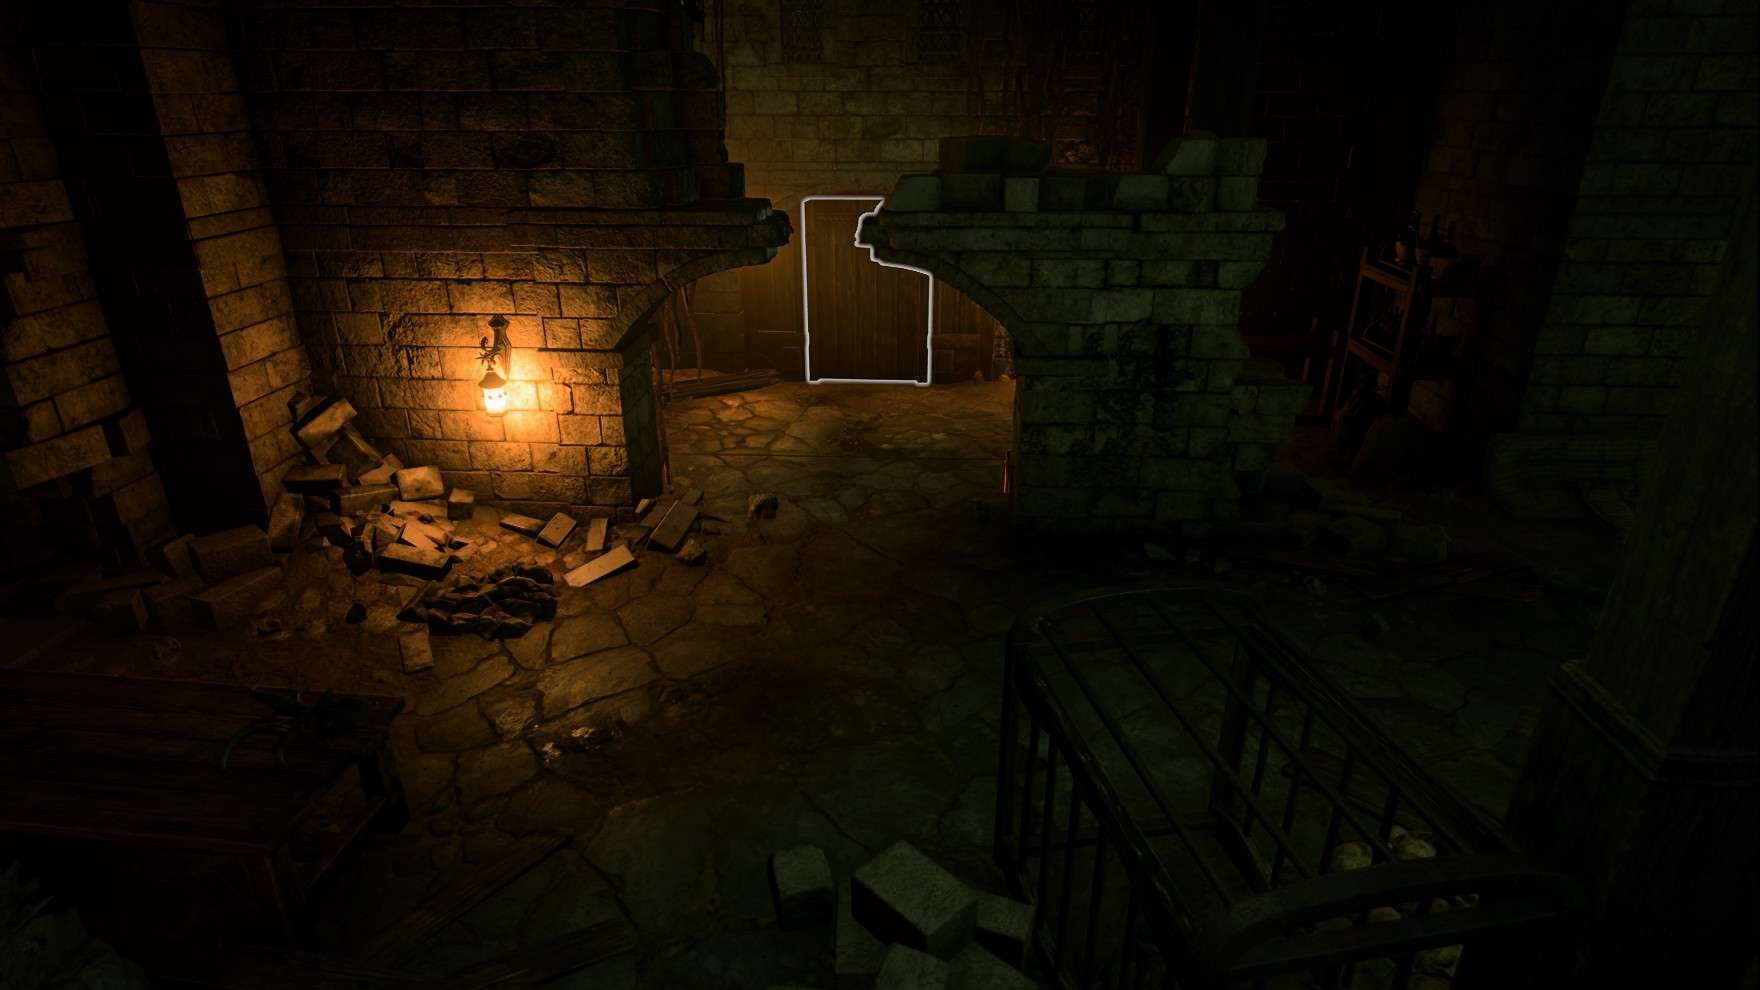
To the north of the double doors are several explosive traps, as well as four masked victims that instantly become hostile if they detect the party. If the party instead moves west towards a door in the wooden wall (DC20), they can avoid fighting these victims.
Continuing past the wooden wall, the party encounters Ethel, if her identity was revealed. She becomes hostile and tells the party to die. If Ethel did not reveal herself, then this area is empty, allowing the party time to investigate. In this instance, Ethel does not appear unless the party attacks and destroys one of her Pearlspore Bells.
Using Hag’s Bane
Hag’s Bane can be crafted using Alchemy. It requires one Essence of any kind and the Ashes of Dried Fey Flower found in the safe during Help the Hag Survivors. When fighting against Ethel, throwing the Hag’s Bane at her gives her the condition Nauseous and she throws up Vanra. Using the potion must be done before Ethel is defeated, otherwise Vanra dies.
Pearlspore Bells
The pearlspore bells that must be destroyed.
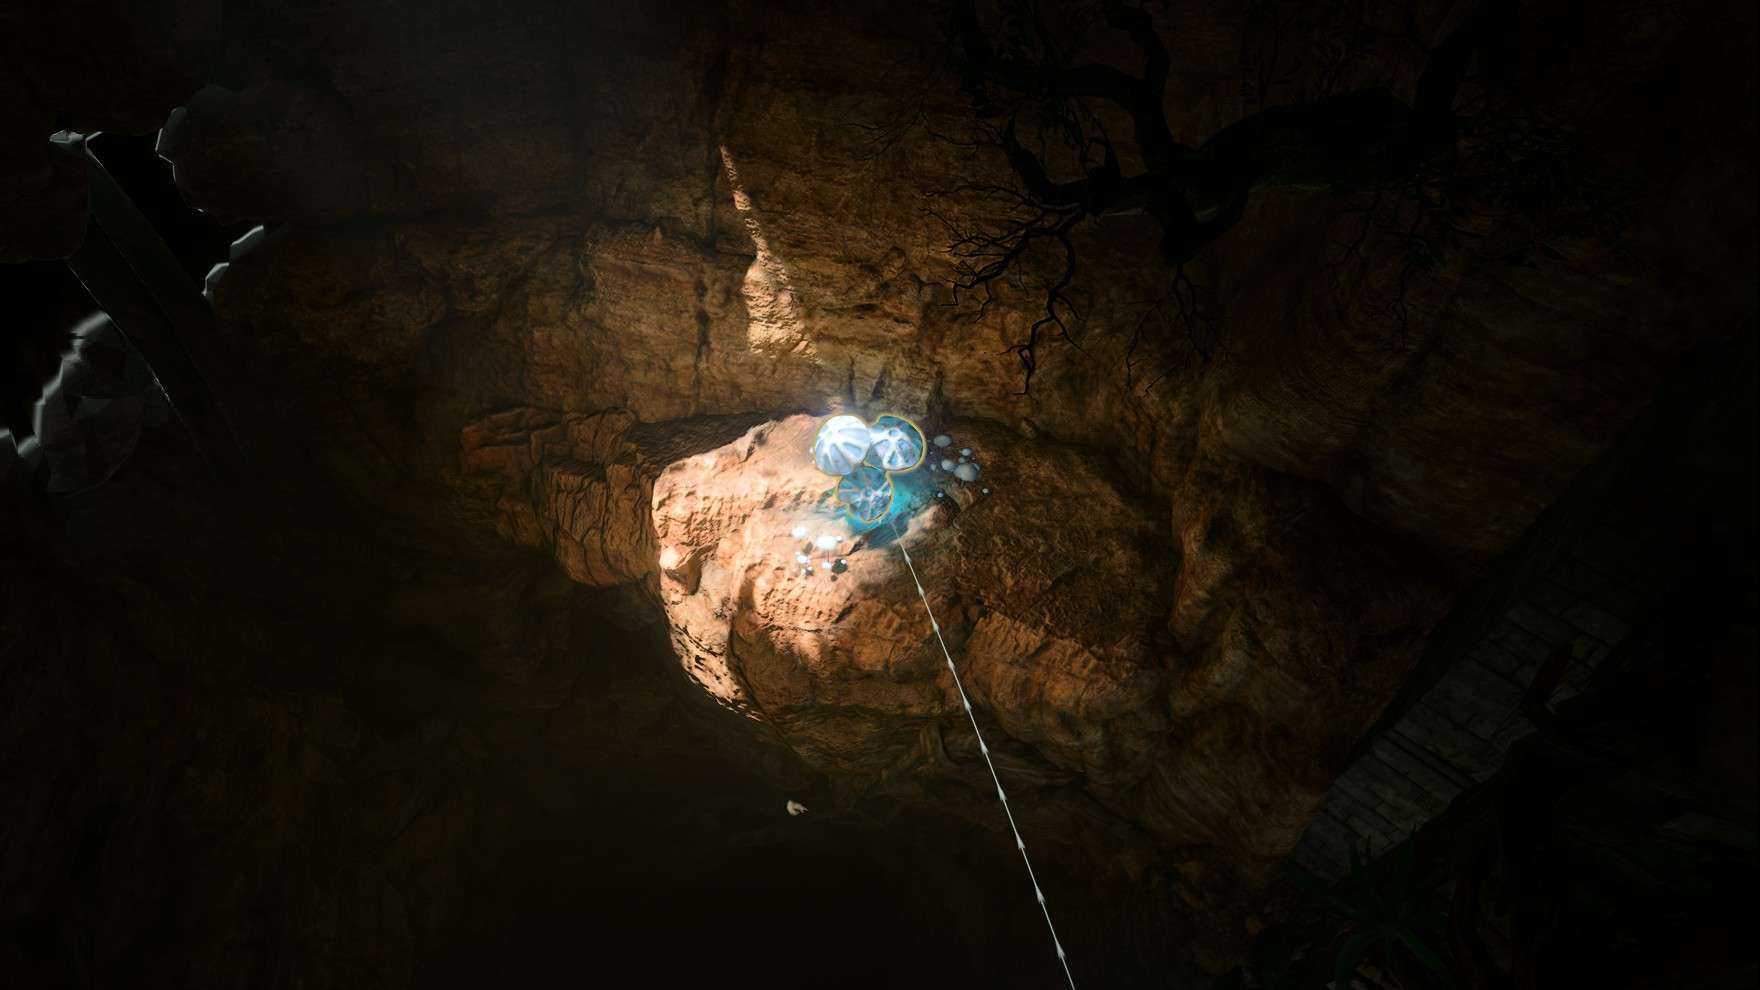
Within the Hag’s basement, there are three Pearlspore Bells. These bells are the source of Ethel’s life force, and keep her from permanently dying. Unless all three Bells are destroyed, Ethel continues to resurrect herself. The Bells also heal themselves during their turn, if they are not destroyed before that.
There are three Pearlspore Bells:
- On a cliff near the southeast corner of the room (X:-2307, Y:-116)
- In the northeastern corner of the room (X:-2320, Y:-92)
- On a cliff in the northwestern corner of the room, north of the gilded chest (X:-2351, Y:-96)
- Each of them has the “Healing Pearl” status and 55 HP.
Cutting Out Vanra
If Hag’s Bane has not been crafted, then it is still possible to save Vanra by cutting her out of Ethel’s stomach. This is achieved by toggling non-lethal damage and defeating Ethel with fists or melee weapons. After Ethel is knocked out, there is an option to cut Vanra free of the hag.
Using the Hag’s Bane or cutting out Vanra results in Save Vanra being successfully completed.
Saving Grisly
Grisly will recount her experience with Ethel if she is saved.
The same as her last hag den, Ethel has a number of enthralled humans trapped with their masks. Most of these individuals are too far gone to properly save, and will simply mutter about their curses if Ethel is slain. However, there is one person who is able to be properly saved from the hag – the real Captain Grisly. Grisly, like the other servants, is forced to attack the party if they fight with Ethel.
However, if Grisly is left alive, then she is freed from Ethel’s influence and removes her mask. Speaking to her, she is immensely grateful to the party for liberating her, and states that the ‘Maid’s as much as the party’s home as hers.
Quest Rewards
- Fey Semblance Amulet

Be the first to comment