
This guide will demonstrate how to adjust the visuals in Company of Heroes 3 to be clearer, brighter and more colorful using Nvidia ingame filters.
Note: Only applies to those with Nvidia graphics cards!
Contents
Disclaimers
Сrеdit gоеs to PRAAAISE GERALDO !
Using Nvidia filters may adversely affect your performance! You may want to lower your graphics settings before using filters.
Using Nvidia filters is not cheating and is perfectly safe in both offline and online play!
Before we can start you need to make sure you have Geforce Experience installed, if you do not, Google “geforce experience download” and install it from the first result.
Once ingame, confirm that you have the overlay enabled by pressing Alt+Z by default. If the overlay doesn’t appear, make sure that the ingame overlay is enabled in Geforce Experience > Settings > General.
The ingame filters can be accessed from the left of the overlay. Alternatively, press Alt+F3 by default to directly go to filters without opening the overlay first.
Applying the “Brightness/Contrast” Filter
With the filter overlay open, select one of the three slots and click on “Add filter”. Select “Brightness/Contrast” from the menu.
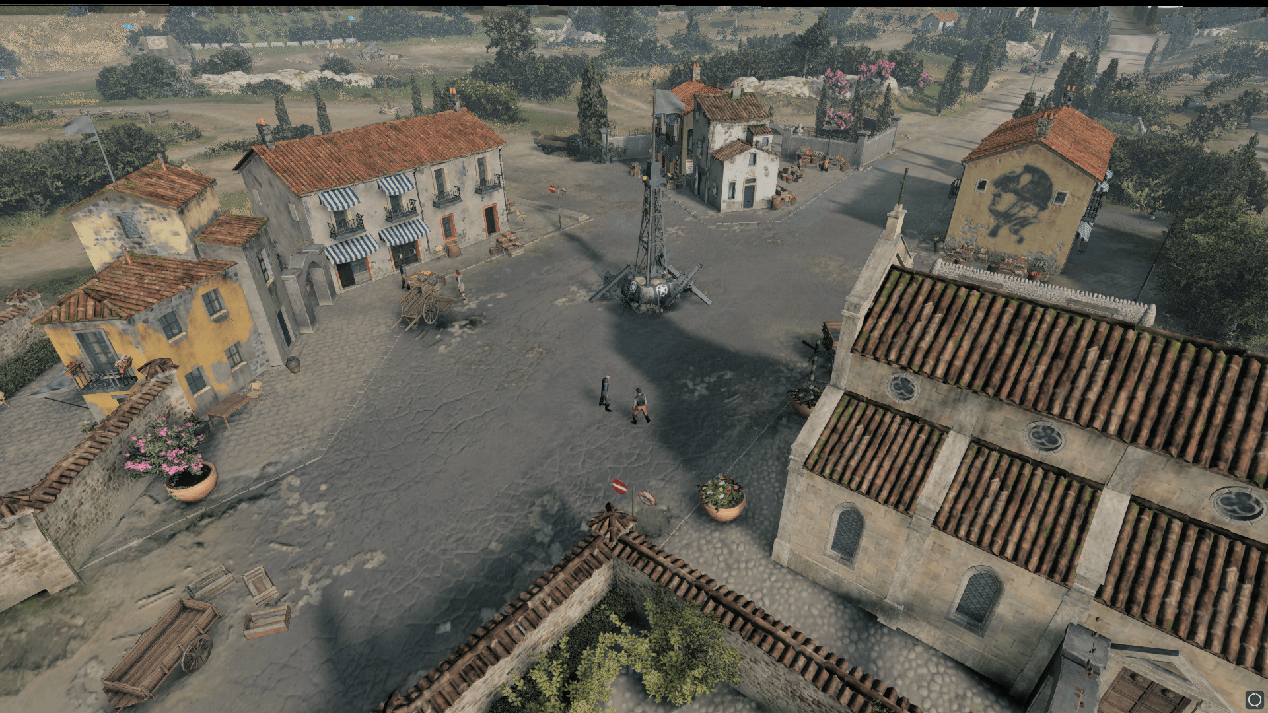
Before we start applying filters, let’s have a look at the original visuals of the game. This is Pachino on medium settings.
With the filter overlay open, select one of the three slots and click on “Add filter”. Select “Brightness/Contrast” from the menu. Set Exposure to 35, Contrast to 35, Highlights to 35, Shadows to -10 and Gamma to -20.
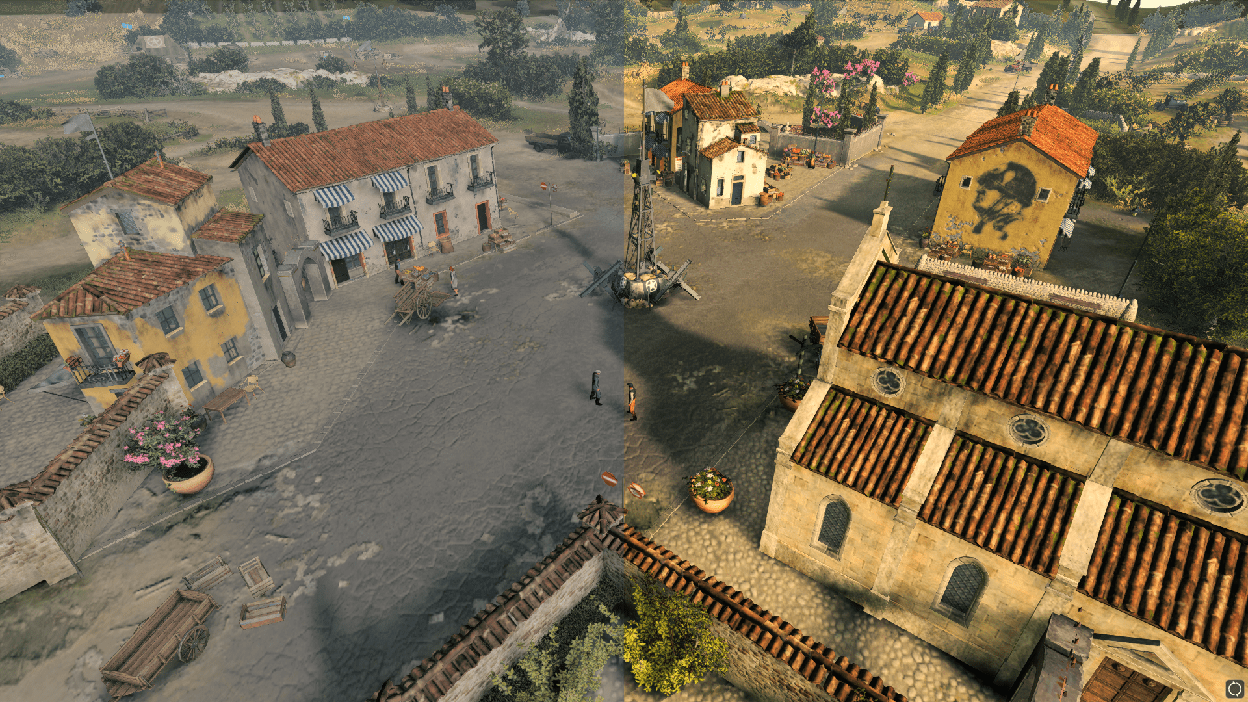
I’m using the “Splitscreen” filter to showcase the differences with altered visuals on the right. Already there’s a noticeable difference in brightness and clarity of the image.
Note: Oftentimes Nvidia filters have a problem with setting specific values. As long as you’re within a couple of numbers of the value I suggest, you should be good. Also, the values you might want to use likely differ from mine based on your monitor, graphics settings and personal preferences. Feel free to play around with the values to achieve the results you find best.
Applying the “Color” Filter
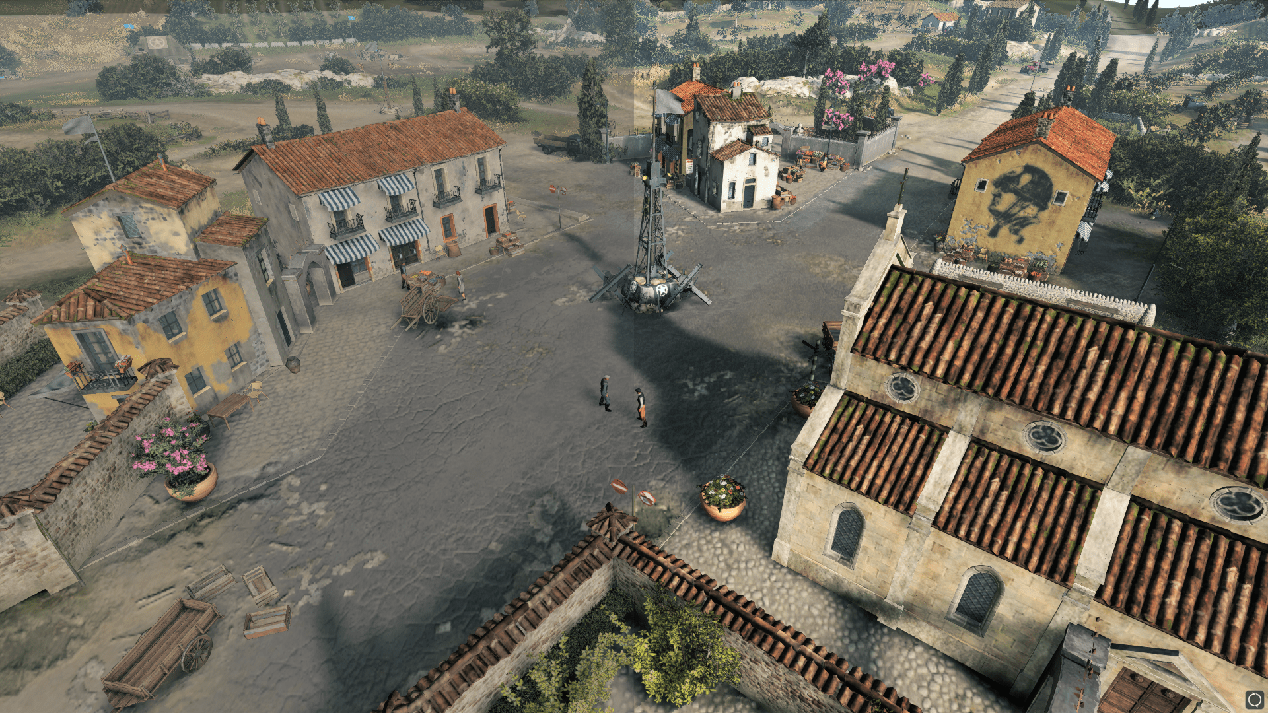
Next add the “Color” filter. For now, set the Vibrance to 20 and the rest to 0.

Now the right looks even better with sharper colors. You also might want to adjust the Temperature option. Setting the Temperature to 20 fits the Mediterranian and African settings.
Alternatively setting the Temperature to -5 makes the image seem clearer.

Conclusion
This is the final result I use myself.


Be the first to comment