
Tips to get past all traps, and solutions to all trapped puzzle rooms!
Contents
Basics
Сrеdit gоеs to AveryHyena !
- A map is what you select from the lobby and determines the exterior of the tomb and tomb variation.
- A tomb variation is what determines the unique appearance and features of the interior of the tomb.
- A trap is one of the many threats you will face in a tomb that may already be active or activated by an explorer’s presence to damage or hinder them in some way. They may appear in rooms or corridors.
- A trapped puzzle room is a single room which usually contains some type of puzzle or challenge, that when overcome, rewards the player with a lot of gold, and potentially a rare artifact, a lore page and/or a canopic jar.
Some traps are generic and can appear in multiple different tomb variations, but most are unique.
Generic Traps
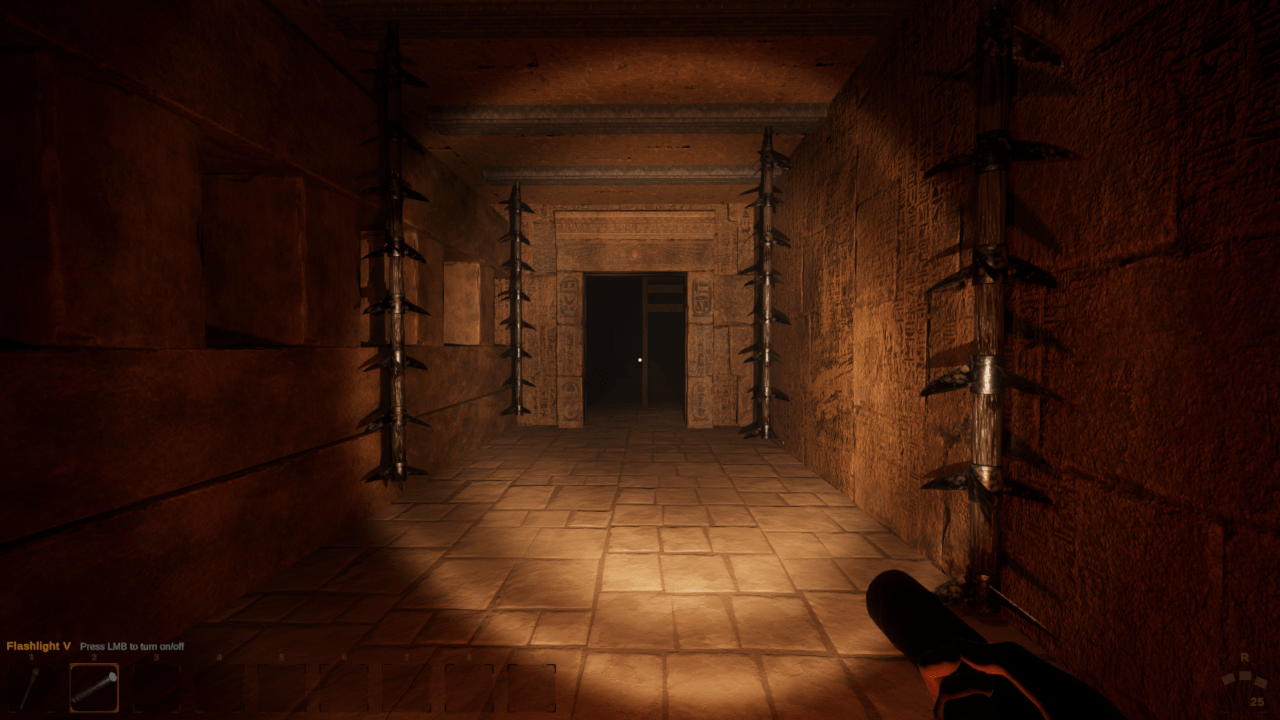
Fireball Pillars

These can spawn in variations 1, 2 and 4. These have a random chance to activate and saturate the surrounding area with fireballs. The size and position of this pillar may change, but it is always the same shape with red glowing hieroglyphs.
Pits
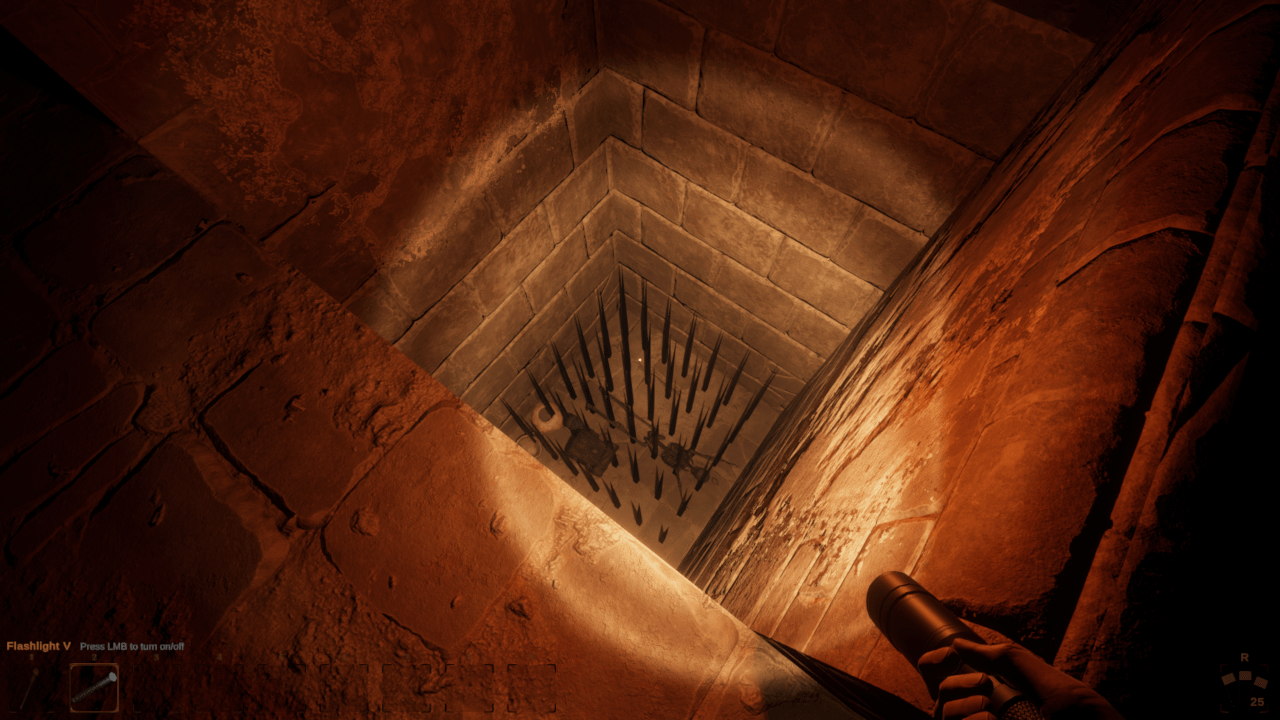
Variation 1 and 2 has spike pits and variation 4 effectively has the same that are filled with water instead of spikes, (you just die slower).
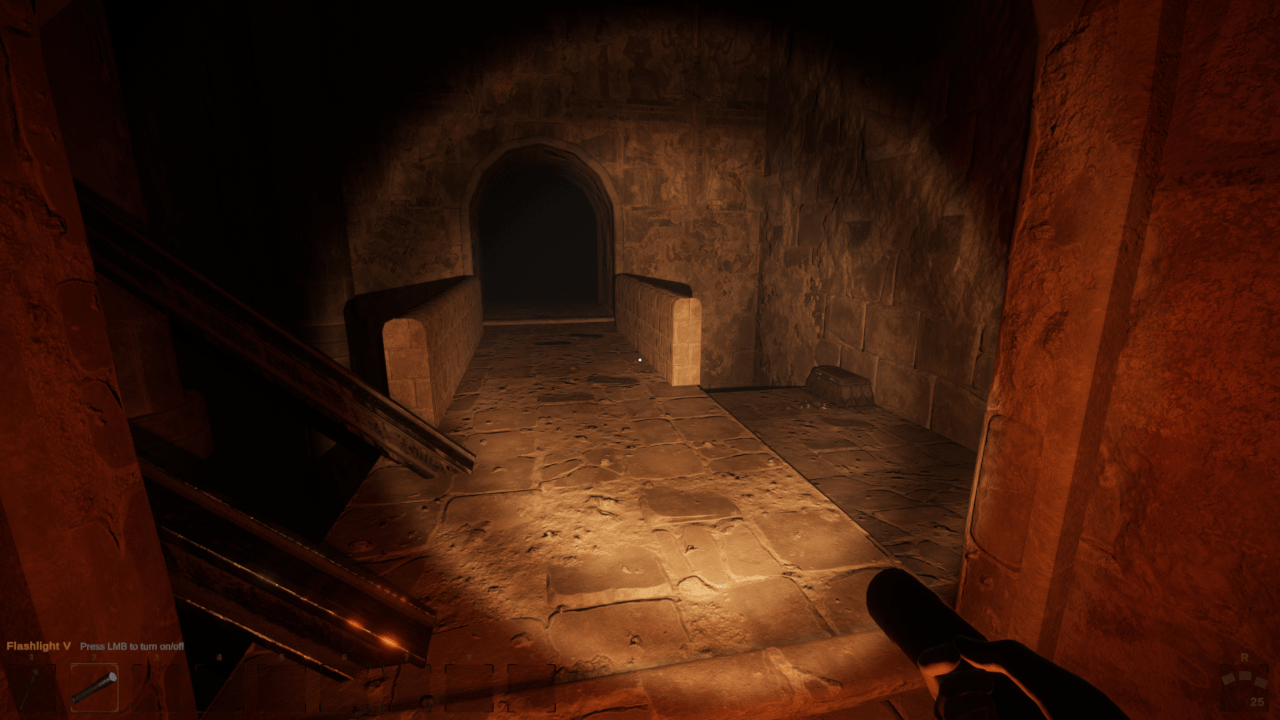
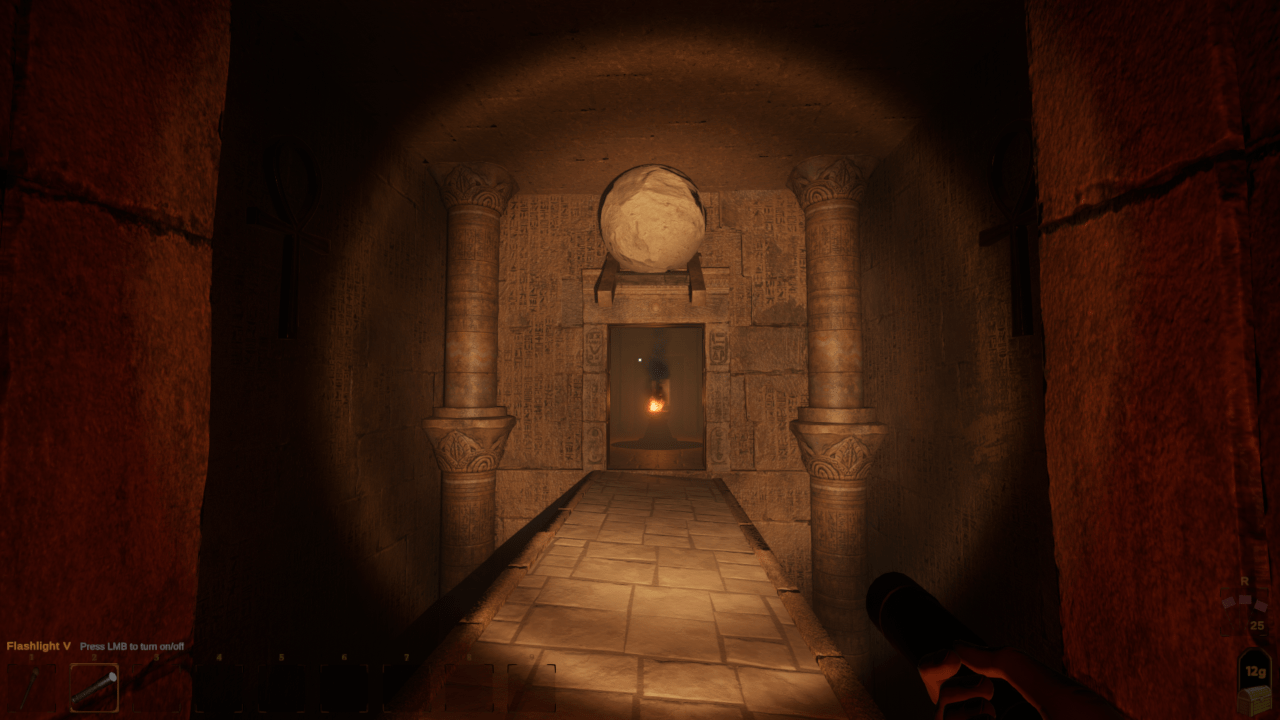
Tomb Variation 1 – Vanilla Tomb
Hidden Spike Trap Puzzle Room – Requires Metal Detector
This room is set up with a 4×4 grid. Only 4-7 of these tiles don’t produce a metallic signature and are safe to walk over. The safe tiles spawn in vertical pairs, so for example, if you find the first tile, the next safe one is always directly in front of it. After walking over the first two tiles, use the detector on the tiles in front and to the side, and walk sideways until you find the next two safe tiles.
Invisible Bridge Puzzle Room – Requires Tablet
This once unsolvable room has an invisible bridge over the gap that can only be seen through any mode of a tablet. The bridge always exists no matter if you can see it, so you can remember where it is or mark it with something (like a flag). This is the only trapped puzzle room to never spawn a rare artifact, however, lore pages can still spawn on the outer walls on the other side of the pit.
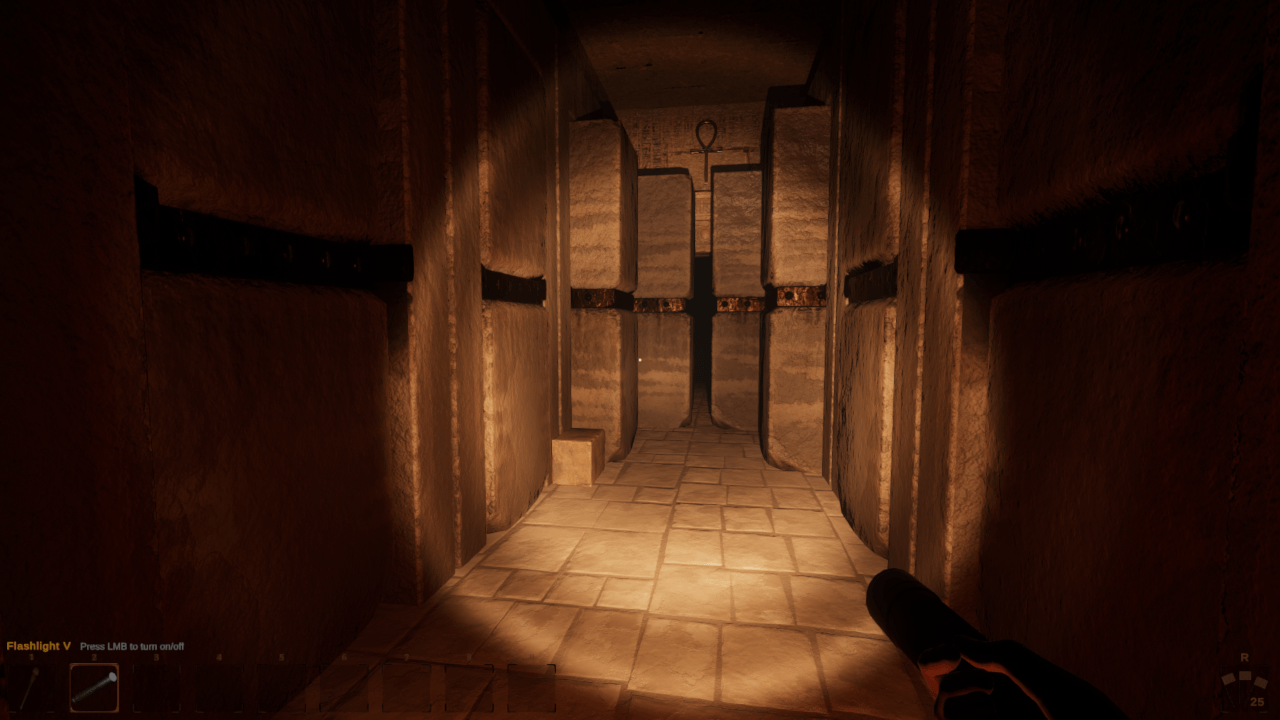
Swinging Axes
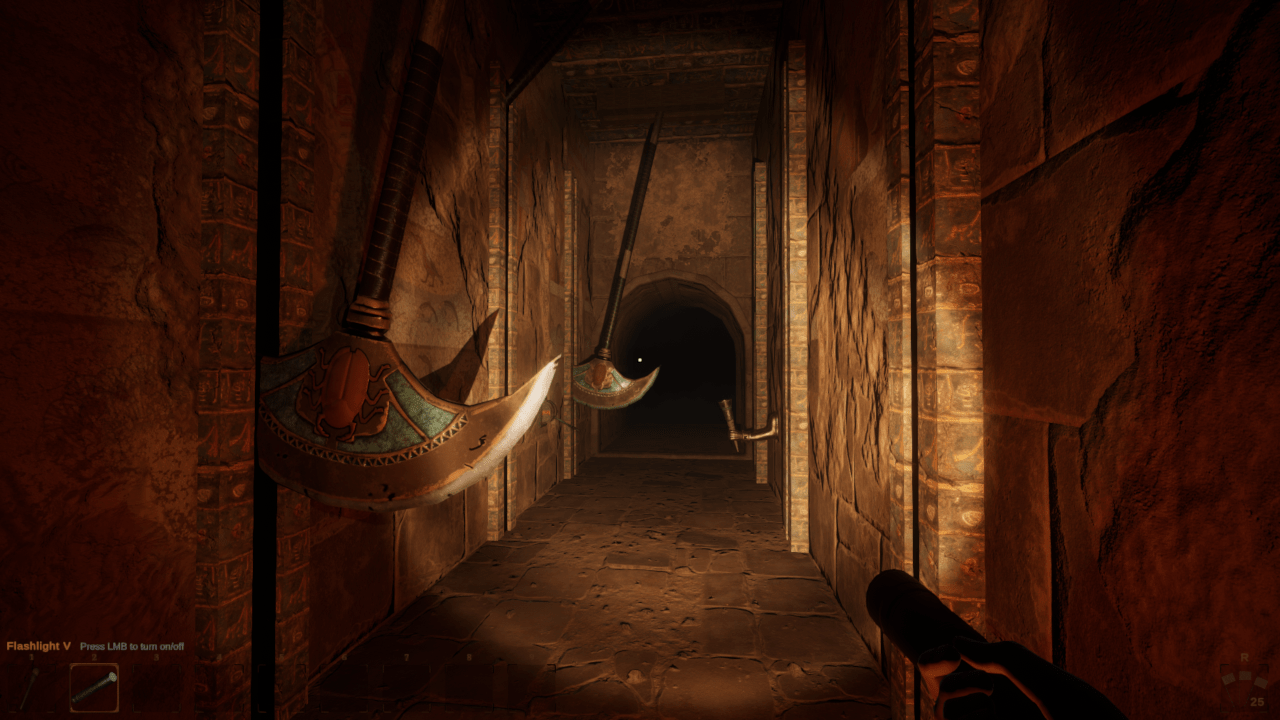
These axes activate when a random amount of time has elapsed after an explorer enters the corridor.
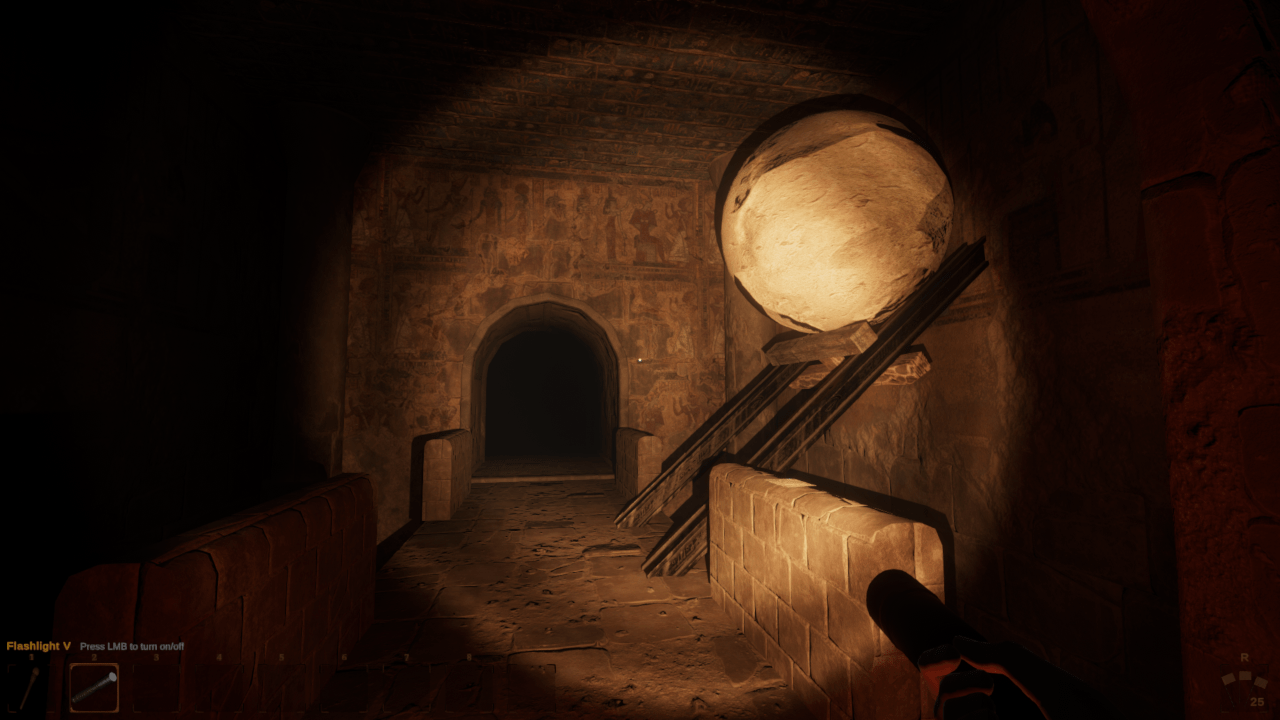
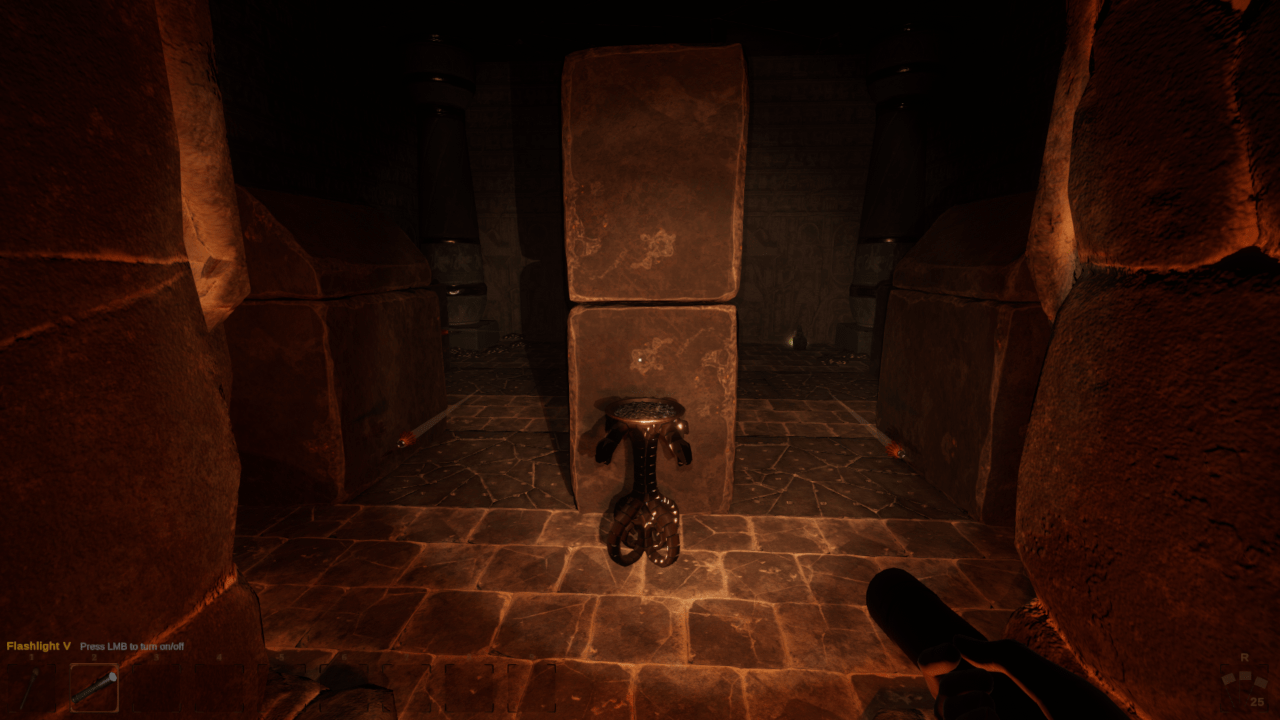
Treasure Bait Boulder Trap
To get any treasure by the edge, you have to drop off the ledge and quickly run back out. If the boulder doesn’t drop, keep attempting this while getting slowly closer to the treasure each time, as the trigger and timing for this trap to activate varies.
Horizontal Boulder Trap
The timing of this trap is also randomized, but you can always run through before the boulder drops if you’re fast enough.
Tomb Variation 2 – Snake Tomb
Snake Puzzle Room – Requires Geiger Counter
To avoid being burned by acid, go down the path with the least radiation. Reaching the other side by any means also releases the snake held nearby.
Doorway Boulder Trap
Similar to the boulder traps in variation 1, except these roll lengthways across the thin bridge over a large spike pit.
Small Moving Spike Logs
Fairly easy to dodge and can be passed without stopping.
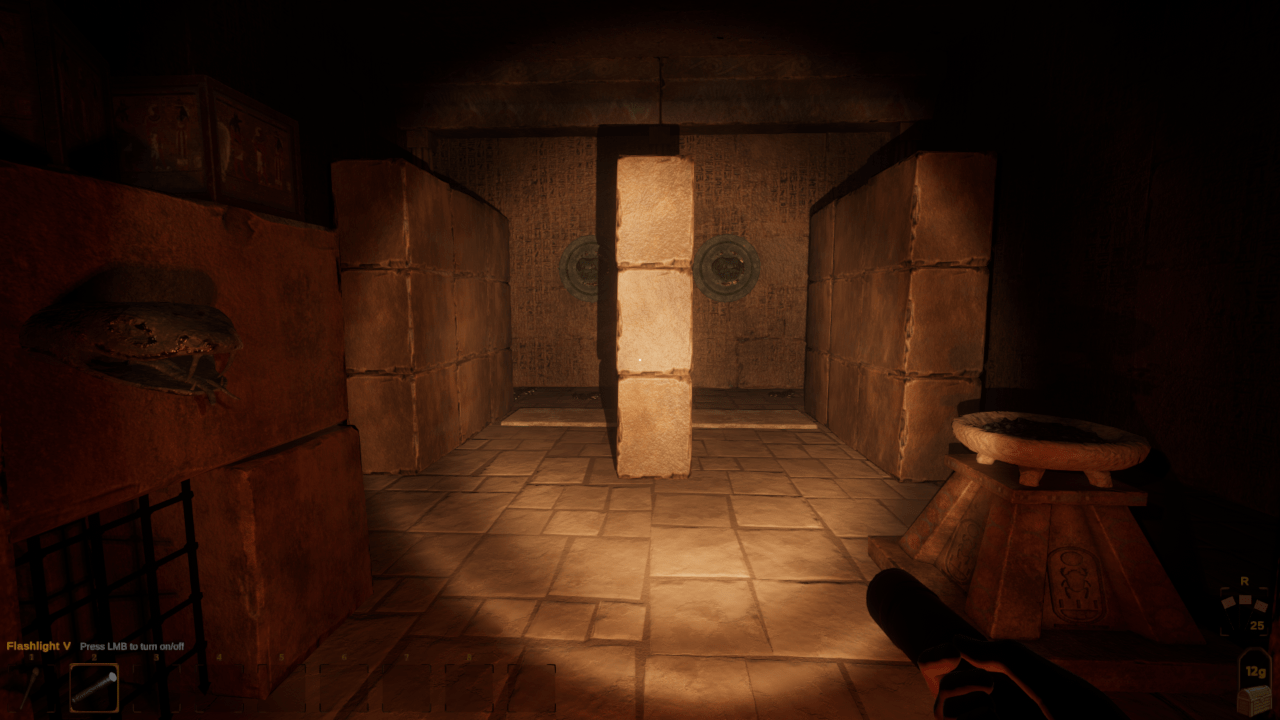
Crushing Walls
The timing is procedurally generated and occasionally includes a rare artifact and lore page halfway through. You can take a rest between the individual slabs.
Tomb Variation 3 – Sand-Spider Tomb
Dart & Hidden Spike Trap Puzzle Room (Requires Metal Detector)
Similar to the hidden spike room in variation one, you need a metal detector to find a safe way through hidden spike platforms. The difference is that in this trap, you also need to dodge darts. The darts being fired in your direction (not horizontally) can simply be sidestepped, there is enough room.
Dart Trap Bridge Maze Puzzle Room
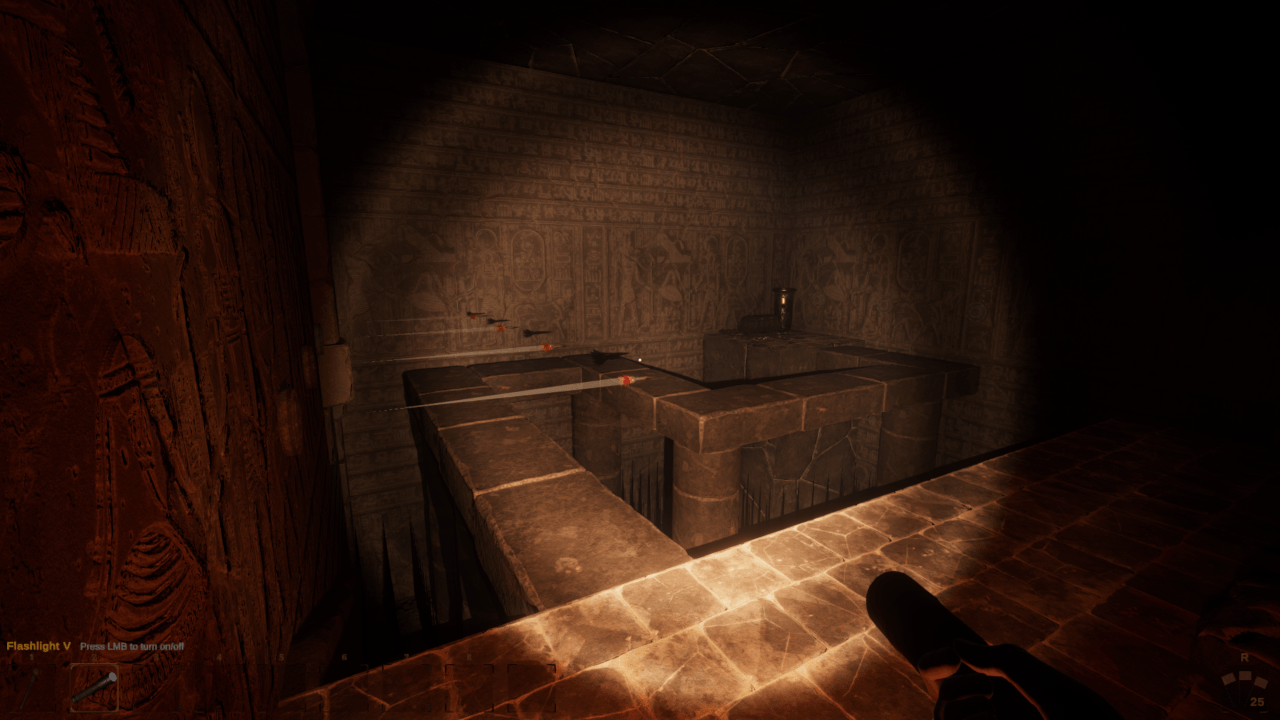
Just make your way across the bridge while dodging darts. The ones being fired along your path can be sidestepped similarly to the previous trap room.
Spider Nest (with spider filled sarcophagus)
Making your way to the other side of the room has a chance to spawn many spiders. No way to avoid this one if you want the gold on the other side.
Sand-Filled Hallway
Just slows you down, which makes certain Mejai a lot more dangerous. These hallways come in short and long versions. Gold can often be found along the edges of the hallway.
Swinging Chain Trap
Just don’t walk into the chains!
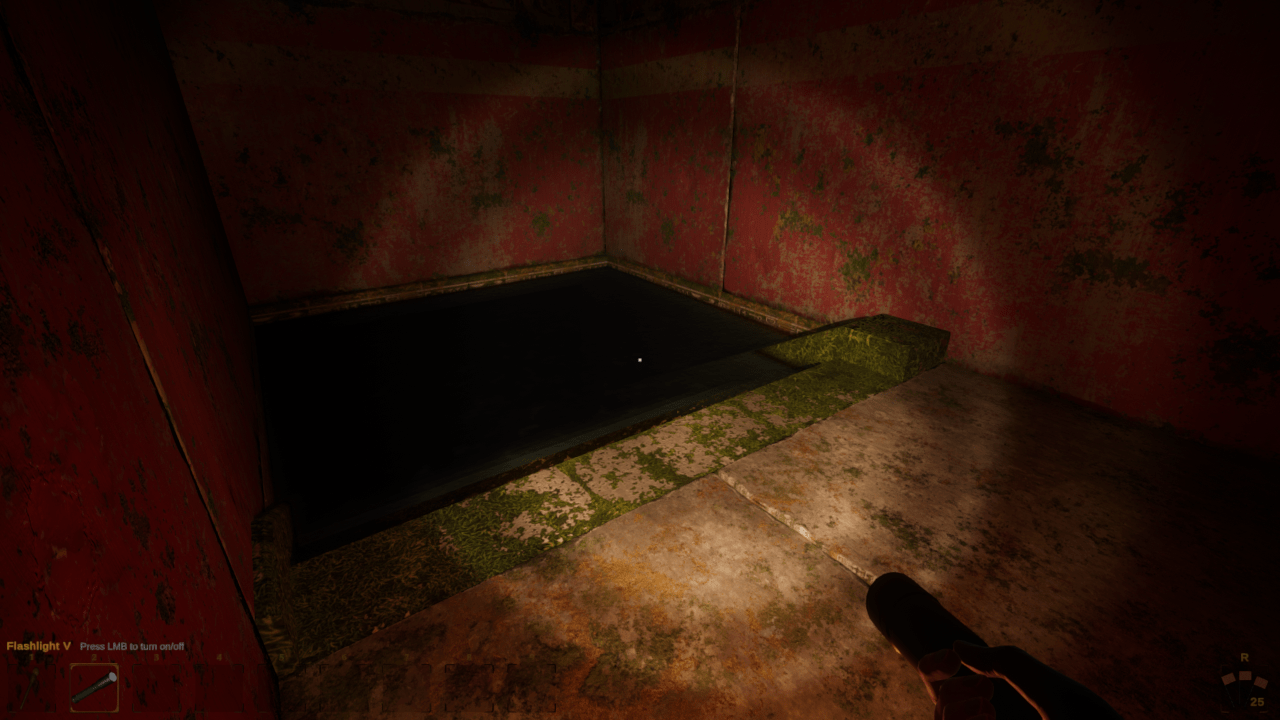
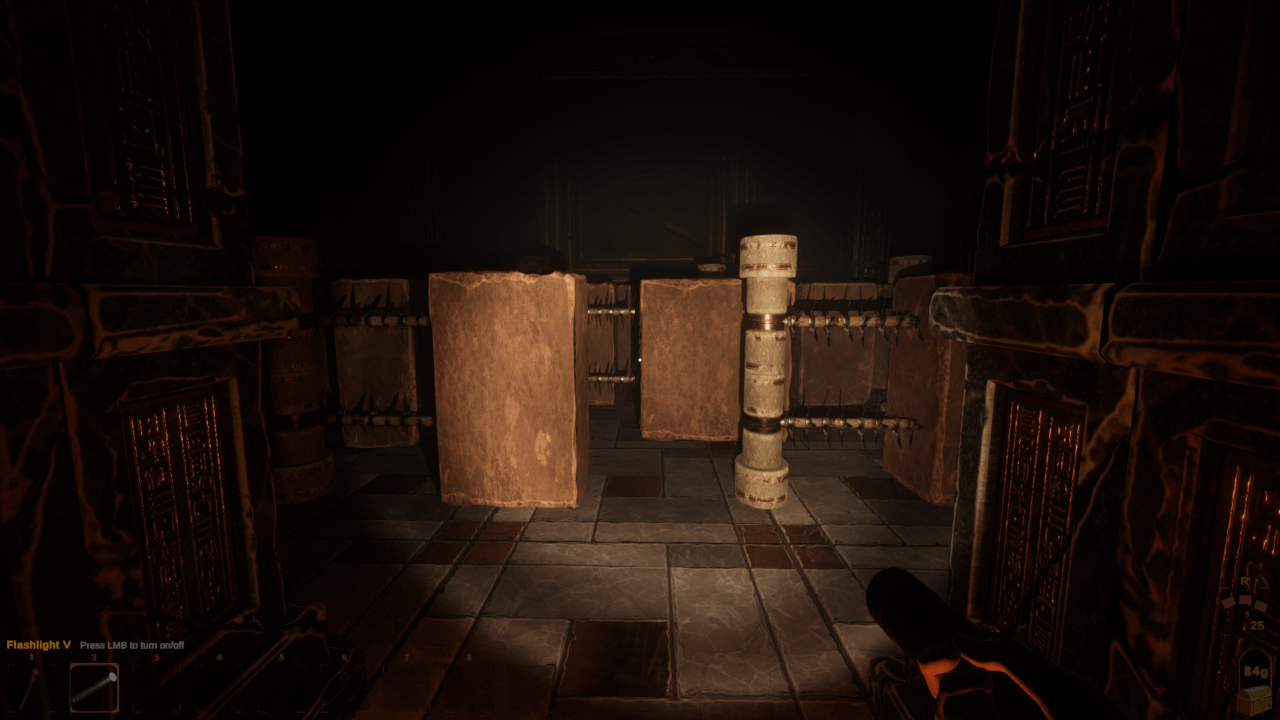
Tomb Variation 4 – Oasis
Stone Pushers with a Flooded Pit Puzzle Room (Total Wipeout)
Reach the other side without getting pushed off into the water! You will have more time to get to the next safe spot if you stand on the edge of the bridge (you can start moving sooner as the slab goes back into the wall). The last one is also free, it has extra flooring which makes it impossible to push you off.
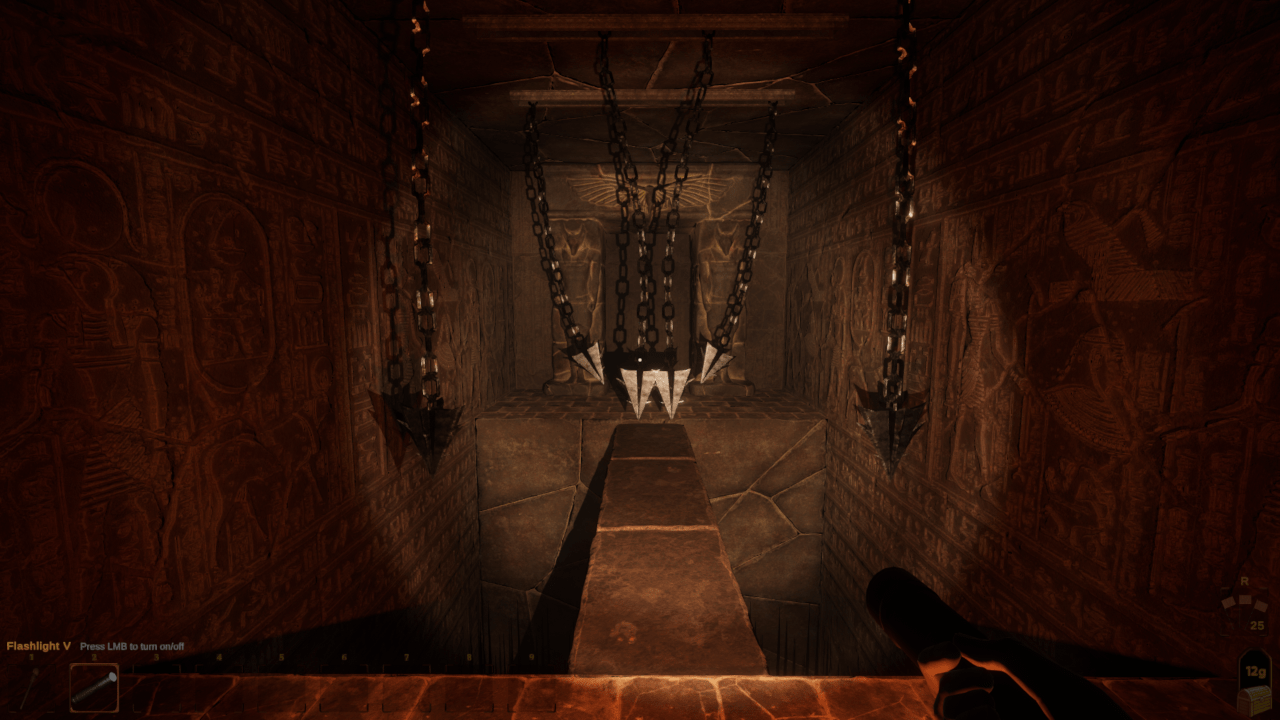
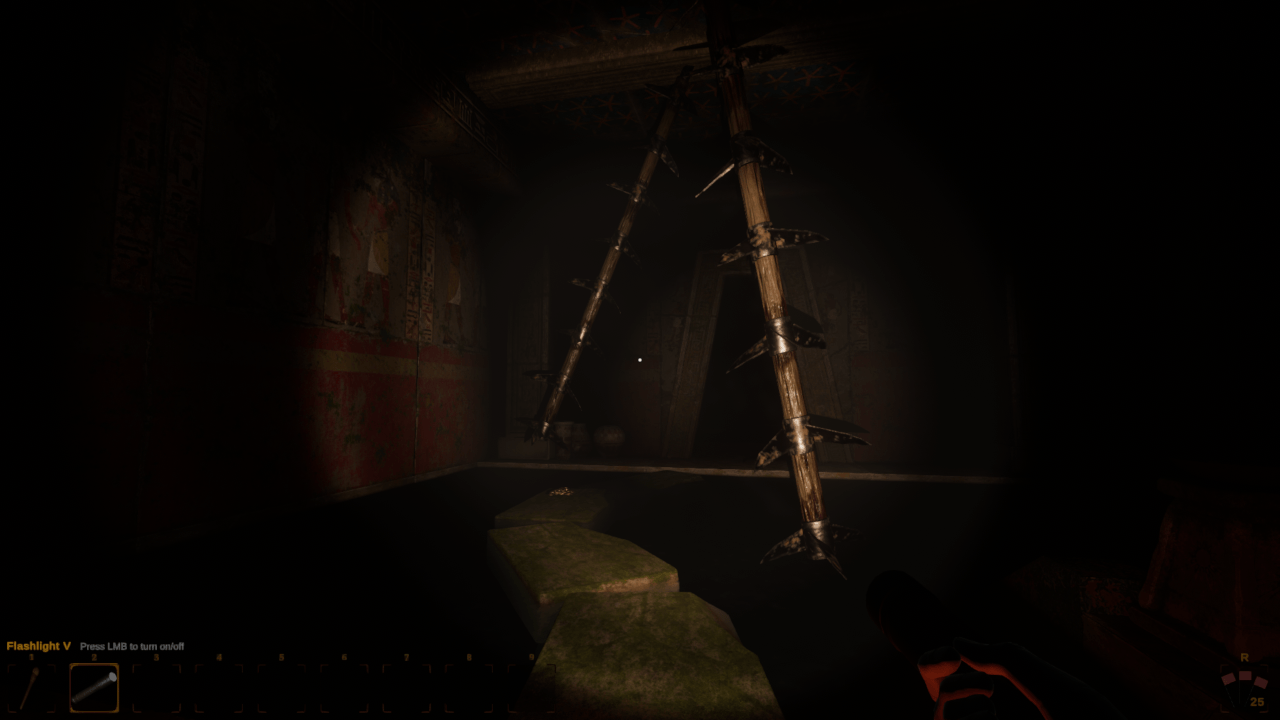
Spear Trap Gauntlet
A long cramped corridor with two sets of spear traps. Don’t get hit!
Large Moving Spike Logs

Just don’t get hit!
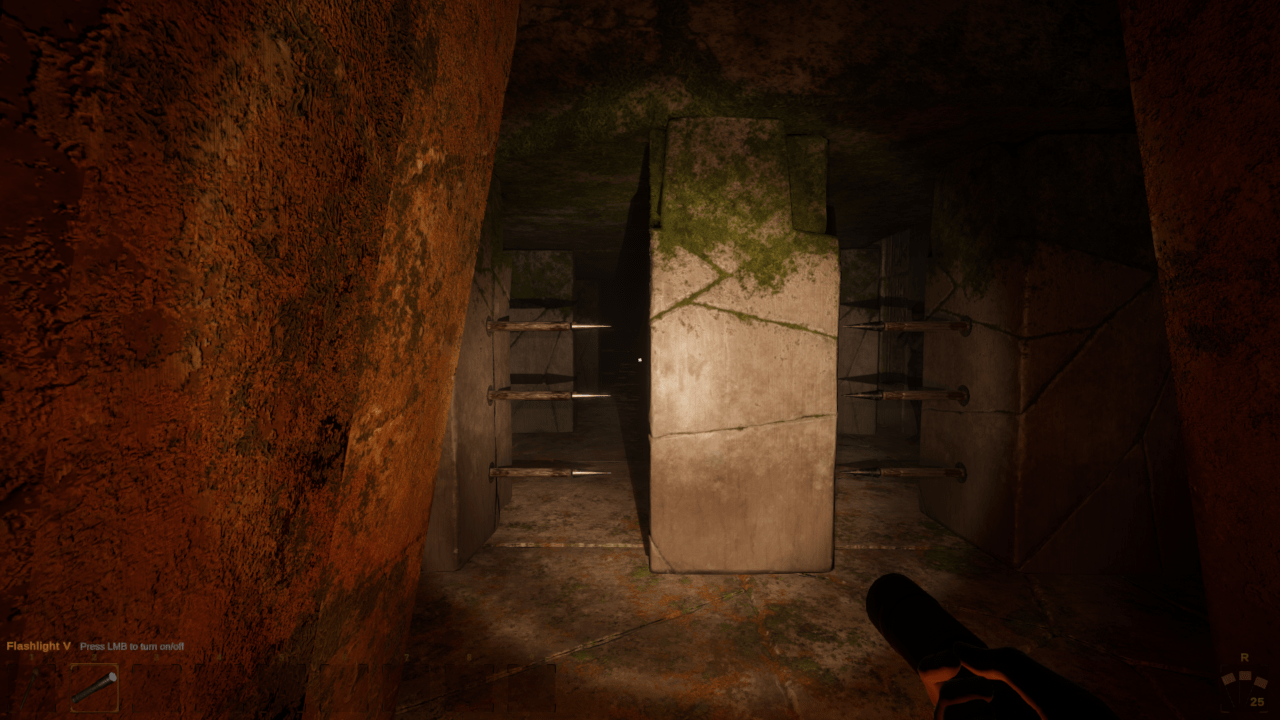
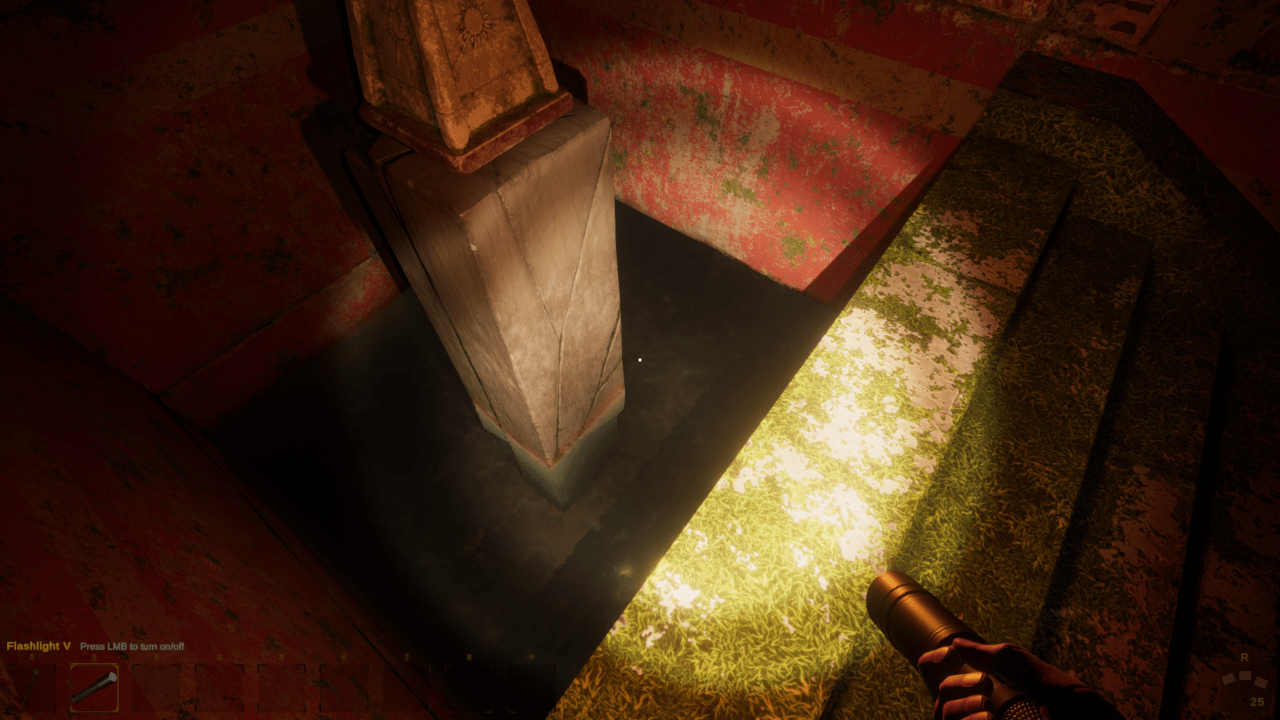
Central Spear Pillar Trap
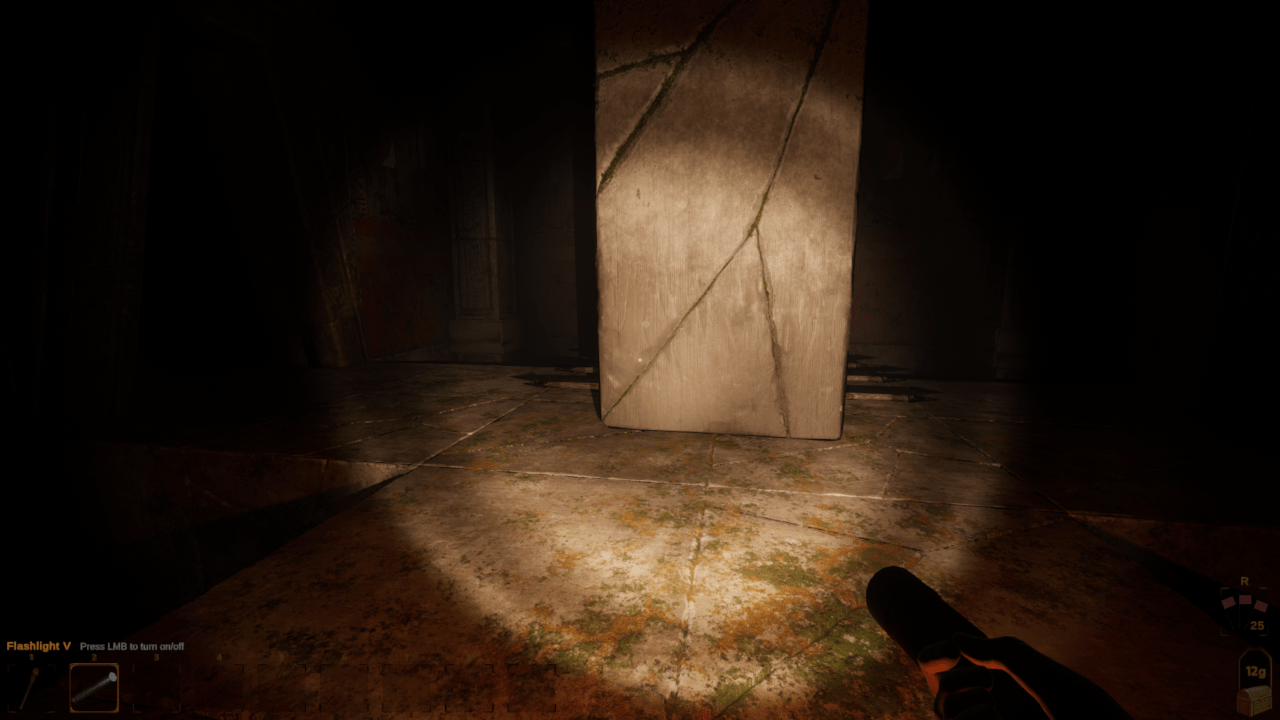
Try to avoid the spears coming out of the pillar at the center, but be careful you don’t fall down the pits in the corners of the room!
Swinging Spike Logs Over a Flooded Pit
Wait until the spike logs have swung over to the longest side, where they then pause, before continuing. This room can also spawn with no swinging spikes.
Flooded Passage I
This version of the flooded passage has a drop-down on the left and can be completed safely without draining the water.
Flooded Passage II
This version of the flooded passage is a long flooded corridor with spears and cannot be completed safely without draining the water. It appears as an additional objective when found.
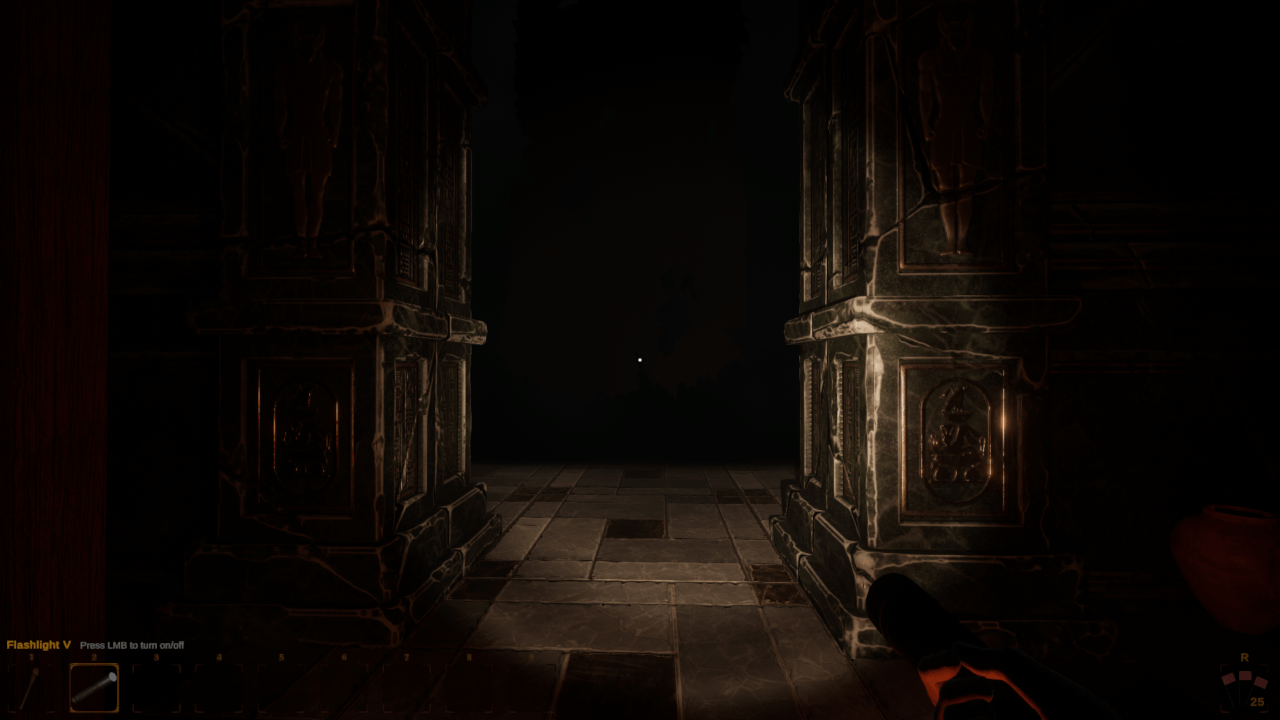
Tomb Variation 5 – Underground Palace
Spinning Blade Trap Puzzle Room
Dodge the blades and reach the other side! You can skip the entire first row of spinning spikes by hugging the righthand wall and going around.
Hanging Bodies
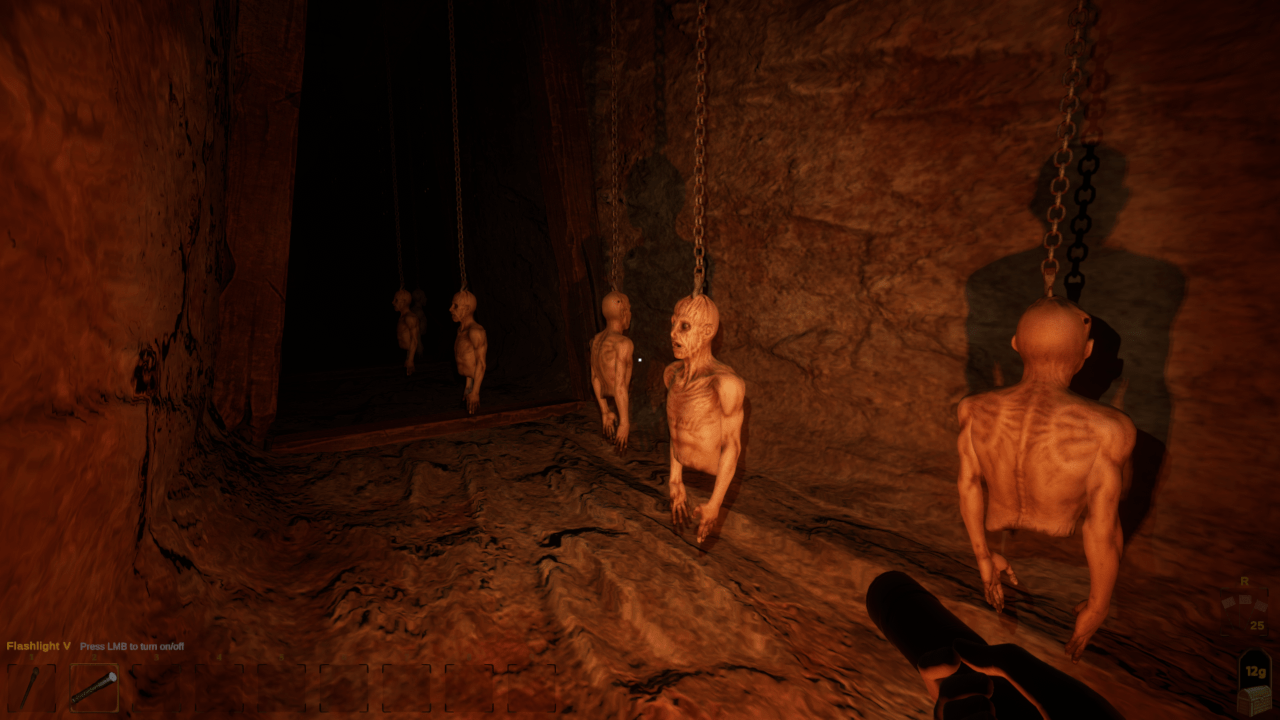
Just don’t get near them! They also cannot attack behind themselves.
Flaming Serpent Spinner

If you hug the inside of this trap, you won’t be hit by flames! The light produced by this trap also does not aggro Necreph or increase Rathos’ rage meter.
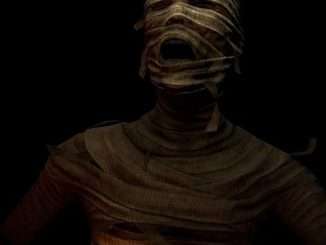
Nightmare Room
Collect all the gold (or as much as you want) before finding the red fabric on the floor that appears somewhere along the edge of the room to get out! Keep looking at the Amnesia Gatherer-type man chasing you to stop him from moving. This enemy is also client-side, so each player will only be able to be injured by their own version of him.


Be the first to comment