
This is a guide which will help you to get access and finish The Sewerage level.
Sewer Level Walkthrough
How to Get Access to The Sewerage
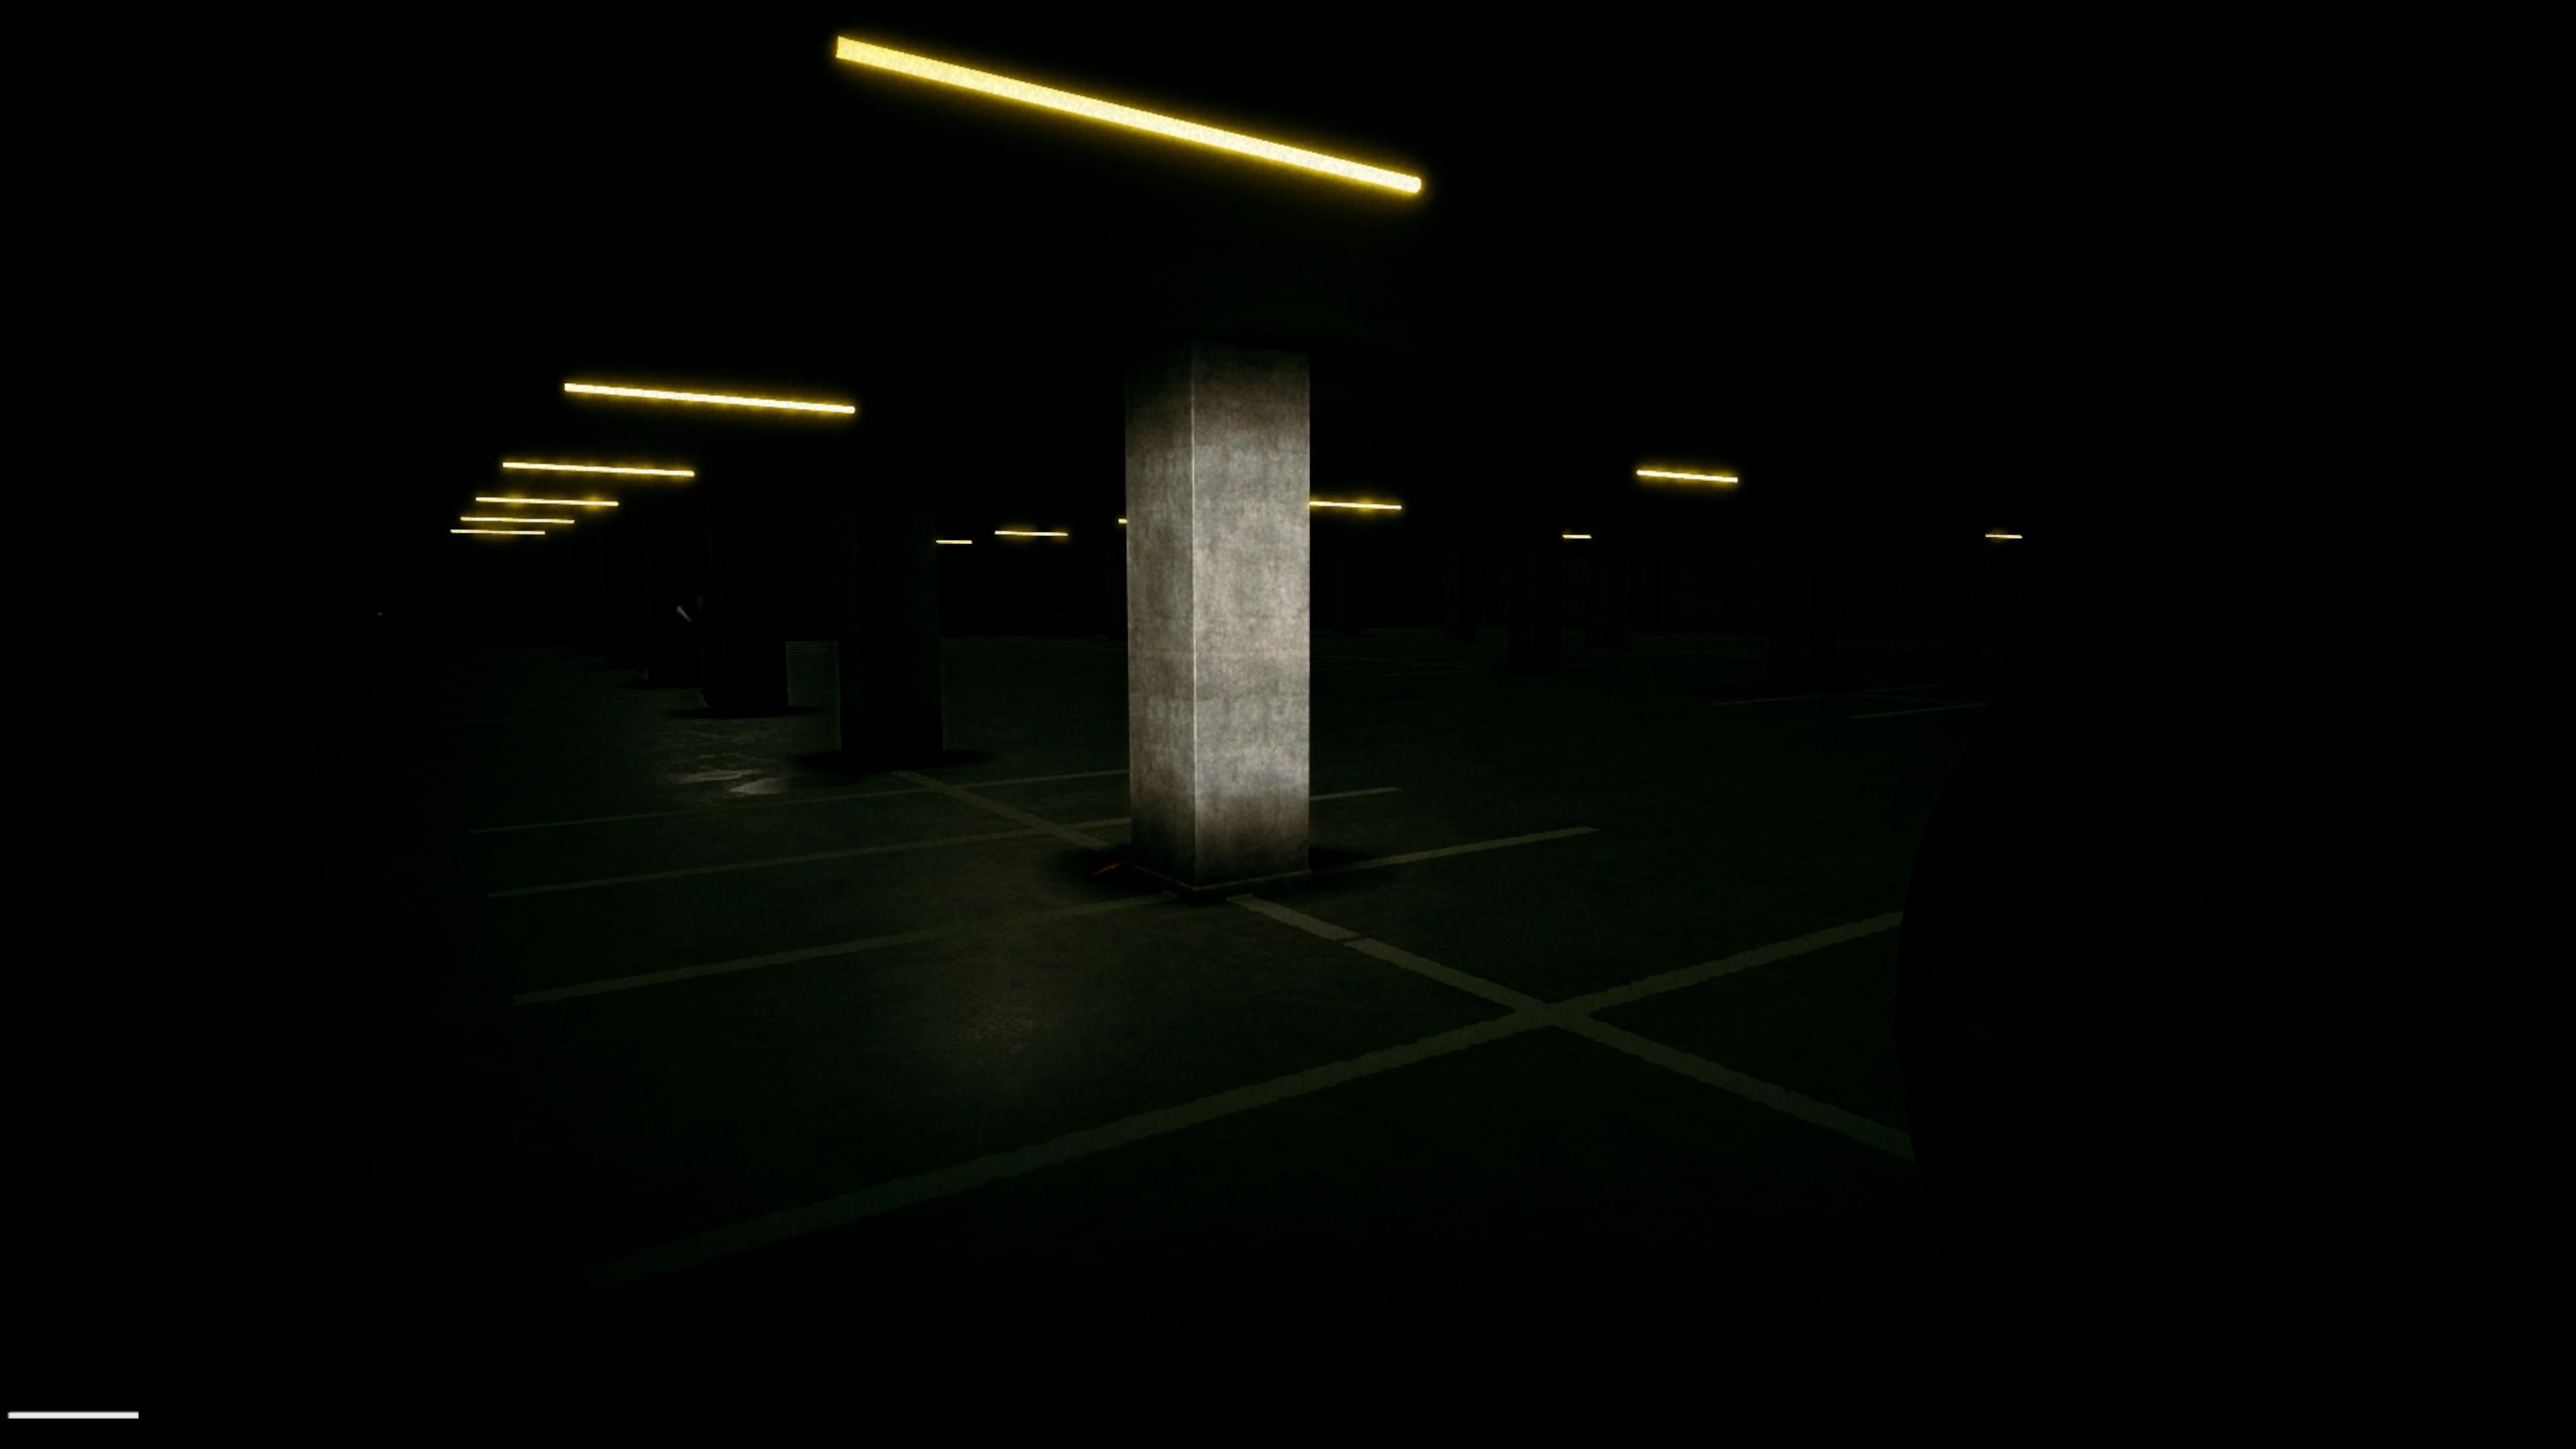
So after the party room, where you got the red card, leave the room and go back to the parking area.
On the right side from the party room is a door which can be opened by pressing the red button on the wall. Stand on this platform and the gate will open. Now jump down.
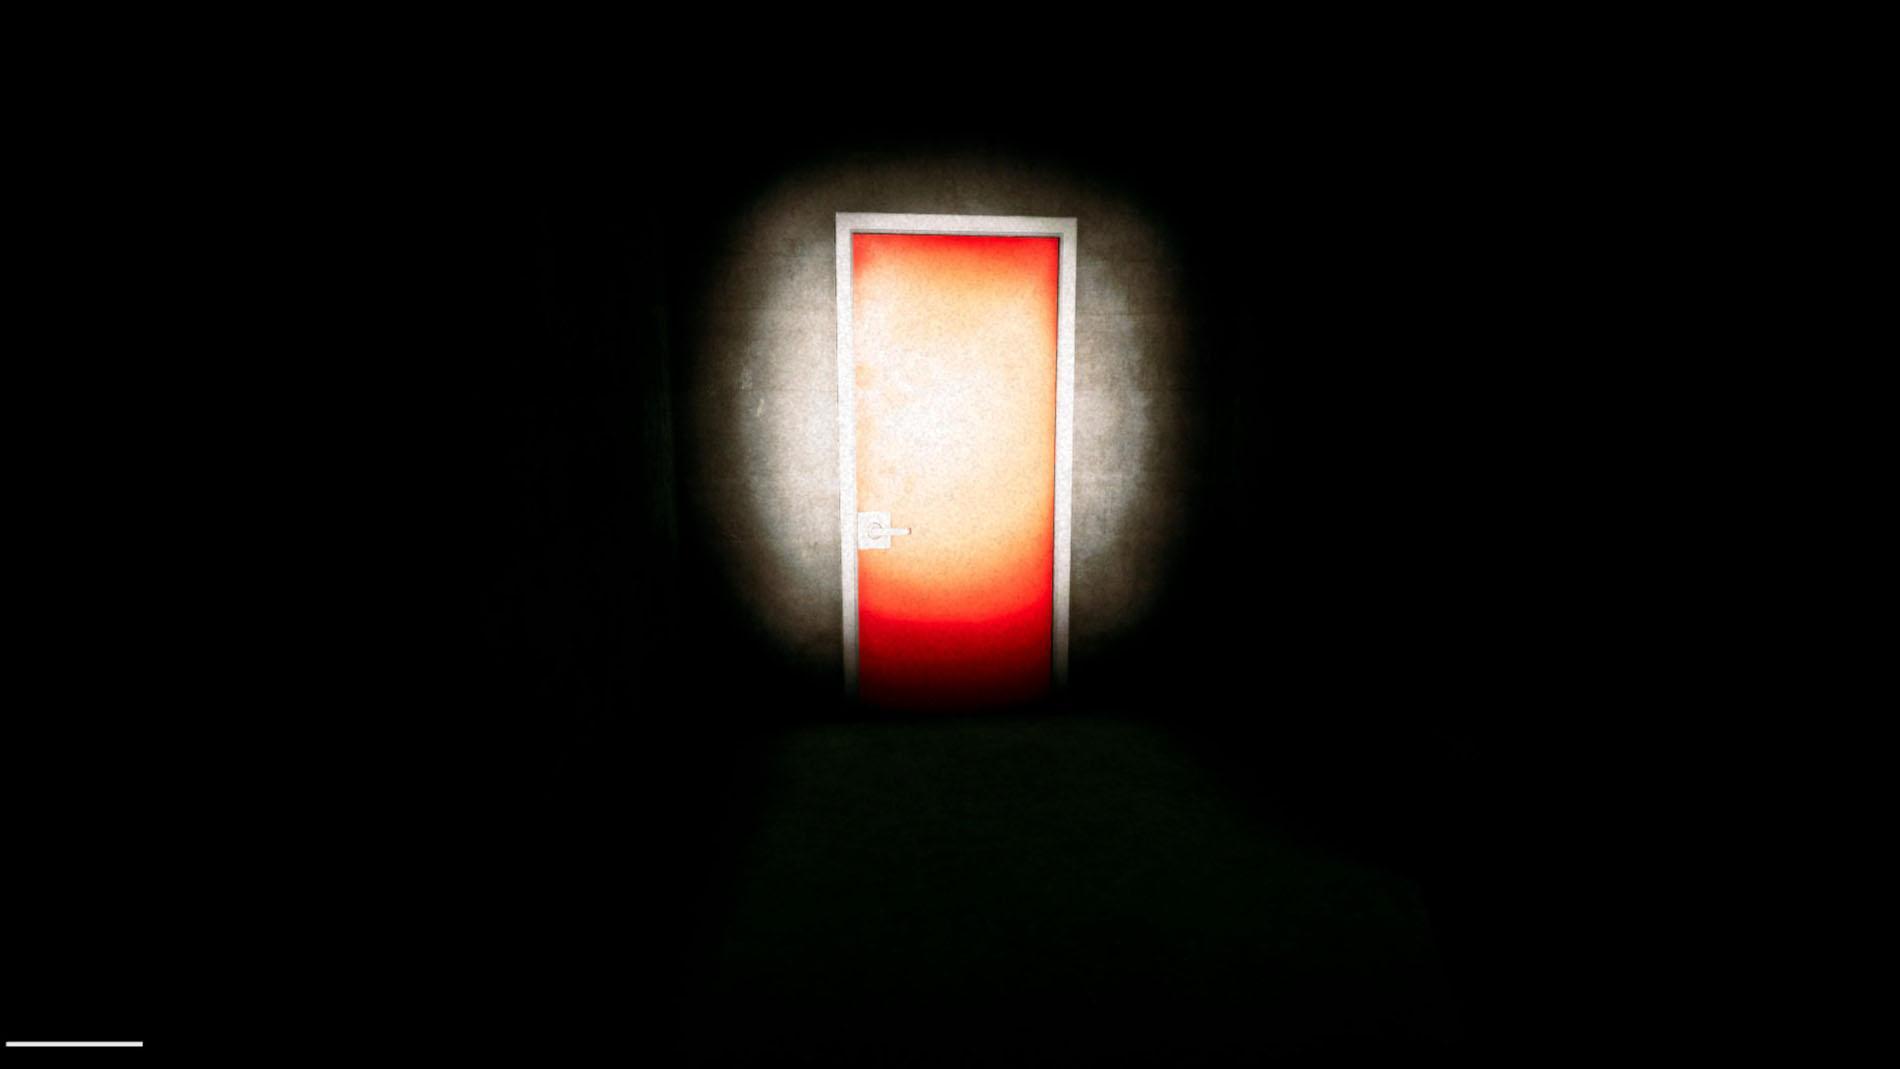
So far so good. If you started at the office room you can go easily around and look for the red door. But if you started from “Backrooms” or the “Parking” level you already triggered the “Skinstealer” and now you will have to rush. Otherwise you will get some damage.
Great, you found the door, unlock it and enter it. The “Skinstealer” can´t follow you behind this door.
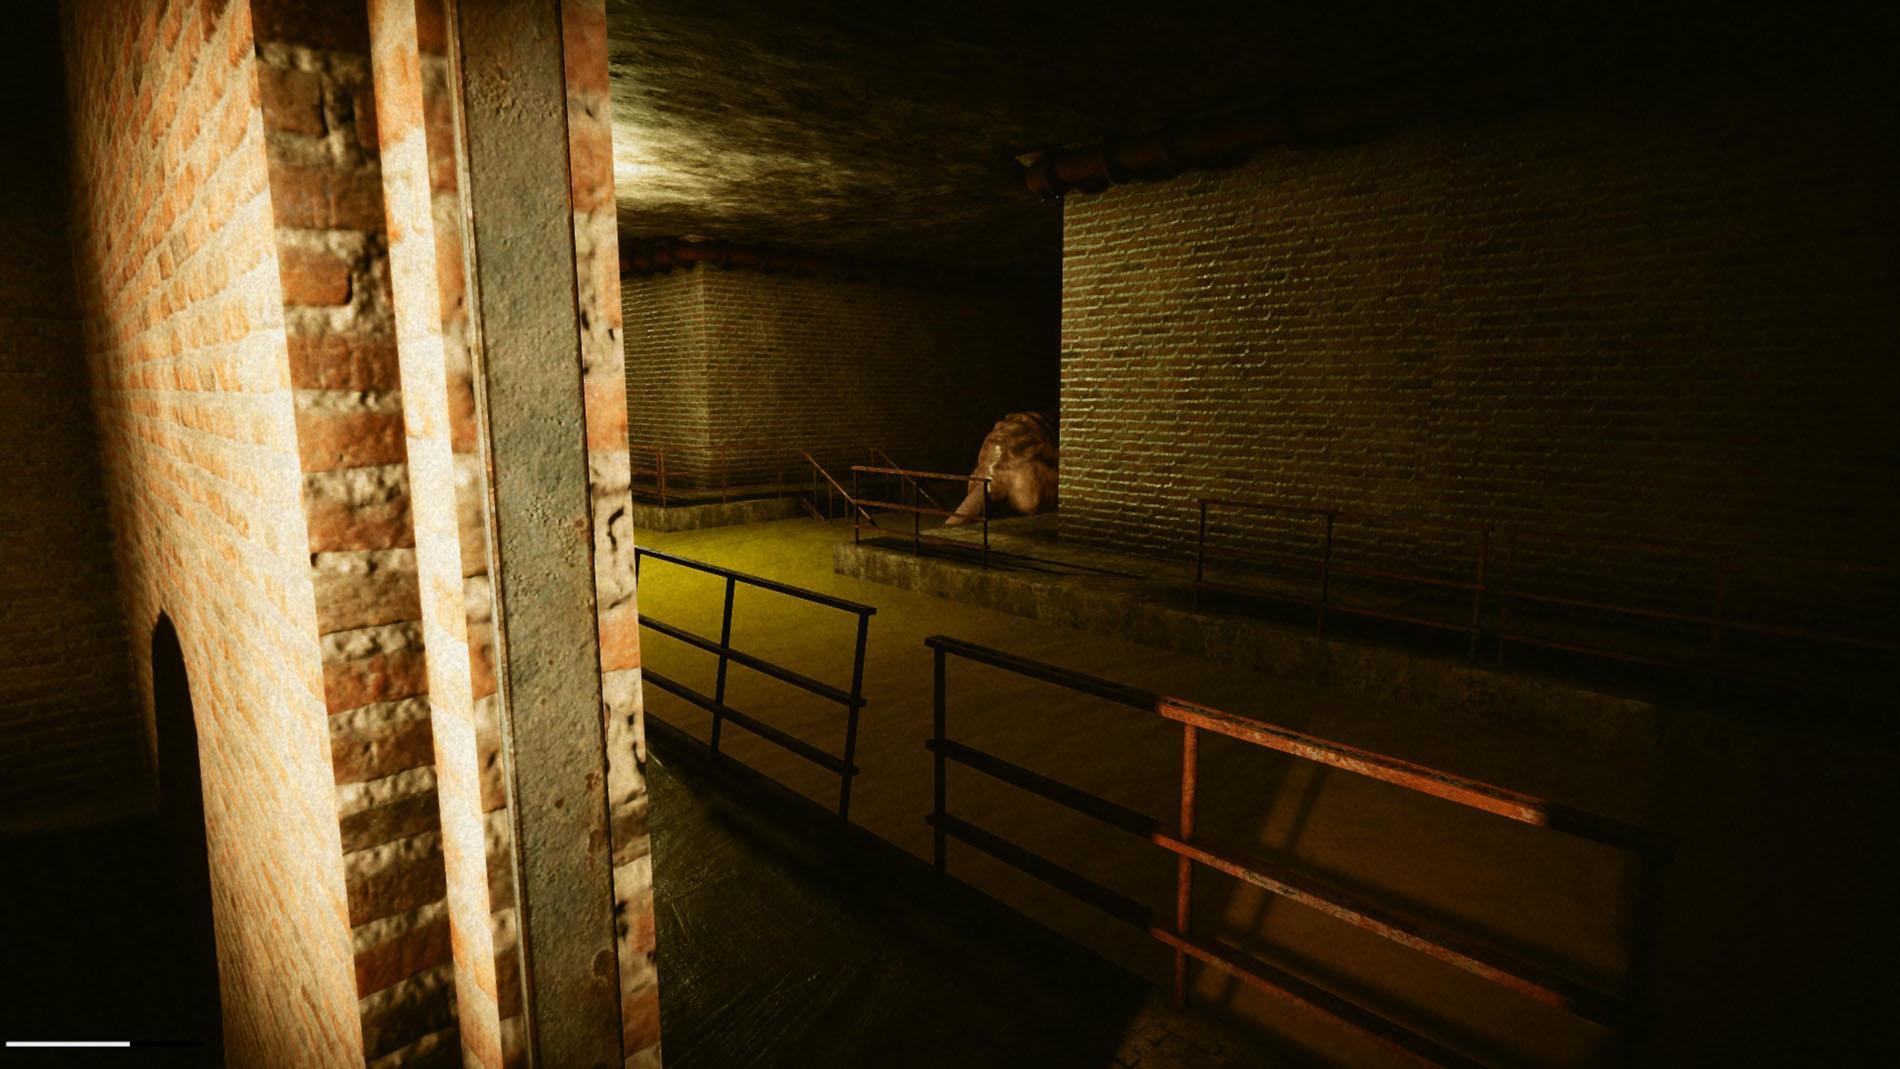
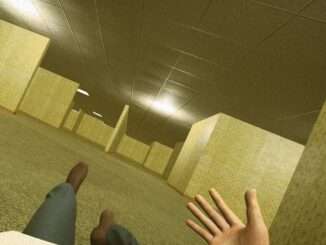
After you entered this new level, you will find yourself in this room.
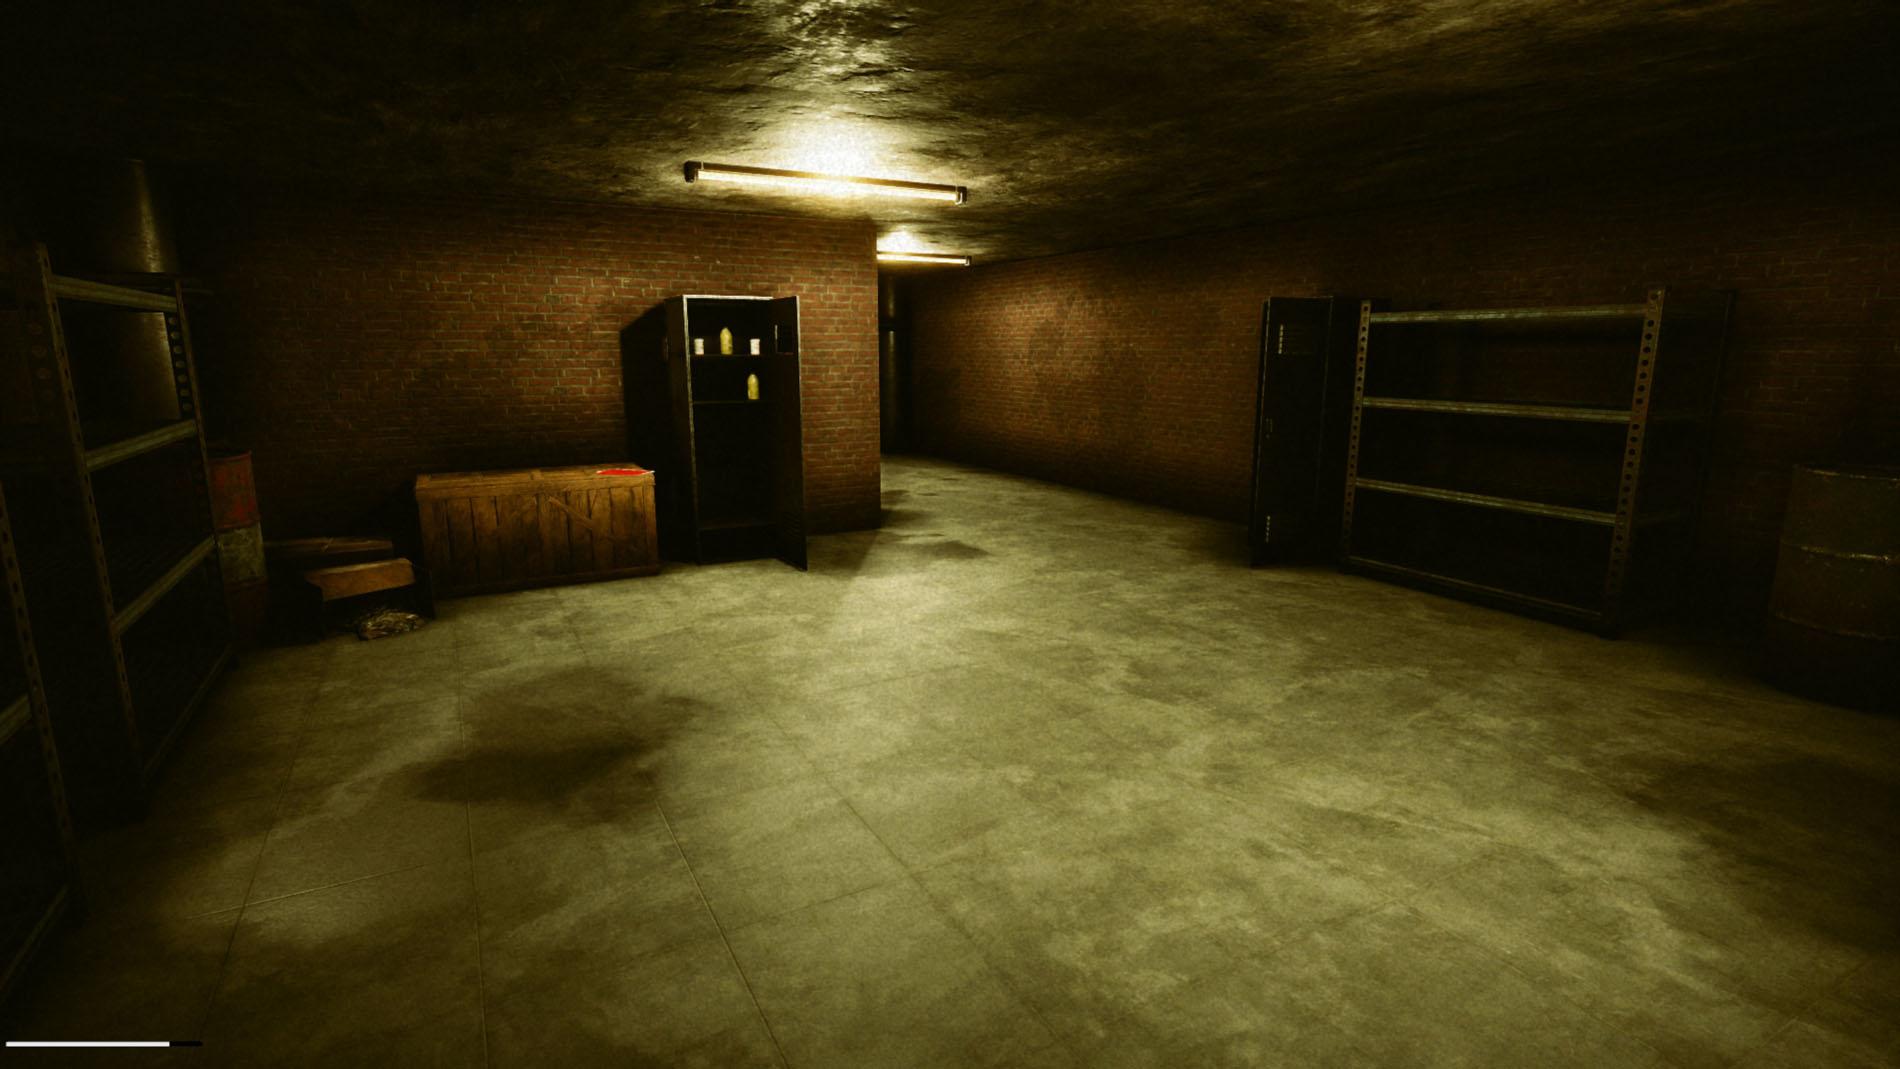
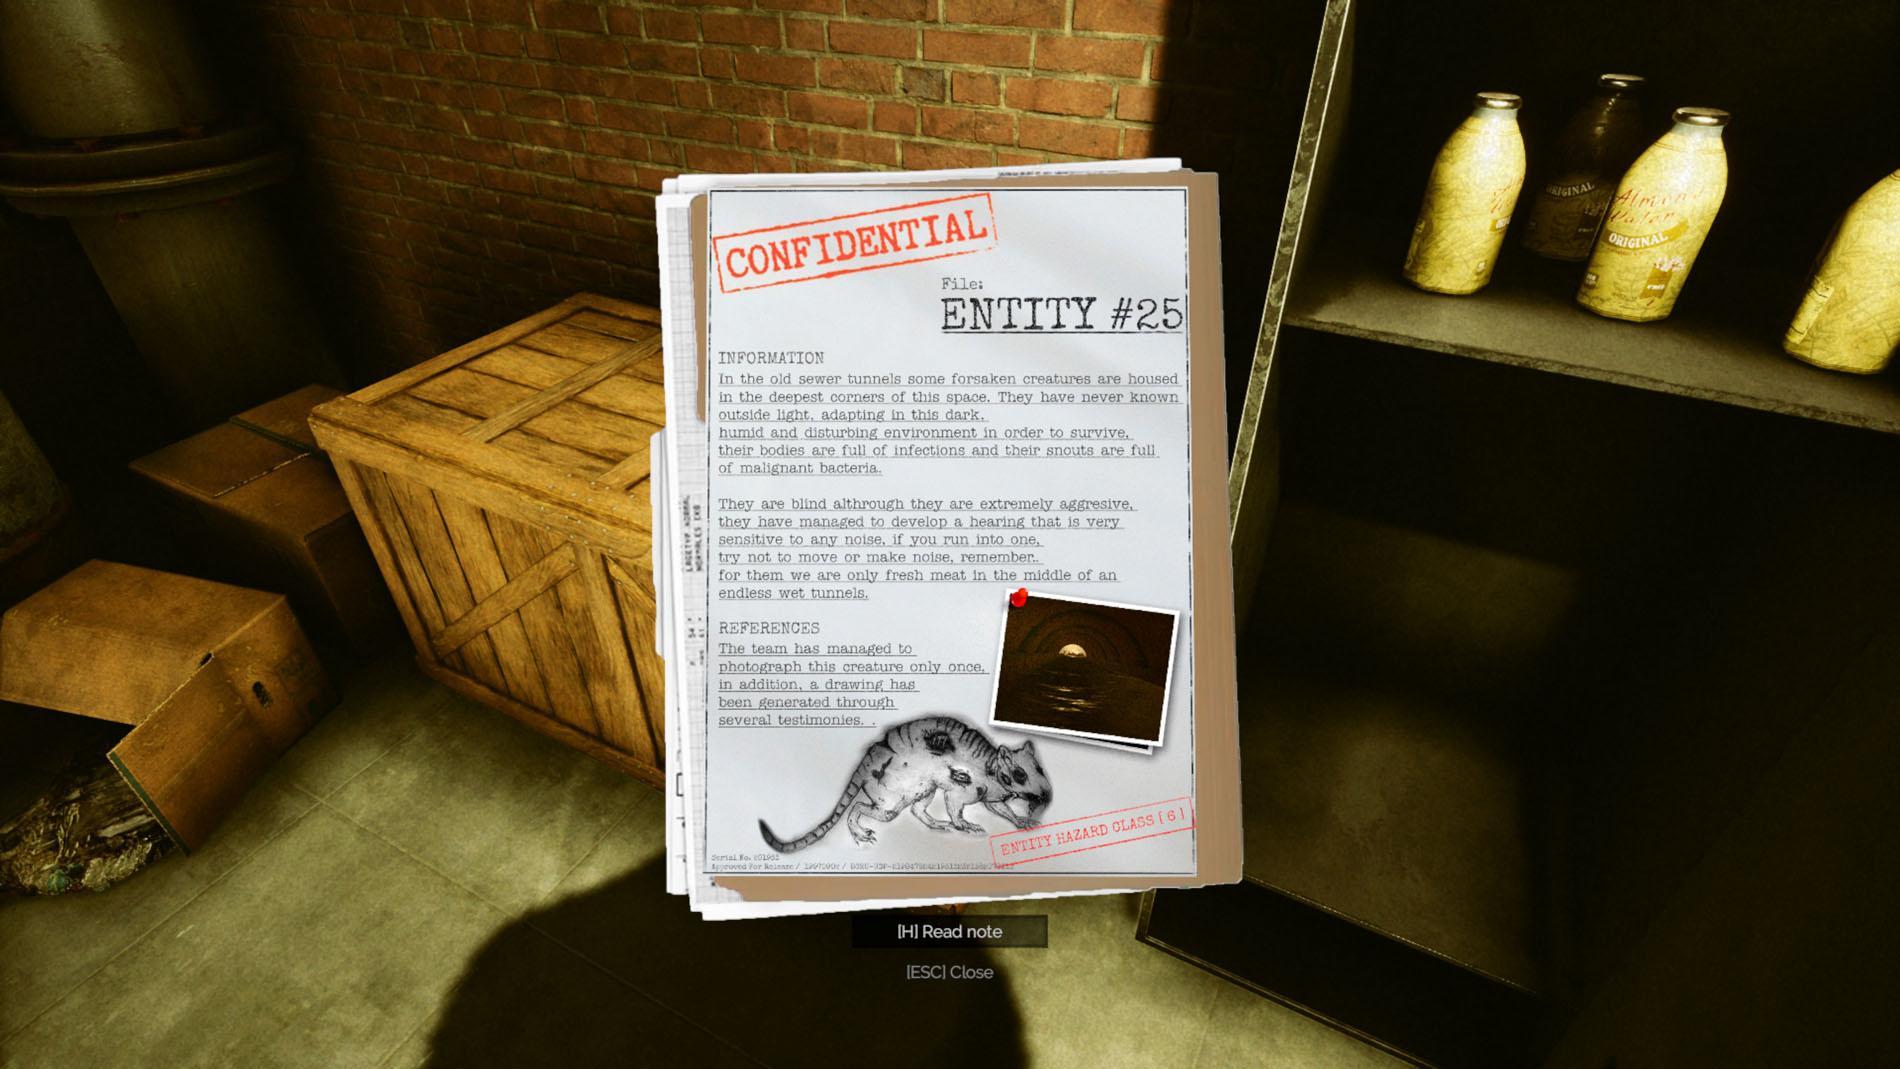
Grab some pills and water to prepare yourself. You will also find a document which contains information about the new entity.
This level feels pretty confusing at the start but you can handle it if you just focus on the differences of these corridors. There are bridges, different rooms and doors which can be used as marks.
There are pretty many riddles in this level and their progress often depends on each other.
You will need a few notes which contain hints and solutions. Also there will be two keys and three medallions.
These things are scattered in the corridors, so watch out for those.
Here is an example.
You can find this one if you leave the starting door and go “right, straight, right, left, right, right”.
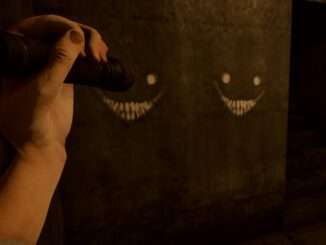
In this level there are only “Deadrats” and “Limbs”, but different to the pool level they are not hidden this time.
If you die in this level your reviving door will always appear at the start.

The Sewerage Puzzles (Part #1)
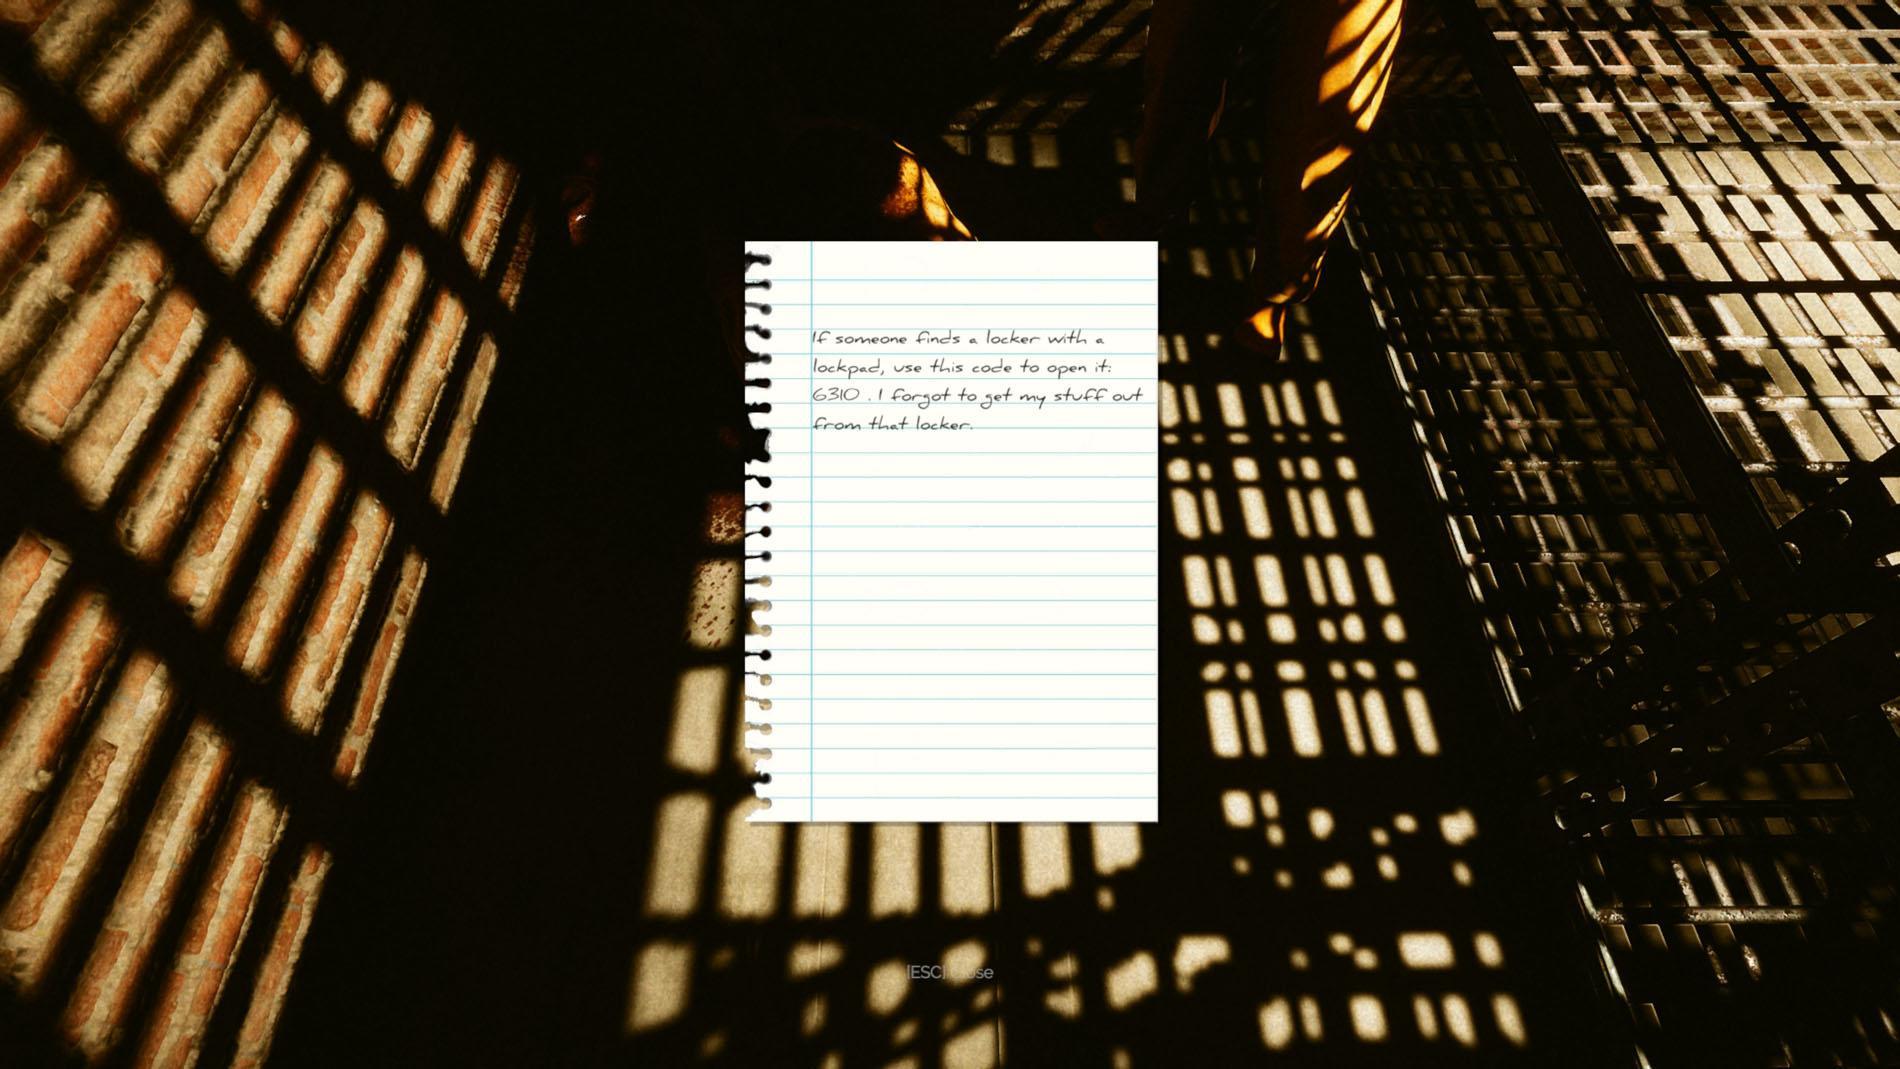
A metal detector will help you out, which is hidden in a locker. To open this locker you need the right code which is found on a note by another dead body in a yellow suit. This dead body is in a room which also leads in another room. But you can´t enter this room right now because you will also need a key for this one. So note the code which looks like this.
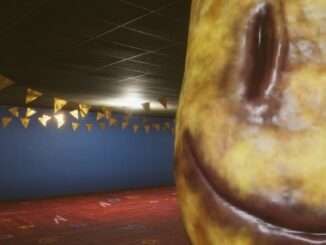
Now look for the locker which lays in this beautiful room.
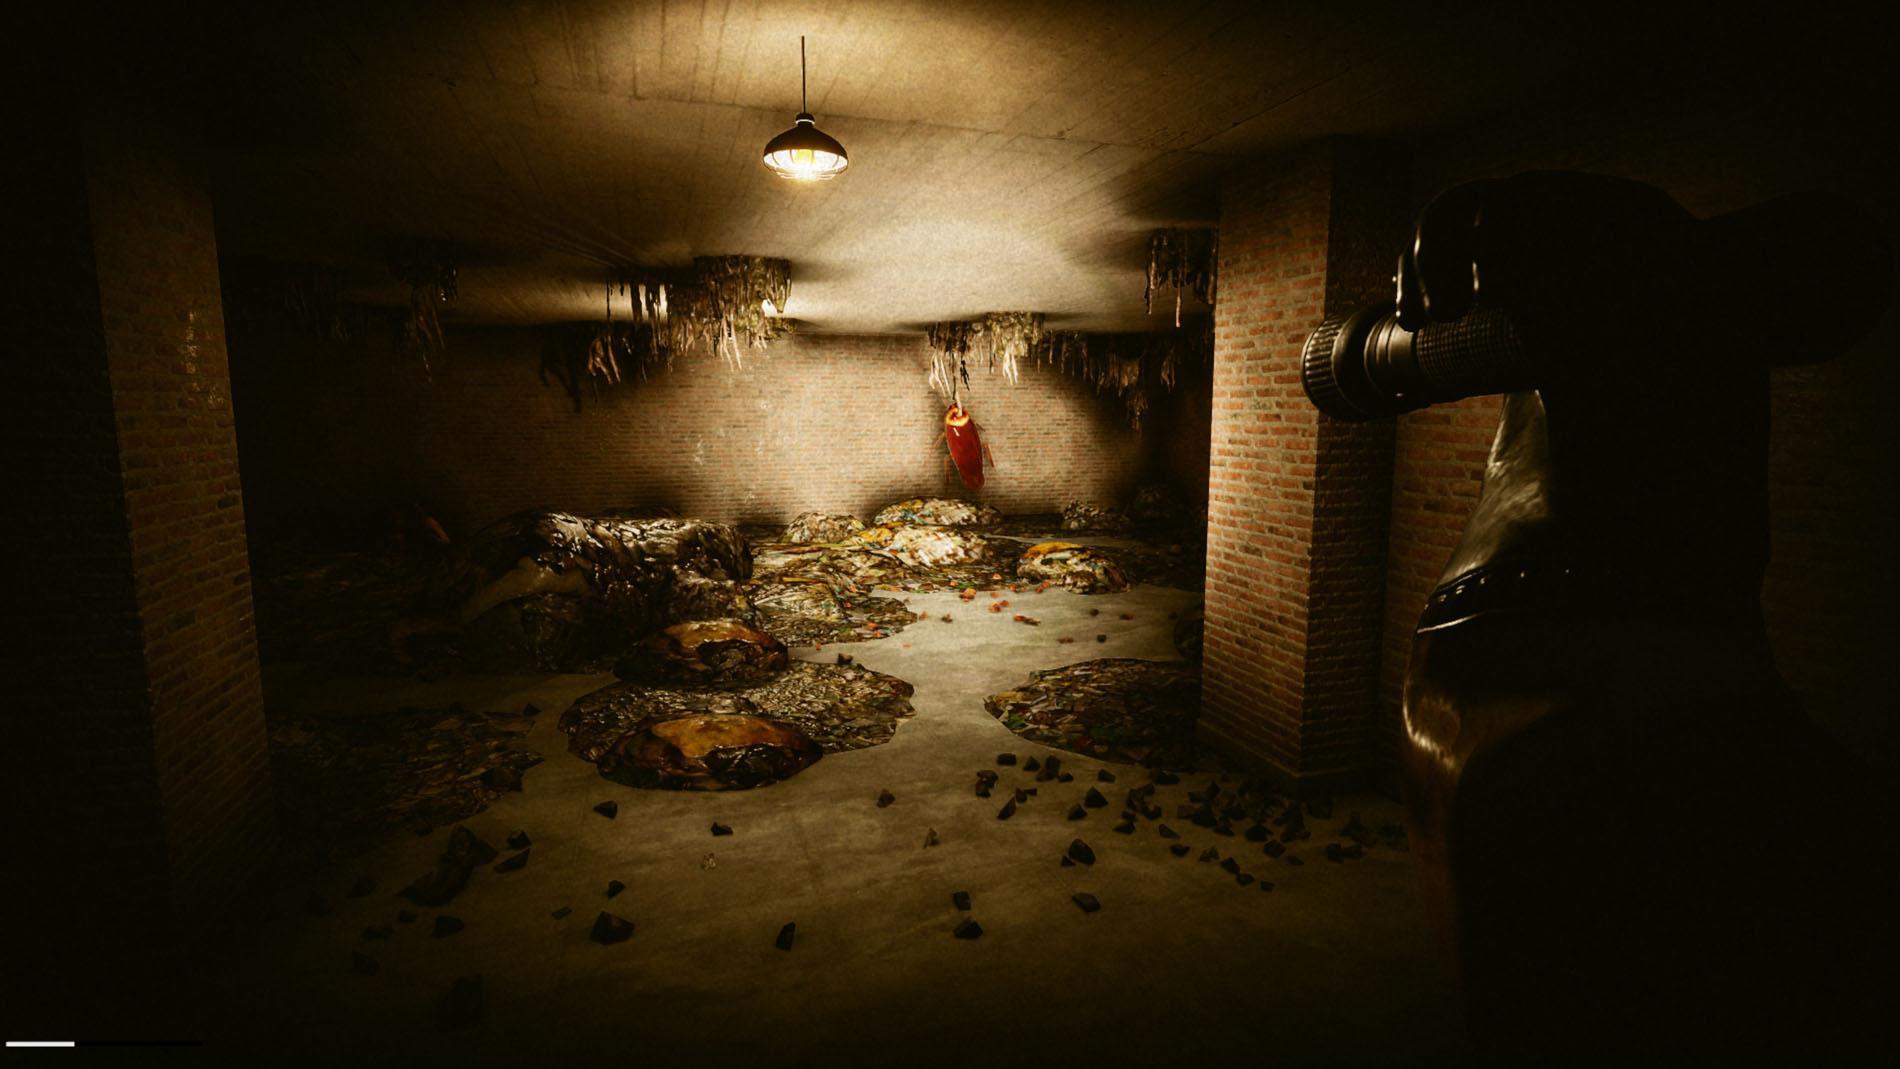
Yummy this smell…
After you entered this room have a look to the left and open the locker with your code.

Take the metal detector but don´t leave the room yet. I also found a handle in this room, which is important for later. So look for it and after you take it say goodbye to the “Limbs” and “Cockroaches”.
Metal Detector Work
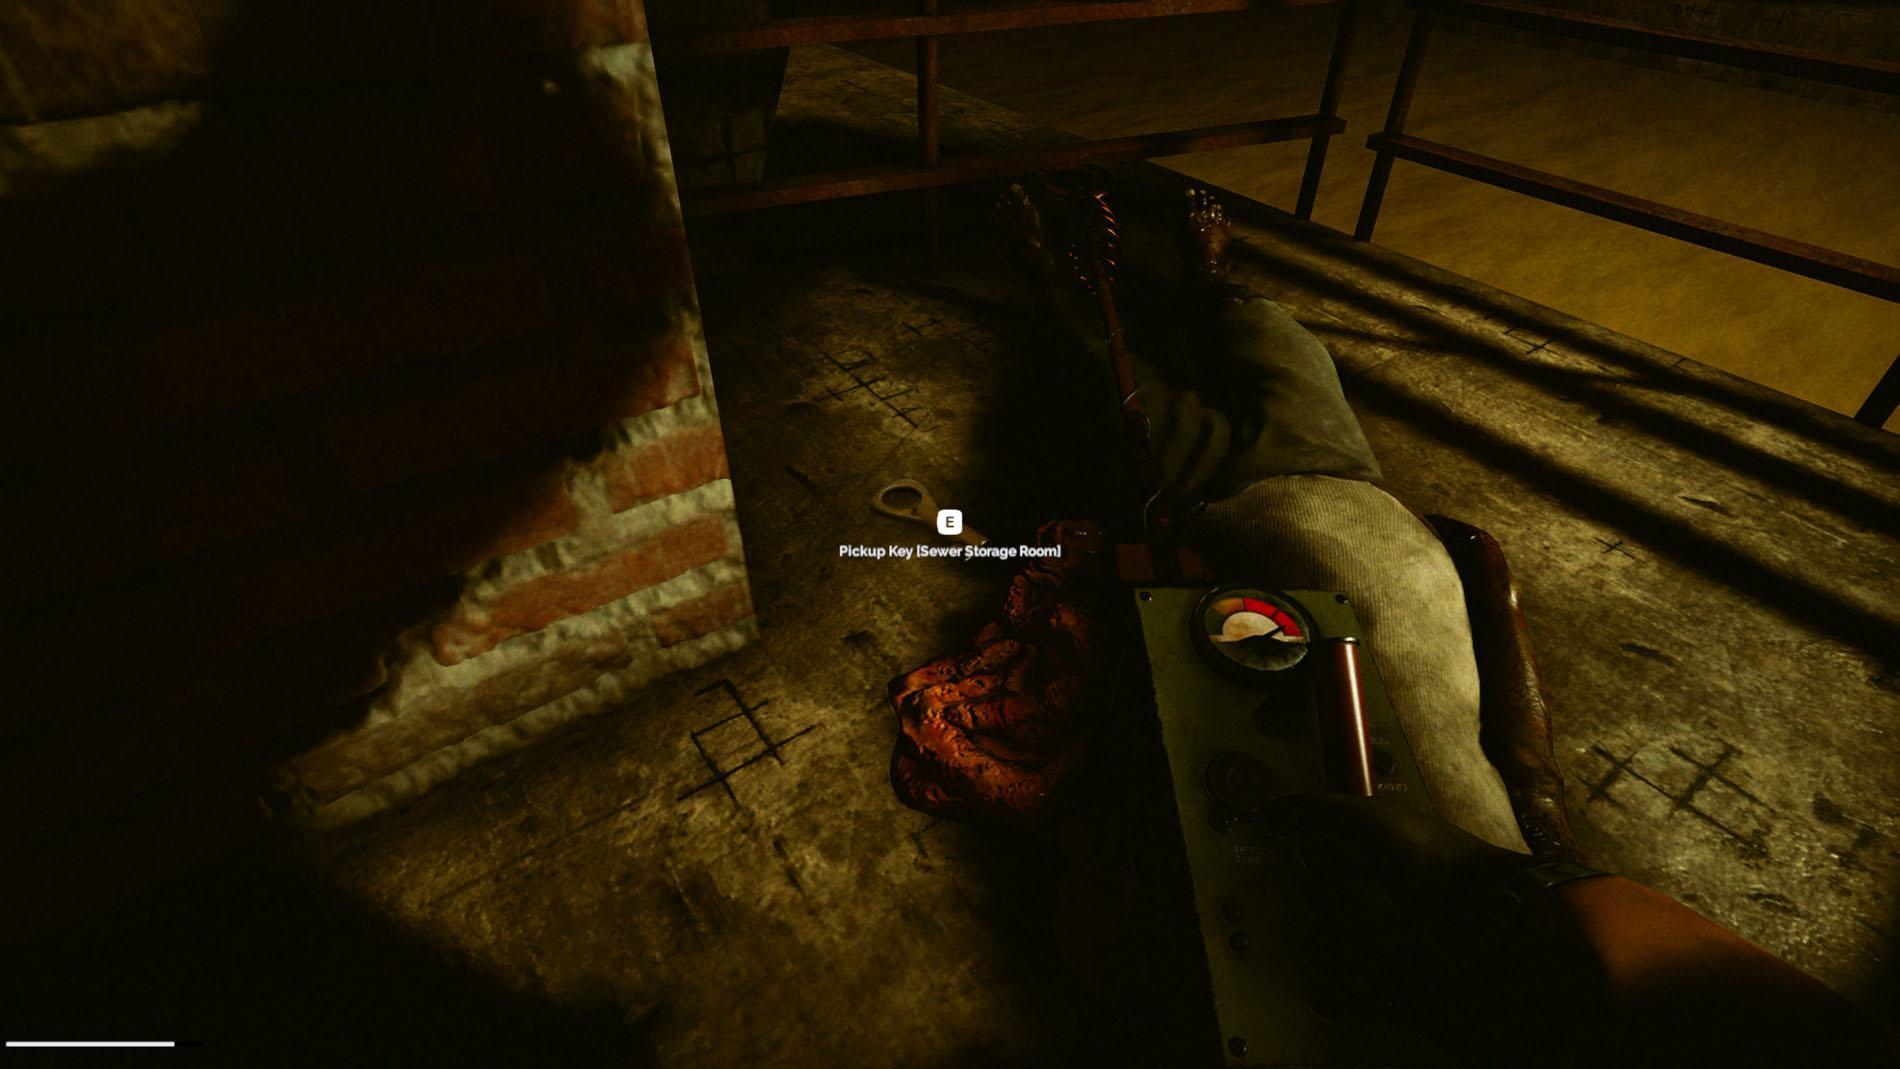
You can find four things. Two keys and two medaillions. We found one key on the opposite of the starting door.
The next key is in a corner, which is on the opposite of the “Code Room”, where you found the locker code.
The “Deadrat” in the corner is right in front of where we found it. (My view is from the entrance of the “Code Room”.)
We found the first medailion under this bridge.
(Just take the first corridor on the left side if you stand on the starting door.)
For the second medaillion, you will have to finish a puzzle first, so that´s it for now.
The Sewerage Puzzles (Part #2)
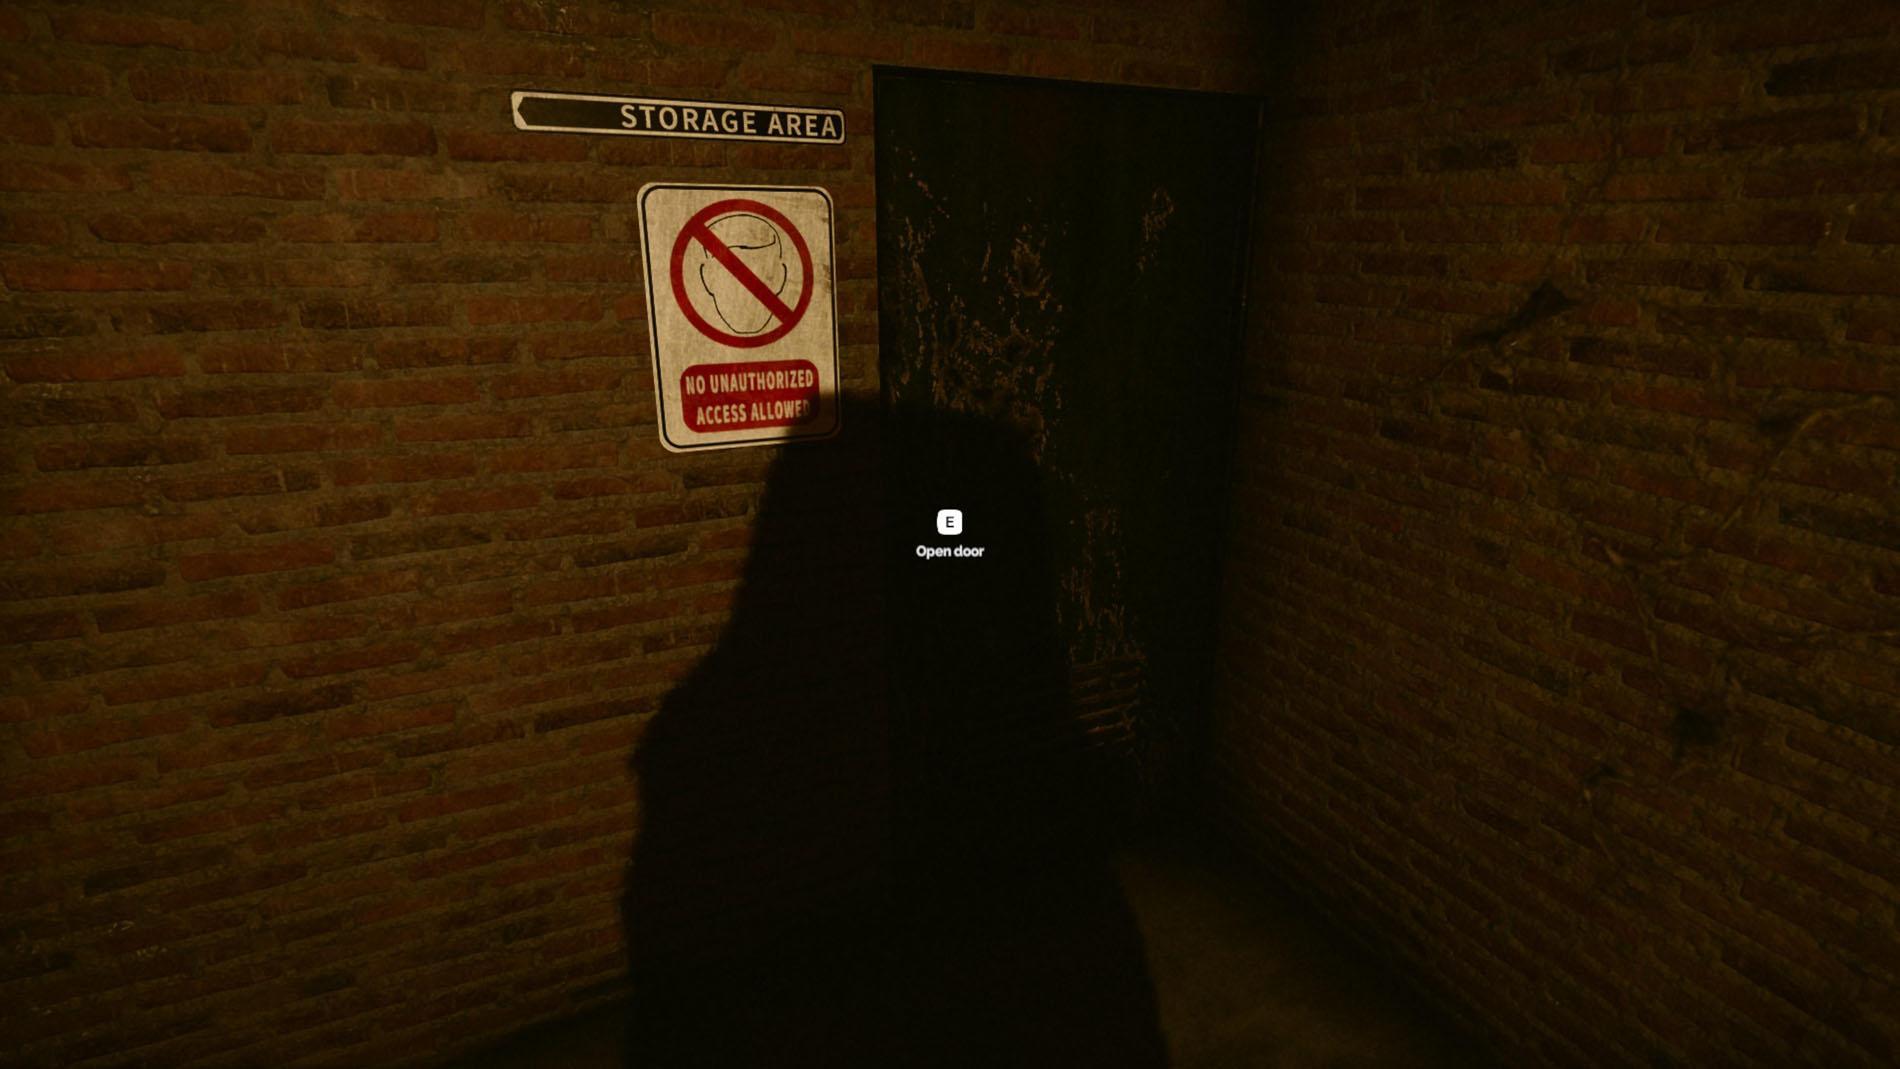
After you found the storage key, you obviously can enter the storage room.
You will find a shelf with one bucket and three petrol cans in it.
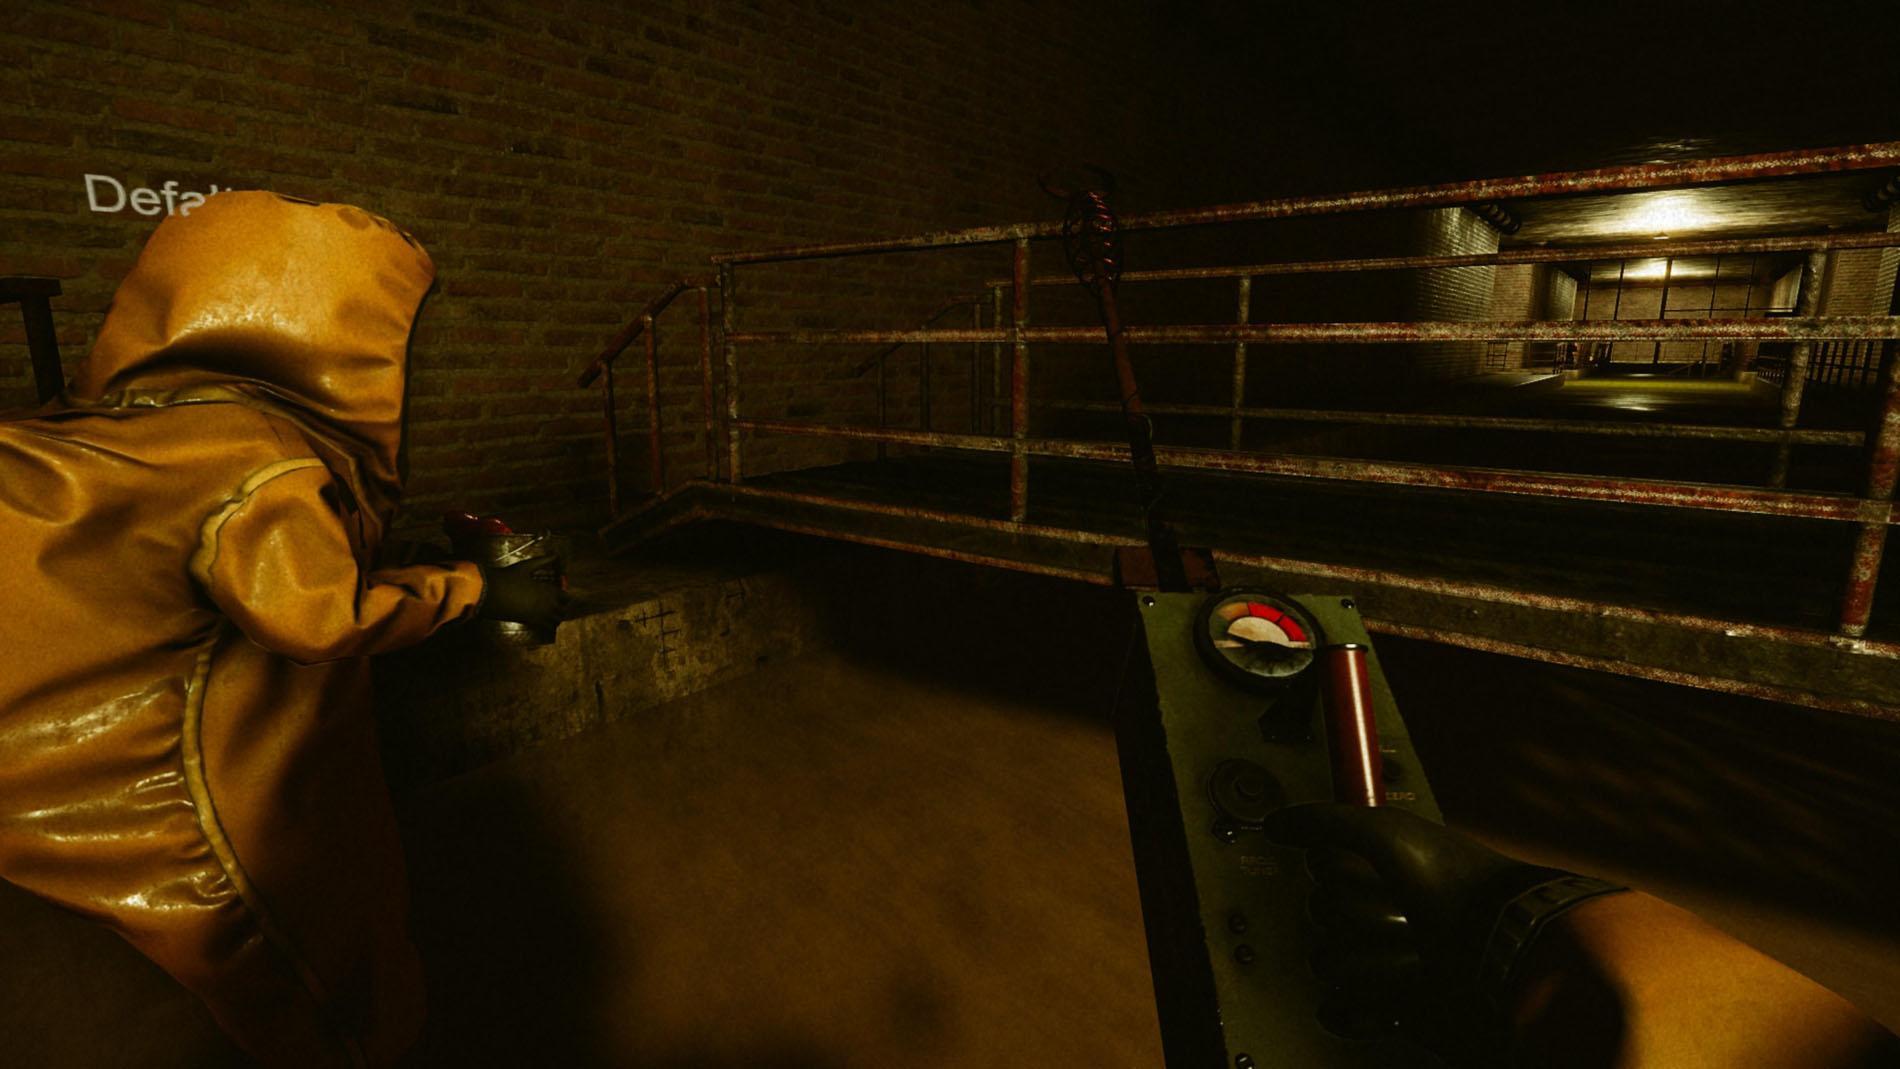
Take those, rewire the box with the right order from your collected notes and turn the lever.
Sewer Wire Puzzle
If done right, it should look like this.

Leave the room and look for your next room, which looks like this.

It´s a maze where you have to turn levers to get through it step by step.
But… Watch Out! Seriously.
If you turn a wrong lever behind you, the gate closes between you and the lever. It´s possible that you are caught and you won´t be able to escape. In this case you actually have to restart this level.
It happened to us once… here you can see how two stupid survivors catch themselves.

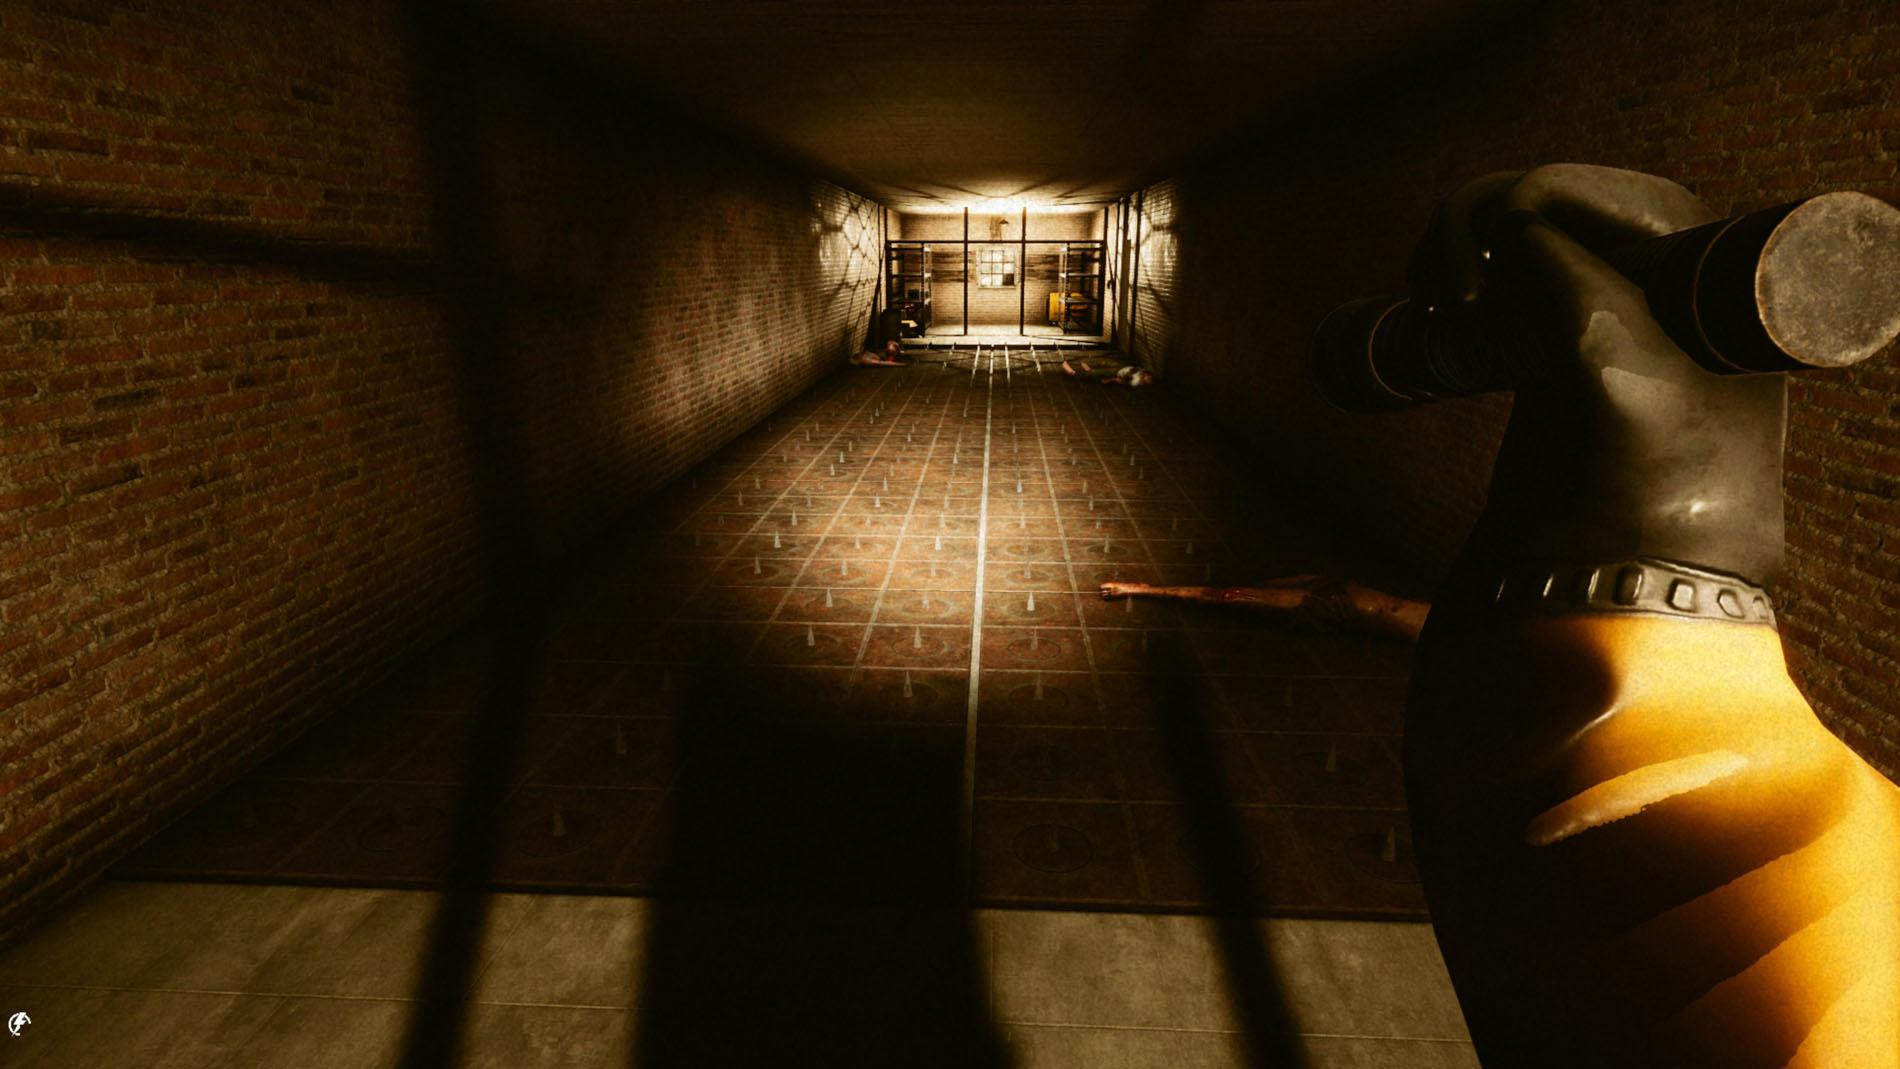
But if you finally did it, you will get to a long hallway with one door on the left side, which can be opened now from the inside. If you follow the hallway to the end, you will end up in front of a spike area. But because you already rewired the box you can easily go through this area.
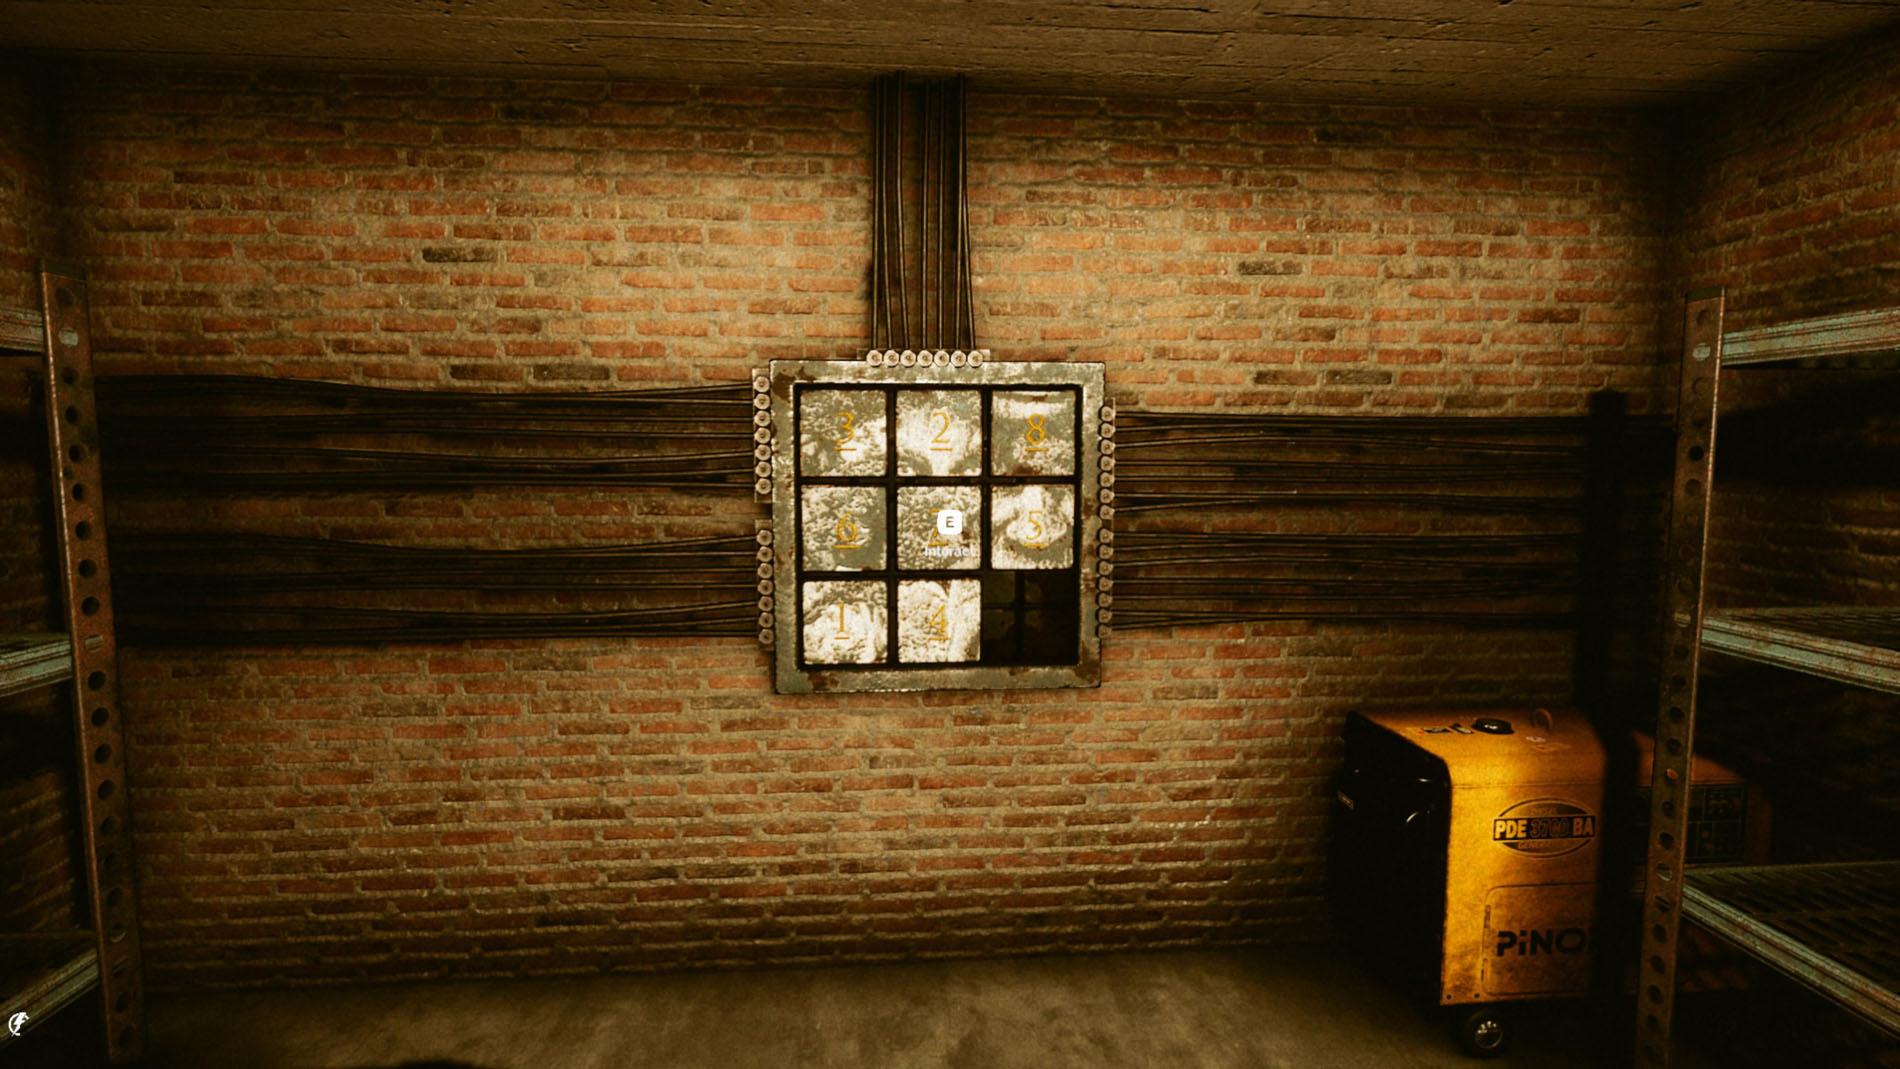
You will stand right in front of a puzzle now, which is pretty selfexplaining. Put the numbers in the right order from “1” to “8”.
Small Hint: It´s not that hard, but if you can´t finish it, try to start with the first three numbers at the top. If you have them right the rest will be pretty easy.
Second and Third Medaillion
After you finished the puzzle, the door on your right will open up and you can go through it. (Also the machines in another room stop working so you can move into this room later.) You will see another dead body which holds the second medailion.
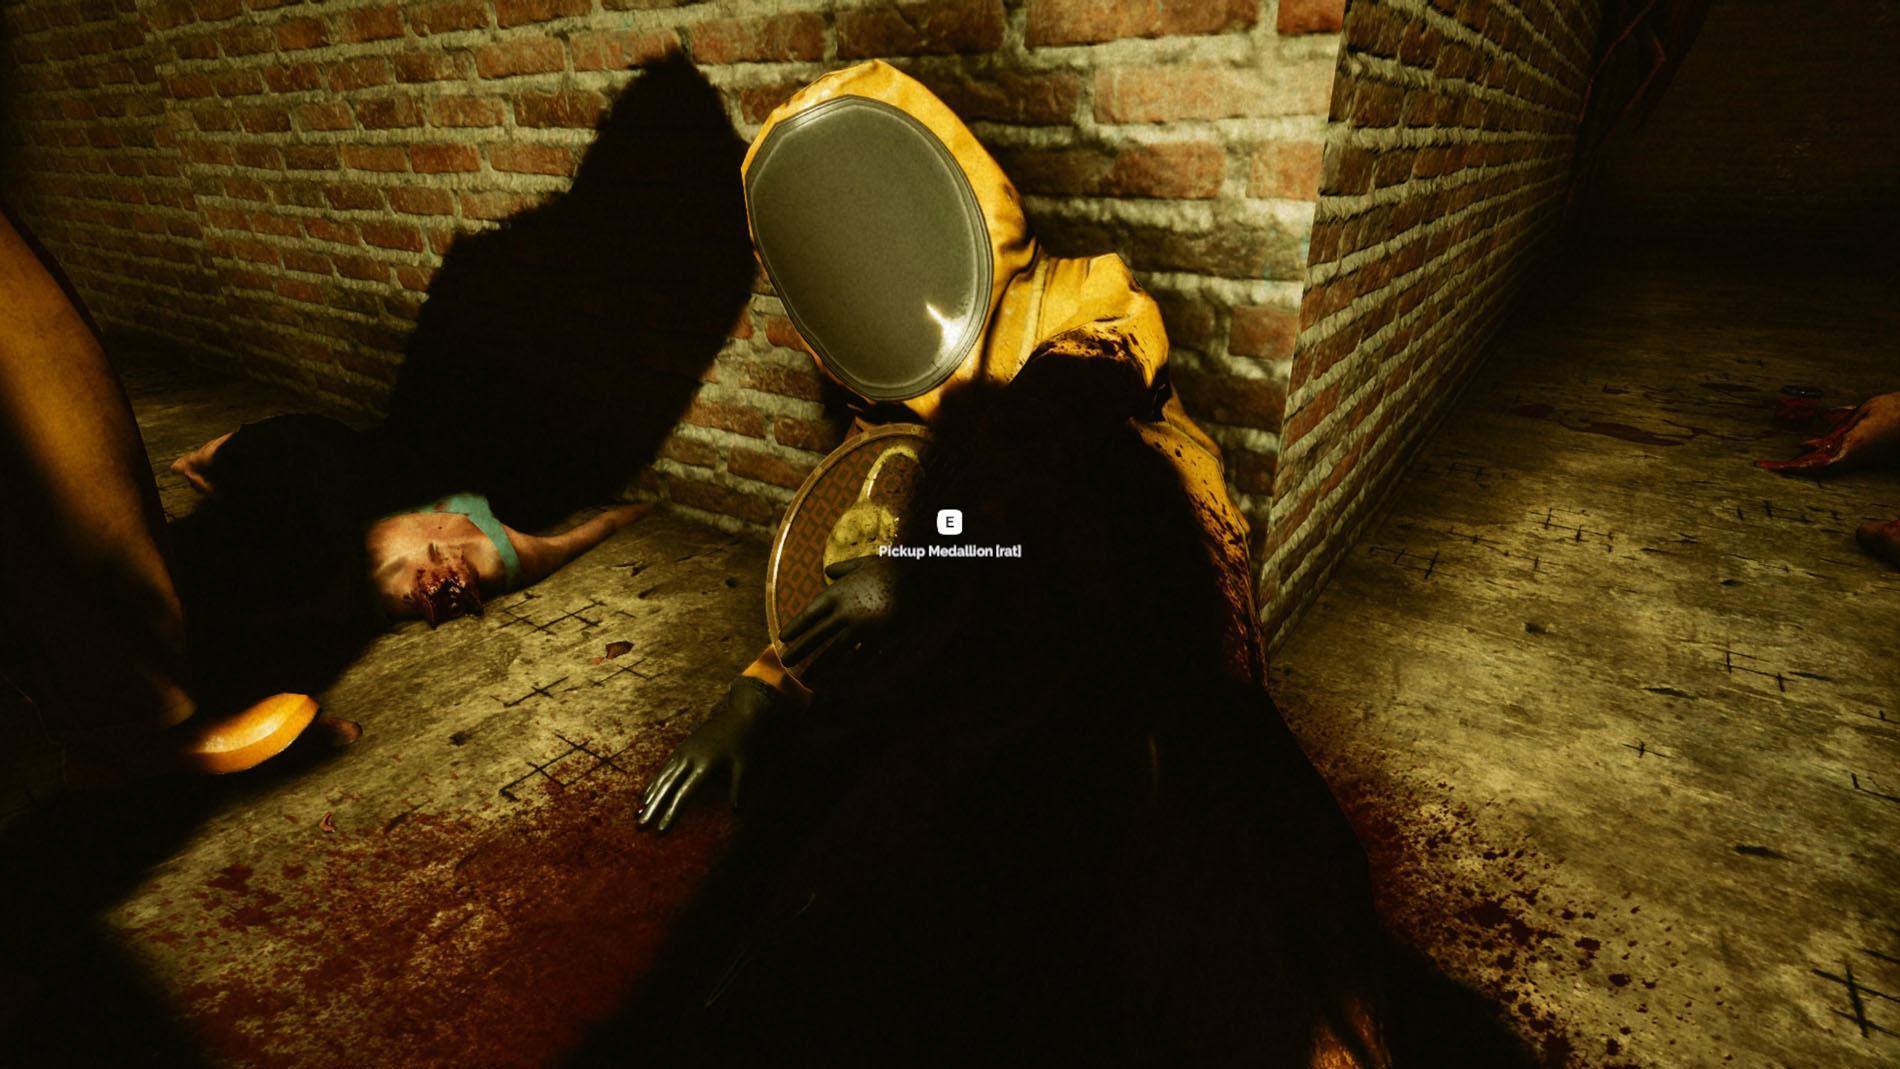
Rest in Peace
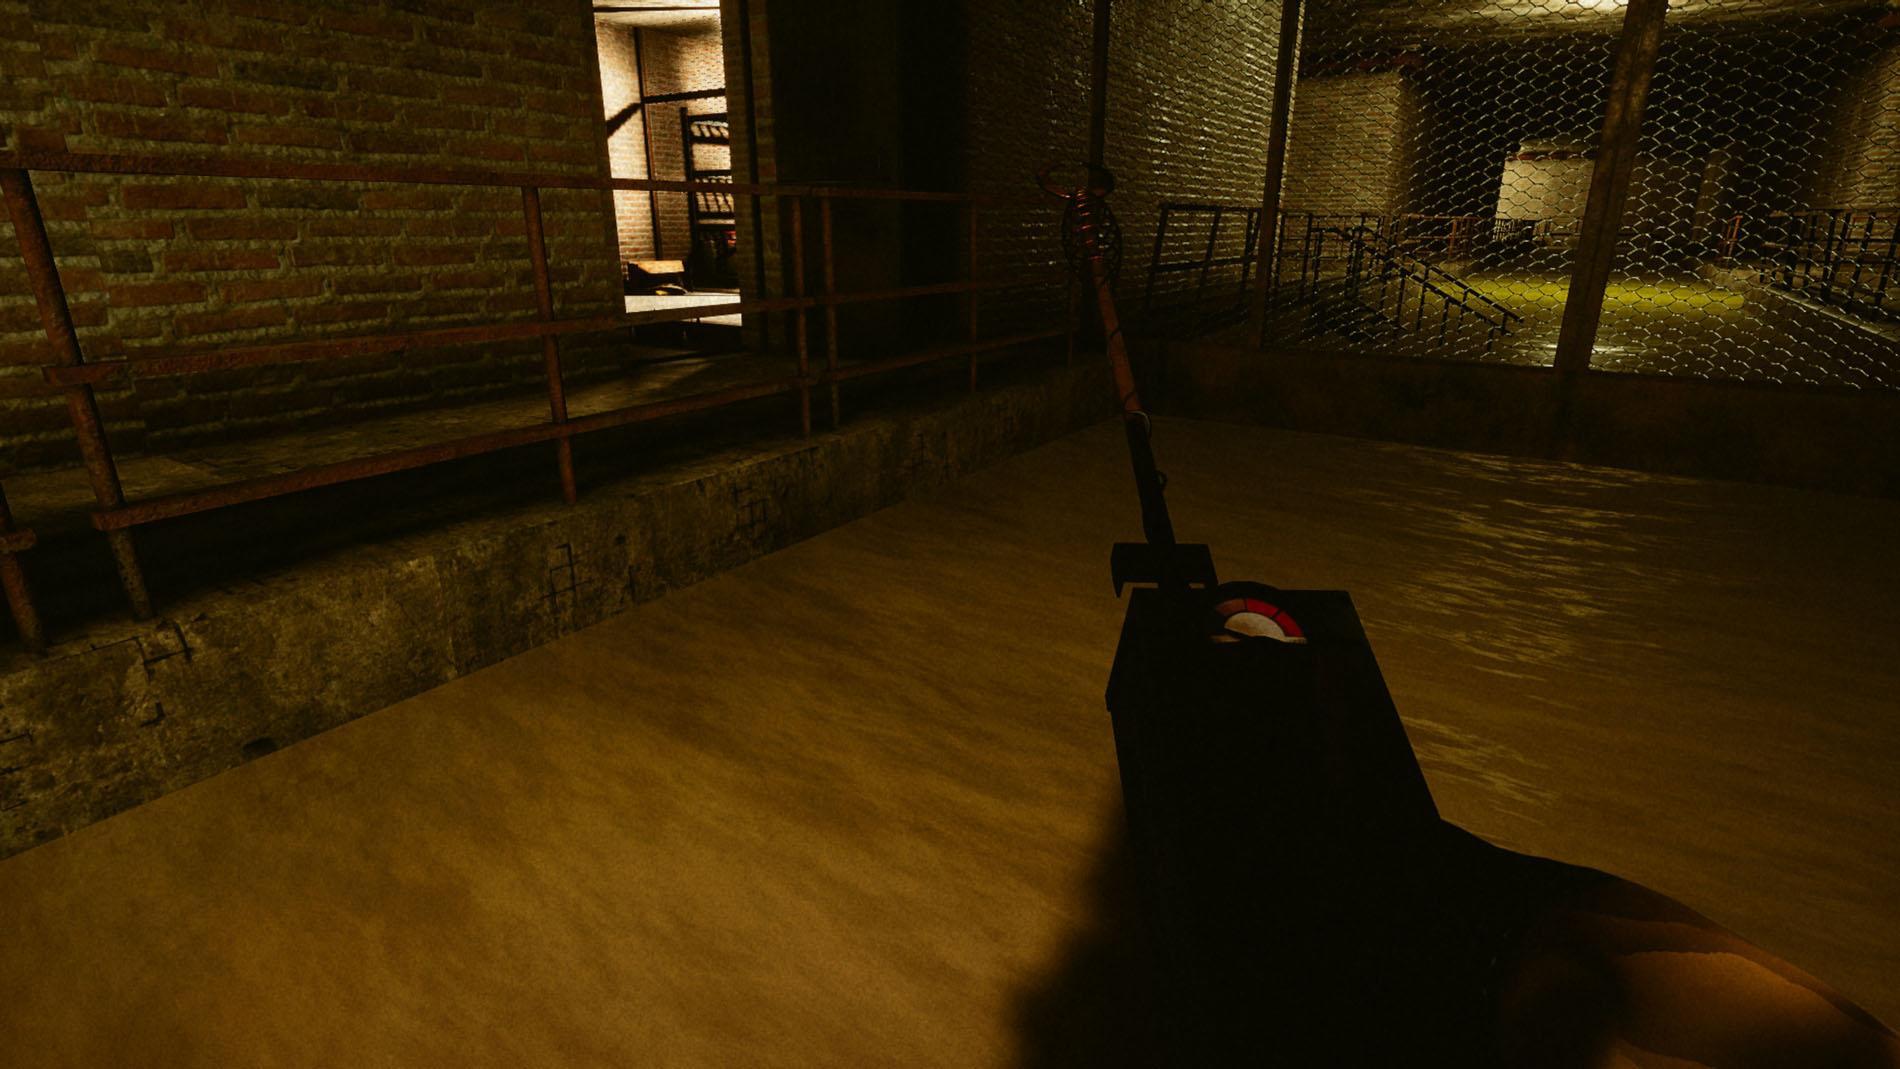
We found the third medaillion right next to the dead body in the water.
Great job! You finally have all three medaillions.
The Three Medaillions
As written you can go in the machine room now where the machines stopped working.

Go through the machines.
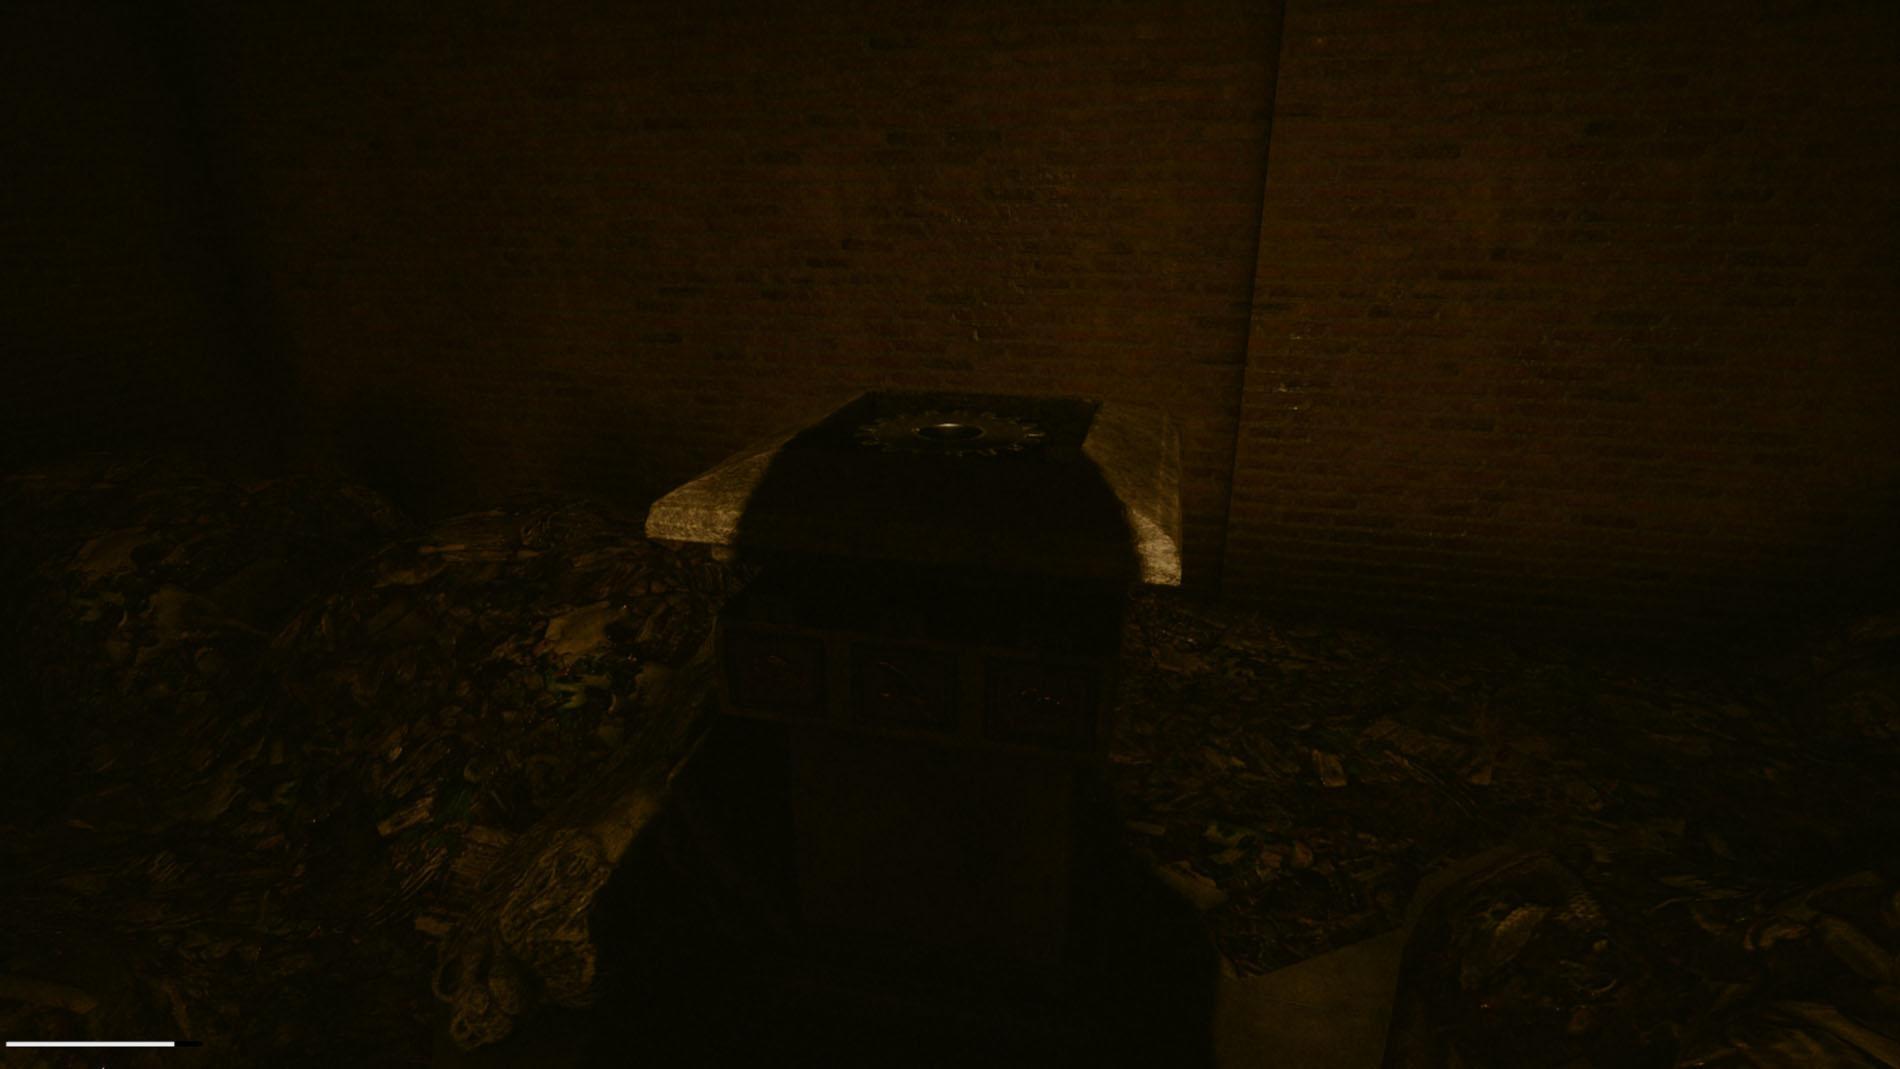
At the end of this room is a statue which shows the right order for the three medaillions. Note or remember and leave this room again.

Now it´s time to fill your petrol can´s. Go to the room on the first left corridor from the strating door.
The room is full with barrels. If you interact the most of them will be empty but one is full with oil.
Find this one and fill your cans. They will have this black drop symbol now.
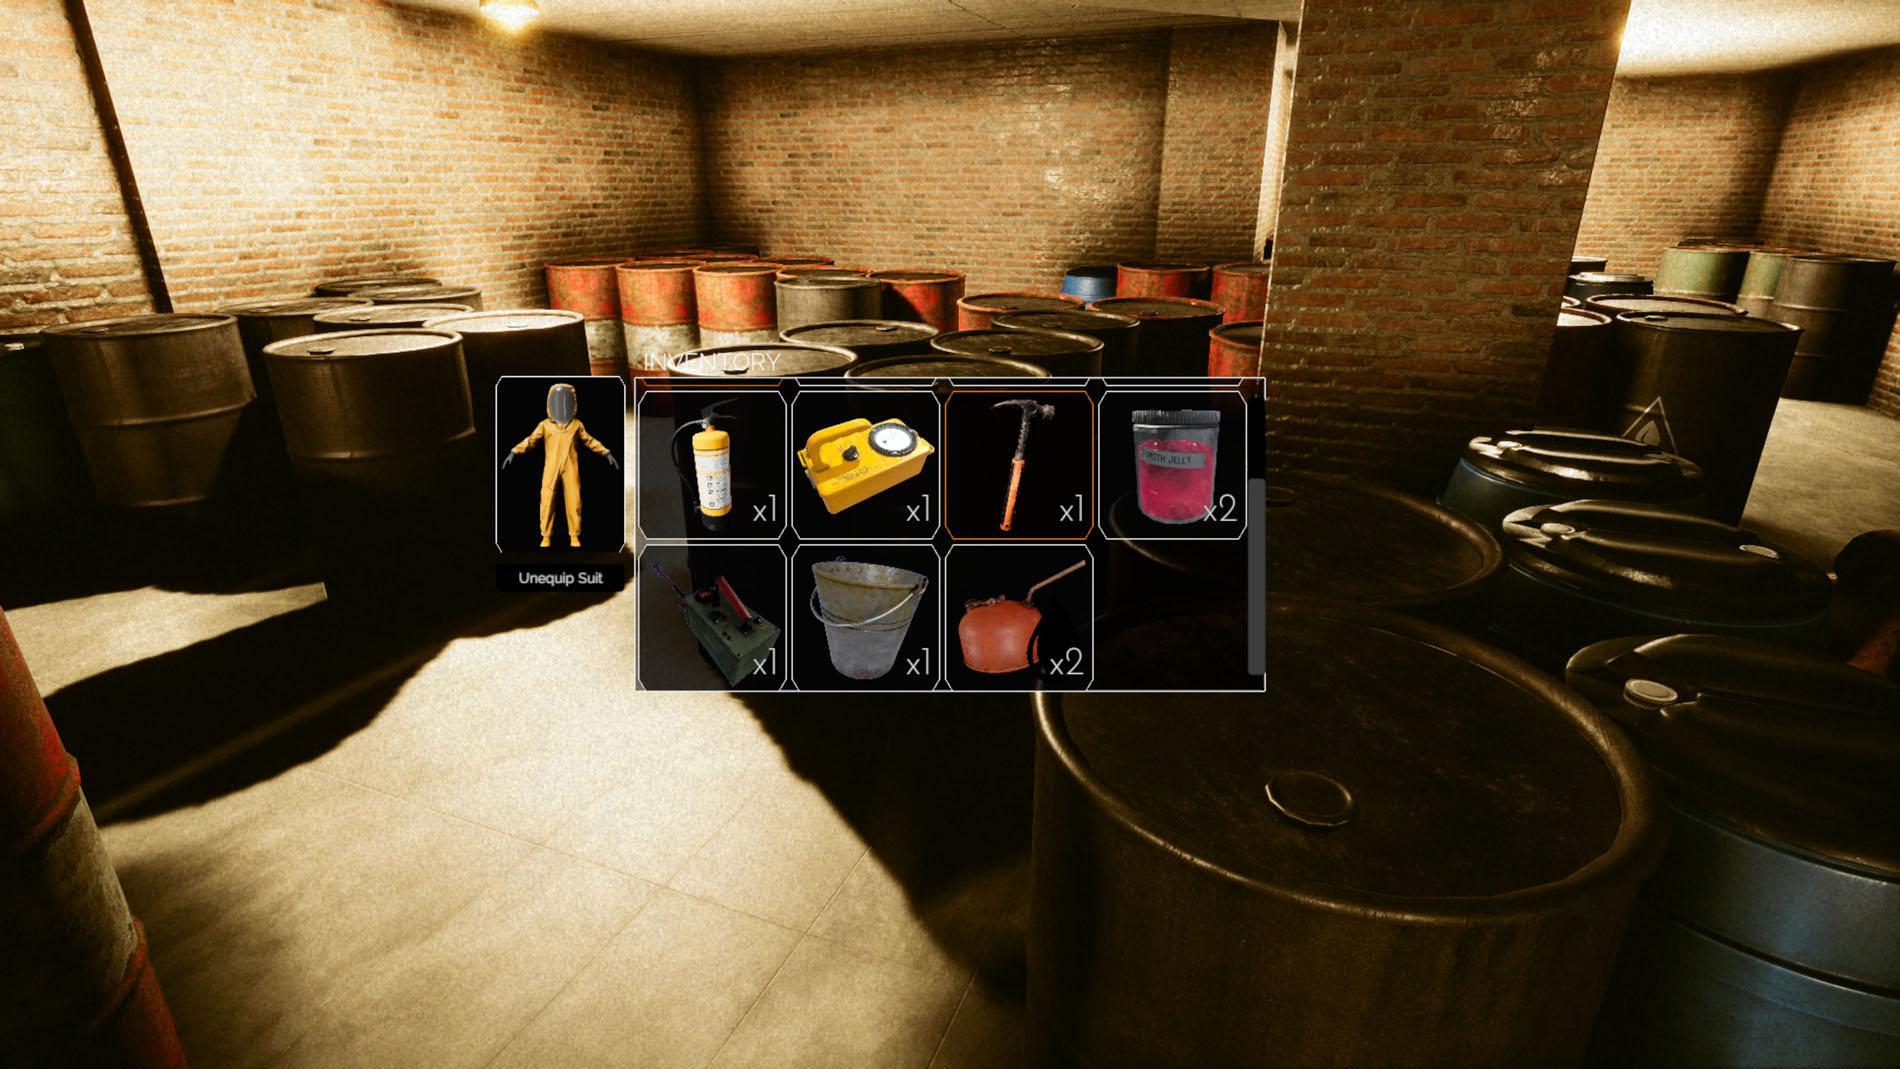
(I just have two in my inventory because my mate has the third one but you will need all three filled.)
Now go back to the “Code Room” from the beginning and open the door with the second key which you found before. You will enter a room with three limbs which blocks your way. Put the oil into the three tubes and the limbs will jump to the ceiling.

Now you can put your three medaillions behind them in the right order and you will get a message with ‘something has changed’.
Leave the area and go back to the statue in the “Machine Room”.
The Sewerage Puzzles (Part #3)
The statue is gone and instead of it you will see a gear. Take it and leave the room again.
The next room will be the final room before you get access to the exit door.
So take a break, cuddle with the rats and be proud of yourself. The last room has a celldoor and is guarded by a “Limb”.
Follow this room to the end and go to the left, this will be your view. (After you put your gear and handle into it.)

I hope you found all of the important notes and wrote things down.
You have to bring it in the right position.
One of the notes from the corridors contains the information about this position.
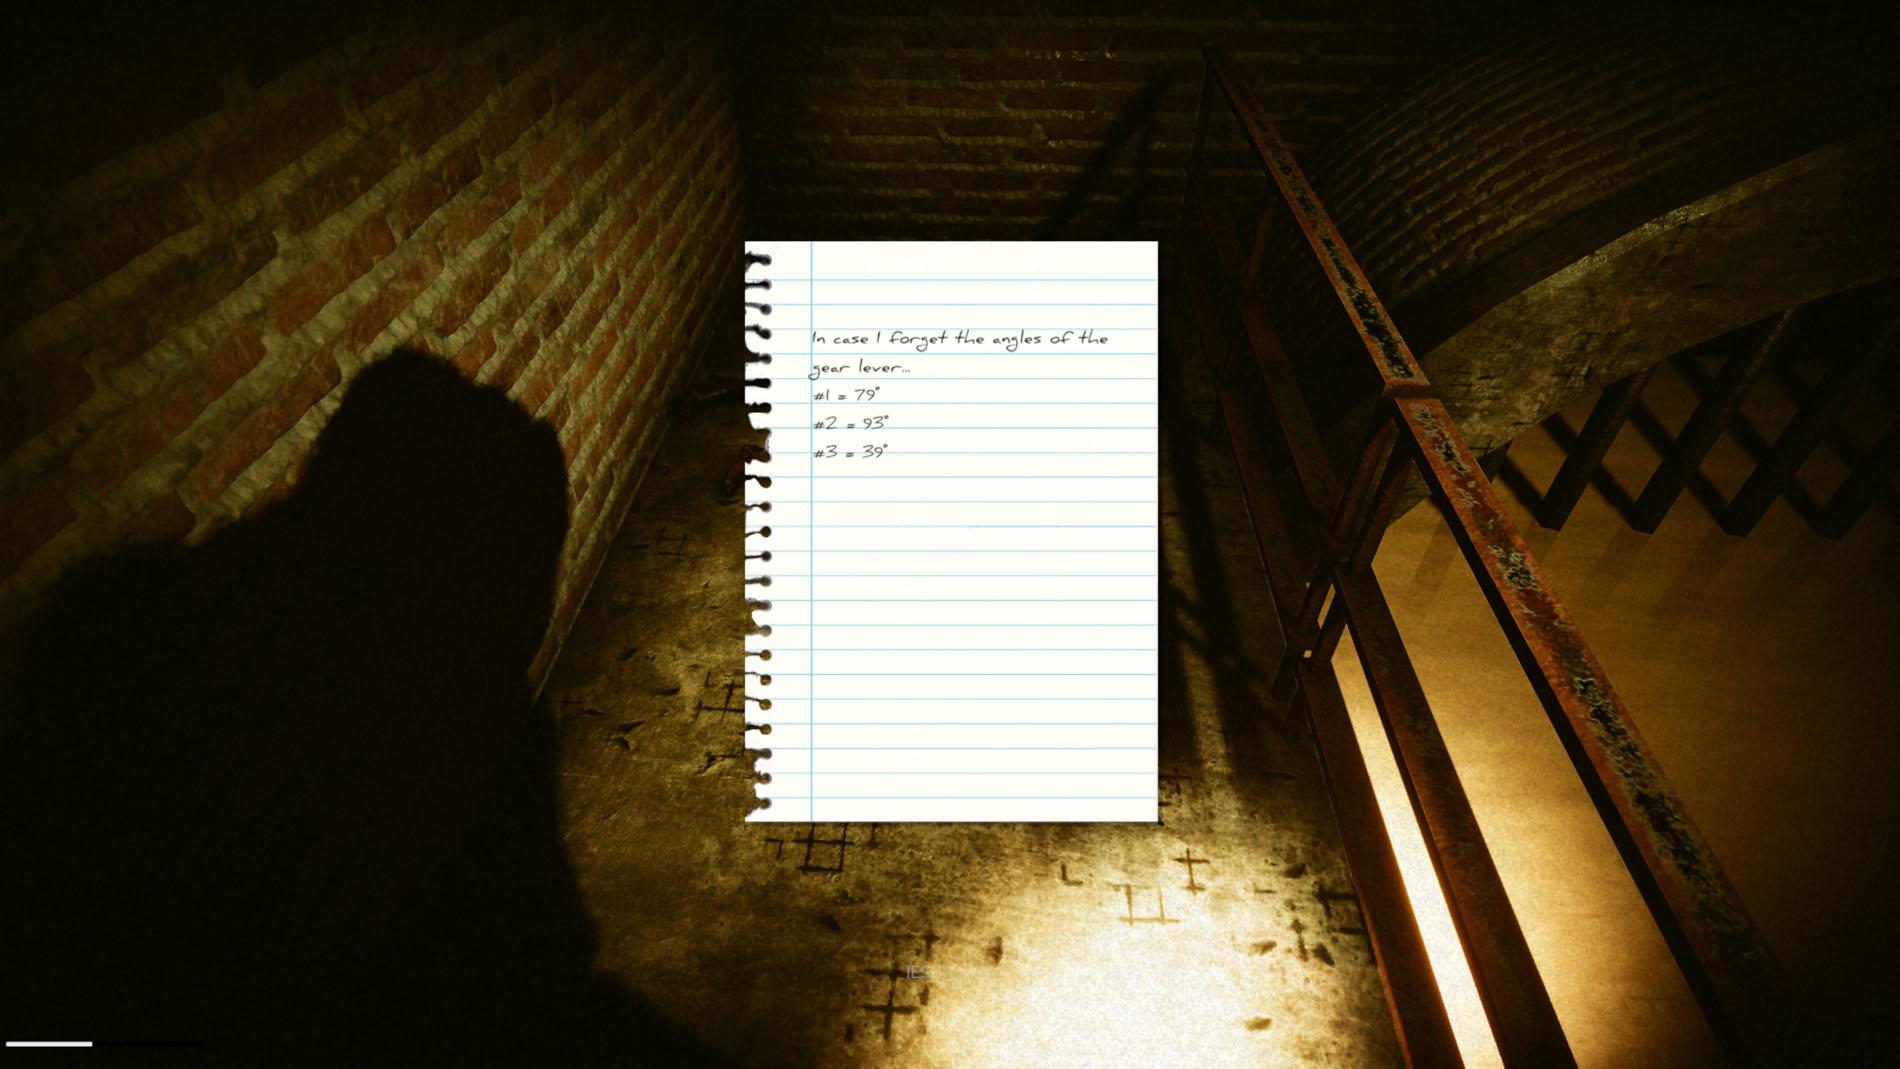
- #1 is the biggest one on the left side.
- #2 is the one on the right side.
- #3 is the smallest one at the bottom.
Now turn it from the left side til the point where you should stop it according to the note.
If you´ve done it right, both lights on the left and right side will be green and you can enter the cells behind you.
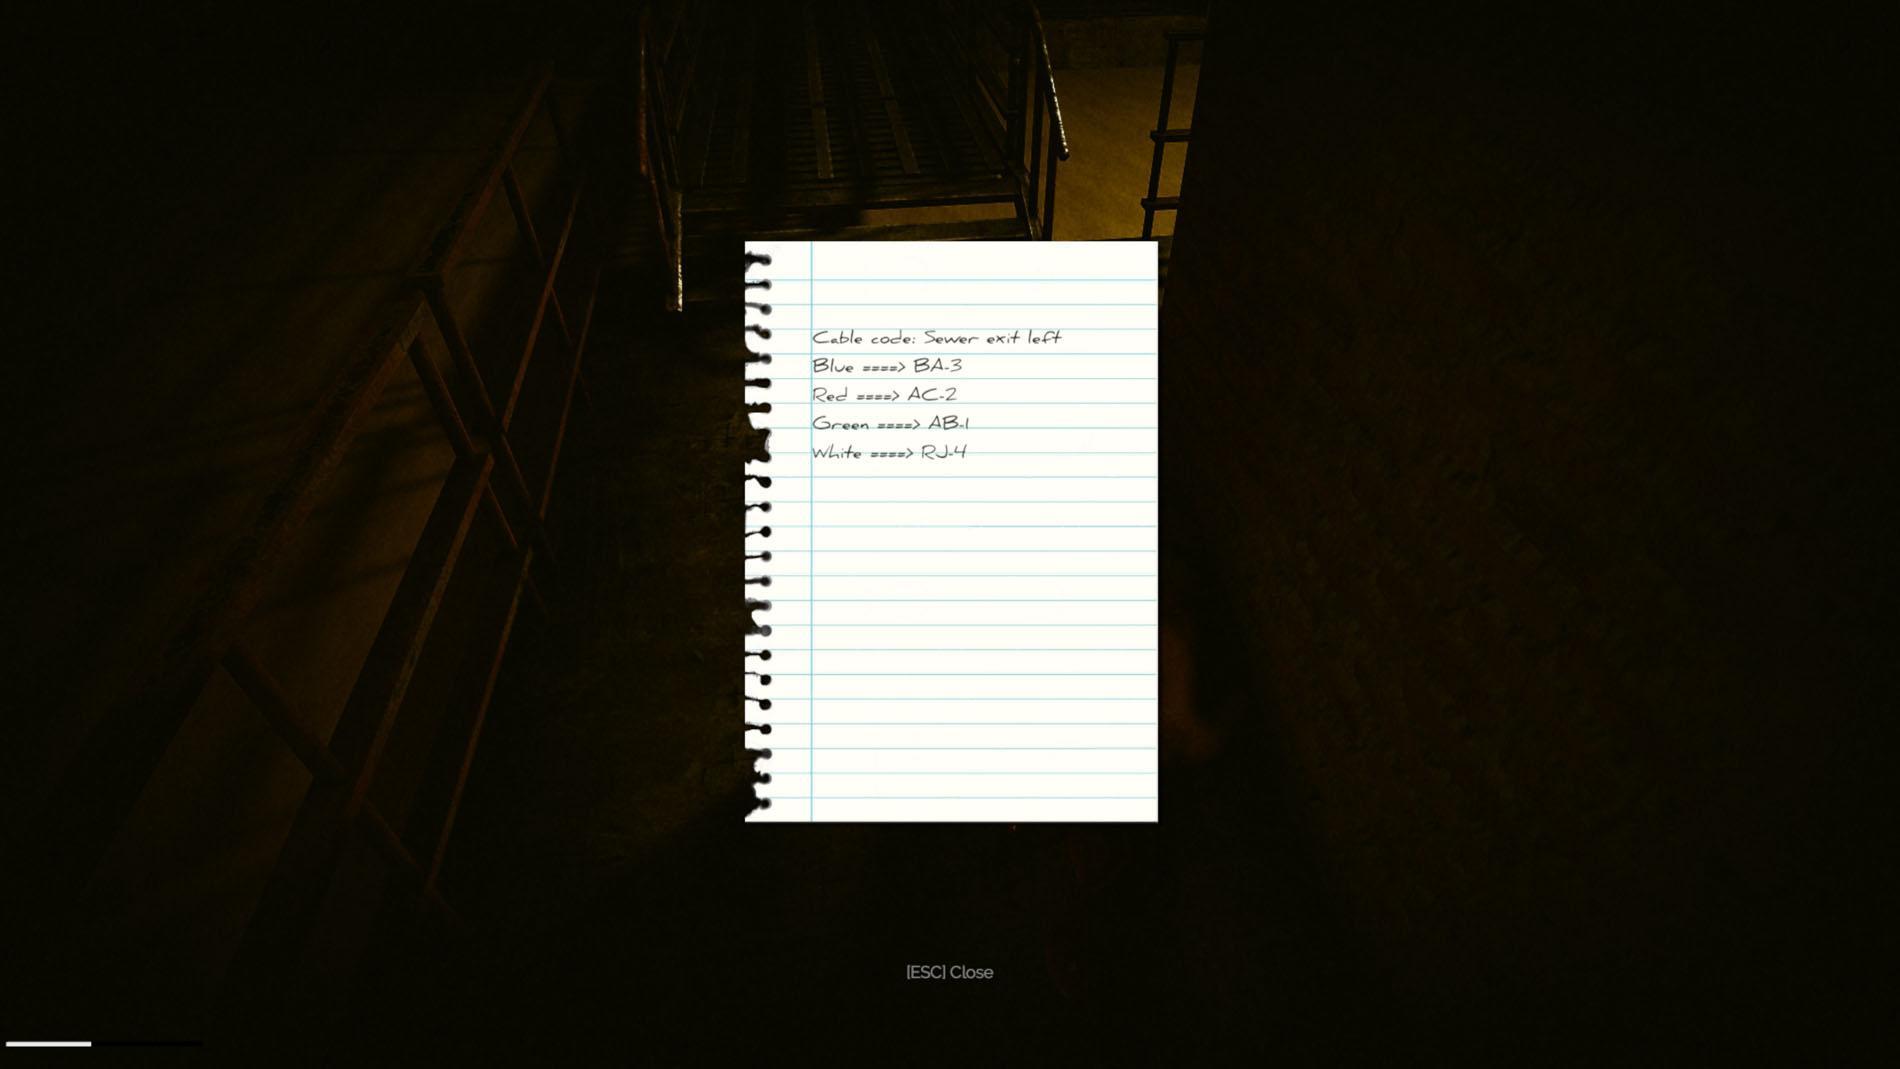
You will find the key for the exit and also a new note with a third cable code.
Don´t forget this note or you will have to run through the whole map twice again like me. -.-
The Exit Room
Yeay! If you´ve done everything right and collected all notes, then you just have to be patient for like a few more minutes.
Now finally… go to the exit door and open it. You will not believe your eyes. Cute lil baby rats!

There are pretty many and sneaking hasn´t worked out for me, so just run as fast as possible to the right side and over the bridge. The rats will follow you until you cross the bridge and leave you after it. Some crates and “Motherrat” are entering your view now. On both sides of “Motherrat” are boxes which need to rewire again.
Look at your notes and rewire them. If you finished the boxes, take a last look at “Motherrat” and enjoy that she eats this annoying doggo from “The Dark Rooms”.

Run back through the baby rats and take the door, which can be opened now. You did it!
Take a deep breath and watch your well deserved cutscene.
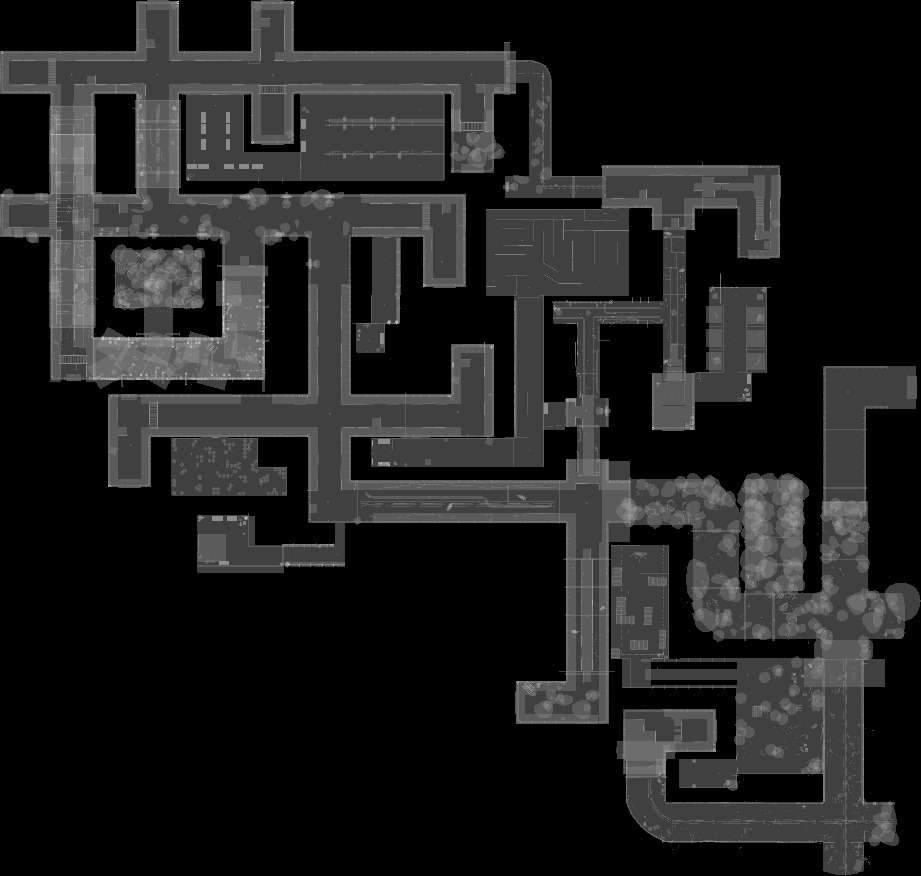
Sewer Level Map
Click to enlarge…
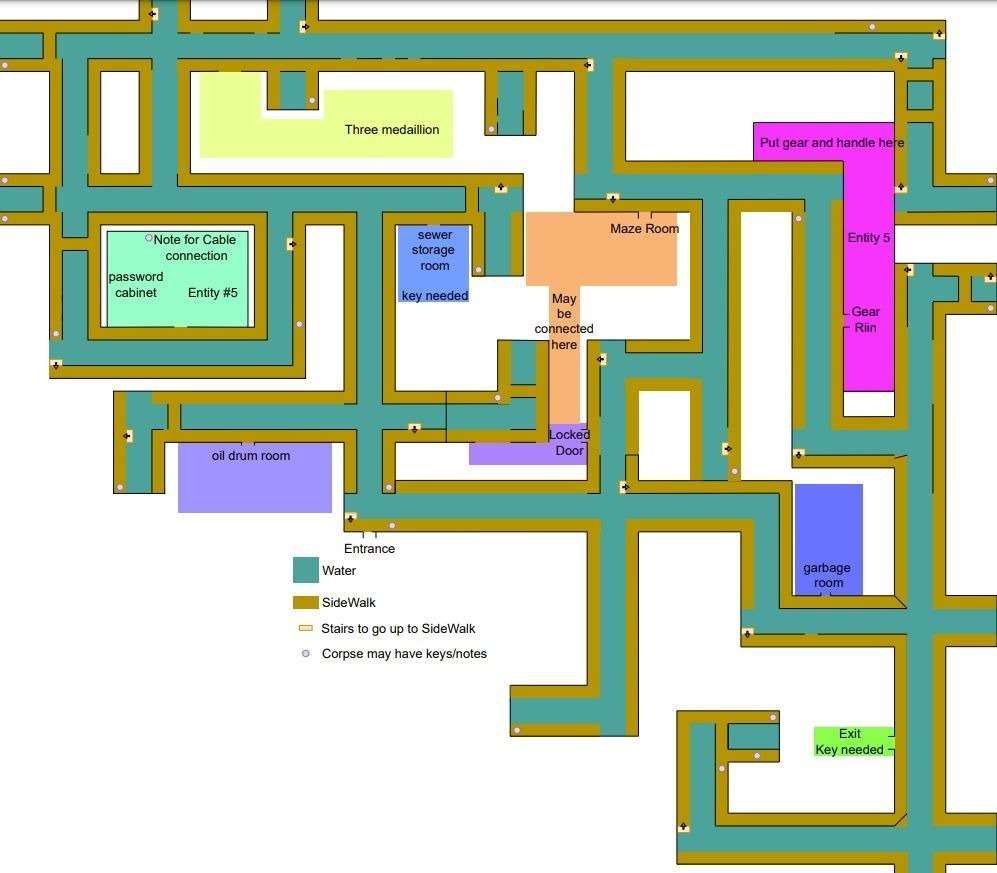
Map with notes:
FAQ
How Many Floors / Levels?
- Dark Room
- Parking
- Office Rooms
- Pools
- Sewerage
- Terror Hotel
How to Unlock the Sewerage Map
To begin, navigate your way out of the parking lot and head towards the elevator. Once there, install the fuses you acquired at the beginning from behind the red door. Continue on to a room where agents are gathered, seemingly having a birthday party. Then, approach the wall with a red button to initiate the birthday day games.
After successfully completing the birthday games, you should exit the room in possession of a red card. On your way out, look for a door with a red button. This button opens the room from where you initially descended into the parking lot. Locate the red door, unlock it, and you will have access to both the sewerage and the terror hotel after completing the sewerage level.
How to Unlock a Hotel Level If It Doesn’t Work
If you encounter an issue unlocking the hotel level, there is a straightforward solution. Utilize the Steam Achievement Manager. Simply download it from the internet, and use it to unlock the achievement indicating you have escaped the sewer level. Following this, the terror hotel level should become accessible.
This whole guide just reads like “Get the item in a room that connects to another room that’s near a room that’s a room.”
Maybe give some directions or something?
Just so yall know pickup the bucket where the petrol cans are so you can pick up human flesh after the gears are done. You can distract the baby mice with that but dont use all of it you only have 5 to use.
Why I cannot find the white door after I died in the new level?Is it a bug or something?
After the maze of cell doors how are you suppose to open the door with a chain on it?
you need the pliers, with which you also opened the door to get from “The Darkrooms” to the “Parking Area”
Hey your guide is very good but it doesn’t says where the handle for the gears are
ITS IN THE SAME ROOM WITH THE LOCKER FOR THE MEDAL DECTECTOR ON THE GROUND IN THE OPPOSITE CORNER WALL