
Contents
Security Modifiers
Сrеdit gоеs to !
Titan Cameras
This security modifier makes security cameras indestructible but they can still be hacked. Titan Cameras apply on Very Hard mode.
Lead Guard
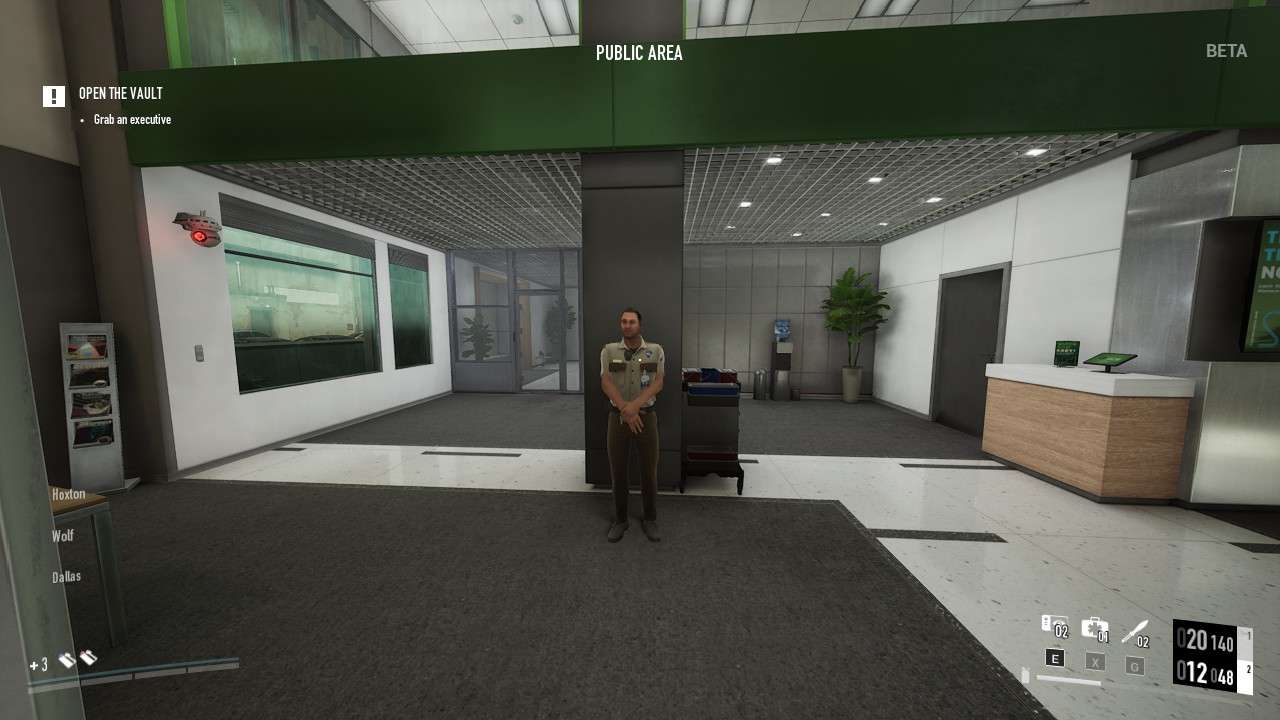
This security modifier adds an additional guard that is recognized for wearing a baseball cap that patrols the staircase and a little bit on each floor. He changes his patrol to patrol around the first floor exit when the vault opens and in most situations your stealth run might be over if he dies since he has infinite pagers that you must answer. ECM jammers or playing with other players online might save the run if he ever dies or calls the alarm. If you are optimistic then the Lead Guard is a really useful tool if you put a MicroCam on him you’ll be able to see where all the others guards are at since the Lead Guard will sometimes walk or stand where another guard can be seen for each floor. Lead Guard apply on OVERKILL mode
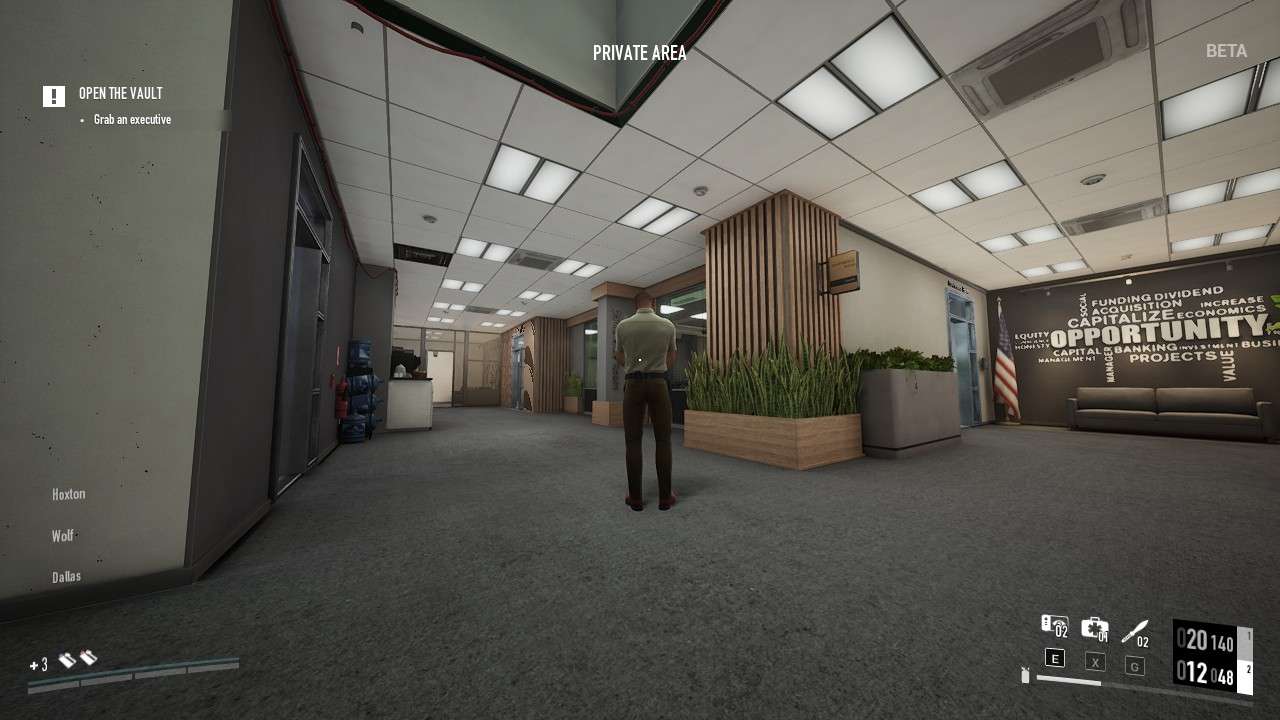
General Area Basics

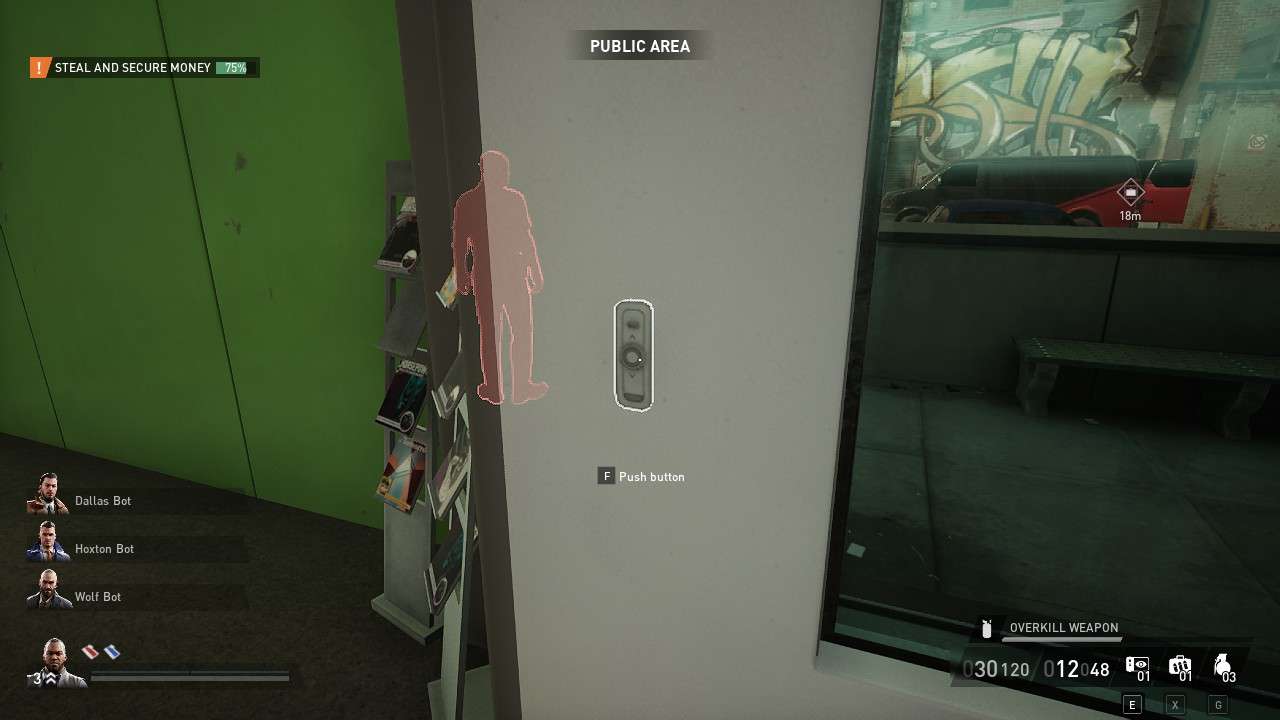
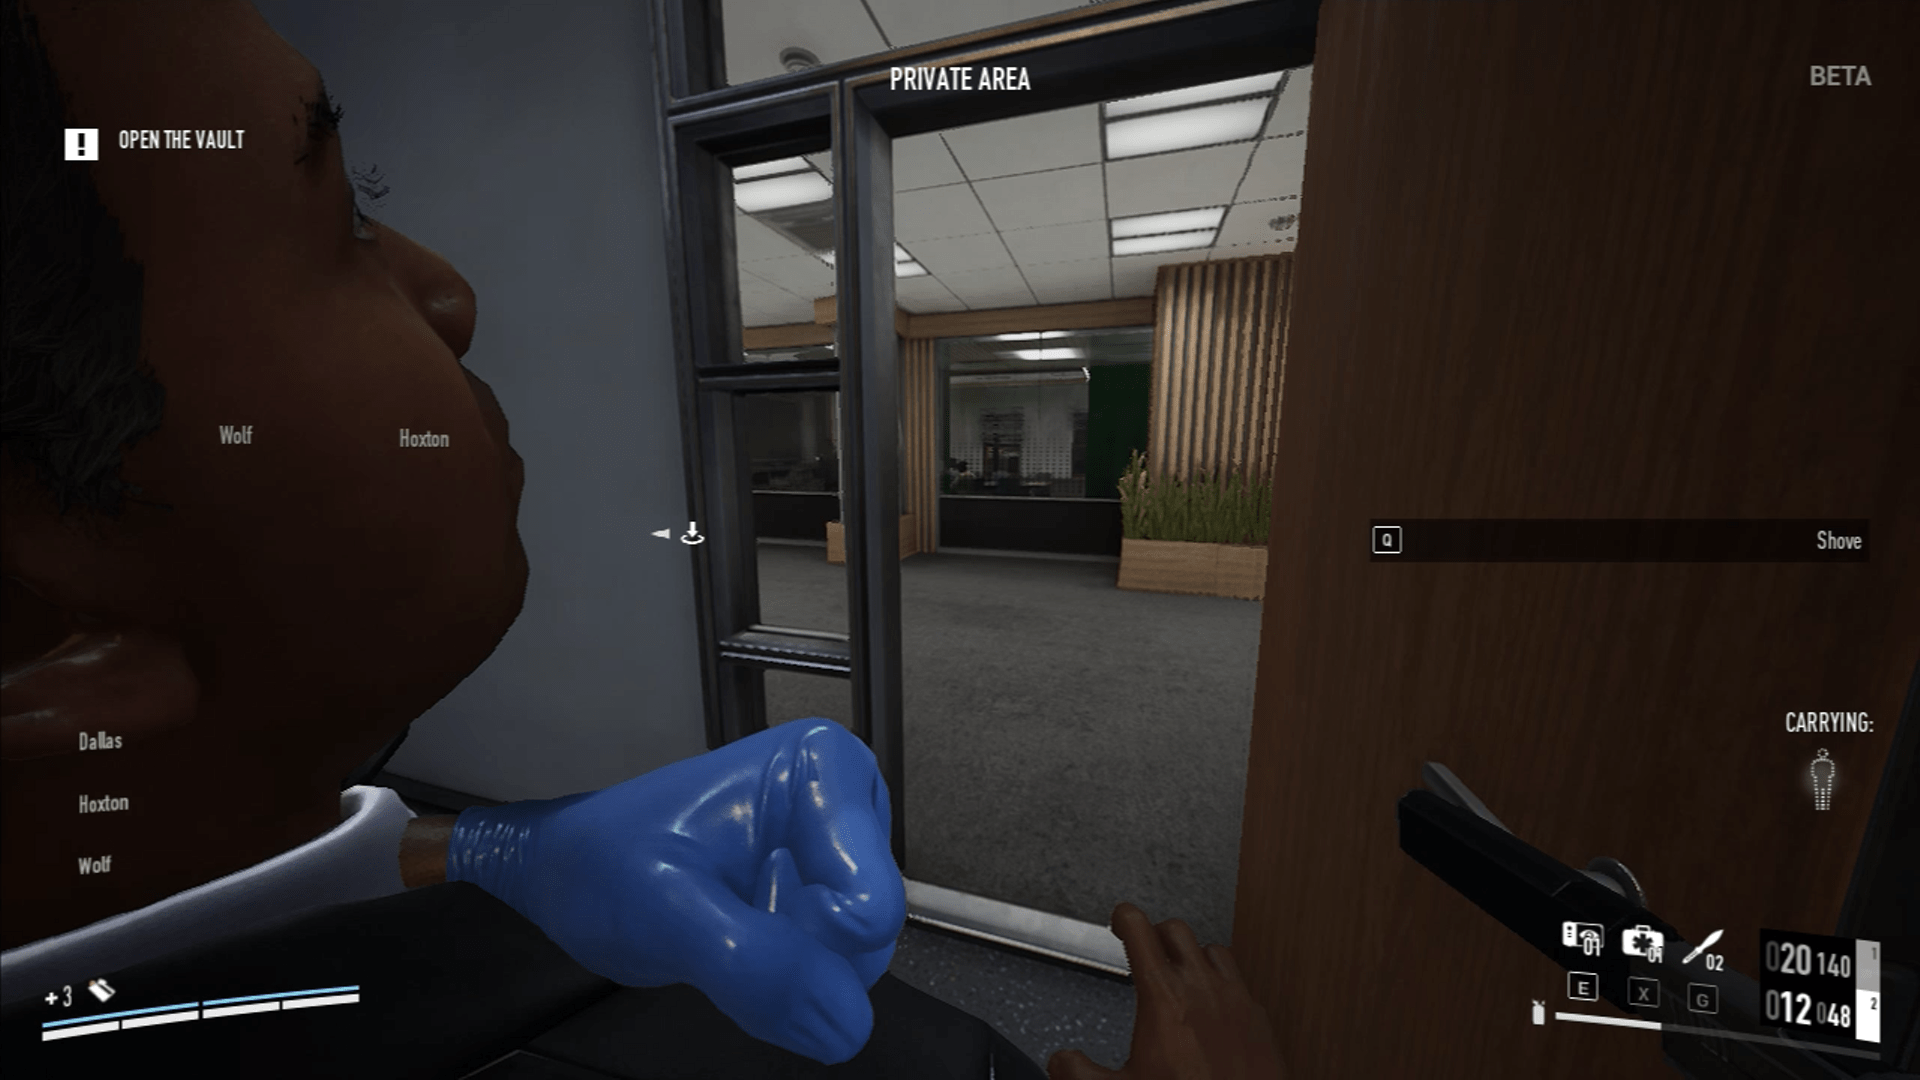
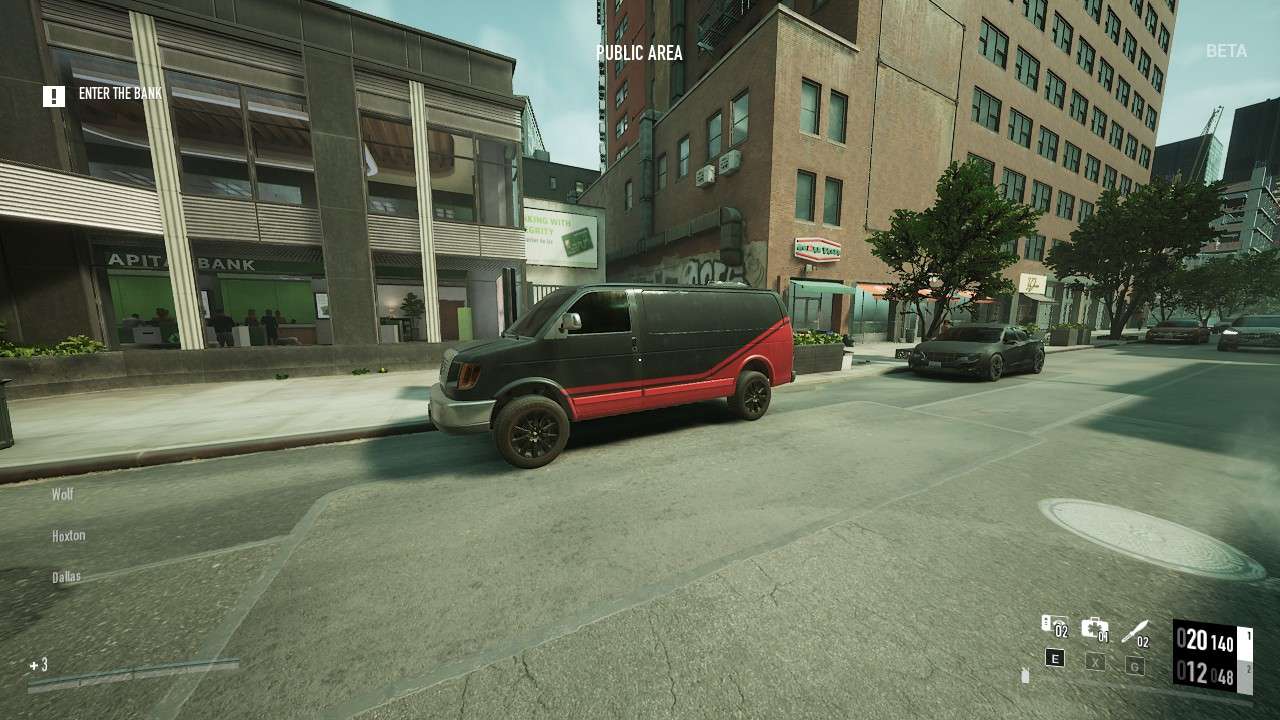
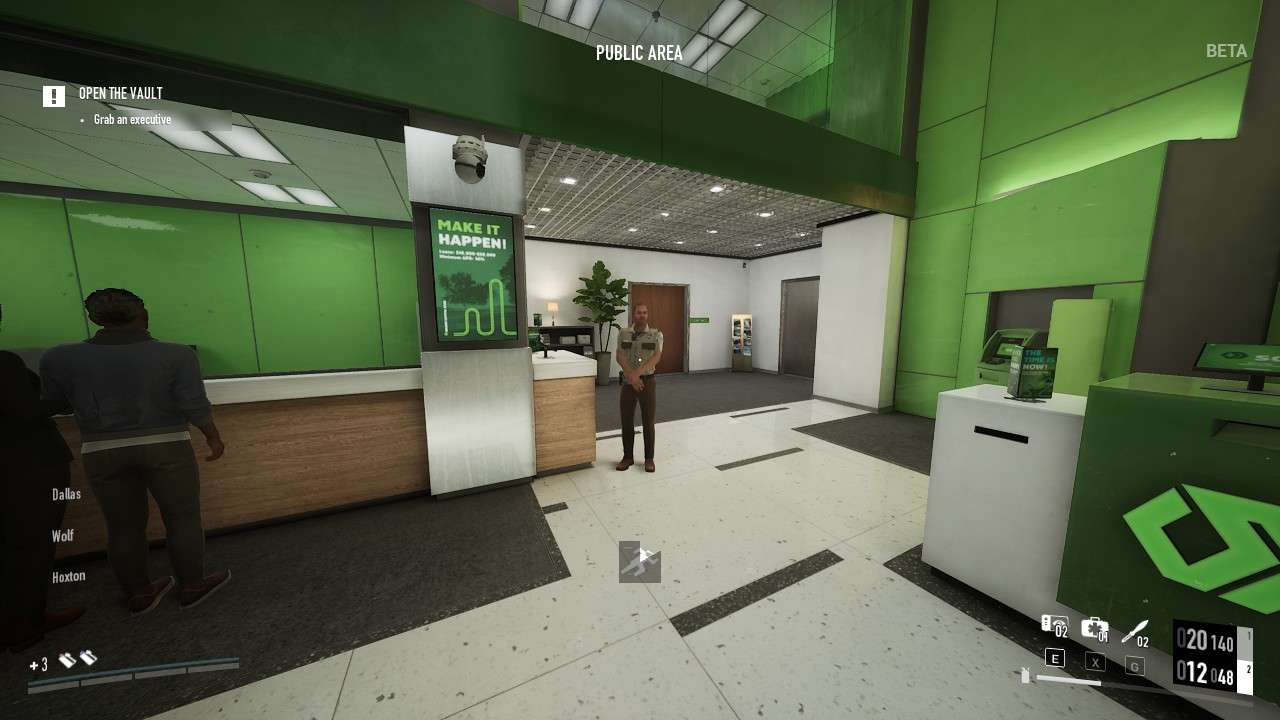
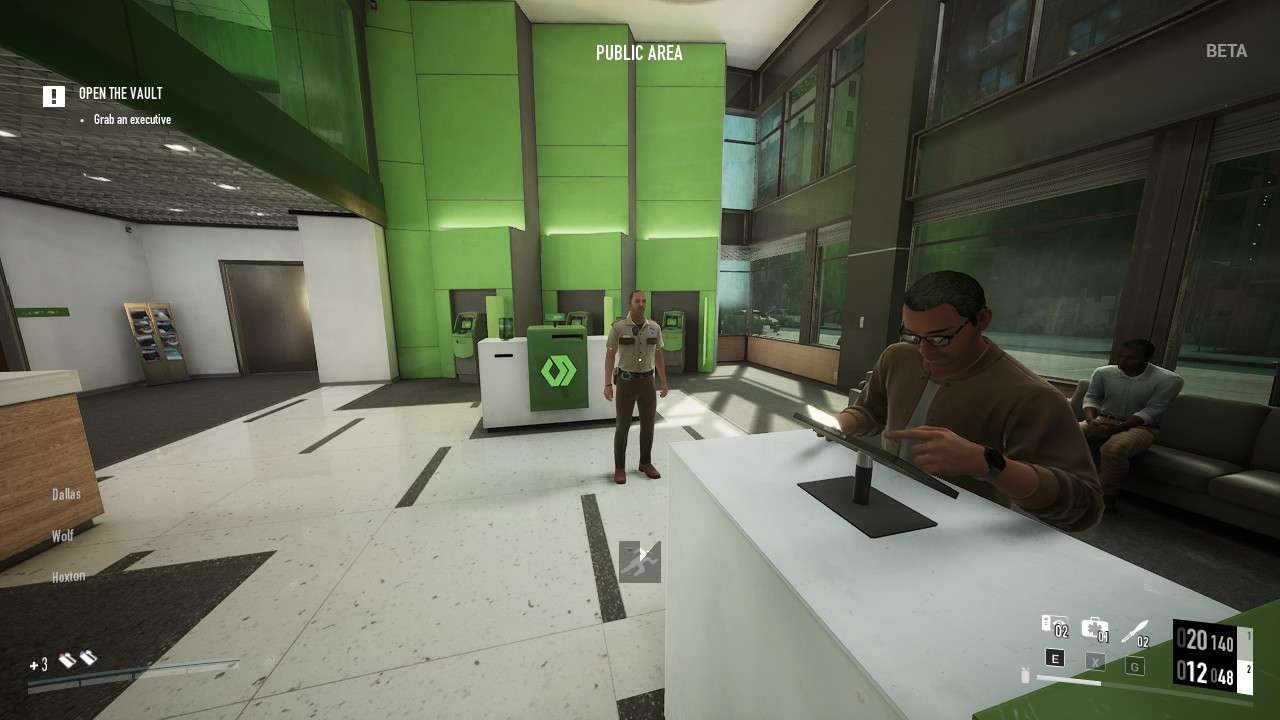
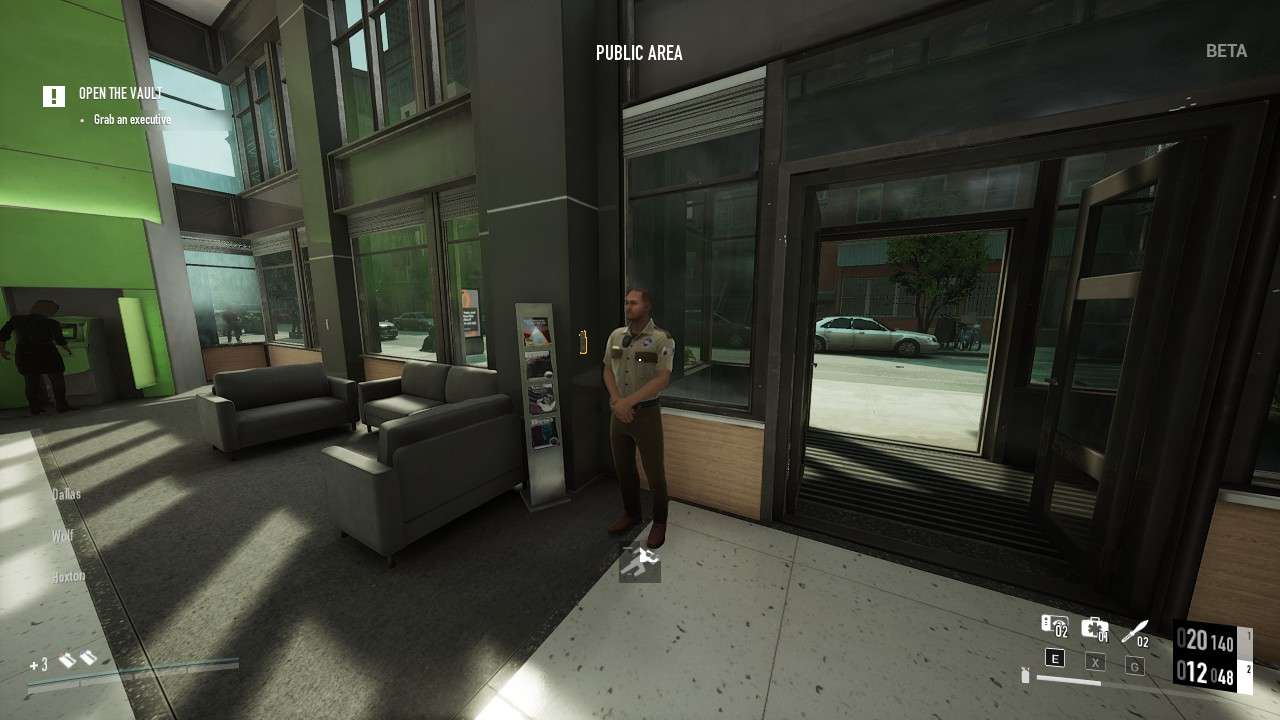
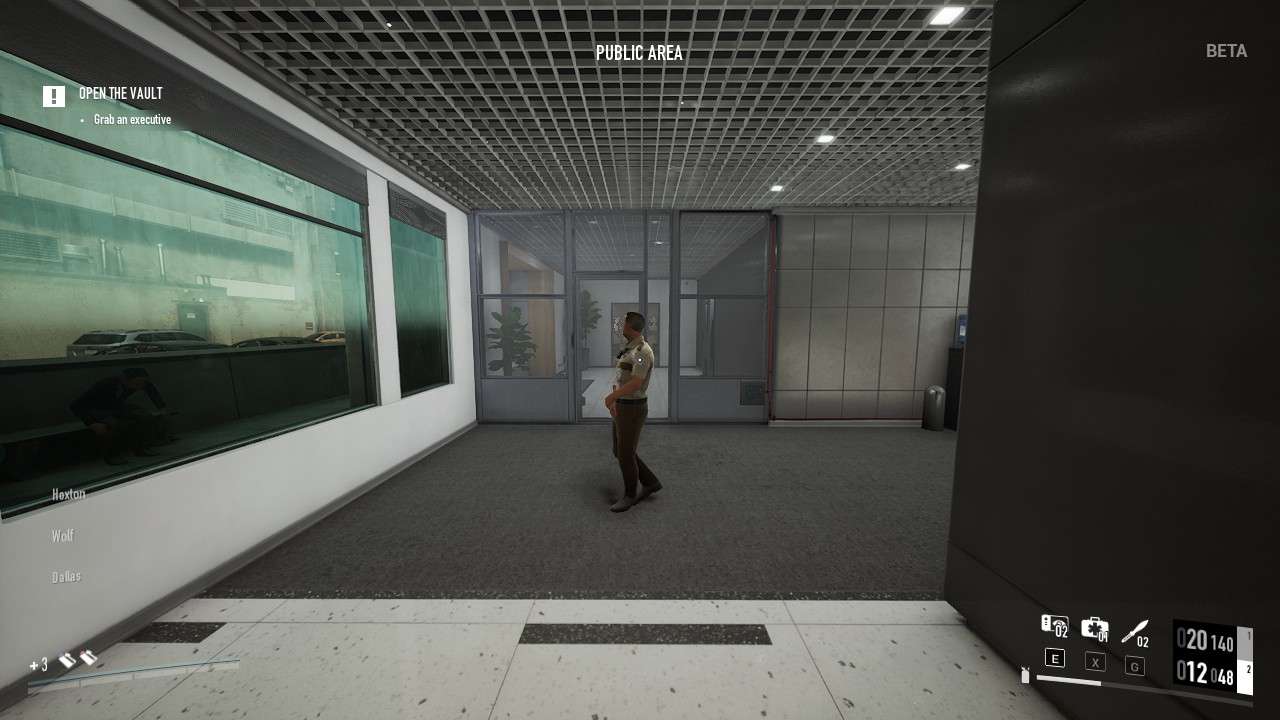
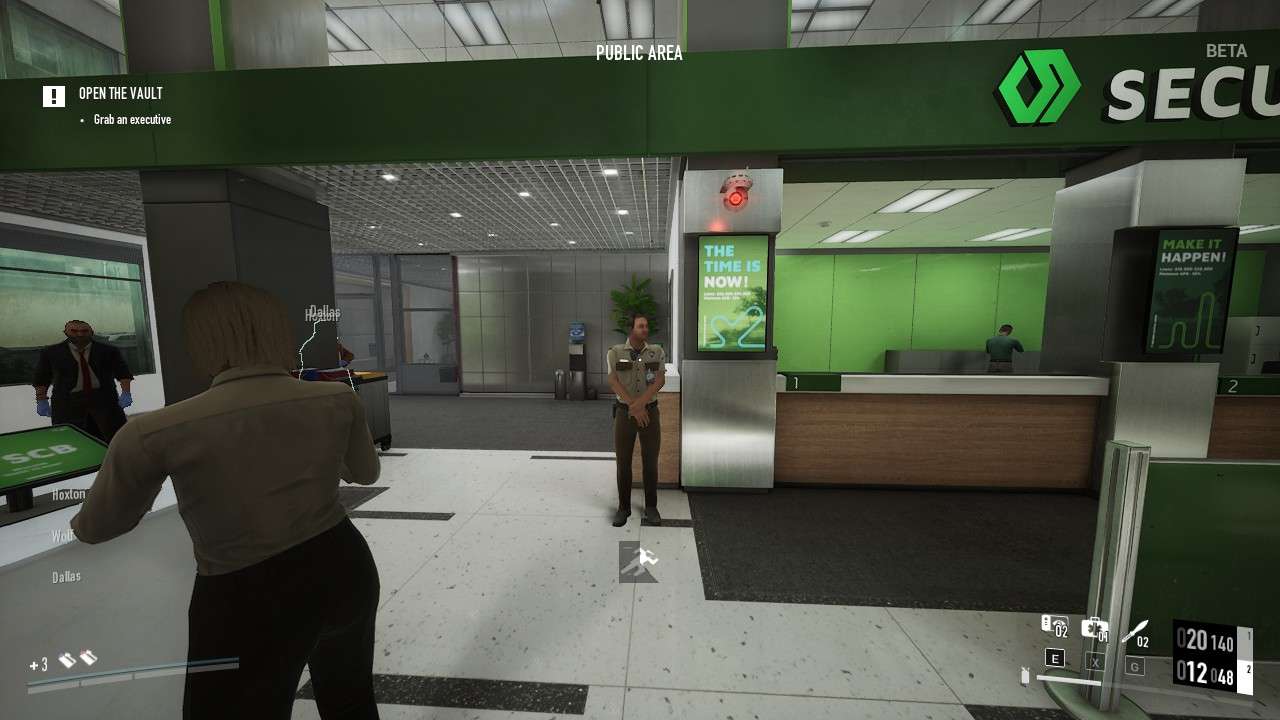
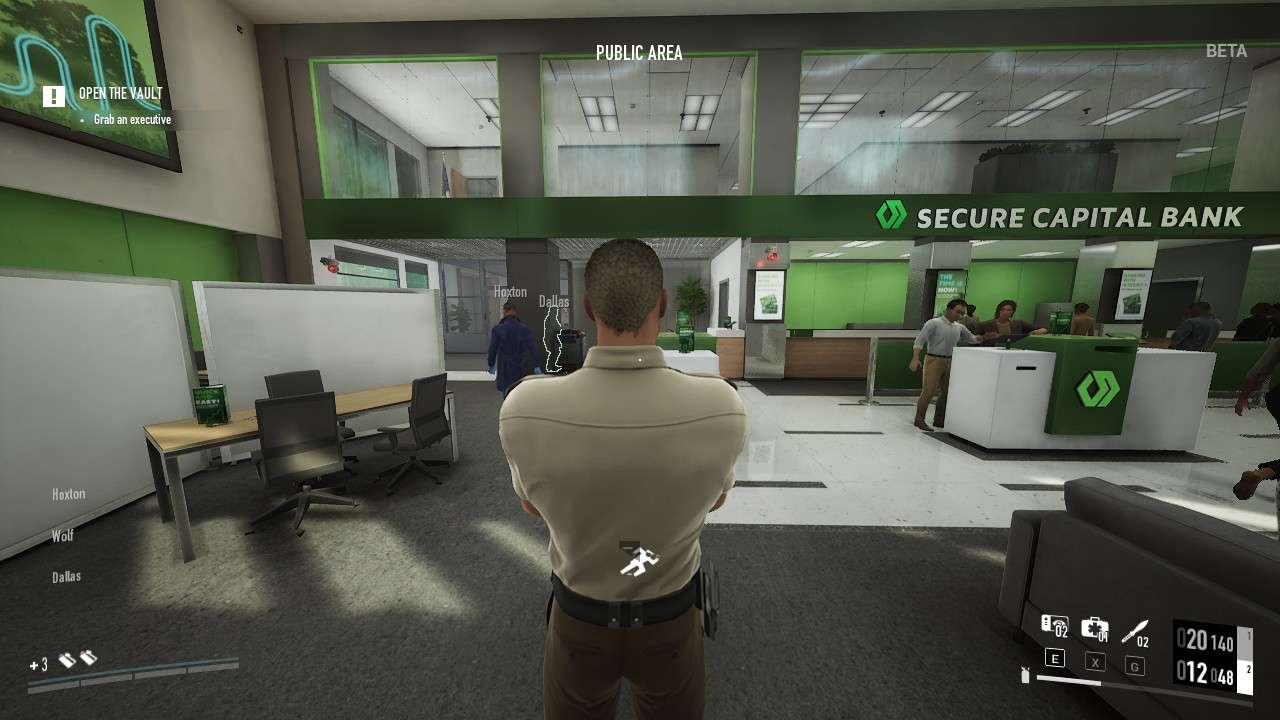
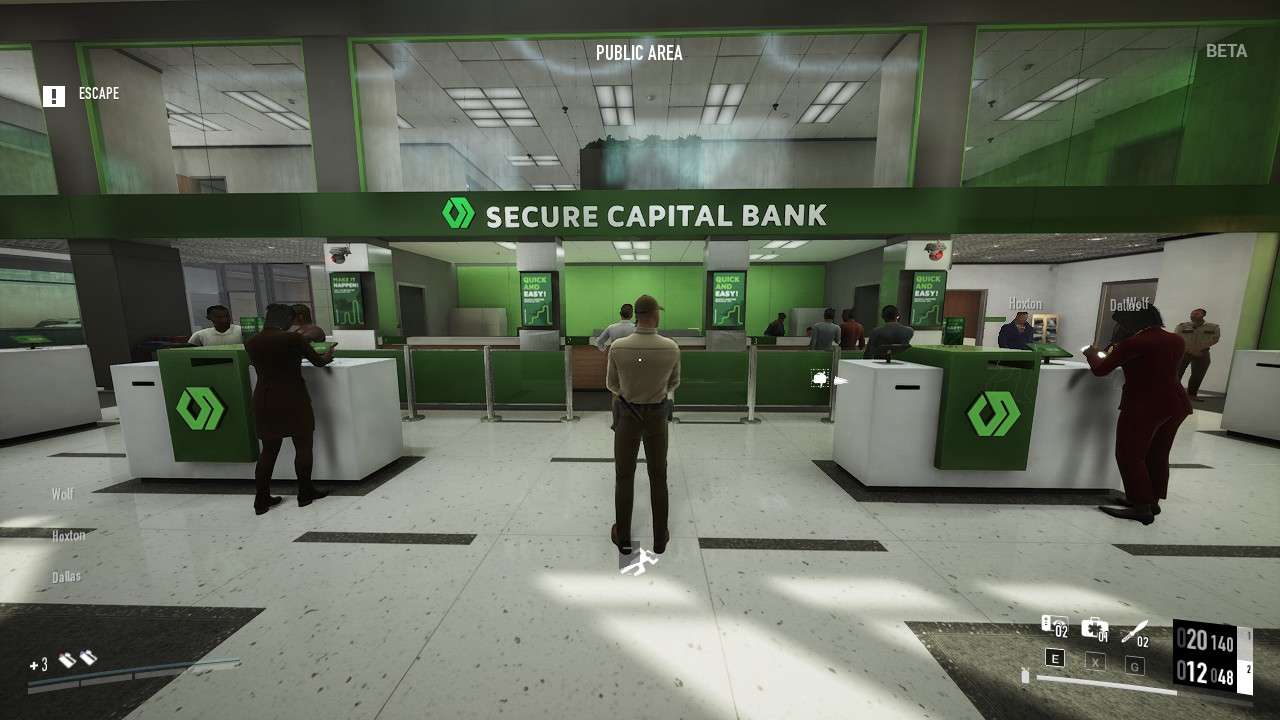
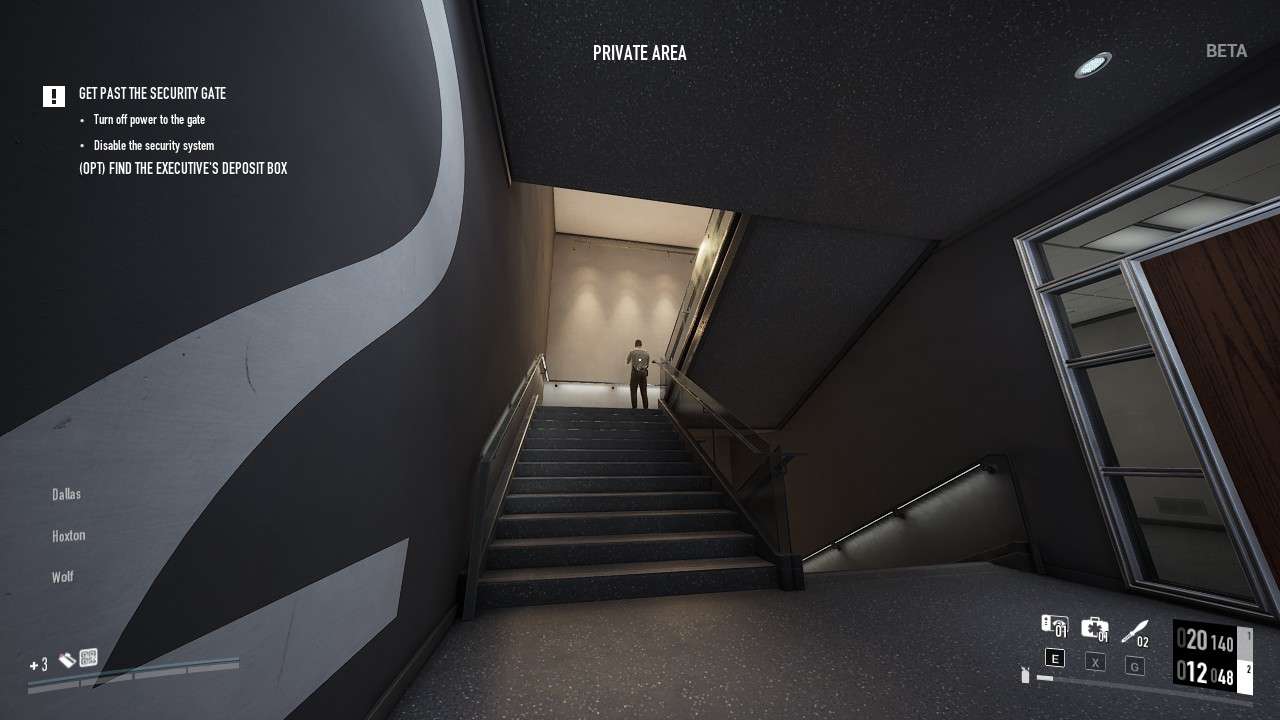
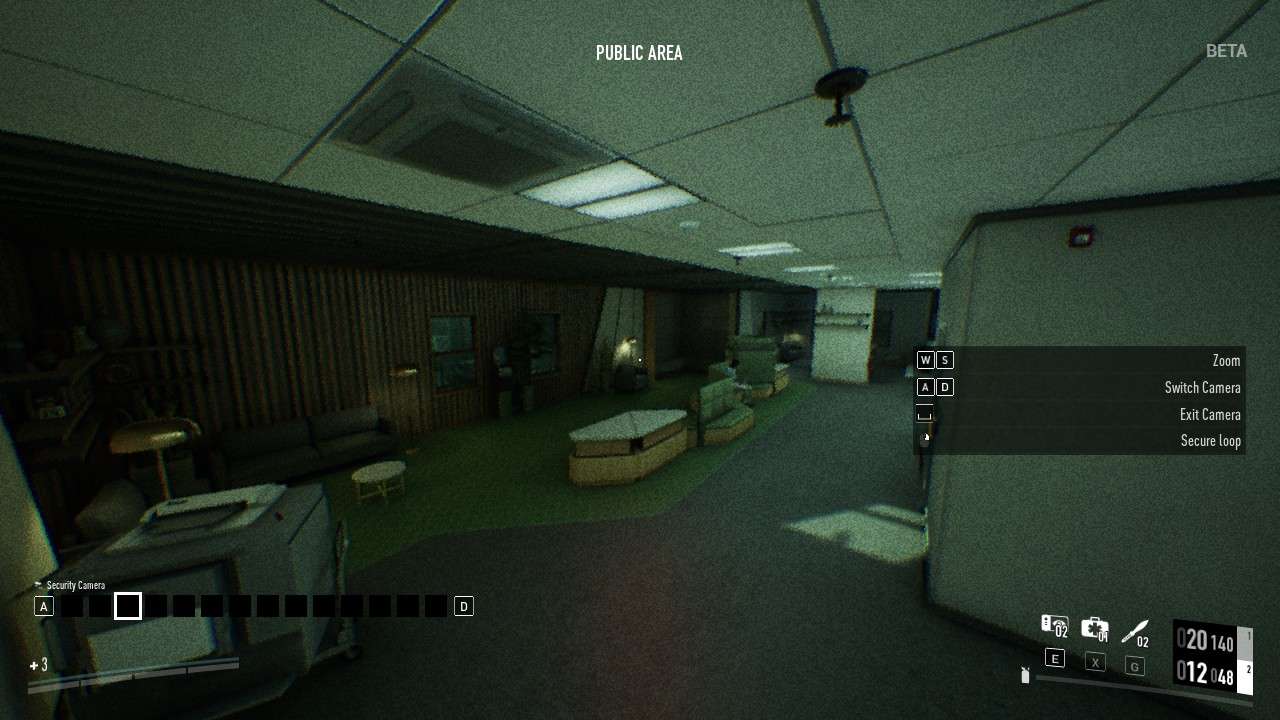
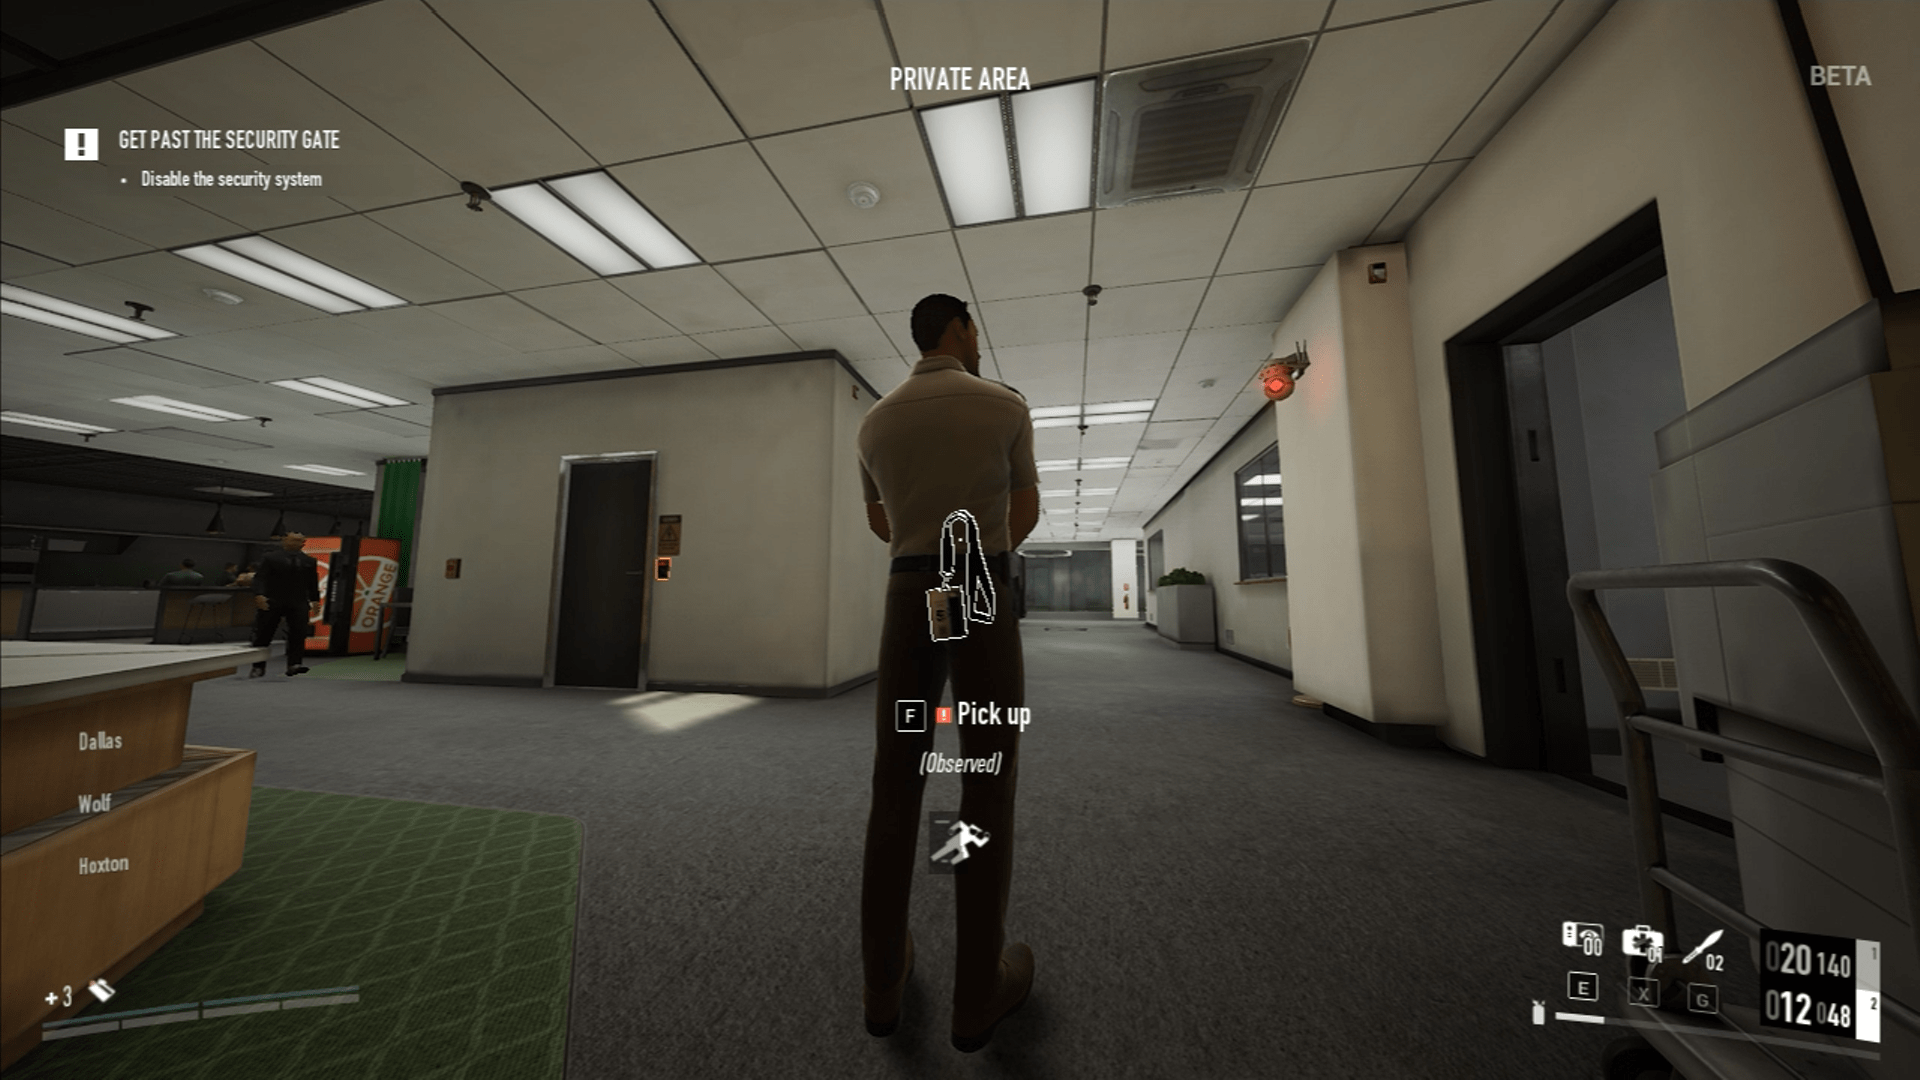
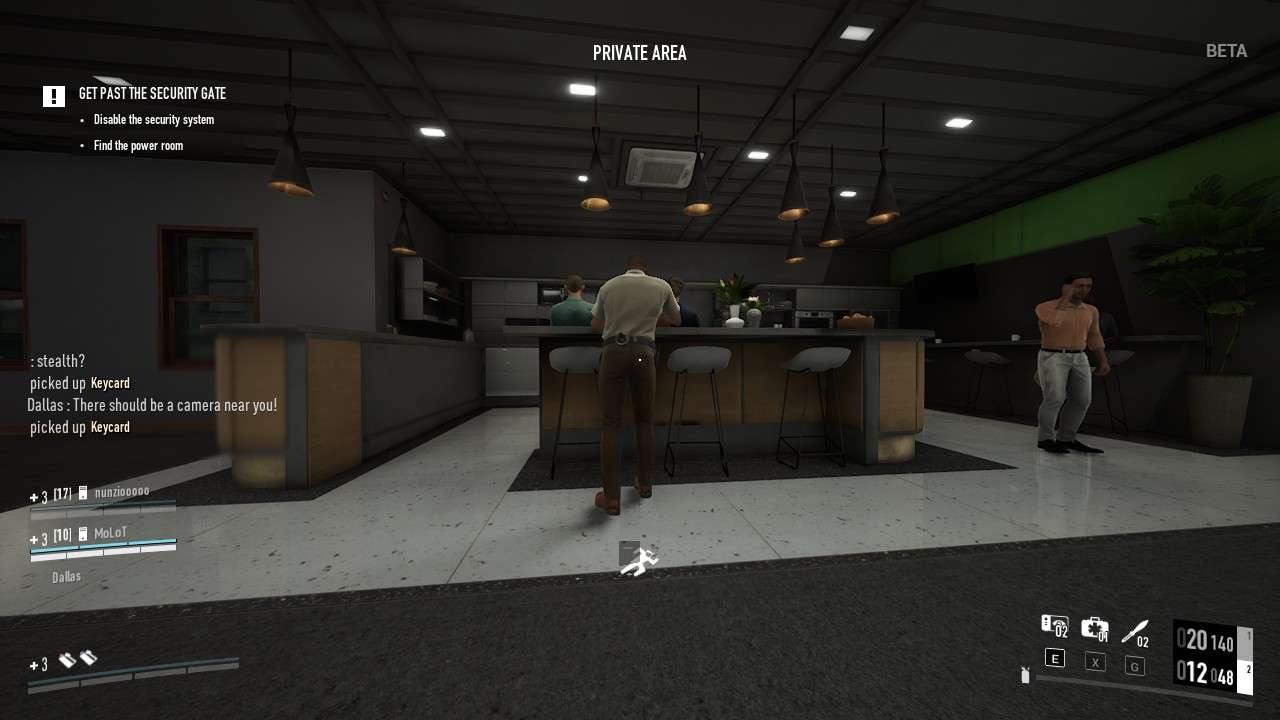
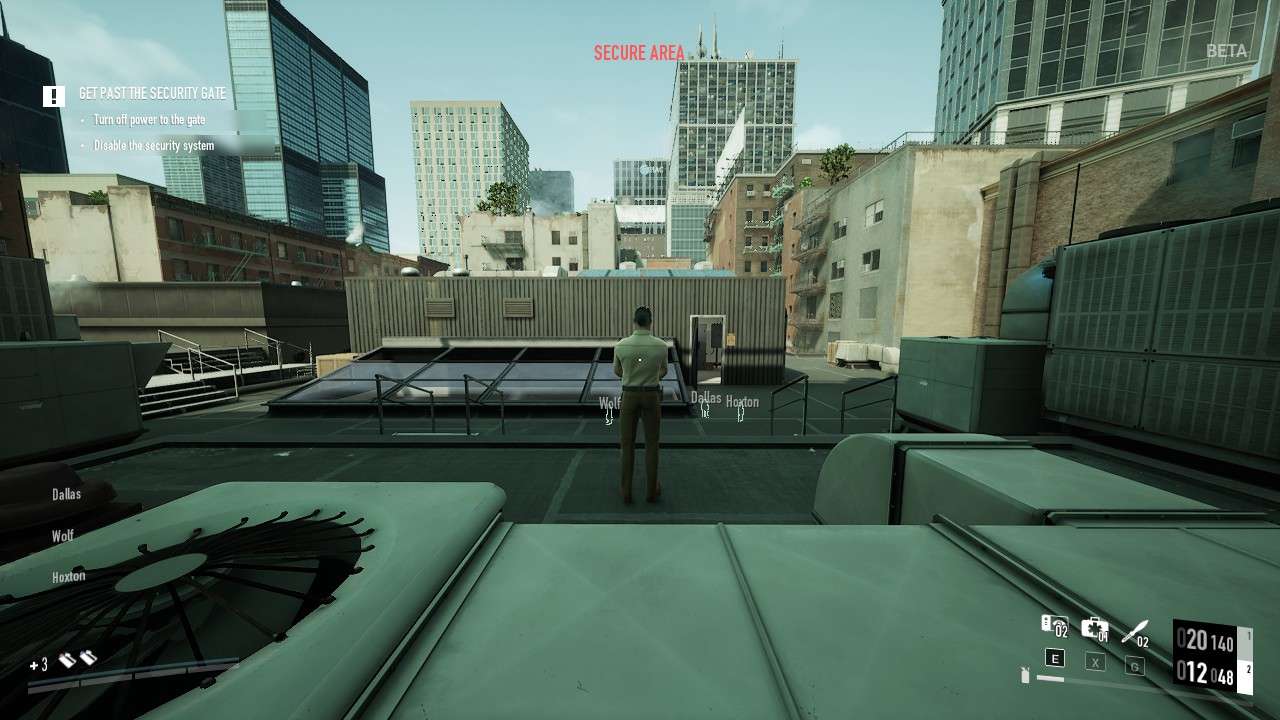
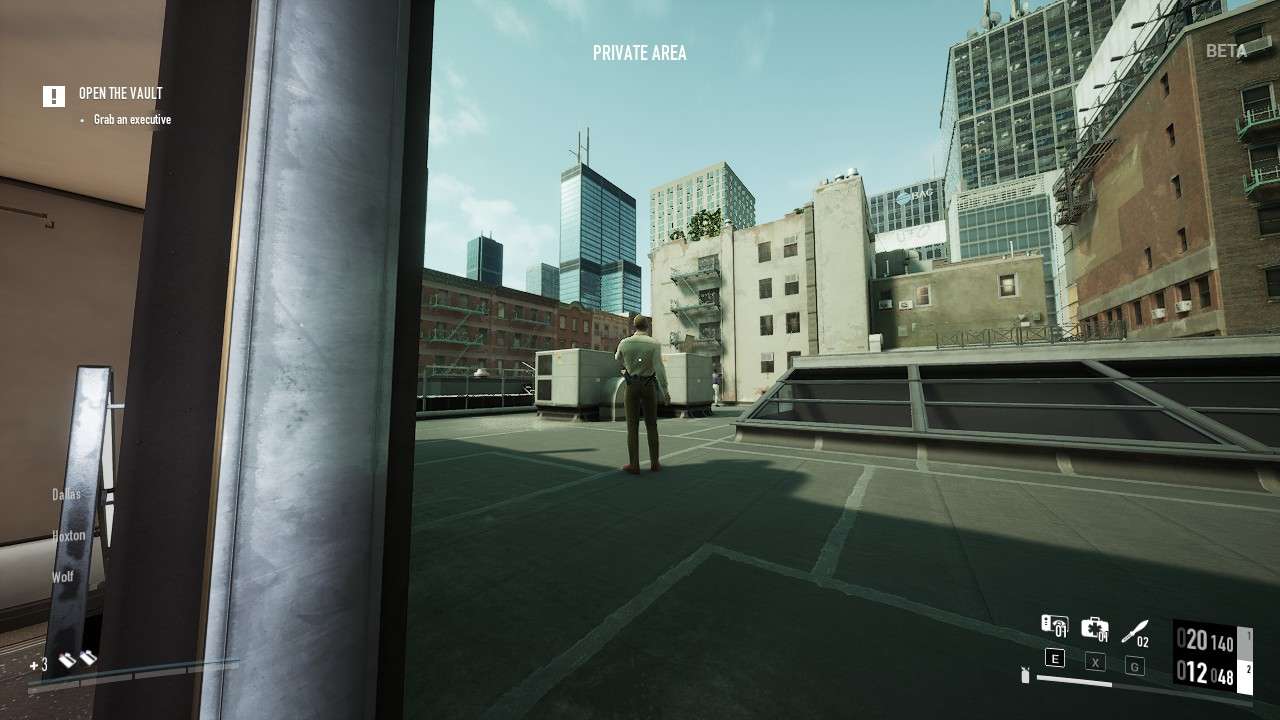
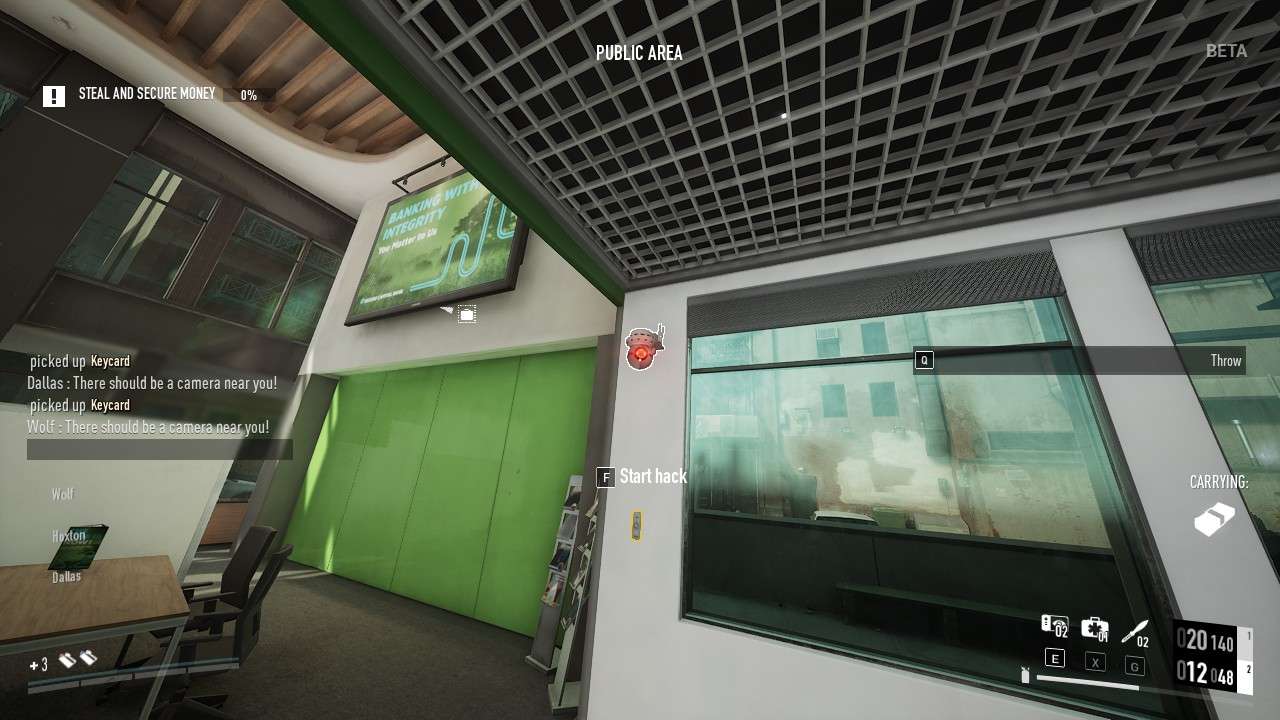
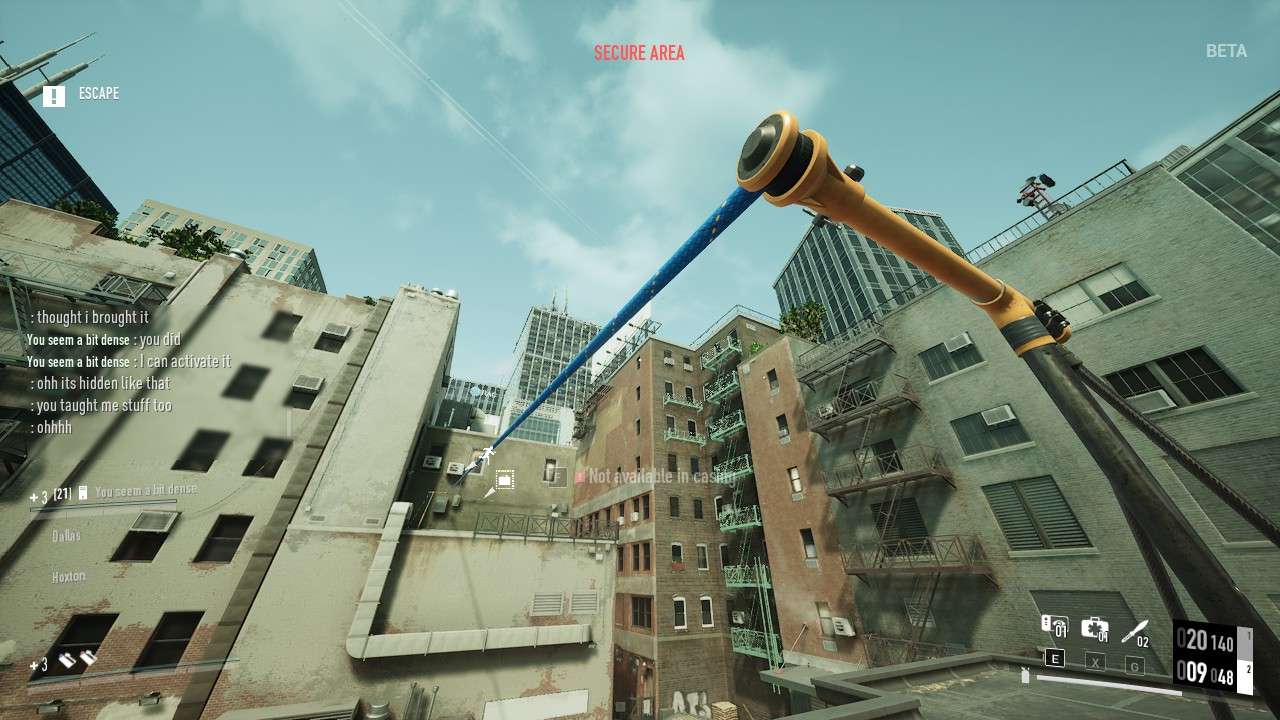
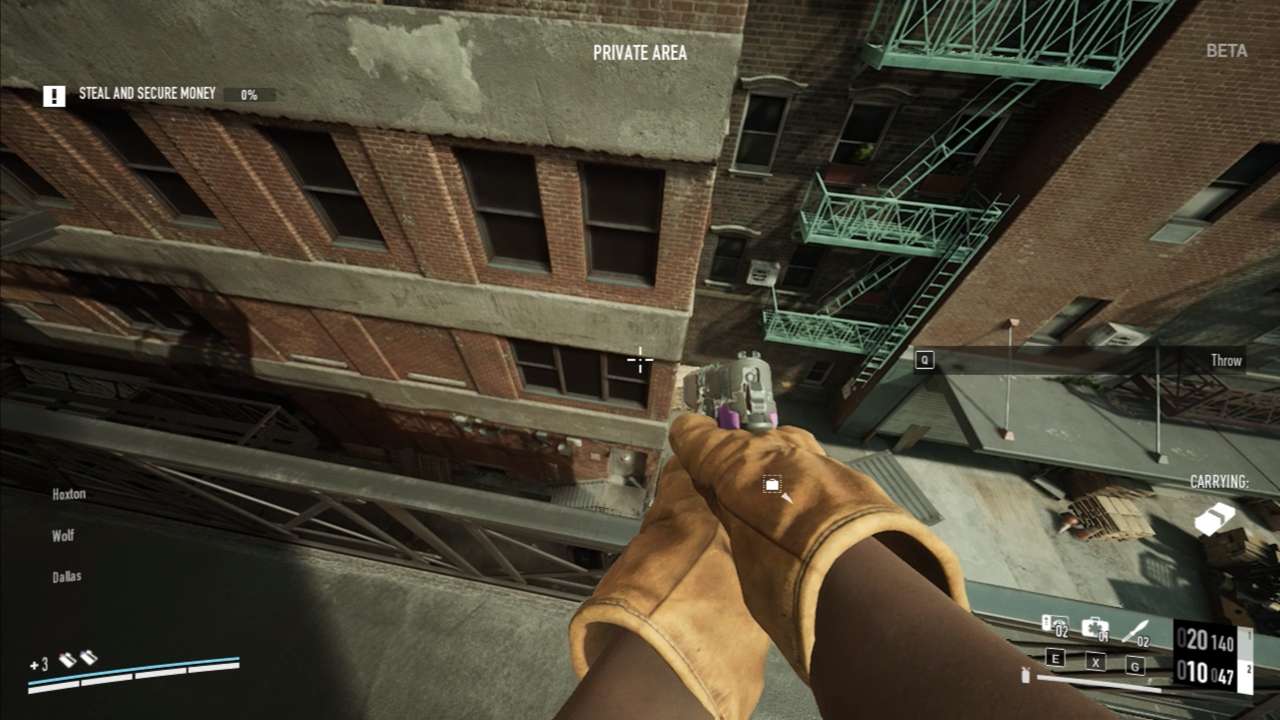
Areas labeled as “Public Area” mean you can’t be detected until you perform illegal actions

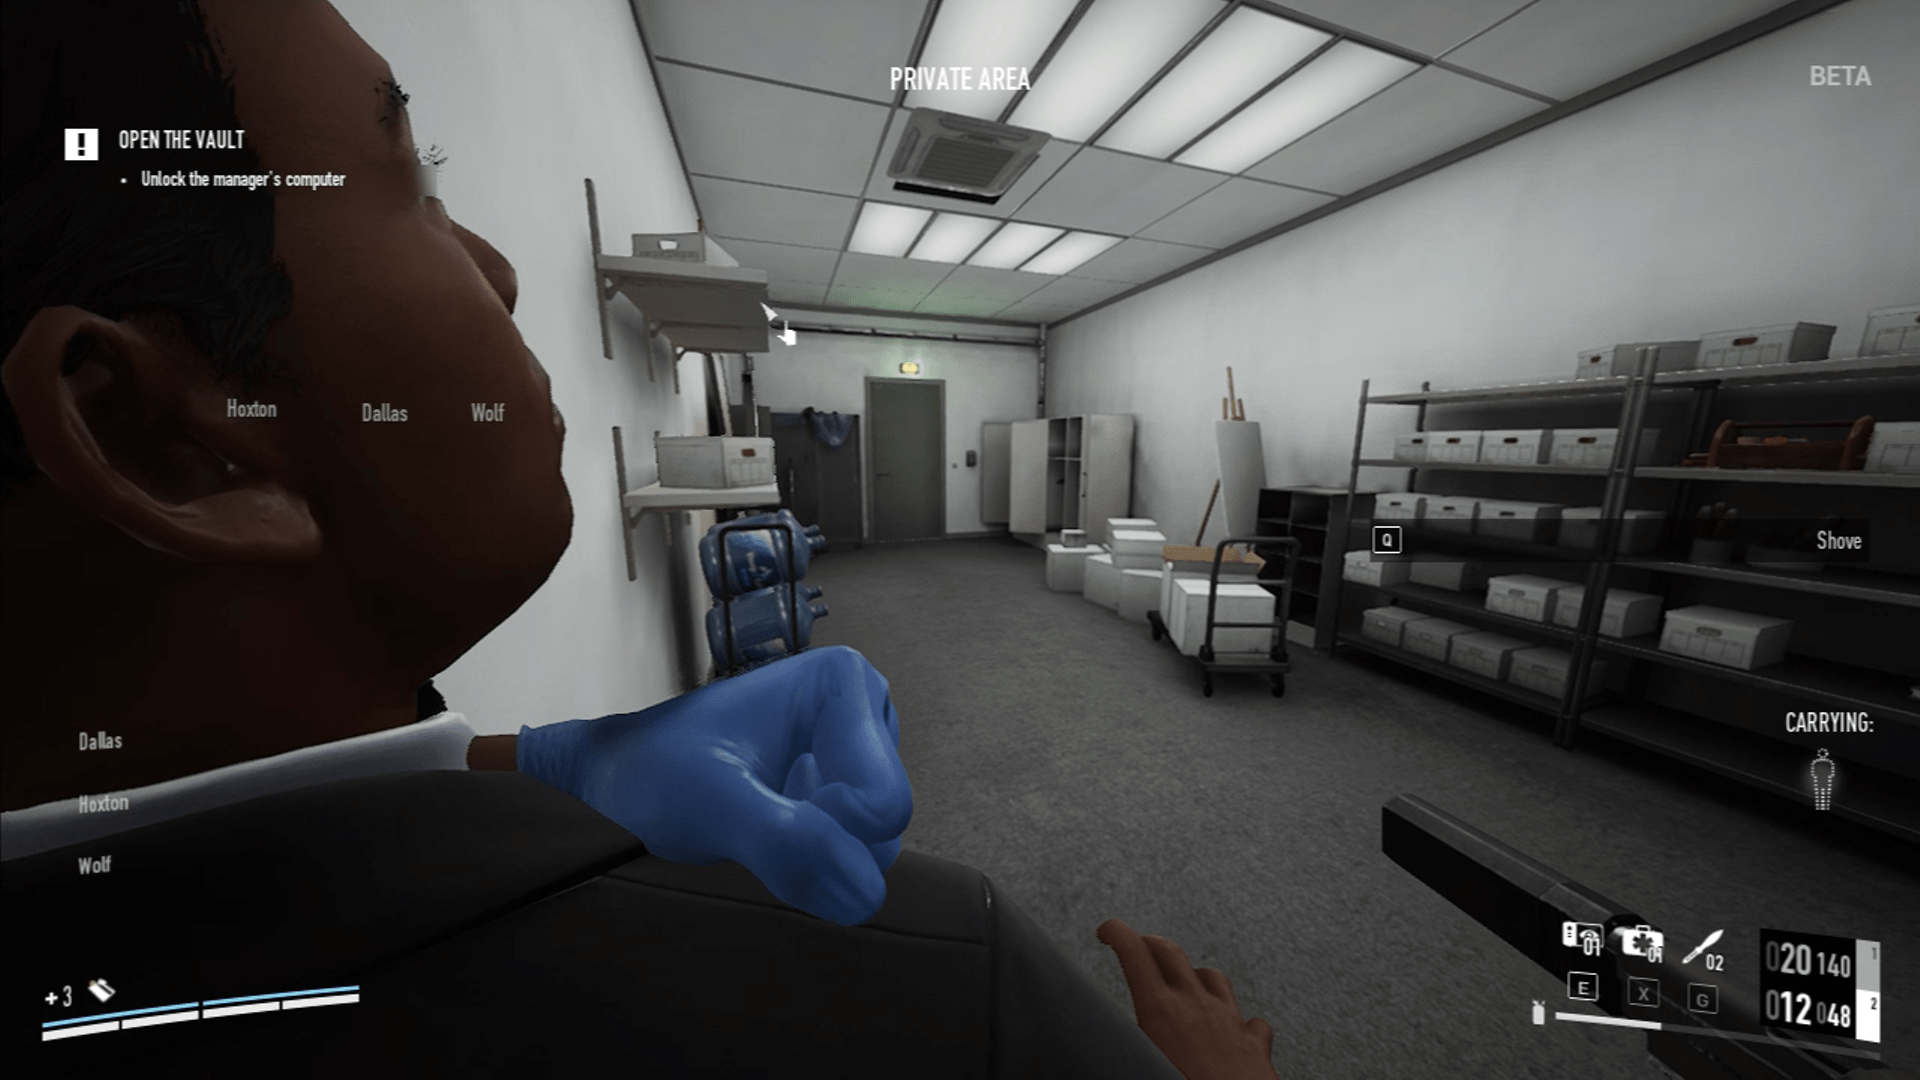
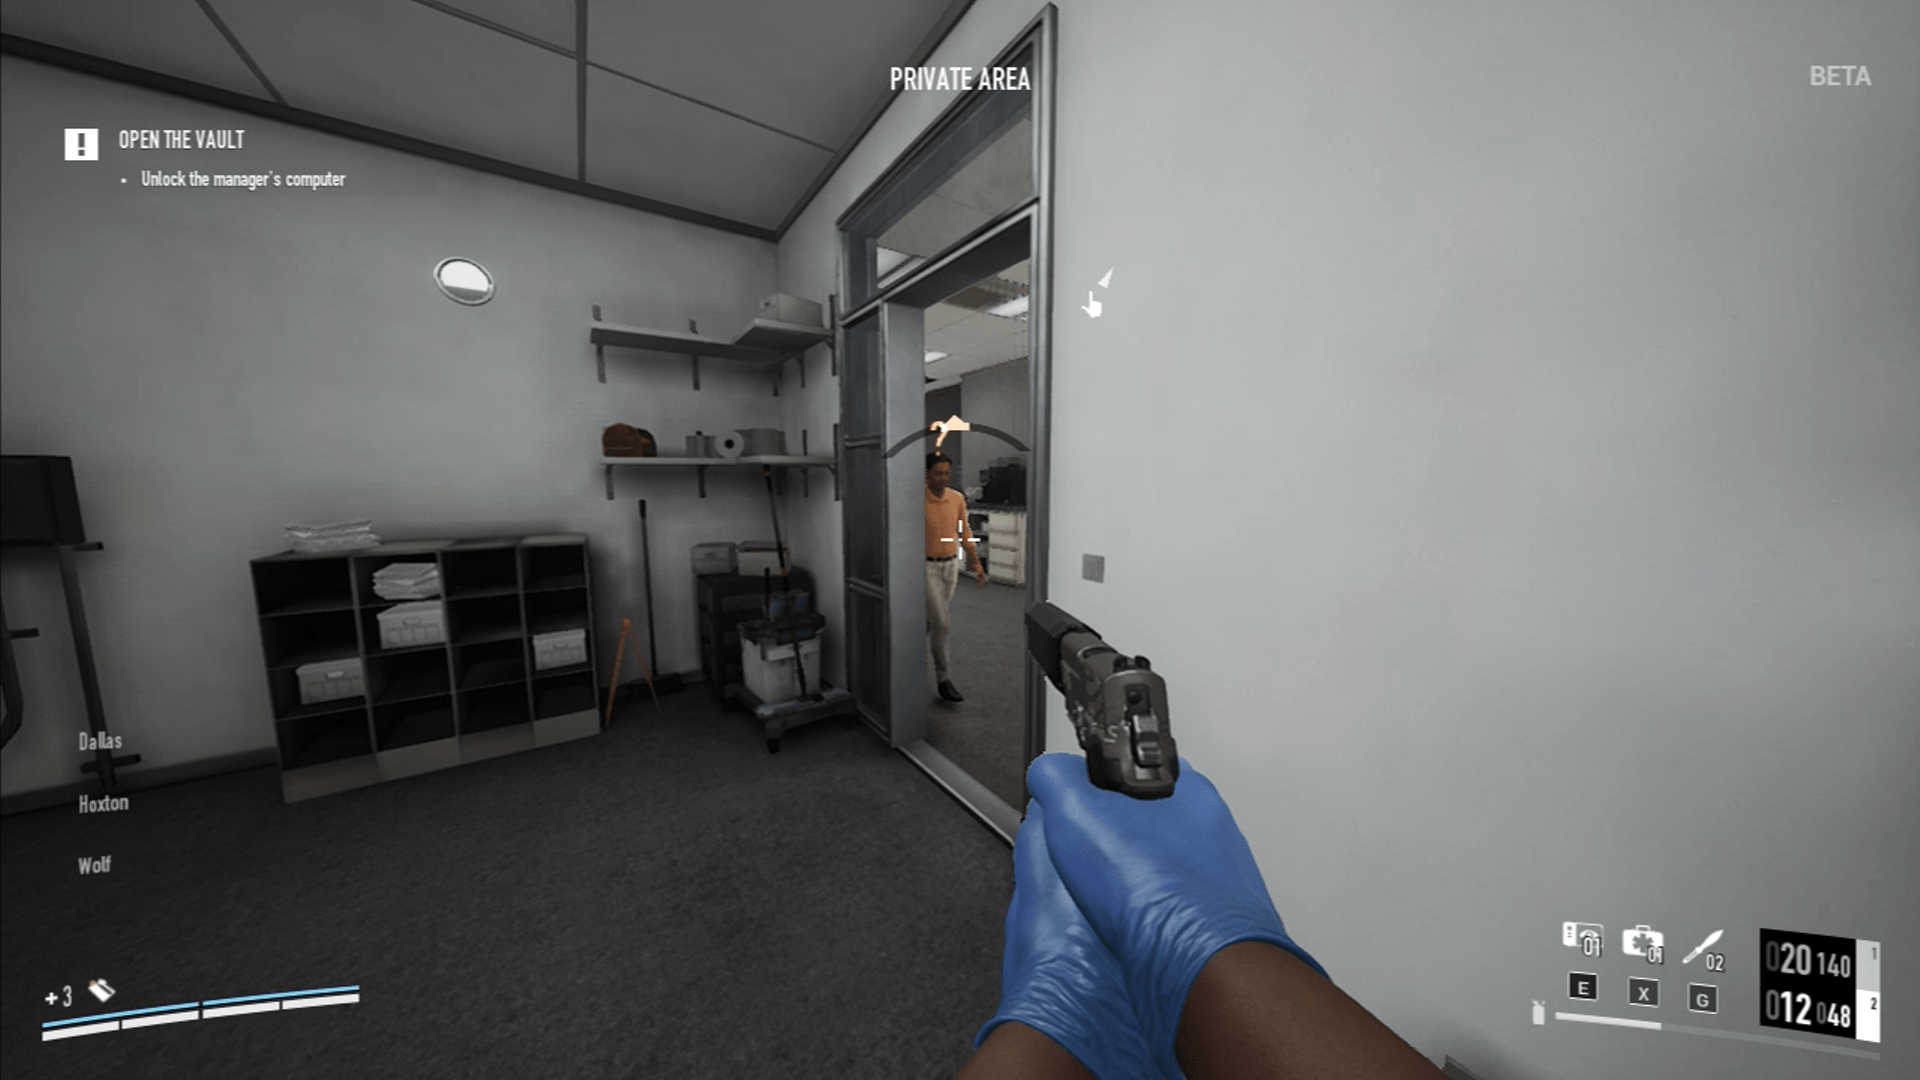
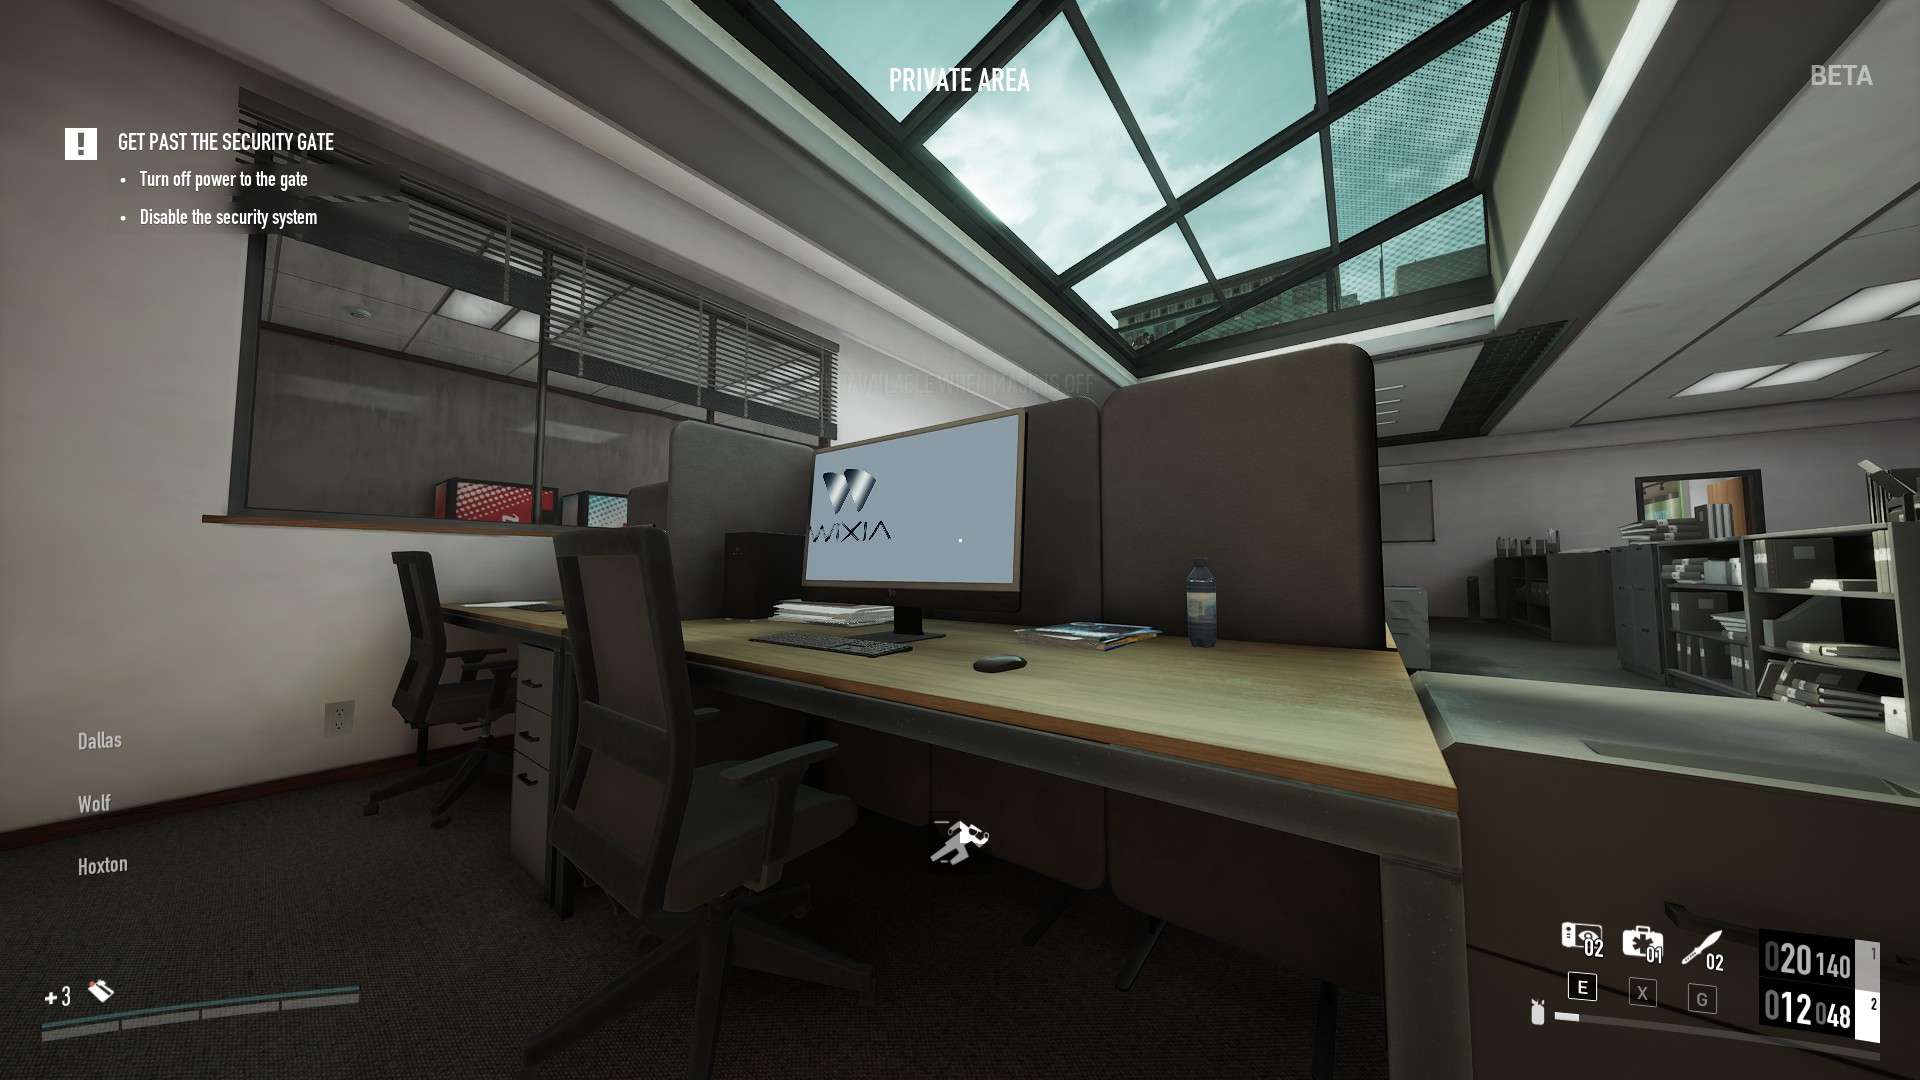
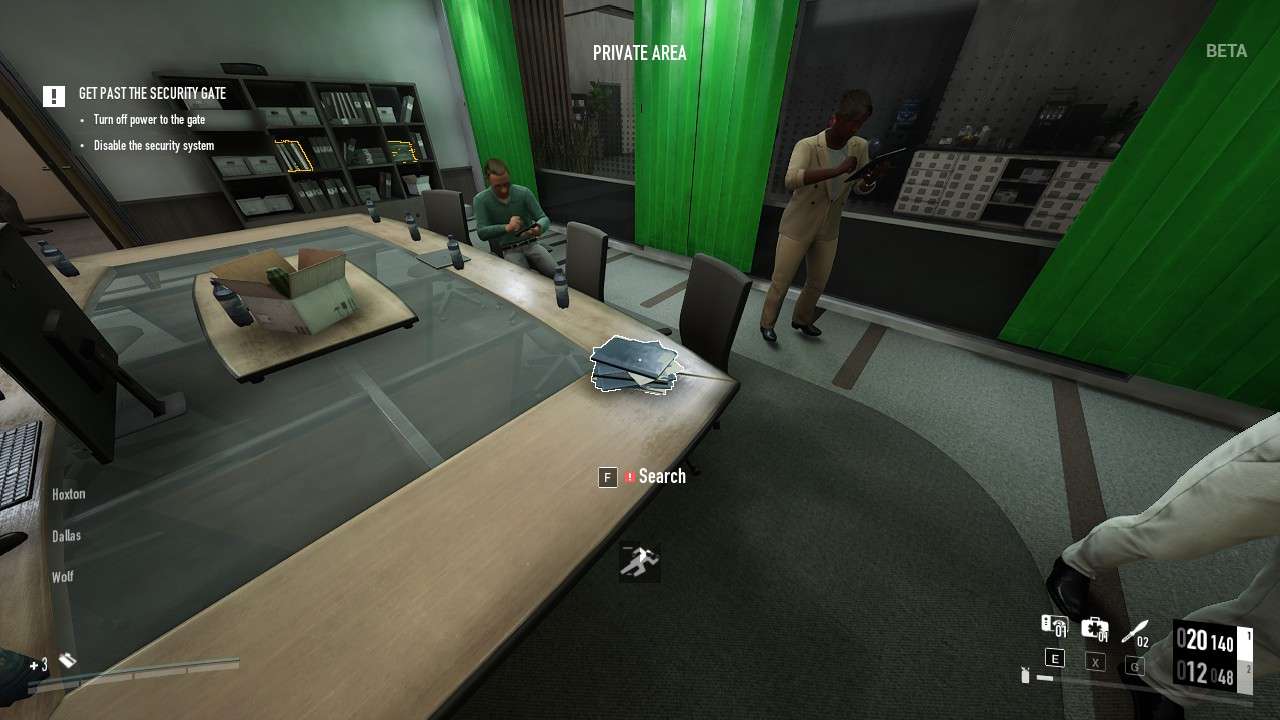
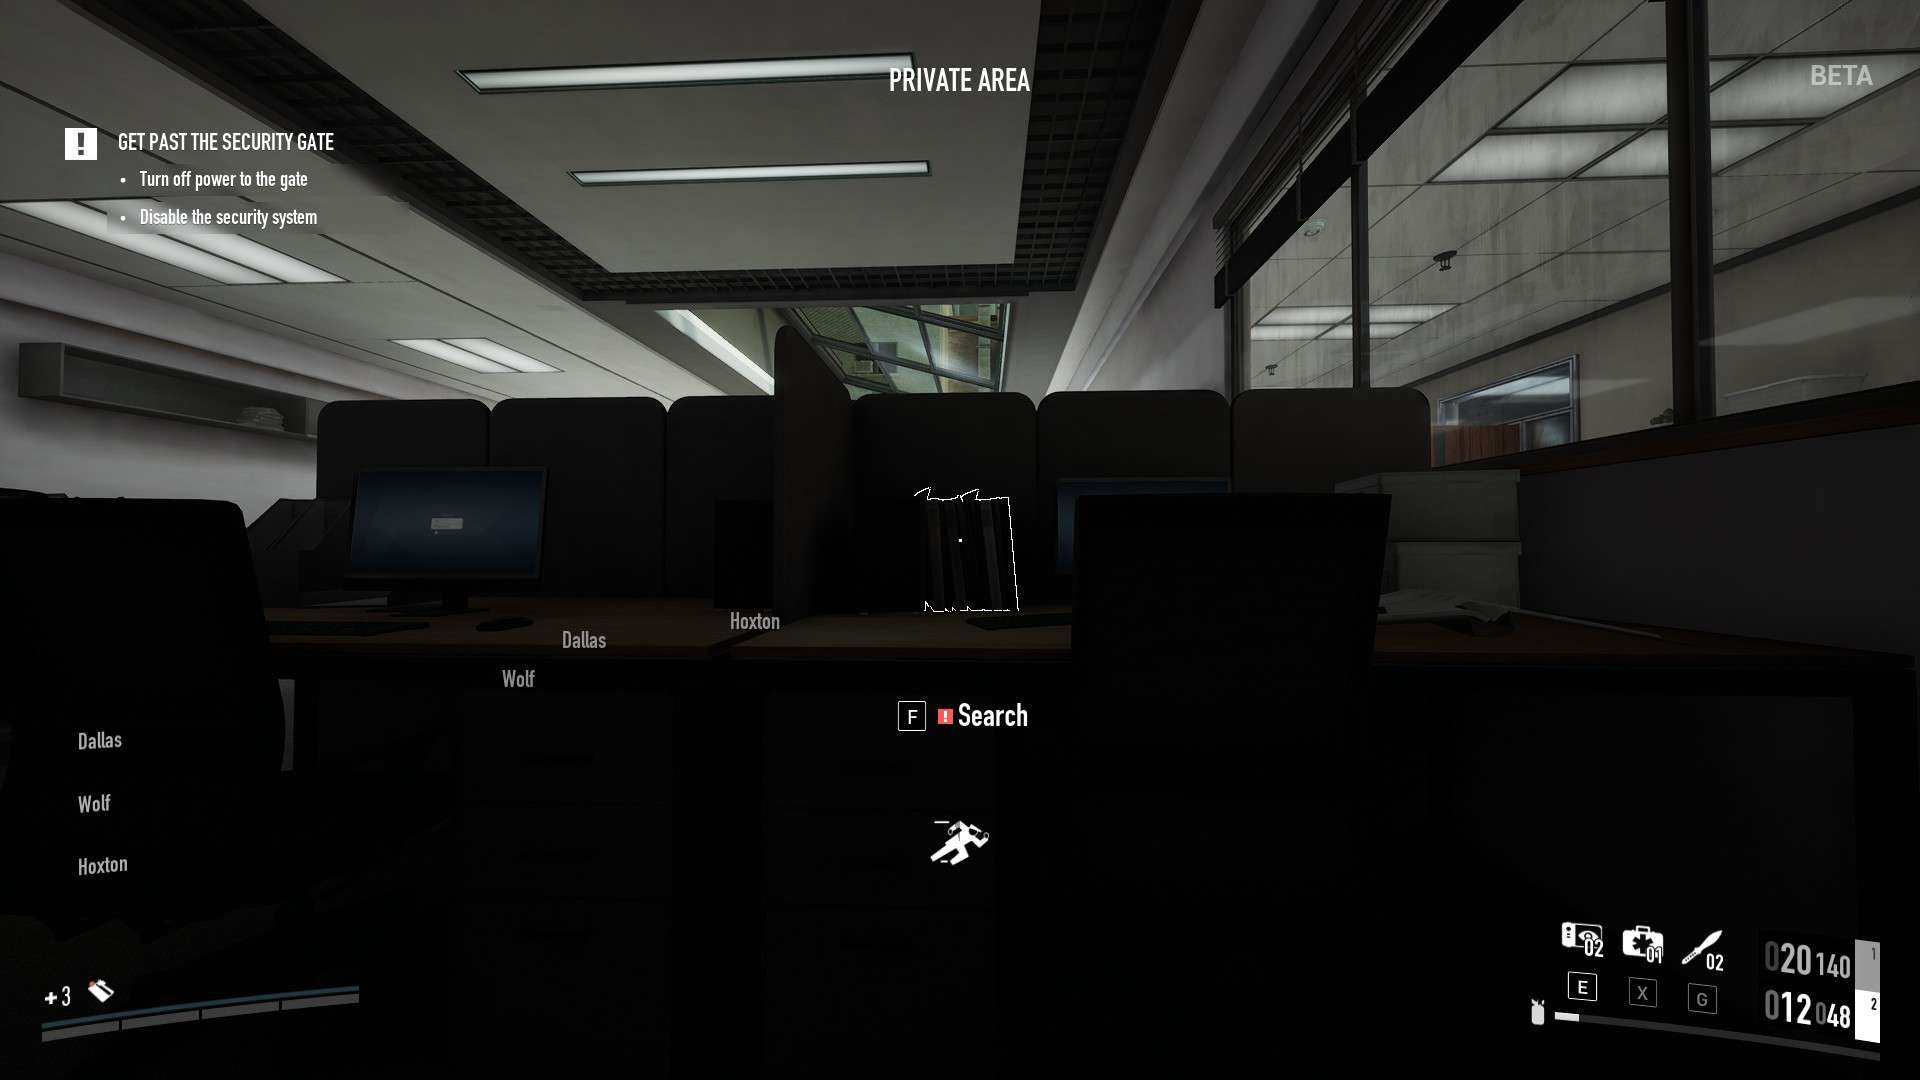
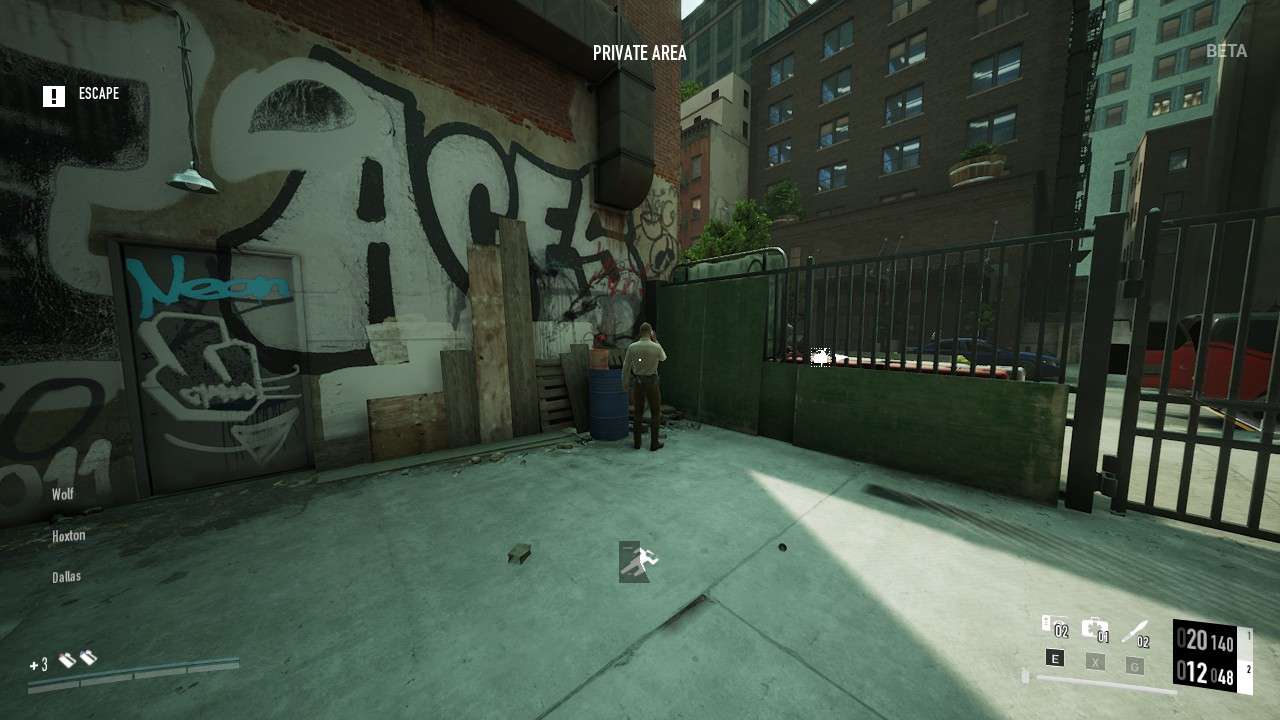
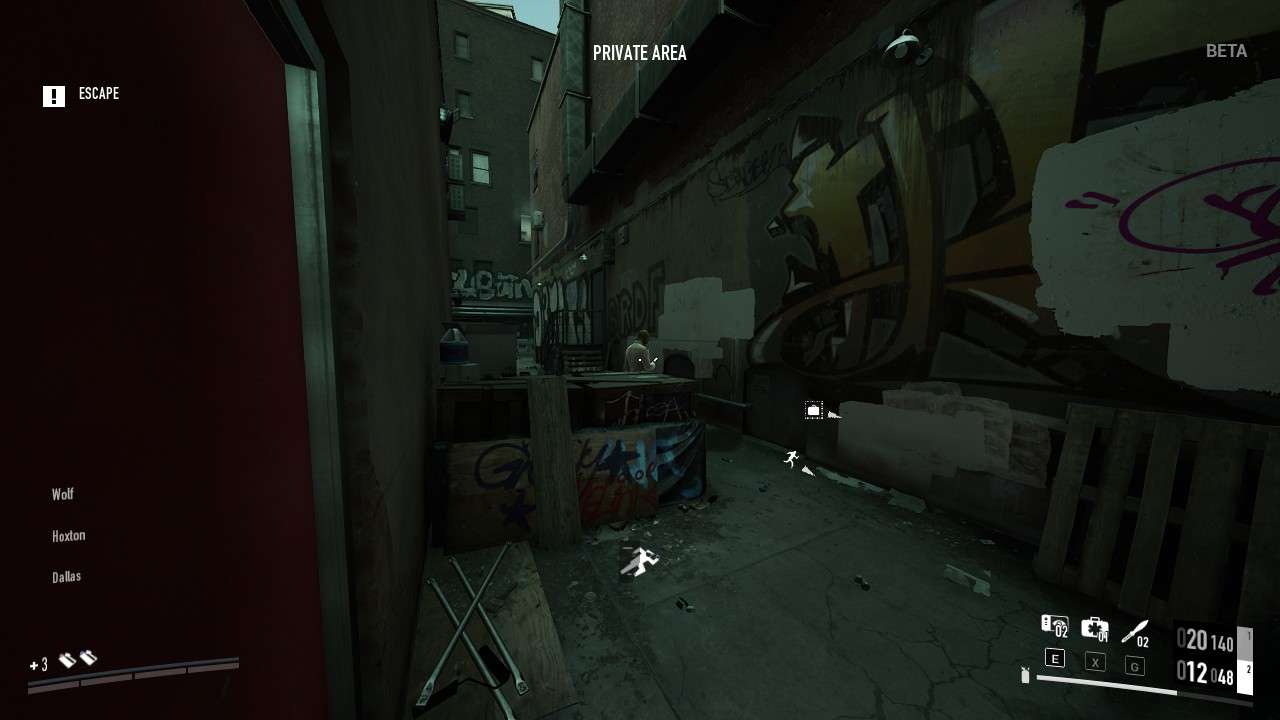
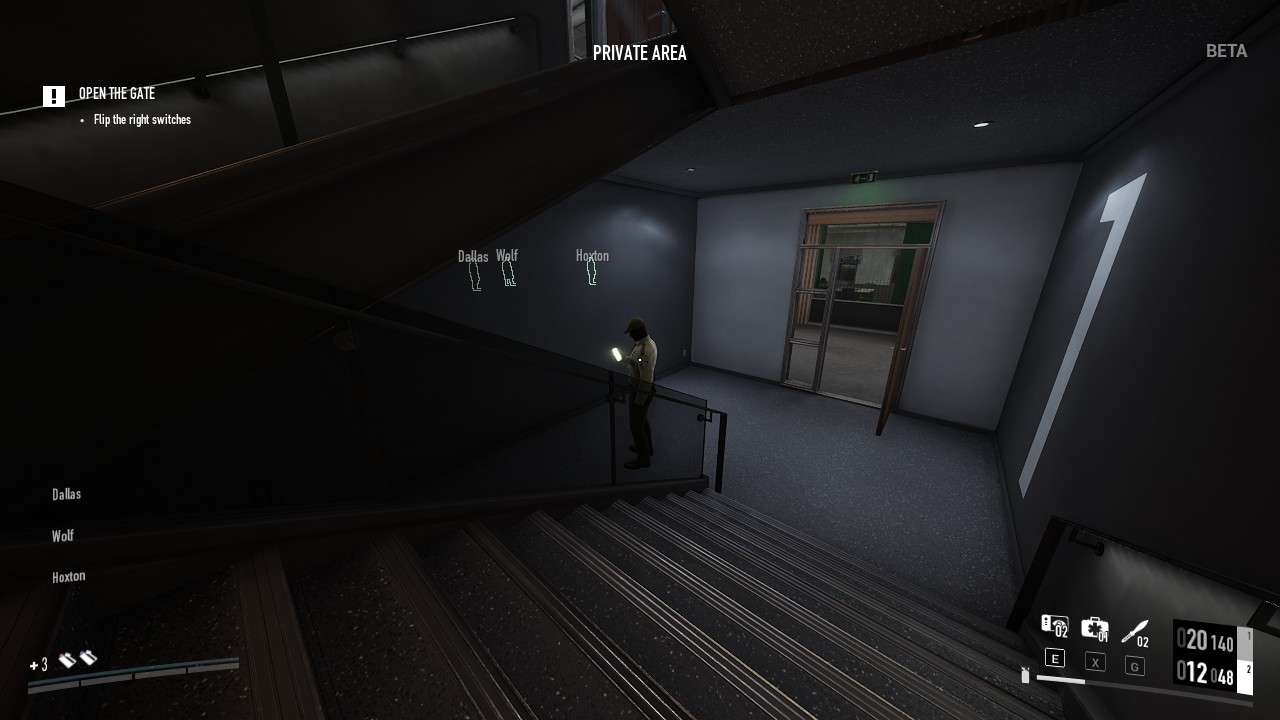
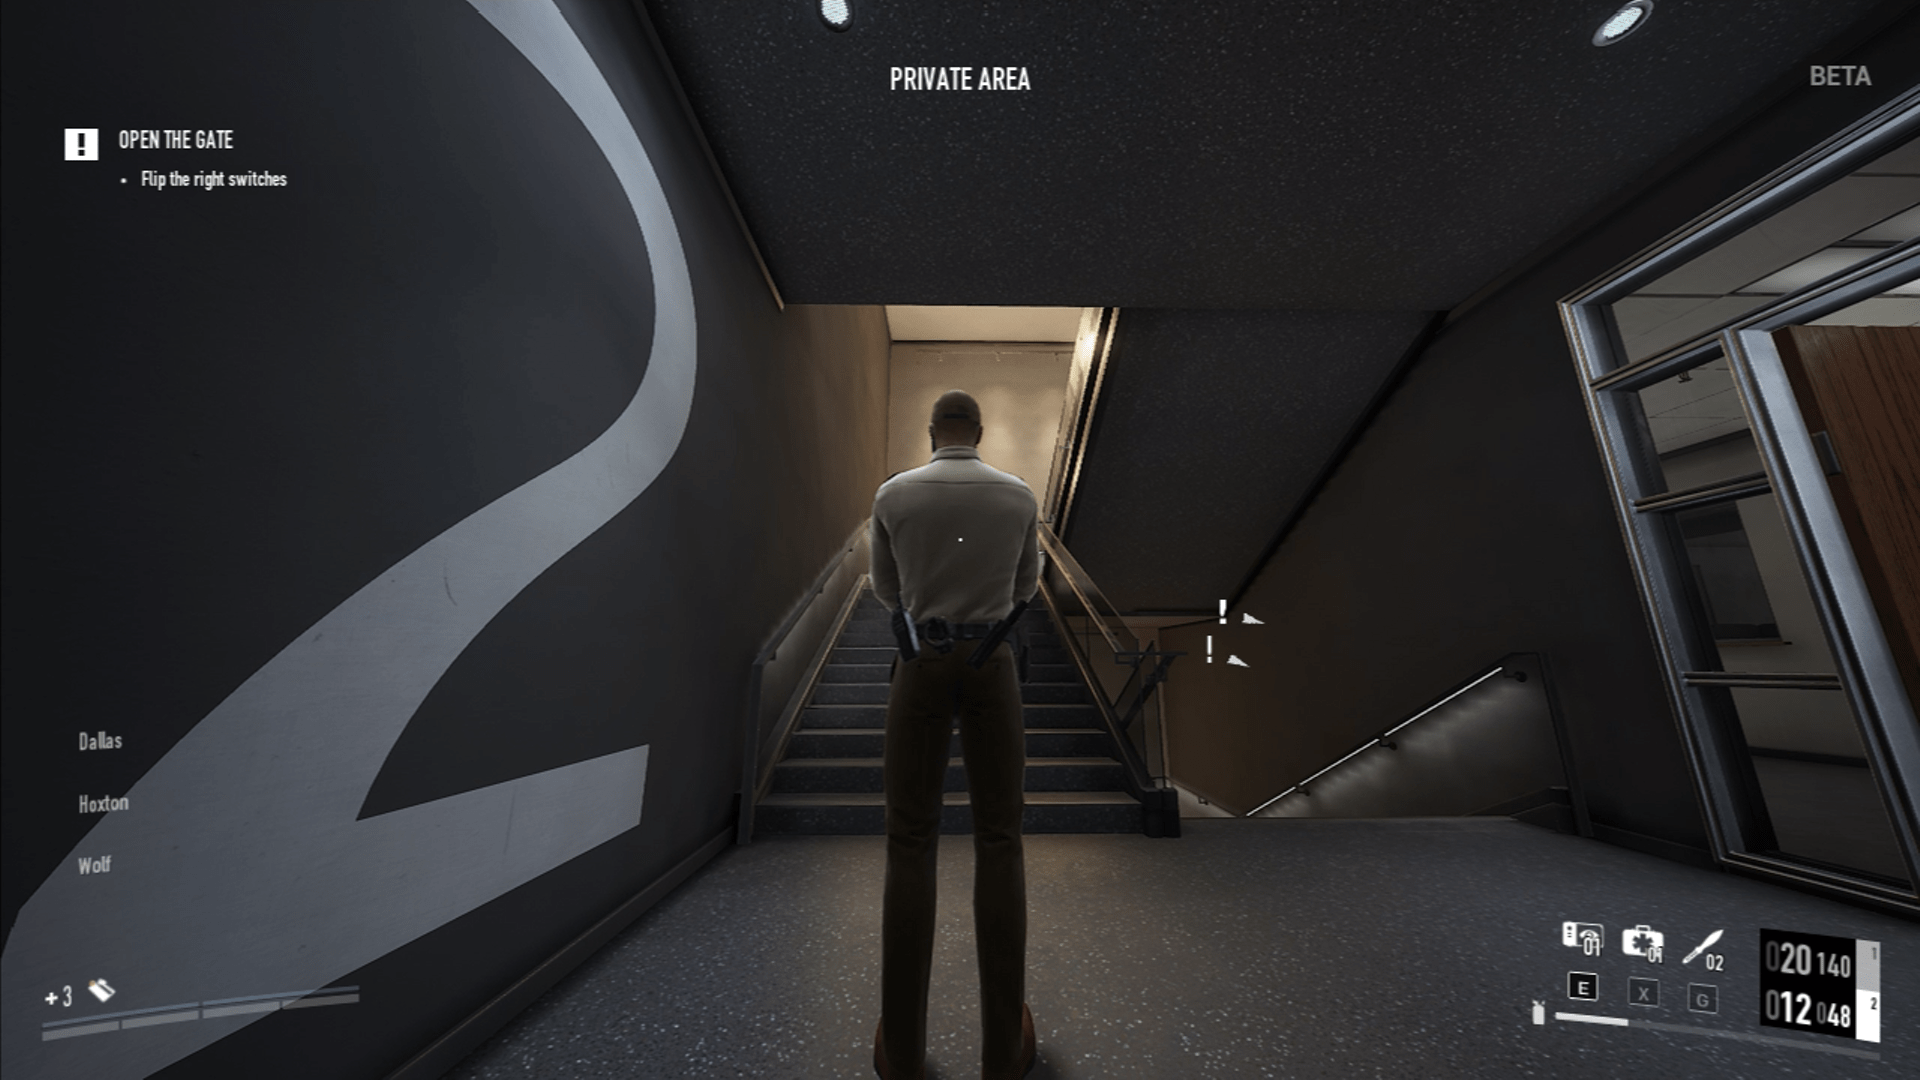
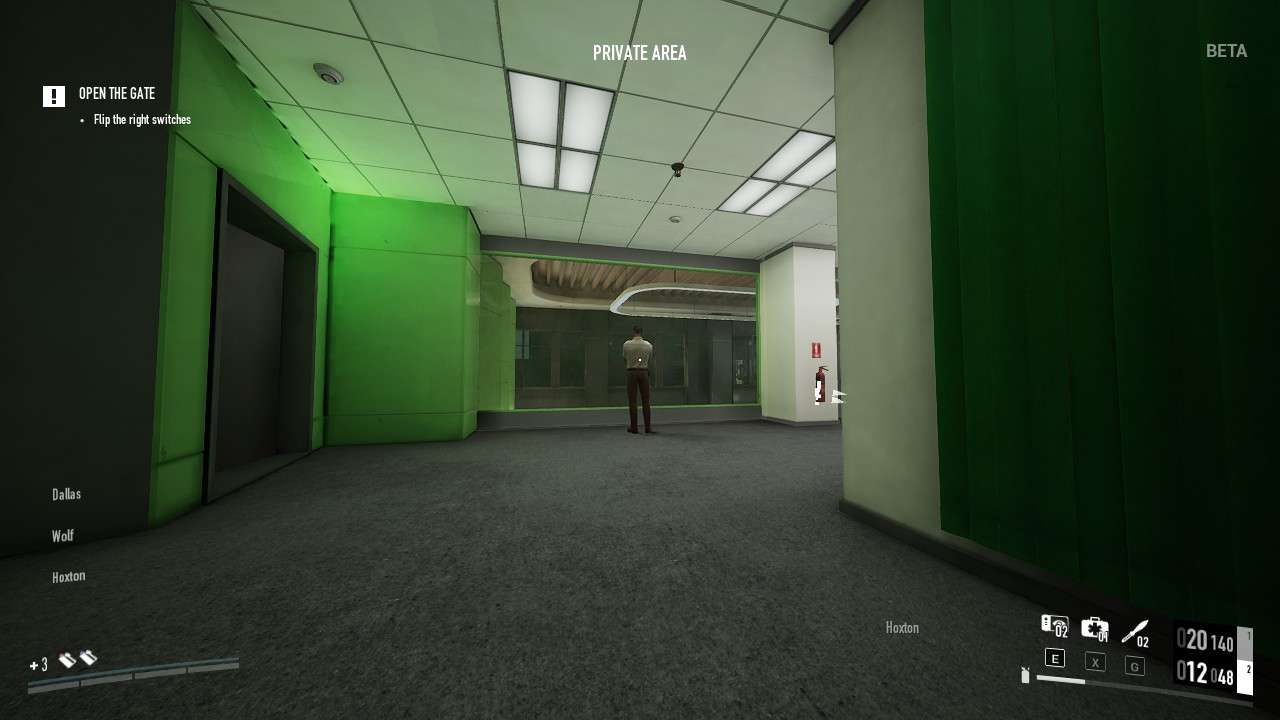
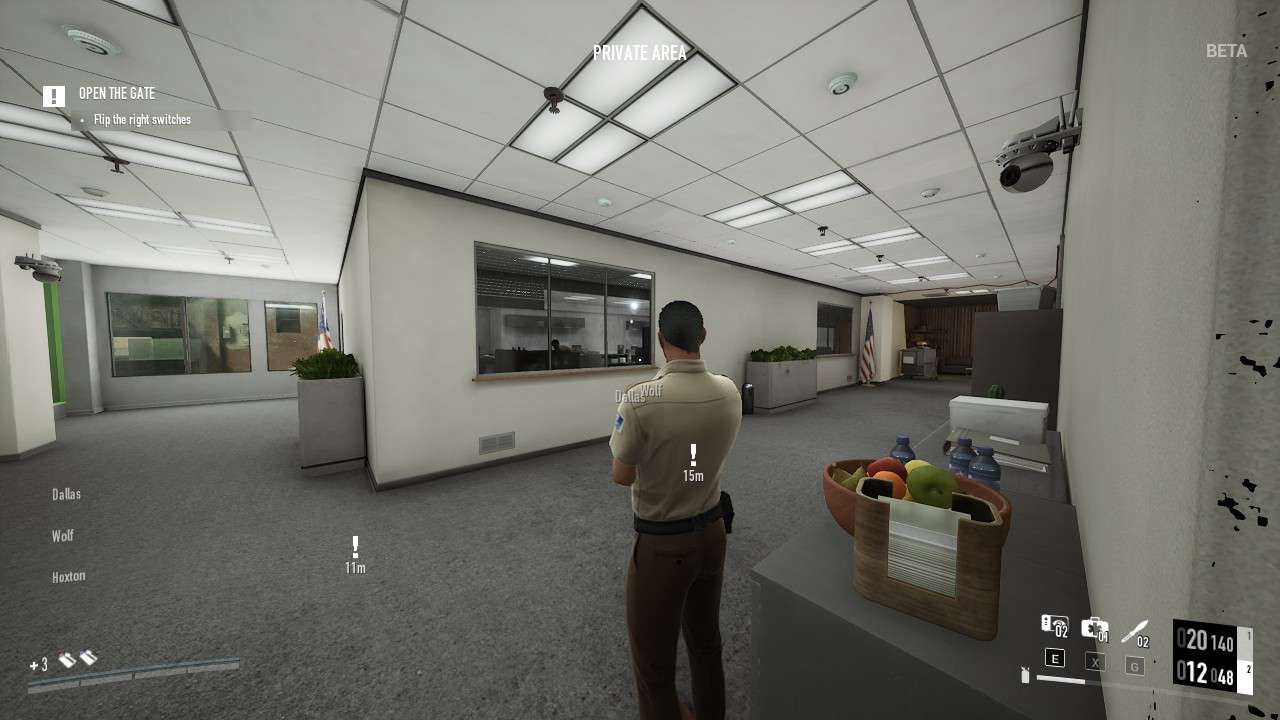
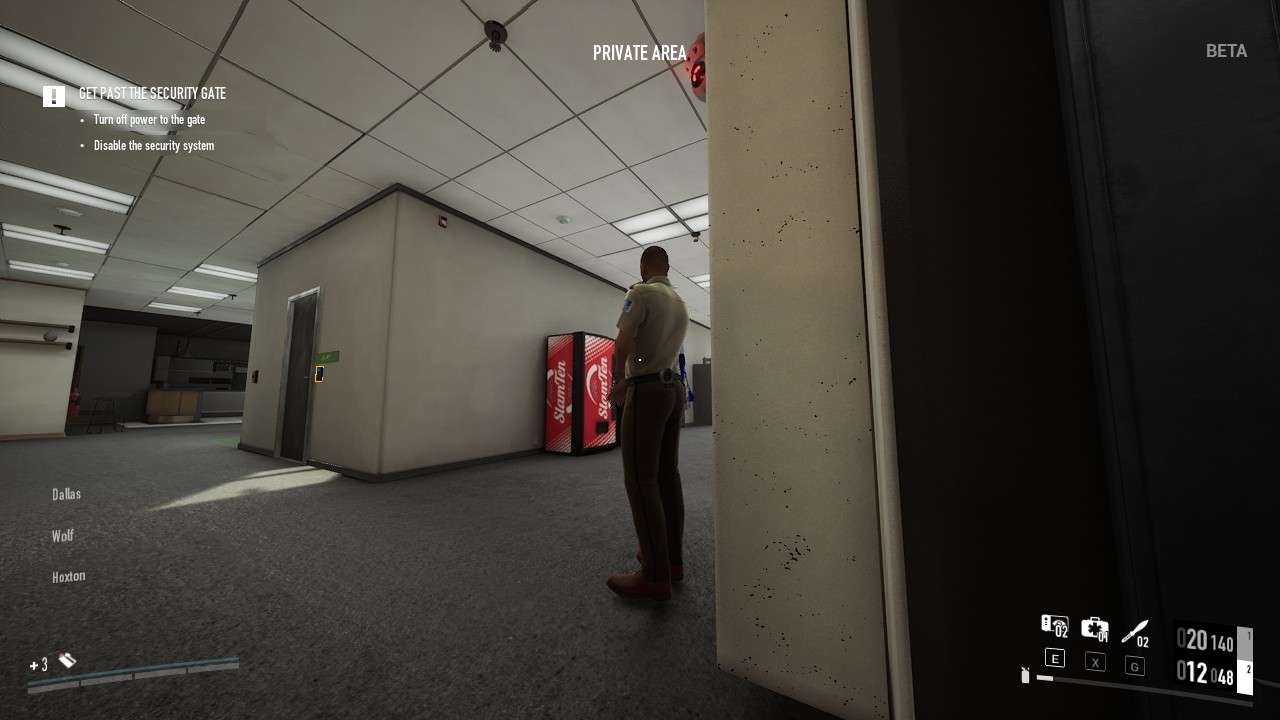
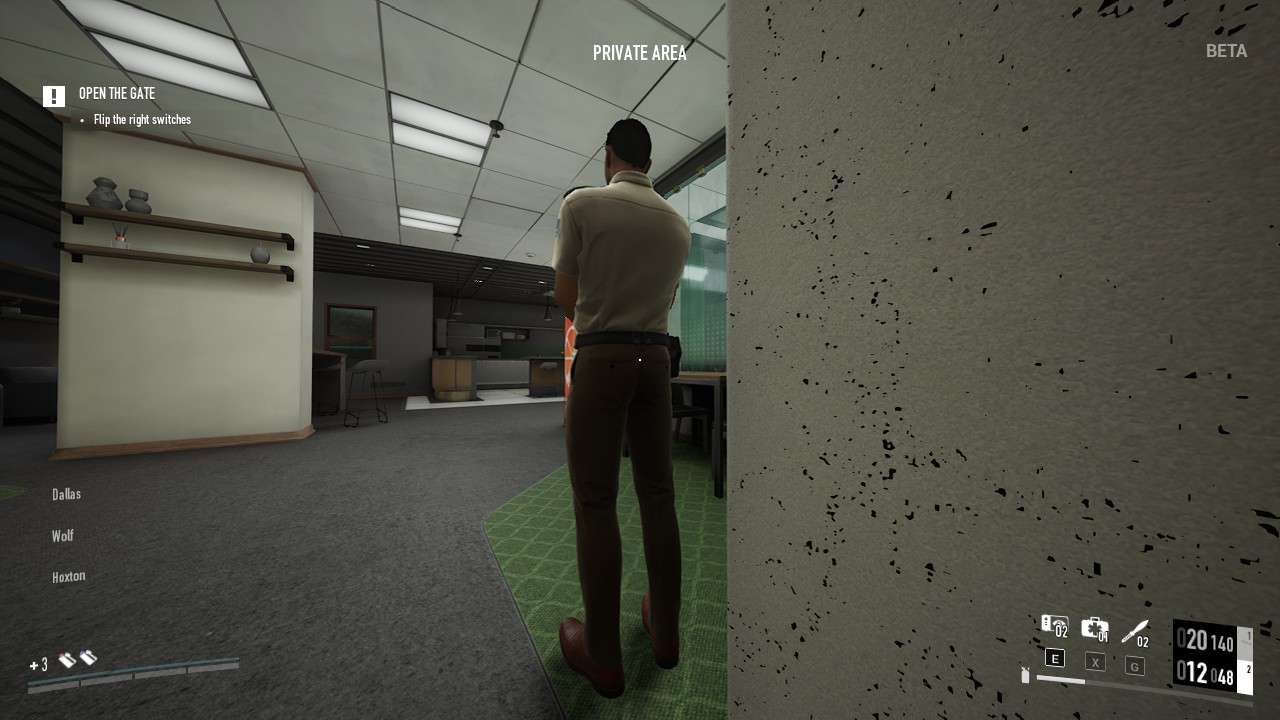
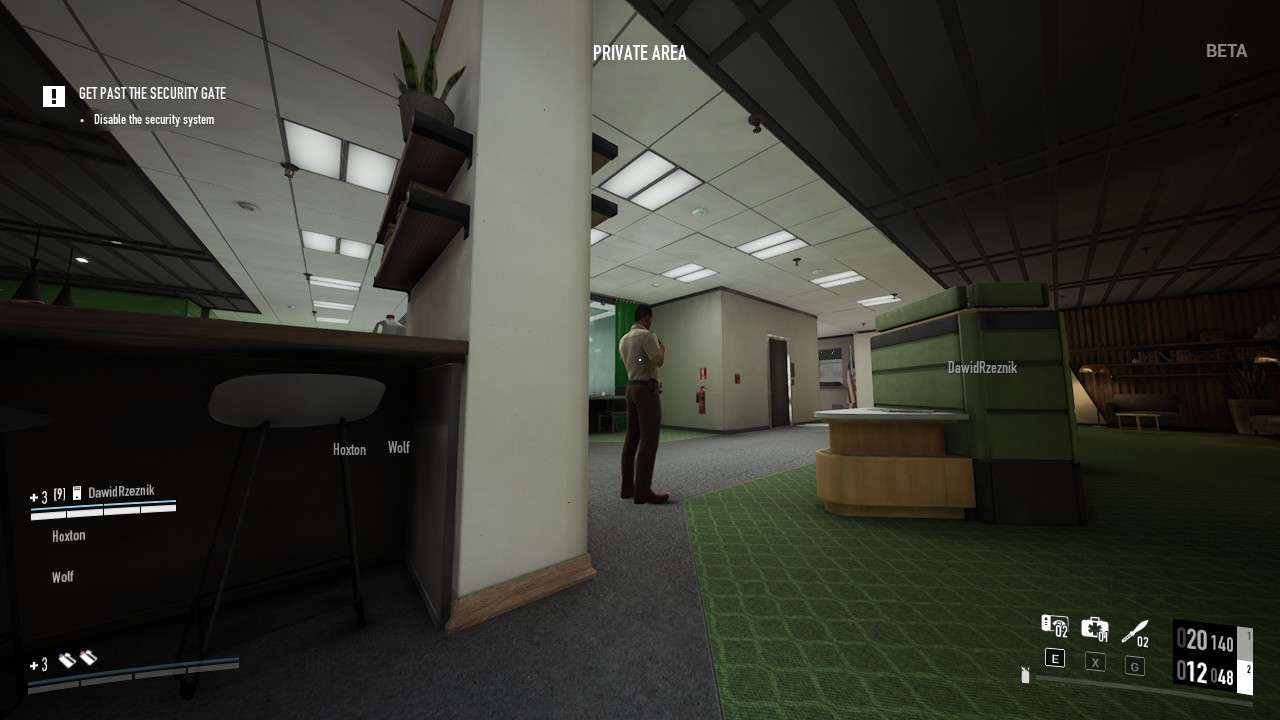
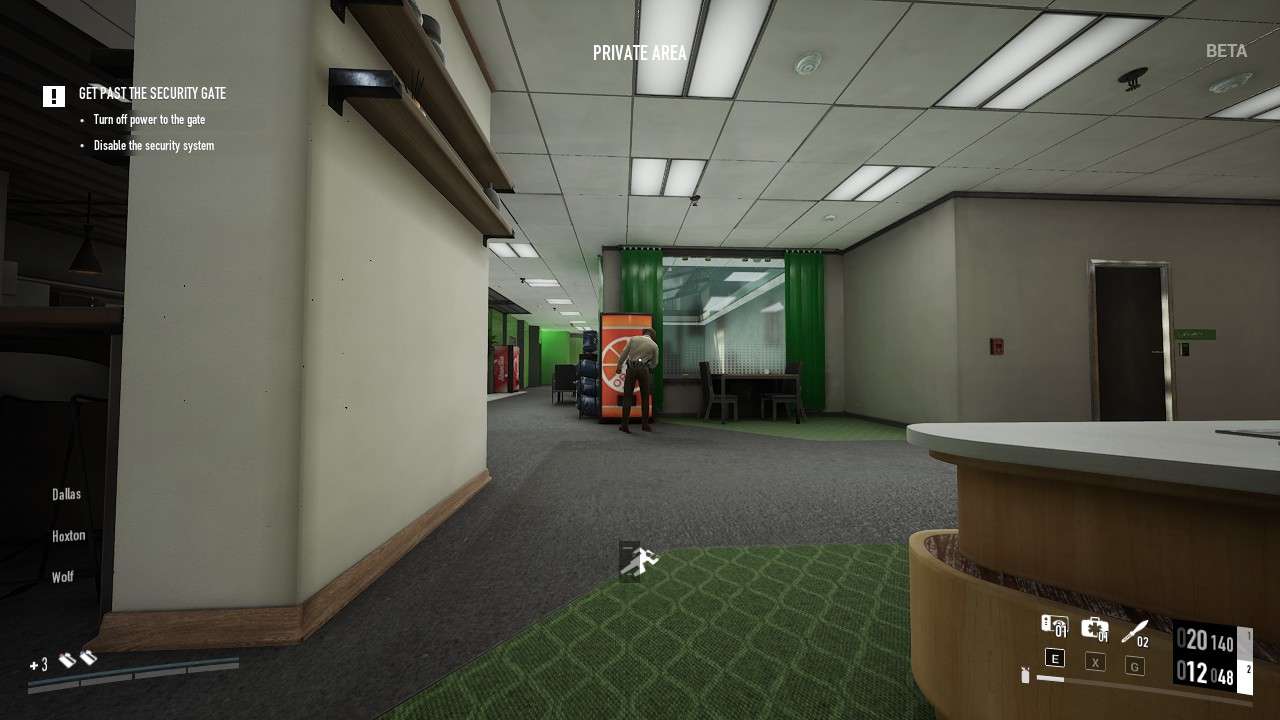
Areas labeled as “Private Area” mean guards will detect you and escort you out of the Private Area if you are in casing mode

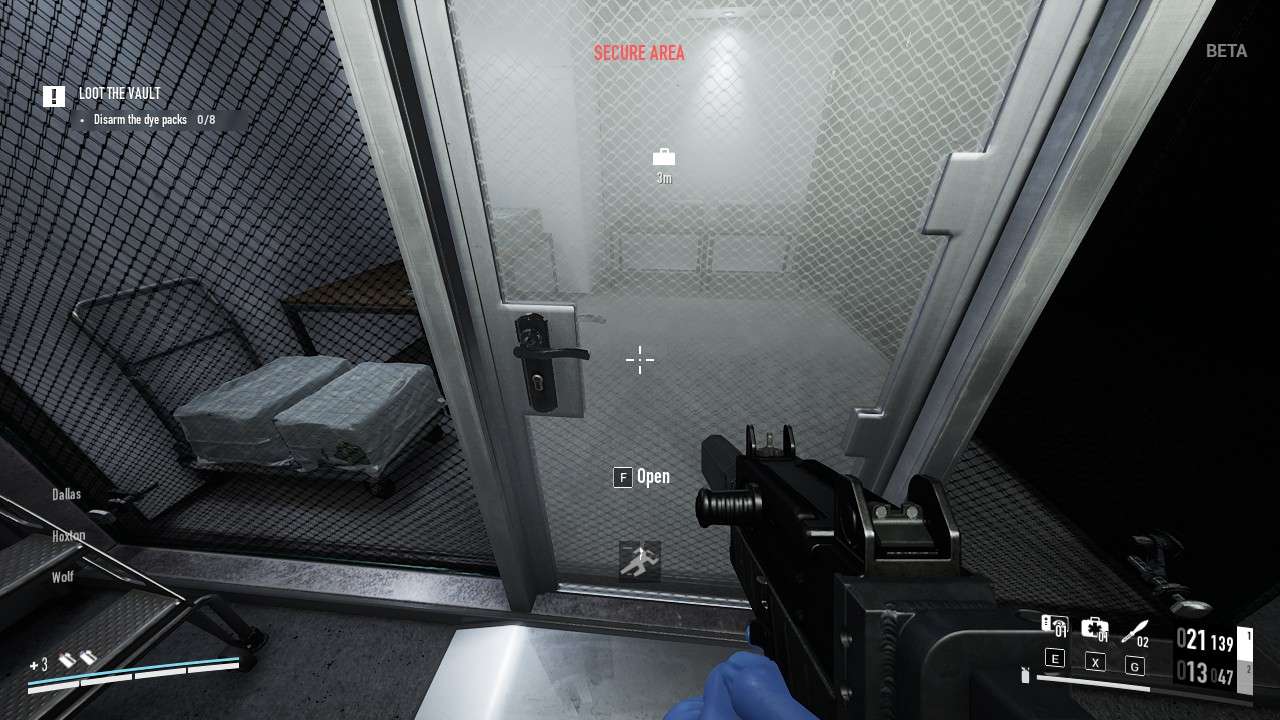
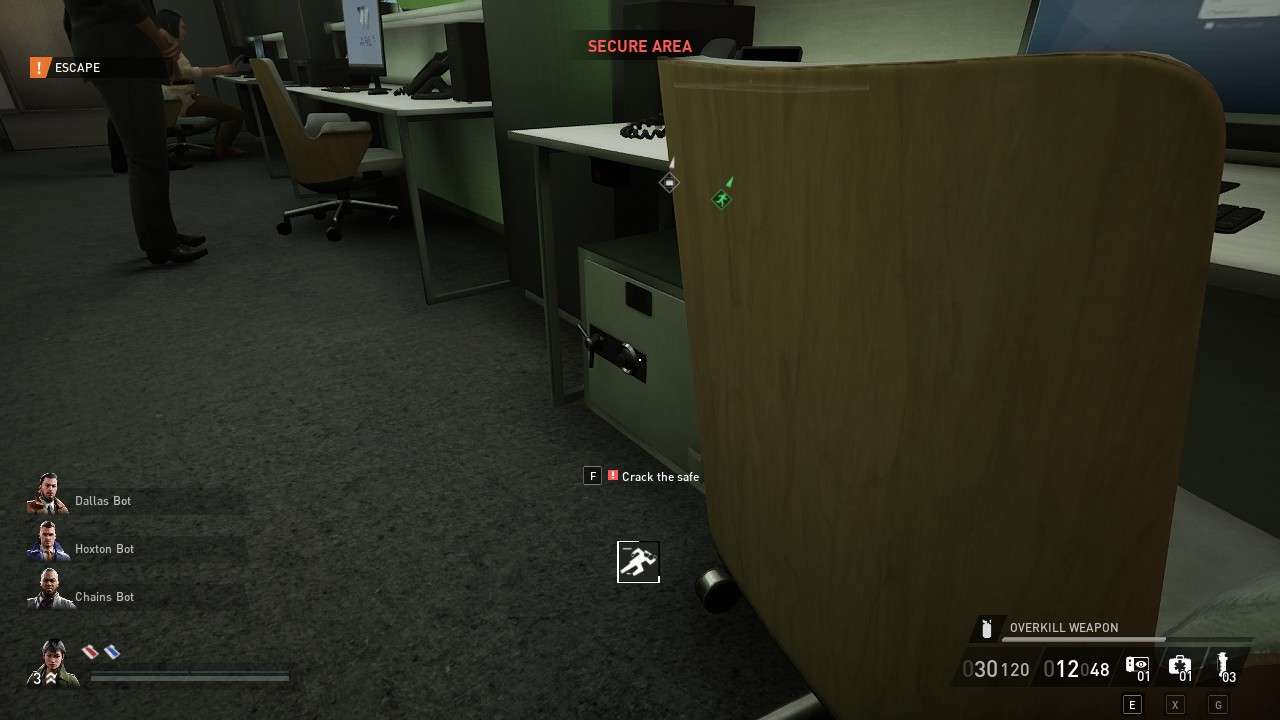
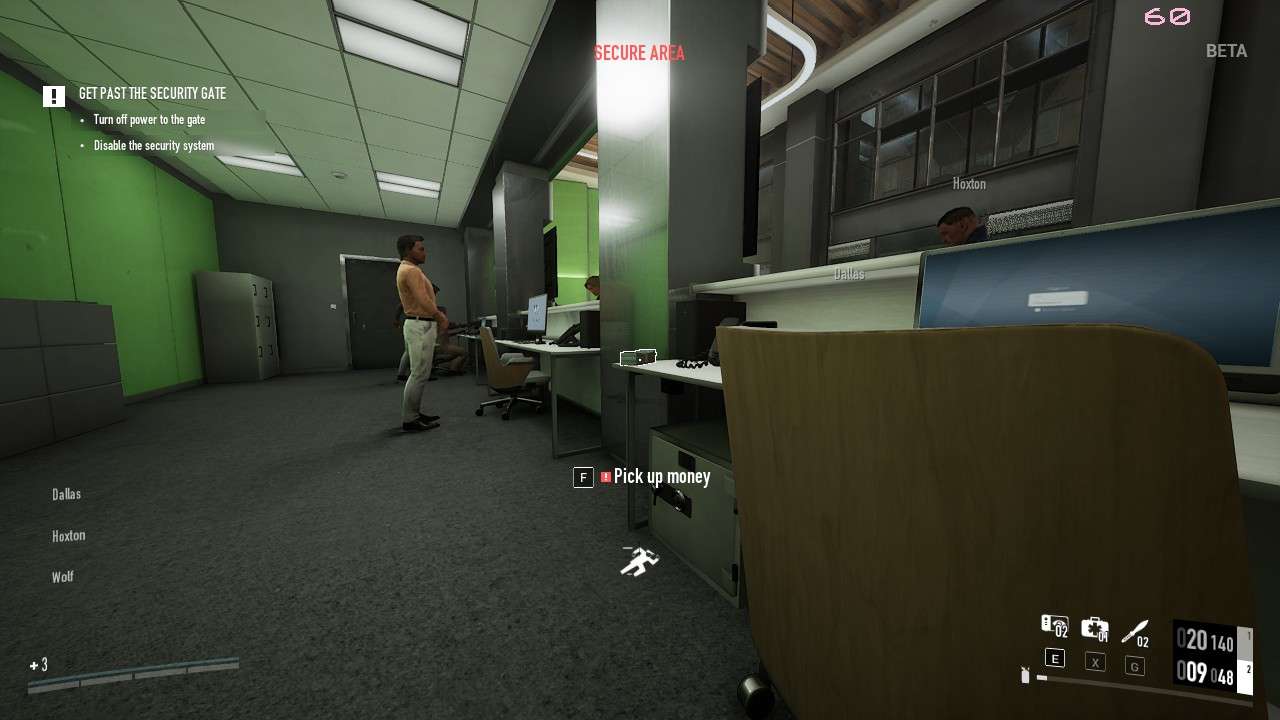
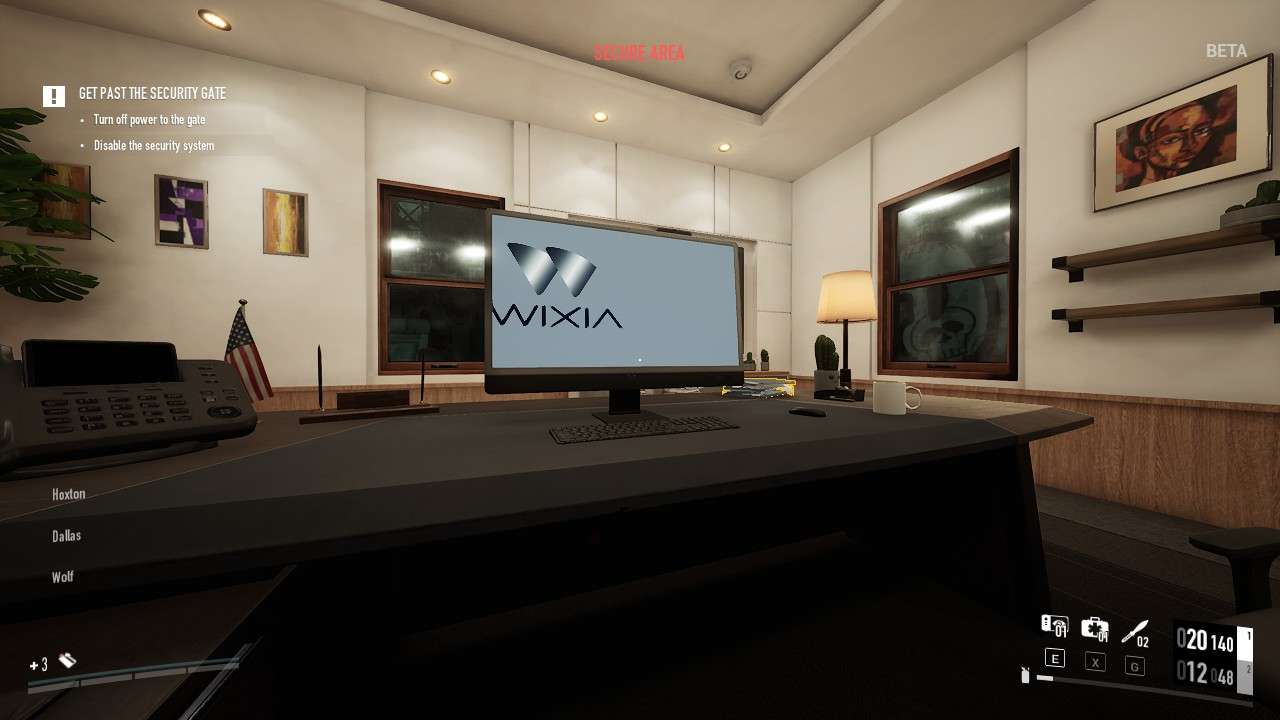
Areas labeled as “Secure Area” mean guards will detect you and handcuff you then enter search mode if you are in casing mode to try and find the rest of your crew

Areas labeled as “Searching” mean any patrolling guards in Private and Secure areas will roam around ‘freely’ and start cuffing anyone they spot in casing mode regardless if it’s a private or secure area. They ignore you if you are unmasked in a Public Area though. Search can be triggered when someone is handcuffed during stealth, the guards spot something suspicious causing them to search the bank or if you run out of pagers. Keep in mind that a heist can still be completed during search mode, meaning that you can see search mode as a third pager if you’re playing on Overkill Mode which allows only two pagers to be answered without triggering search mode
You can see what area label it is by looking at the top of the screen during the heist!
Updates (Different From Beta)
New Lead Guard outfit
New in this version of the game is the look of the Lead Guard. He stands out even more than before so you will no longer be unable to mistake him for a regular guard. If he wears a vest and a cap then it’s him. Parts of the guide that shows the lead guard will update over time to show him in his new outfit but his patrol routes have no changes at all from the BETA so they will still be in here for now.

See-Through Vault Windows
In the BETA you could not be spotted if you hid in certain parts of the vault gate windows but now you can get spotted easily through the windows. In other words don’t hide behind the glass anymore and instead hide using either the doorframe or one of the walls.

Cerberus Core Is Gone
In the BETA there was a Cerberus Core security modifier for Very Hard mode but it appears to be completely gone in this version of the game. It didn’t seem to be functional in the BETA either but it was mentioned in the BETA as a function but it may have been scrapped or temporarily missing.
Other Changes
It seems that the escort circle when you’re spotted is much smaller compared to the BETA sometimes, because it adapts more to the space that you’re in. If it’s very small it means they are in a small area. Bag throwing is nerfed too compared to the BETA, the bags don’t fly as far anymore and it’s pretty depressing how short the bags are thrown now, because you sometimes have to guess where it’s going to land and assume it might fail you.
These are updates that make this heist different from it’s “playable” BETA version
Pre-Planning
Statistics:
- All Loot Completion: 8-13 minutes (Overkill)
- Loot Bags Total: $452,200 (Overkill)
- Loose Cash Total: $16,639 (Overkill)
- Total Payout: $468,839 (Overkill)
Money Bag Locations:
- 8x Behind Locked Protection Door (Vault)
- 2x In Deposit Boxes (Vault)
Loose Cash Locations:
- 2x In Manager’s Office (First Floor Manager’s Office)
- 5x In Manager’s Office Safe (First Floor Manager’s Office)
- 6x In Tellers’ Room (First Floor Lobby Tellers’ Room)
- 5x In Tellers’ Room Safe (First Floor Lobby Tellers’ Room)
- 7x Behind Locked Protection Door (Vault)
- 35x In Deposit Boxes (Vault)
- 5x In Office Safe (Second Floor Office)
Other Pickups:
- 1x Files (Vault Deposit Boxes)
Loose Cash is any loot you can put in your pockets instead of having to bag them.
Recommended Skills
- Infiltrator
- Quick Fingers
Good for lockpicking the manager’s office door on the first floor which sometimes have QR code as well as speeding up your lockpicking for the safety deposit boxes.
- Grifter
- Walk The Walk
- Social Engineering
This heist has many civilians as well as cameras in bad spots so use these skills to make it easier to get inside the locked office door on the first floor, picking up money, flipping switches, unlocking doors using keycards, cracking open safes and more during casing mode only.
- Hacker
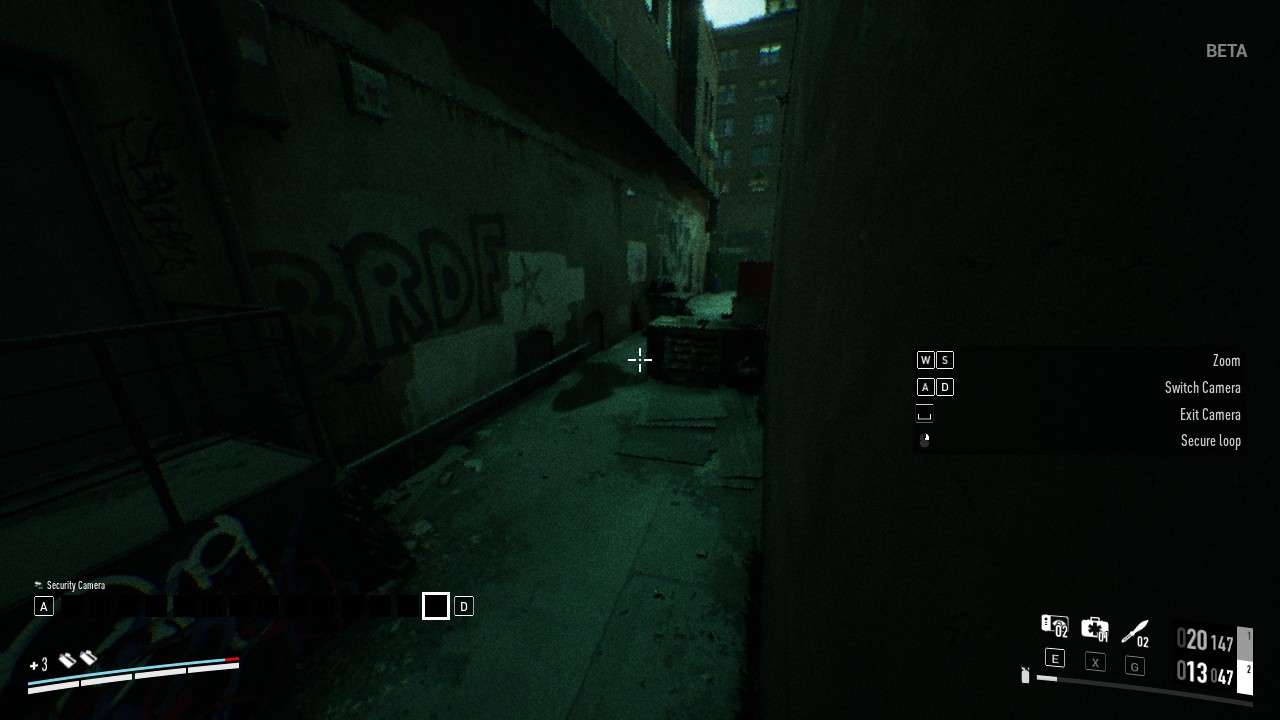
- Secure Loop
- Glitch Protocol
Most of the heist is trivial with these. If in a bad spot always hack the camera to see where the guards are at. Hack into a camera then press a button to loop the camera indefinetely. Best cameras to loop are by far the camera overlooking the second floor entrance for when you will escort the executive to avoid waiting too long and the camera overlooking the vault so you can easily get in and out. However, just before unlocking the vault you should go to the camera overlooking your van exit and loop that camera so you can go in and out just as easy out the bank. Use Glitch Protocol when you get spotted in Casing Mode and you want to go back to what you were doing or when you get spotted in a secure area to avoid getting cuffed.
Optional Skills
- Bagger (Opt.)
Plenty of bags at the end of this heist so this will save you time.
- Manipulator (Opt.)
- Overbearing (Opt.)
Saves time to tie civilians and can really help you out if you’re solo trying to access the manager’s computer on the second floor with bad RNG, too many civilians surrounding it.
- Slippery (Opt.)
Can be pretty easy to get caught on the roof by mistake so you have a way out. Especially if you are a duo so that your duo won’t need to mask up to rescue you. But if you consider the heist done by the time the guards are in search mode then you can skip this skill and just restart the heist.
- Appliance Breach (Opt.)
Can have it’s uses in very specific situations like dealing with the lead guard when he patrols the first floor after the vault opens or making sure that the first floor guard is exactly where you want him to be without guessing where he’s at or waiting too long. The radio lure you can hack is in multiple set locations of the heist.
Recommended Loadout
- MicroCam
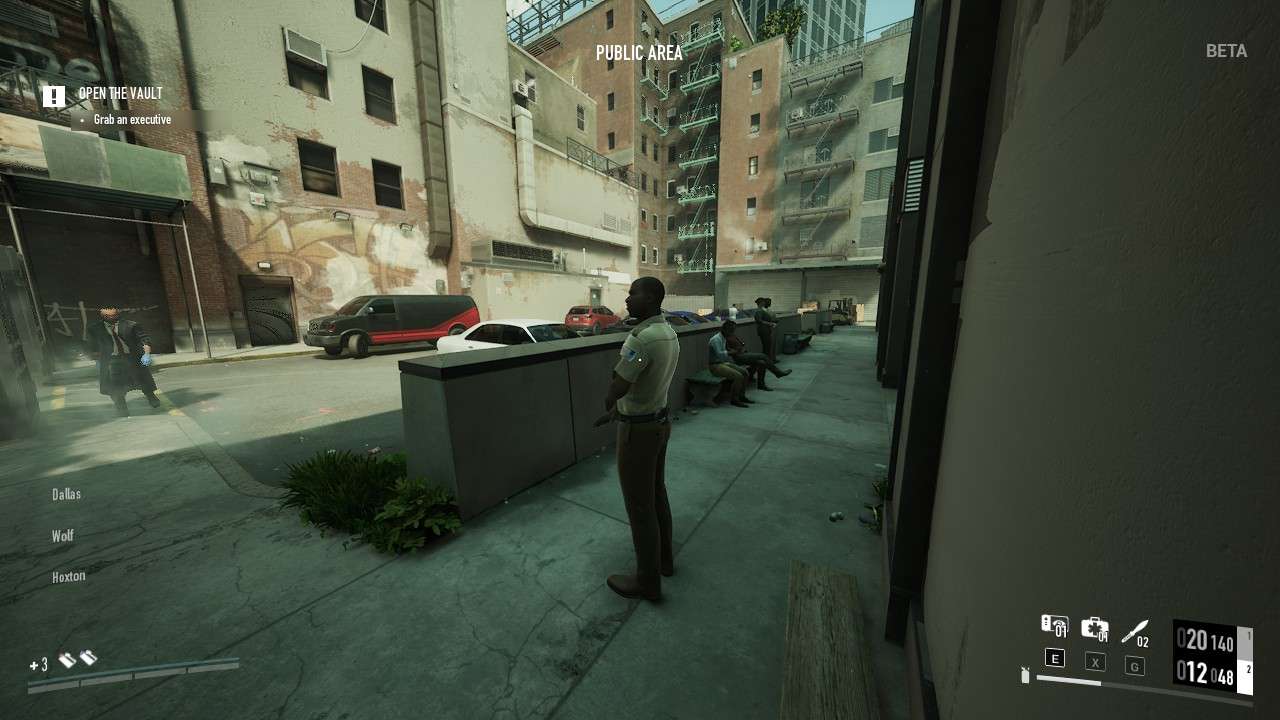
Since this heist can be finished in casing mode and in default loadout using only takedowns. MicroCam is by far the best. First find where your van is then put a MicroCam on the guard patrolling outside that is closest to your van. If the van is in the parking lot put a MicroCam behind the guard patrolling in the parking lot. If the van is parked on the side of the road then put a MicroCam on the guard patrolling around the bank behind a locked fence door. Once you have a MicroCam on the guard patrolling around your exit you can move the bags at the end of the heist without having to take them out. Take a look through your MicroCam everytime you need to get to your van to see when it’s safe to leave the bank since the exits are easily the worst spots.
If there is a Lead Guard in the bank, a guard wearing a baseball cap patrolling the stairs and entrances then don’t hesitate to put a MicroCam on his back as he is one of your biggest obstacles. Check your MicroCam when you move through the stairs, before escorting the executive, before managing civilians and when the vault opens as he will change his patrol when the vault is opened to loop in no particular order: Bank lobby, bank front entrance, bank dumpster area, bank side entrance.
- Motion Sensor (Outside Vault Security Gates)
The problem with this is that you need to be high level to unlock the Motion Sensor. But if you have it. Place it where you need to know guard or civilian locations. If you’re in the vault consider placing it near the security gates to see if that one civilian will come to the vault before they enter the security gates or see if a guard is nearby without having to check yourself.
You can stealth in Casing Mode and with any loadout so only gadgets are recommended
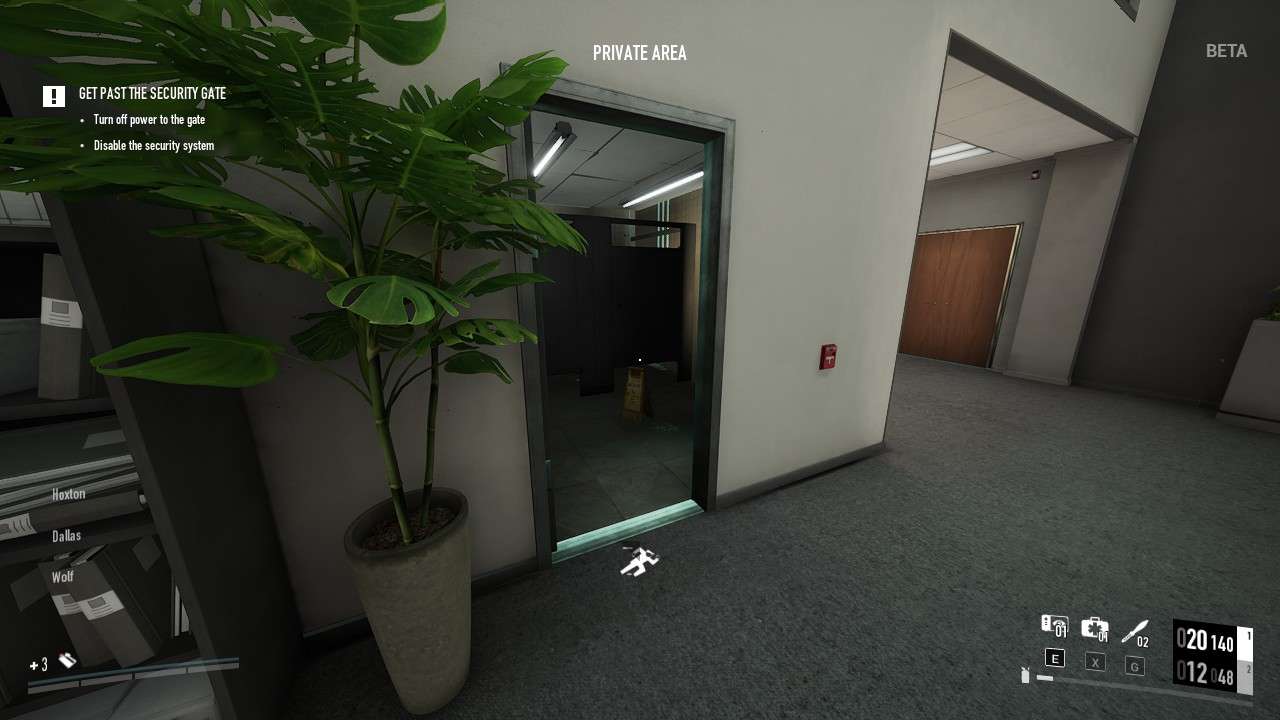
Main Objective
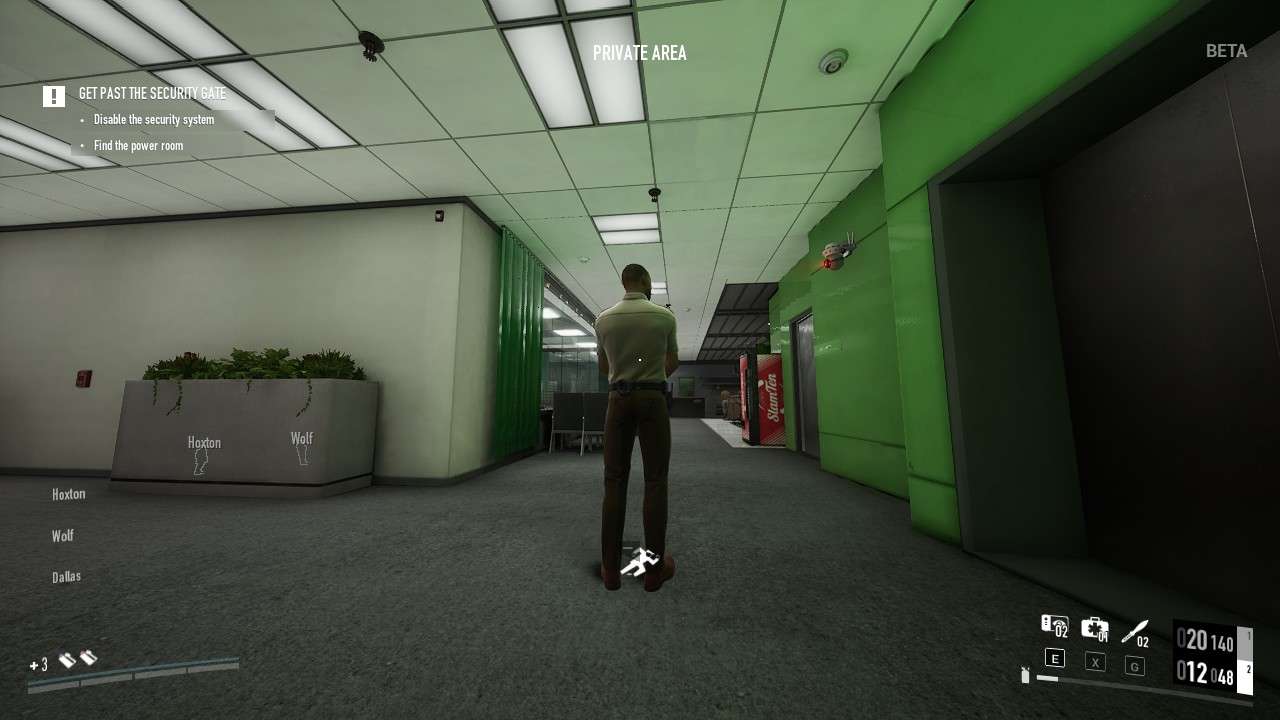
Turn Off the Security System


The security system switch can be on the first or second floor. On the first floor it’s in the server room. If civilians are nearby then either wait for them to leave or try to move into a perfect position where they can’t see you pulling the switch. If the switch is on the second floor then it’s inside the copy-machine room next to the second floor office. Only one civilian will enter the copy-machine room so it is mostly safe to pull without second thought unless the second floor guard patrols counter-clockwise and is then looking in the direction of the switch through the doorframe.
Recommended Skills:
- Grifter
- Social Engineering
There can exist two power switch locations at the same time.
Hack Terminal
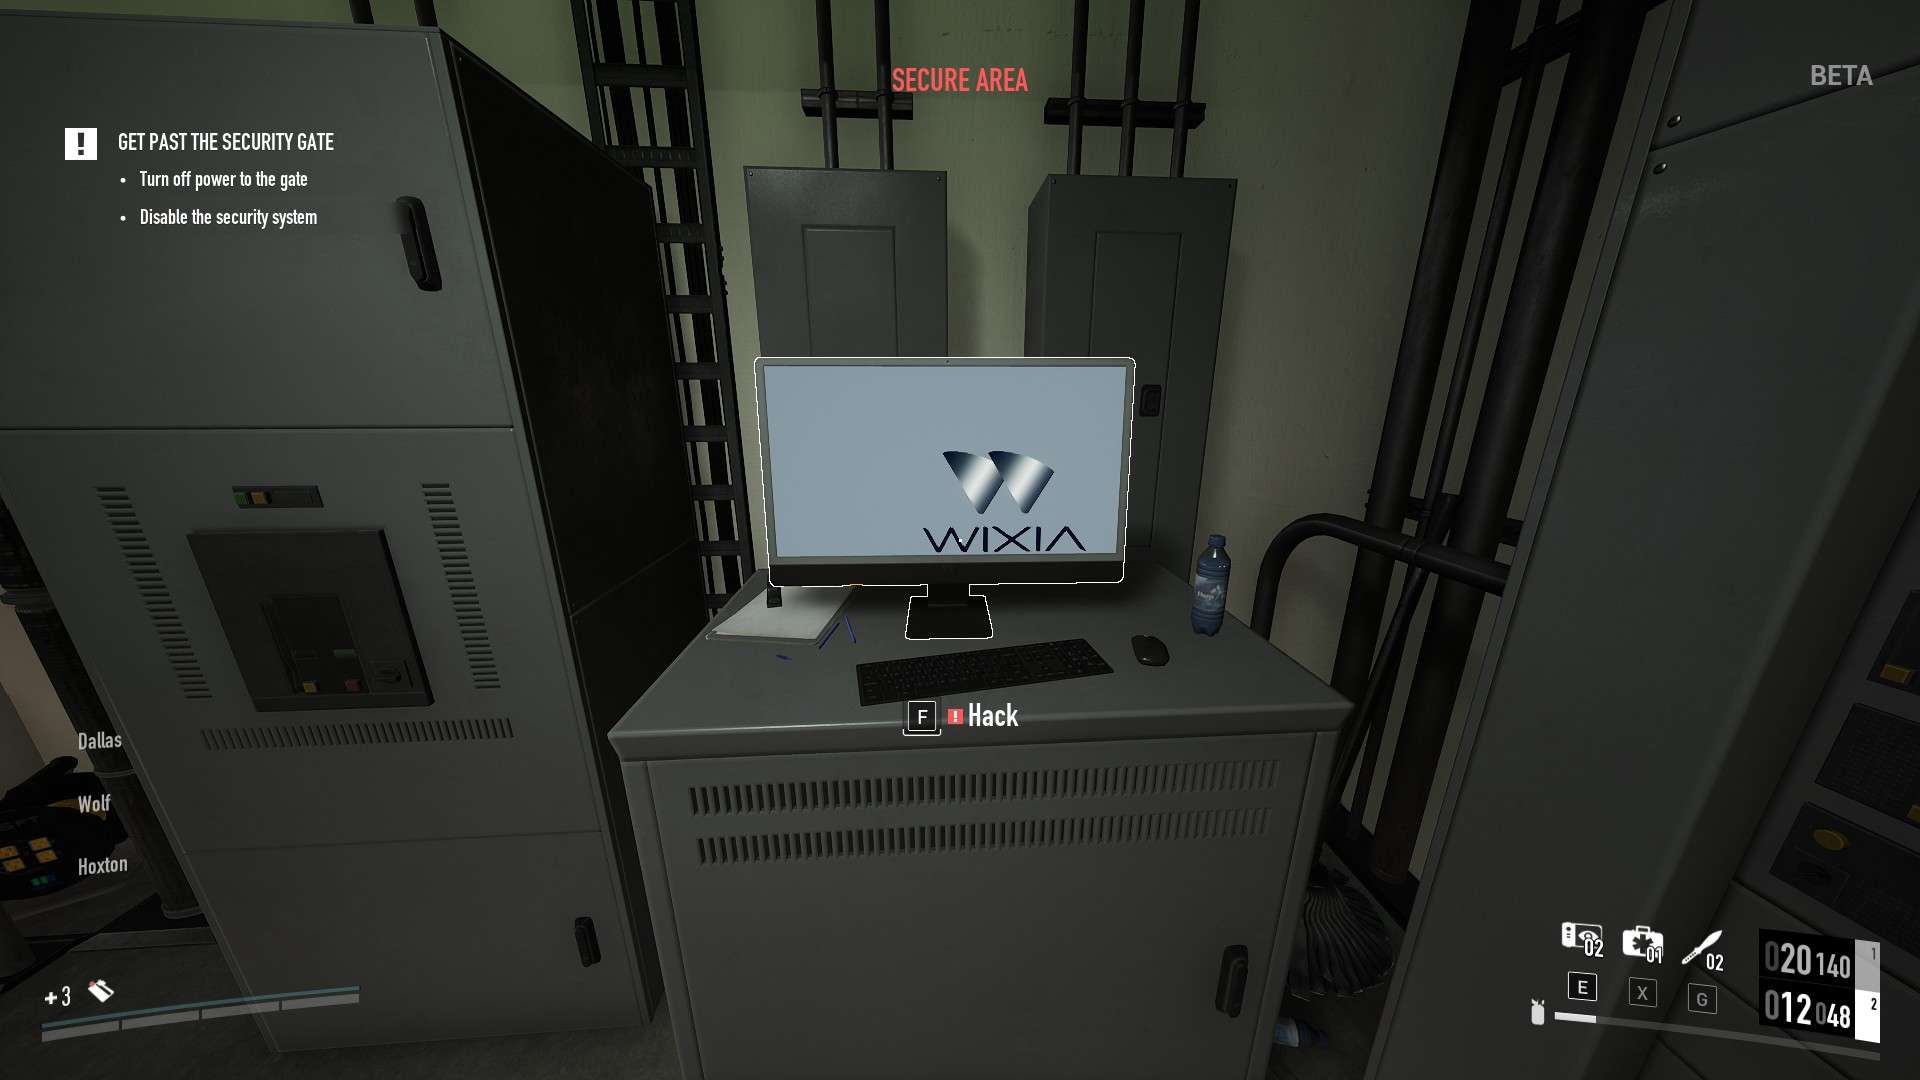

The terminal can be on the second floor or on the roof. It is kept inside a room locked with keycard access. The color of the keycard is either blue or red. You can tell where the terminal is by seeing if the second floor has two or one door requiring a keycard. If there are two doors then it’s on the second floor but if only one door requires a keycard then the terminal is on the roof. This is simply explained by the fact that the camera room is always on the second floor, meaning that it is always the camera room if you only see one keycard locked door on the second floor. There is also a sign outside the door telling you if it’s the terminal room or the security room.
The fastest terminal to get to is always the roof terminal as you won’t need a QR code for it or torch open any windows which would require you to be in mask mode. But, you would still need a keycard from either the first floor or second floor to open it in the first place. It is however the most risky terminal if the roof guard is patrolling outside of the terminal room instead of overlooking the executive’s office. This is where most players get cuffed when they’re spotted since it’s a secure area. So be ready to have the Slippery skill or just restart the heist if you don’t have the skill or simply want to avoid search mode. You can also use the Glitch Protocol skill to stop the roof guard from cuffing you if you get spotted.
Recommended Skills (2nd Floor):
- Grifter
- Walk The Walk
- Social Engineering
Recommended Skills (Roof):
- Slippery
- Hacker
- Secure Loop
- Glitch Protocol
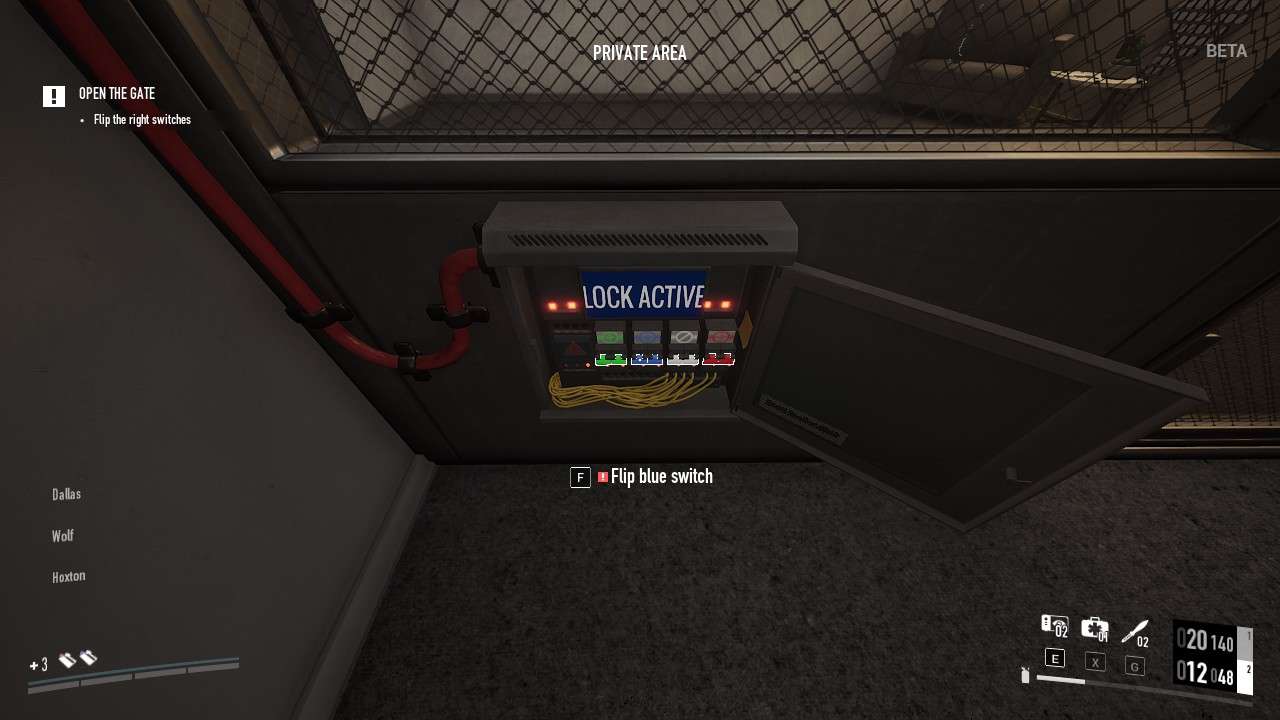
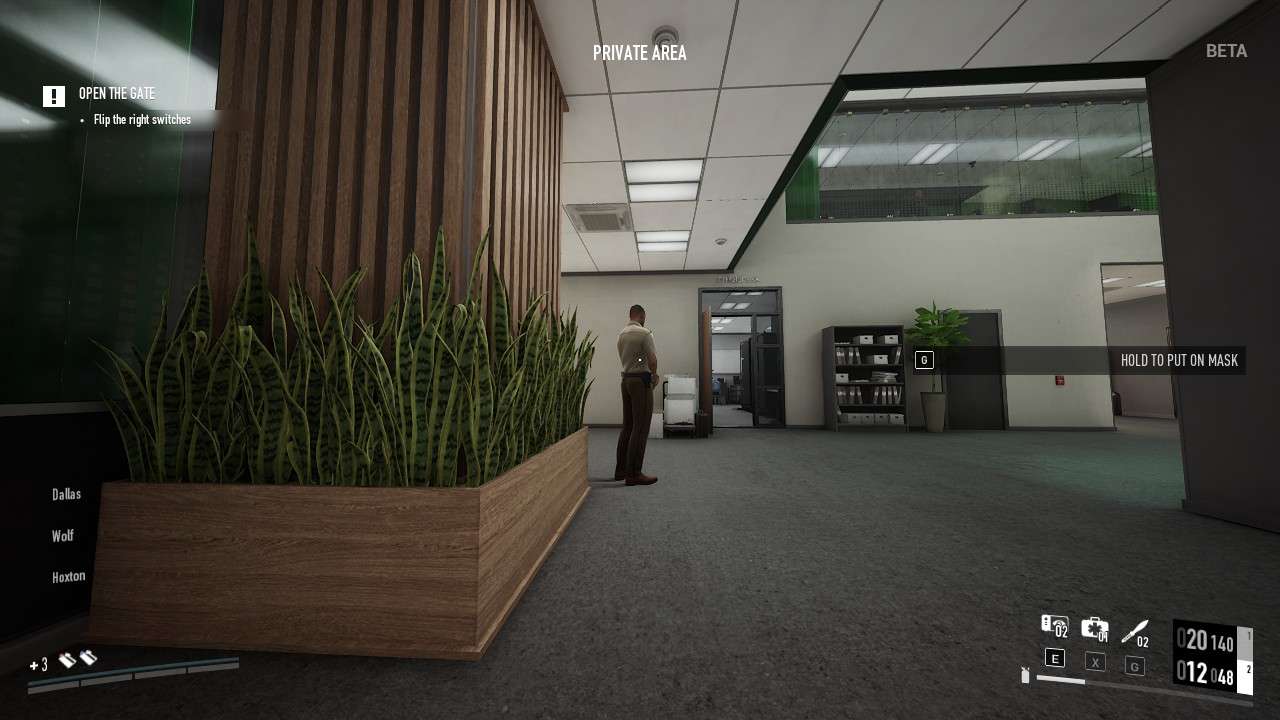
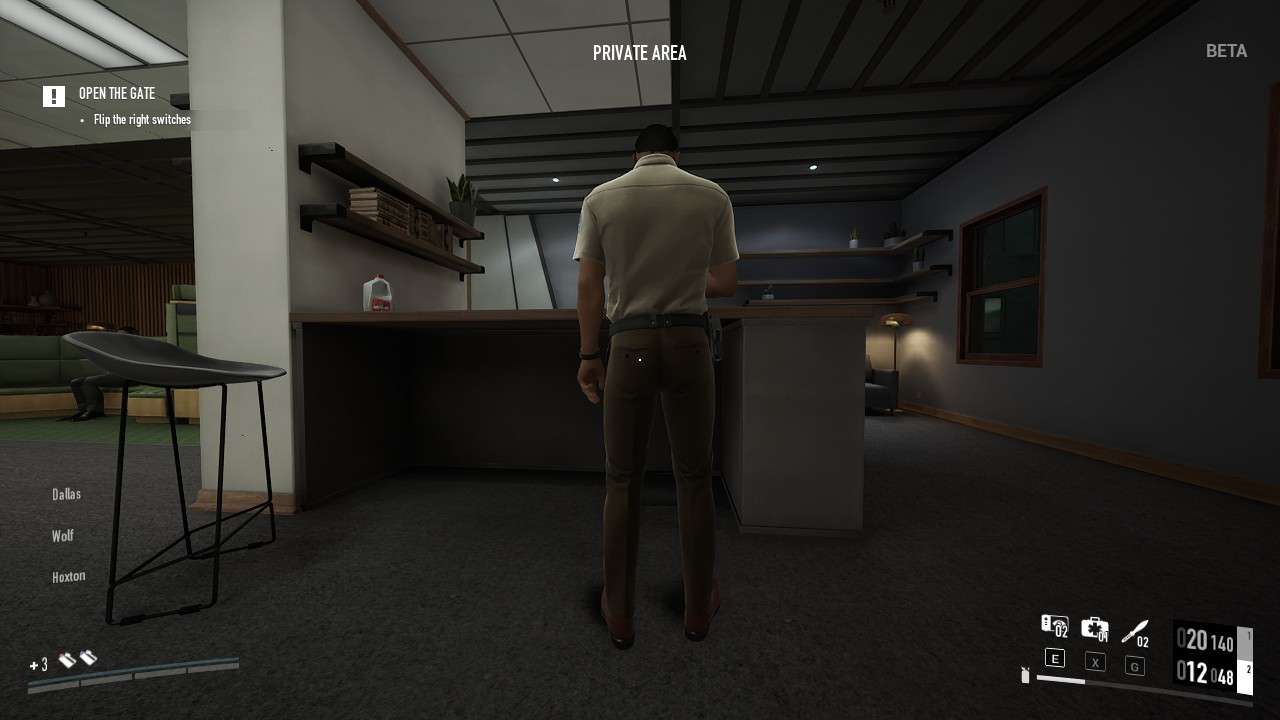
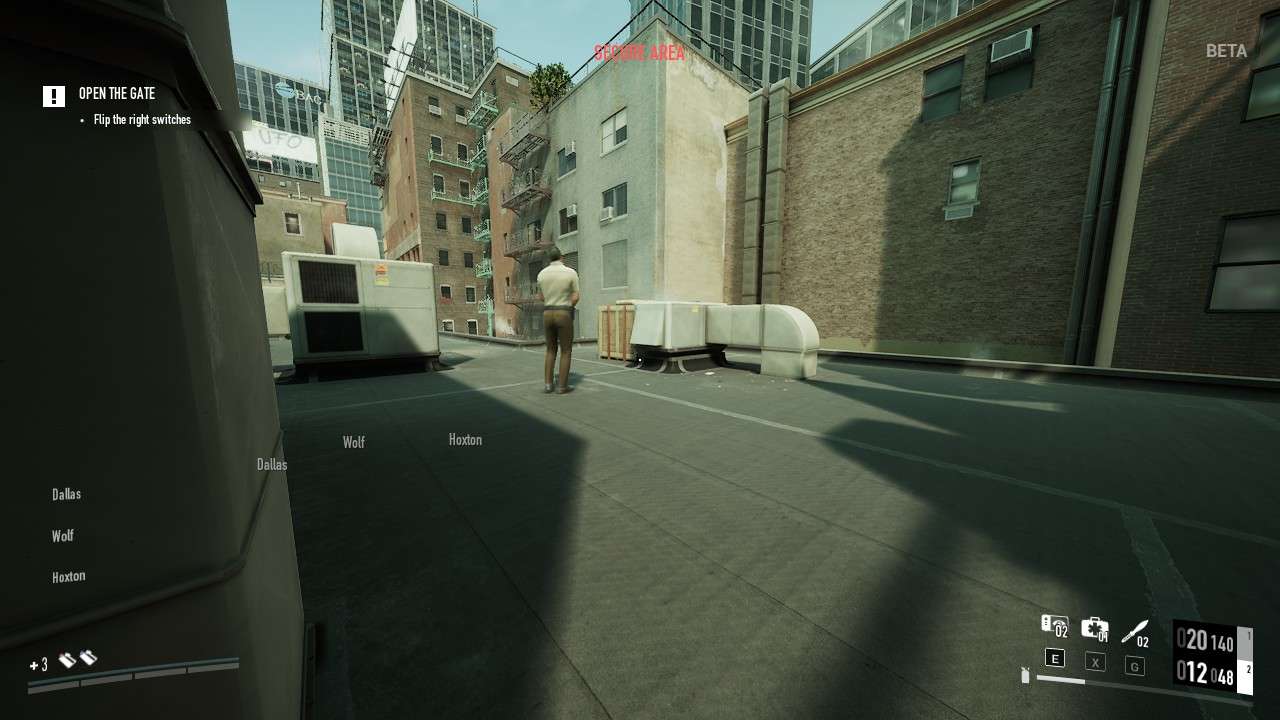
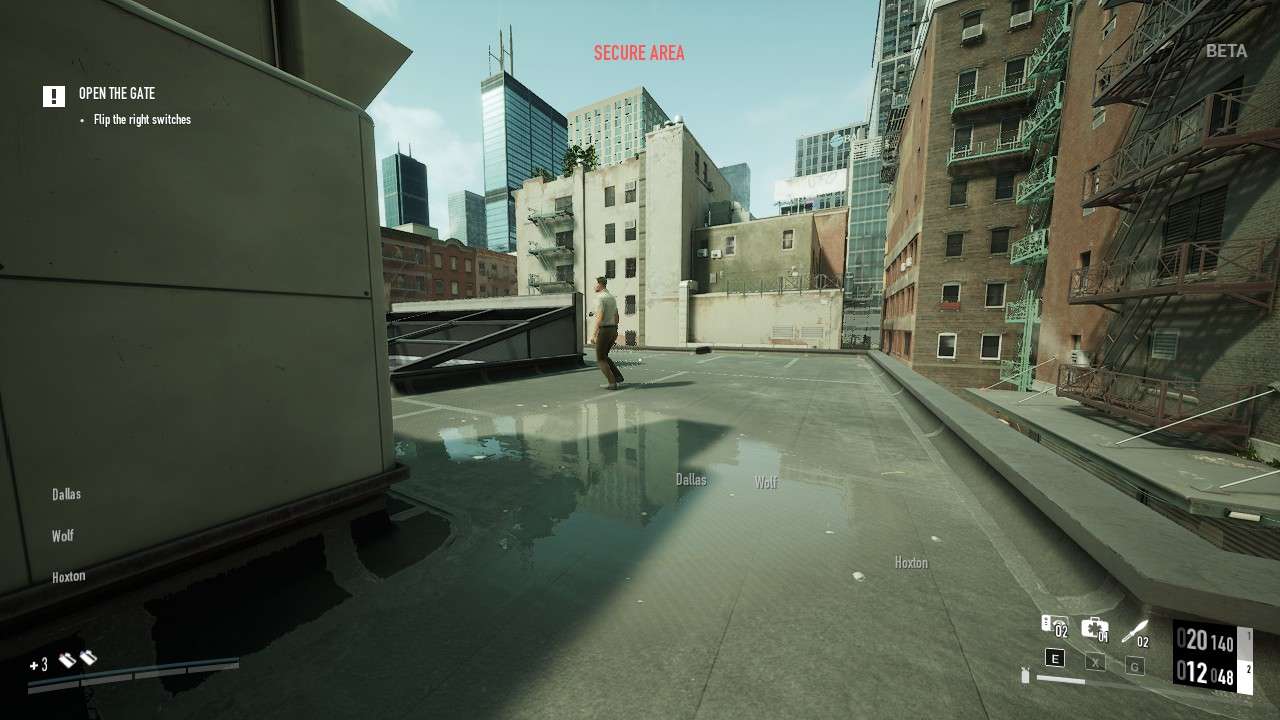
Flip the Right Switch
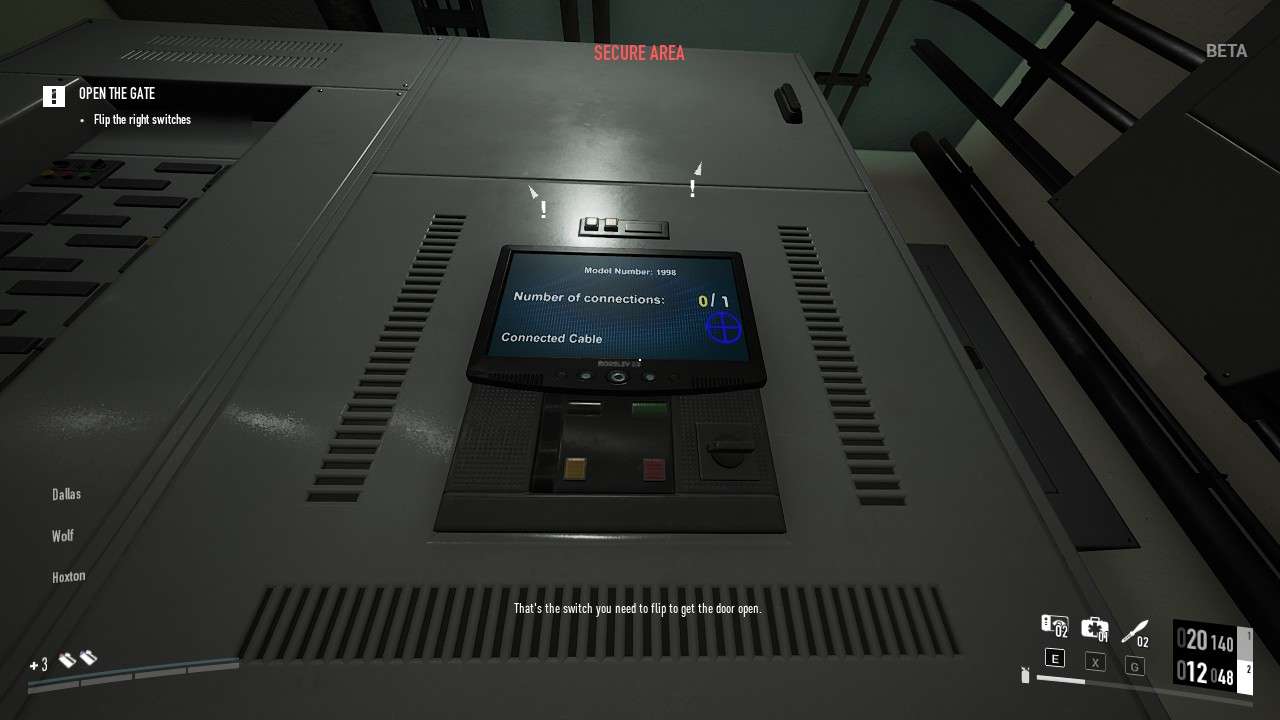
Watch The Panel
After hacking the terminal you will interact with a panel near it that will display a symbol. This symbol shows you the color and symbol for the ‘right switch’ found near the secure vault windows. Memorize the shape and color then open the panel and flip the switch with the same symbol and color. If you are a duo just send the symbol and/or color in the chat or do the same if you are solo to avoid error if you want. You can also flip the switch from inside the bank’s lobby.
Recommended Skills:
- Grifter
- Walk The Walk
- Social Engineering
Sometimes a civilian will walk to the vault door if the security gate is open but it’s rare.
Keep an eye on the panel to see which switch color you got. I also highly recommend closing the bank window blinds for the outside parking lot guard as he sometimes can peek towards the vault.

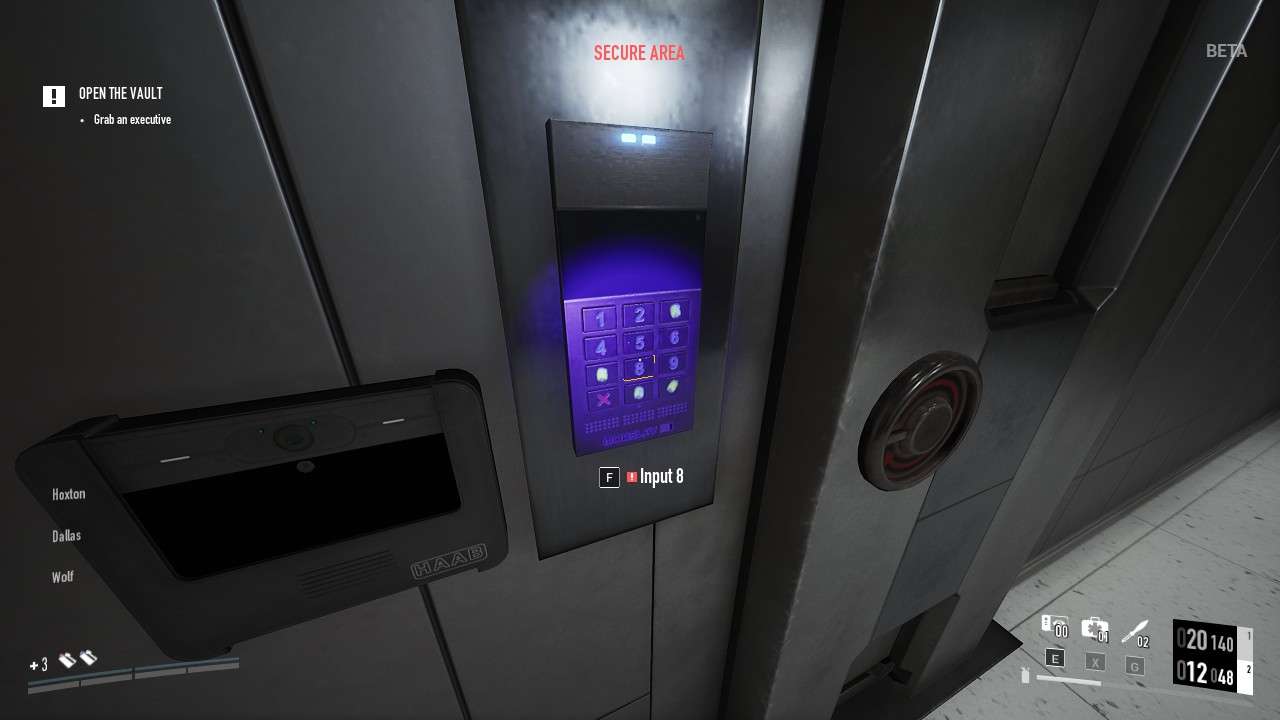
You don’t need to know the code to the vault, take an executive or access the computer or any of that beforehand. You can immediately start trying every possible combination based off of the fingerprints on the panel until you get it right.
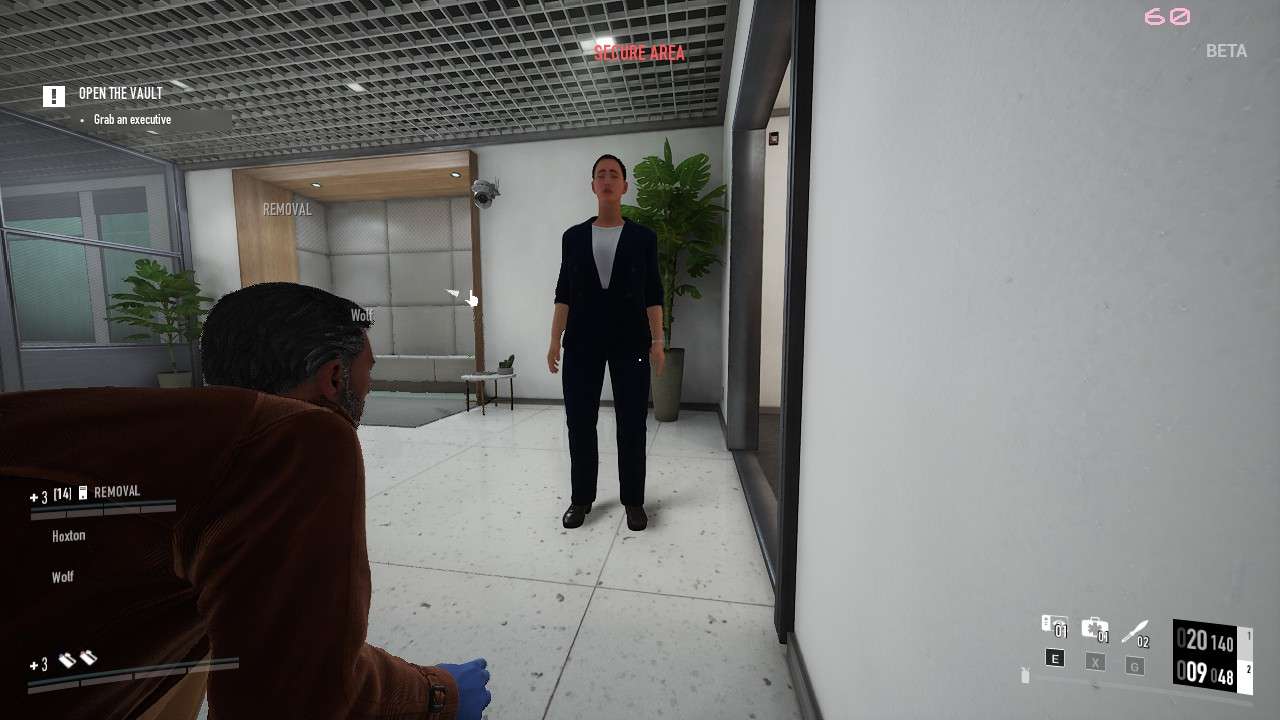
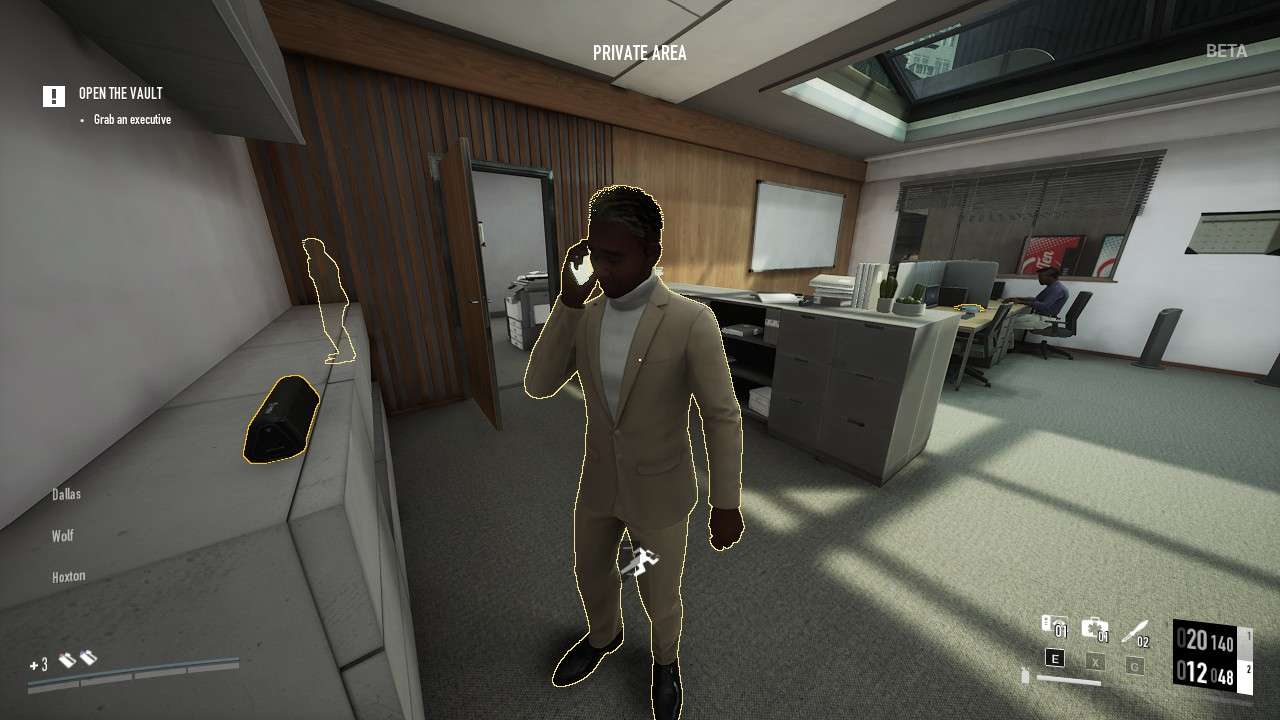
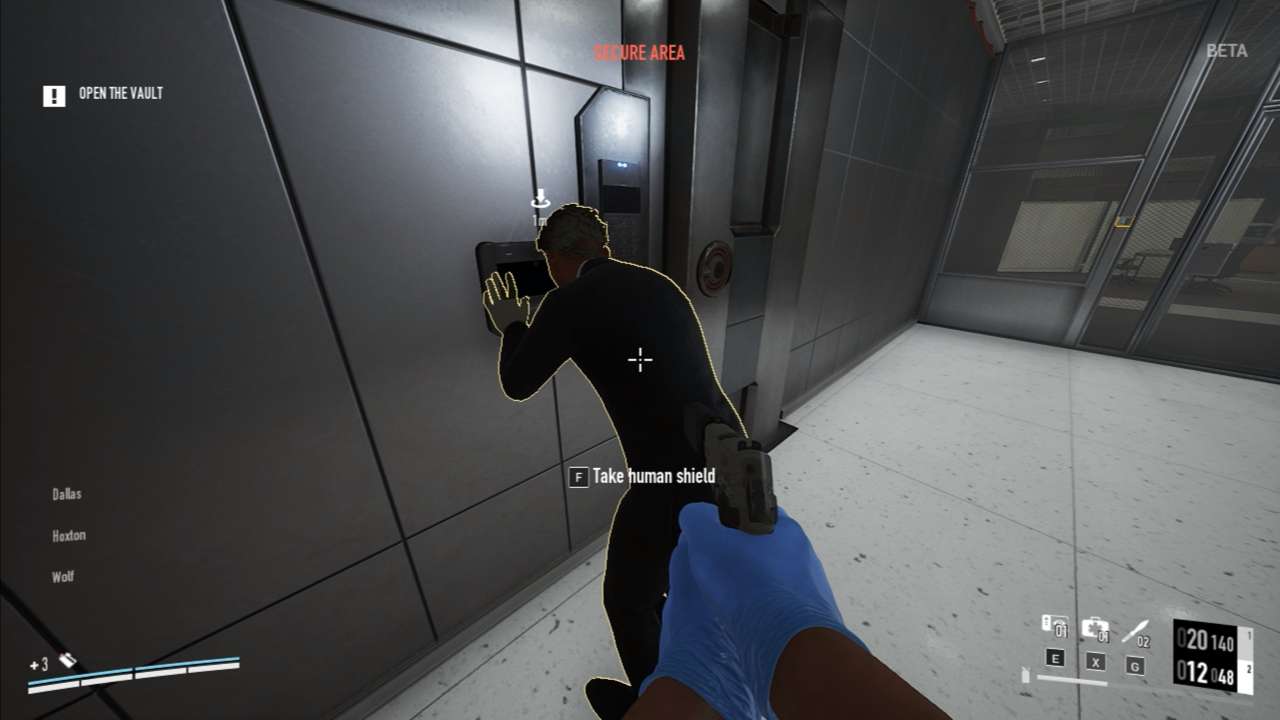
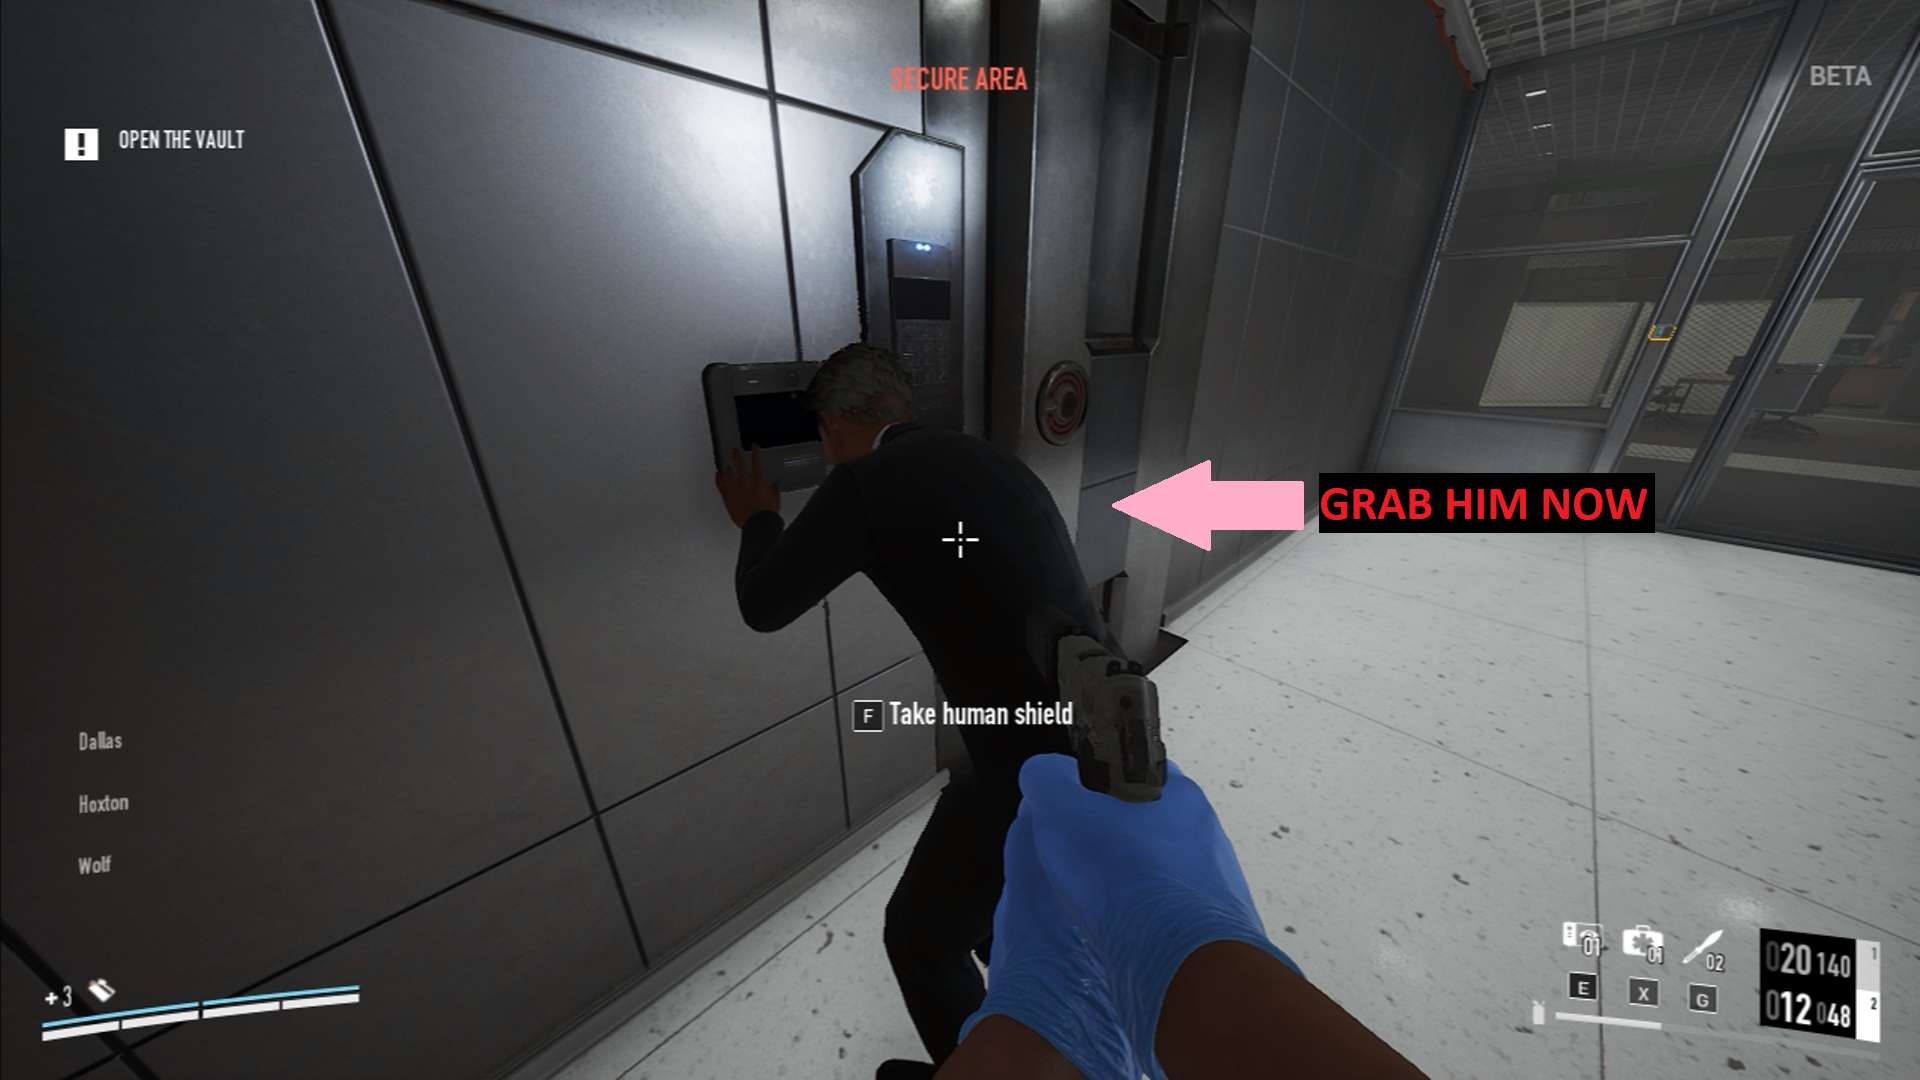
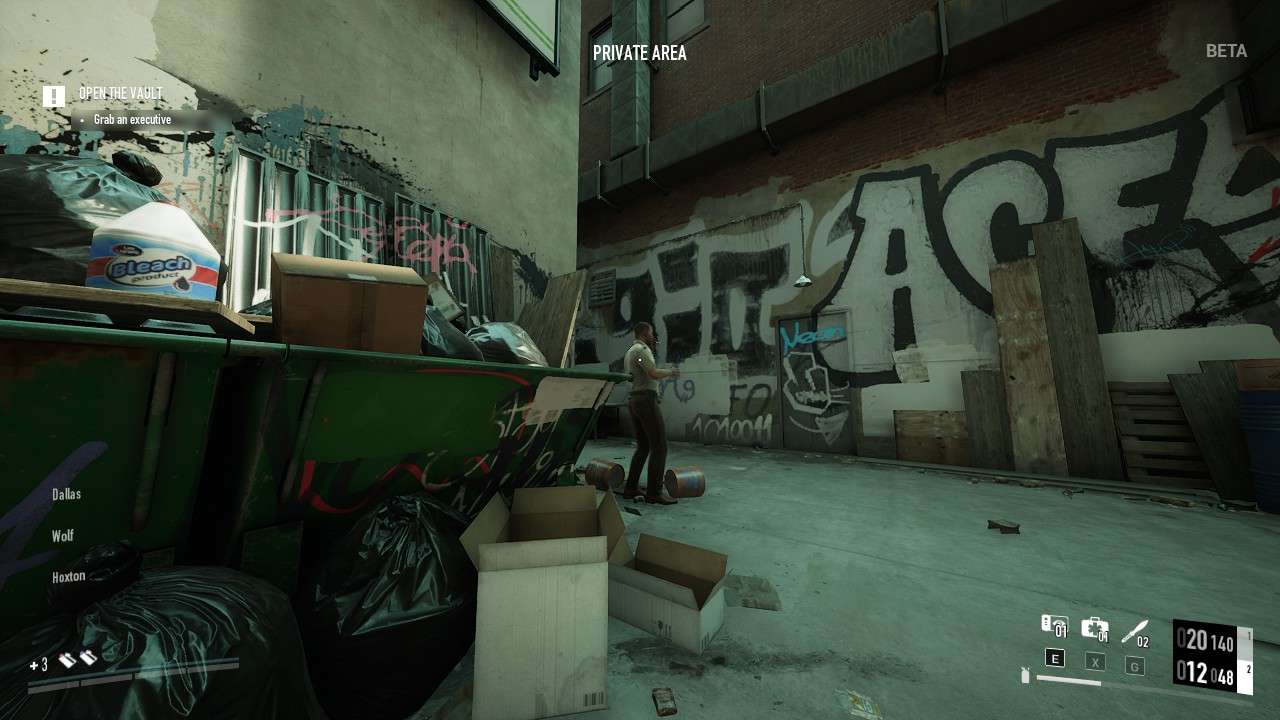
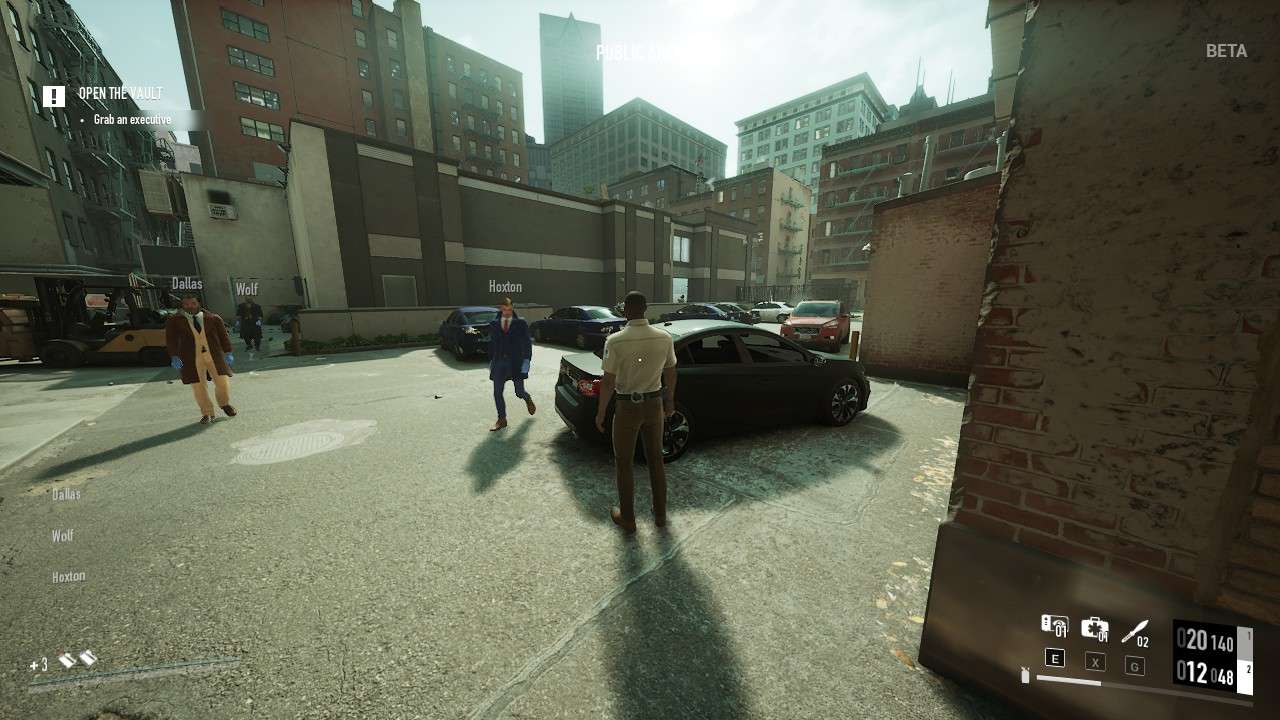
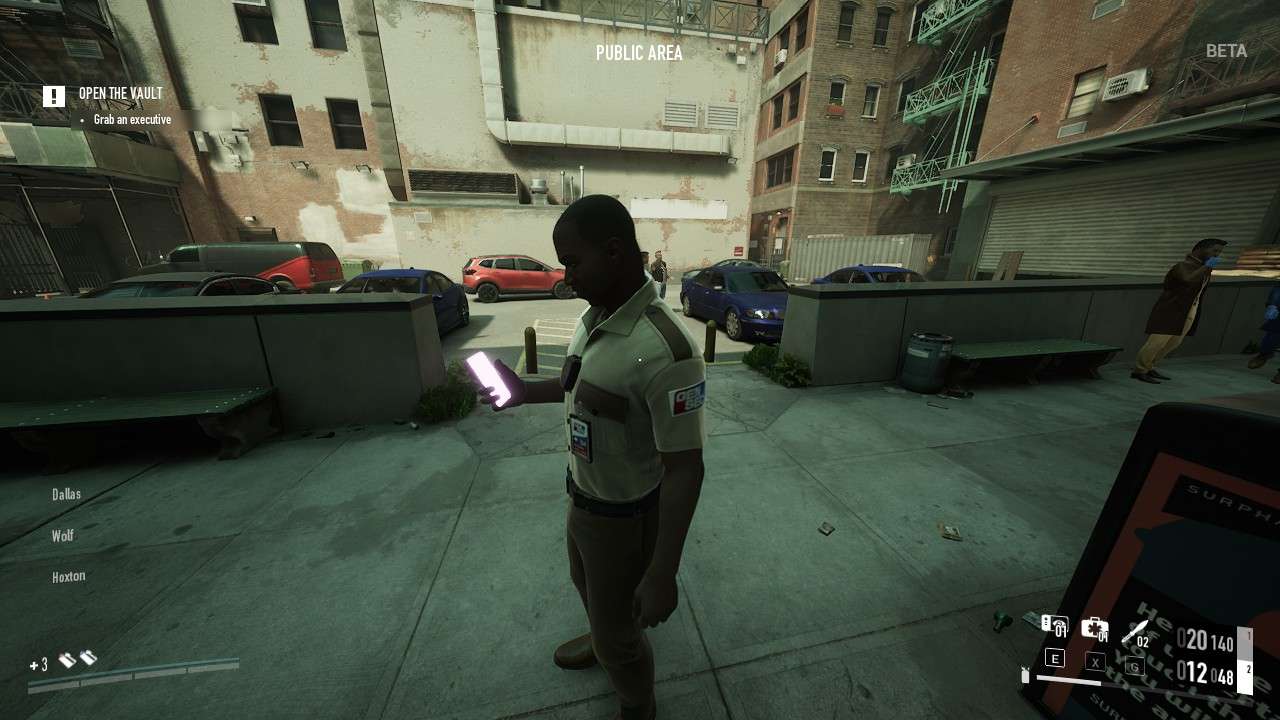
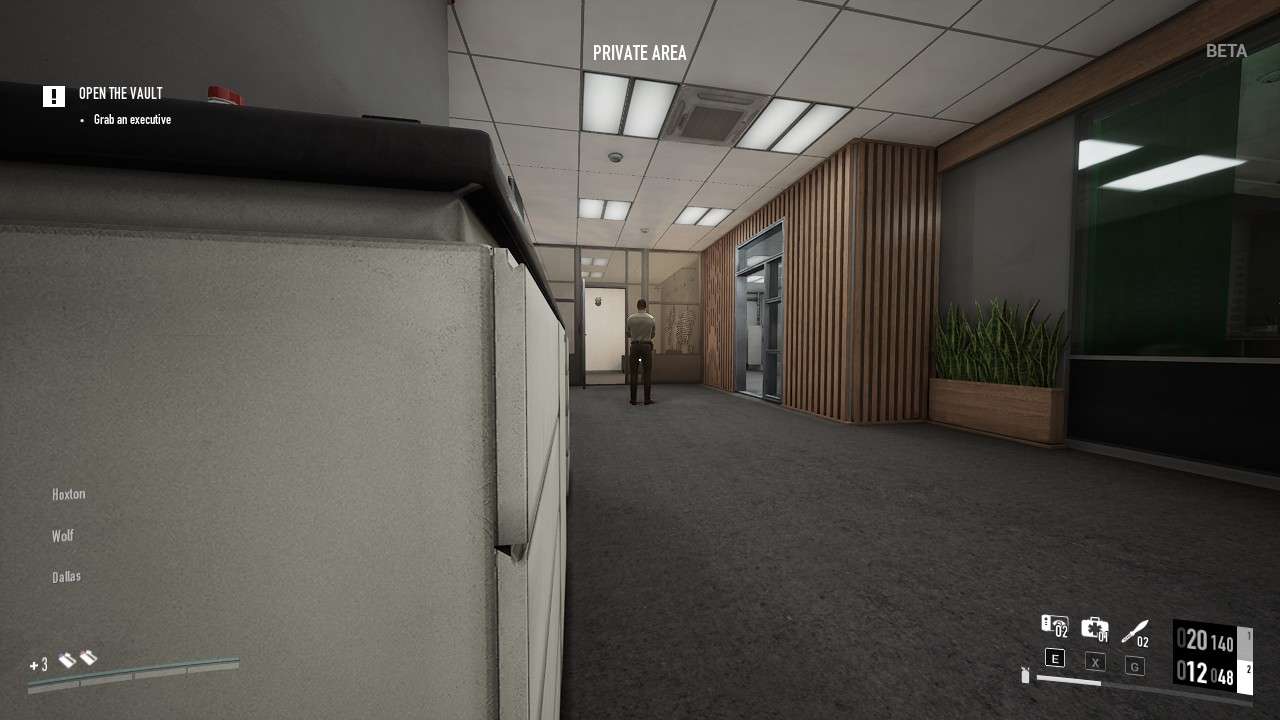
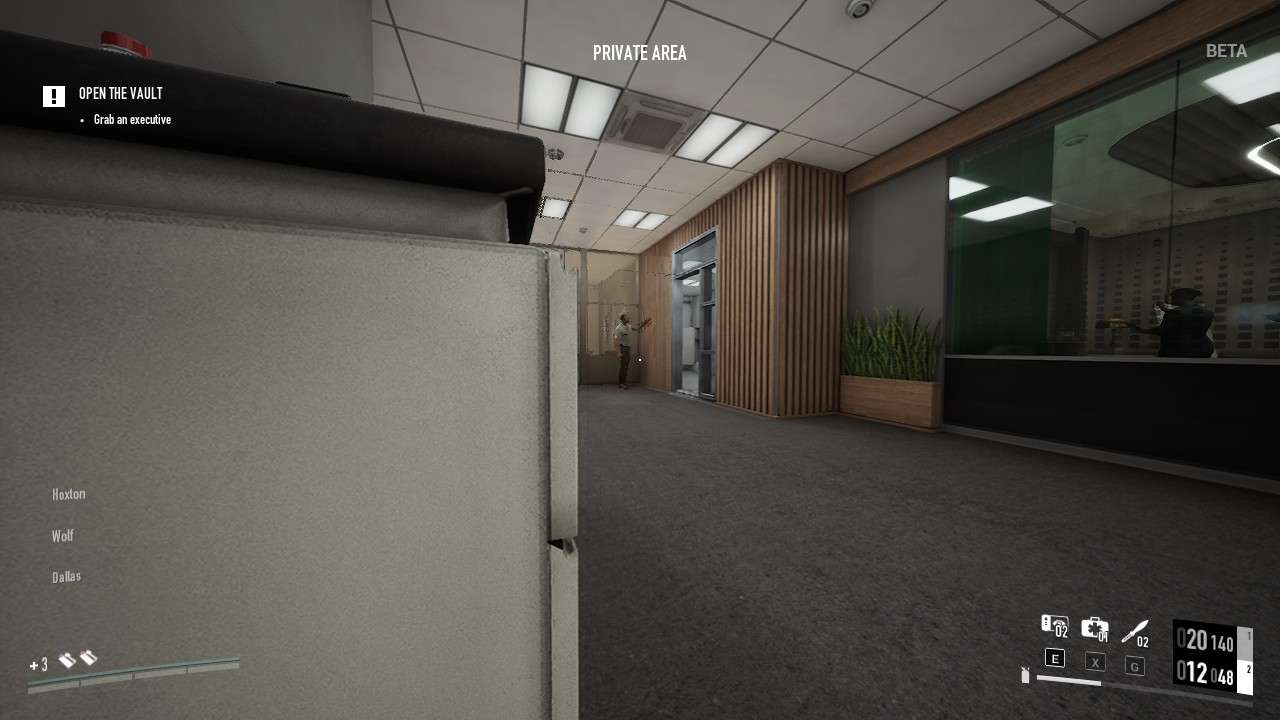
Grab an Executive

Where They At
Probably the least amount of candidates up for this task. On the second floor find one of two civilians, one moving from the copy-machine room then out the room and past the kitchen bar then he looks through a window overlooking the first floor before going back to the copy-machine room in a loop and another going from the office booth area to the hall just outside the office in a loop. When you spot the civilian they will get an outline to tell you it’s the executive. I find that the easiest executive to escort is the copy-machine executive as it seems the most consistent and you don’t have to wait as long as you need to wait for the other executive.

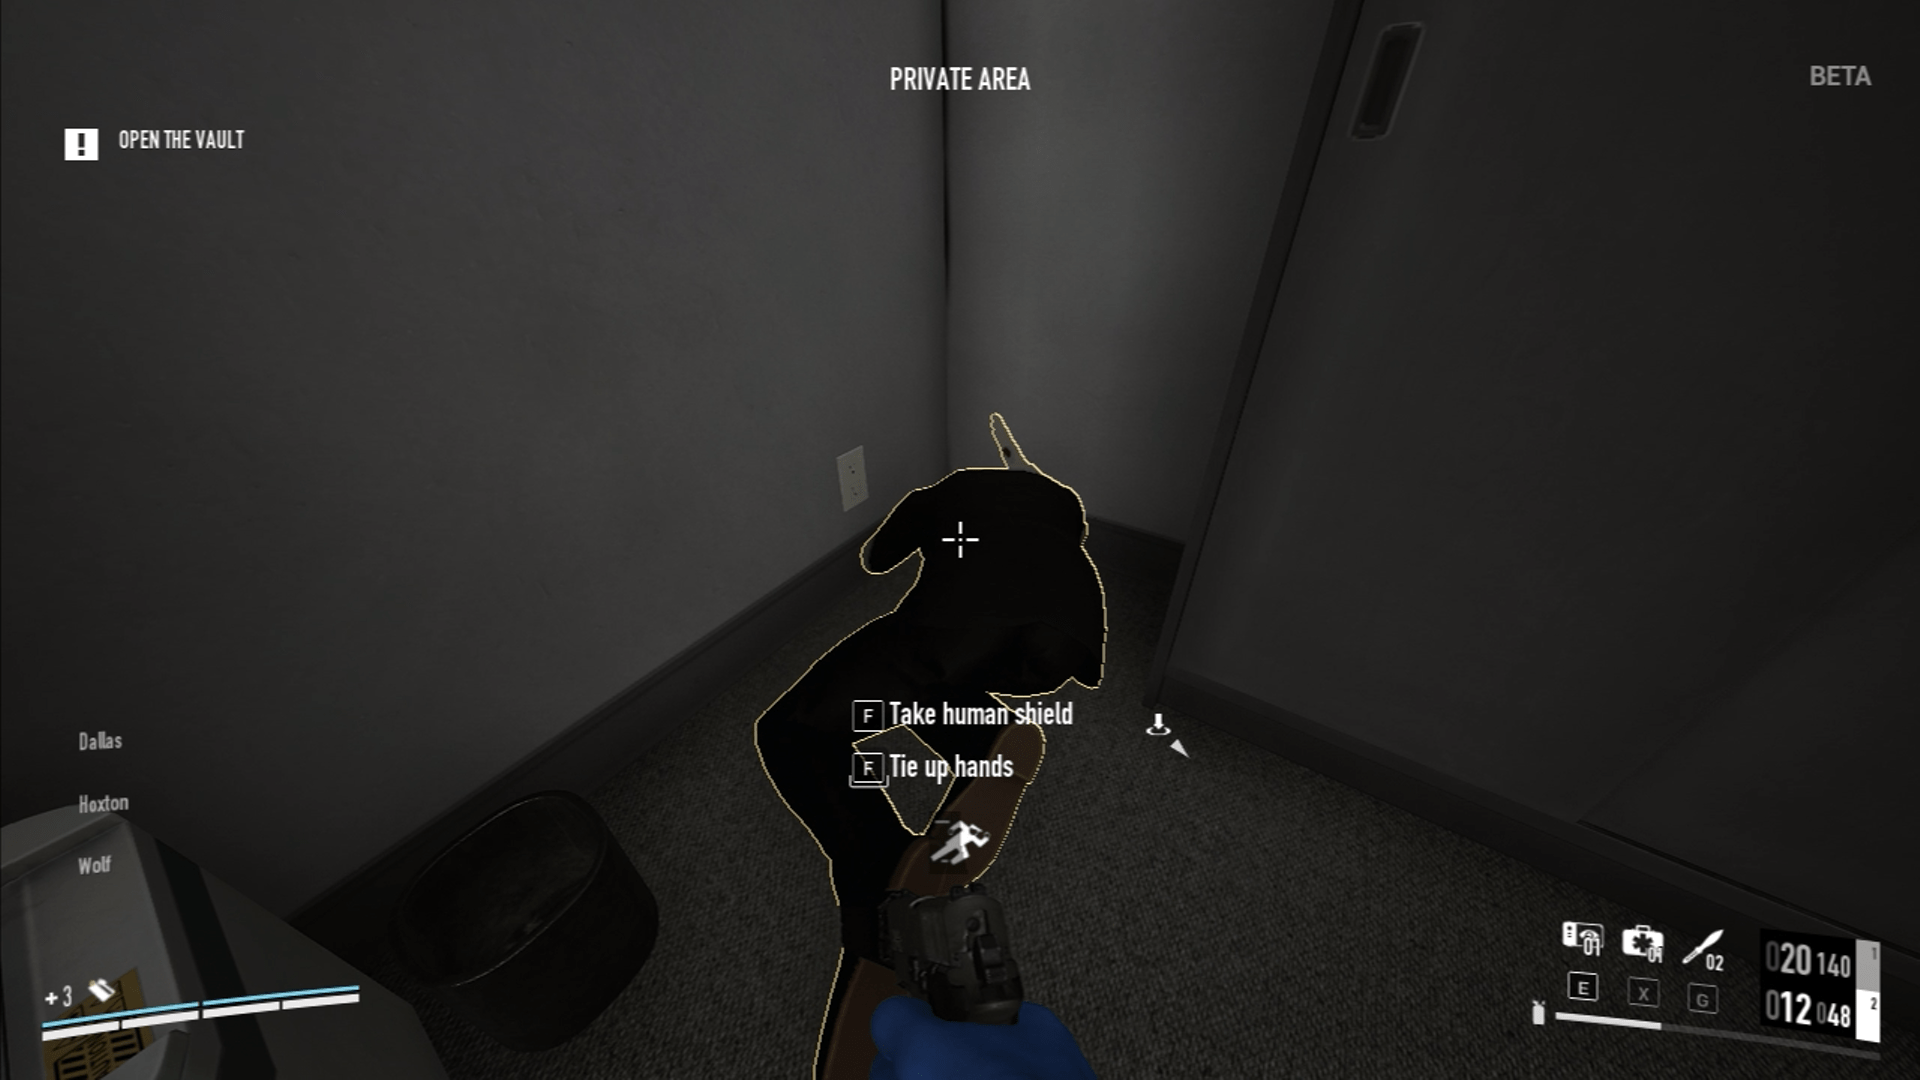
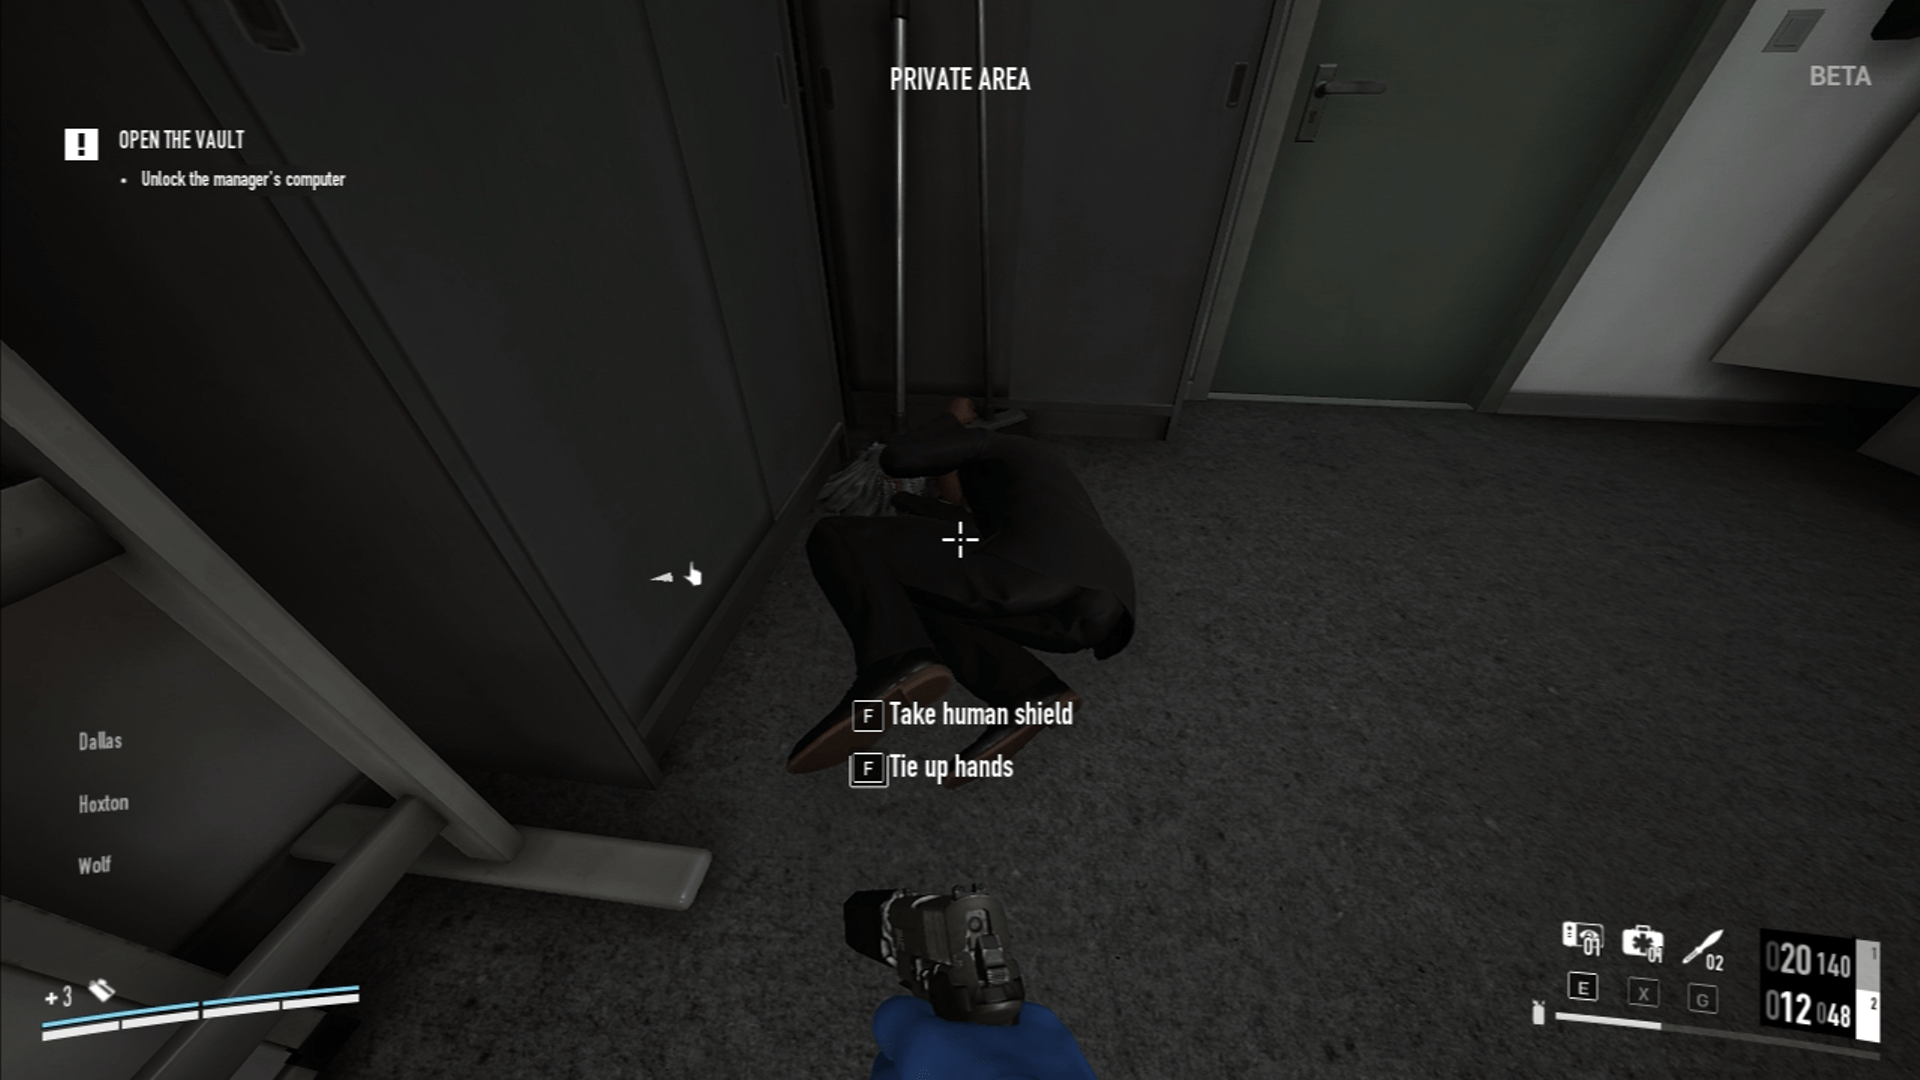
Safety First
Simply check your MicroCam if you have one, then mask up if no guards are nearby and take the executive as human shield and put him in the corner next to the locker in the copy-machine room. Use your cable ties to tie him on the ground then check for guards, check your MicroCam and check the nearest camera if it is looking in your direction, hack the camera if you can.
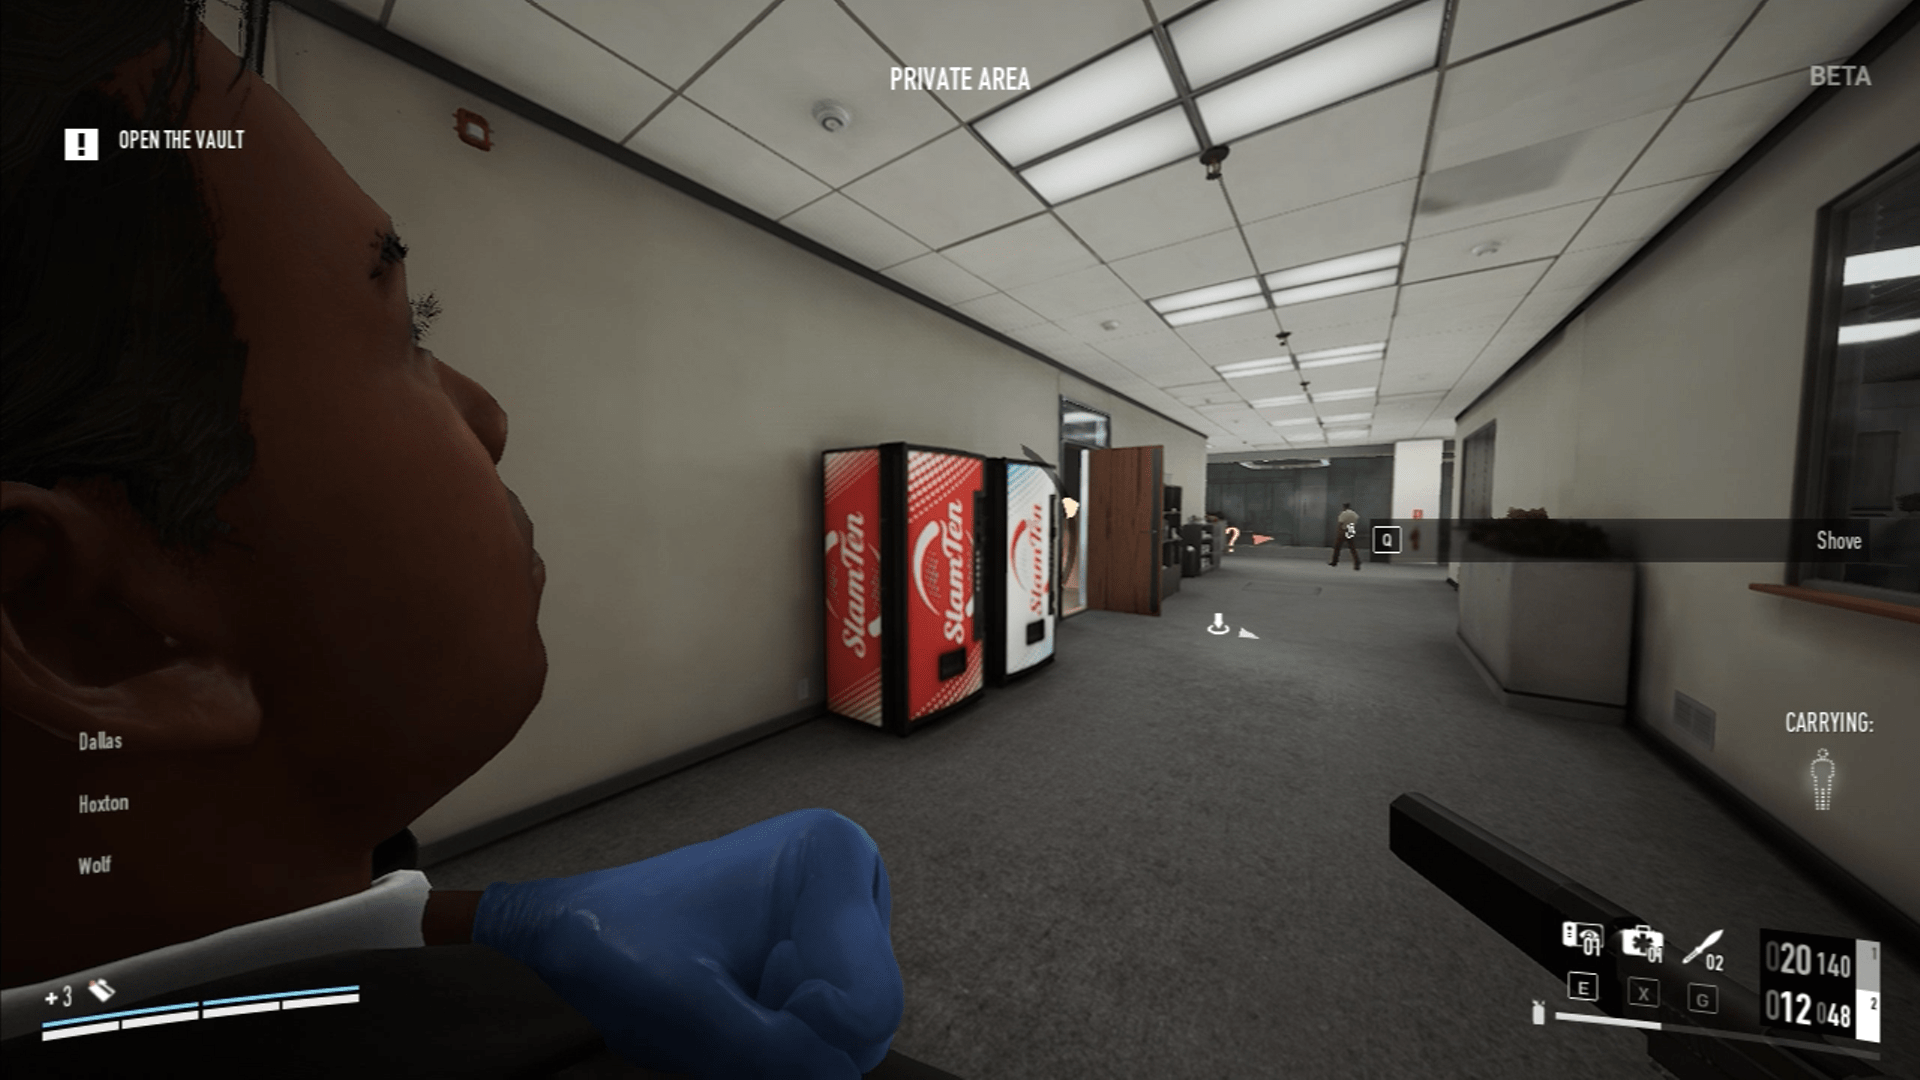
Risky Move
If your MicroCam is clear and there are no guards nearby and the camera is not looking in your direction then pick the executive up again as a human shield and head straight towards the door leading to the staircase. Civilians from the booth office will begin to detect you as you head towards the staircase with the executive but from my experience they never fully detect you, they will however detect you if you hesitate or if your ‘walk’ is off. If you get too anxious then figure out a way to deal with the civilians or just read into the patrol routes sections of each floor in the Patrol Routes section of this guide.
Move It
Once you made it to the stairs with the executive, immediately head to the first floor and check if the first floor guard is in a bad spot. A bad spot would be the guard patrolling by the door or standing in a position where he is looking at the door. You also have to look out for the civilian walking past the door and into the locker room that is next to the vault windows as they will also walk from there and past the door again.
The solution for solo play is to immediately go for the locker room with the executive if you can’t see the first floor guard then put the executive in the farthest corner then tie him up on the ground, and if the civilian is in there simply human shield them and put them in the same corner.
Make It Clear
Now check outside the locker room if the guard is there or not and wait for them to enter another patrol route. If you didn’t encounter the walking civilian in the locker room then wait for them to come so you can tie them up to make things easier. If the guard isn’t facing the locker room entrance or the vault windows then grab the executive again and check if the vault camera is facing you or not before you go.
Watch The Outlines
Go through the vault window entrance with the executive and see if there is a guard patrolling the bank lobby as they can see through the vault windows on the other side of the vault. If there is a guard and you don’t have a way to hack the cameras then go back to the vault windows and use them to avoid detection by the guard as they can’t see through them. Do this if the lobby guard walked past the lobby vault windows until they’re gone. Then throw the executive toward the Vault code panel and wait until his outline is gone then you can immediately grab him to save waiting time.
Tie Him Up
Now put the executive in the locker room and tie him up. If you want the least amount of risk, put the executive in the storage room or bathroom stall on the first floor as guards won’t go there so long as you close the door to the room, even if they’re in search mode.
Recommended Skills (Grab An Executive):
- Hacker
- Secure Loop
Recommended Loadout (Grab An Executive):
- MicroCam
If you have a lead guard in your heist then make sure they have a MicroCam on them and check it before you move the executive as a human shield towards the stairs since the lead guard is walking up and down the stairs frequently and is a game over if he spots you.
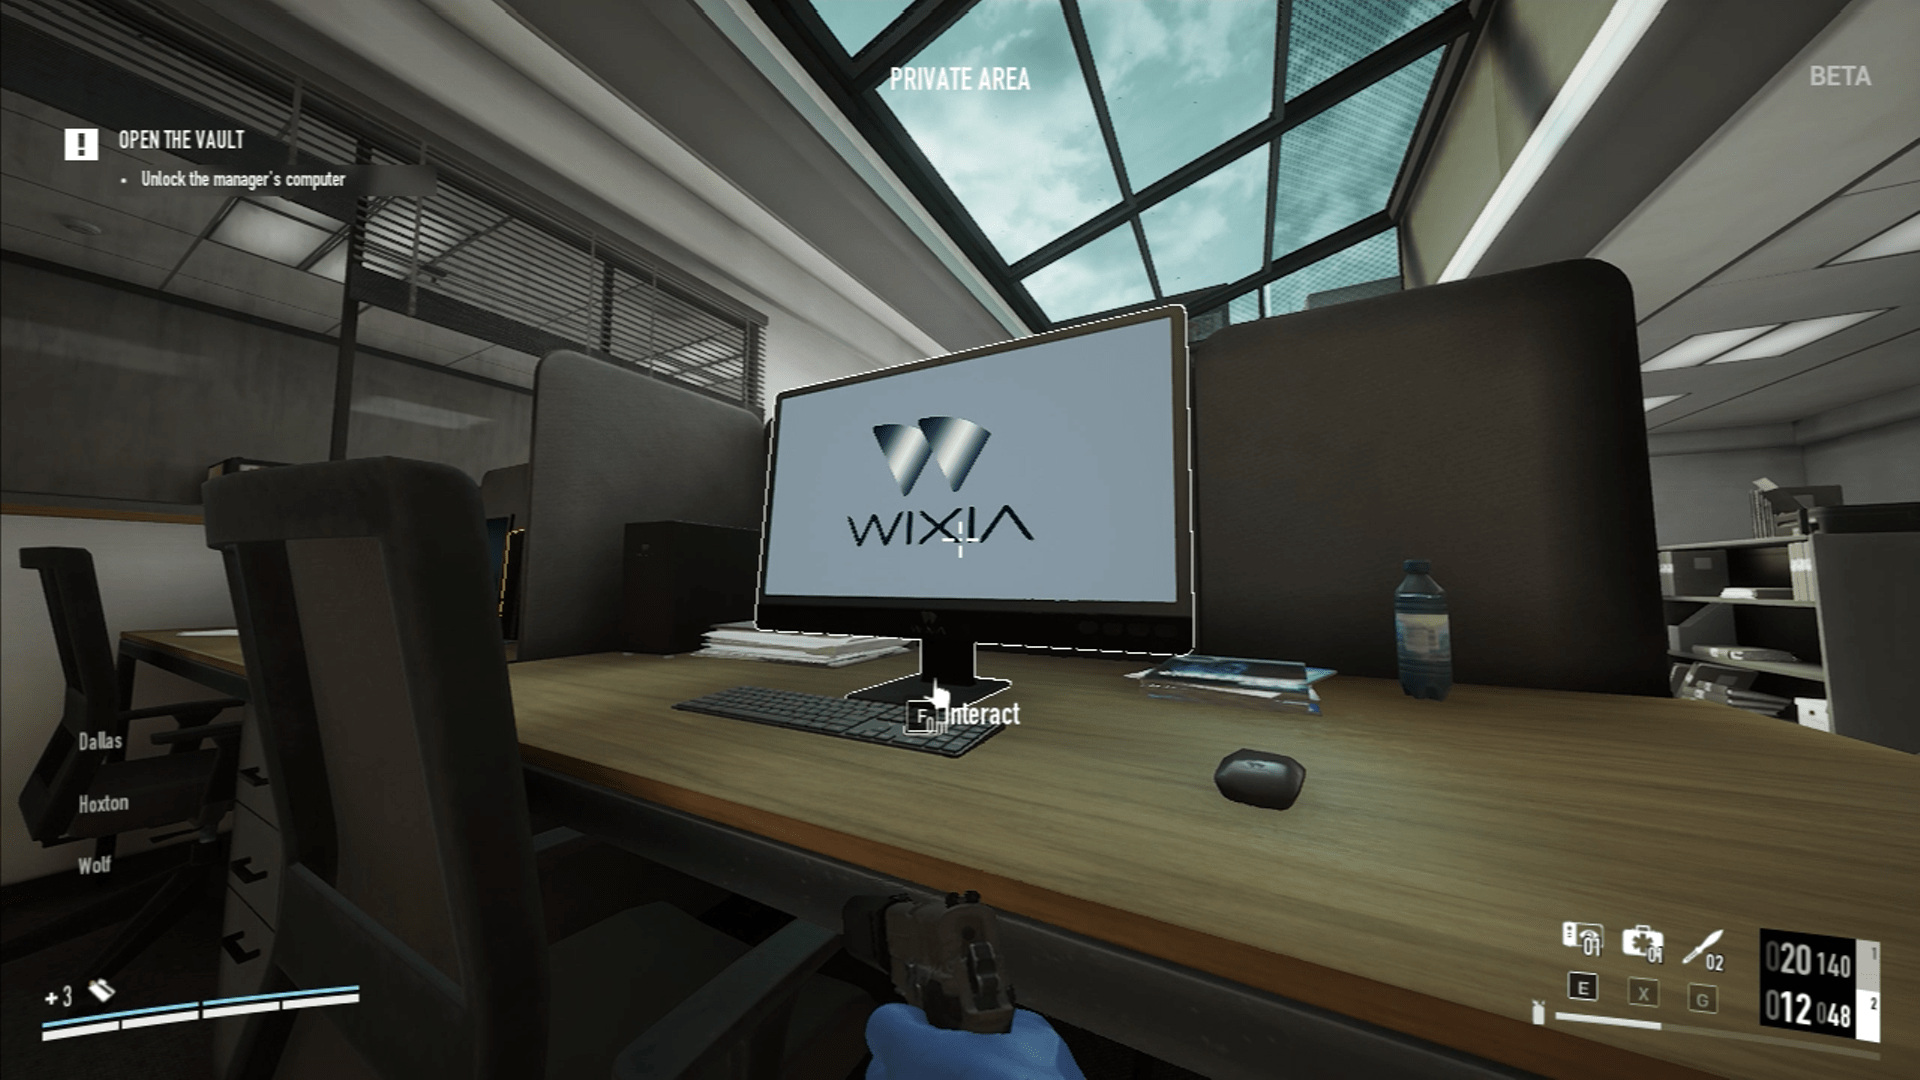
Access the Manager’s Computer

First Floor:
One of the easiest and trickiest tasks in the whole heist. You are either lucky or unlucky to which computer it is. If it’s the first floor manager office computer then you are at luck. If it’s the office booth on the second floor you’re pretty unlucky.
Recommended Skills (First Floor):
- Quick Fingers
- Grifter
- Walk The Walk
- Social Engineering

Second Floor Casing Mode:
If you have a duo and they are in casing mode they can easily access the second floor computer no problem.
Second Floor Masked Up:
But if you are masked up there are two ways of doing it. You can get a little bit lucky if you get a computer on the second floor that is close enough to you that you can sneak through and just barely make it without getting spotted then access the computer.
But if you are really unlucky you get many civilians there, computer is in a location where the civilians can see you and you have to deal with them. It will take some immense patience and here is why: make sure the guard on the second floor just went past the office windows, make sure the lead guard just went past the second floor entrance and is heading upstairs to the roof and be lucky enough that he goes through the roof door as well. Make sure no camera is looking through the office windows, make sure both executives are tied up and kept somewhere safe, make sure no civilians outside the office windows are looking in the direction of the office so tie them up if you feel unsure. And finally the most crucial thing, above the office are ceiling windows for the roof guard to look through. If you stand inside the second floor office in the direction of the second floor staircase door and look straight up, if you can see the roof guard on the right side of the ceiling windows, then as soon as he turns around you immediately move towards the civilians to get spotted then tell all civilians in the office booth to get down, take them all as human shields and put them in a blind spot where the roof guard can’t see them and where anyone outside the office windows can’t see them and make sure they are all tied up so they won’t run away. If you manage to have absolutely everything lined up for you, access the manager’s computer. Again, if you feel unsafe in any way then put all civilians in the storage room or bathroom stalls on the second floor if you unlocked it. Guards won’t look inside the hiding spots even if they are in search mode so long as you close the door to it. This is easiest to do if the roof guard is using patrol route B in other words patrolling the storage or terminal room instead of the ceiling windows to the second floor office.
Recommended Skills (Second Floor Masked Up):
- Manipulator
- Overbearing
- Glitch Protocol
Recommended Loadout (Second Floor Masked Up):
- MicroCam
This is a good spot to make use of a MicroCam if you have a lead guard. Simply have it put on the Lead Guard and check your MicroCam to make sure he is walking to the roof to make sure he won’t be a problem when you need to take care of the civilians. The only times he is a problem is if you let yourself get spotted by him at the back of the second floor office or when he walks to the second floor to grab a soda and is facing the office windows on his way back. But you should have enough time to avoid him if you see that he’s entering the roof.


Casing Mode Solo Stealth:
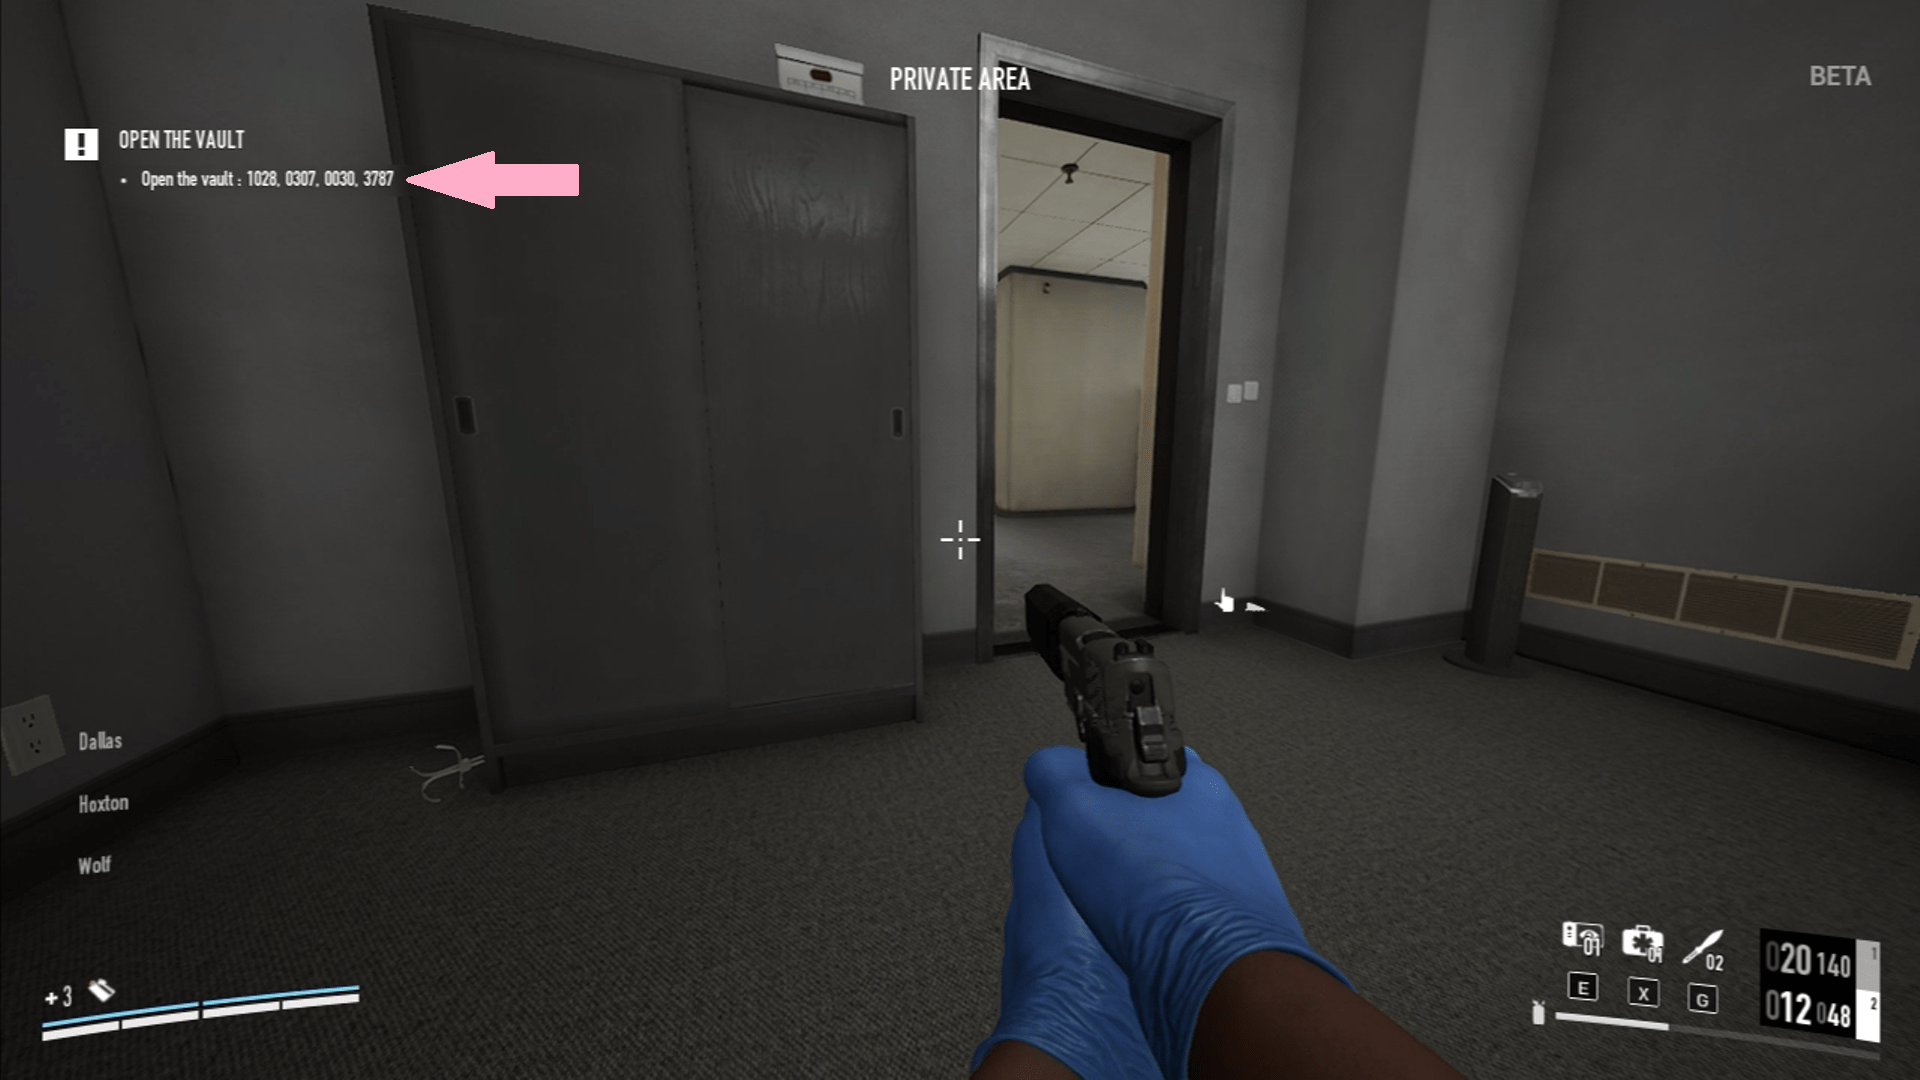
Once you access the computer you will see the codes for the vault. Write them down somewhere or memorize them, then restart the heist. Once you do all main objectives up until you can go to the vault code panel, insert the code based on the codes you got from the computer before you restarted the heist. Now open the vault and secure the loot in casing mode. This is only possible because the things generated for the session remains the same upon restarting the heist, and because the code panel can be interacted with at all times.
If you are doing this in mask mode with many civilians then make sure you cover every blindspot for each guard so that the roof guard won’t see them, the 2nd floor guard won’t see them and the lead guard won’t see them. If the roof guard is on the opposite side of the roof where the terminal room sometimes is then you never have to worry about him. If that’s the case then put all civilians against the wall underneath the office windows to cover the blindspots of every guard entering the second floor. Make sure the executive is dealt with as he might be outside the office and come back inside if you haven’t.
You don’t need to know the exact code to the vault only the fingerprints. Once you know the fingerprints you start doing every code combination possible. If for example the fingerprints are 1234 then try 1234, 1243, 1324, 1423, 1342, 1432 and if none of these codes worked then it means the code does not start with a 1.
Continue doing this with each starting number until you get the correct code. If there are three fingerprints then it can look like this for example: 1123, 1132, 1213, 1312, 1231, 1321 and now if the code is incorrect it means the code does not start with a 1 and does not have a 1 somewhere else in the code at the same time. Now we move on to two other numbers with a start of 1 like this: 1223, 1232, 1322. Notice how quickly we can determine that the code doesn’t start with a 1 and have two 2’s in it and same goes for having two 3’s like this: 1332, 1323, 1233.
You can visualize it like the number two is moving closer and closer to the 1 like they want to hug each other. And that’s it that’s how you figure out the code without knowing the exact code but only the fingerprints of the code. You can view fingerprints by looking at the code panel and the code panel buttons will have a filthy glow on them.
Now that the code is determined to not start with the number 1 as we have tested every single combination starting with a 1 then it means the code starts with either a 2 or a 3 so now we keep going. You can do the same thing but for any other numbers with a limit of 4, 3 or 2 numbers just like in this heist where there are a very limited amount of combinations, now I will show every possible combination remaining for this example: 2213 2231 2123 2321 2132 2312 | 2113 2131 2311 | 2331 2313 2133 | 3312, 3321, 3132, 3231, 3123, 3213 | 3112, 3121, 3211 | 3221, 3212, 3122 .
Enter the Correct Code


Read The Fingerprints
At the vault code panel if you look at it, you will use your light to detect fingerprints on the buttons. Simply look at your codes and see if they match all of the fingerprints. For example if the codes are 8889 8888 8886 8887 but there is only a fingerprint on 8 and 9 then the correct code can only be 8889. From my experience there can only be one code matching the fingerprints and not more than one. In this case for me there was a fingerprint on the number 1 meaning the only code it would be is 8115 as no other code that I was given had a number 1 in it meaning 8115 is the correct code.
Recommended Skills:
- Hacker
- Secure Loop
Make sure that you know if there is a guard in the bank’s lobby looking towards the vault.
Disarm the Dye Packs
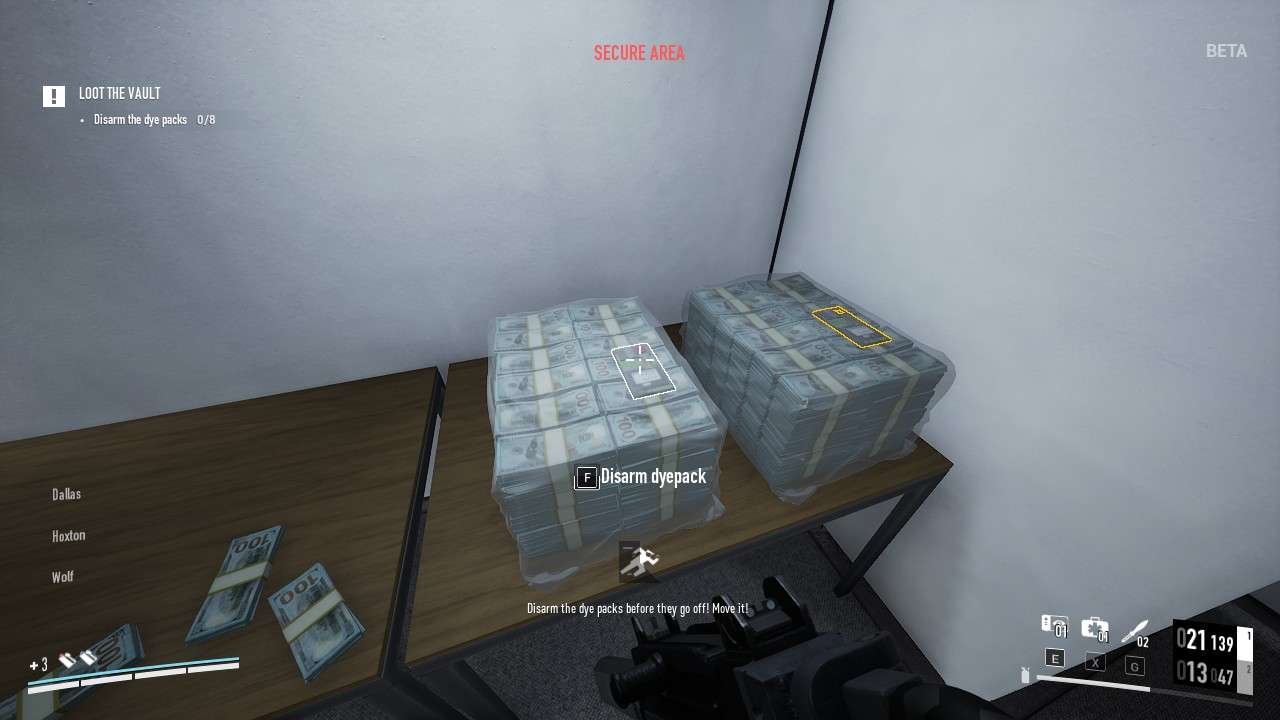
Be Quick
Best to do with a duo. Once inside the vault there is a locked door keeping most of the money bags. Lockpick the door then if needed, wait for your duo to be ready if you have a duo. Then prepare yourself and open the door then quickly disarm the dye packs that are on top of the money bags before the dye go off which causes the money to lose value. The dye packs only go off after a certain time so if you’re fast enough you can secure more value out of the money bags. Solo you can disarm 6-7 if you’re really fast but a duo can definetely disarm all of them.
Update: I recently disarmed 7 dye packs solo by starting from the left then going to the right


Dyed Money
Images above this text show you what happens when you don’t disarm a dye pack. The money becomes dyed and once packed, the bag will stink. Securing a dyed money pack gives less money.
Don’t run inside the vault as nearby guards will investigate the noise and go inside the vault.
Also if you have a camera outside the vault looking in then it can instantly spot you if you pick up any money inside the vault so be sure that it’s not looking at you when you pick up money.

You can disarm 7 dye packs solo if you start from the left. Haven’t been able to do 8 yet. Start from the left side and make sure to pre-maturely holding down the interact button so that when you can interact with a dye pack you will do it immediately instead of having to look, react, interact you can instead just look, interact. Speeding up the process with minimal effort.
Color Me Surprised
Complete No Rest For The Wicked without letting a dye pack explode on Very Hard or above.
- Your best chance to get this achievement is to have another player with you to help you disarm the dye packs.
Secure the Bags

The most tedious part of the heist and definetely the most boring depending on your luck. Best luck is if your van is in the parking lot, you can see this at the start of the heist which might prompt you to leave and select the heist again until you have a van in the parking lot. But if your van is on the side of the street you’ll have the most tedious path.
The very beginning is all the same simply bag all the money then move to the vault windows and stay hidden from the vault camera, stand underneath it if you must. The guard on the first floor can’t see through the vault windows so you can look through them without worry if you need to see his location. If you don’t see him just go to the next area, put all the bags there if you must.
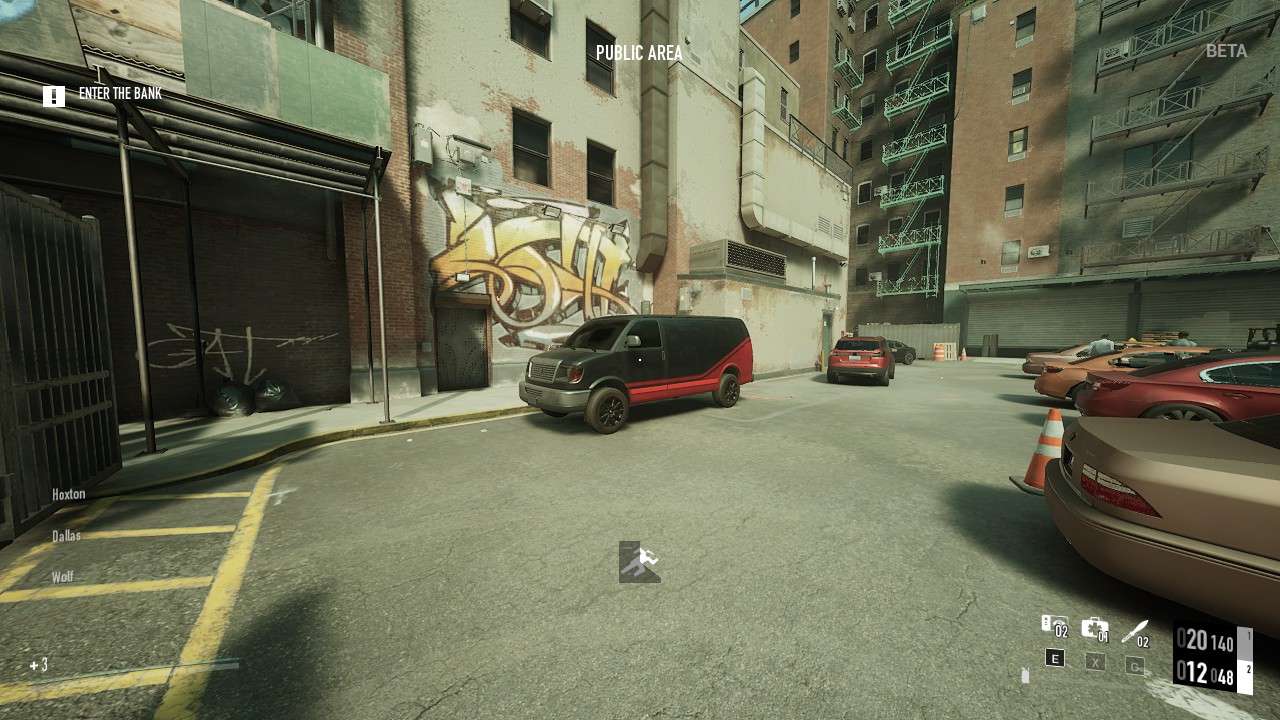
Van At Parking Lot:
If your van is in the parking lot simply go through the locker room door that leads to the parking lot. If all your money bags are put in the locker room then always make sure the locker room door is closed so that the parking lot guard won’t spot them. Open the door from time to time to carefully see if the guard is in a bad spot. If you have MicroCams put one above the door overlooking the parking lot or if you feel risky you can put it on the parking lot guard to always see his exact location without blindspots. You can go on pure chance if you don’t have MicroCams but MicroCams make this so much easier. There are civilians in the parking lot so always avoid running off if you want to keep the parking lot guard alive. Go to the right and towards the large shipping container up ahead and put all bags there for ease of access later on. Once you’re at the shipping container you should be able to see the guard and civilians so simply sneak along the cars on the parking lot and secure each bag. Repeat. The worst situation with the parking lot is when you are on your way to the locker room but the parking lot guard is walking towards the forklift and the guard patrolling behind the bank walk towards the locked fence at the same exact time. You can barely make it out by using the forklift as cover using very small blindspots. Guards can spot your bags as you throw them or as they land so always make sure they are in a nice spot.
Recommended Skills (Van At Parking Lot):
- Infiltrator
- Bagger
- Hacker
- Secure Loop
- Glitch Protocol
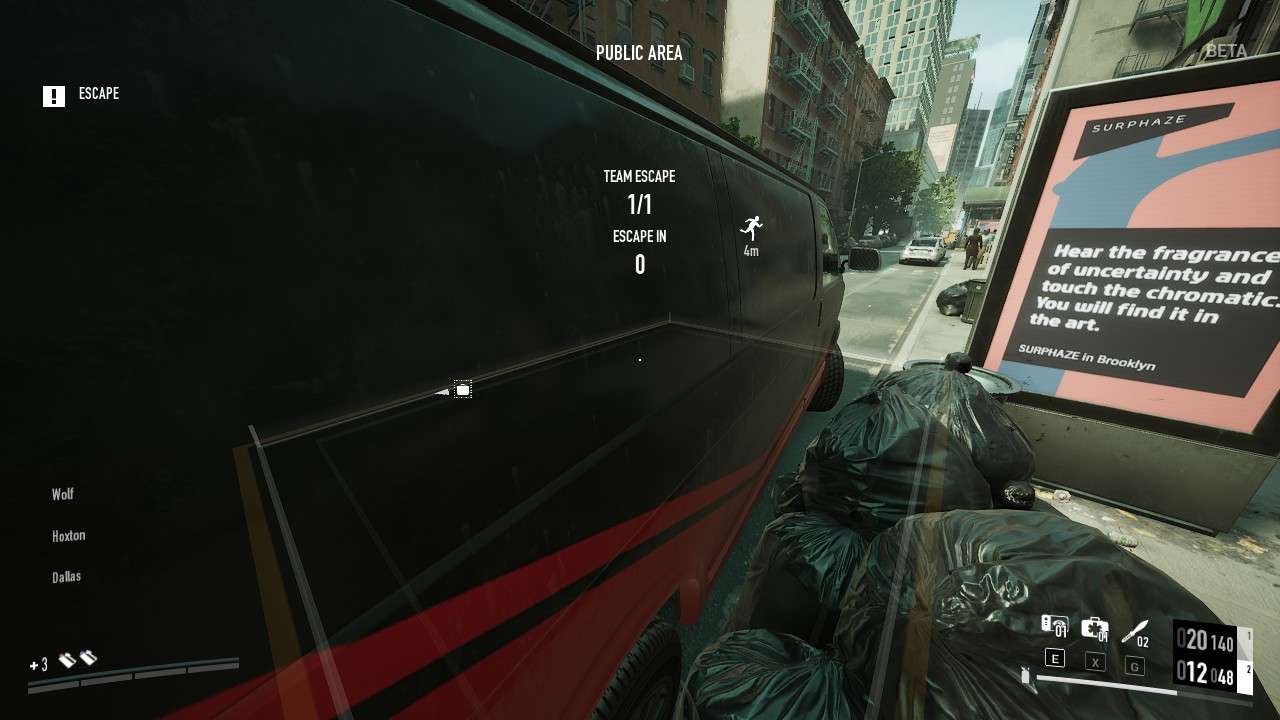
Van Infront Of The Bank:
If your van is infront of the bank or on the side of the road you’re in for the most tedious task. If you don’t have a lead guard put your money bags in the server room on the first floor where a civilian sits on a chair tinkering with something, put them in the corner where the first floor guard can’t see them. When leaving through the exit door to the alleyway you must first check where the guard is and where the camera in the alleyway is pointing. Move towards the locked door infront of the large dumpster, the locked door leading to your van that is. Civilians will roam here so always keep an eye out for them especially when you are securing the bags. If the civilians are in a bad spot you can hide next to the dumpster in case the alleyway guard comes back. Once it’s clear you secure and repeat the process.
Van Infront Of The Bank (Overkill):
The worst part of the van being infront of the bank is on Overkill Mode. The Lead Guard will patrol through here and only here. But if you have a Lead Guard you hopefully have a MicroCam on his back already so it will become just a little bit easier. First thing you must do is never put the bags in the server room always put them in the storage room or bathroom stall because the lead guard will patrol past the server room and will see the bags and if you hide the bags away from where he would look, the first floor guard will spot them instead so just put them in the storage room or bathroom stall on the first floor. As for moving the bags to the van you might have to wait multiple minutes per bag since the lead guard has a short patrol of first floor lobby, front of the bank, alleyway, through the alleyway door and repeat, but they can change their mind in the middle of it and go the same route but backwards. You have to wait a really long time but it’s best to move as soon as lead guard enters the lobby and the alleyway guard is gone and the alleyway camera is not facing the exit then move to the dumpster and hold on there until it’s clear of roaming civilians and the lead guard.
Then secure the loot.
Recommended Skills (Van Infront Of The Bank):
- Infiltrator
- Bagger
- Hacker
- Secure Loop
- Appliance Breach
- Glitch Protocol
Recommended Loadout (Any Exit):
- MicroCam
Good idea to use a MicroCam here. If your van is parked infront of the bank then make sure you have a MicroCam on the lead guard if you have a lead guard in your heist as he will patrol there the most. Make sure you also have a MicroCam on the guard patrolling around your exit so you know when it’s clear without having to facecheck each time. If you prefer you can also put your MicroCam above the exit door to have a general overlook of your exit.
Do not run inside Secure or Private Areas with your money bags as the noise will cause nearby guards to investigate which often happens near the vault as you try to run out with the money bags, which then leads to the guard investigating inside the vault itself. You might also run in areas where you put your hostages and dead bodies which the guards will then find as they investigate. Only run in Public Areas. Also make sure you got a good bag throwing game as guards will easily spot badly thrown money bags as illegal even if you are in Casing Mode.
Optional Objective
Find Out Which Safety Deposit Box


You Can Skip It
On the first and second floor there are files which you can search through to find out which safety deposit box in the vault has the files relevant to this objective. It will begin as soon as you search through your first file. There are files inside the first floor manager’s office and inside the conference room with the big table. On the second floor you can find files inside the copy-machine room and inside the second floor office.
If you find the correct file then it will tell you once you’re inside the vault which safety deposit box has the files you’re looking for. You can skip looking through files by simply opening every safety deposit box in the vault which most heisters do anyway.


If The File Is Found
Image above this text shows you what it look like when you found the correct files and you get to the safety deposit boxes. The correct safety deposit box has an outline to it. Opening it and taking the files might be related to a infamy challenge or new heist details in the full version of the game.
Just… One… More…
Complete No Rest For The Wicked having opened all deposit boxes.
- It’s easy to get this achievement alongside finding the files because it’s rare that anyone skips the deposit boxes.
Floor 1
Cameras
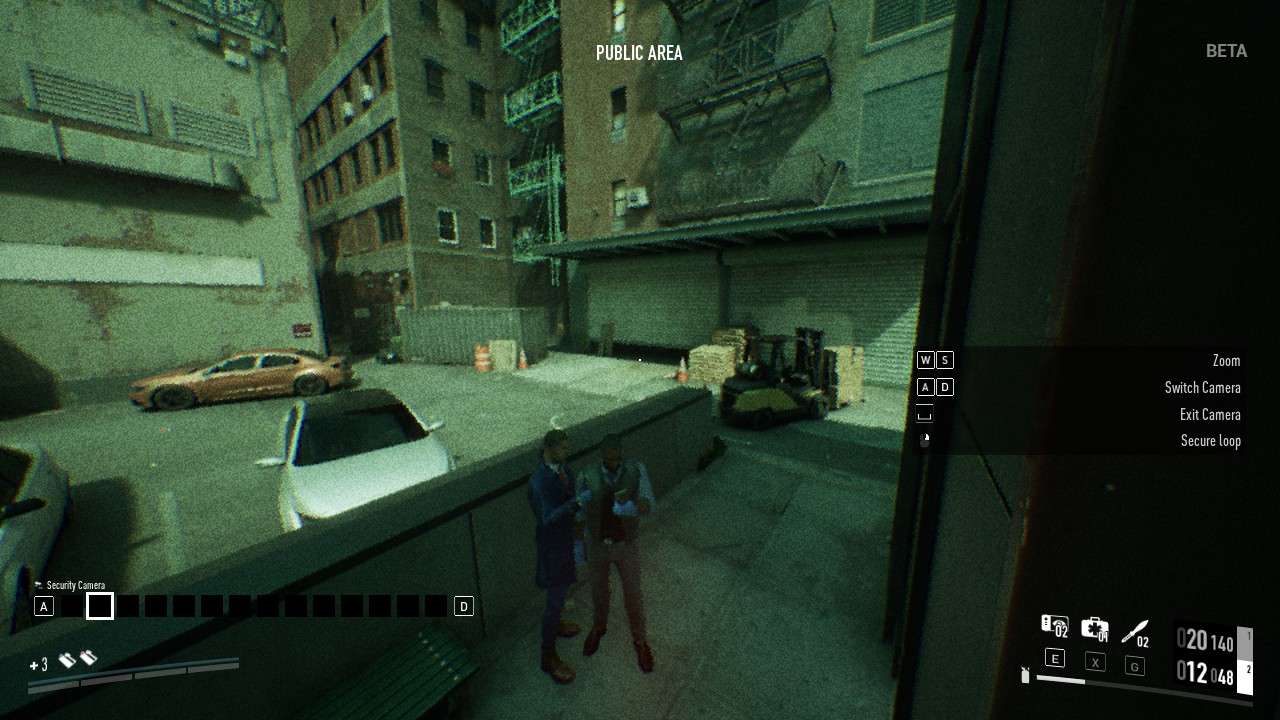

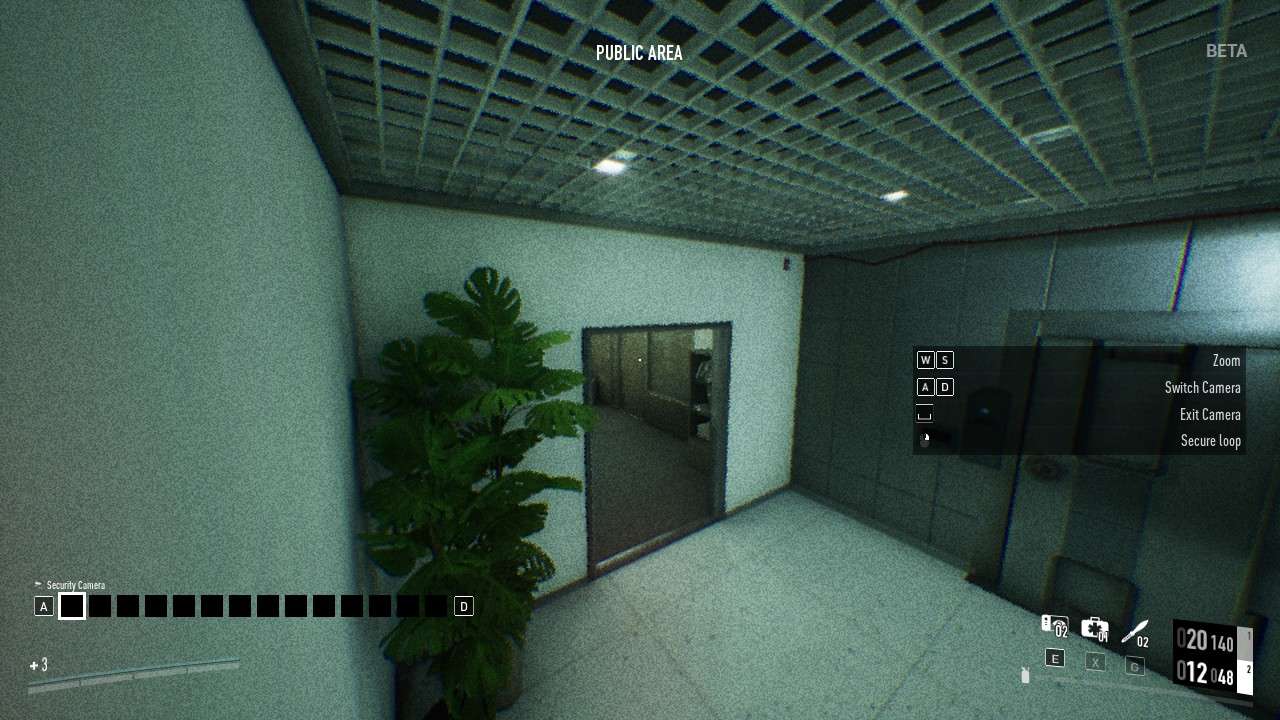
The only problematic cameras on the first floor are the cameras overlooking your exit out of the bank, the camera by the vault and the camera that is outside the manager’s office.
Patrol Routes


Alleyway and Fence Guard
The guard patrolling behind the bank and through it’s alleyway is only ever an issue if your van is parked in front of the pank or if he gets to the locked fence near the parking lot if you’re trying to move bags if the van is parked in the parking lot. He can have an eye from time to time through the conference room and manager’s office on the first floor. His path is very long so he can often become a non-issue if you see him turn around and walk away as he needs to go all the way from the locked fence to the dumpster on the other side then back to the locked fence again.
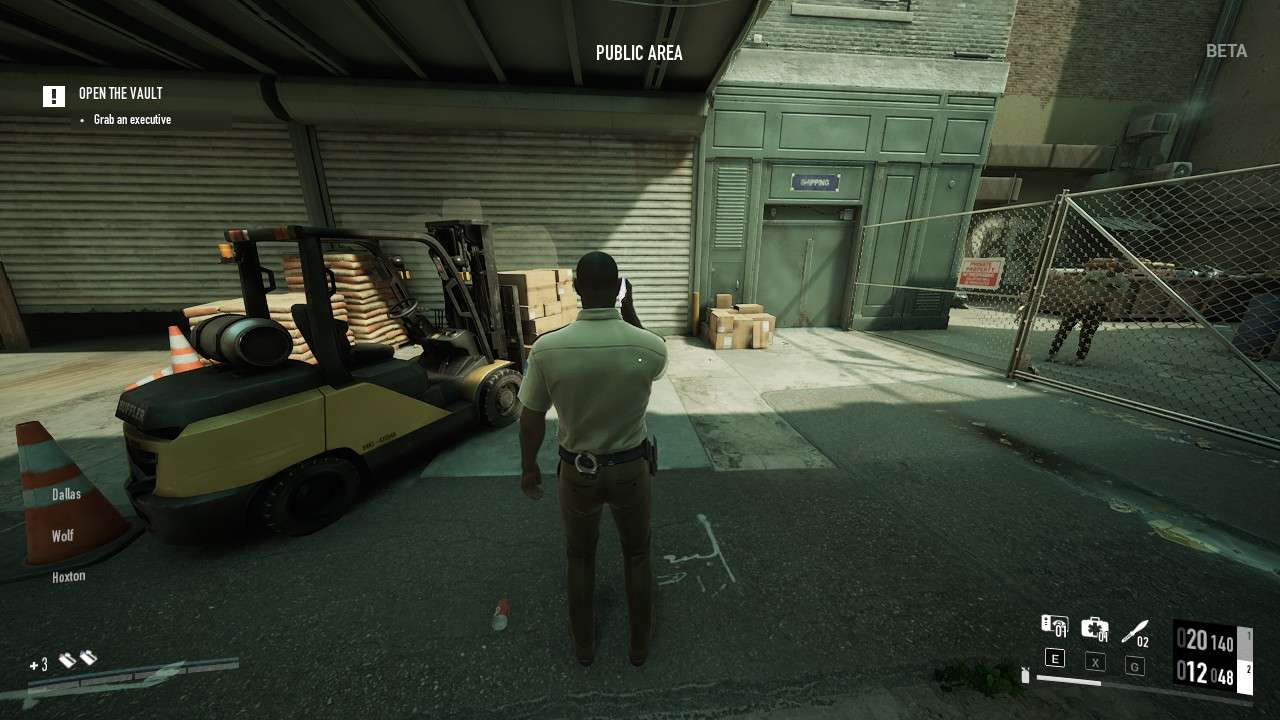


Parking Lot Guard
The guard patrolling the parking lot is a complete non-issue if your van isn’t parked there. If your van is in the parking lot then this guard is pretty easy to deal with. The only bad spots he can be in is when he stands in the middle facing the van, when he stands close to the forklift, when he stands between the forklift and the shipping container and when he walks up to the car near the shipping container and investigates it. It’s pretty safe to just poke your head out to quickly get a glimpse of where he’s at if you’re inside the locker room and you open that door to the outside. You can easily lockpick the doors near him even if he is walking towards the door, if you’re fast enough at the start of the heist he won’t make it in time before you’ve unlocked the door to the locker room.


Lobby Guard Double Door Patrol
This lobby guard is the least threatening guard in the entire level so just ignore him if his patrol is on the double-door side of the lobby.
Lobby Guard Vault Security Gate Patrol
By far the worst patrol the lobby guard can take is the vault patrol. It may not seem like it but he will have enough time as he walks past the vault security gate to fully detect you holding the executive, moving bags or when you toss the executive to the vault panel.


First Floor Guard Long Patrol

First Floor Guard Short Patrol
First Floor Guard have some of the easier things to deal with. Sometimes he will stay in one area then move slowly back and forth which is the perfect opportunity to sneak past him. It’s a state that you need to abuse in PAYDAY 3 since the detection radius is much smaller in this game you can easily sneak past his back when he enters this state. He will look towards the vault sometimes which is the easiest time to make a move past him. Sometimes he will get really close to the vault windows and look through them but he can’t actually see through most of it so even if you’re inside he can’t see you if you hide behind a specific part of the windows. He will then from the vault walk away and sometimes stay near the door leading to the stairs. Then he will go past the storage room or bathroom and stroll there for a little bit then he will patrol outside the manager’s office before returning to the vault windows. His patrols may vary depending on your heist session sometimes he won’t take certain routes.
Lead Guard Patrol Routes (Overkill)


Lead Guard First Floor Patrol (Vault Is Opened)
The lead guard sometimes walk down the stairs to the first floor but he will only stay close to the staircase and look away from the first floor staircase door so you can sneak past him if you are coming down or up. This is a good time to consider using a MicroCam on him.
When the vault is opened the Lead Guard will walk to the first floor regardless of his location and patrol through the bank lobby then the front of the bank then through the alleyway then back into the bank through the side entrance and through the lobby again. But sometimes he will change his route and go back outside the alleyway. Or go to the alleyway from the lobby instead.
Lead Guard First Floor Patrol (Search Mode)
If guards enter search mode then the Lead Guard will leave the staircase to enter the first floor and look around the first floor so you better not have illegal stuff lying around.
Do not kill this guard as he’s got endless pagers meaning it will trigger the alarm eventually.
Hiding Spots
Bathroom or Storage Room (RNG)
Very close to the server room there will be a door leading into a storage room or bathroom depending on the RNG and is really good for hiding civilians, loot and bodies.
Keycard
The first floor guard has the blue or red keycard. This is usually the Camera Room keycard.
QR Code

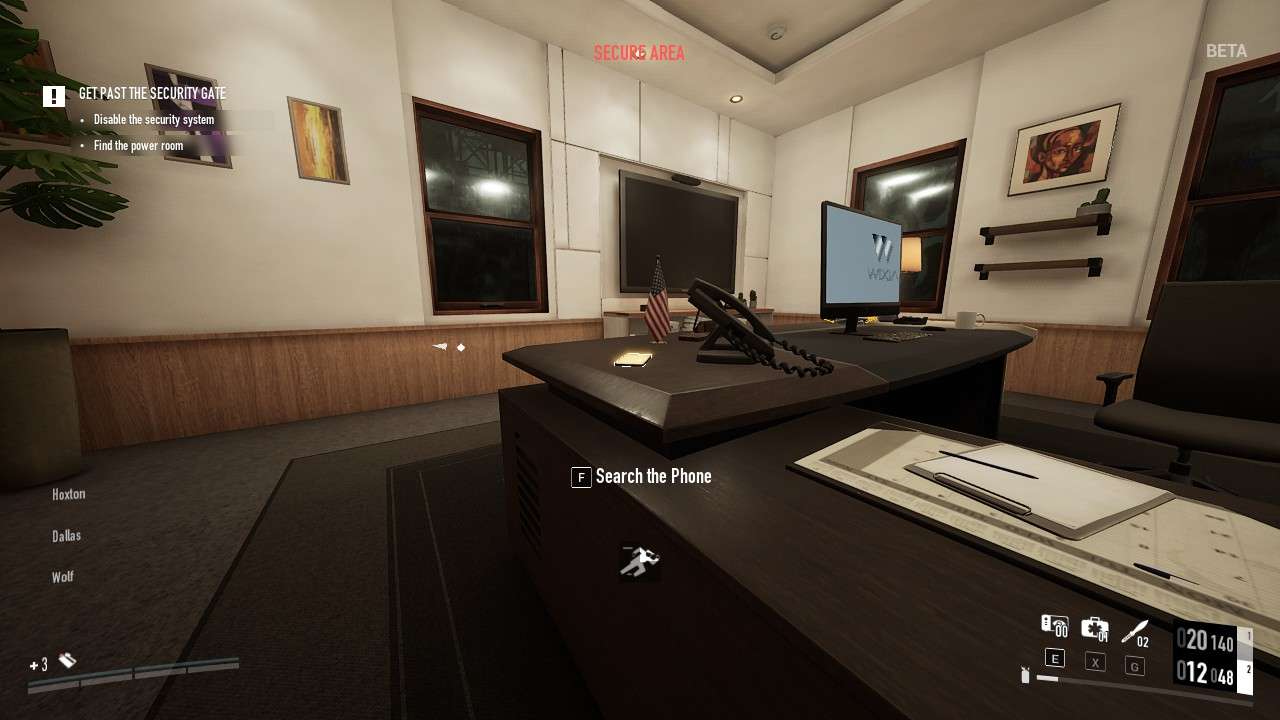

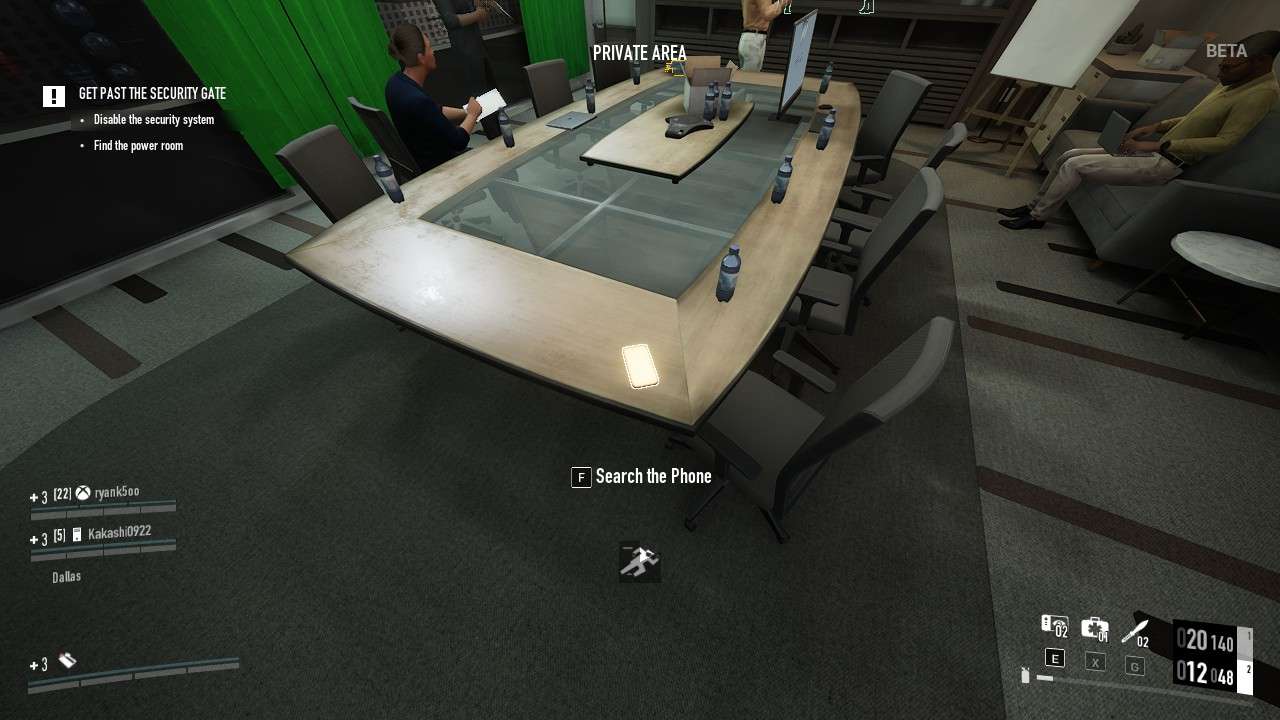
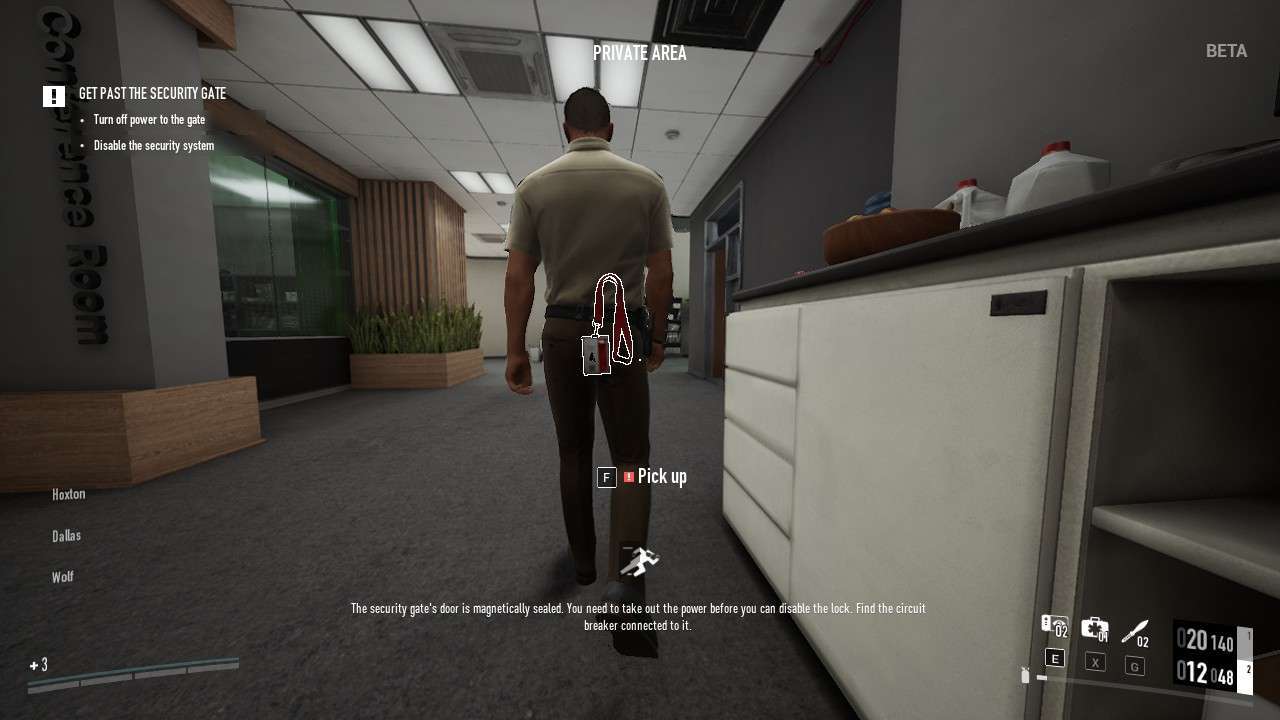
The QR Code is on a yellow device that looks like a mobile phone and can be located inside a locker in the locker room on the first floor, on a table in the server room, in the conference room on the big table or inside the manager’s office which requires you to lockpick the door or torch the window from the outside which requires you to be in mask mode. Searching the phone’s not illegal.
Recommended Skills (QR code in Manager’s office):
- Quick Fingers
- Grifter
- Walk The Walk
- Social Engineering
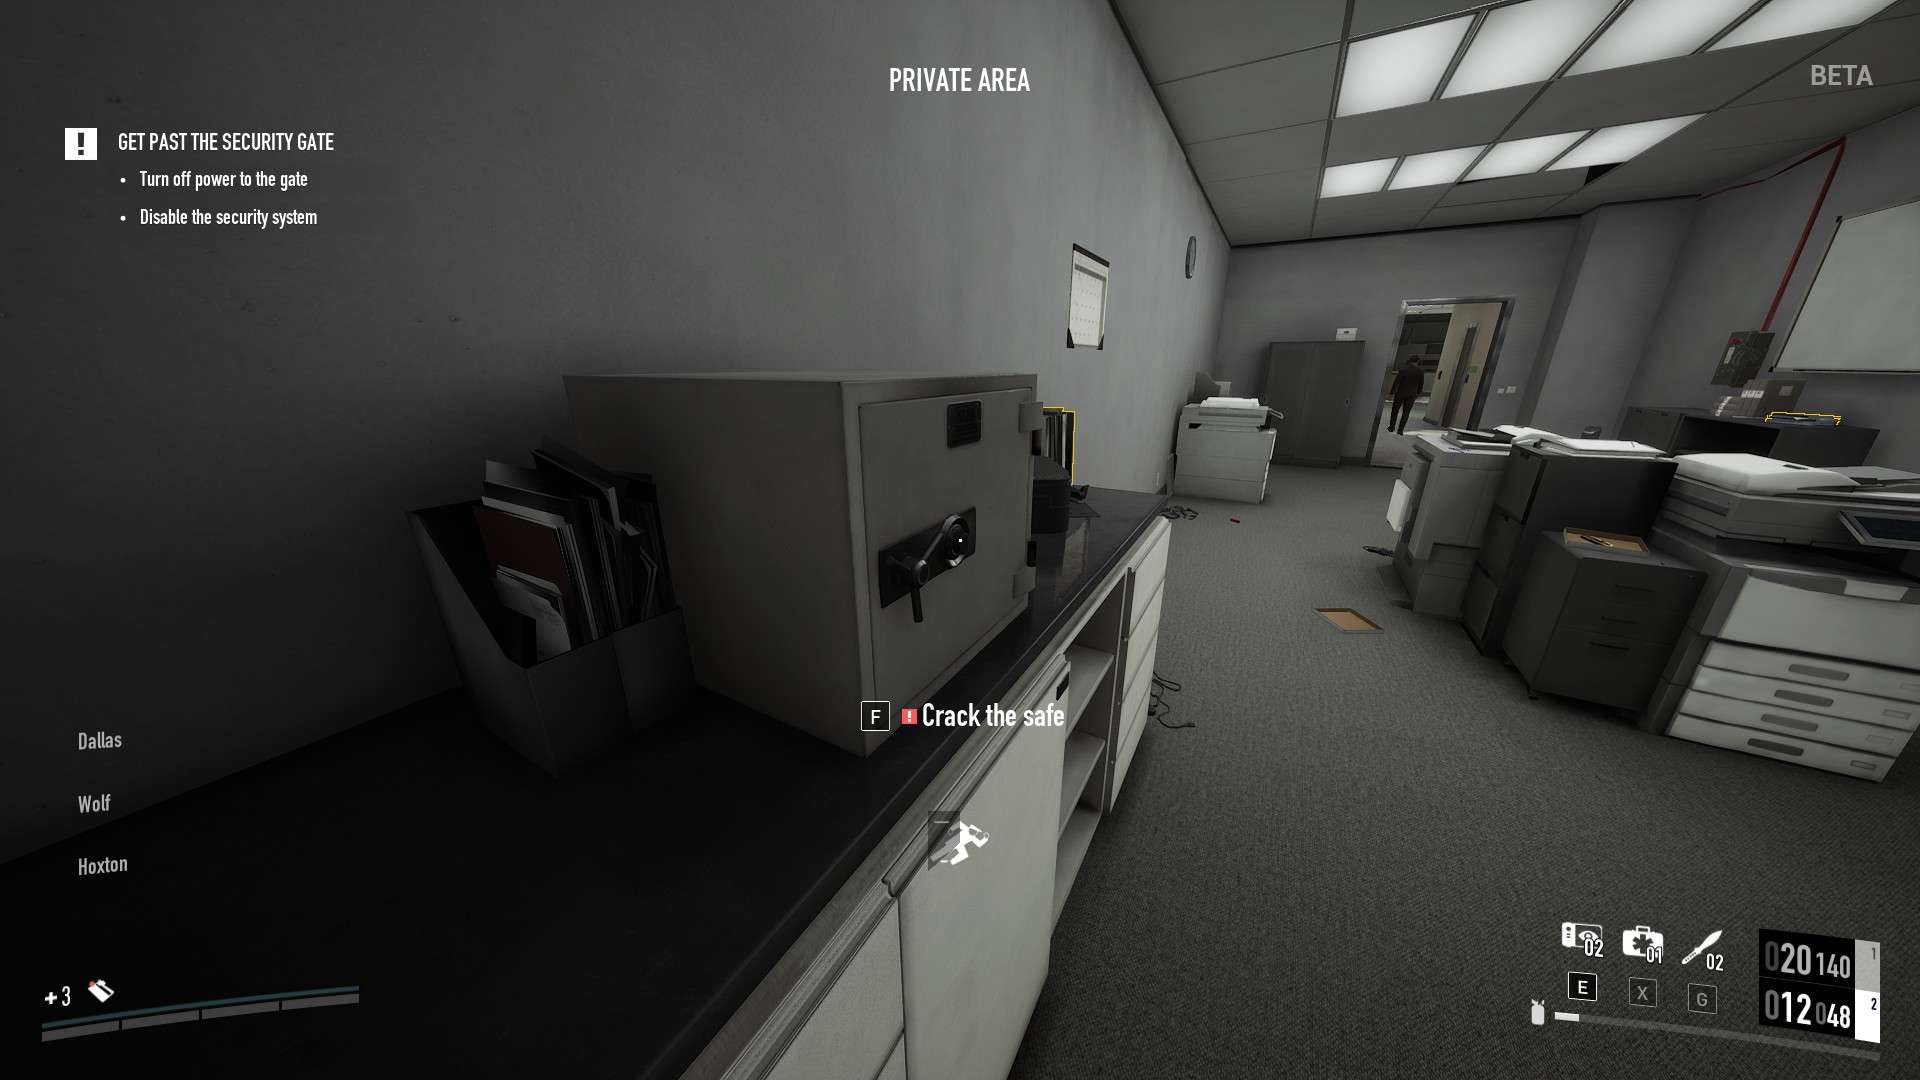
Crackable Safe
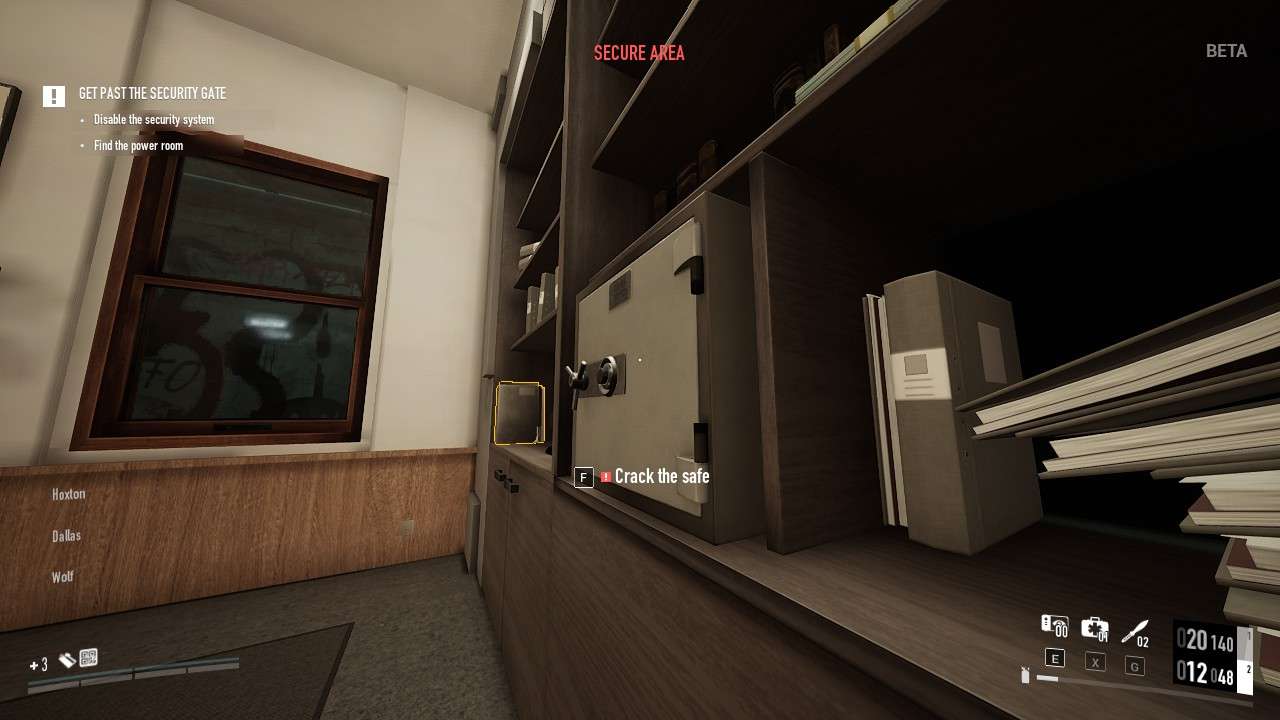
Inside the manager’s office you’ll find a crackable safe on the shelf. It contains money bills.
There is also a crackable safe in the bank tellers’ room in the lobby. For dealing with the safe in the tellers’ room it is highly recommended to have the Social Engineering skill then touch a civilian inside or outside the room then you just need to be fast with cracking open the safe. If you run out of Rush (The speed buff earned from this skill) then just touch another civilian and go back in. You can always press a certain button on your controller to cancel your safe cracking so be sure to remember that button here if you are not fast enough at cracking the safe or if your Rush is running out too soon.
Recommended Skills (Crackable safe in the Tellers’ room):
- Grifter
- Social Engineering
Money Bills

You can find money bills in the bank teller’s room in the lobby and inside the manager’s office.
Staircase
Lead Guard Patrol Routes (Overkill)
Lead Guard Staircase Patrol

Lead Guard is the only guard patrolling the stairs. He stops on the first floor staircase to look away from the stairs. Sometimes he will stop on the second floor stairs. Sometimes he will stop halfway up to the roof to stand in a corner. Sometimes he will stop on the floor leading out to the roof with his back turned.
Do not kill this guard as he’s got endless pagers meaning it will trigger the alarm eventually.
Floor 2
Cameras


There will be cameras overlooking the one or two doors that are keycard locked. There is a camera overlooking your path to the staircase or sometimes pointing directly at the copy-machine room which is something to look out for when you escort the executive.
Camera Room

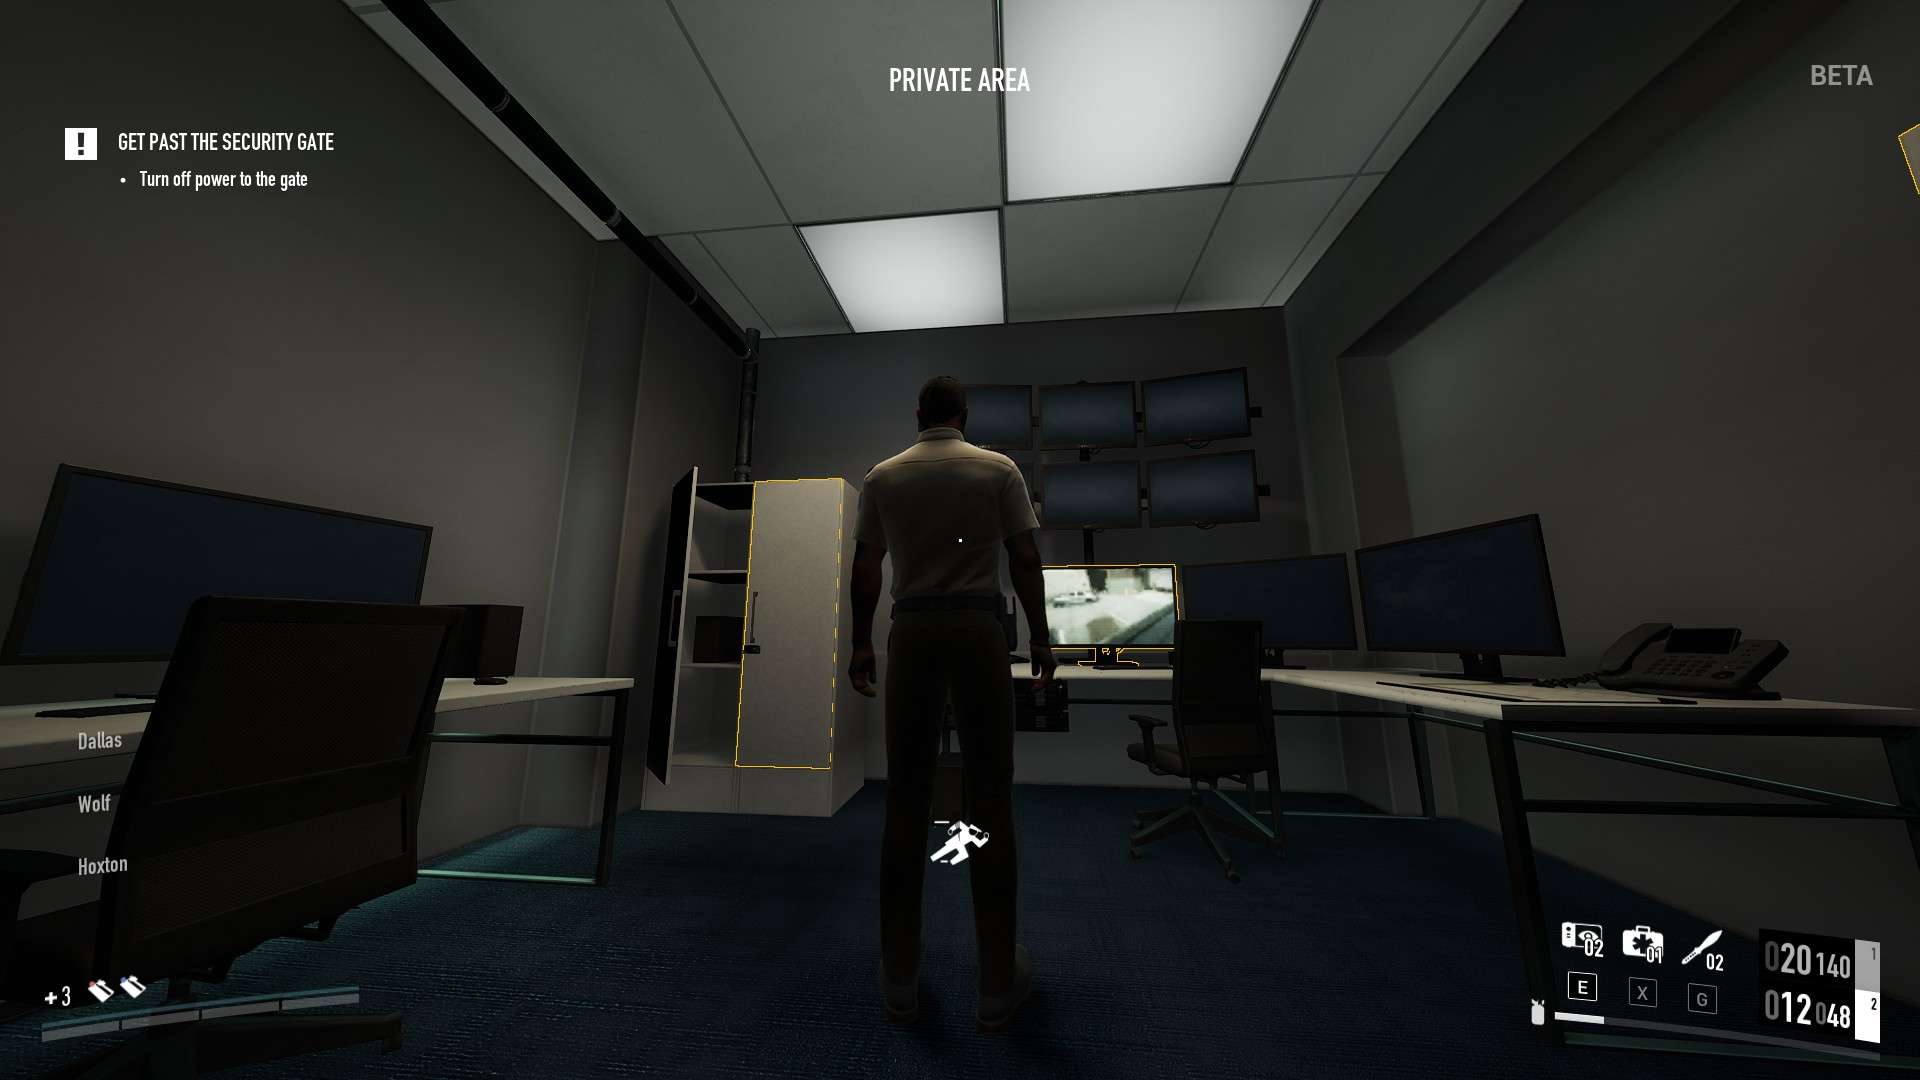
Second Floor Camera Room
Always on the second floor. Requires blue or red keycard to unlock the door to the camera room.
Outside the Camera Room next to the door will be a sign labeled “SECURITY” so you know what’s behind the door.
Patrol Routes
Clockwise Patrol

Counter-Clockwise Patrol
The second floor guard will either walk clockwise or counter-clockwise. If he walks clockwise then he will put his back towards the copy-machine room doorframe which, if you’re inside that room, you can grab his keycard very easily. Another easy spot to grab it is when he is looking out the windows overlooking the bank lobby as he will have his back against you. If he walks counter-clockwise then the two easiest times to pick his keycards are when his back is turned towards the USA flag outside the second floor office. Just sneak up and take his keycard. If you want to have an easy time with this guard just make sure you got Grifter, Walk The Walk and Social Engineering skills since the second floor has many civilians. This guard is the easiest when he walks clockwise as he won’t look through the second floor office at all once he walks past it, unlike the counter clockwise patrol route which has him walk and stare directly through the windows twice.
Random Patrol Event
At random the second floor guard will go to a table close to the kitchen bar or go to the kitchen bar. Sometimes the guard will also stop by the windows overlooking the bank lobby to check his phone.
Lead Guard Patrol Routes (Overkill)

Lead Guard Second Floor Patrol
The lead guard will go from the staircase and into the second floor through the QR code door and go one of two ways. He will either go to the left and stand here for a moment or go to the right and head towards the soda machine to grab a drink. You will see him grab drinks quite often.
Do not kill this guard as he’s got endless pagers meaning it will trigger the alarm eventually.
Hiding Spots

Second Floor Bathroom (RNG)
The second floor may or may not have a bathroom instead of a security/power room. If it does, use it as a safe place to drop bodies or hide civilians. The room is RNG to appear
Keycard

The guard patrolling the second floor has a blue or red keycard on his belt.
This keycard is usually the one leading to the security terminal door.
Crackable Safe
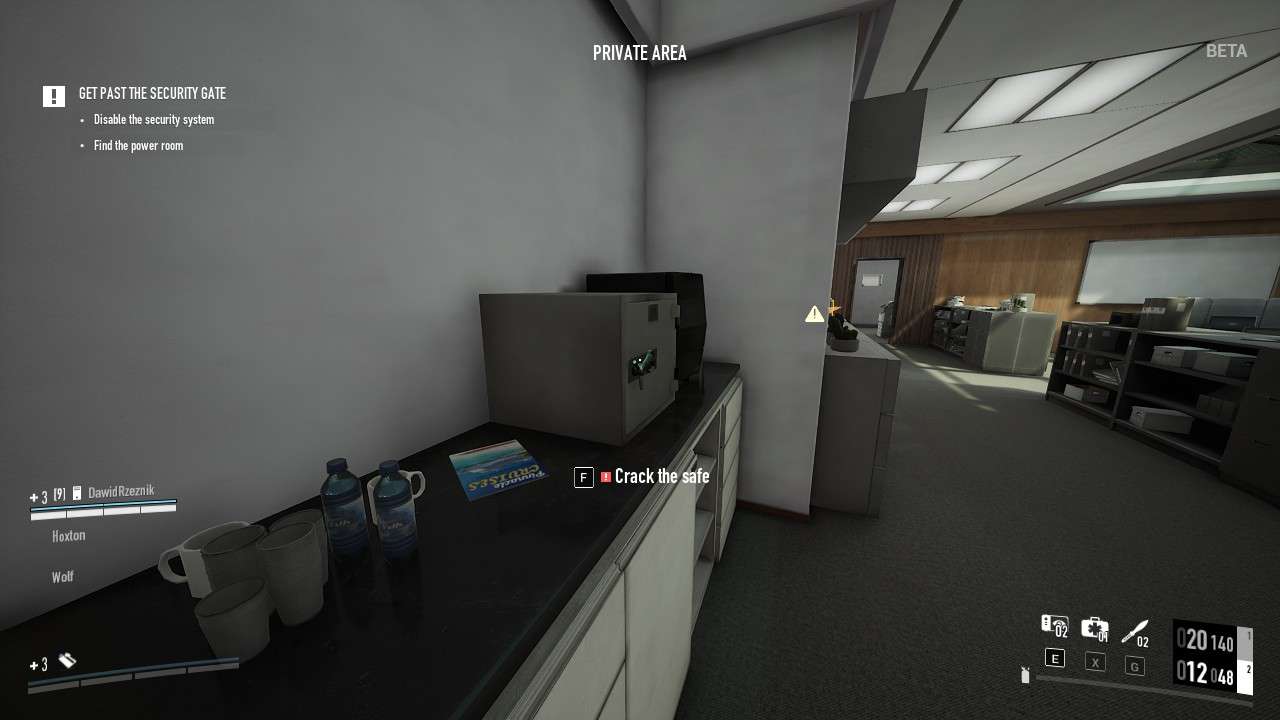
Inside the second floor office on one of the drawers you’ll find a crackable safe that contains money bills. Sometimes the crackable safe is inside the copy-machine room next to the office instead. Social Engineering skill is highly recommended when cracking the second floor office safe if you have one, because if you have too many civilians in the office or if they are in a bad angle they will stare you down when you crack the safe. Especially bad is the civilian sitting in a chair that can look straight through the drawers that block your vision from them but they can still see you through the drawers. If you’re lucky enough to have only one civilian or civilians in a not-so-bad position then you can easily crack the safe without Social Engineering skill.
Recommended Skills (Crackable safe inside second floor office):
- Grifter
- Social Engineering
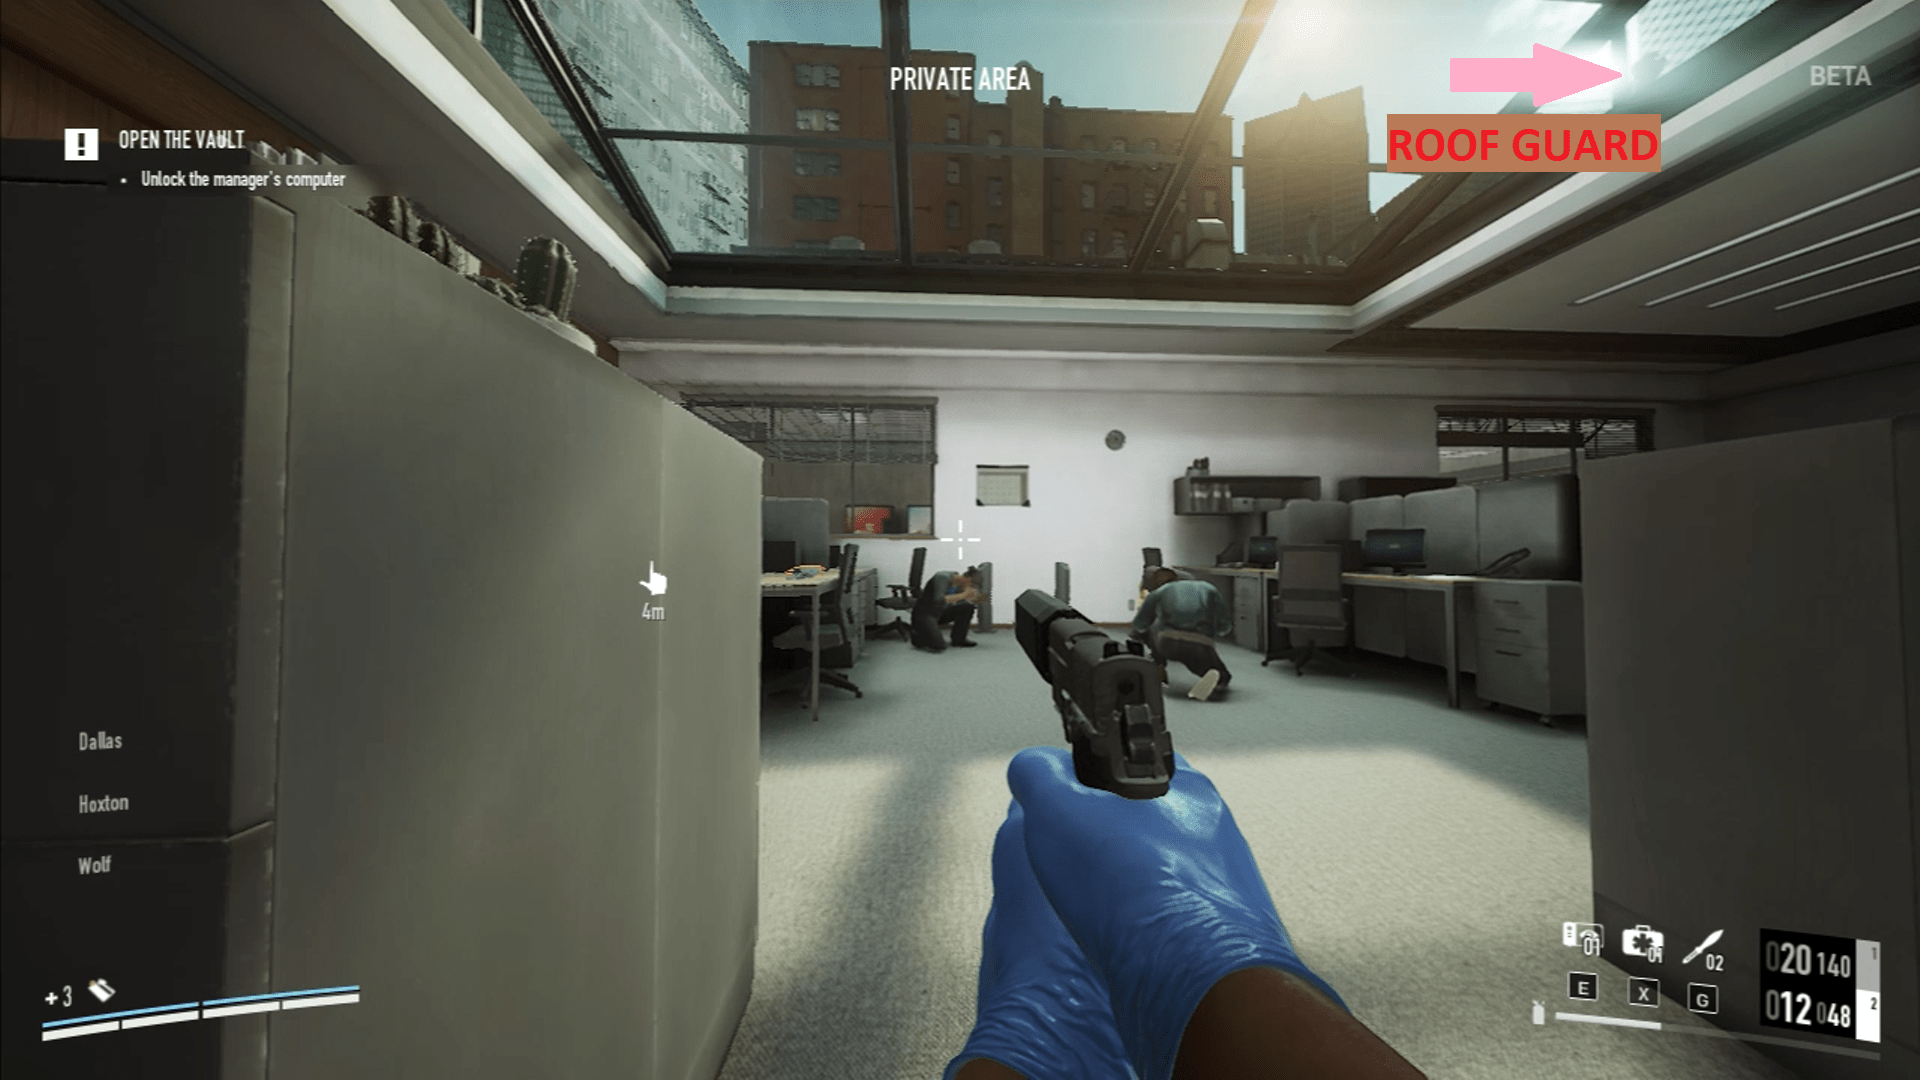
Roof
Cameras

The worst camera on the roof is the one overlooking the keycard door if your terminal is on the roof and not the second floor. This camera is really bad if the guard is also near this camera to make it more tricky to go in and out of the room. The other camera is just outside the staircase door leading out to the roof and is not really a problematic camera.
Patrol Routes


Second Floor ceiling windows patrol


Locked Room patrol
This is the most problematic guard when dealing with civilians on the second floor as he can look through the ceiling windows down to the second floor. There are two set paths for this guard. He will either be outside the storage room or terminal room on the roof and walk along the walkway there or he will patrol overlooking the second floor office and patrol around the ceiling windows there. It is fully dependant on your patience and circumstance but I find it to be much easier to finish the heist if the roof guard doesn’t patrol the second floor office ceiling windows to avoid issues with civilians.
Lead Guard Patrol Routes (Overkill)

Lead Guard Roof Patrol
The lead guard will sometimes come out to the roof and walk towards the back edge of the bank for a smoke break, or just walk out the roof door and stand infront of the ceiling windows but he won’t be able to see the civilians on the second floor office despite this. The lead guard can only see the back of the second floor office but he can’t see the office booths on that floor. The reason is because he has a massive blindspot to the second floor office and so the only real threat is the regular guard. The lead guard on the roof is always the best time to make a move elsewhere in the bank since it’s his least useful position. If you see him on the roof through your MicroCam you’re pretty much good to go.
Do not kill this guard as he’s got endless pagers meaning it will trigger the alarm eventually.
Hiding Spots

Roof Storage Room (RNG)
There’s a room on the roof that will or will not be a storage room. This room is safe to drop bodies or hide stuff in so long as you close the door after you.
Meta
Casing Mode Solo Stealth

How To Casing Mode Solo Stealth
After accessing the manager’s computer you will get a set of four codes. Note them down somewhere like the steam Notes overlay then restart the heist from the pause menu. Finish all main objectives until the secure vault window doors open from flipping the ‘right’ switch then walk up to the vault code panel and insert the correct code using the codes you got from the manager’s computer before you restarted the heist. Your character will use a light they have to show fingerprints on the code panel buttons. These fingerprints tell you which of the four codes is the correct code. For example if the codes you got were 8889 8886 8887 8888 and the only numbers with a fingerprint is 8 and 9 then the correct code is 8889. From my experience there has never been more than one code with the same fingerprints.
Once you insert the correct code you can open the vault in casing mode and loot the vault while in casing mode. Securing bags in casing mode is incredibly easy you can just walk out the bank. This is only possible because when you restart the heist from the pause menu it won’t change the RNG of the heist and it will instead stay the same. And the code panel to the vault can always be accessed so long as you open up the security gate leading to the vault. Meaning, the correct code to the vault never changed. If you look at the code and the fingerprints in my screenshots you’ll see that the code is 0307 since the only fingerprints on the panel are 3 7 0 and of course the Enter button. You can also brute force the code without ever having to put on a mask or restart the heist.
It’s simple just follow the fingerprints in numeric order for example if the fingerprints are 1 2 3 4 then go from the first number which is 1 and try every combination starting with 1 so for example 1234 1243 1324 1342 1423 1432 if all of them are incorrect then the correct code doesn’t start with the number 1. Continue this until you have tried every code in numeric order. The alarm won’t go off.


Copy-Paste The Correct Code
Just memorize the correct code that lit up on the panel to unlock the vault, restart the heist and input the exact same code into the panel when you unlock the vault security gate, all in casing mode.

Moving Bags Is Not Illegal
Cameras and guards can’t detect you if you carry bags in Casing Mode so whenever you can just run to the van and only really slow down if there is a potential guard who is watching the vault.
Don’t run near or inside the vault because guards will investigate the noise. Same thing if you run where you put your hostages, bags and bodies. The guards will investigate exactly where they heard you run. You can also use codes on the panel during loud which either saves you time or is another way to brute force the correct code then restart the heist to input it during stealth instead.
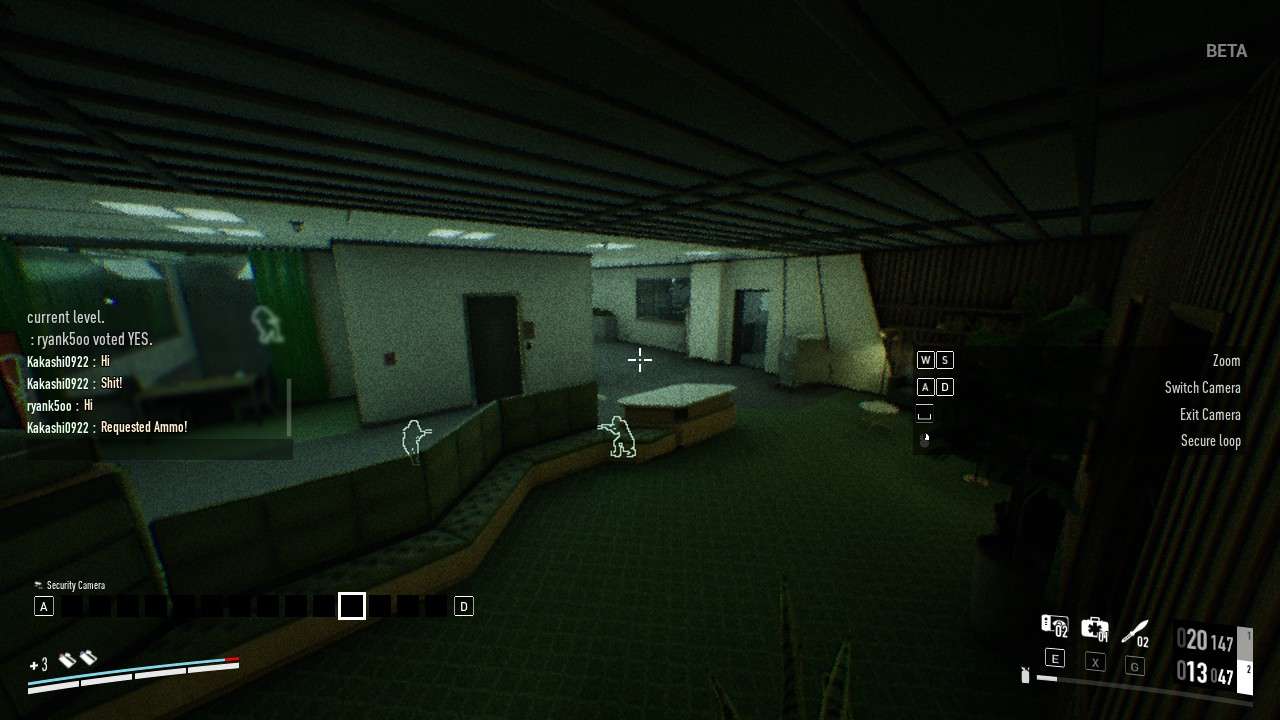
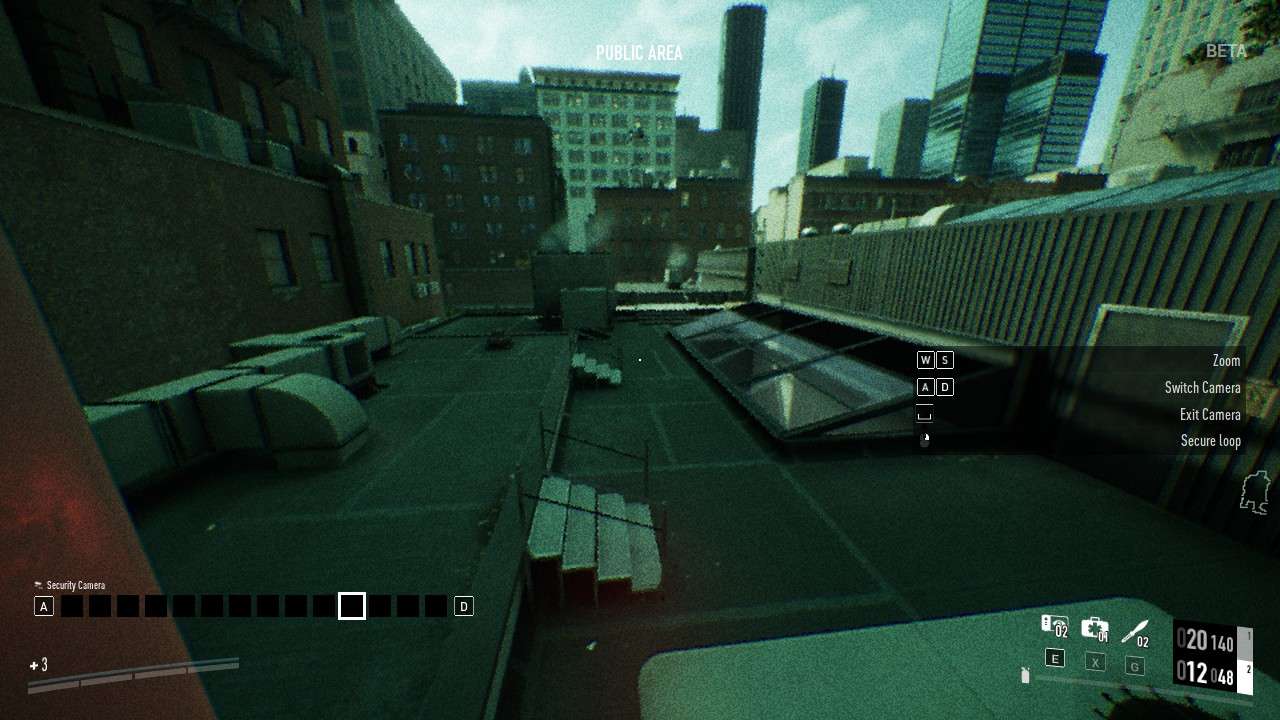
Disable Cameras In Casing Mode


Camera Room Is Labeled ‘Private Area’
Sometimes the camera room is not labeled as a Secure Area and instead labeled as a Private Area. This allows you to be escorted out by the camera room guard if you are spotted by him in casing mode. As soon as he spots you and escorts you out, the cameras will be disabled even if he returns to the camera room.
Recommended Skills:
- Glitch Protocol
To save you a lot of valuable time just hack the camera guard radio after he spots you to prevent him from escorting you all the way down the first floor. Meaning you can immediately disable the cameras and it’s much faster than taking him out with your mask on.
If the Camera Room is labeled as a ‘Secure Area’ then you can’t do this.
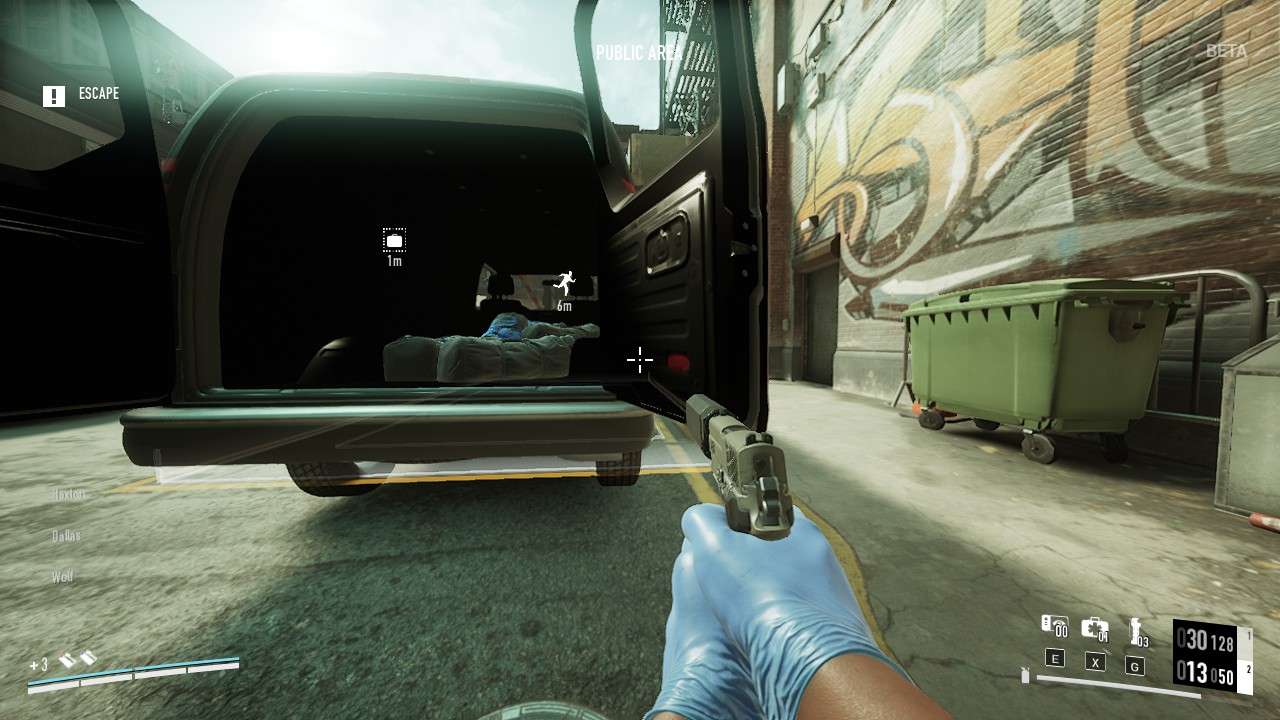
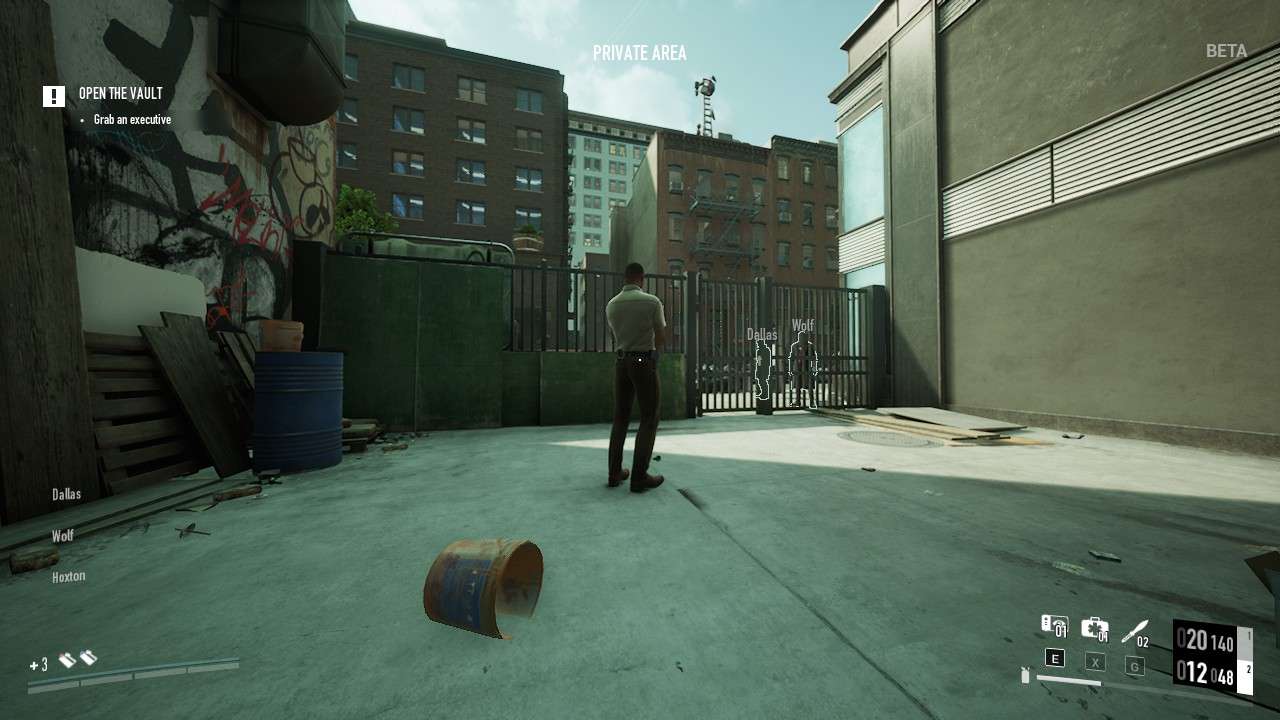
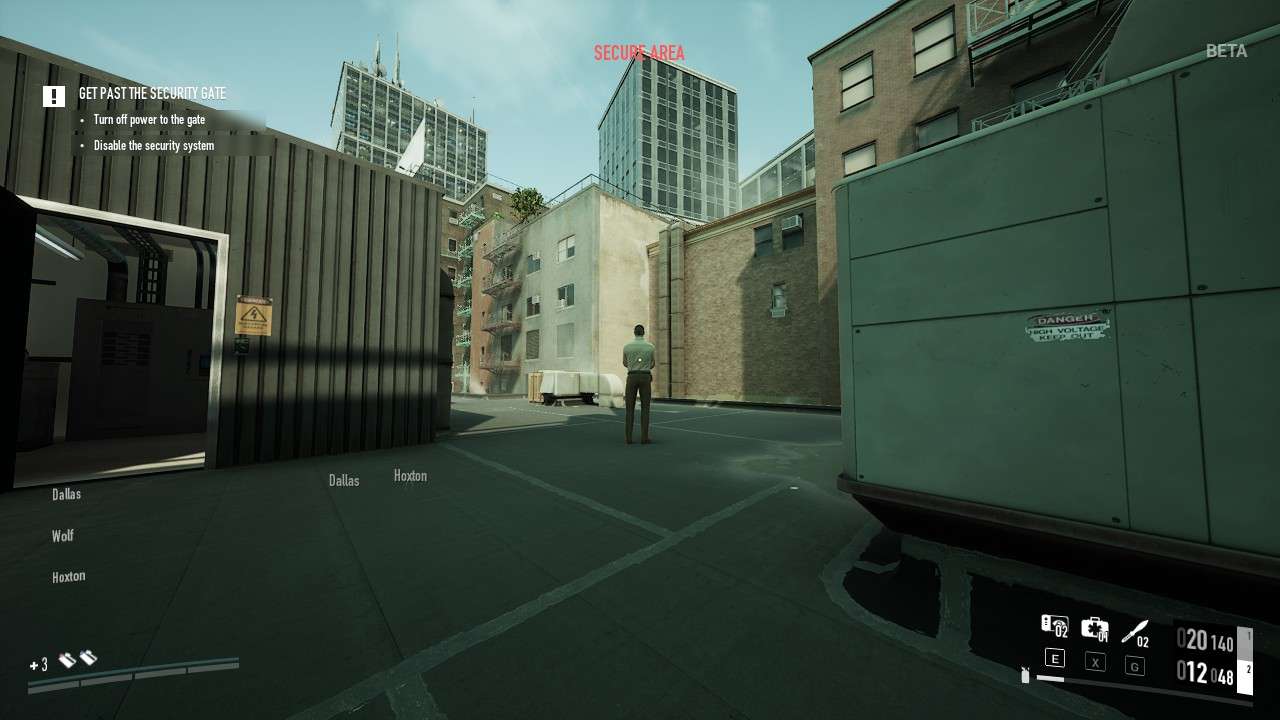
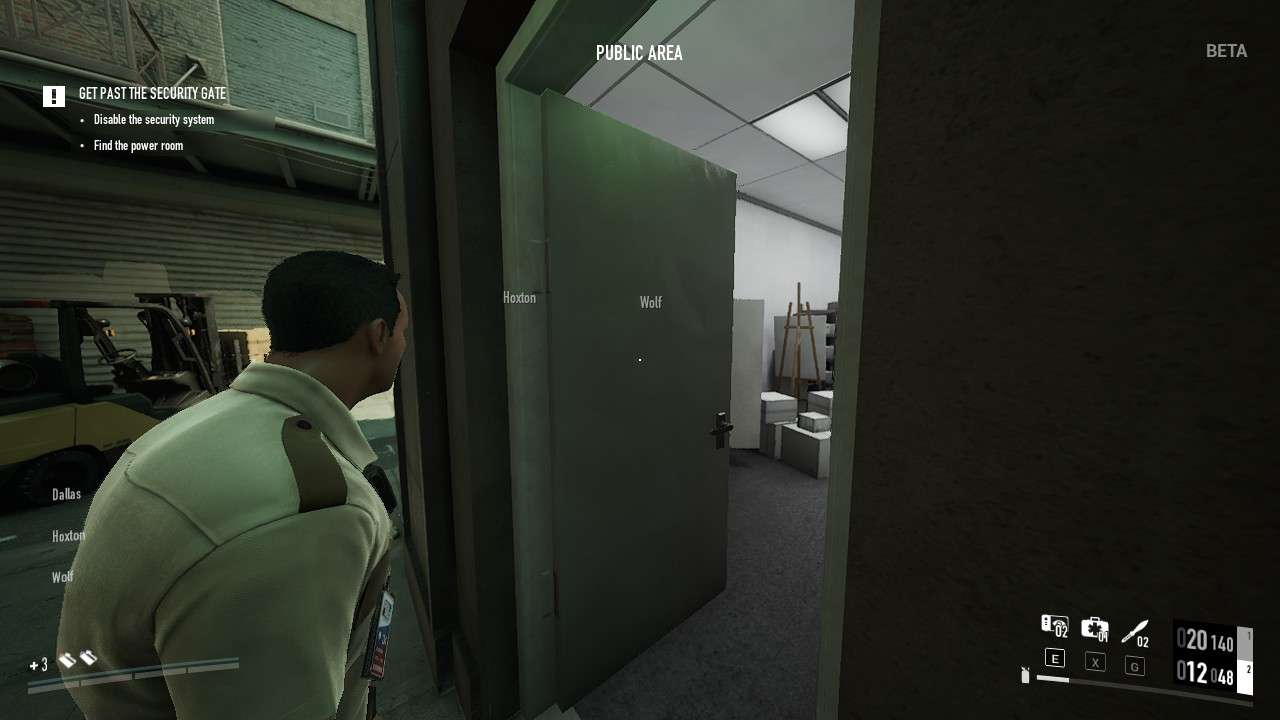
Door Blocking In Casing Mode

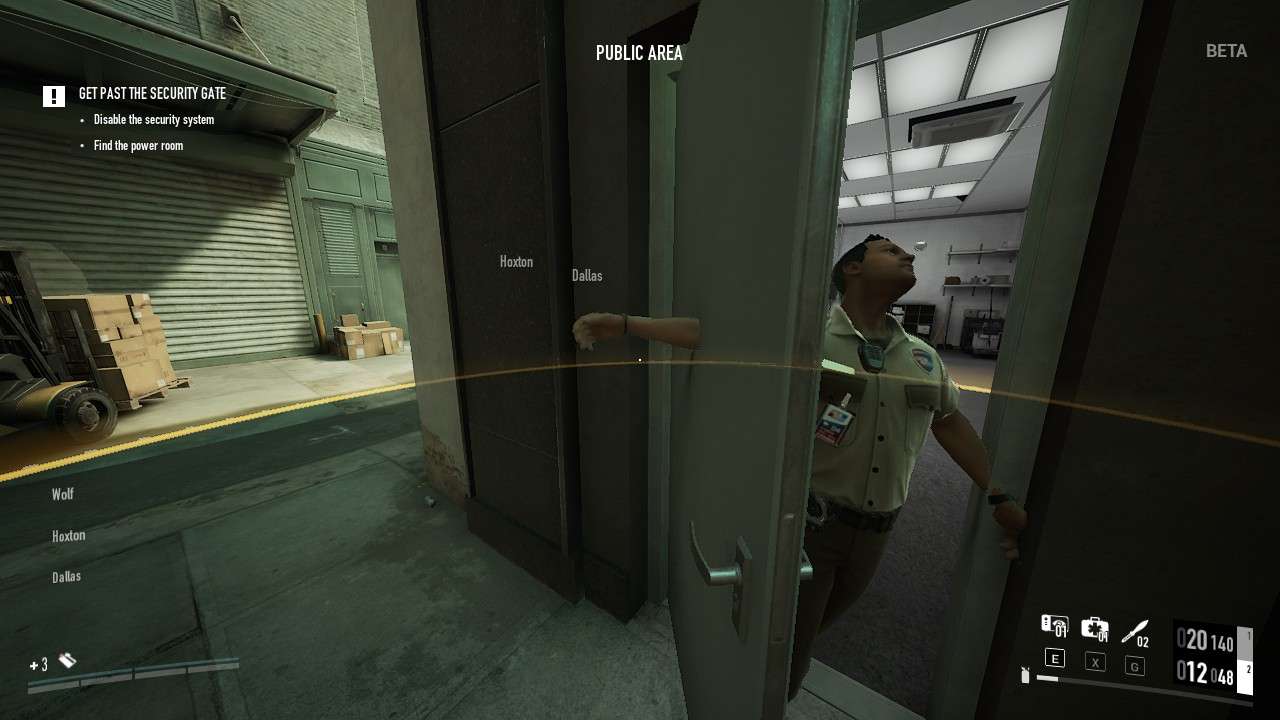
Escort Loop
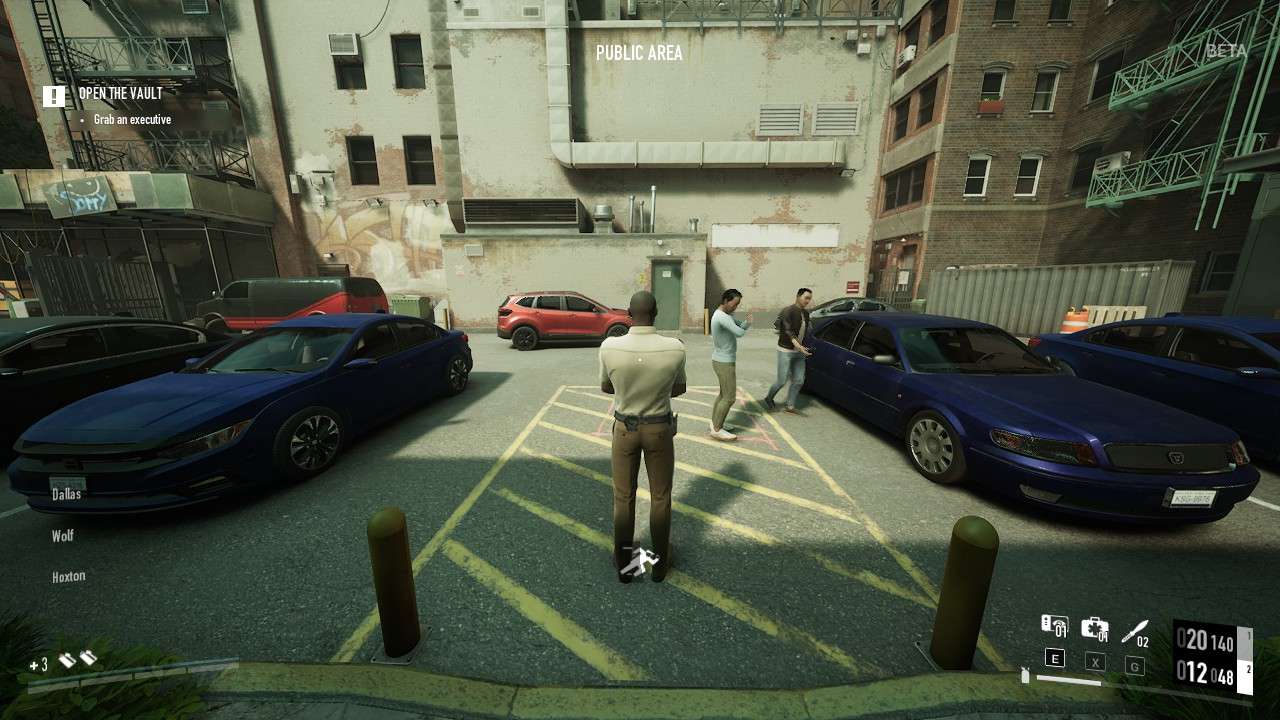
If you play duo and you are spotted by a guard in a private area while in casing mode they will escort you out of the area. The guard will be stuck in a path of trying to lead you there so any obstacles that hinders that will not stop them from continuing to go there. But if there is a door they have to walk through to get there then you can keep them stuck in a loop indefinetely until you stop. It’s as simple as closing the door on them over and over and over and over. This is how you can completely get rid of the lead guard as an issue by door blocking him in a loop as he is trying to escort you out. You can do this with any guard that will escort you and walk through a door. Close and open the door on the guard while your duo finishes up some main objectives of the heist until they are done. This is the easiest way to get rid of a guard without taking them out. From my experience this method works without fail, and it doesn’t require any practice to do so. Since the guards stagger a lot and gets pushed backwards when a door is shut on them, you won’t need perfect timing.
I have found that it’s safest to do it when you’re outside of the bank like in the pictures above. Doing it inside has proven time and time again that it will upset the guards after 3 door blocks. I think it works outside the bank because you’re in a public area so they have ‘no reason’ to be upset.

Return Loop
Guards can also be door blocked in general without escorting you but it’s safer to do it in a Public Area after you have been escorted as otherwise you might get spotted.
Best RNG


The best RNG in this heist is determined by the most time saving RNG for each situation. Securing loot is the easiest with the parking lot (if masked up). The best security switch is the first floor. The best terminal is the second floor. The best QR code is anywhere but the manager’s office. The best first floor guard looks at the vault windows a lot. The best manager’s computer is the first floor. The best second floor guard walks clockwise. The best roof guard never patrols the ceiling windows overlooking the second floor office. The best lobby guard never patrols past the vault windows.
Other
Plan B Stealth

Kill Both Executives During Stealth
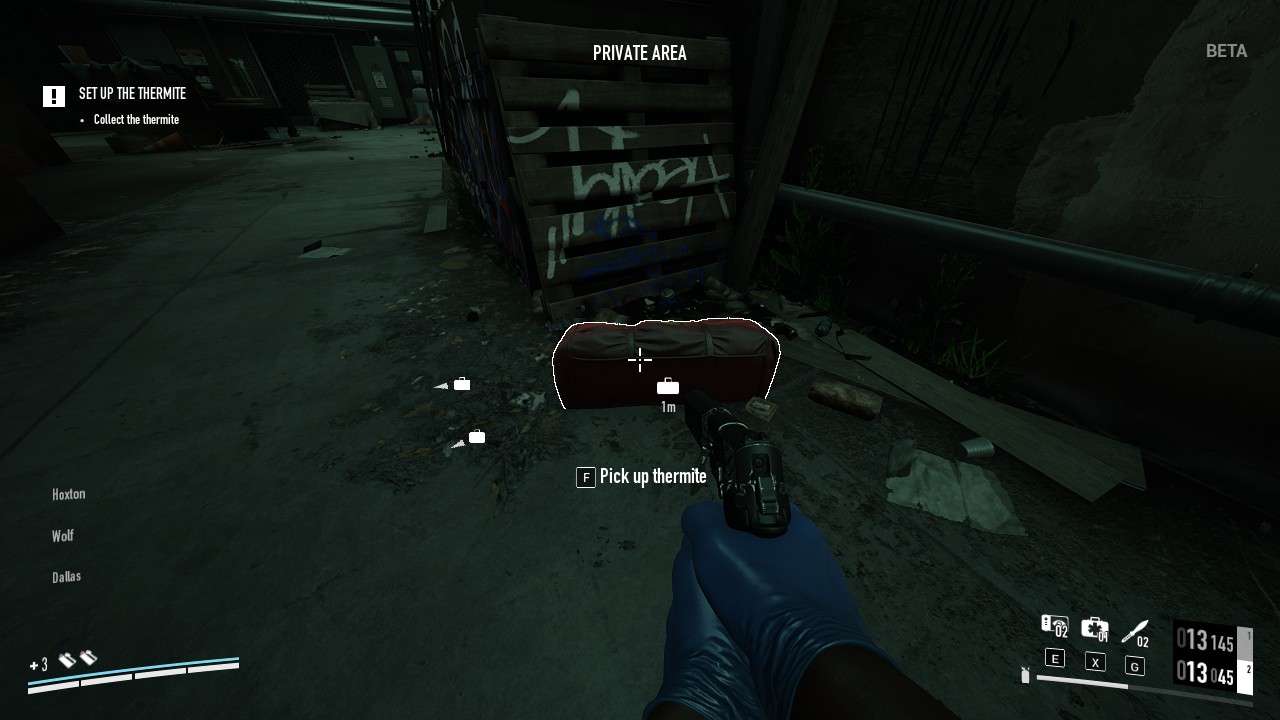
If you kill both executives during stealth then the helicopter will arrive to drop the thermite bags which the guards fully ignore. Make sure to pick up the blue bag first which is the first one to drop. The idea is to have the second floor clear from guards who might hear or see the thermite and on Overkill Mode consider having a duo who can door block the lead guard as he will enter the second floor eventually. Take care of all civilians on the second floor and you might be good to go. It is likely that Plan B can’t be stealthed only because anyone in the bank lobby might hear it or it might cause the alarm to sound when you apply the thermite. This has now been fully tested by me, the alarm will start as soon as the thermite is interacted with even if it isn’t deployed yet. It will only say that the alarm has been activated but it doesn’t say why it was activated.
You can only stealth until you start applying the thermite.
Zipline Asset Stealth
Where to find it
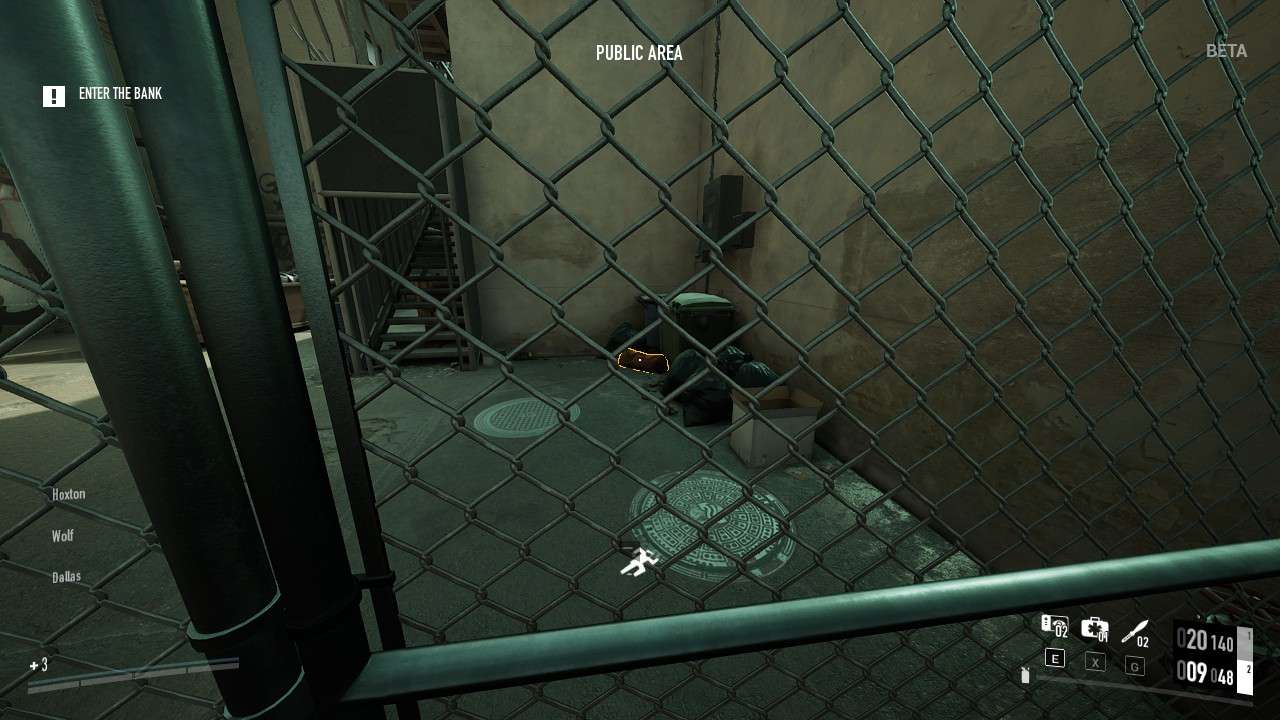
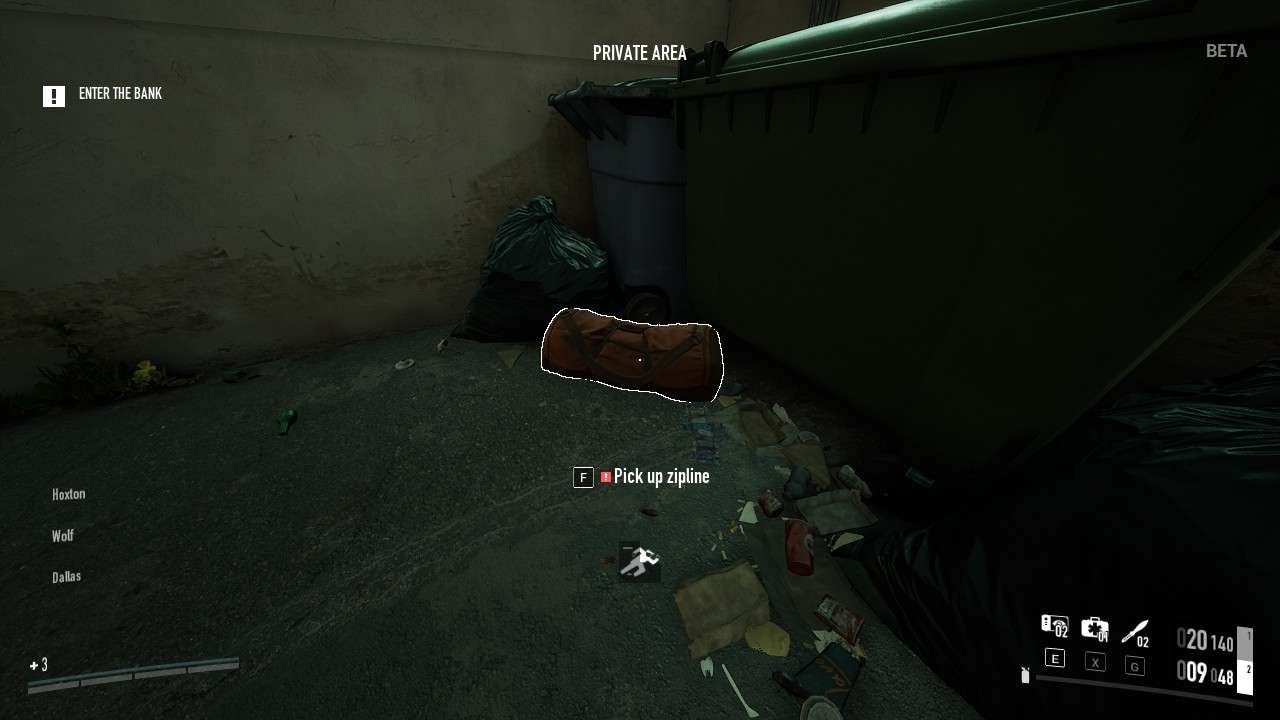
If someone used their zipline favor in pre-planning then you will find the zipline bag behind the locked fence near the parking lot. It will be laying near some trash. You can pick it up and deploy it during casing mode but you still need to carry it like a bag.

Unusable in Casing Mode
In the pre-planning lobby if you have a zipline bag favor you can use the zipline from the roof of the bank and go over to a high building from which you can put your money bags then you throw them down the building in a safe spot near the parking lot. Then get down to the parking lot and secure the bags to the van parked in the parking lot. This method however, requires you to move all the bags from the vault to the roof which is mostly just there for variety sake if you want to finish the heist in a very different way. You can use the zipline without being detected during masked stealth but you can’t use it in Casing Mode for some reason.

How to do it
Easiest way is to put all money bags behind the wall where the zipline is then once you got enough bags there you pick up a money bag and mask up to be able to use the zipline. Then you zipline across the parking lot and onto a balcony staircase. From the balcony staircase you need to go right then throw the money bags to the door and staircase as shown in the image above. The door and staircase are close to the shipping container on the parking lot. The idea is to throw all money bags on-point and have them all land there where the parking lot guard can’t see them. If your throwing game is off then the bags will get spotted and sometimes there can be a civilian walking through there so just take them down if you can. After you have thrown all bags down to that stair without accidentally jumping over the ledge which does happen if you move forward while jumping or if you look at the railing while jumping then simply take the zipline back to the bank roof, get down to the parking lot and take the bags from the cemented staircase. The reason you can’t go down the balcony stairs that you zipline to is because the stairs are blocked by an invisible wall of darkness that only opens up once the heist goes loud.

How To Get More
You can purchase more Zipline Assets in the shop at the very bottom of the Arms Dealer Shop.
Zipline asset is very risky during stealth as you need perfect bag throwing game.
Joy Smile
The picture of Joy smiling was taken in this heist and would become PAYDAY 3’s icon for a while because of how she looks in the picture.

Thermite Outline
Thermite Outline
Unlike the BETA you can now see where the thermite would be placed before you even have it! Good way to prepare for it.
AFK / Idle Method
Just Wait?
Sometimes you will stumble upon players who intentionally AFK or stay at the van the entire heist. Their goal is to do other things while ‘farming’ in PAYDAY 3 by having the heist running as other players will take care of the objectives. It’s not very common to be intentional and plenty of times it’s just temporary. You can however do two things with intentional AFK / Idle players. Go AFK / Idle yourself which is a way to counter their intentional AFK / Idle since it’s a way to tell them to do something. If that doesn’t work then go loud and see if they intentionally start playing again, if not then they can get arrested during loud which means everyone else can escape.
Achievements / Trophies
Color Me Surprised
Complete No Rest For The Wicked without letting a dye pack explode on Very Hard or above.
If you are near perfect you might be able to get all 8 dye packs in the vault when you open the money room but it’s recommended to have another player with you that can disarm dye packs with you. Choose to disarm the left or right side so that the player helping you won’t disarm the dye pack you’re disarming and it makes it easier to disarm all dye packs on one side when you commit to that side. If you disarm all dye packs on your side then go to the other side to check if there isn’t any remaining dye packs to disarm, you can also hear a beeping sound if there are dye packs still waiting to be disarmed. You can also hold down your ‘interact’ button pre-maturely to interact with the dye packs as soon as they can be interacted with without having to look at the dye packs and then press the ‘interact’ button you can just hold it down.
Just… One… More…
Complete No Rest For The Wicked having opened all deposit boxes.
Most crews will open all deposit boxes even if you didn’t ask for it so play Co-op if you want it done fast. Make sure you have the Quick Fingers skill to instantly lockpick deposit boxes that is triggered if you have the Rush buff, the buff that speeds up your movement speed. If you don’t have Quick Fingers skill then it takes rougly two times longer to successfully lockpick all deposit boxes so it’s a time saver.


its a nice guide! especially if you want to know where to look for stuff and what to do with the civillian
Let’s get you back in the saddle. This is a small branch bank, usually low-traffic. But there’s been a mixup in the money transport schedule, meaning there’s a lot more cash than usual in the vault. Decide how you wanna do this. Beat the security gate and quietly gain access to the vault. Or go in guns blazing and burn your way through the roof. It’s your call. You’ve done this a million times before. But hey, there’s no rest for the wicked.