
Guide to Map Pieces / Shrines
By MagicaJaphet
What Are Map Pieces?
What’s going on with this new update?
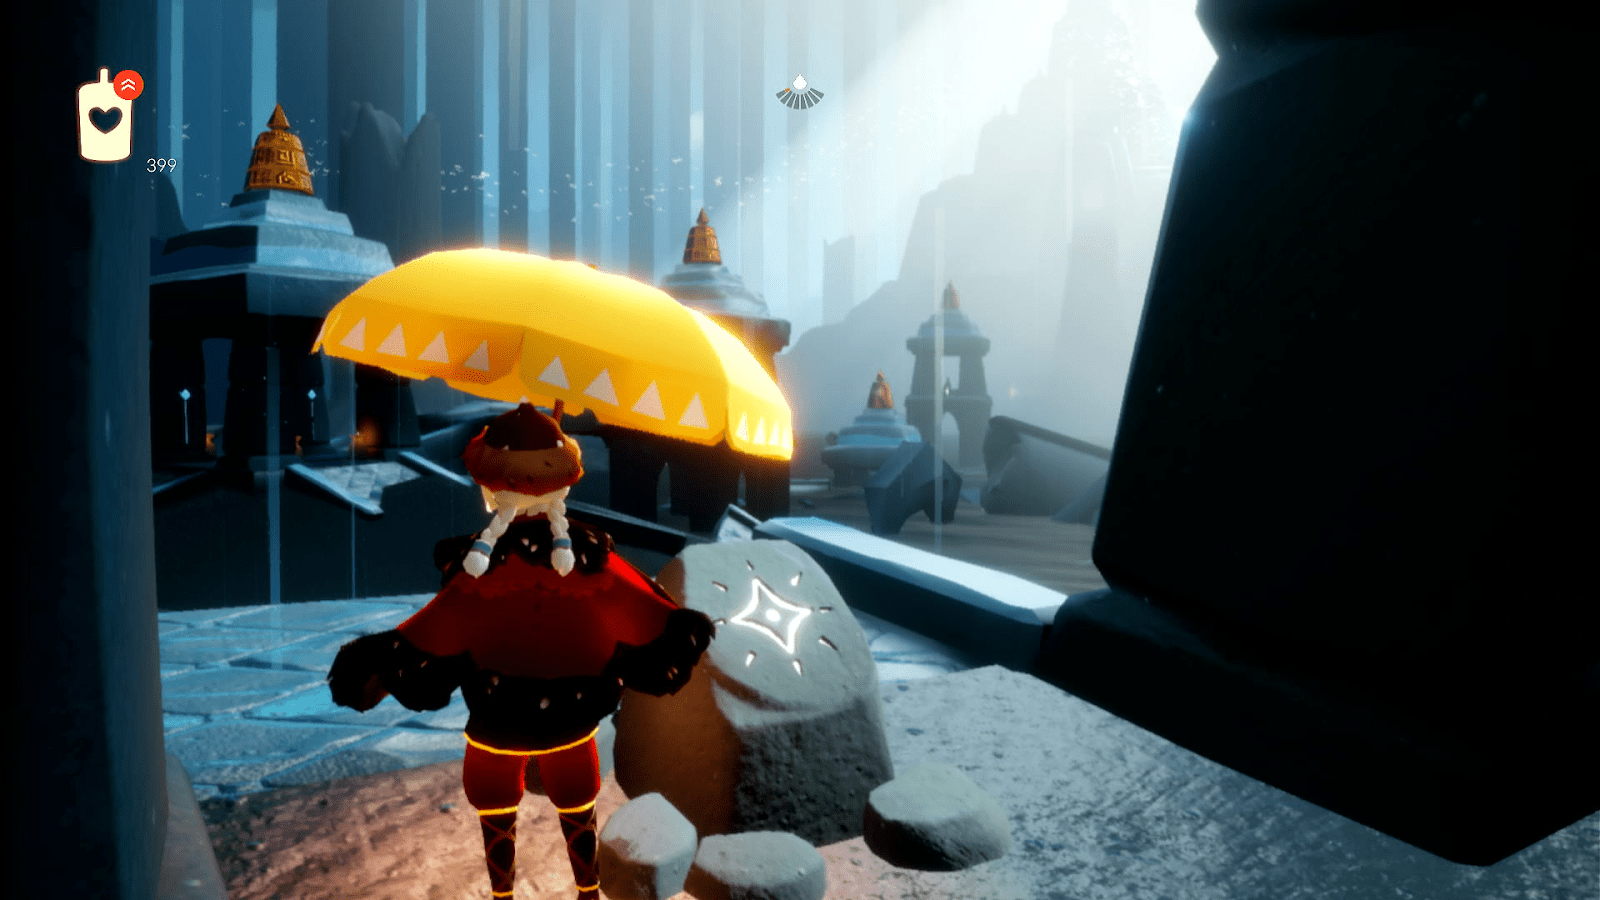
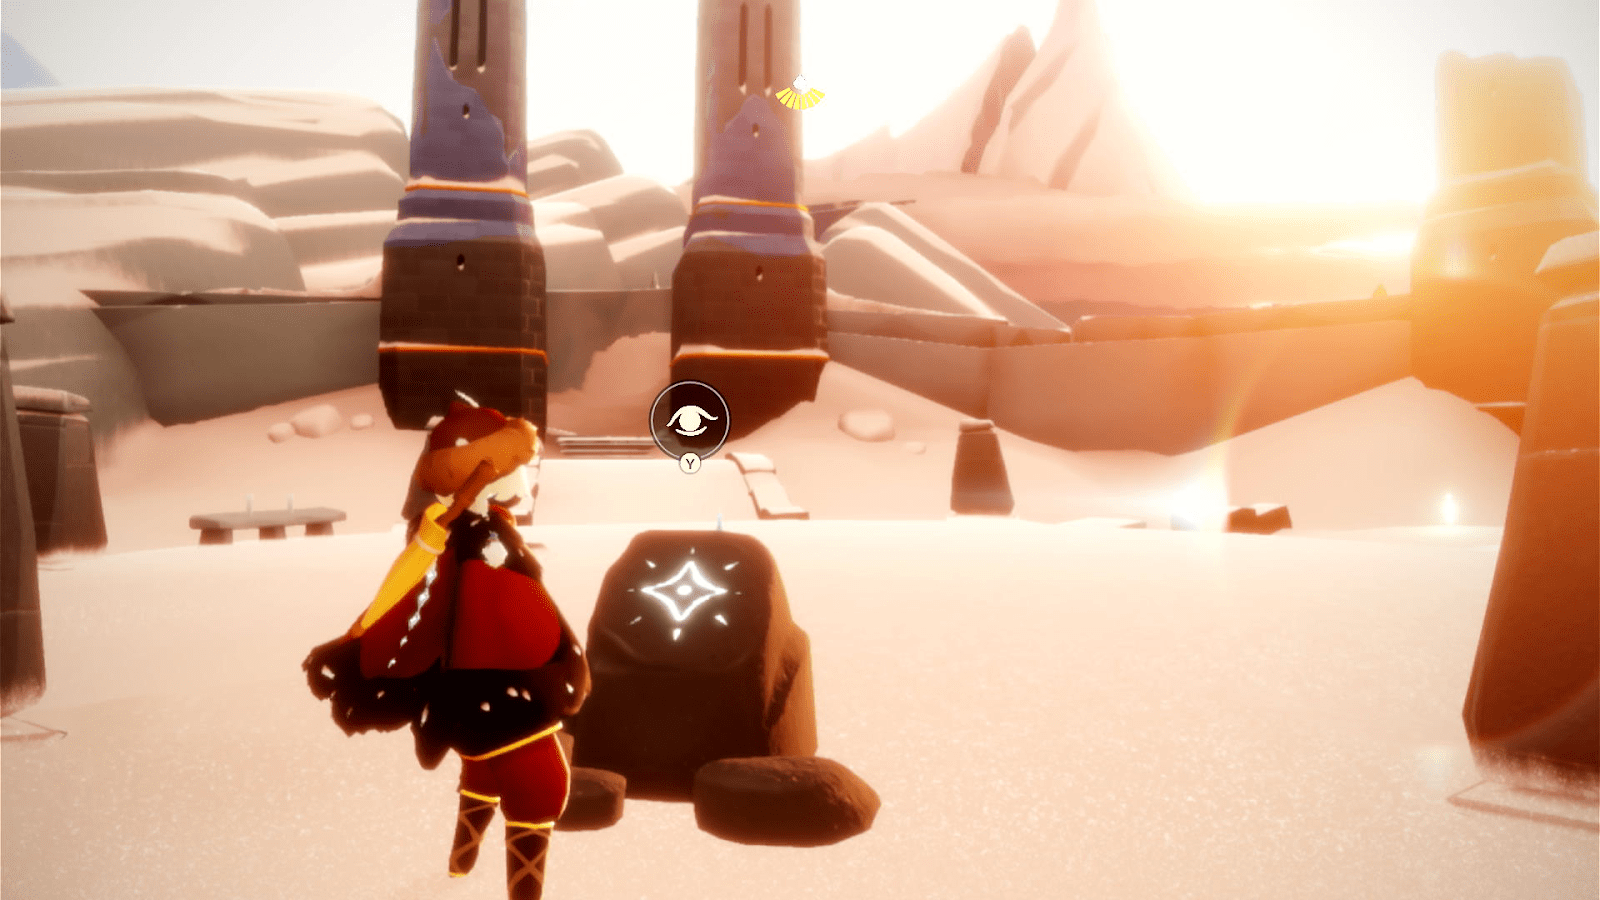
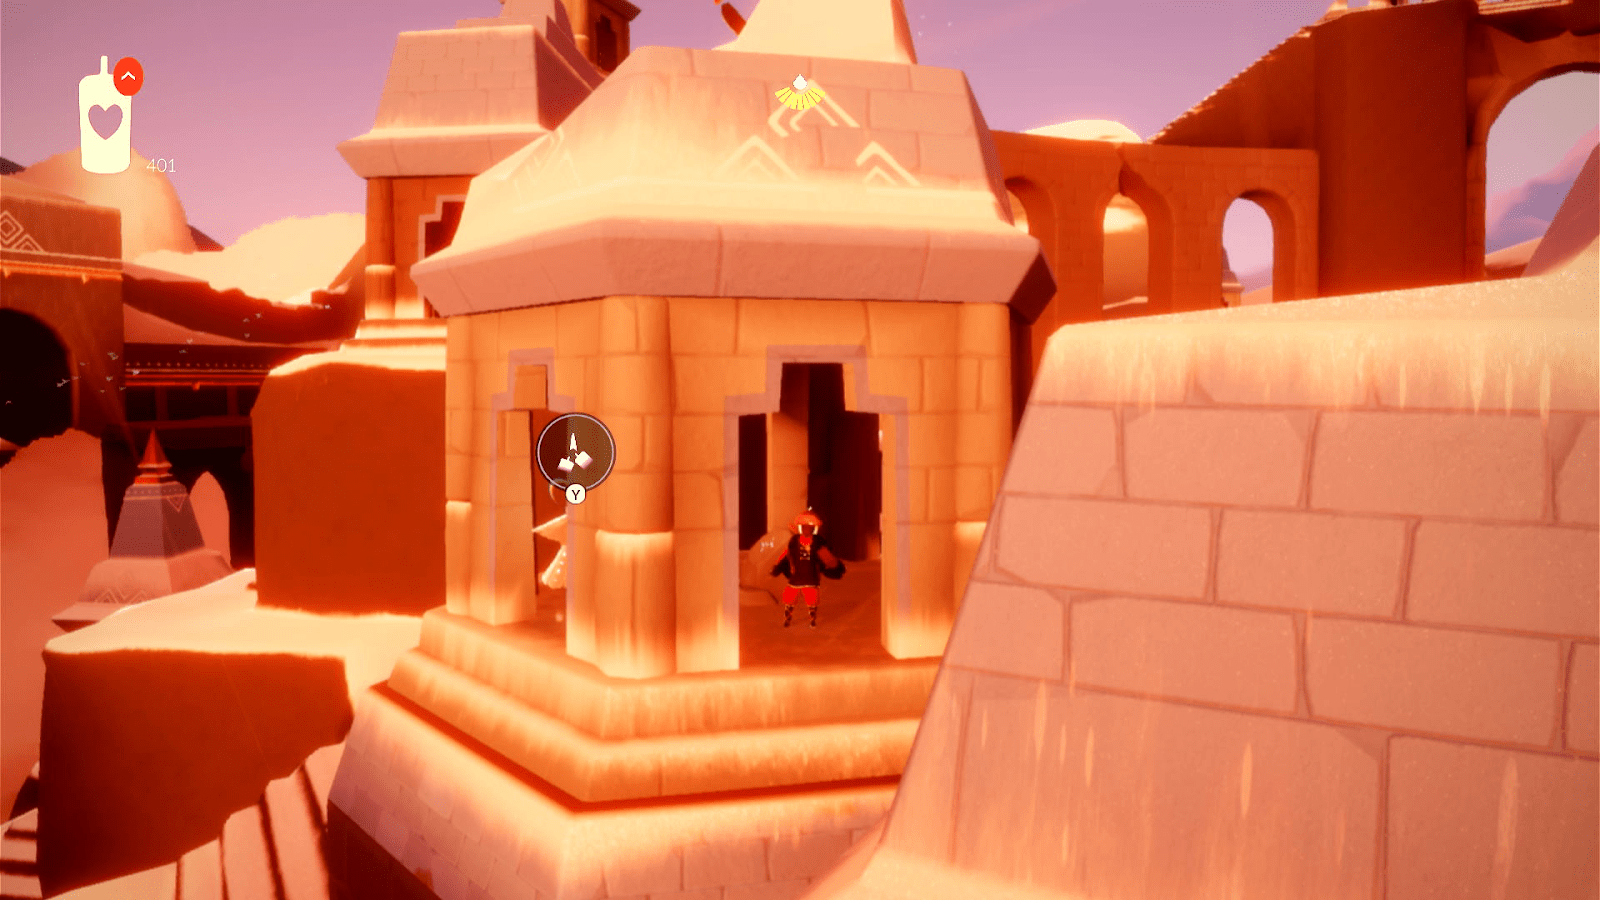
0.19.0 introduced a new mechanic of smaller shrines that the player can unlock by individually finding all the map pieces to complete a greater map of the entire sky world. These maps are most useful to finding missing winged light/spirits, but can also be a fun challenge to find all the pieces.
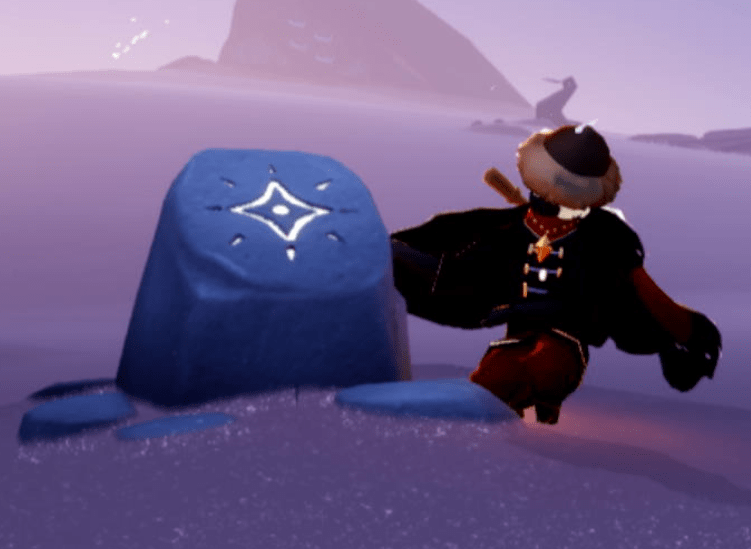
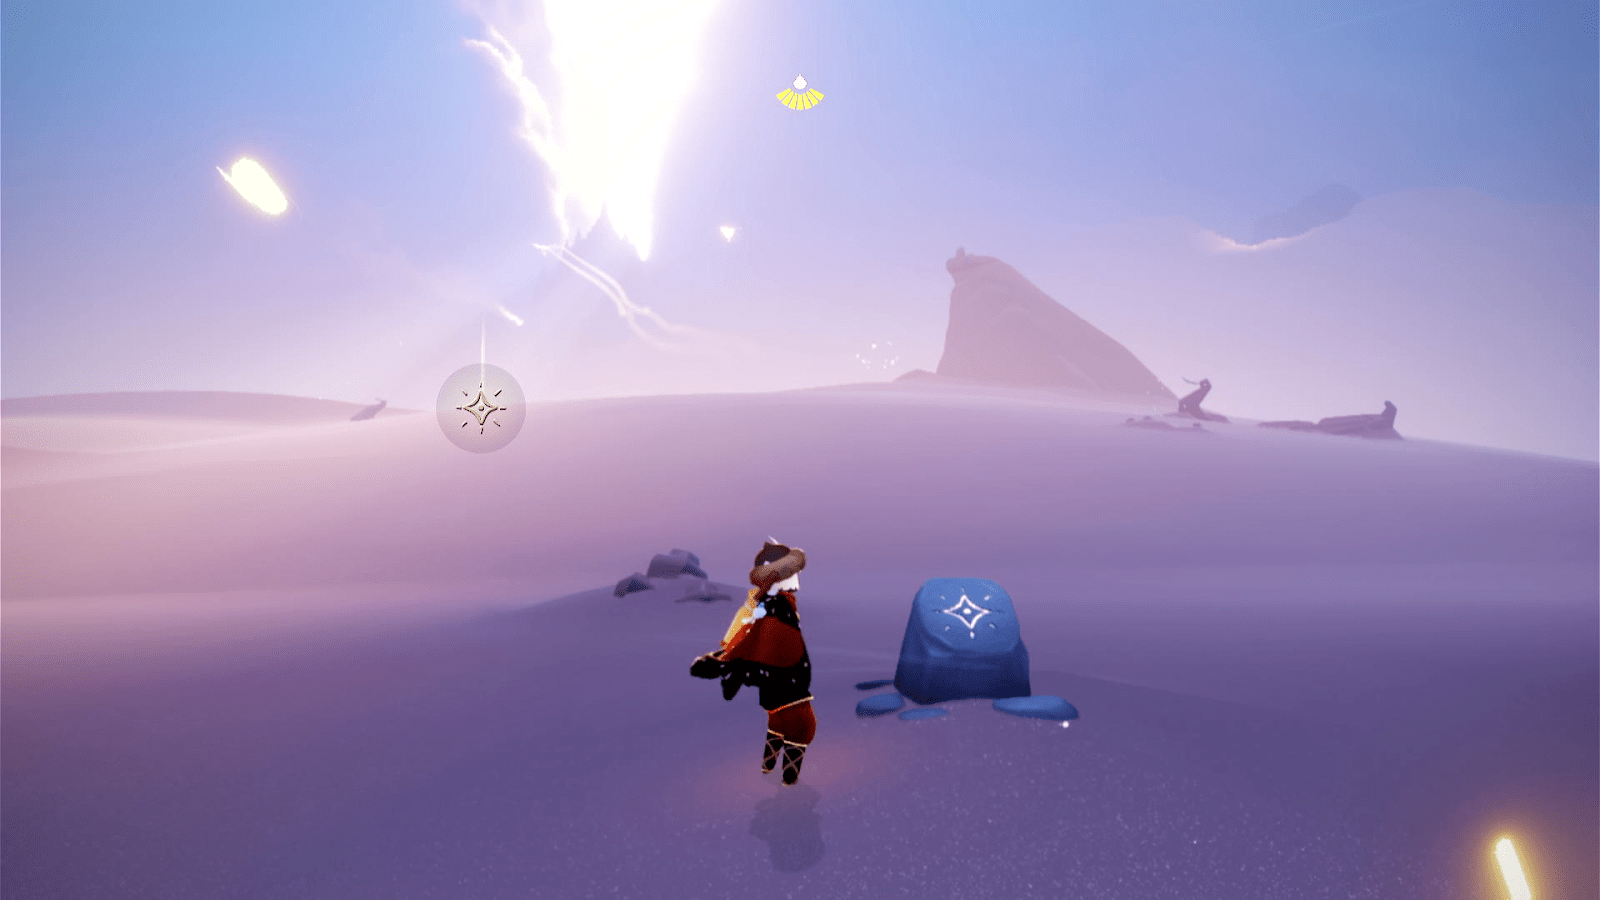
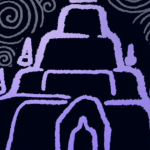
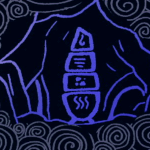
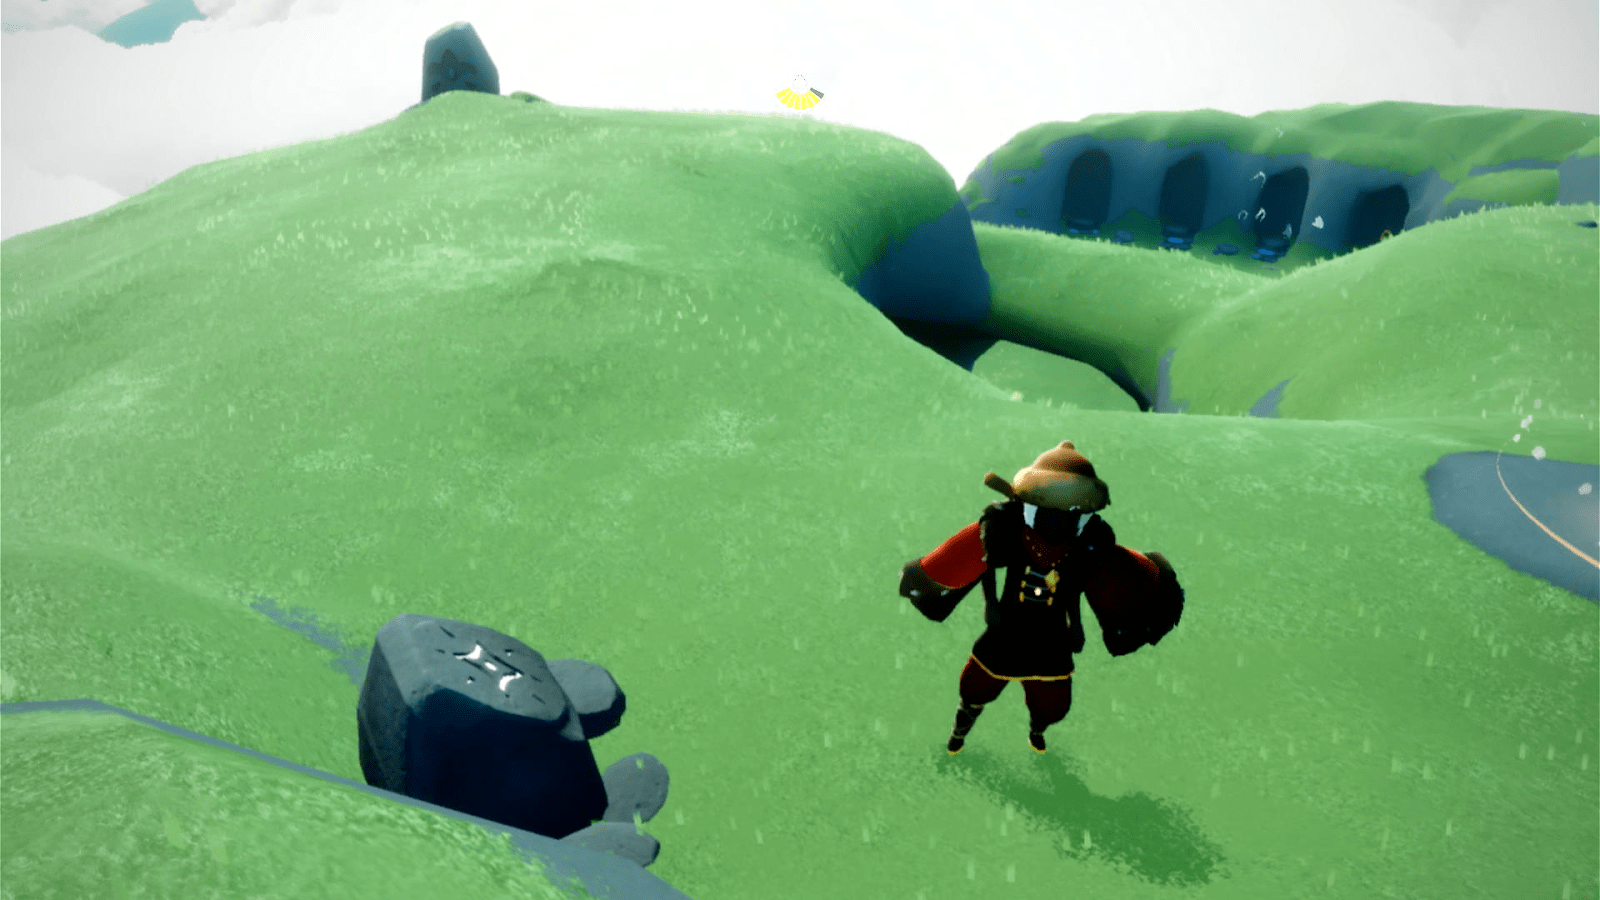
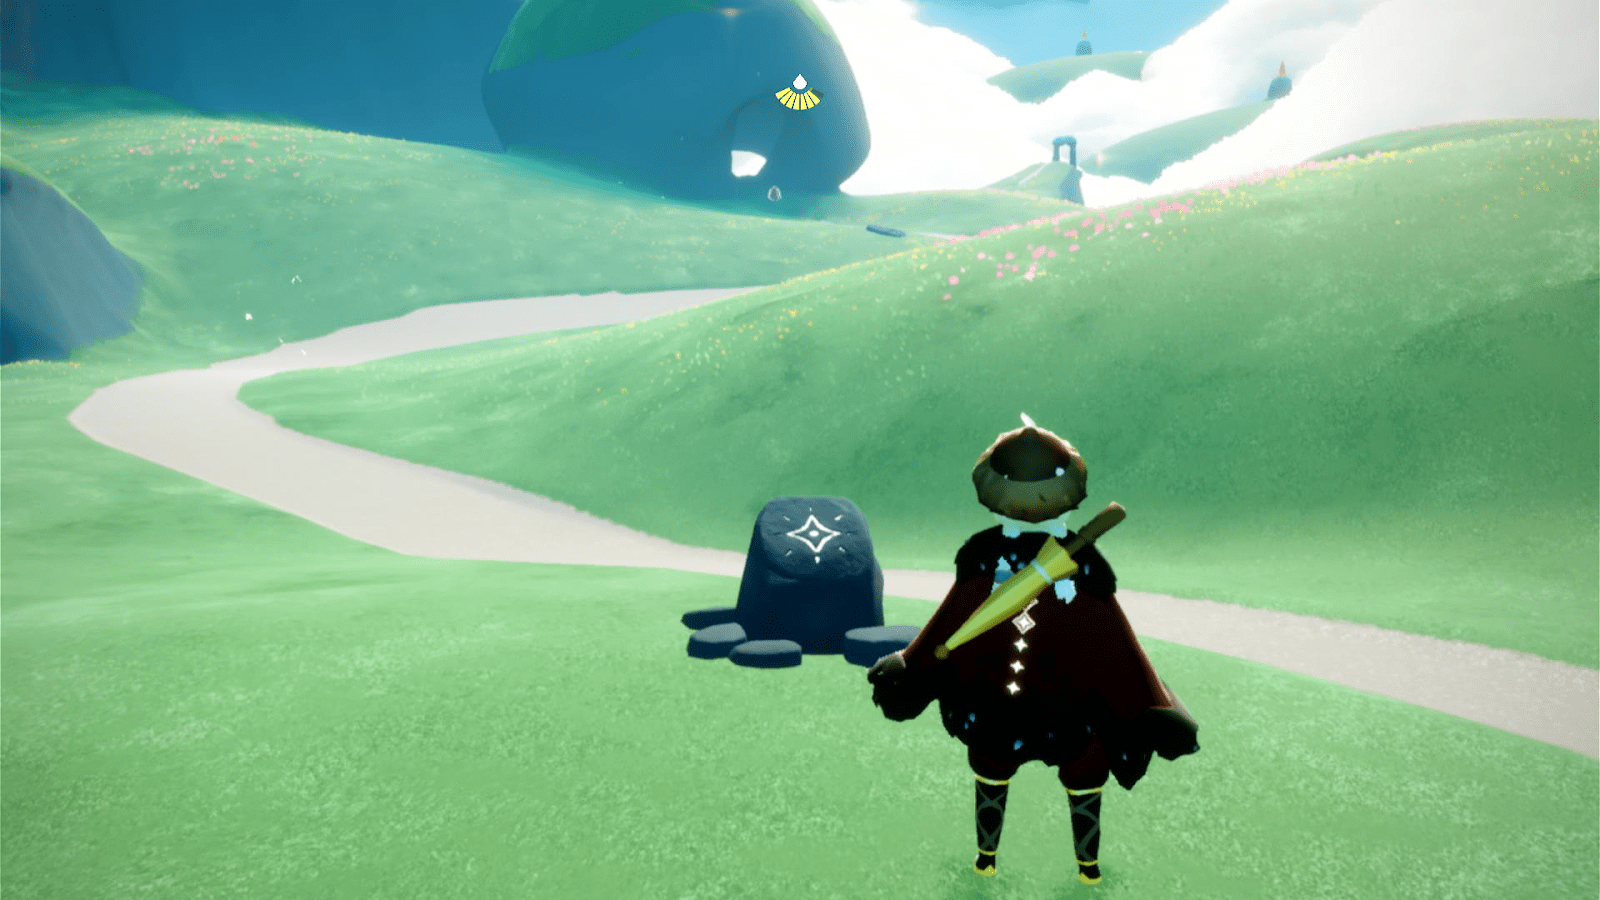
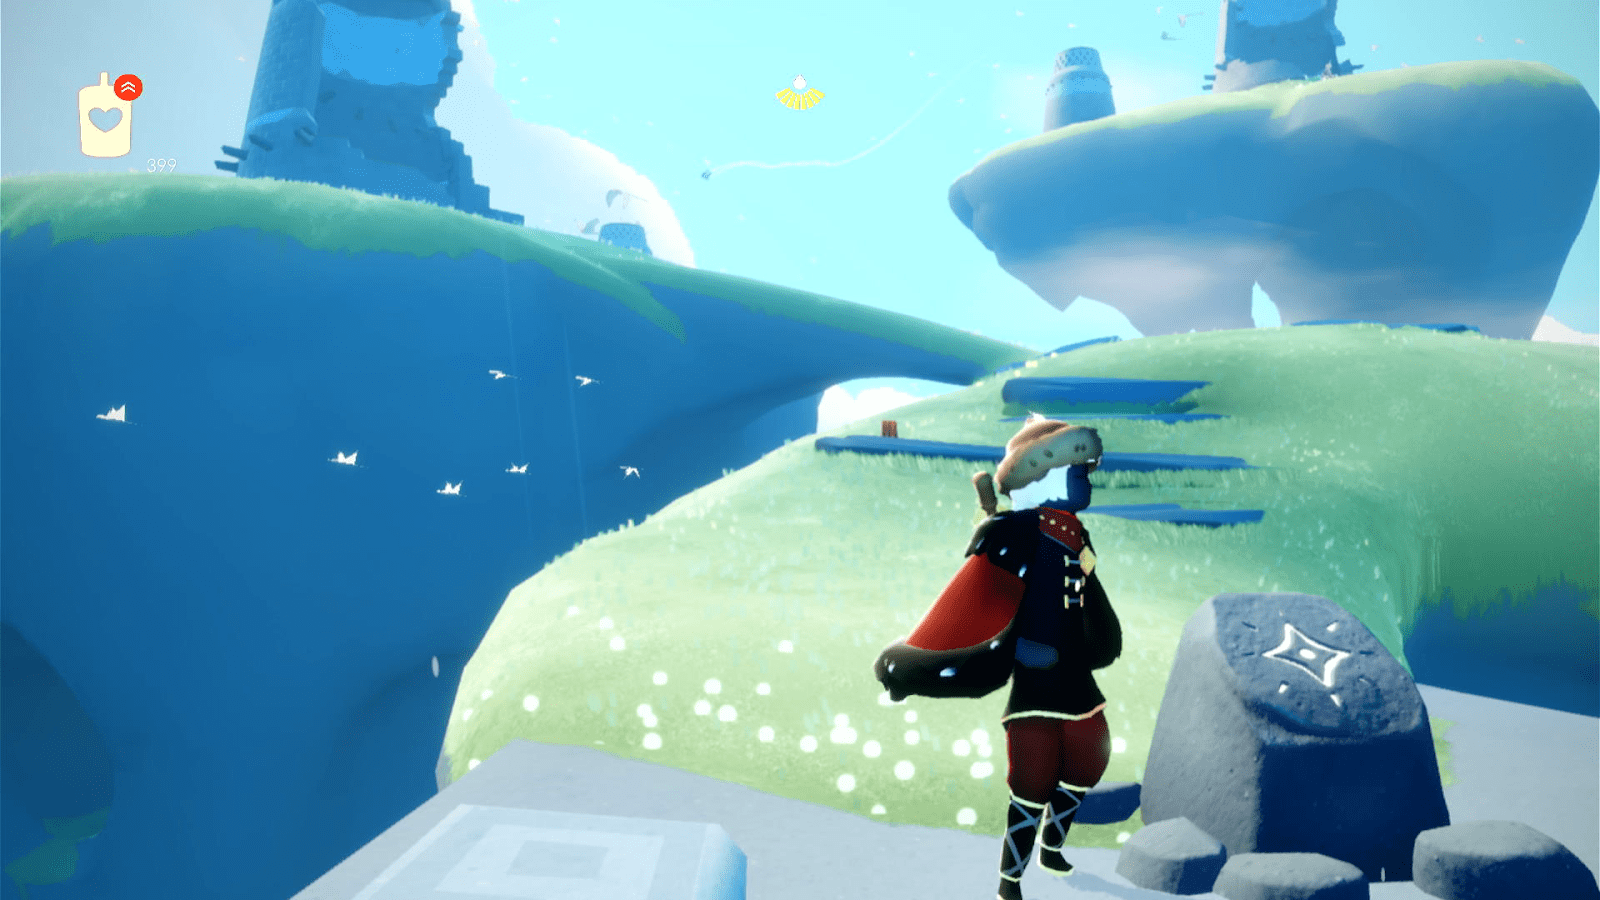
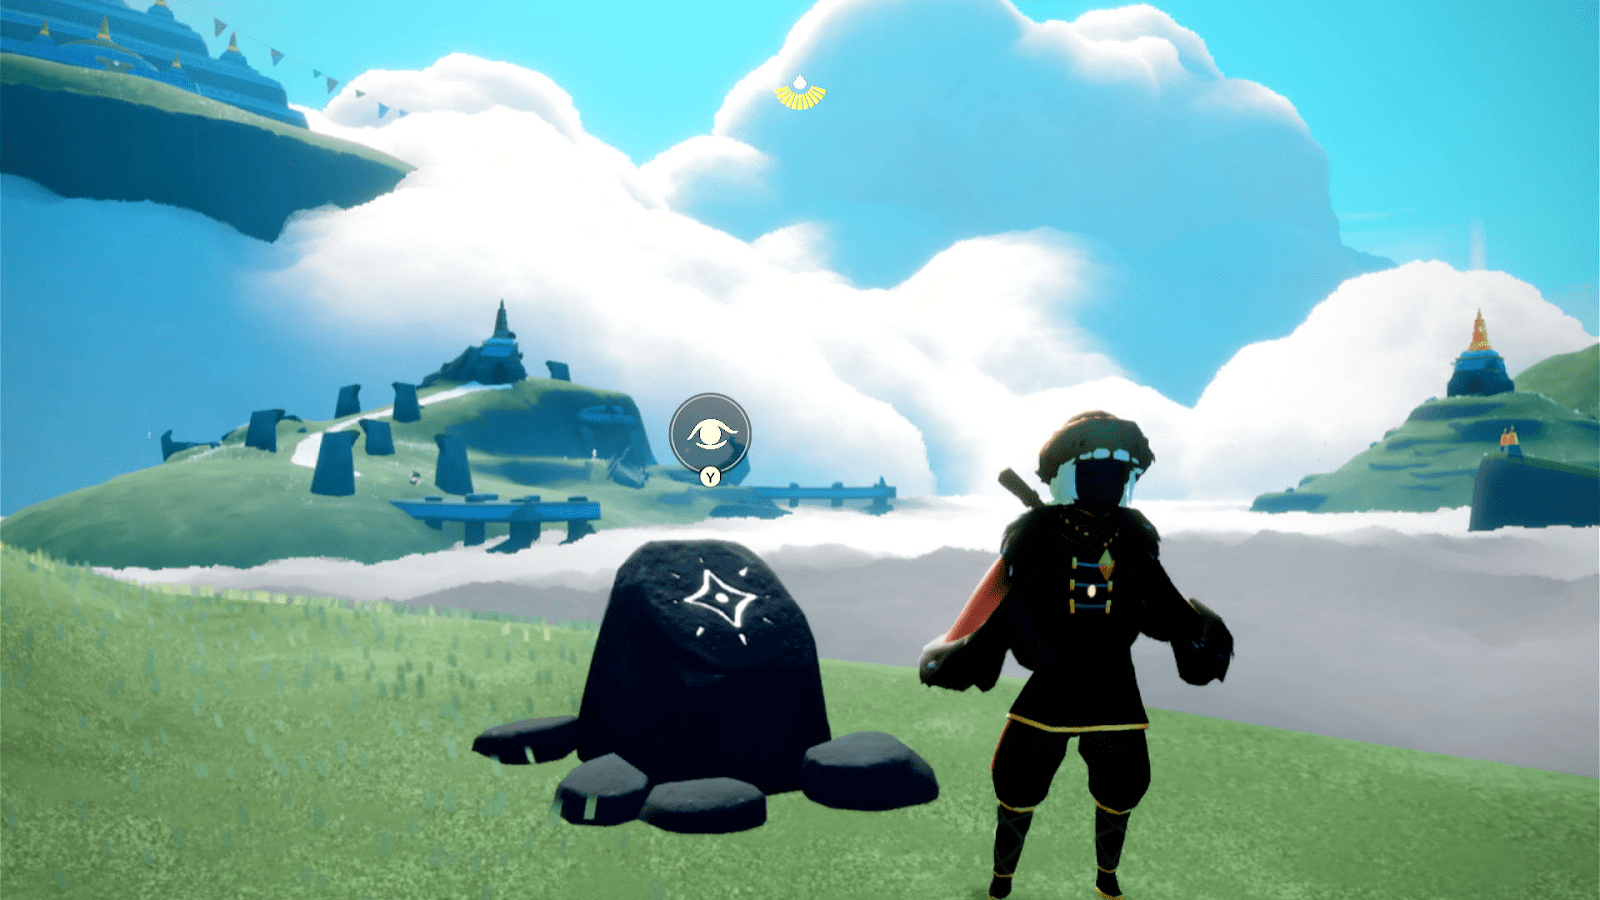
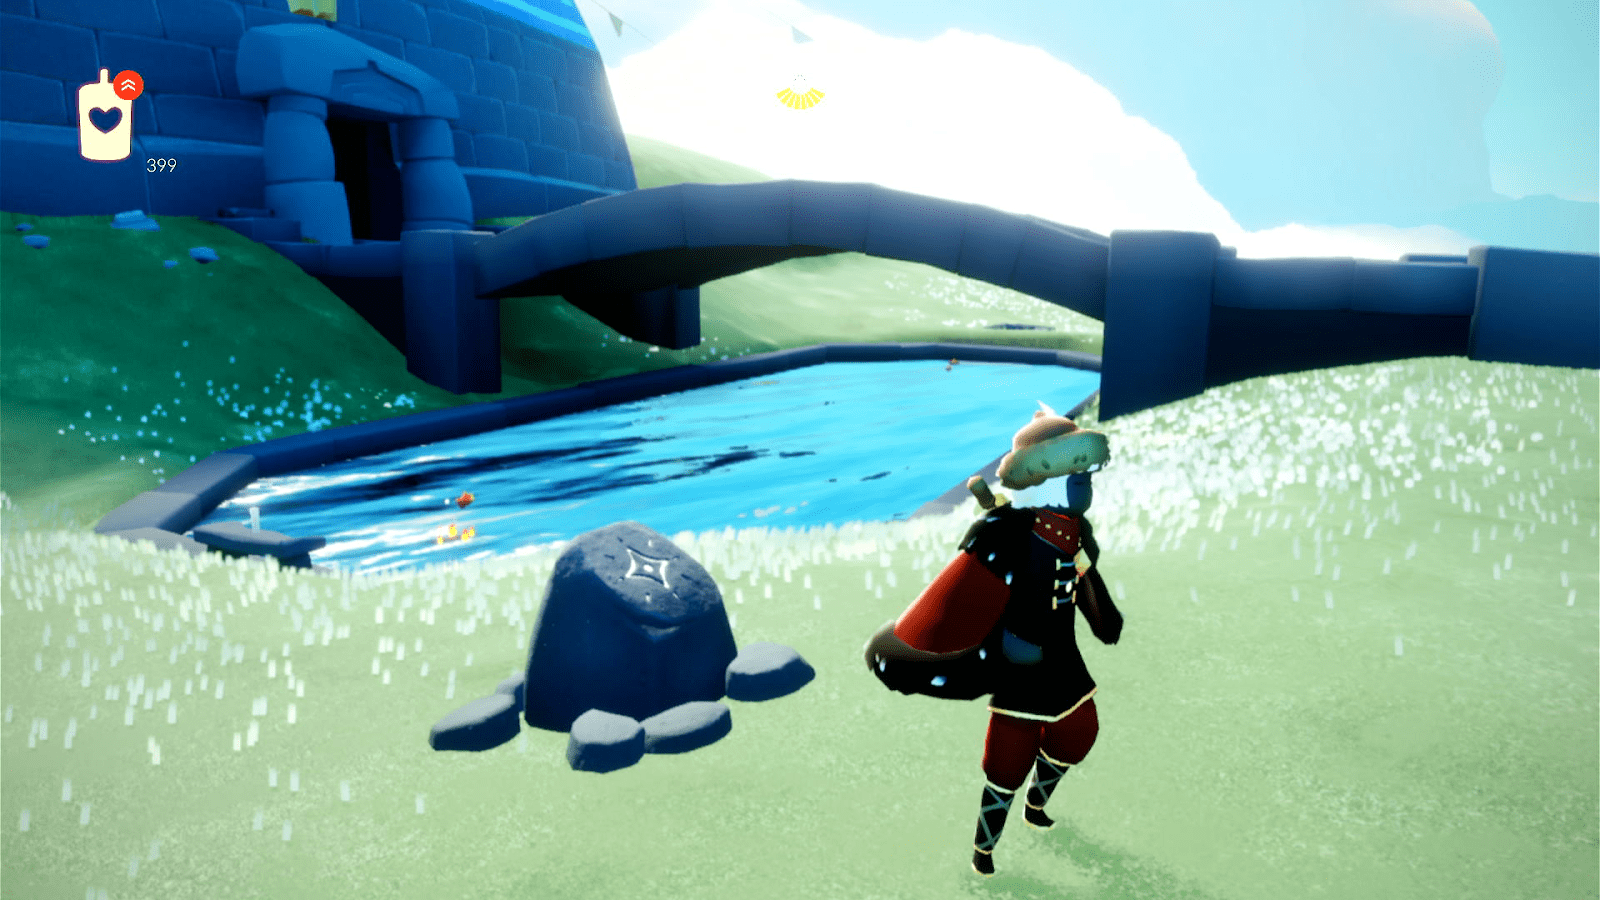
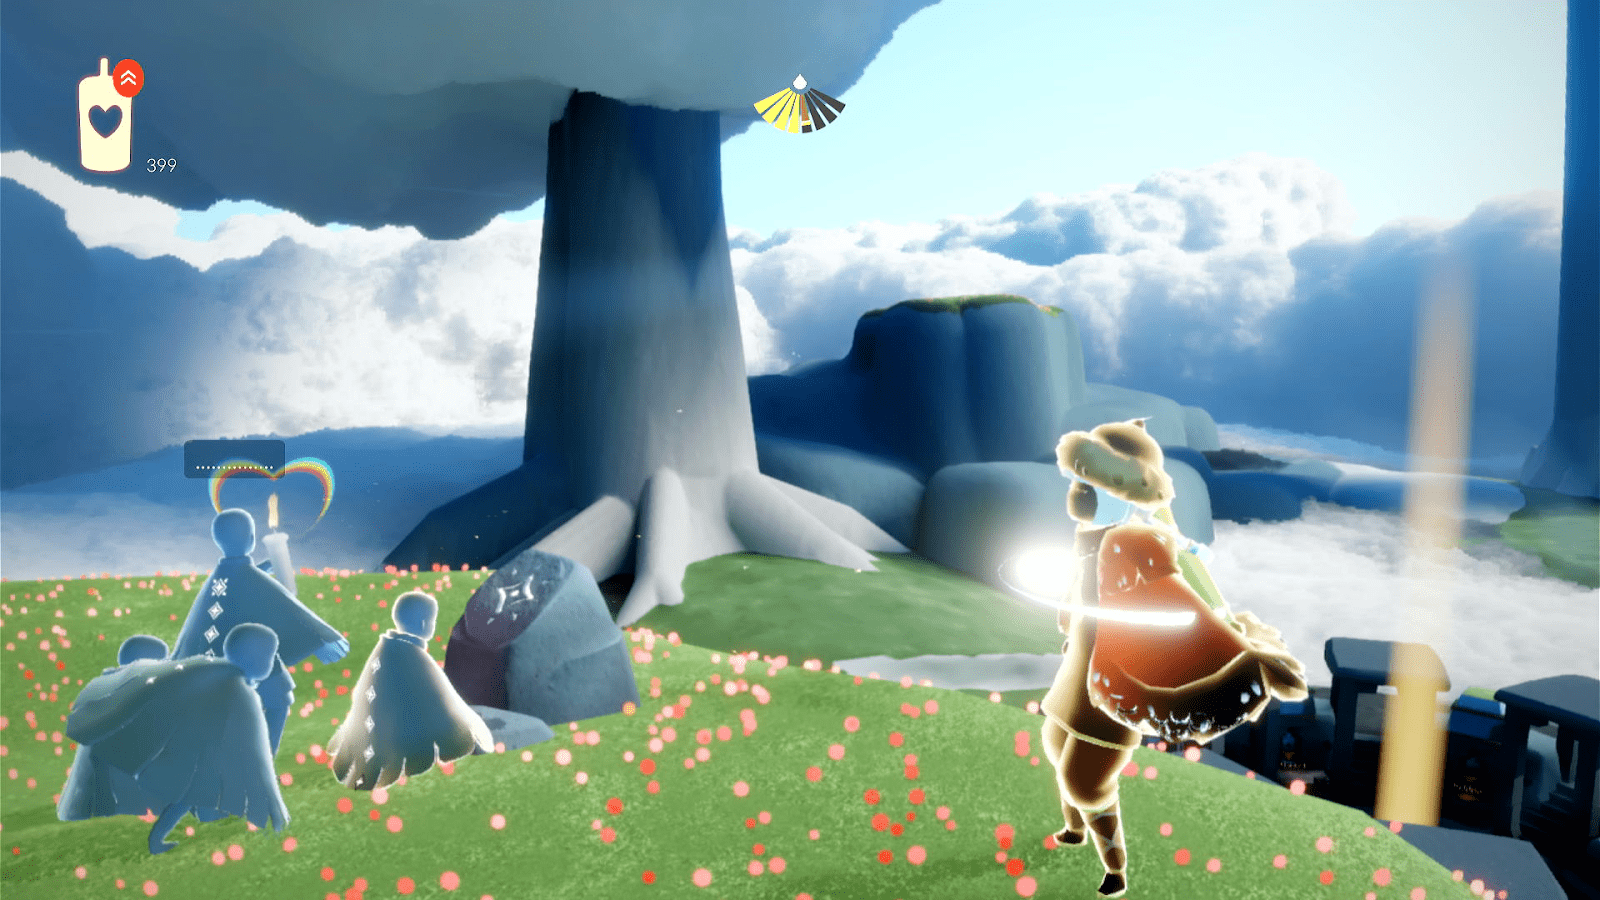
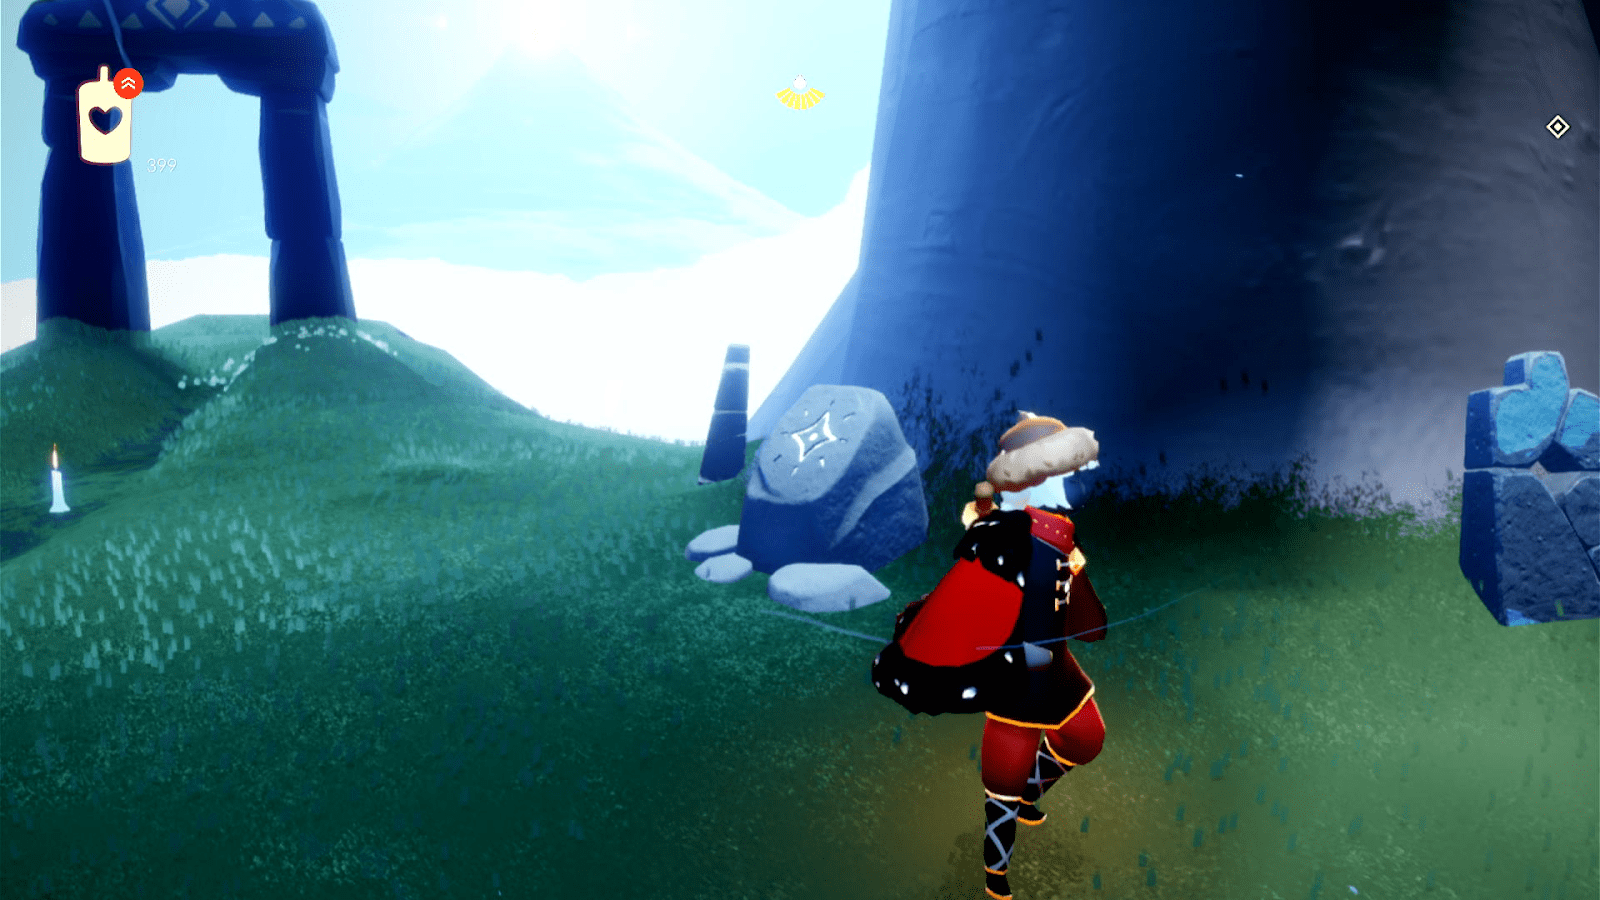
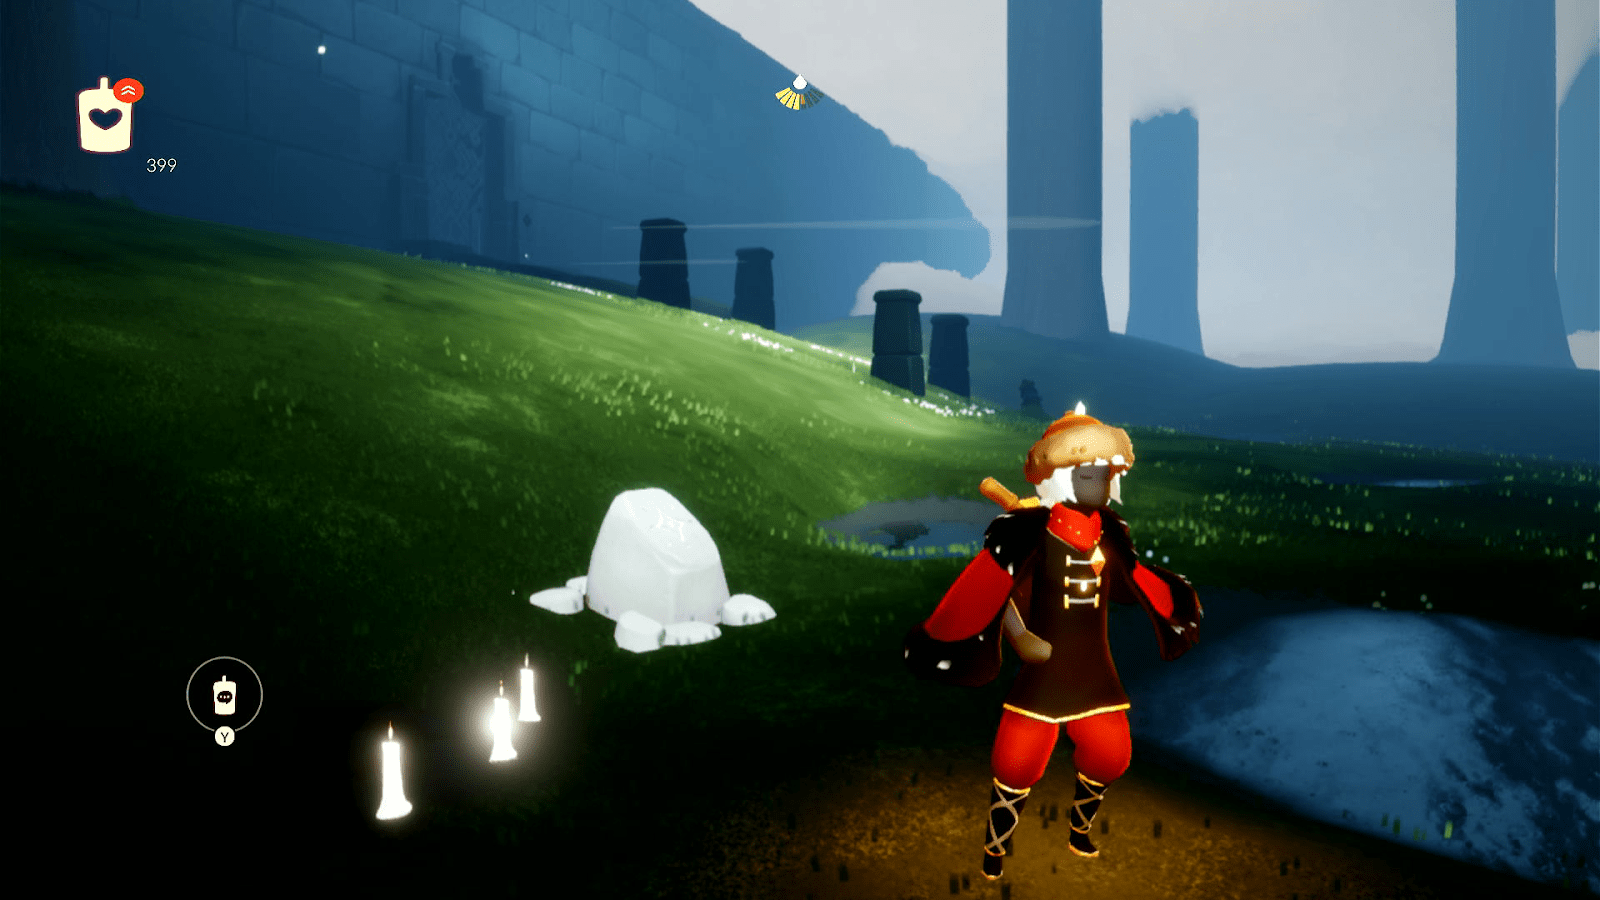
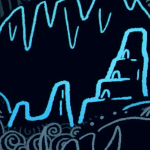
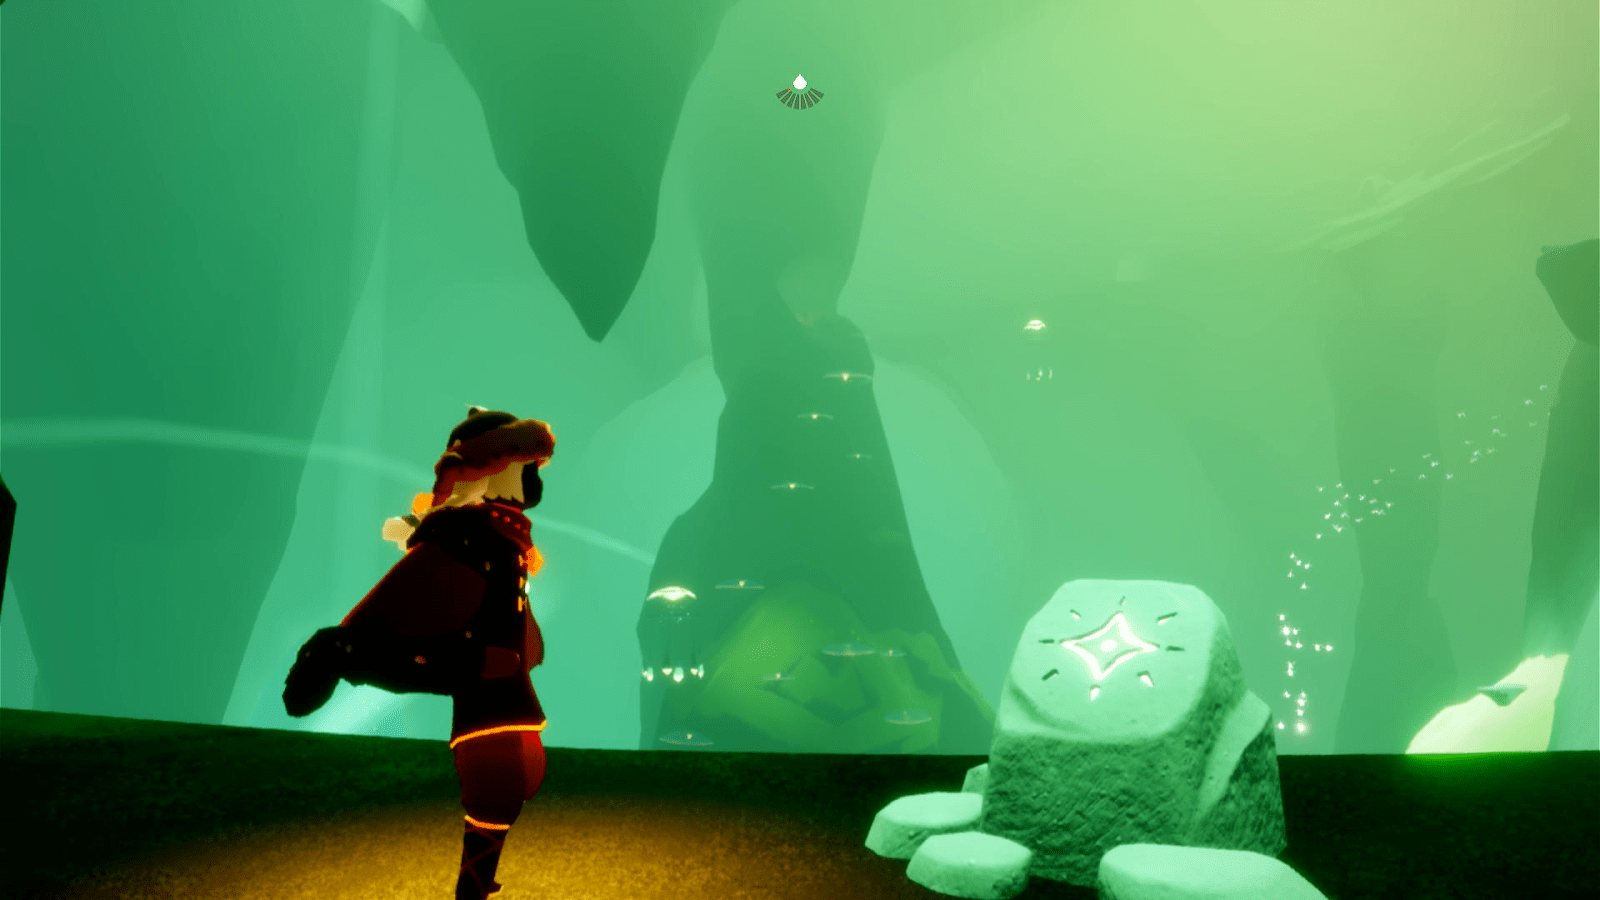
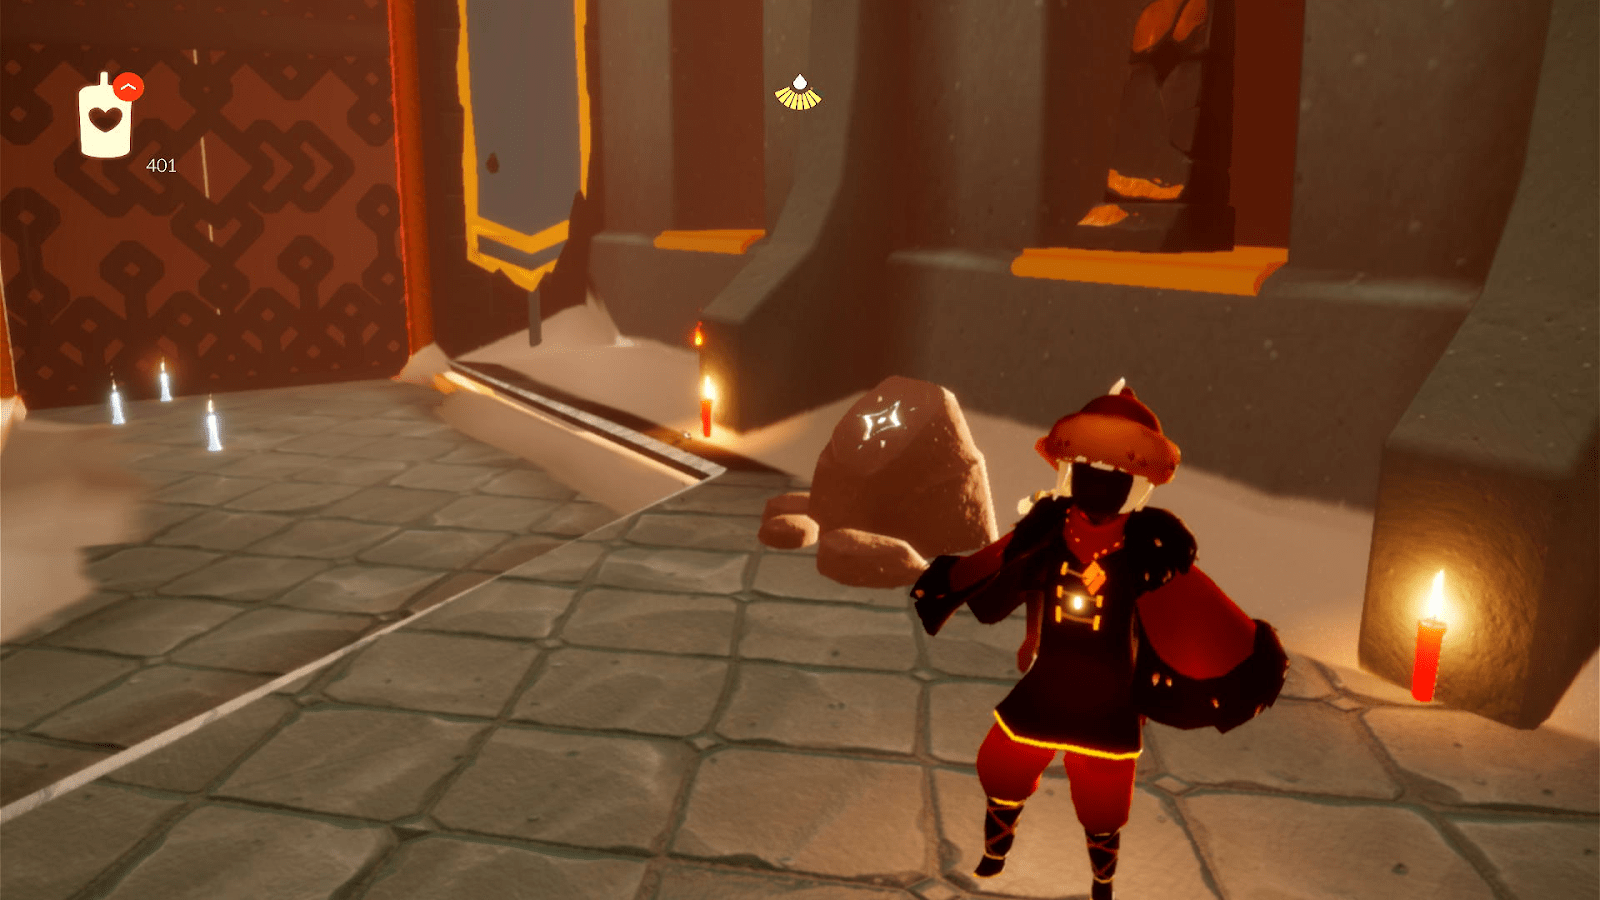
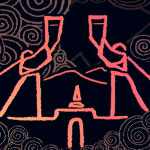
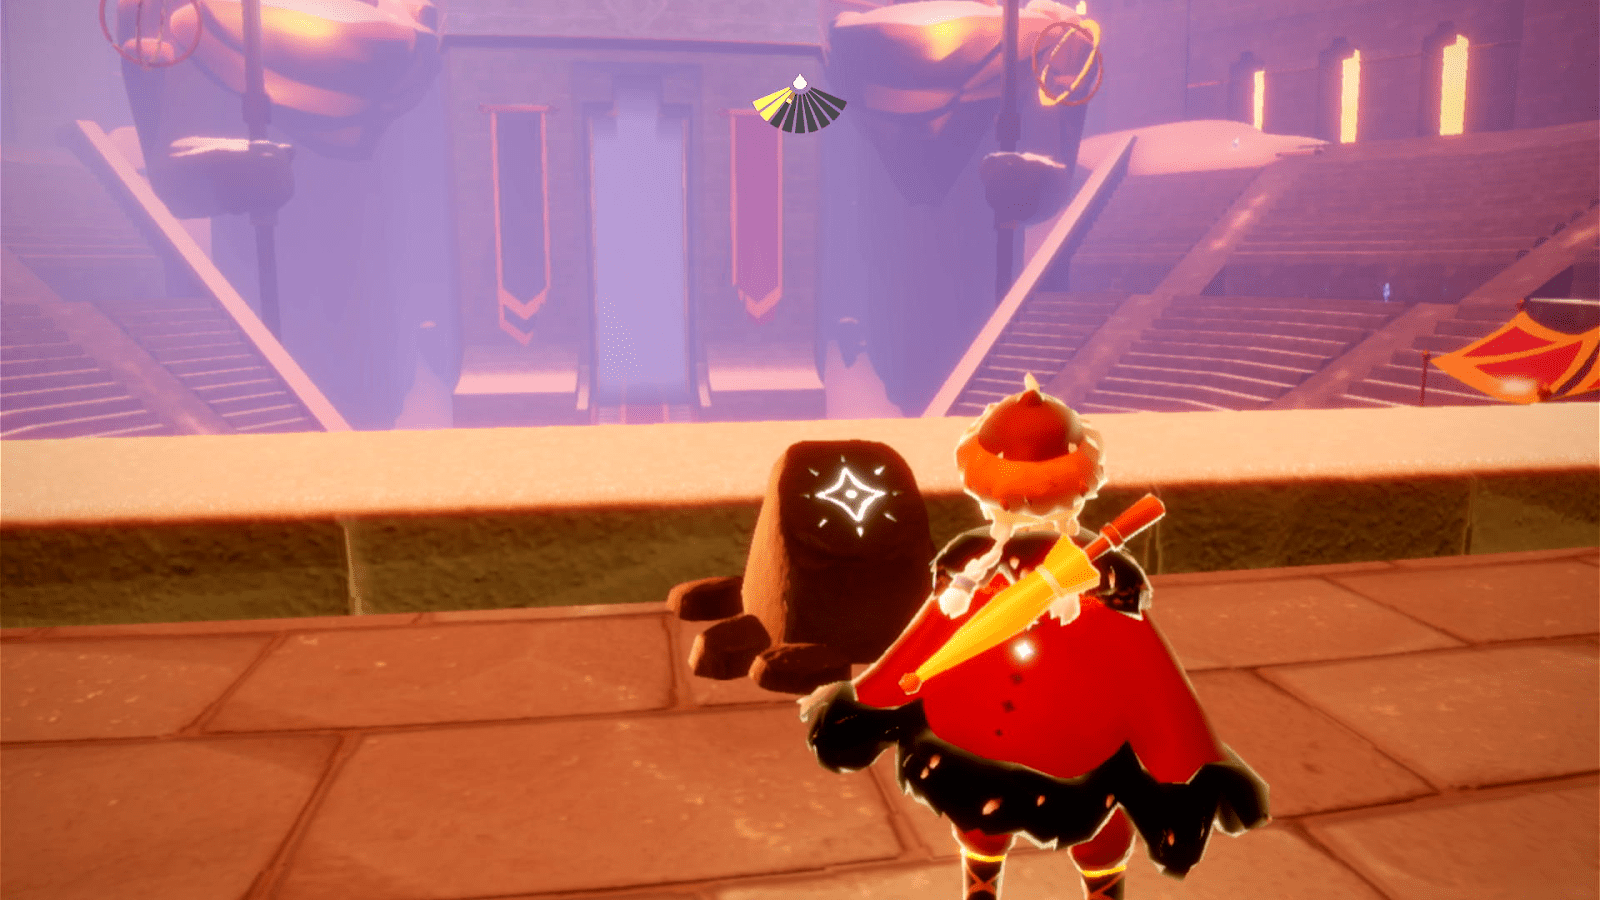
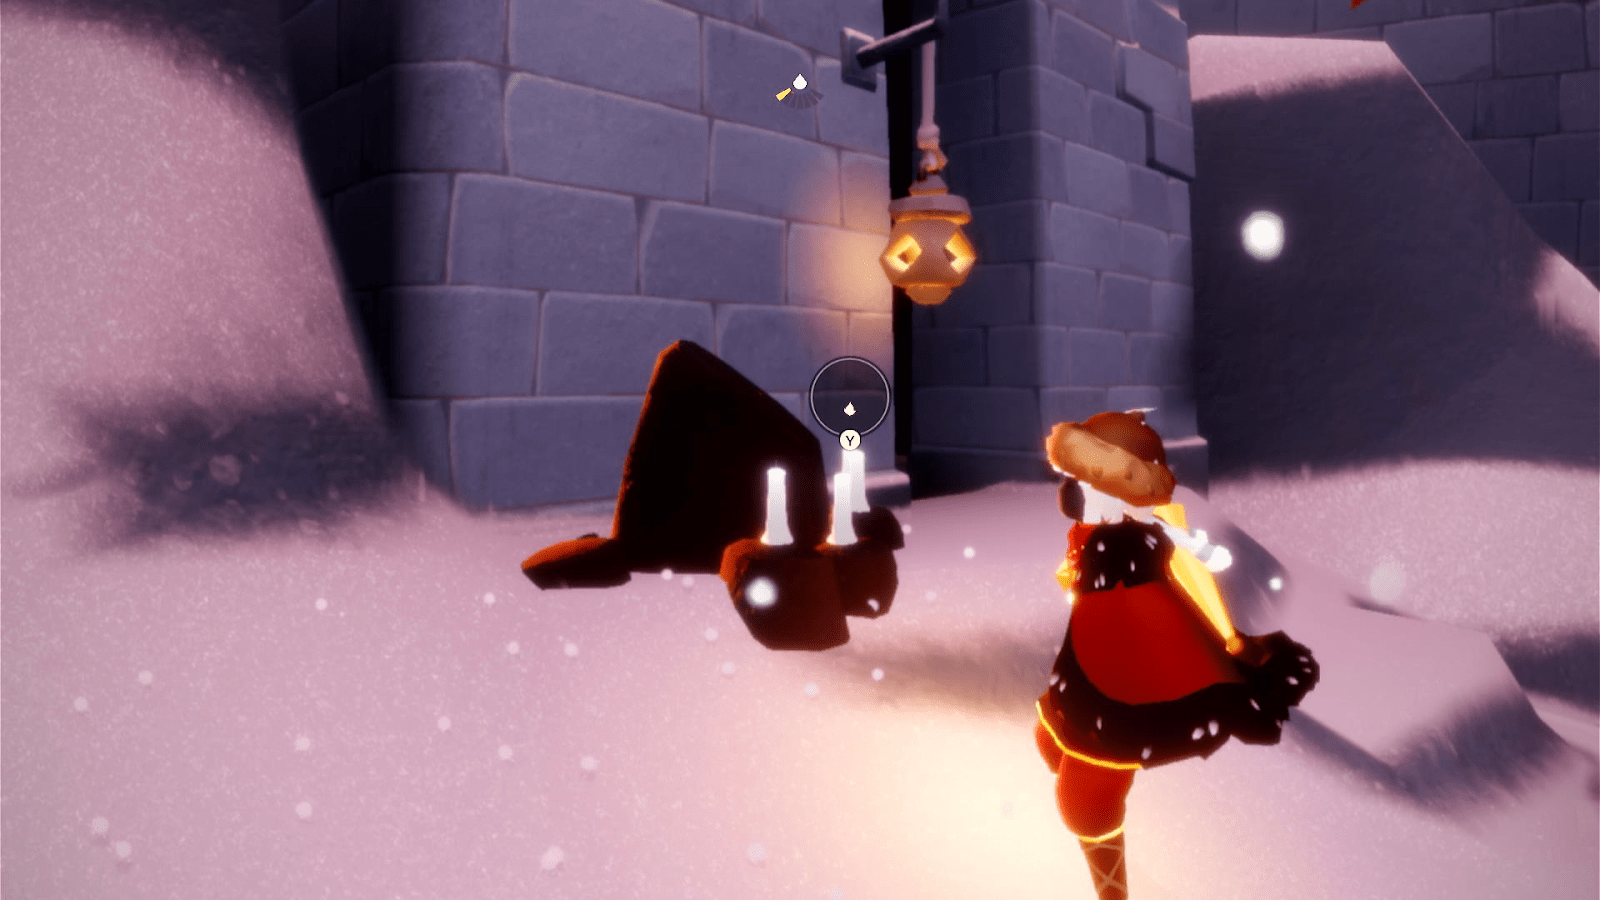
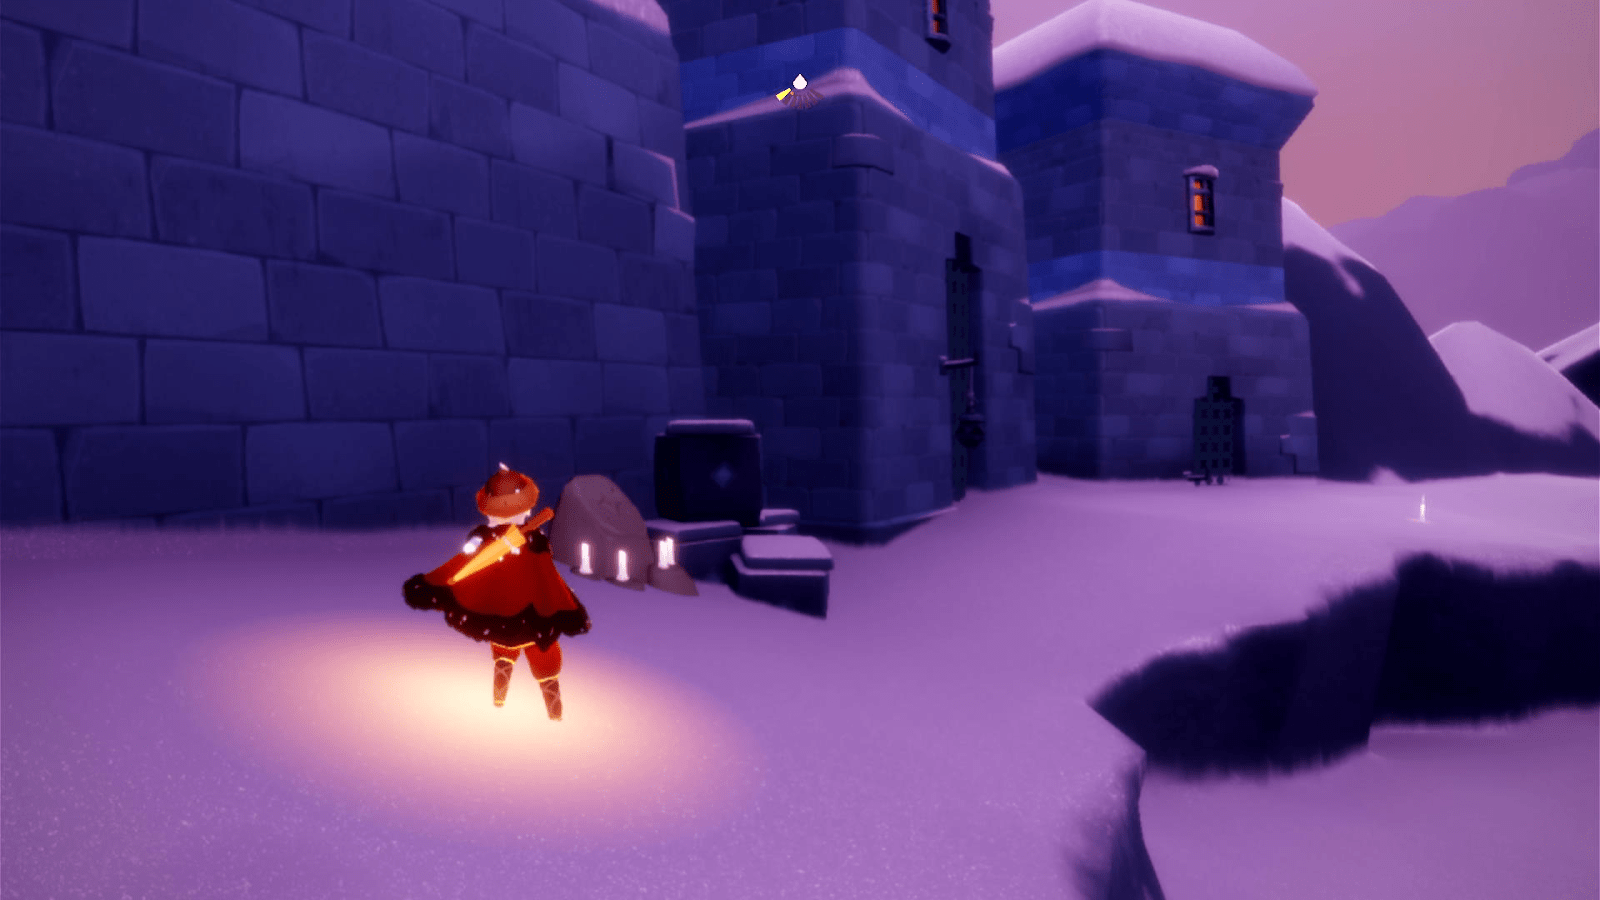
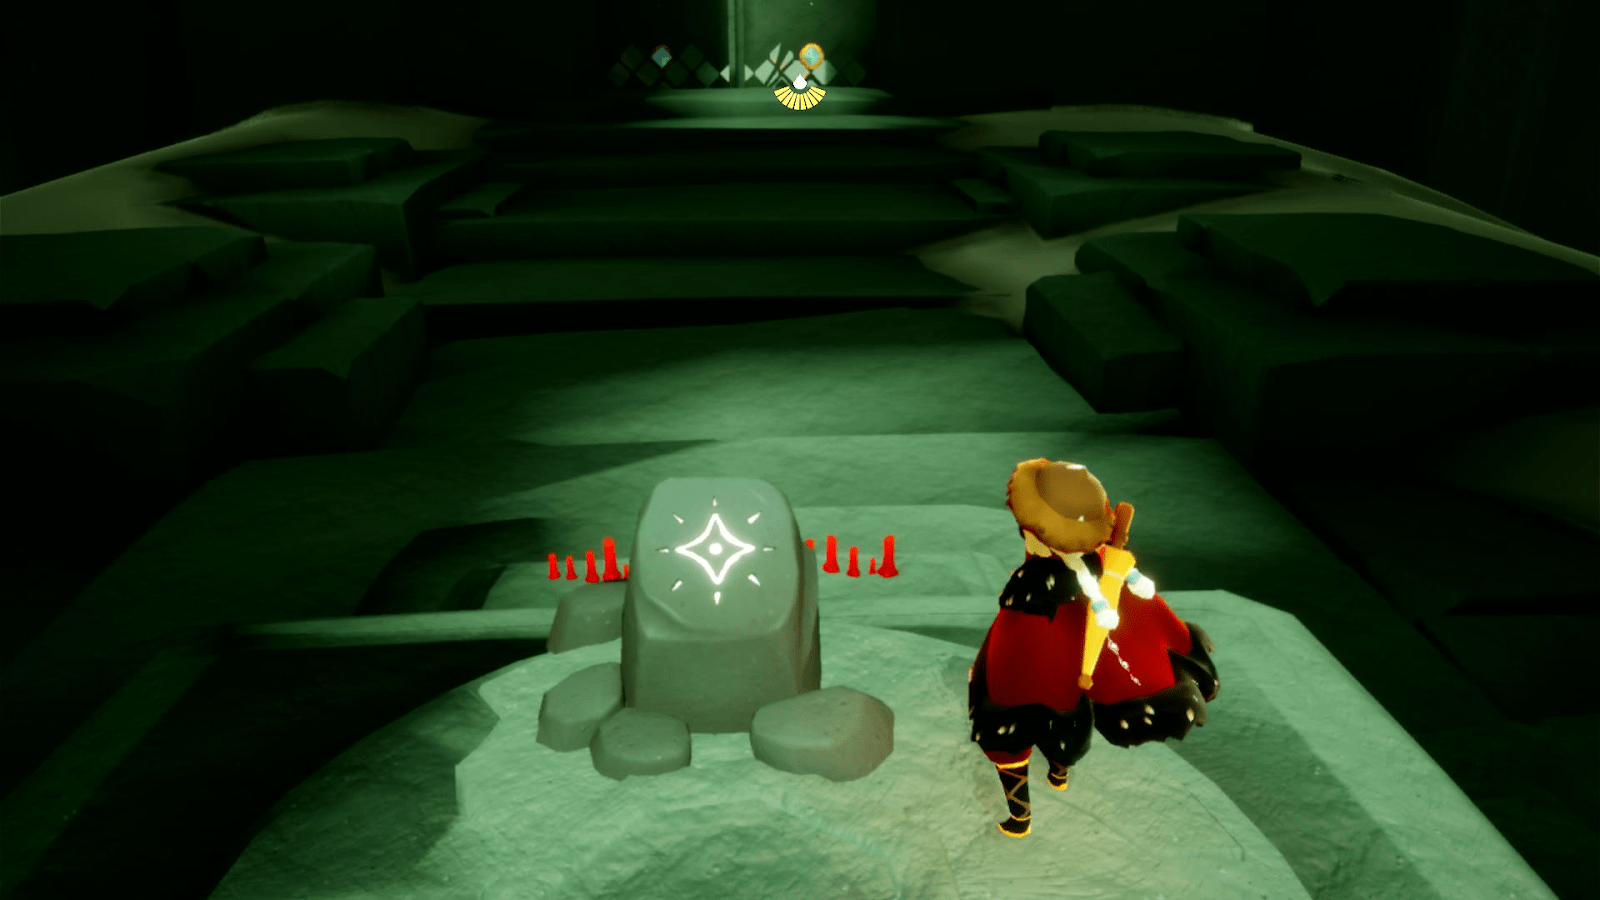
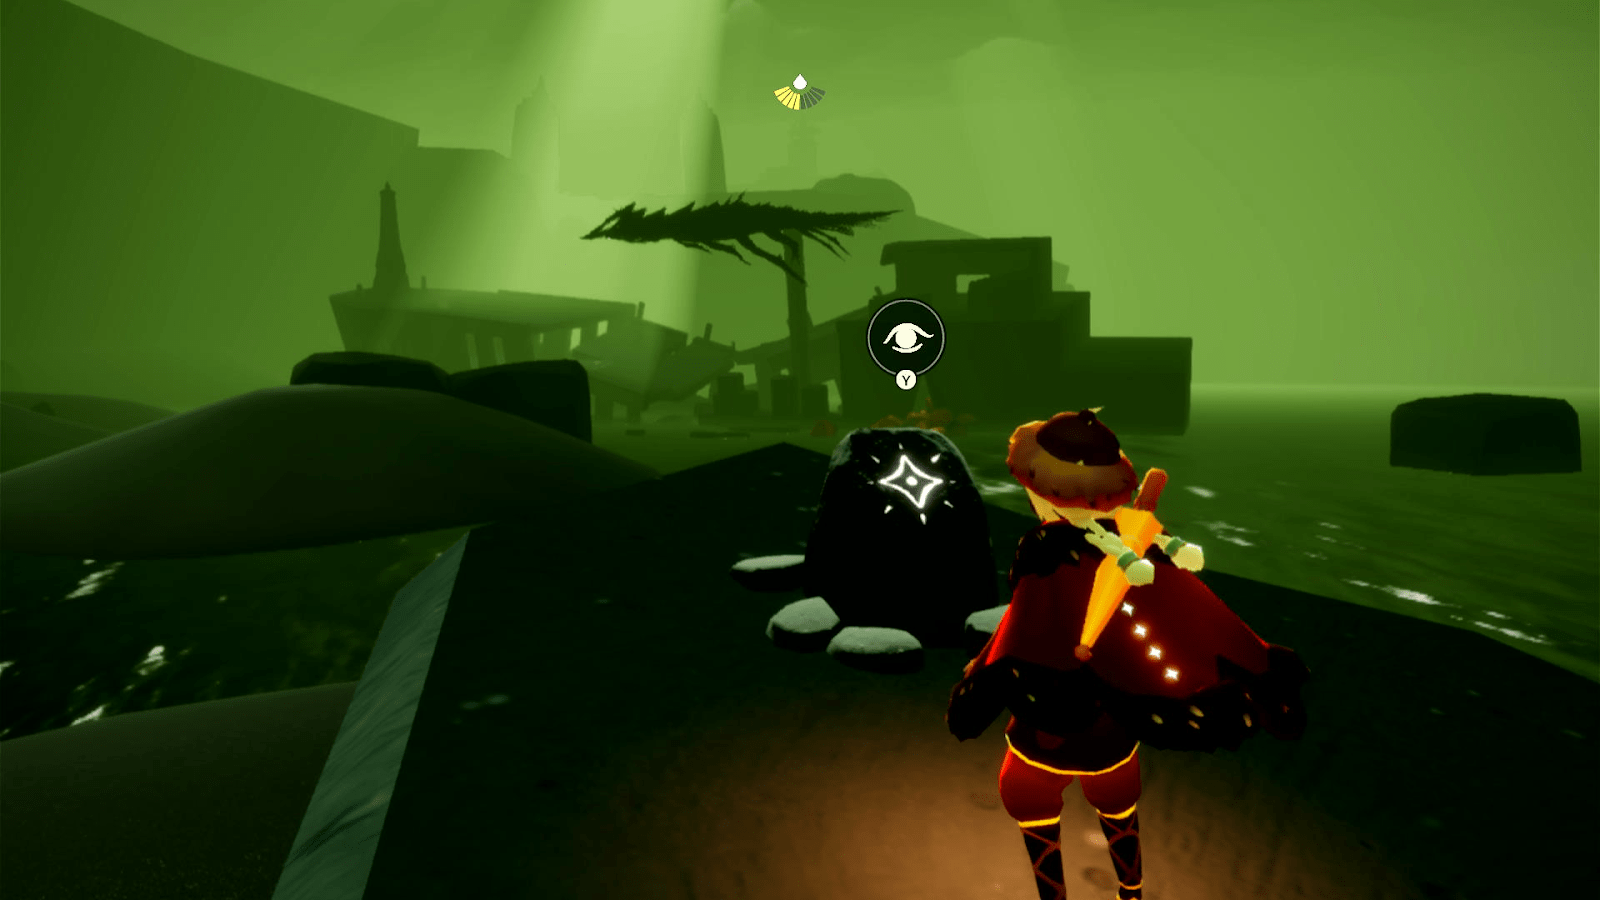
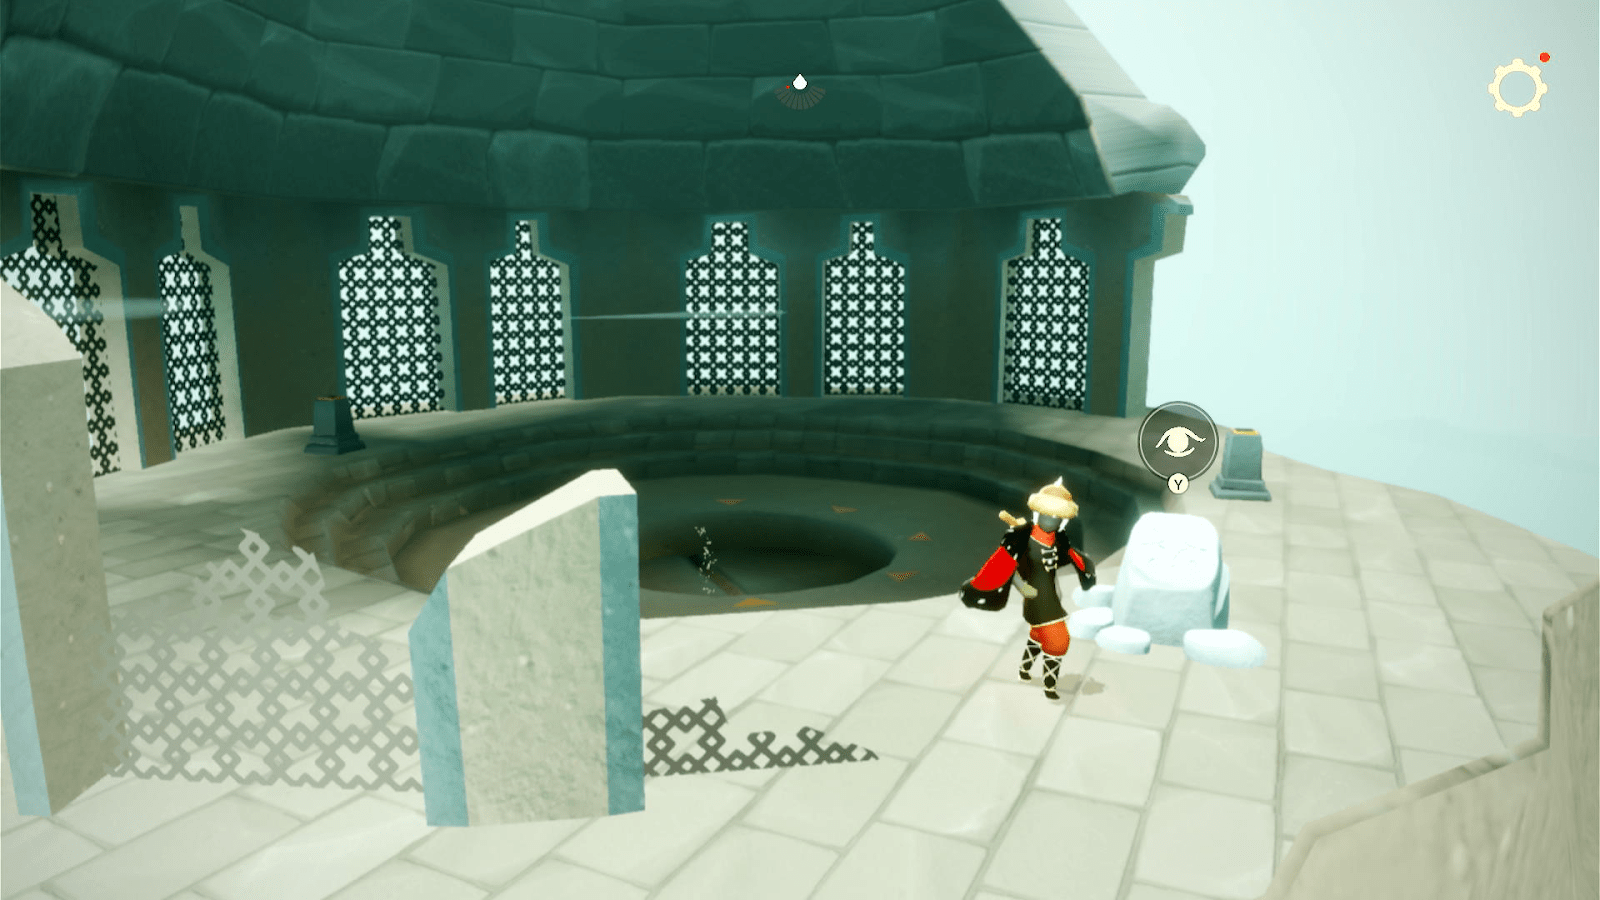
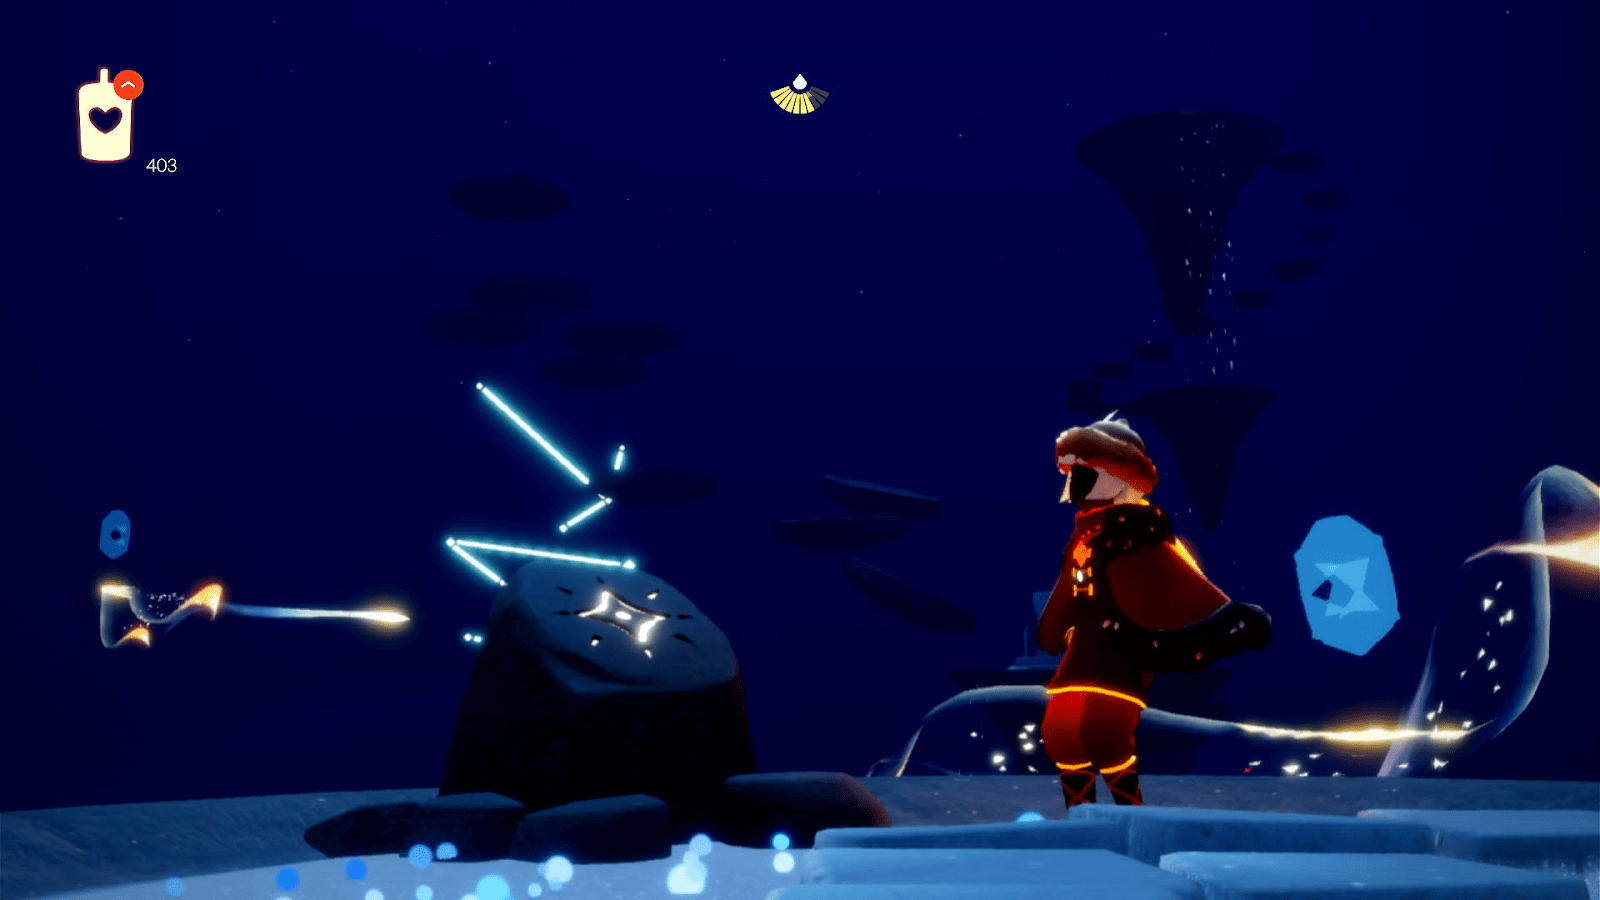
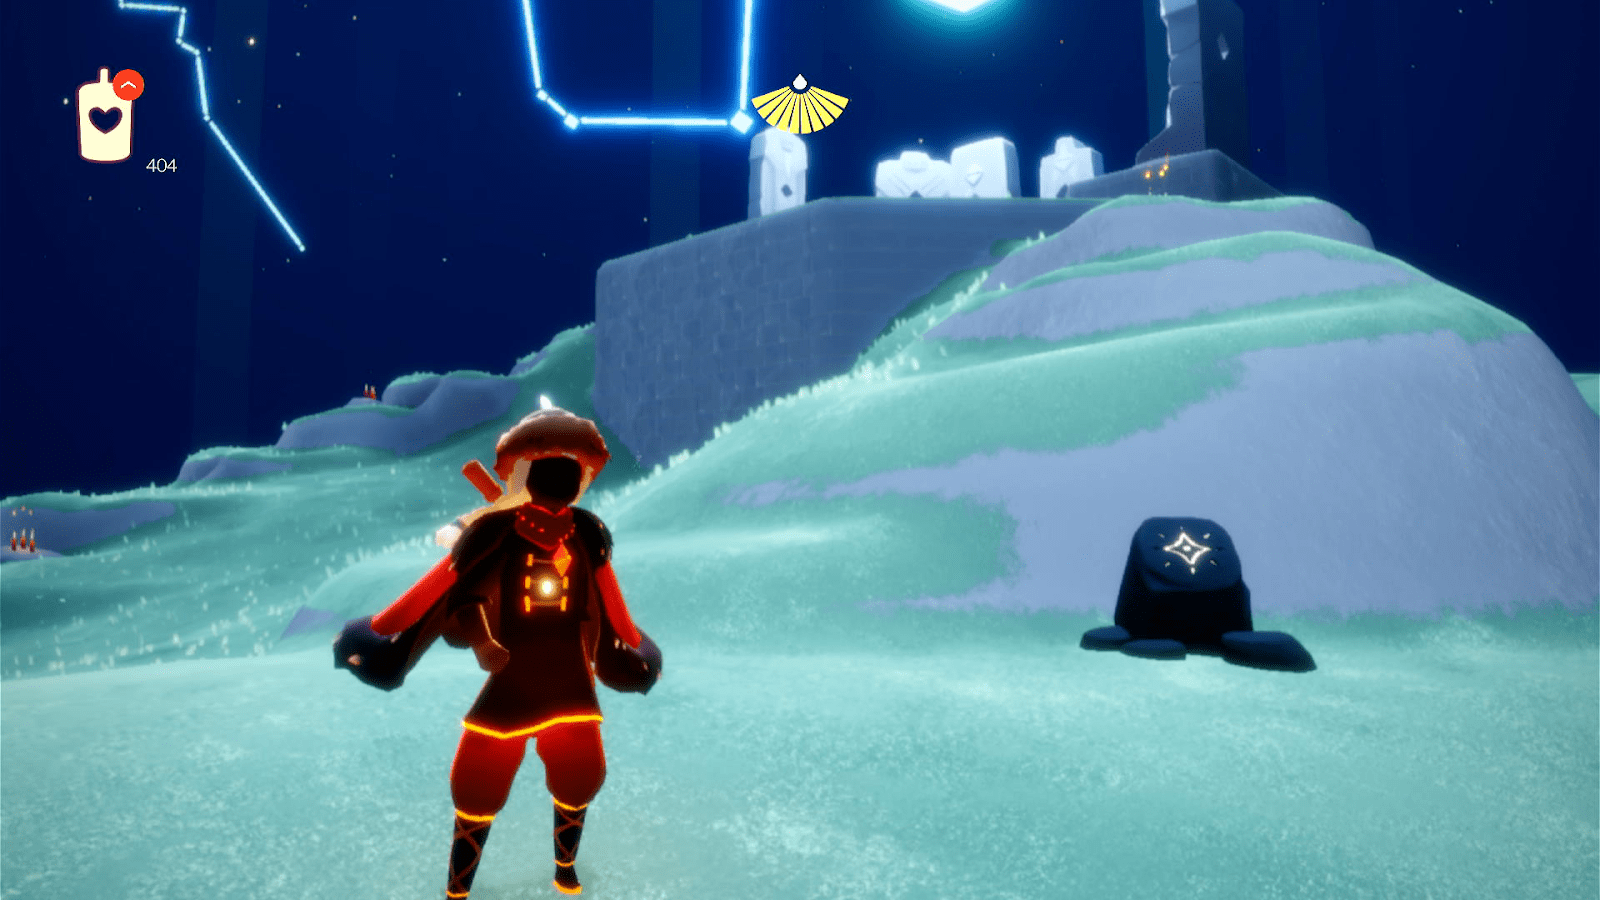
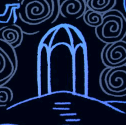
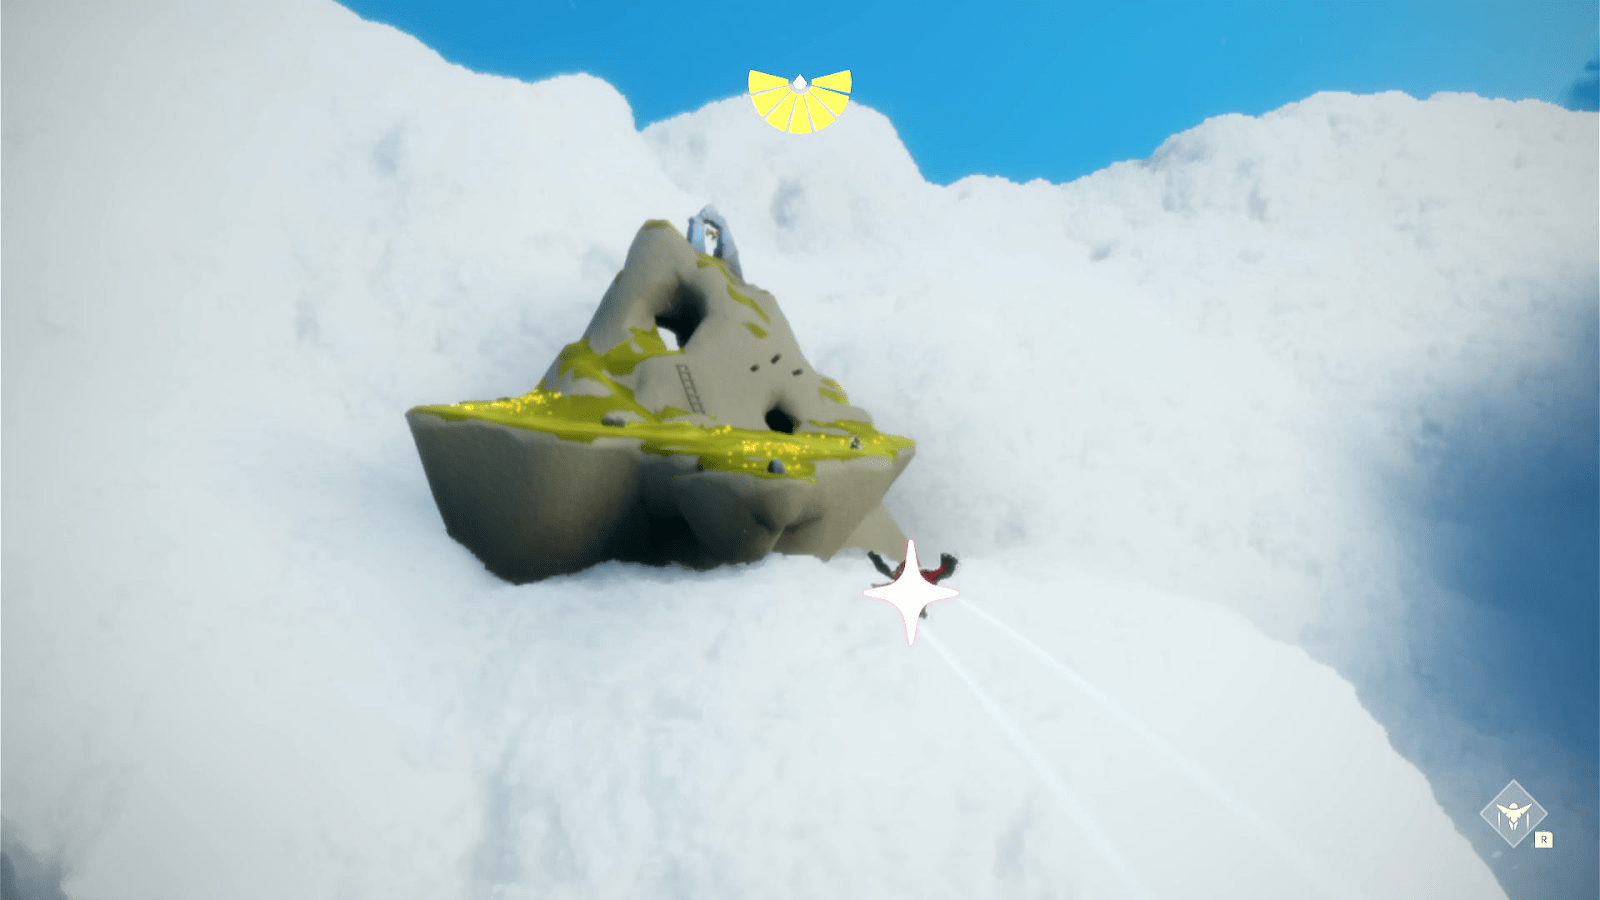
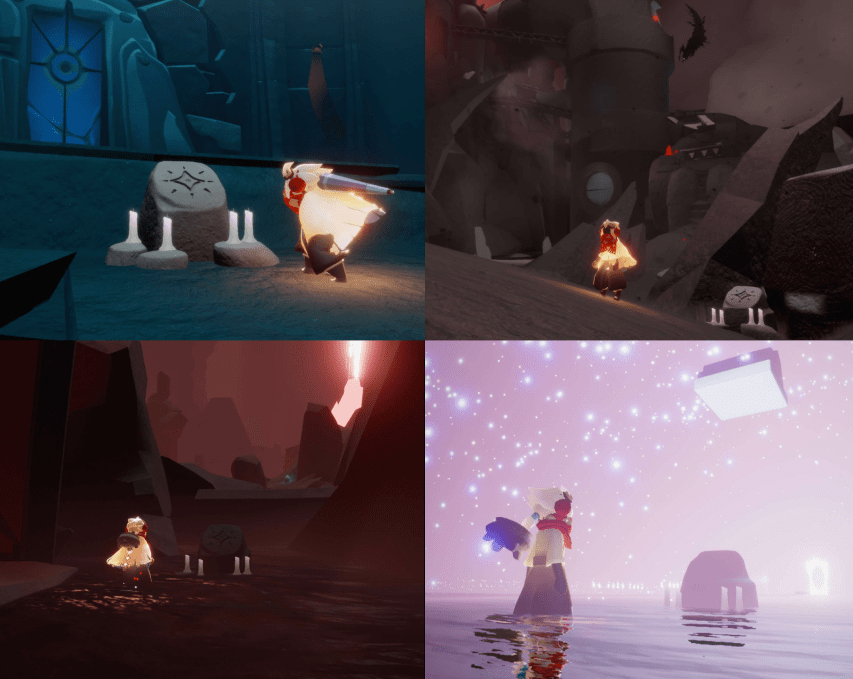
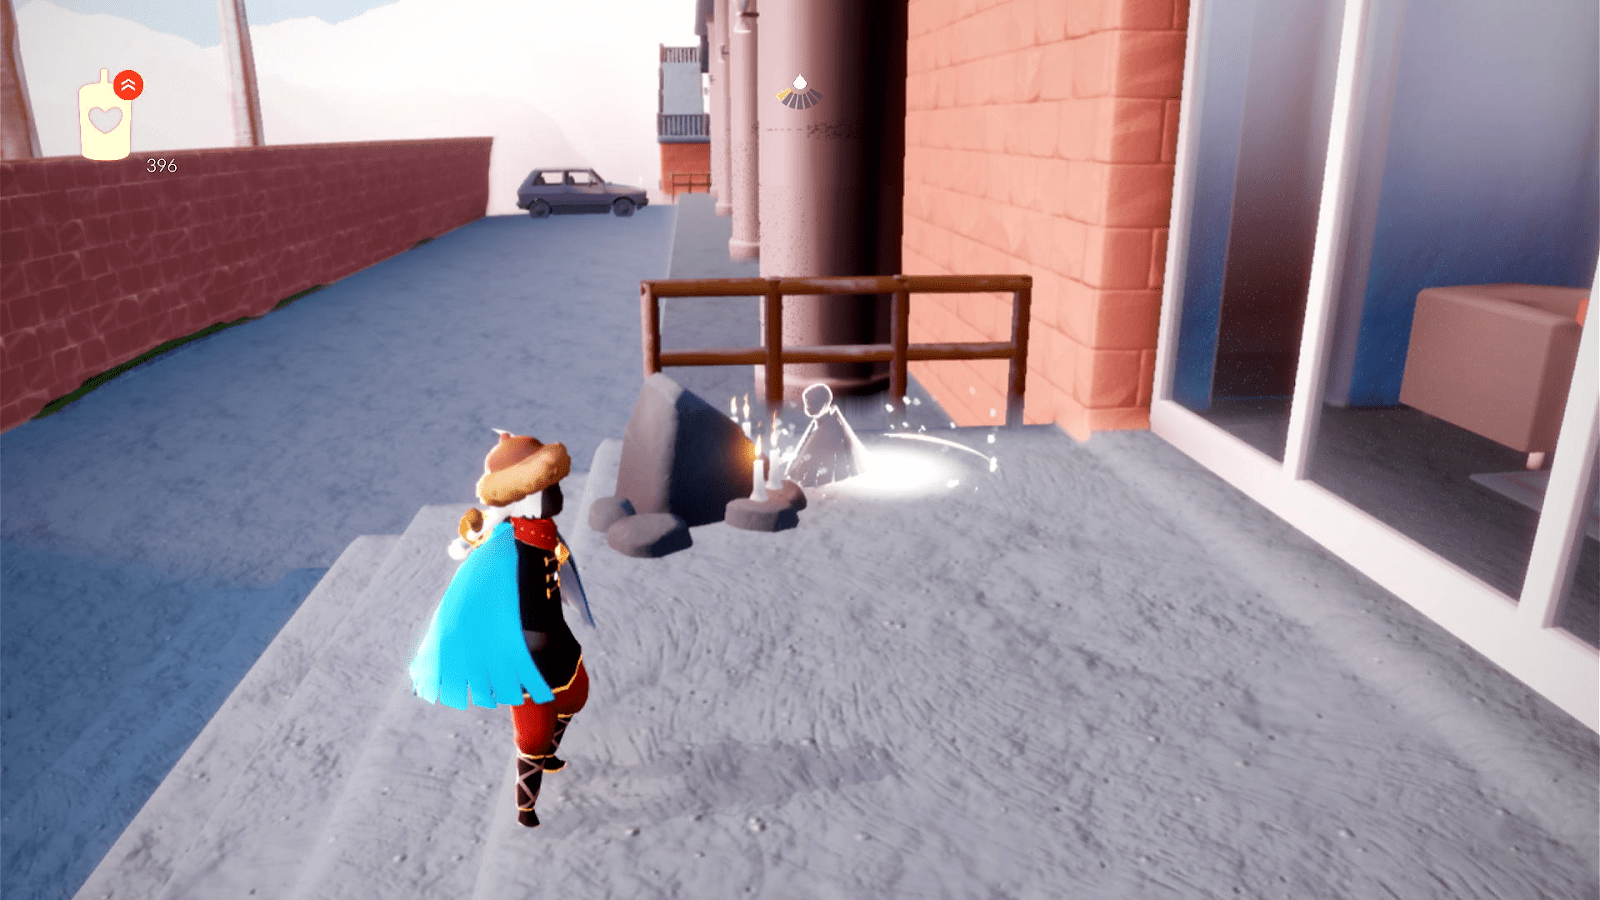
A visual of what the tiny shrines look like (they all have 4 candles in front of them to light):
Maps
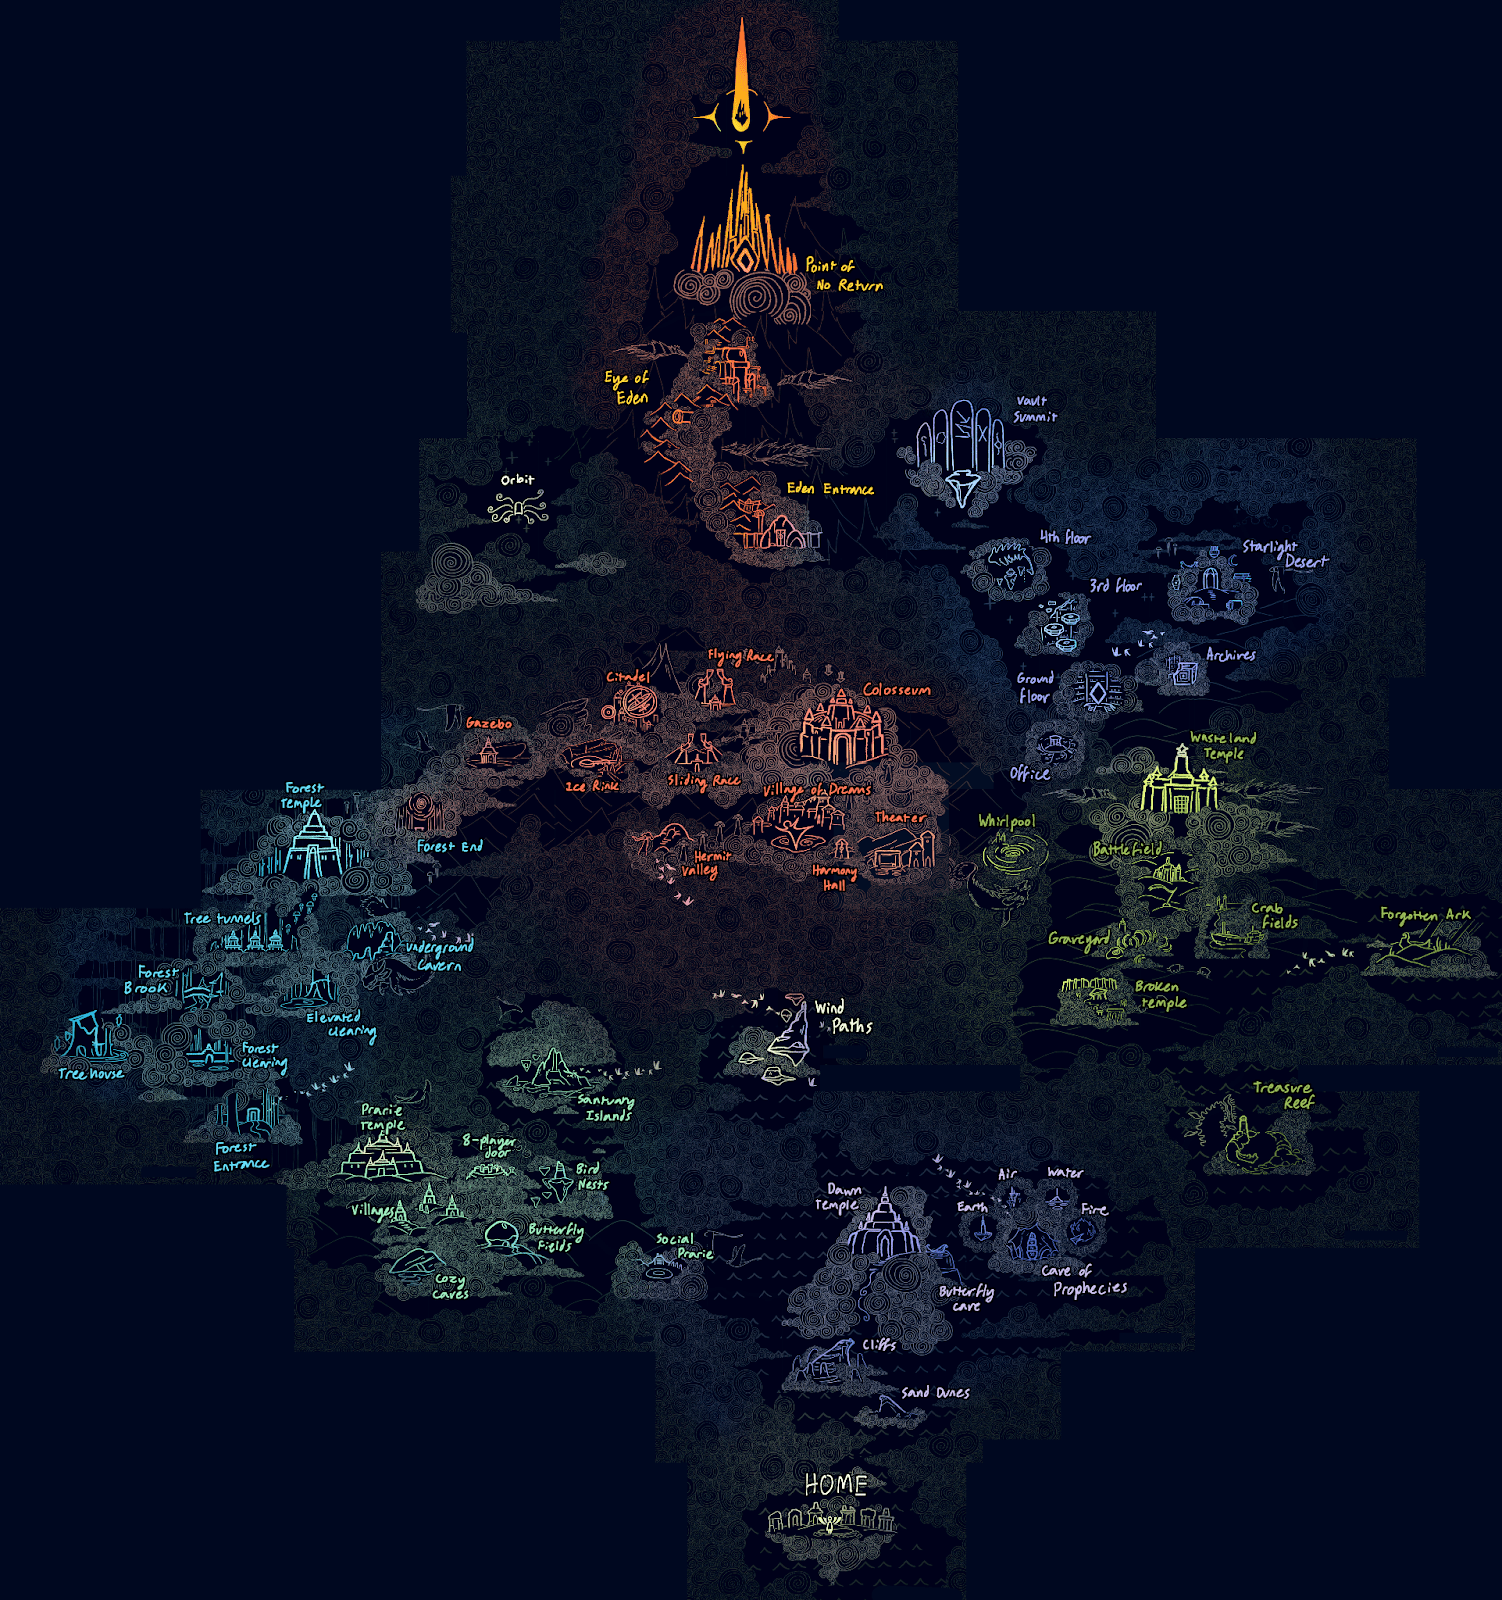
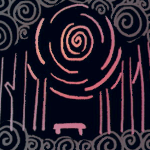
Map with Area Names
Click to enlarge…
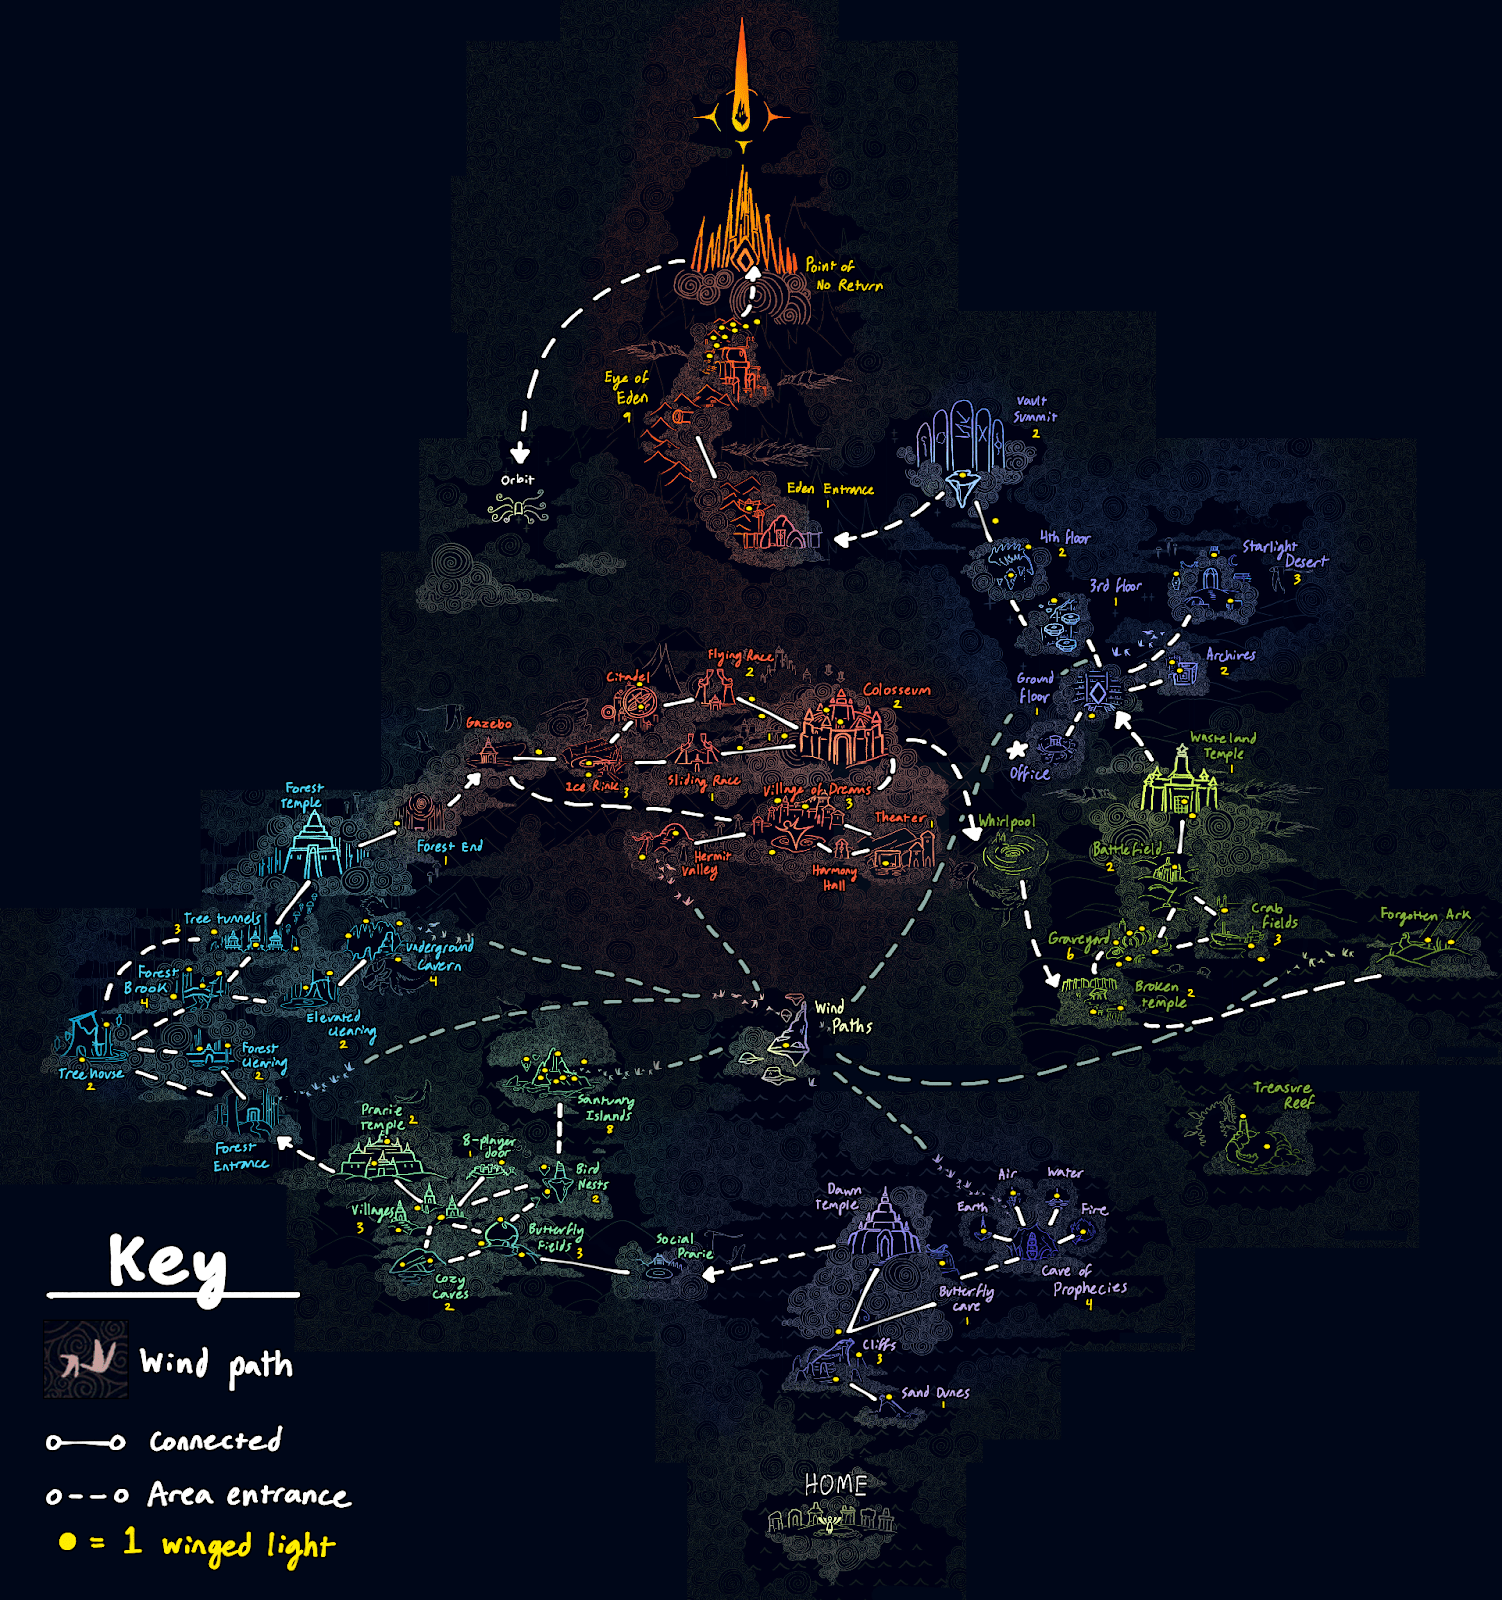
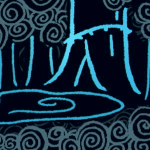
Map with Area Names and General Key (Winged Light Included)
Click to enlarge…
Isle of Dawn
Sand Dunes
Found after the starting cave and the first boat, atop the small cliffside.

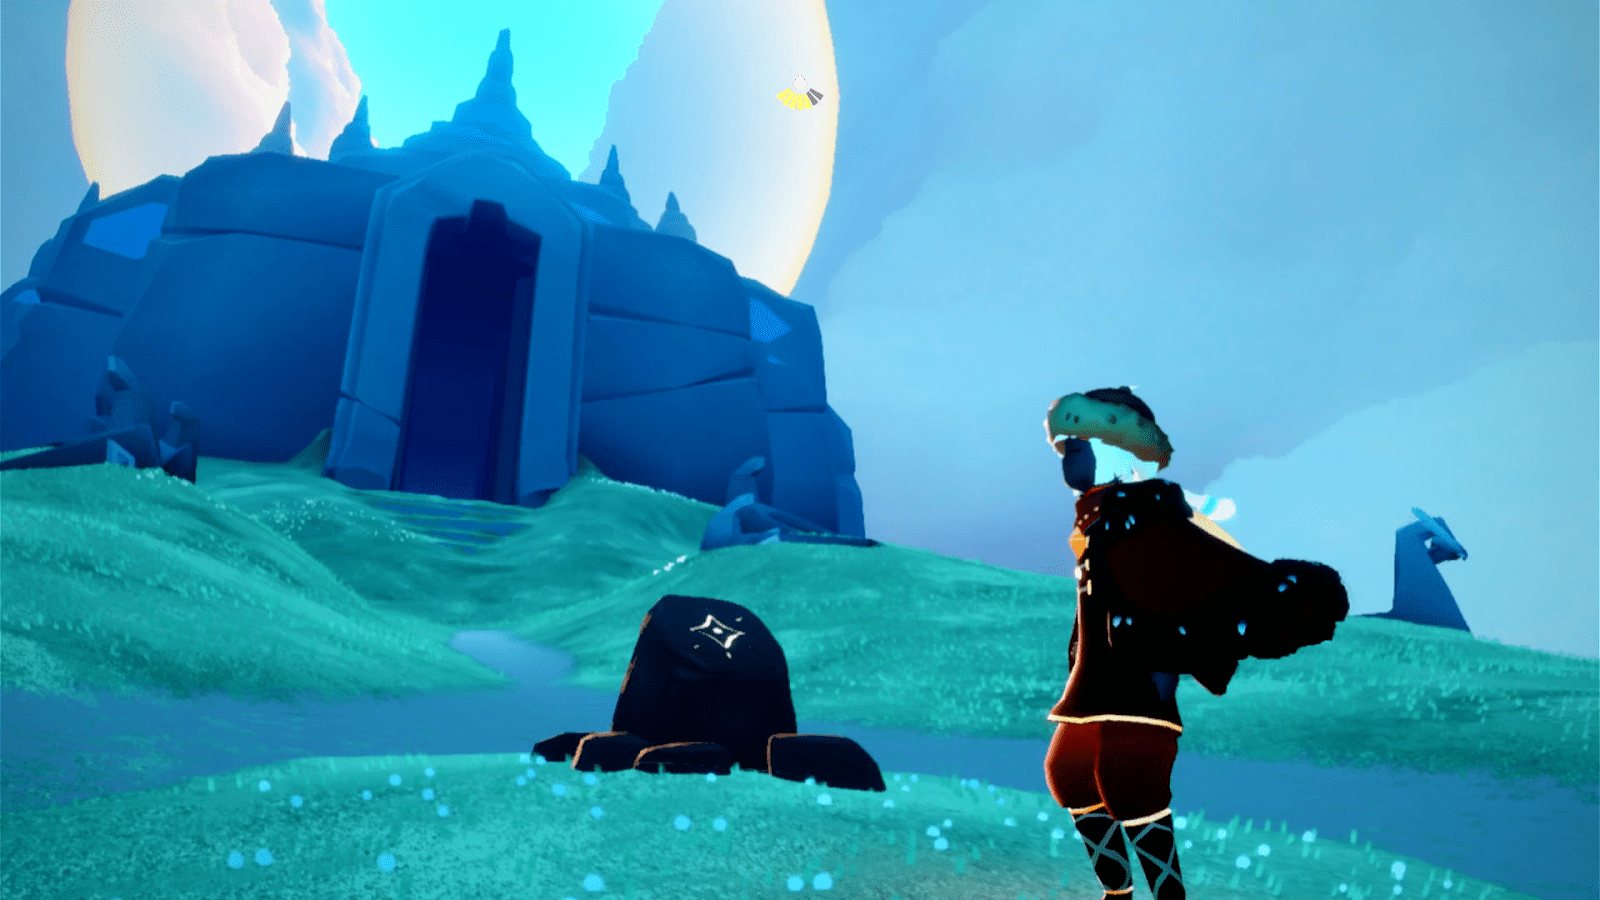
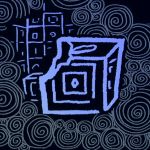
Atop the giant rock casted on by a shadow.
Butterfly Isle (Top Right of Isle of Dawn)
At the very top of the floating island.
Along the path of the temple.
Prophecy Cave
On the left from when you first enter the main hub of the cave.
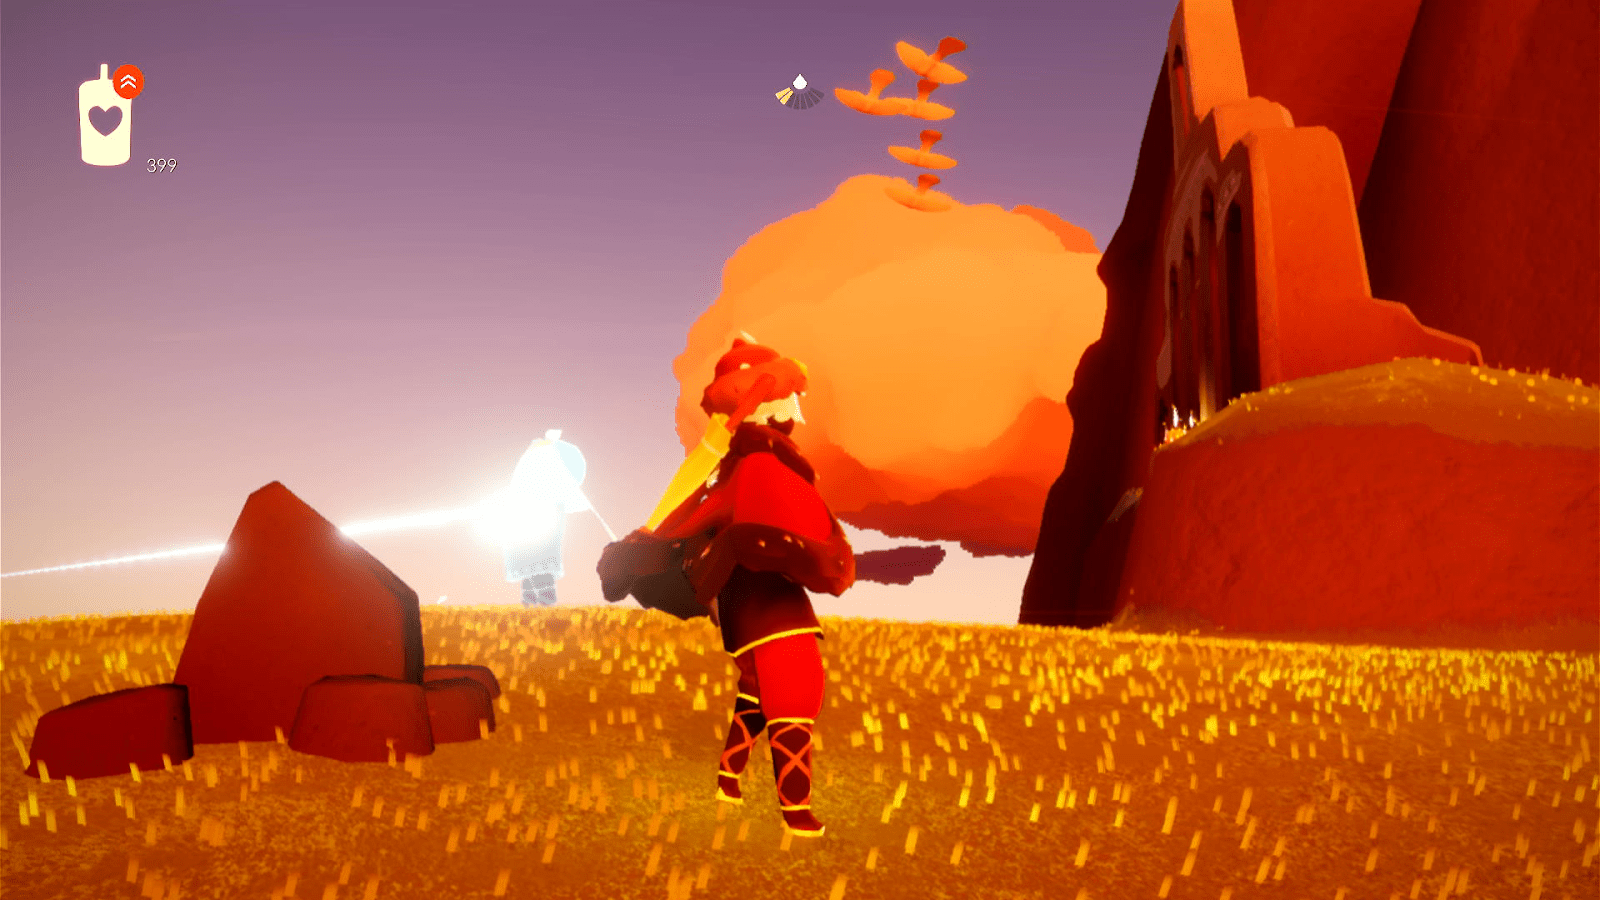
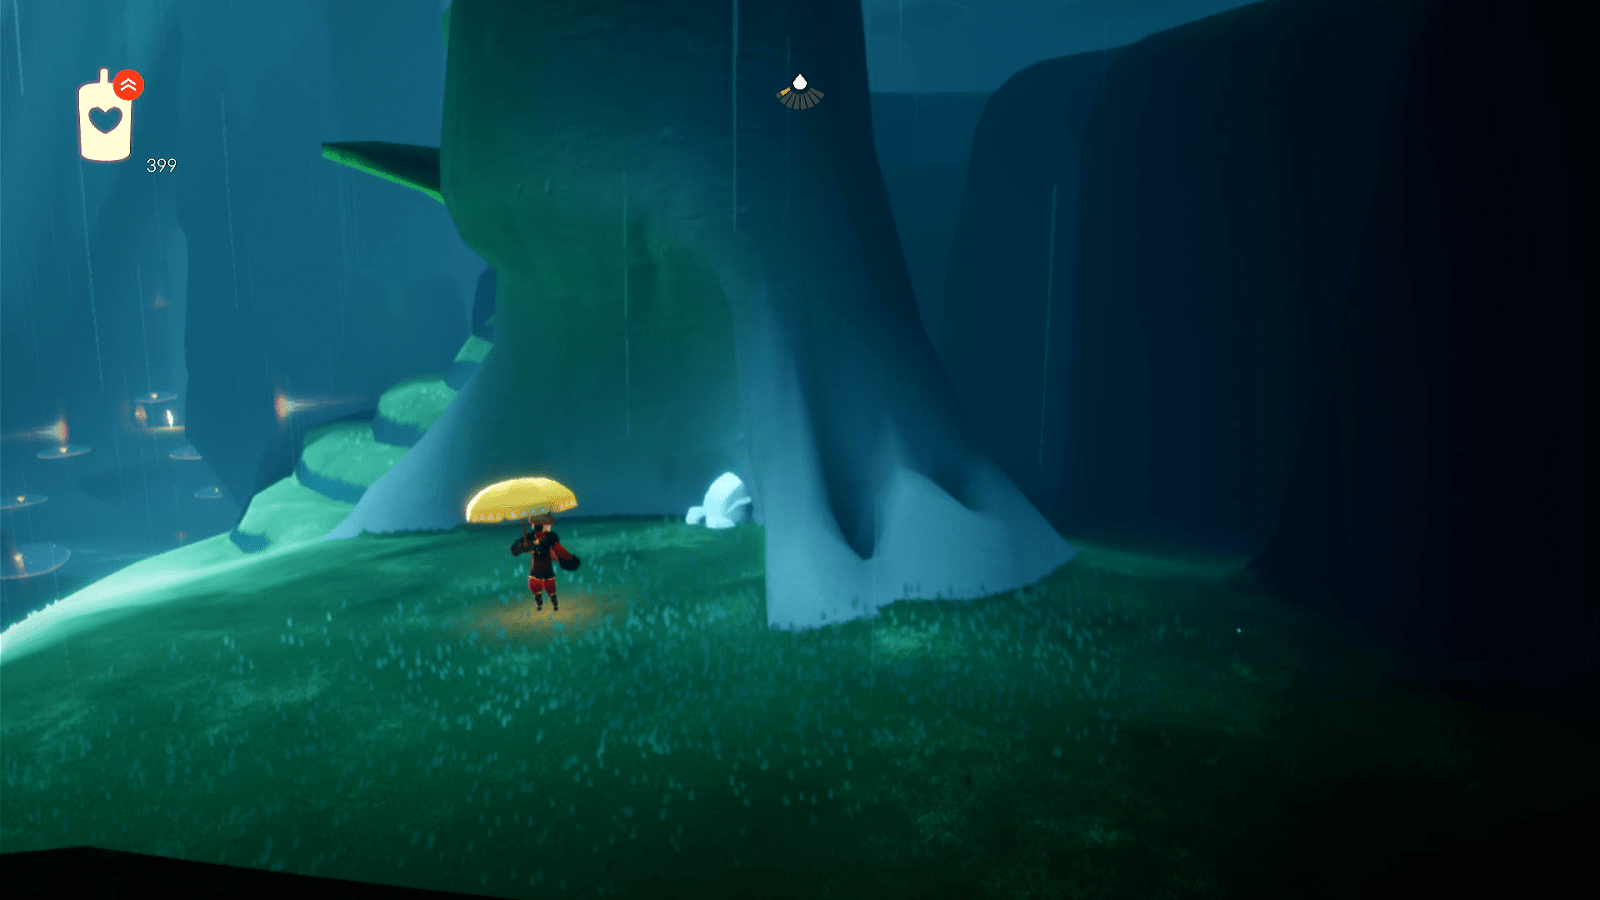
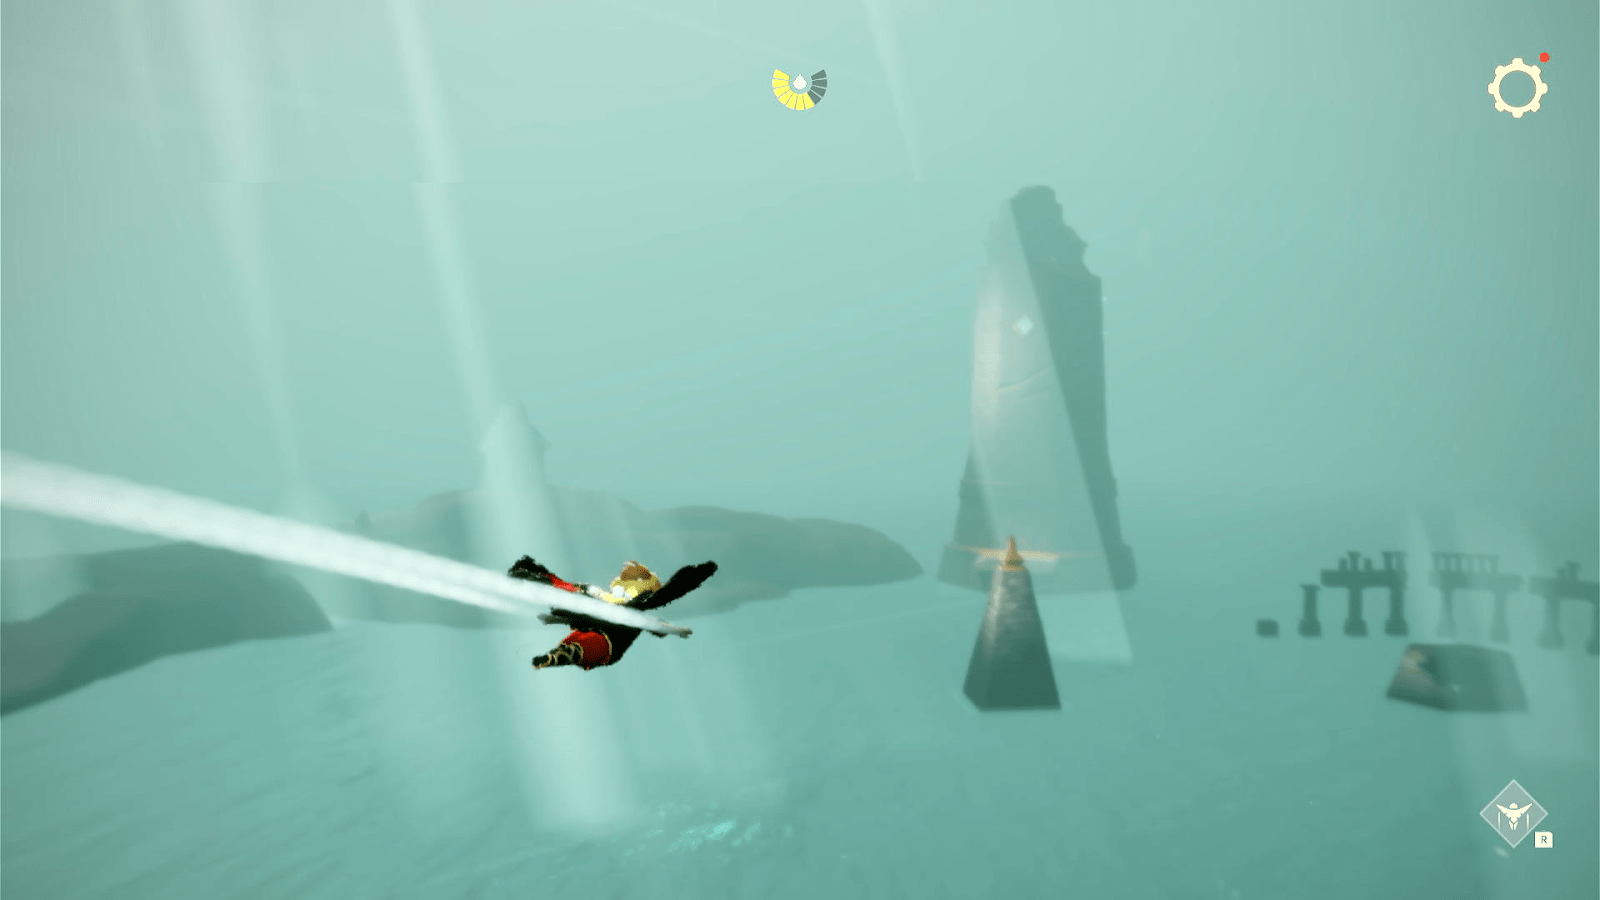
Water Trial
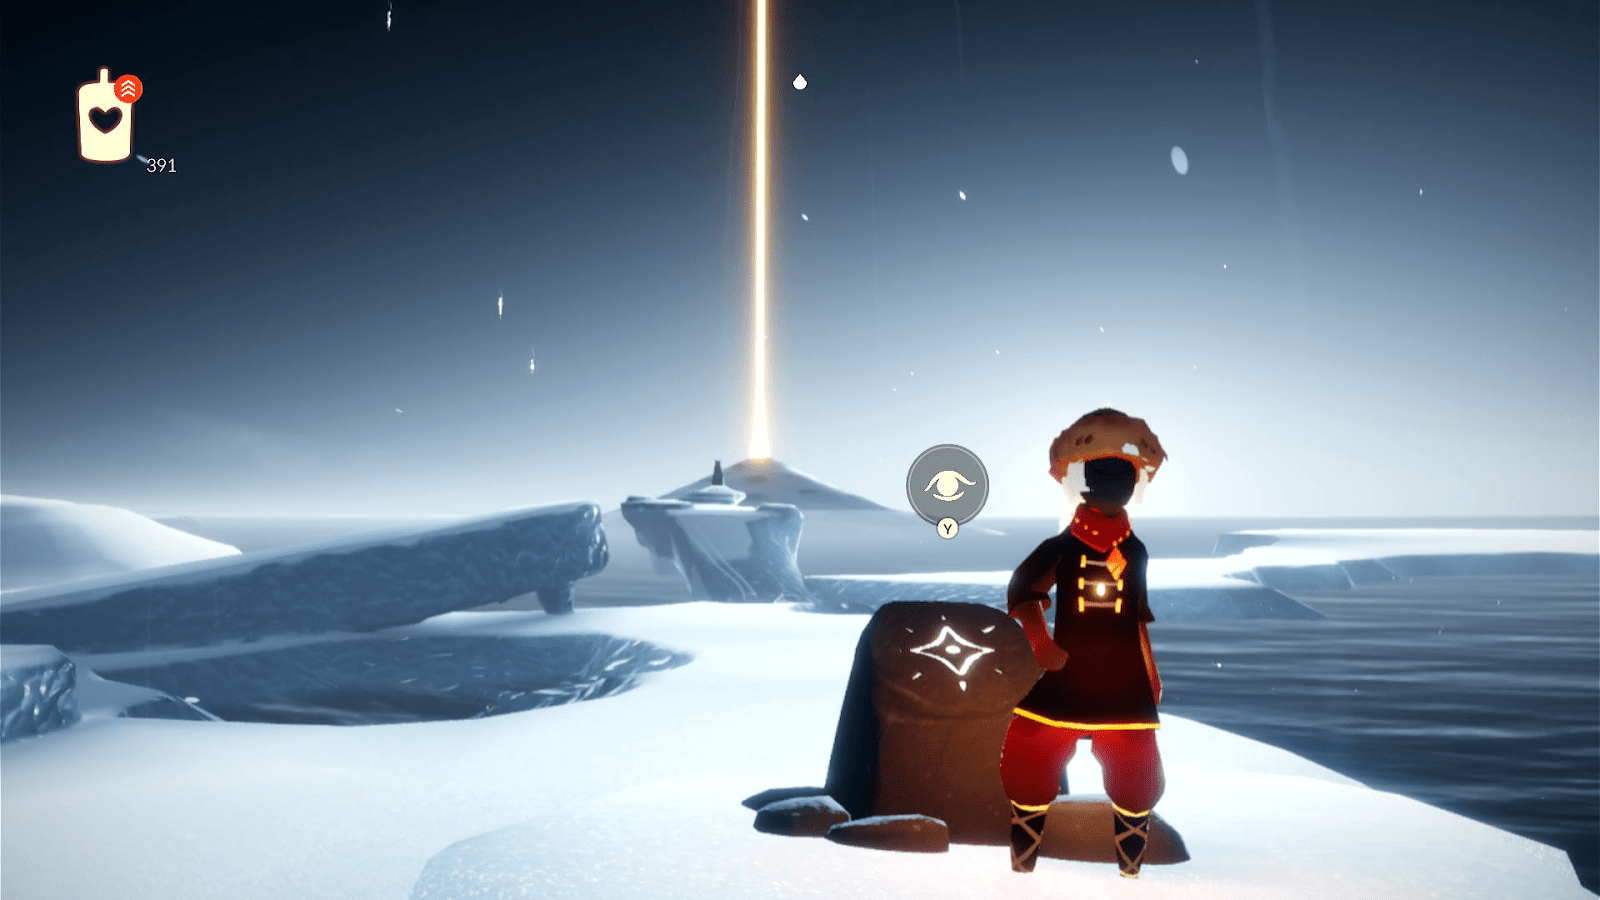
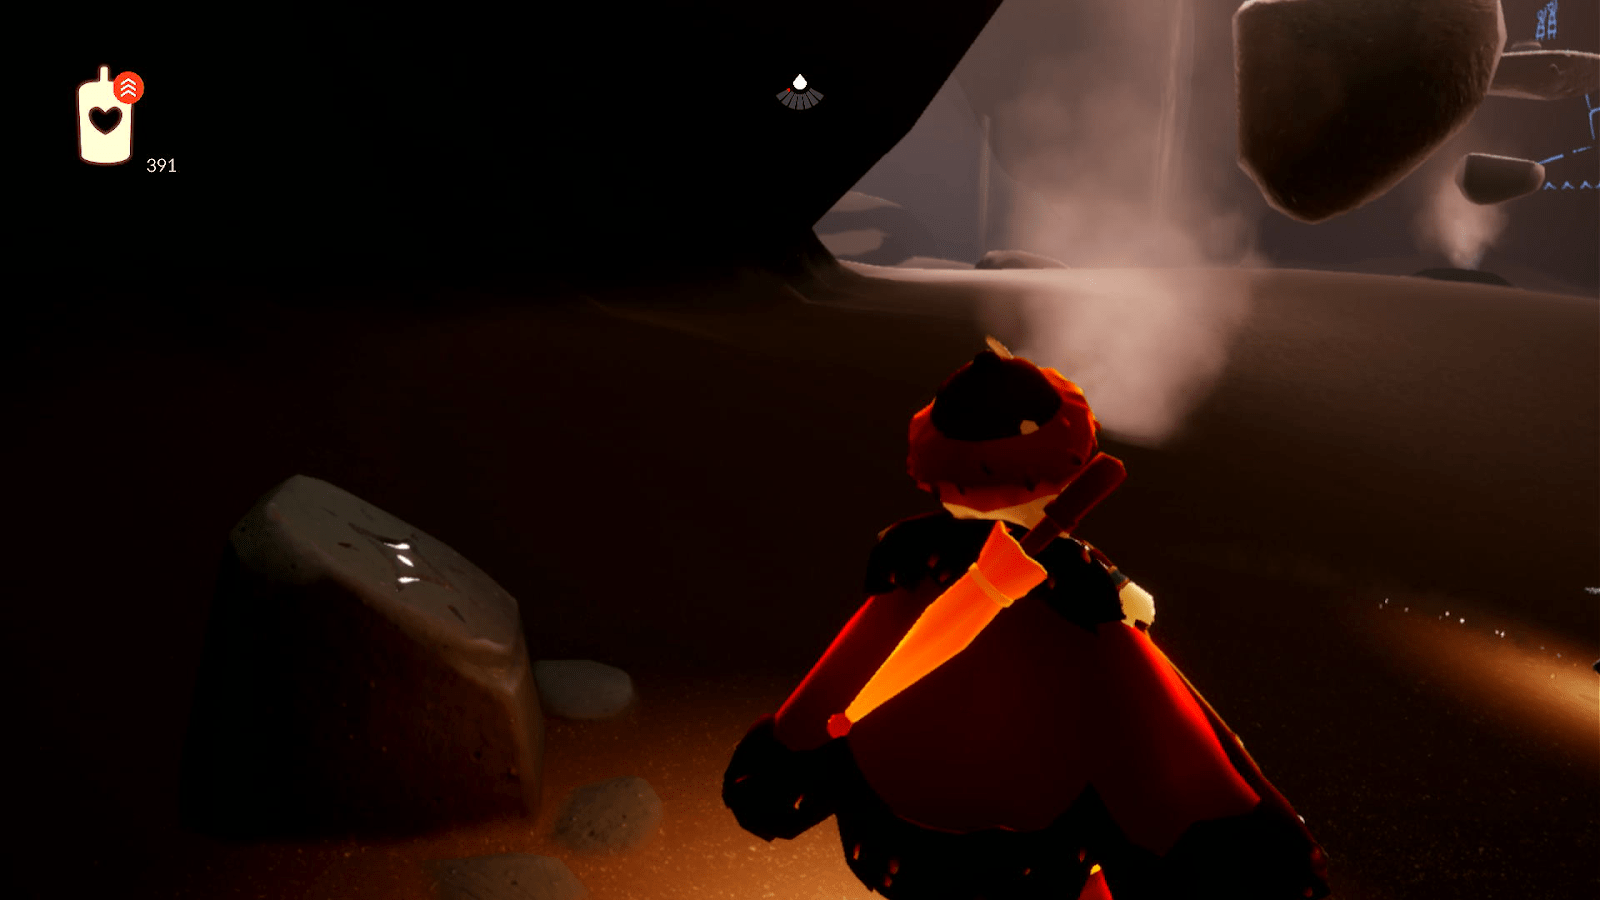
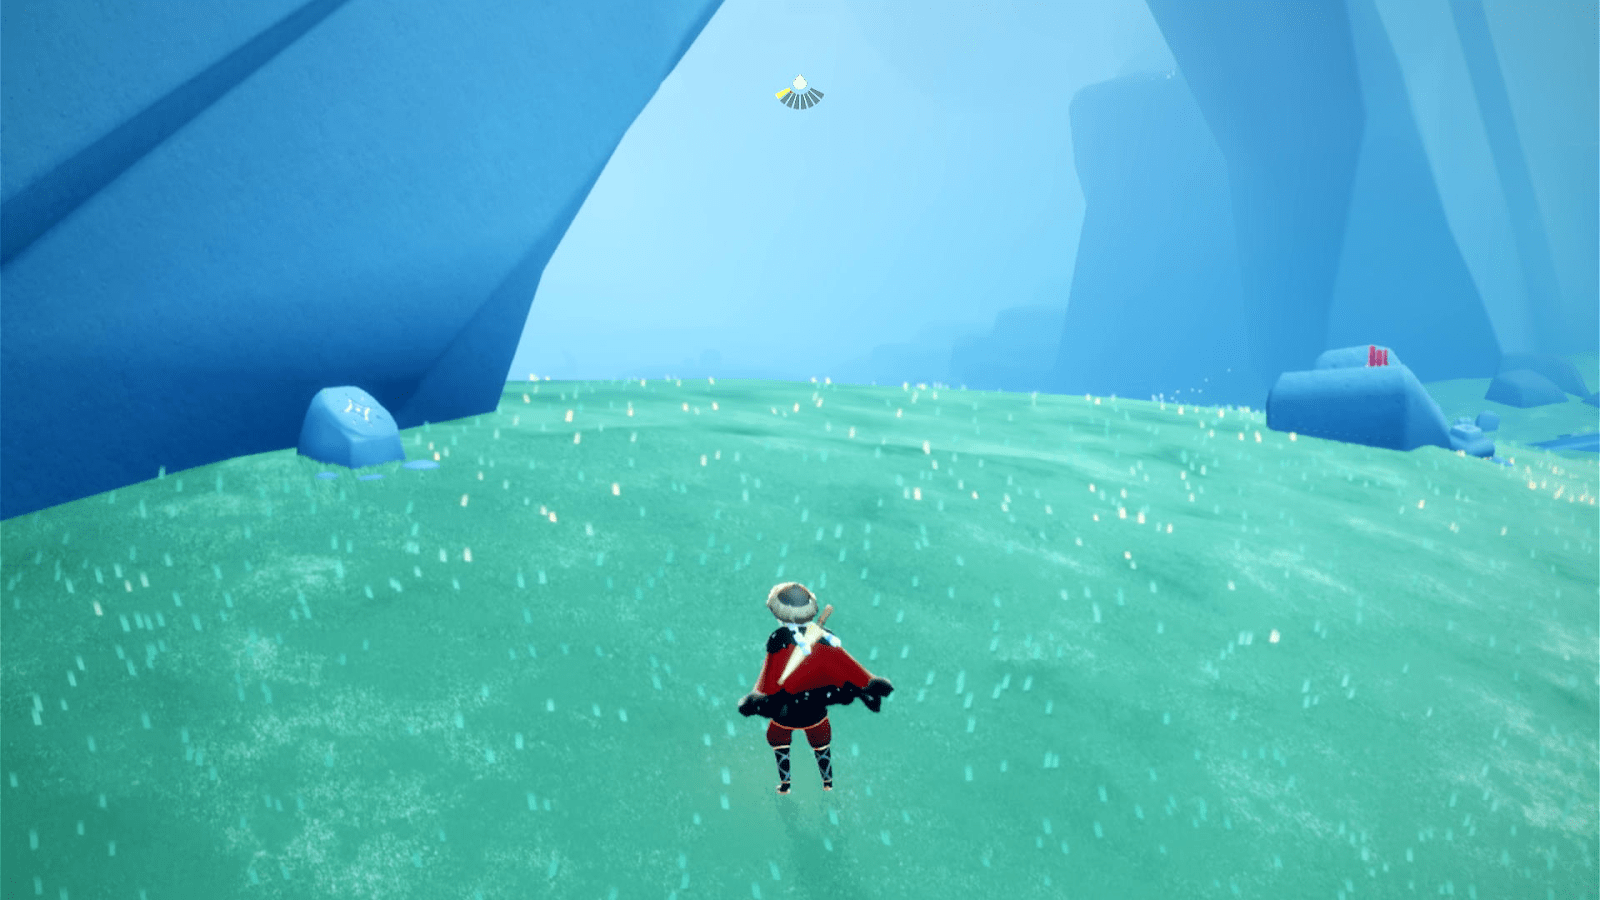
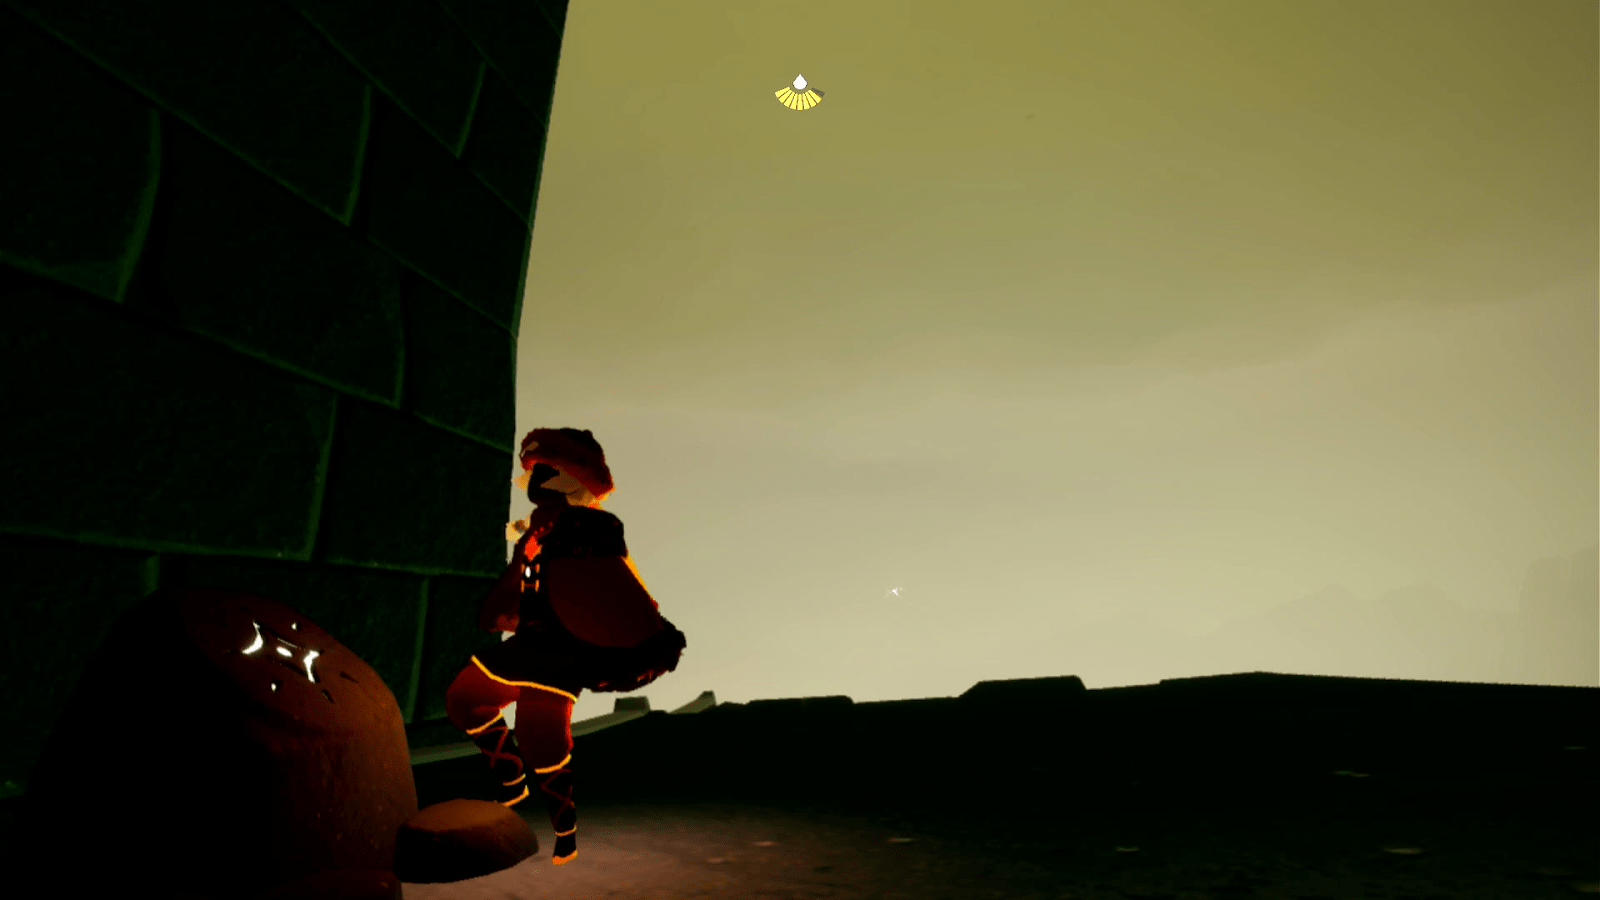
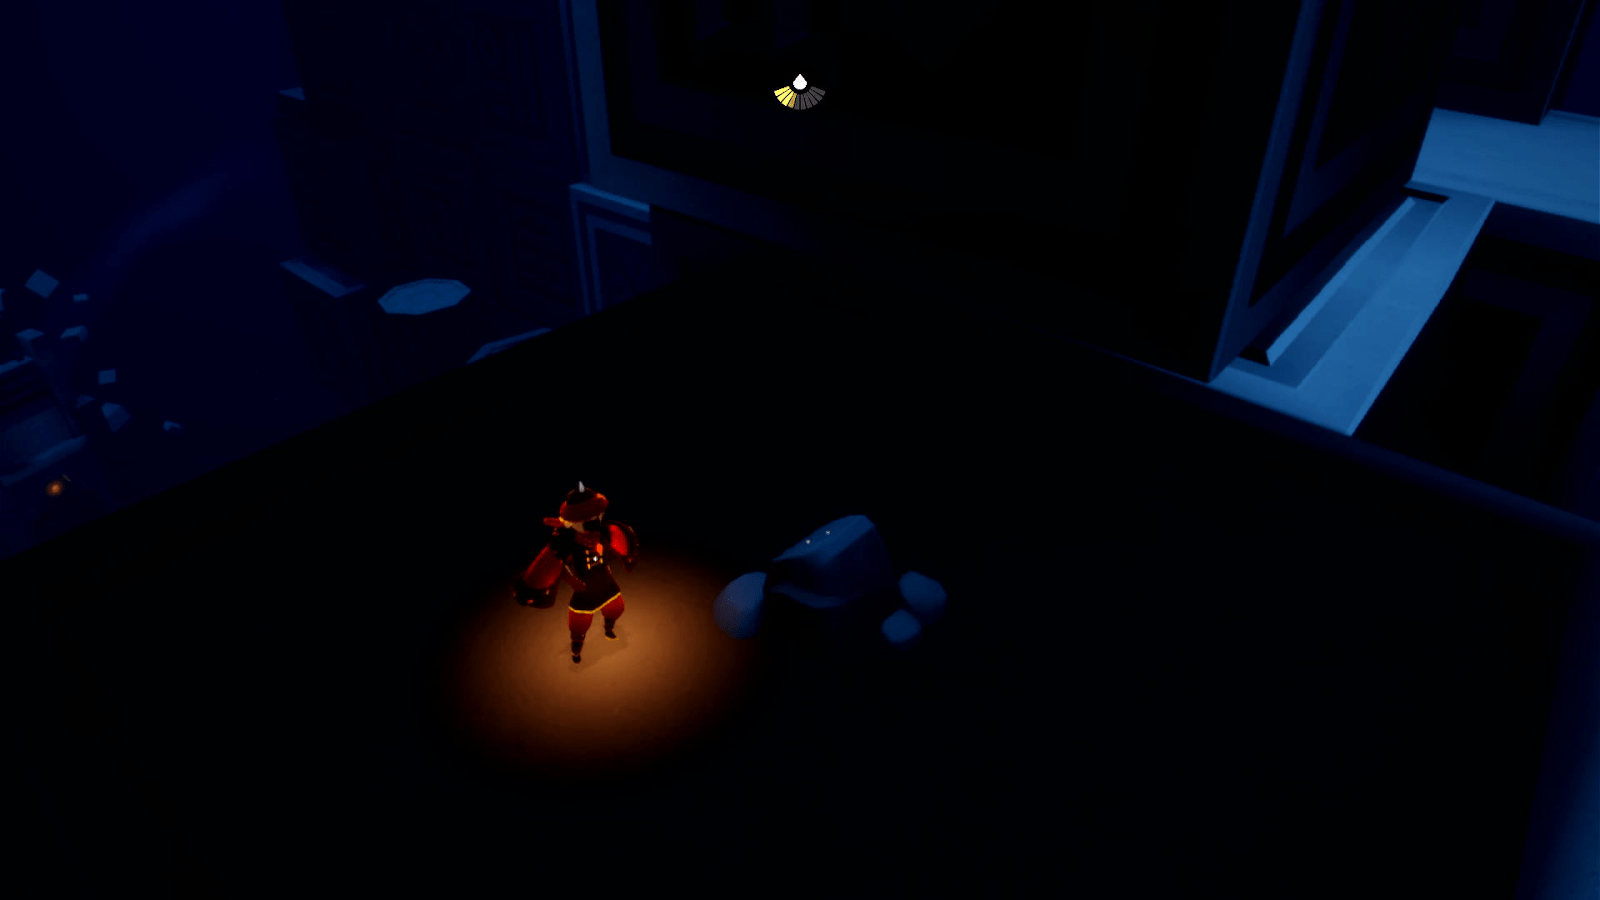
Can be obtained after meditating and becoming invincible, or reached from the last ice pillar (seen behind me in this pic) with good timing.
Earth Trial
Along the intended path, once you first reach the top of the maze
Air Trial
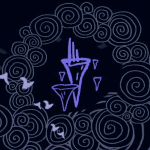
Atop an icicle toward the middle of the trial, must either be blown up to or jumped to from a higher point (though be careful of going too high unless you OOB spawn at the top cause you will respawn).
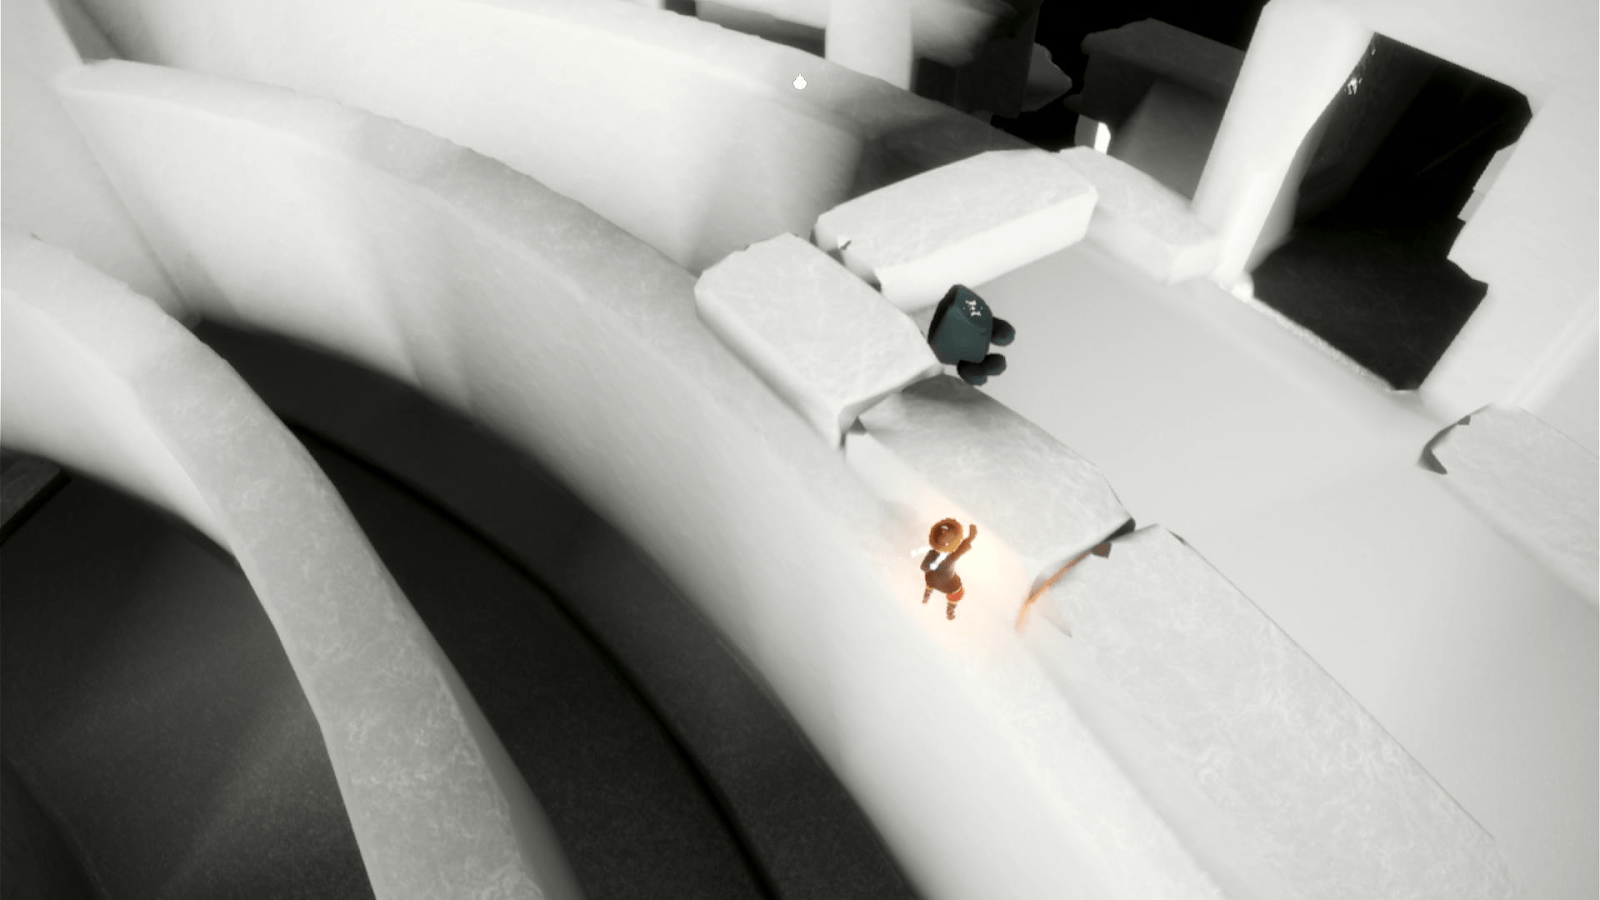
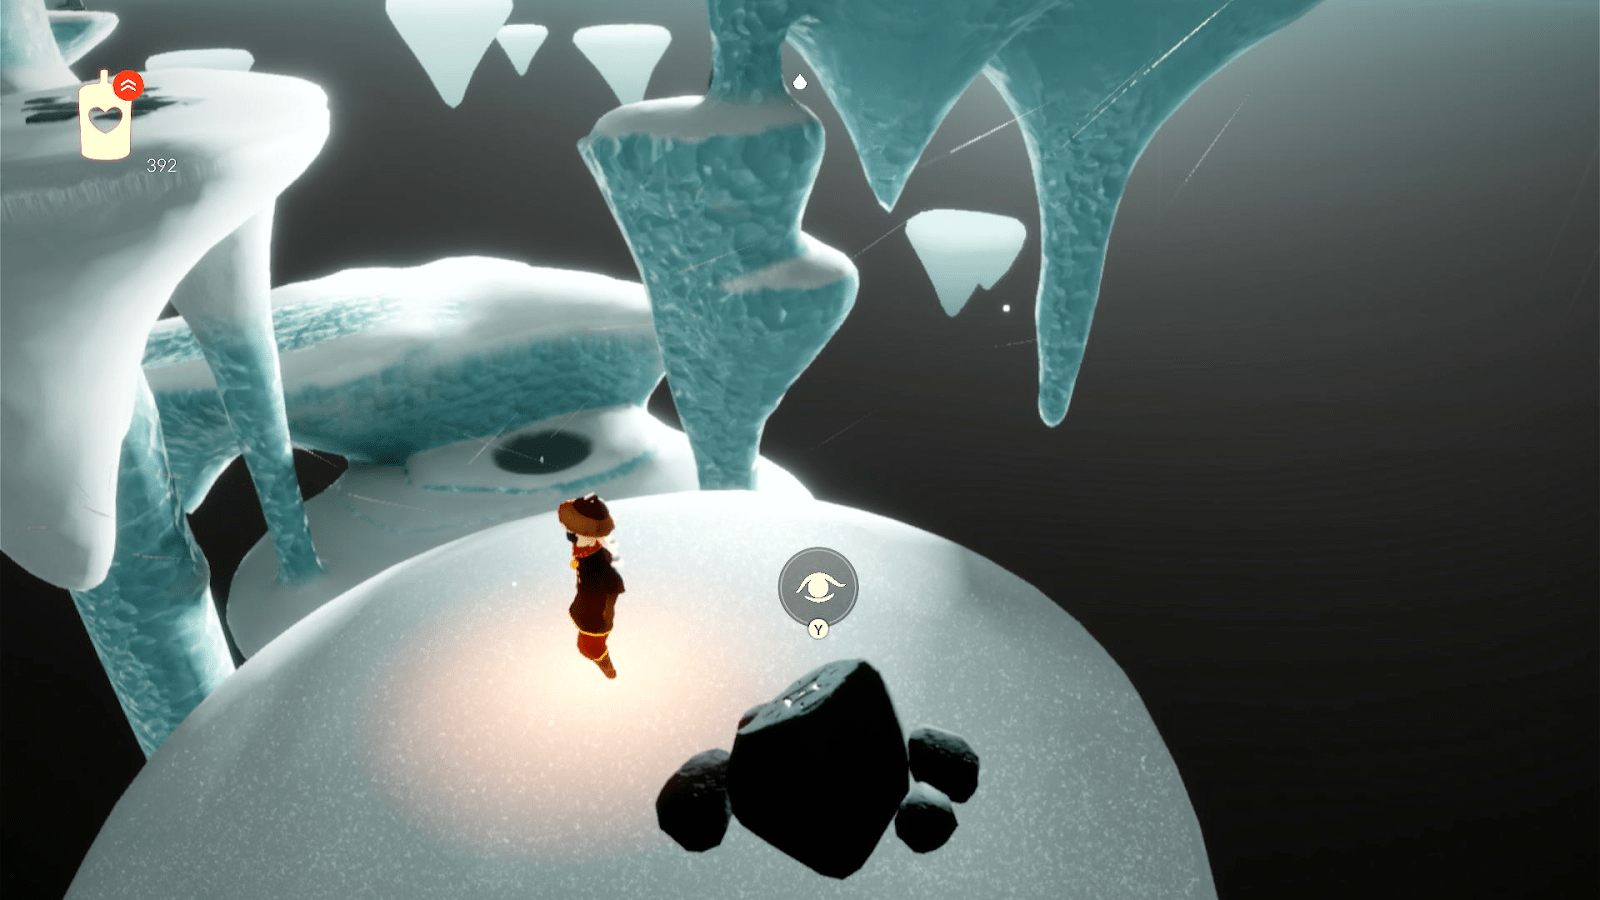
Fire Trial

Found at the end of the last floor, which starts with the giant checkpoint statue, before entering the room to the meditation statue
Daylight Prairie
Butterfly Fields
Left side of social area, next to the shared space statue.
Along the trail that winds through this area.
Cozy Cavern
On the left before entering the cave, when entering from butterfly fields.
Bird Nests
At the beginning of the area from butterfly fields on the first major island.
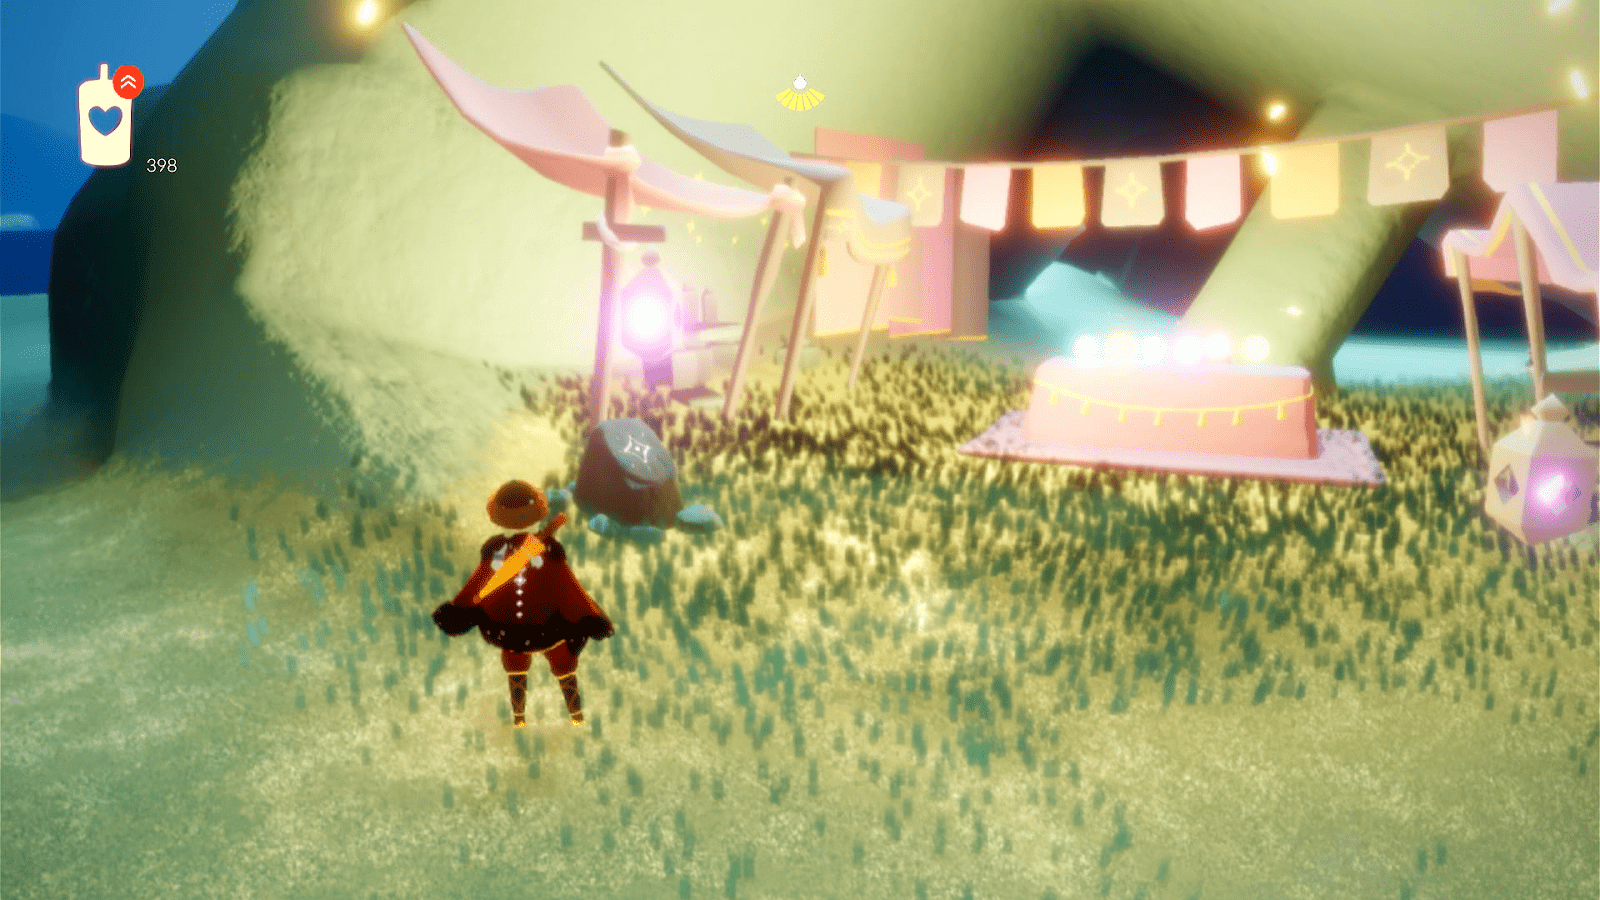
Sanctuary Island
Next to Grandma and the bells.
Villages / Temple
On the left island, the one with the winged light and spirit behind the 2-player door.
Left side of the temple next to the koi pond.
8-Player Area

On the hill to the left when looking toward the trees.
Hidden Forest
Forest Clearing
In social area, next to some spirit statues.
Treehouse
At the very top, right below the big tent covering the roof.
Next to the small pond on the left when approaching the first door.
Forest Brook
Under a tree on the right when heading toward the forest’s end.
Forest End / Temple
On the right side of the bridges when facing toward the temple, in a sort of elevated spot.


Next to the giant darkness plant.
Post-Cutscene Area

On the left side of the pond.
Elevated Clearing
Behind Grandma’s tree/table, where a winged light is situated closeby.
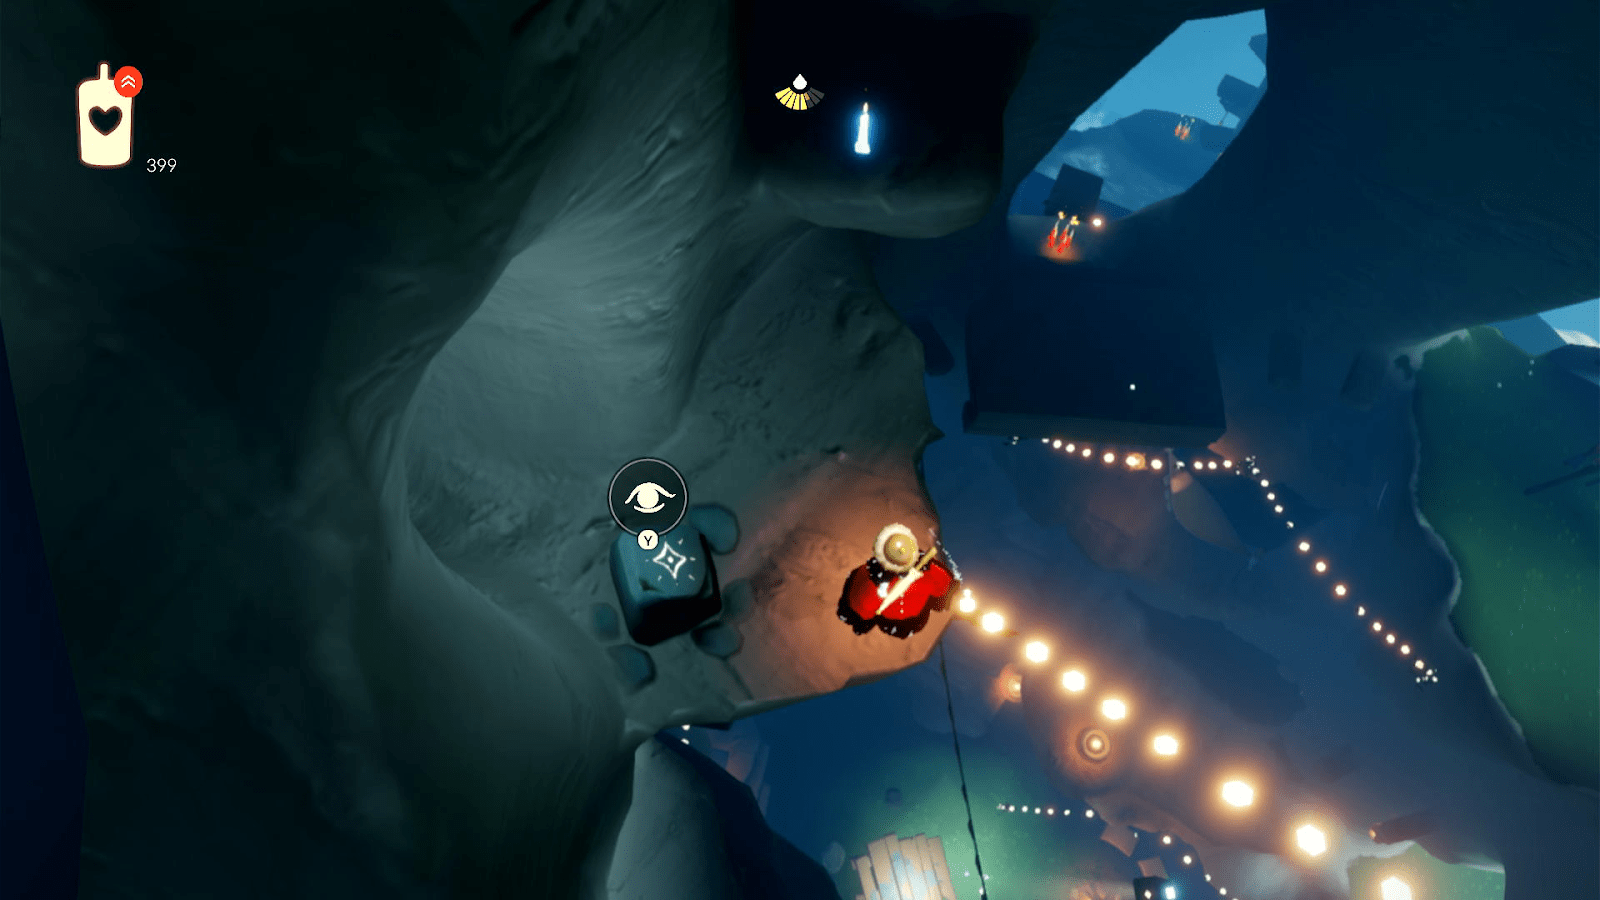
Underground Caverns
On the left wall of the building in the middle of the area, in an elevated corner which is covered in shadows. Or can be found across from the area with the temple/butterflies.
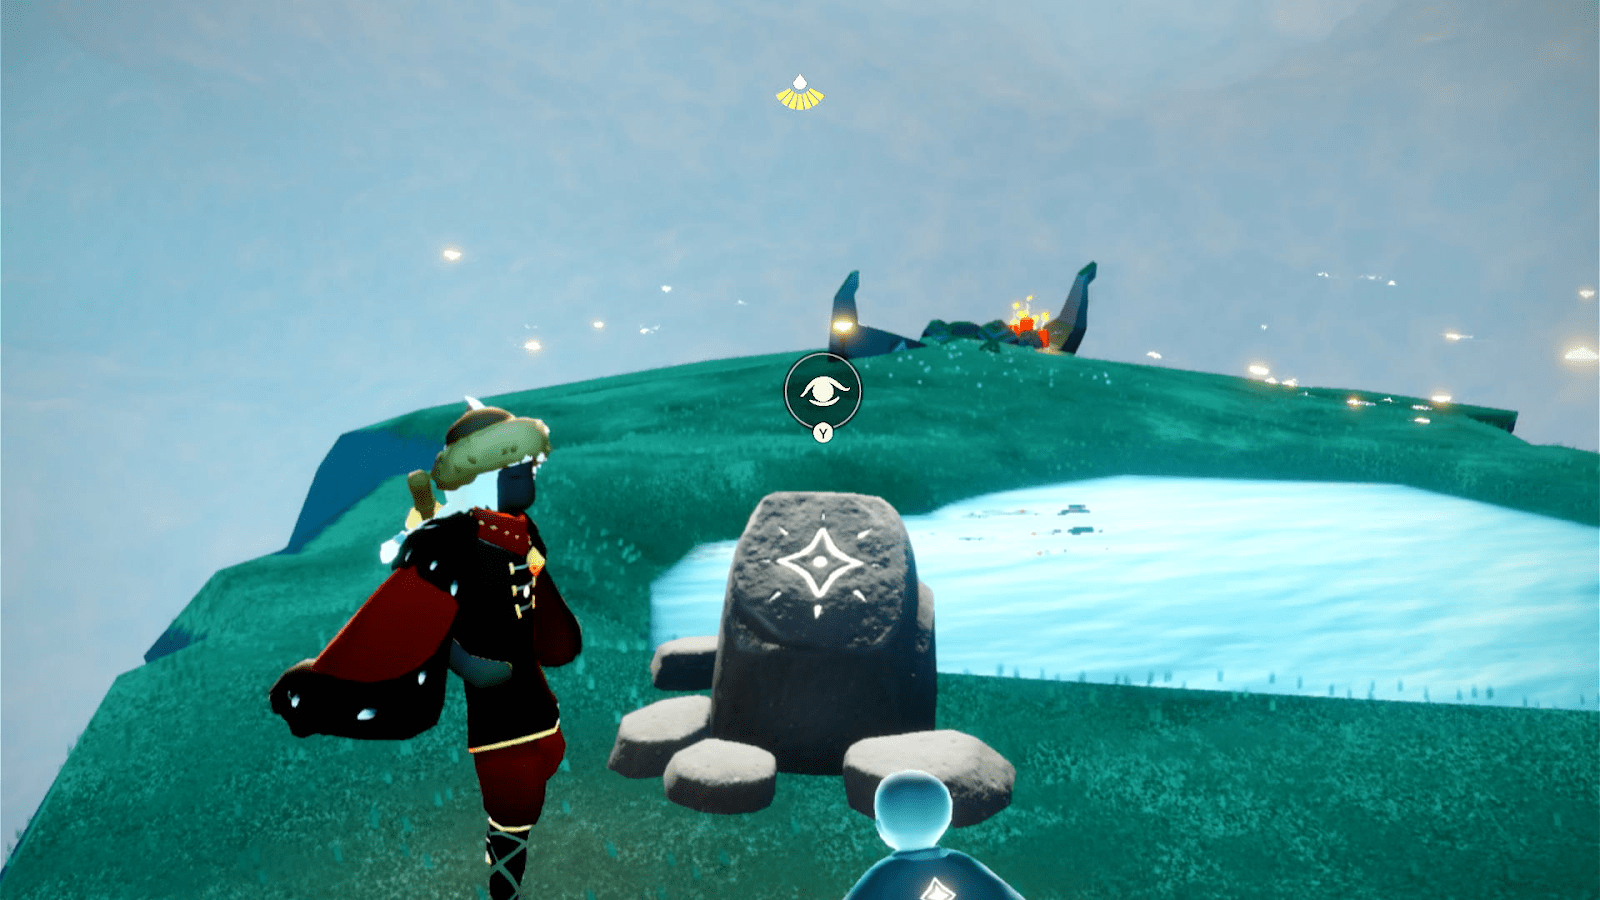
Valley of Triumph
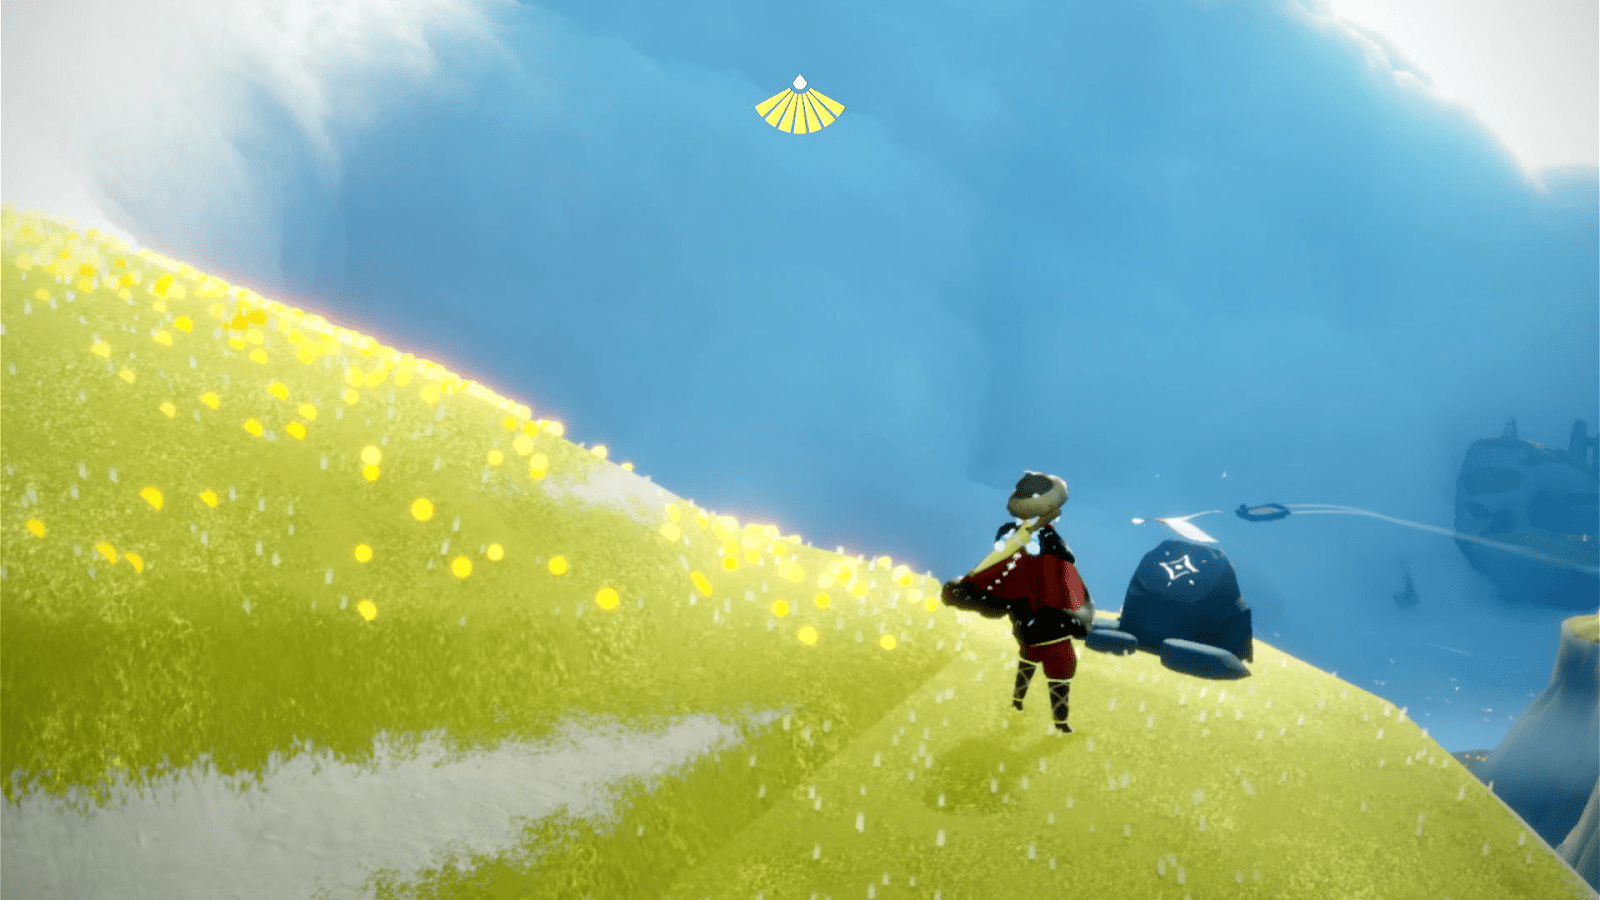
Ice Rink

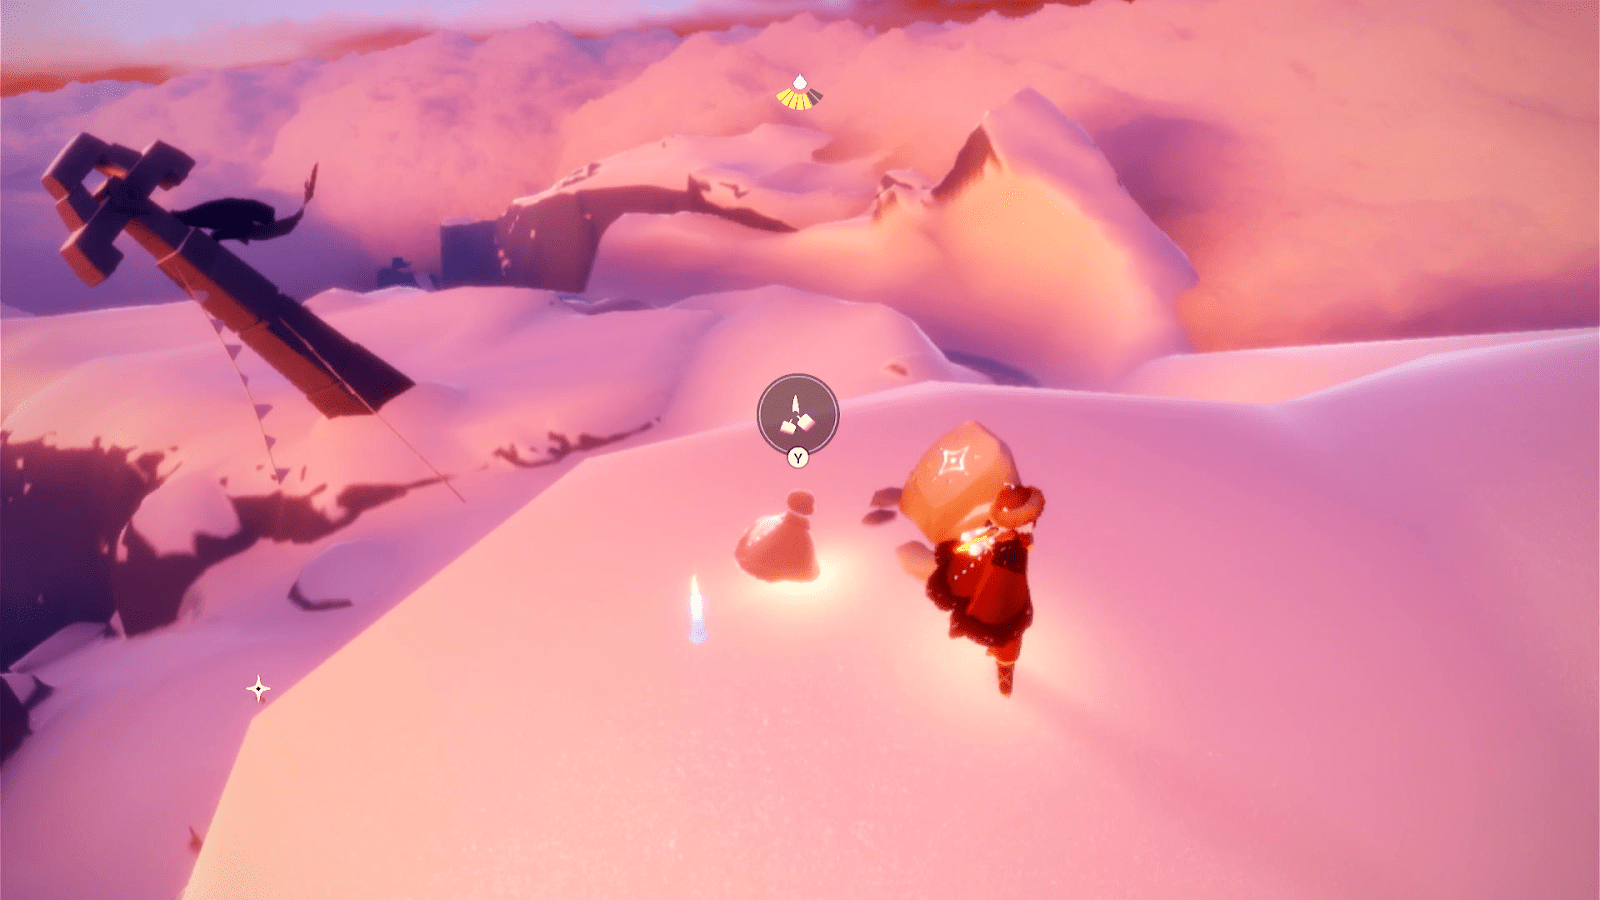
Next to the gazebo, facing toward the dreams entrance.
Atop the middle circle, adjacent to the winged light (as you can see here).
Citadel
Toward the right side in a small building, along the path that winds up the spiral.
Flying Race
Right side.
Sliding Race
Left side.
Colosseum / Temple
Above the entrance when coming from a race, there is no tent over it like the dreams door or opposite side.
Village of Dreams
Next to the guide spirit’s first mission.
Outside Harmony Hall on the village side.
Hermit Valley
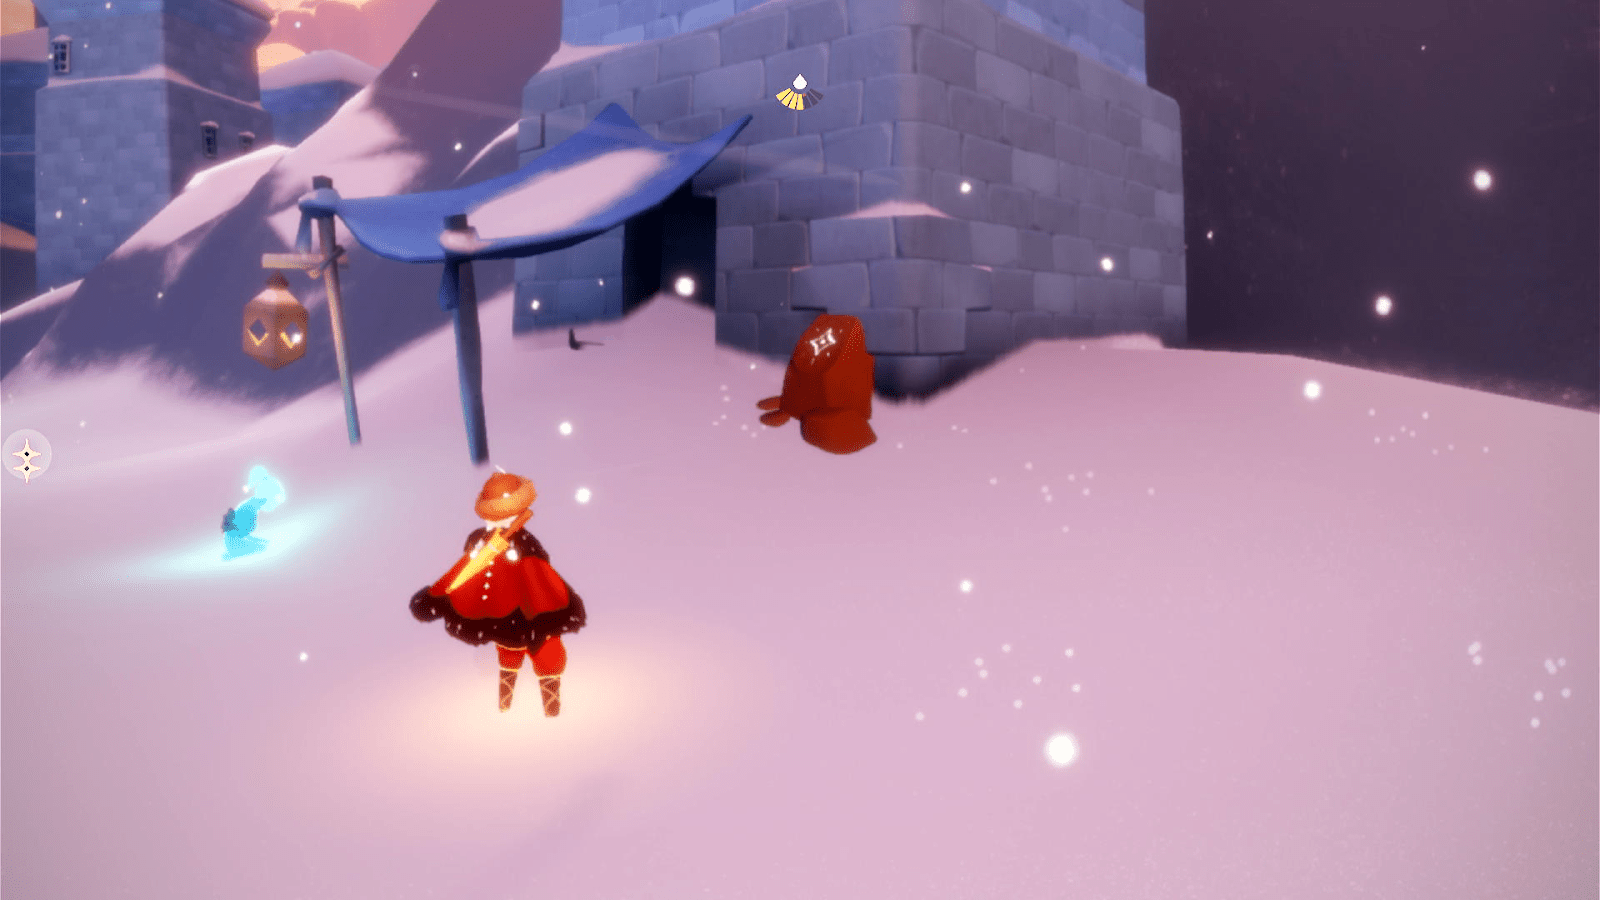
Atop the Hermit’s home
Village Theater
Currently bugged on Switch, won’t show up.
Behind the audience nested against the building.
Golden Wasteland
Whirlpool (Social Area)
In the hallway before jumping into the whirlpool.
Broken Temple
Pressed against the ruined building facing toward the way the player fell down.
Graveyard
Nested in a broken tunnel next to the giant darkness plant, situated more towards the crab field’s entrance. Be sure to deep honk to disable crabs, as they will try to hit you when meditating.
Battlefield / Temple
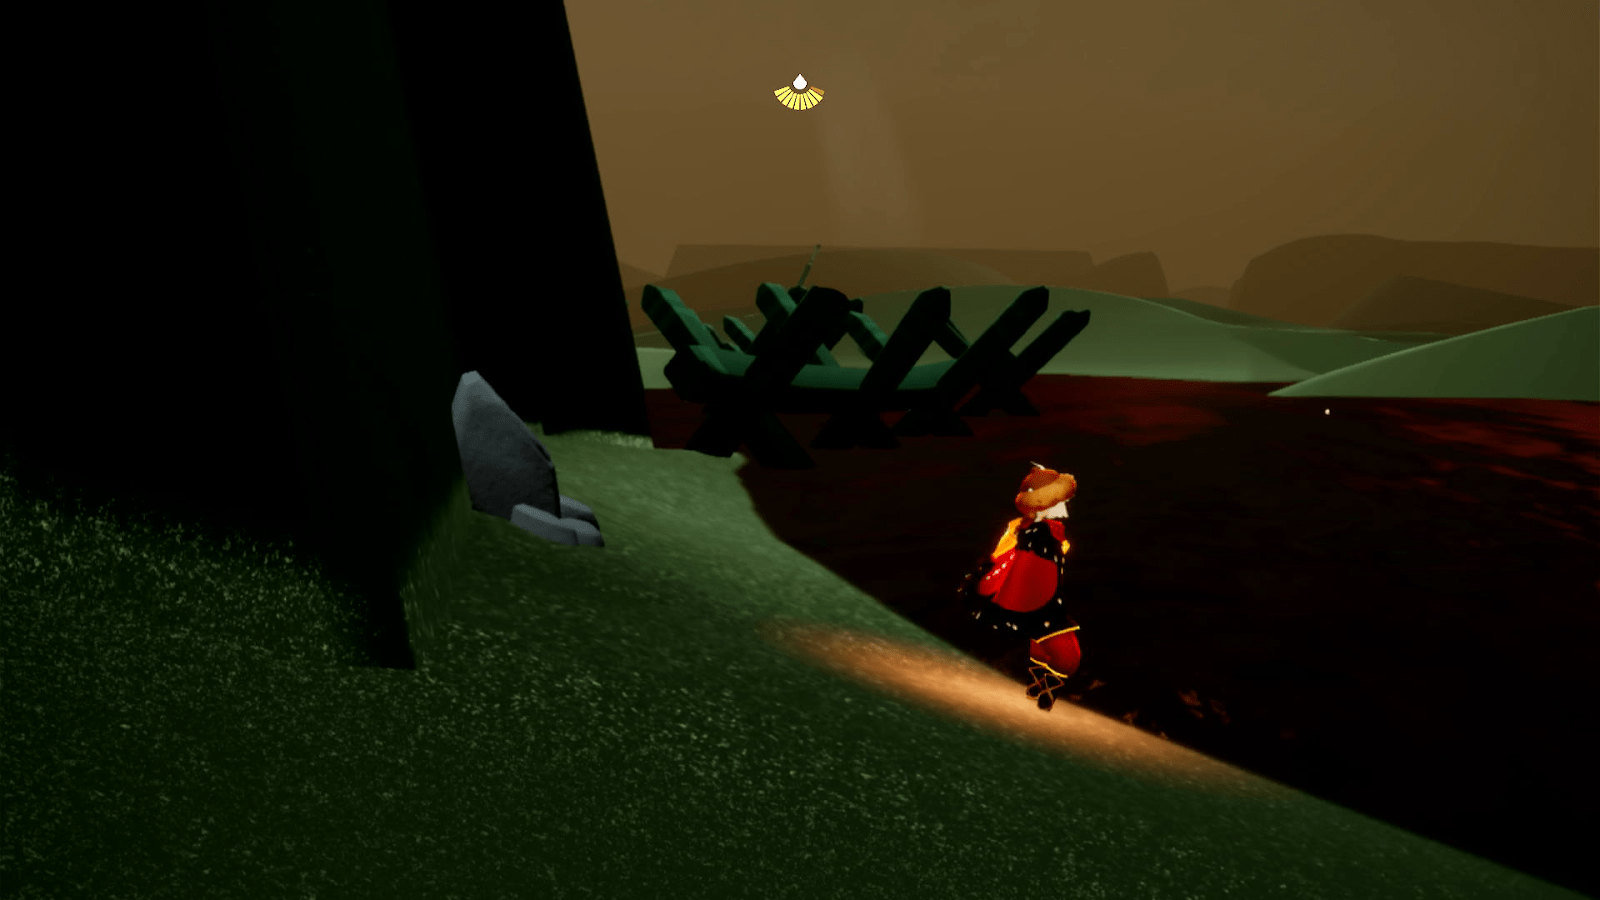
In front of the ruined building when entering from the graveyard, next to some of the X pillars on the left-most side.
Behind the meditation elder statue.
Crab Fields
On the right side when coming from the pipes, straight and to the right when coming from the later battlefield entrance. Atop some of the scattered islands in the back.
Forgotten Ark
Inside the ship near a spell table.
Treasure Reef
Atop the tallest tower, if you’re having trouble getting up without a friend there are light blooms behind the tower to recharge on.
Vault of Knowledge
Ground Floor
Just past the 4-player wall on the right side.
Archives
When coming in, look at the wall adjacent to the library entrance. The shrine is situated in a square corner atop the wall that is in front of you.
3rd Floor
Along the floating platforms, next to some candles.
4th Floor
On the lower portion, atop an island with small stone steps surrounding it.
Vault’s Summit
On the right.
Starlight Desert
In the hedge garden maze, toward the right side closer to the clouds.
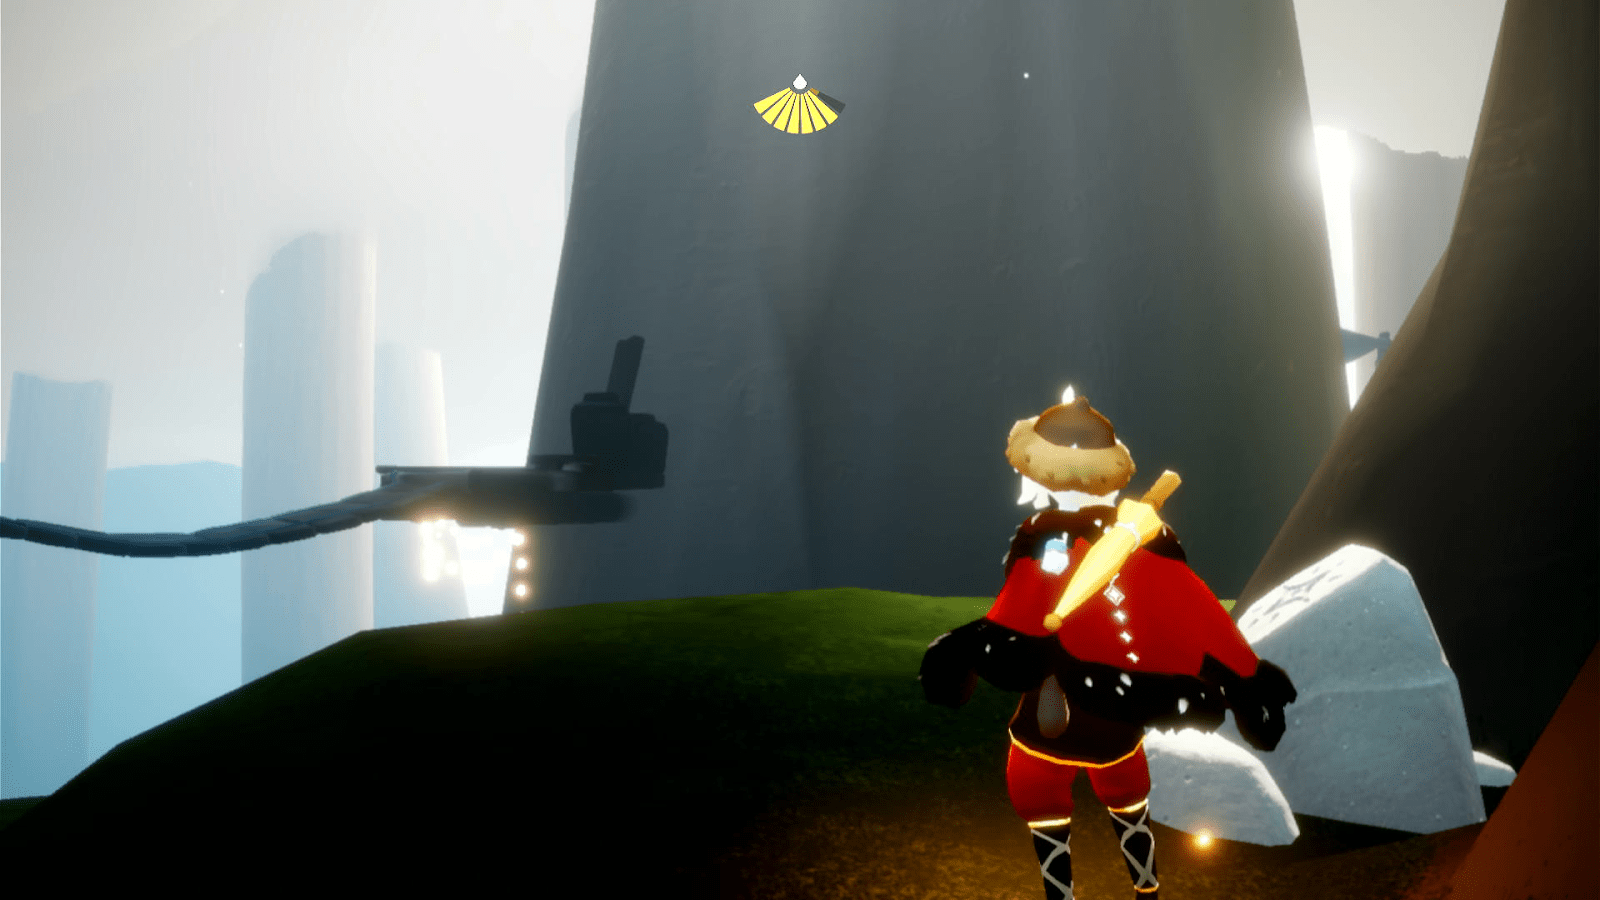
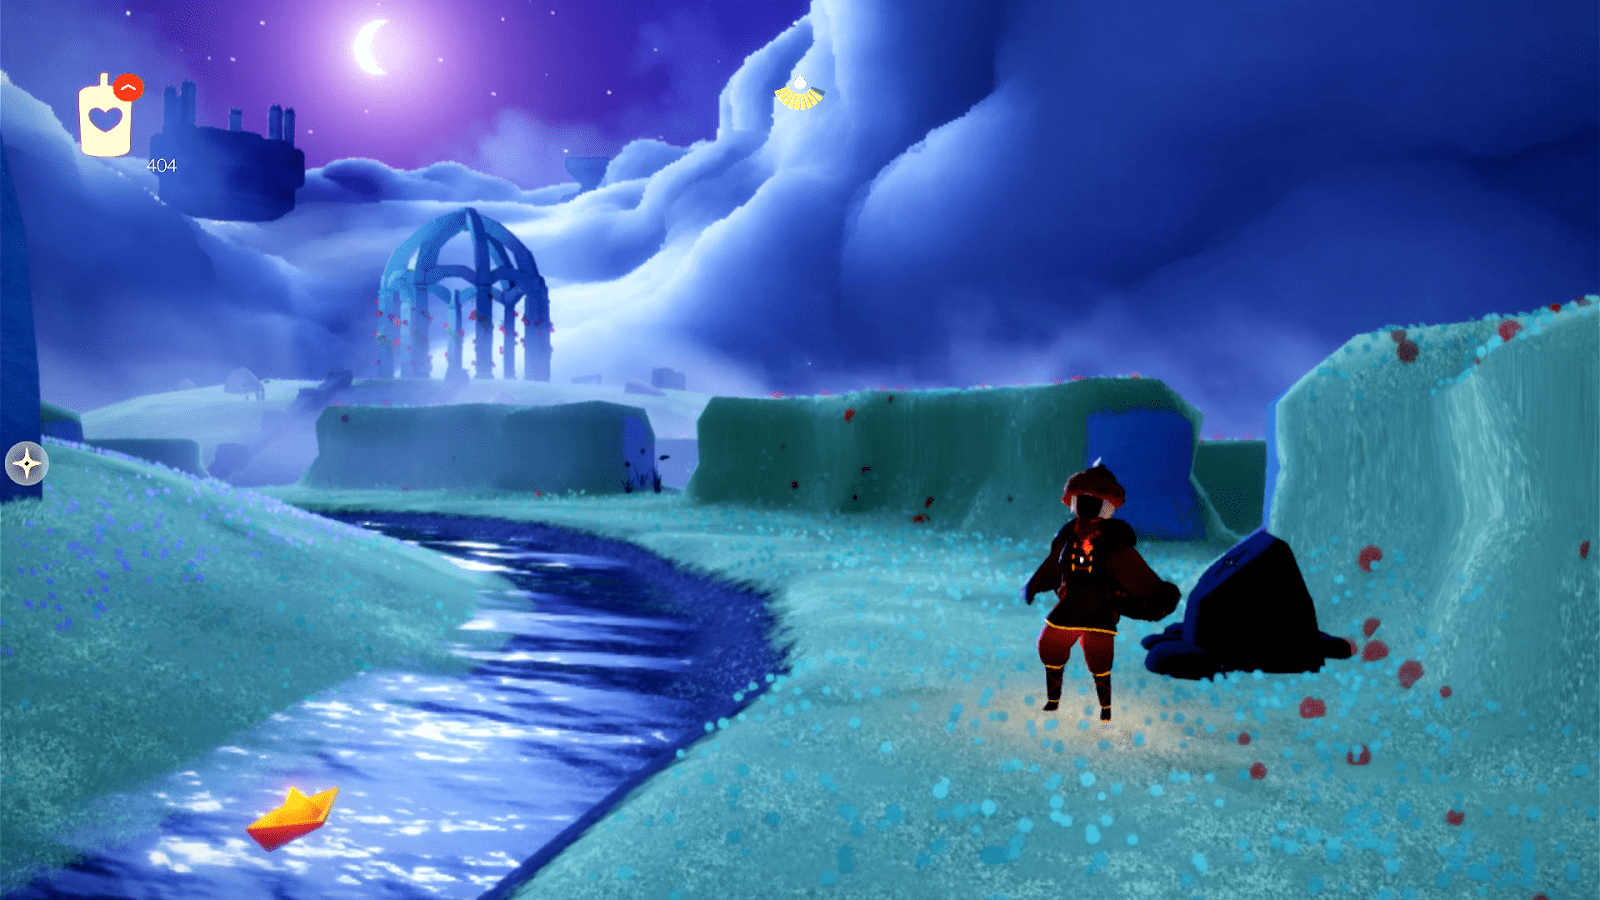
Wind Paths
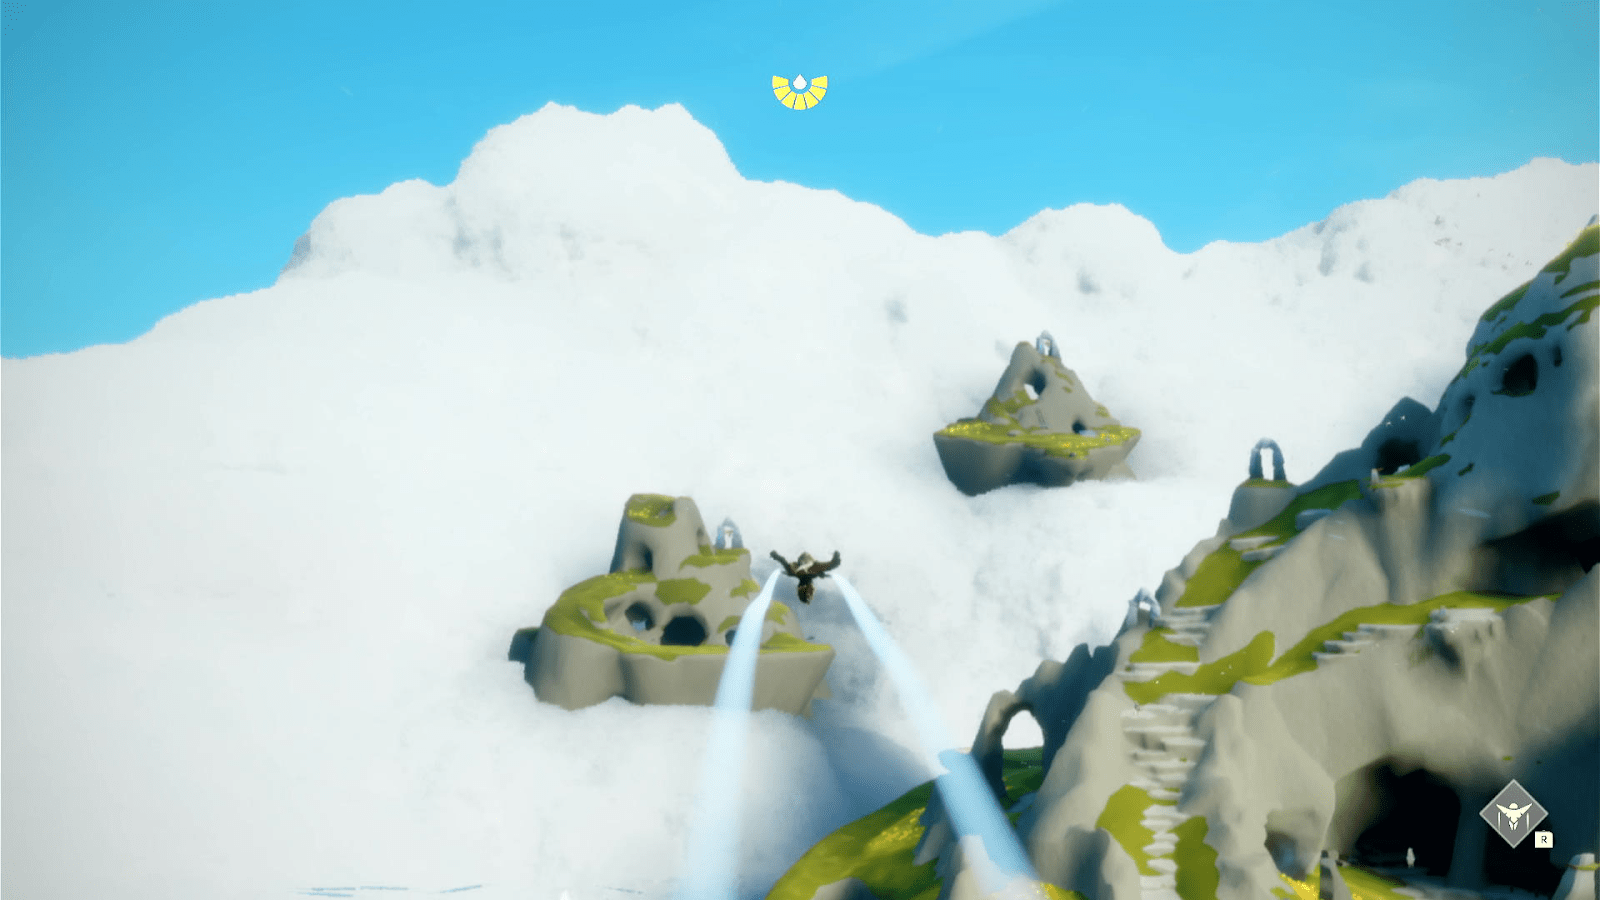
Near the Lively Navigator’s island, second from the left with the triangle shaped rock and two holes
Spoilers!
Don’t scroll any further if you don’t want spoilers for eden / extra secret areas!
Eden / Secret Areas

The first part of Eden is around the social area.
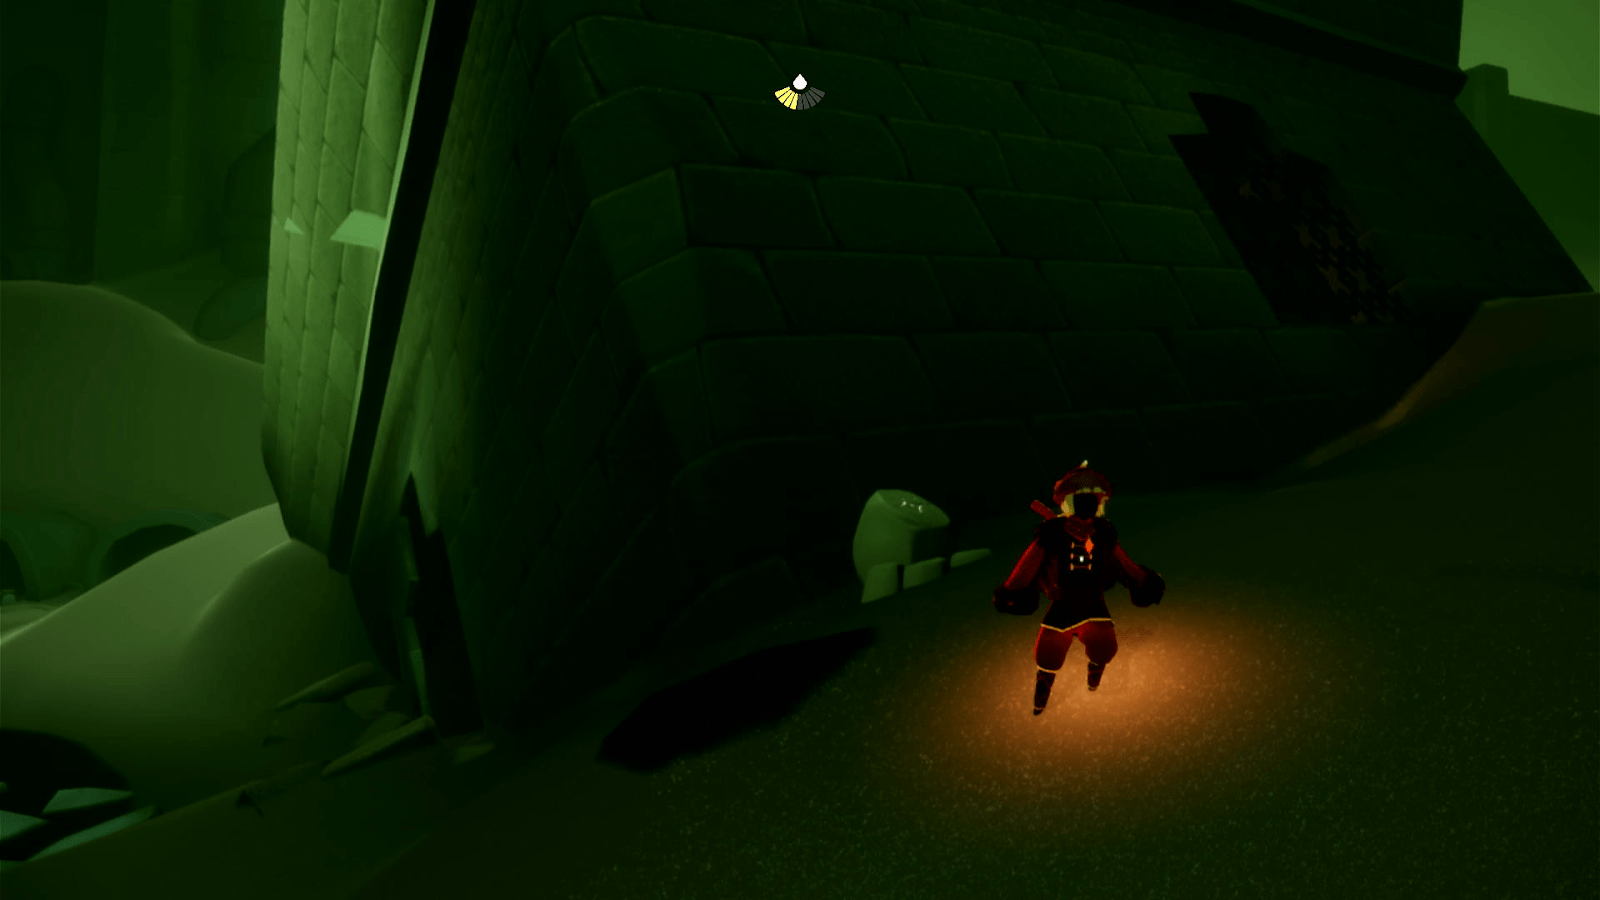
The second one is past the cutscene as you pass the pipe to the krill stealth section, on the immediate left behind a spike.
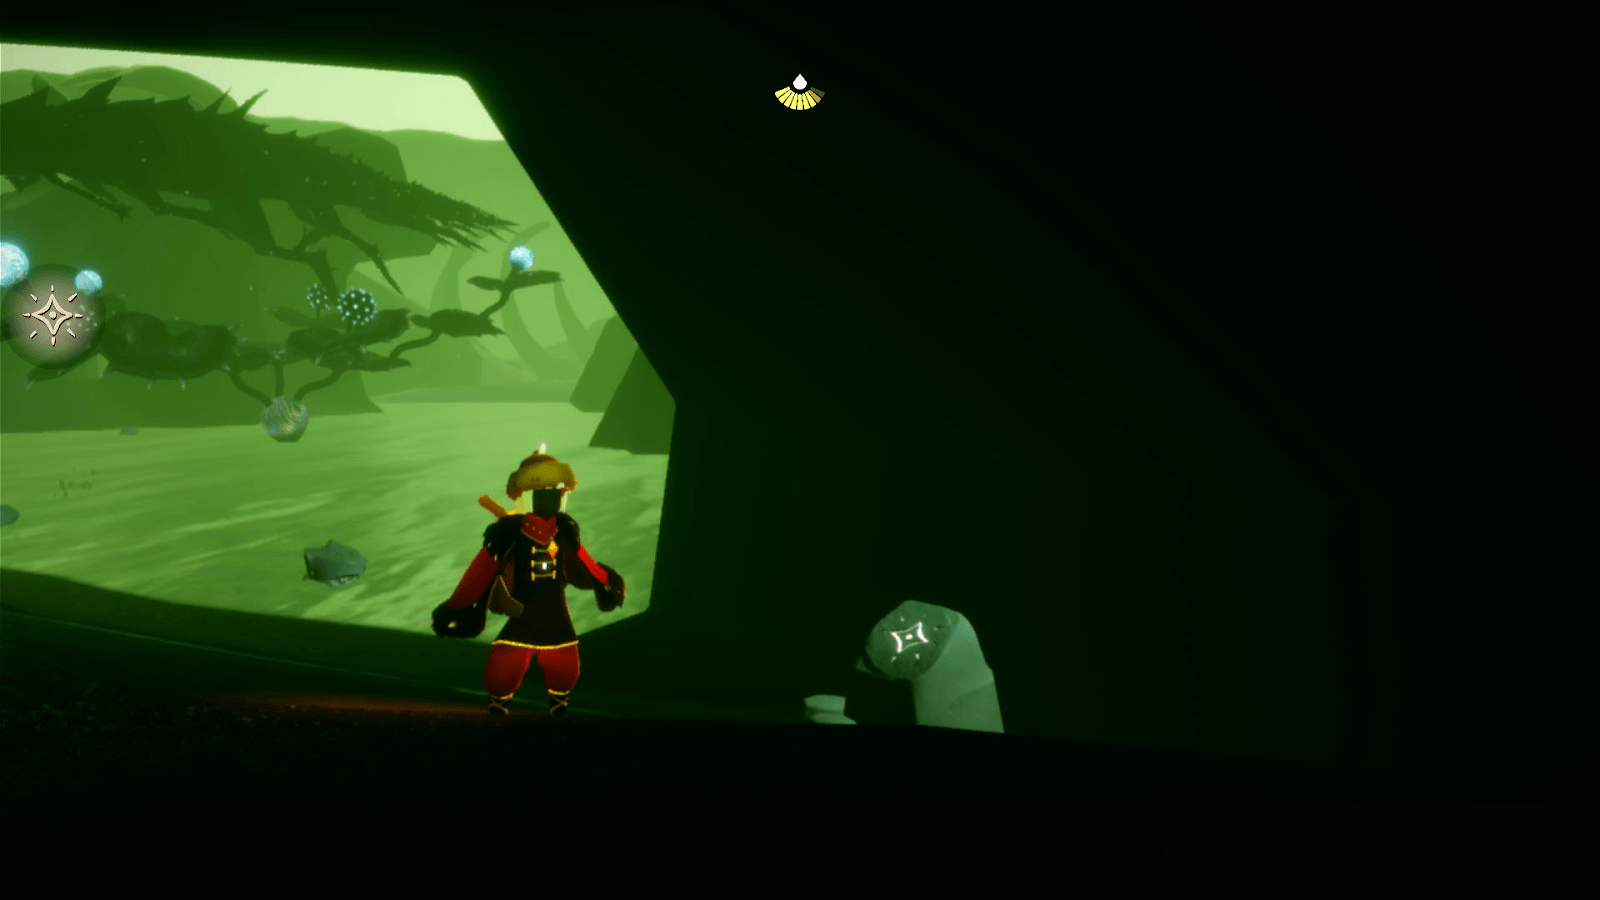
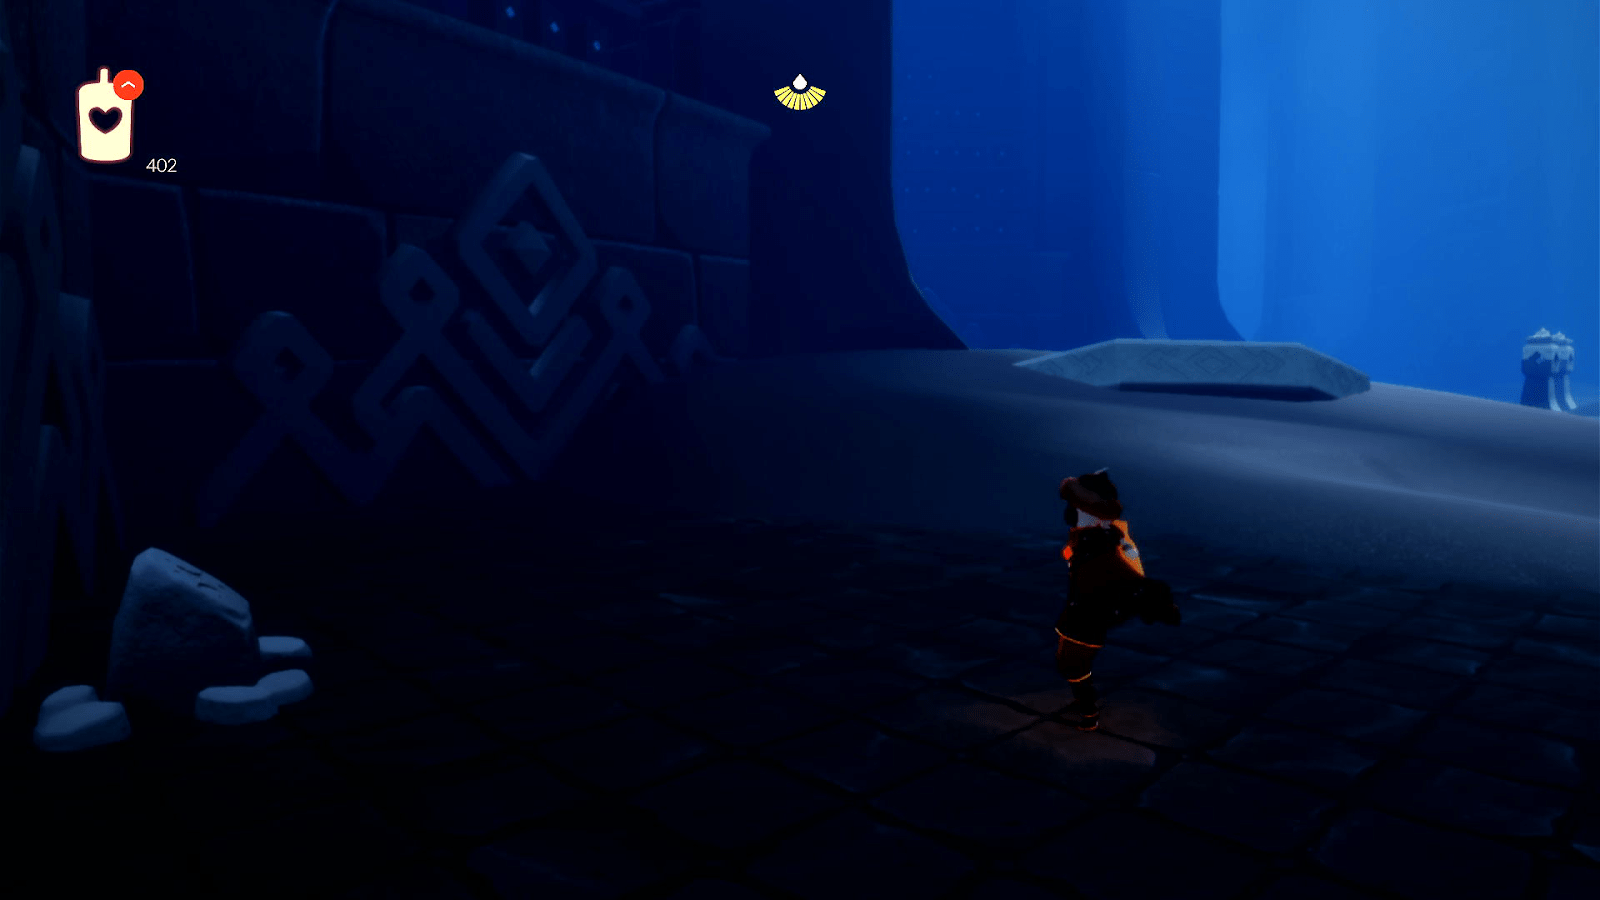
The point of no return Shrine is beyond the tunnel, on your immediate right when entering.
Orbit lies to your right when reaching the wardrobe circle, near the spiral to the floating bench.
To your left when you spawn, to enter the office you either need the beta cape or a friend with one to access.
The switch area has no shrine.
Be the first to comment