
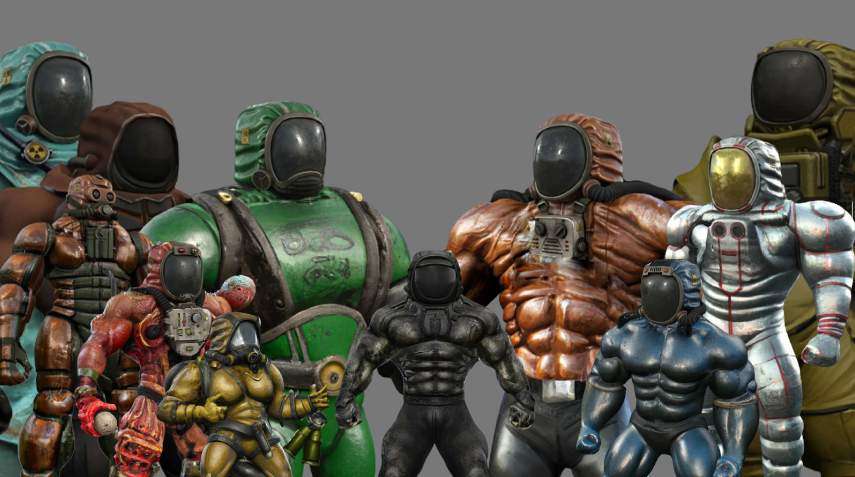
There are 4 armor classes in the game and armor from barter is the same for both factions with the exception of the Exoskeleton branch of Explorer class.
Guide to Armor
Armor
In addition, each subfaction currently has one armor suit unique to them but devs are working on adding more. Now before delving deeper into each one let’s explore what each stat does:
Backpack compatibility
Light only/any – determines which packages you can carry when doing your daily delivery runs.
Container compatibility
Compact only/ compact and standard/ excluding bulky/any – it is very important to check that your armor can actually equip the artifact container you have or which you are aiming for, otherwise you’ll end up with a useless item. That’s why I’d recommend to have an extra KZS-2 in your stash just in case, as it can be equipped with any armor in the game.
Bullet resistance (BR)
Reduces incoming gunfire damage. Pretty much the most important stat in PVP.
Laceration protection (LP)
Reduces damage from mutants, melee weapons and fall damage.
Explosive protection (EP)
Reduces damage from grenades.
Resistance to electricity/fire/chemicals
Reduces damage from corresponding type of anomalies.
Impact protections (IP)
- Rad
- Thermal
- Bio
- Psy
These stats are as important if not even more than Bullet resistance as having not enough of them can soft lock you out of some sections of the map or even whole zones.
How do they work?
Some are contaminated with one of 4 elements listed above and these contaminants have 4 levels. For example, if your armor provides 210 Rad protection that means you can safely venture into areas that have Rad 2 contamination but you’ll receive a lot of damage if you go into Rad 3 area. If you have 290 Rad protection, you’ll still receive damage from Rad 3 areas but it will be reduced compared to having 210 Rad prot.
Moreover you can increase your protection against contaminations by using artifacts. For example, if you have 160 Bioprotection but need to go to a Bio 2 area you can put an artifact into your container that gives about -5 Biological Infection and you won’t receive any damage in that area.
Examples provided here work the same way across all 4 infection types.
Bleeding protection – I think it reduces chances of getting a bleeding or it might reduce damage from bleeding itself. Anyway this isn’t something you should really worry about so just ignore it.
Additional stats that are provided by some armor suits:
- Increased carry weight
- Stamina reduction
- Movement speed – depending on the armor it can be decreased or increased
- Periodic healing
- Radiation/Psy/Bleeding – these stats allow you to be a bit more creative with your artifact builds.
Now knowing what each stat does, let’s delve deeper into each armor class.
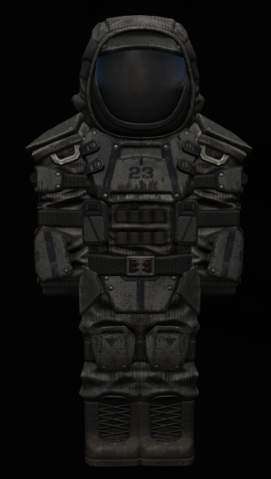
Combat Armor
This armor class has the highest defensive properties when it comes to bullet resistance, laceration and explosion protection.
There are two branches of combat armor in the barter:
- Centurion branch – is focused on bullet resistance and is the best PVP option however it has low Impact protections making it tough to use in the open world without investing into your artifacts quite a bit to bump that IP. Endgame armor suits in this tree are also limited only to Standard containers.
Pros:
- Highest BR out of all armor branches in the game making it the best for PVP
- Not that expensive
- High carry weight increase
- Looks cool
- You get good NVGs relatively early with Worn Legionnaire
- High enough laceration protection
Cons:
- Low IP forcing you to invest into artifacts to increase it
- Endgame armor is limited to using Standard or Compact containers only
- Noticeable Stamina decrease
- Can’t carry large packages
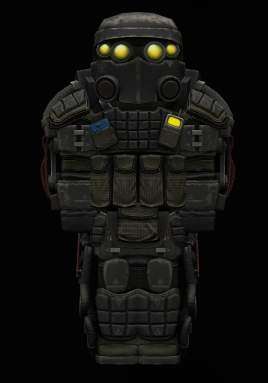
Centurion Armor
- Beastslayer branch – is so called PVE branch with focus on laceration protection making it ideal when dealing with mutants. Unfortunately it suffers from Kuki syndrome (Genshin player will understand) as there simply isn’t any content in the game right now where you’d need this much laceration protection and want to trade BR for LP. As such I can’t recommend it for anyone at this point.
Pros:
- High laceration protection
- Beastslayer armor looks cool AF
- Can use Bear’s Den containers
- High carry weight increase
Cons:
- Low BR that is outmatched even by Explorer armor
- Stamina decrease
- You don’t even get any NVGs in this branch forcing you to barter the separately
- Content where you’d want to use doesn’t exist currently
- Low IP
- Can’t carry large packages
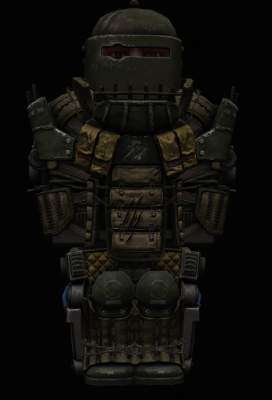
Beastslayer armor
Explorer Armor
This is your Jack- of-all-trades type armor that has decent characteristics both in combat defenses and environmental protections. Versatility, ability to carry large packages and no need to heavily invest into artifacts that increase your impact protection makes this armor class great for most types of players new and experienced. There are two branches in the Explorer barter tree, both of them are viable but SKAT branch is generally more popular due to its ability to equip Bear’s Den container for more diverse builds.
SKAT branch
Good defensive properties, ability to use any containers and carry large packages makes this armor competitive in any activity.
Pros:
- Good BR and LP
- Good IPs
- Only slight stamina decrease
- Compatible with any artifact containers
- Can carry big packages
- Probably most future-proof armor as we expect big armor balance overhaul in the not-so-distant future
- Jack of all traits
Cons:
- Only small carry weight increase
- Barter is data fragment costly
- I don’t like the look of SKAT-10
- White NVGs are unlocked rather late
- Master of none
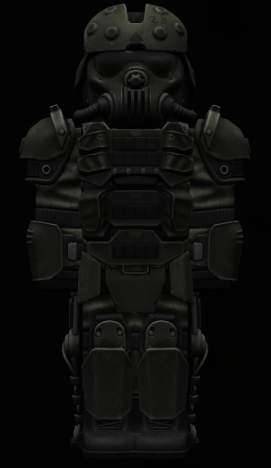
SKAT-10 armor
Exoskeleton branch
Focuses on carry weight above all else. Has slightly better combat defenses than SKAT line but worse IPs, it is also limited to only Standard containers. Huge carry weight increase can be most useful if you’re constantly playing in a squad and are carrying the loot. For solo players it’s rather inferior compared to SKAT armor suits. Also this armor for Bandits and Stalker has slightly different stats
Pros:
- Good BR and LP
- Decent IP
- Huge carry weight increase
- Can carry large packages
Cons:
- Worse IPs compared to SKAT branch
- Stamina decrease can be noticeable
- Limited to only Standard containers

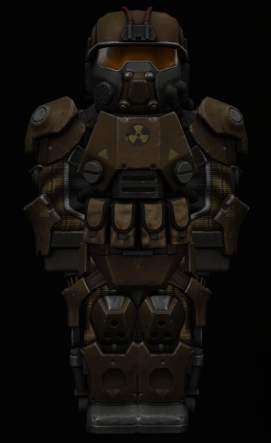
ACE Exoskeleton (Bandit armor)
Combo Armor
Concept of this class is similar to Explorer – that being versatility. But while Explorer leans more into combat defenses, Combo focuses more on protection against anomalies and IPs. The problem with this approach stems from the fact that it’s generally more expensive to compensate for the lack of survivability than IPs that is why players more commonly prefer Explorer class. However Combo armor from barter has periodic healing that allows for good regen focused builds if you know what you’re doing. What is more, this class has some great armor suits that come from MTX/Auction.
Pros:
- Great resistances to anomalies
- Great Impact protections
- Small but noticeable carry weight increase
- Periodic heal
- Can use Bear’s Den containers
- Has built-in white NVGs really early on
Cons:
- Uncomfortably low BR
- Noticeable stamina decrease
- Can’t carry large packages
- More interesting/unique options come from auction
RAPS AH-6 Nomad
Scientist Armor
This class prioritizes protection from anomalies and IPs above all else. Unfortunately suffers from the same problem as the Beastslayer branch – lack of practical use. While there are a couple of uses for this armor, lack of combat survivability makes it hard to recommend for general use. But I’d still say you should get it up to Worn MIS-99M to be able to safely do daily quests that require setting up scanners in anomalies.
Pros:
- Highest resistances to damage from anomalies and IPs
- Reaper/Seva and better can equip Bear’s Den containers
Cons:
- Abysmally low BR and LP (this armor suits are called “Plastic bags” for a reason)
- 95% of your playtime you won’t need this much protection from anomalies and such high IPs
- Can’t carry large packages
Saturn Jumpsuit
Artifact Containers (and Backpacks)
In addition to weapon and armor slots your character has a back slot that can fit artifact containers or backpacks (or delivery packages). While backpacks offer chunky increase to carry weight and stamina and are a great option for early game, in the mid-late game players move to artifact containers as they allow for more utility and diversity.
There 3 main things to consider when choosing an artifact container:
- Container type
- Number of slots
- Inner protection
Container type determines what armor can equip said container. There are 4 main types of containers: Compact, Standard, Capacious and Bulky. Checking compatibility of your armor and container beforehand is your №1 priority as you probably don’t want to grind for many hours only to end up with a useless item.
Number of slots determines how many artifacts you can put into your container. The more slots a container has – the better and more diverse builds one can create.
Inner protection is a less obvious stat but at the same time almost as important as container type. Inner protection indicates how much harmful effects of an artifact can your container absorb.
Basically, if you have a container with 80% inner prot. and an artifact that gives +6 Bio infection, you will only receive +1.2 Bio infection.
Effectiveness affects how quickly your artifacts drain charge but with how easy and cheap it is to recharge them this is practically an irrelevant characteristic.
Generally speaking, if the armor of your choice is compatible with Bear’s Den 6 then it’s generally the preferable choice, if not, then Hive for you it is. In the Hive branch Forager container was a more popular option for its 4 slots and -2 Radiation on RU servers however you can only obtain it through Limansk which could be rather tough for many players.
NVG and Skins
In addition to all of your main gear there are additional slots for NVG and a skin in the top left corner of your inventory.
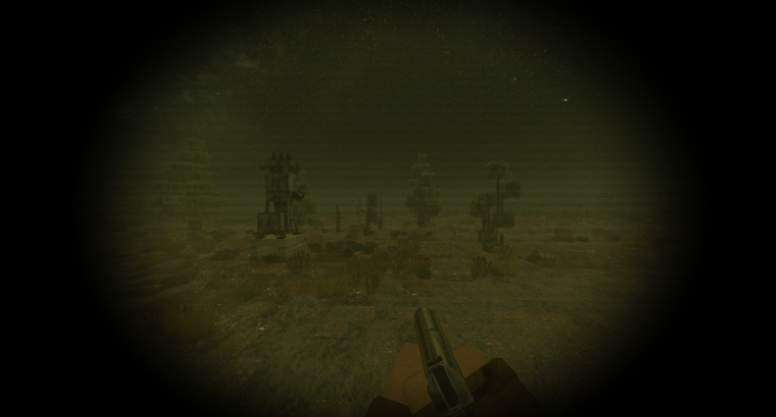
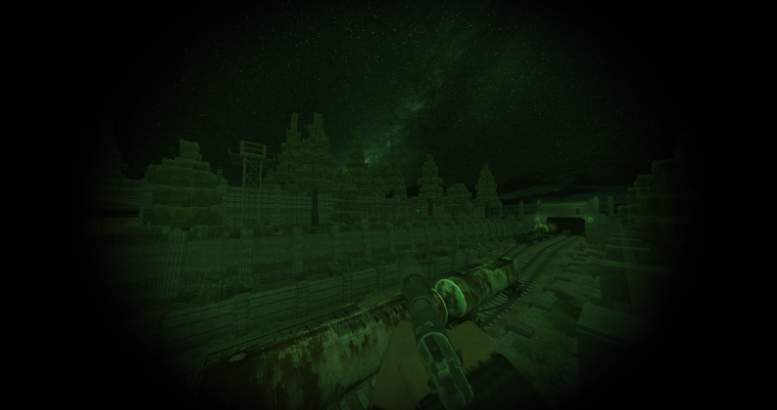
NVGS improve visibility at night and (unrealistically) in dark spaces. As there aren’t flashlights or dynamic lighting in the game this is your only way to see in the dark. There are 4 NVGs in the game each with different tints: makeshift NVG (yellow tint, you start with them), NVGs (green tint), 2nd Gen. NVGs (white tint, the best one imo), NVD-11 Export (blue tint).
Most endgame (and even some midgame) armor suits come pre equipped with 2nd Gen. NVGs as such bartering it separately isn’t worth it. NVD-11 Export is for people who liked the blue filter in BF3 and suitably comes from the cash shop. When it comes to yellow and green NVGs people debate which one offers better visibility as some find green color too intense.
Note that you need to unequip your NVGs if you want to use those that are built-in in your armor!
Skins allow you to change how your character looks as there’s no character creator in Stalcraft. Unfortunately as most armor suits cover your entire body and even face you rarely actually see them. Character skins are obtained during events and can be equipped and unequipped at any given moment. Additional customization options include paint jobs for armor and weapons however unlike character skins paint jobs are one time consumables (like shaders were in Destiny 2 year 1) so think carefully before applying them to your gear.
Be the first to comment