
This is my make Amara OP fast guide, where I point out strong item locations in ALL 6 currently available missions. I also give a brief summery of what they do. Be warned of spoilers!
All Items Guide
By Zion
Mission 1
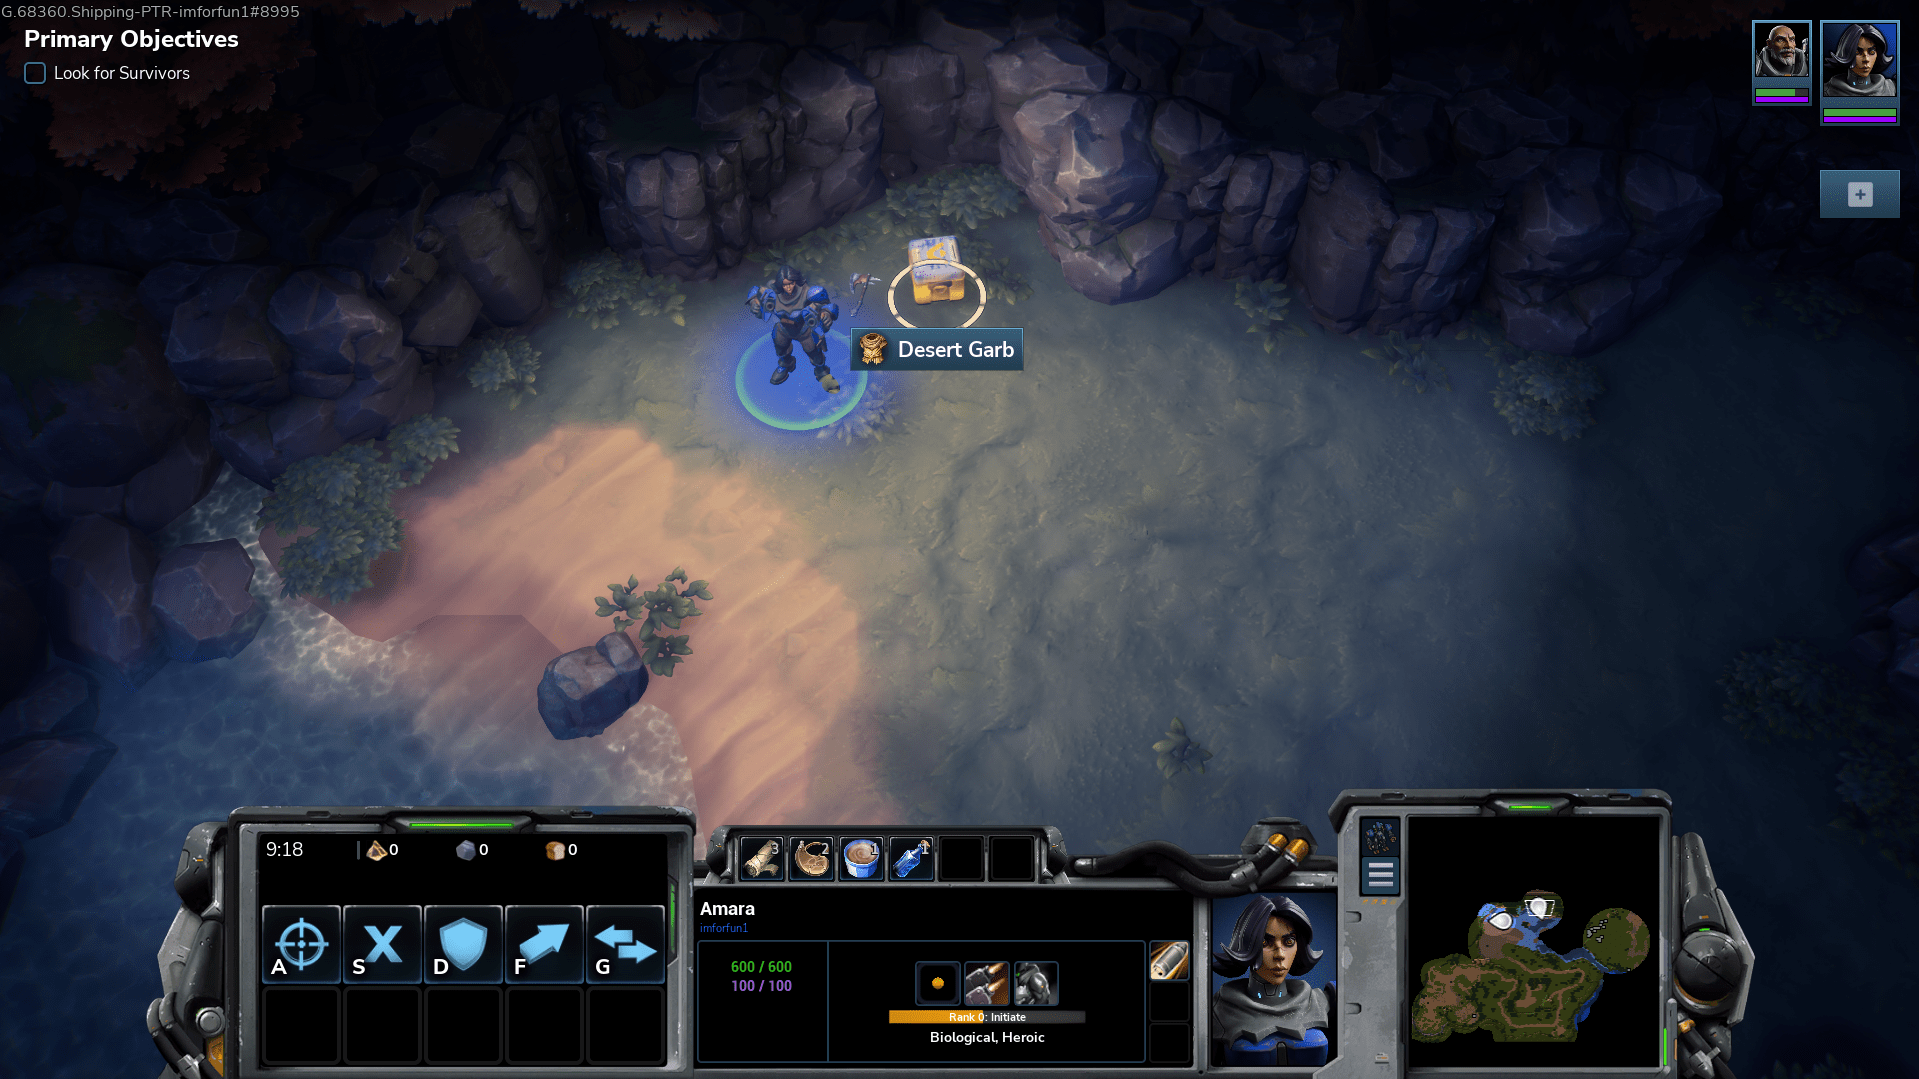
Item 1: Desert Garb
- +10 Armor (100% increase!)
Found north of the area you gain Amara’s teleport ability. A great first pickup to get survivability from the get-go.
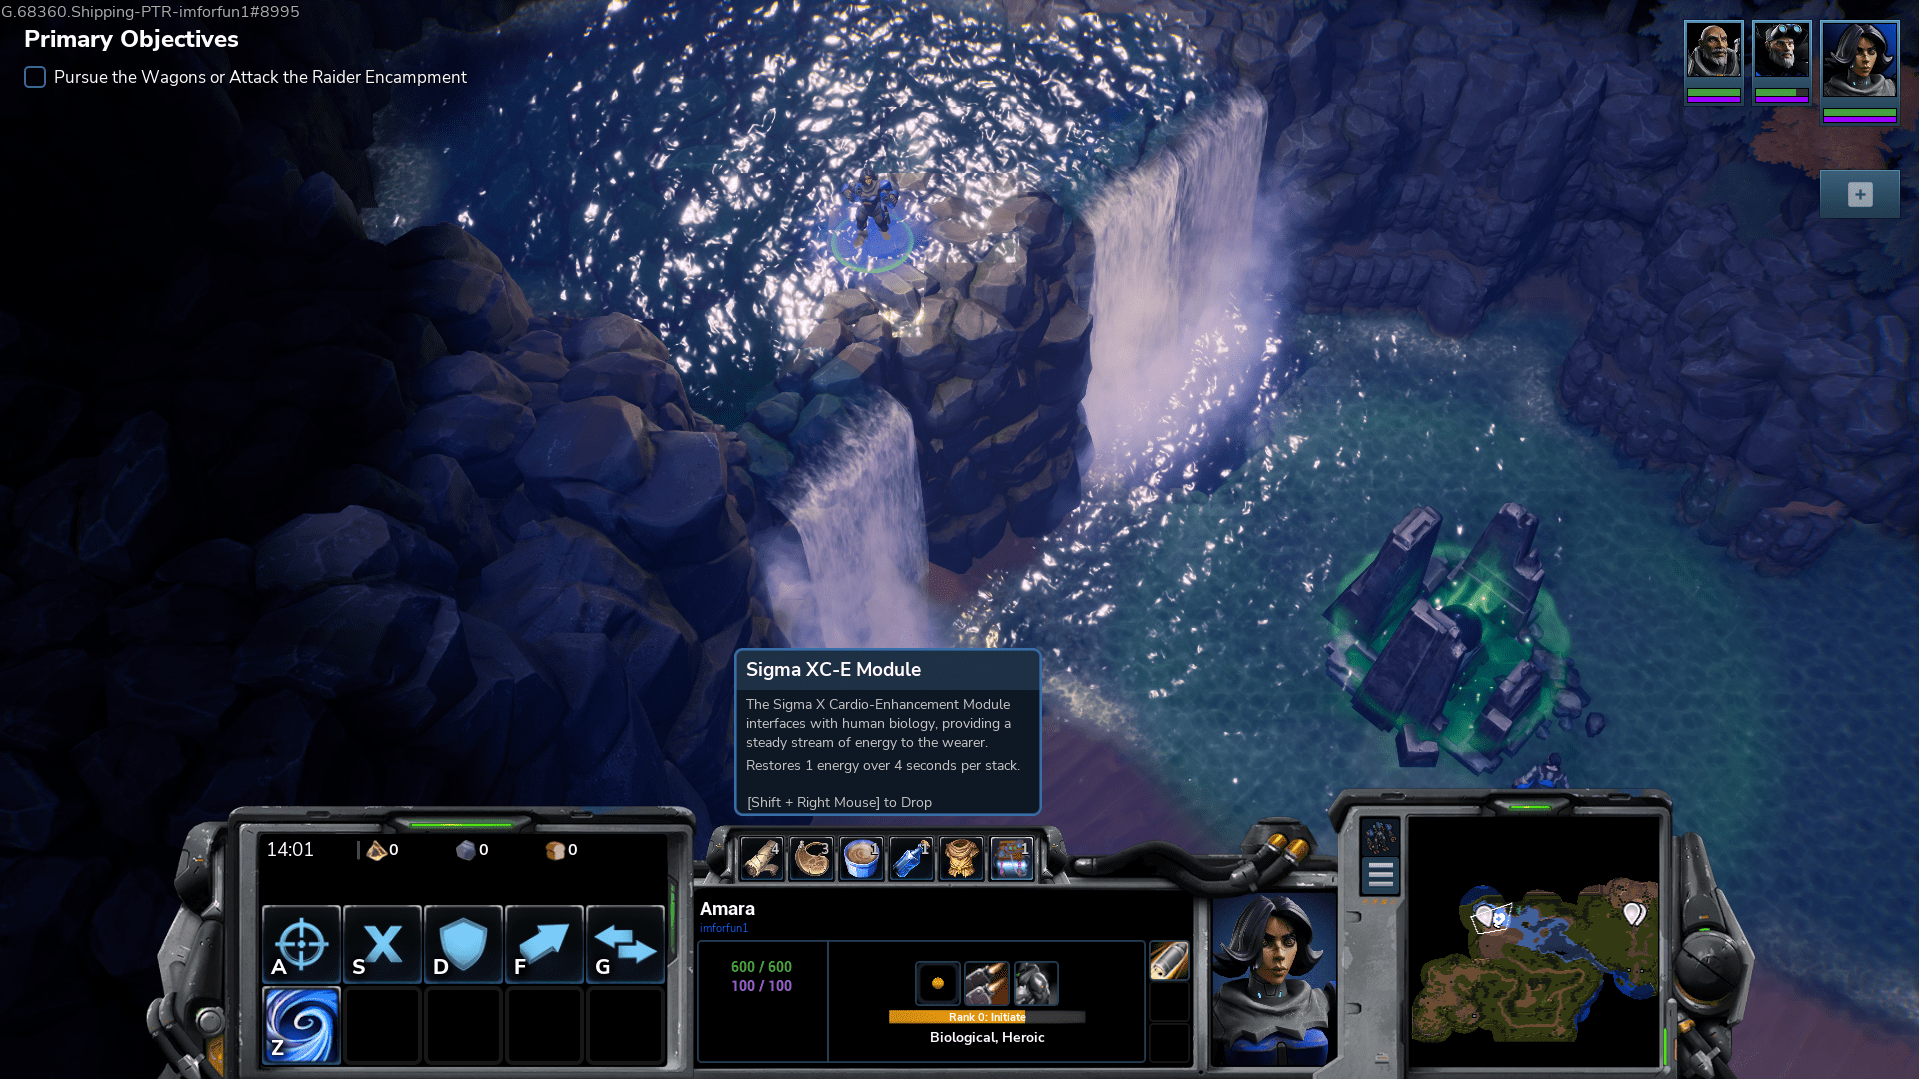
Item 2: Sigma XC-E Module
- +1 energy regen every 4 seconds (Can Stack the item)
After gaining Amara’s teleport ability, head back to the healing fountain and teleport on top of the waterfall to it’s left.
This item is really meh, but it’s building you power early so no reason not to grab it.
The next 3 items can be found weather you go north or south, but I only remember the north locations.
Item 3: Crude Cudgel
- +2 damage (around 20% increase at this stage)
After initially fallowing after the villagers they took north, you can find this item along the path a short ways just off to the right edge of the map.

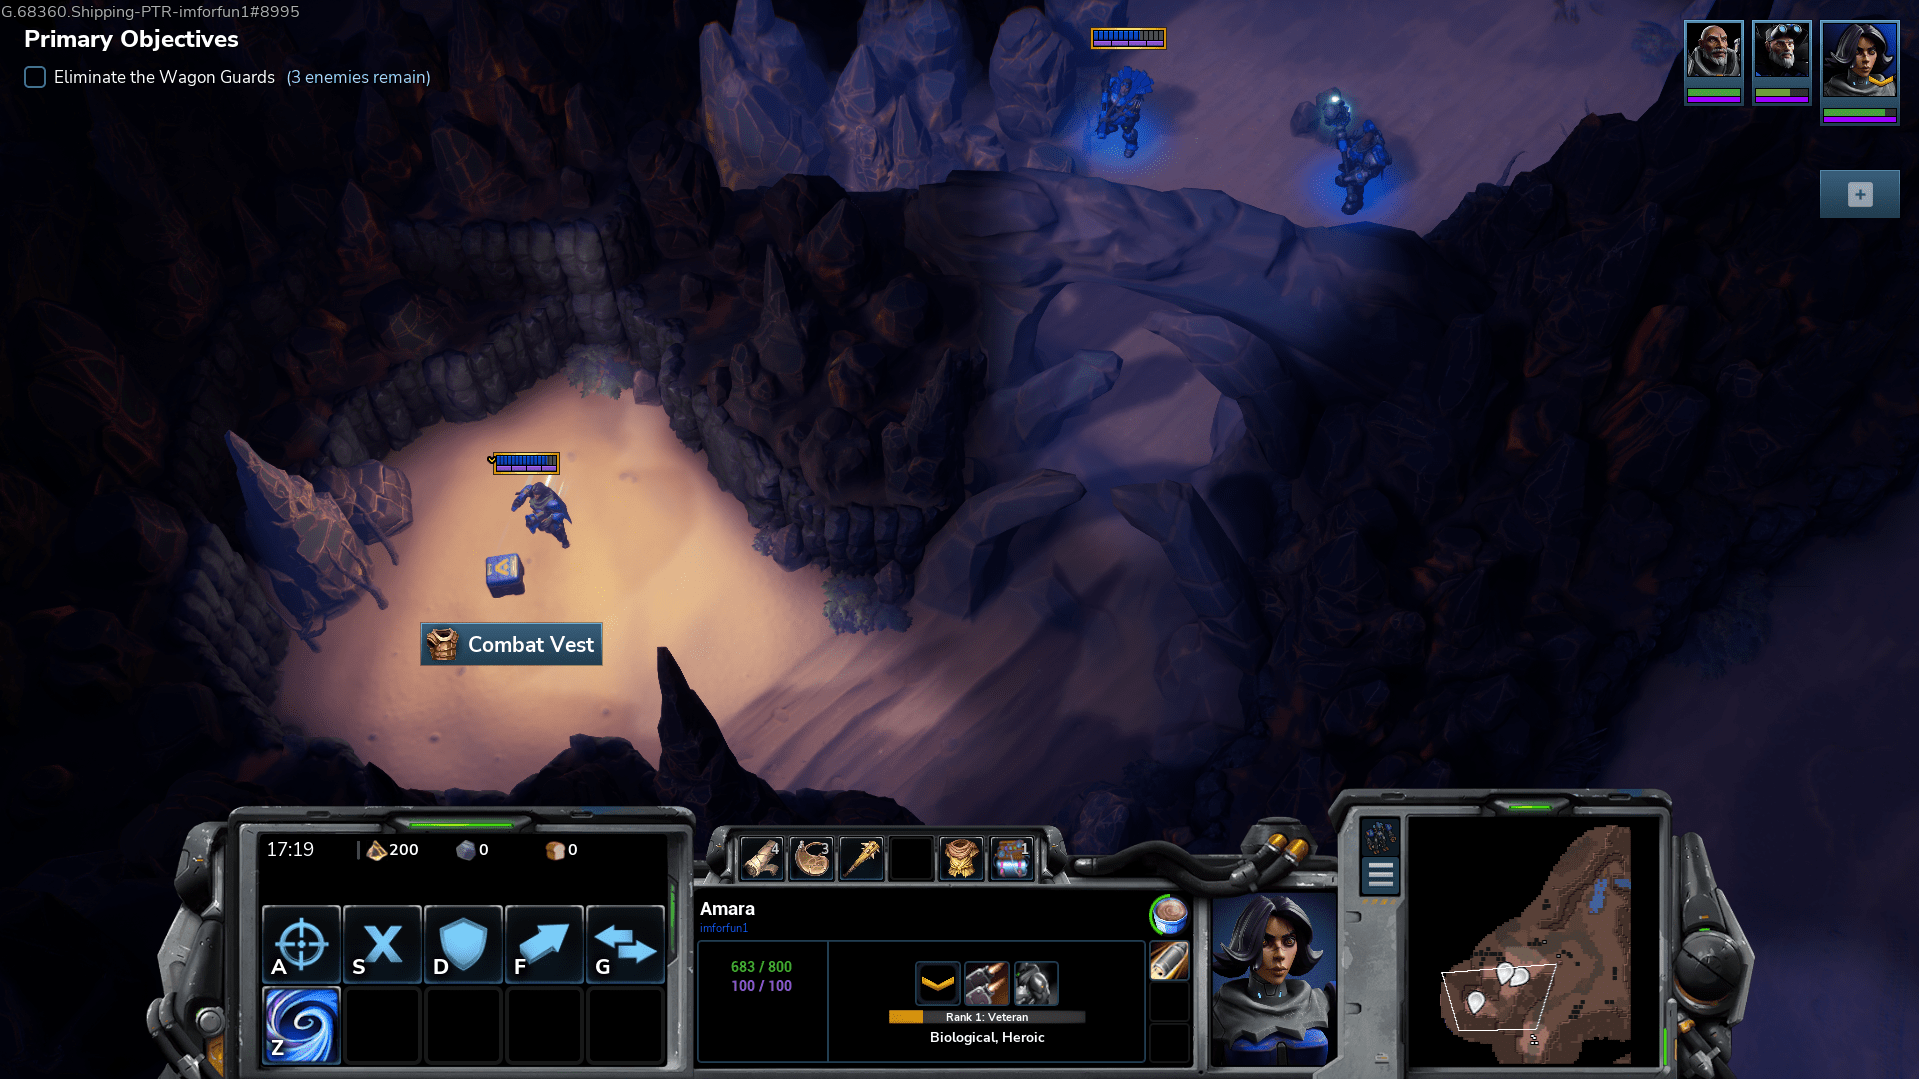
Item 4: Combat Vest
- +20 Armor (200% increase!)
As you continue along the path and loop back around heading to the left, there will be a somewhat hidden path along the bottom of the path which loops around to this item.
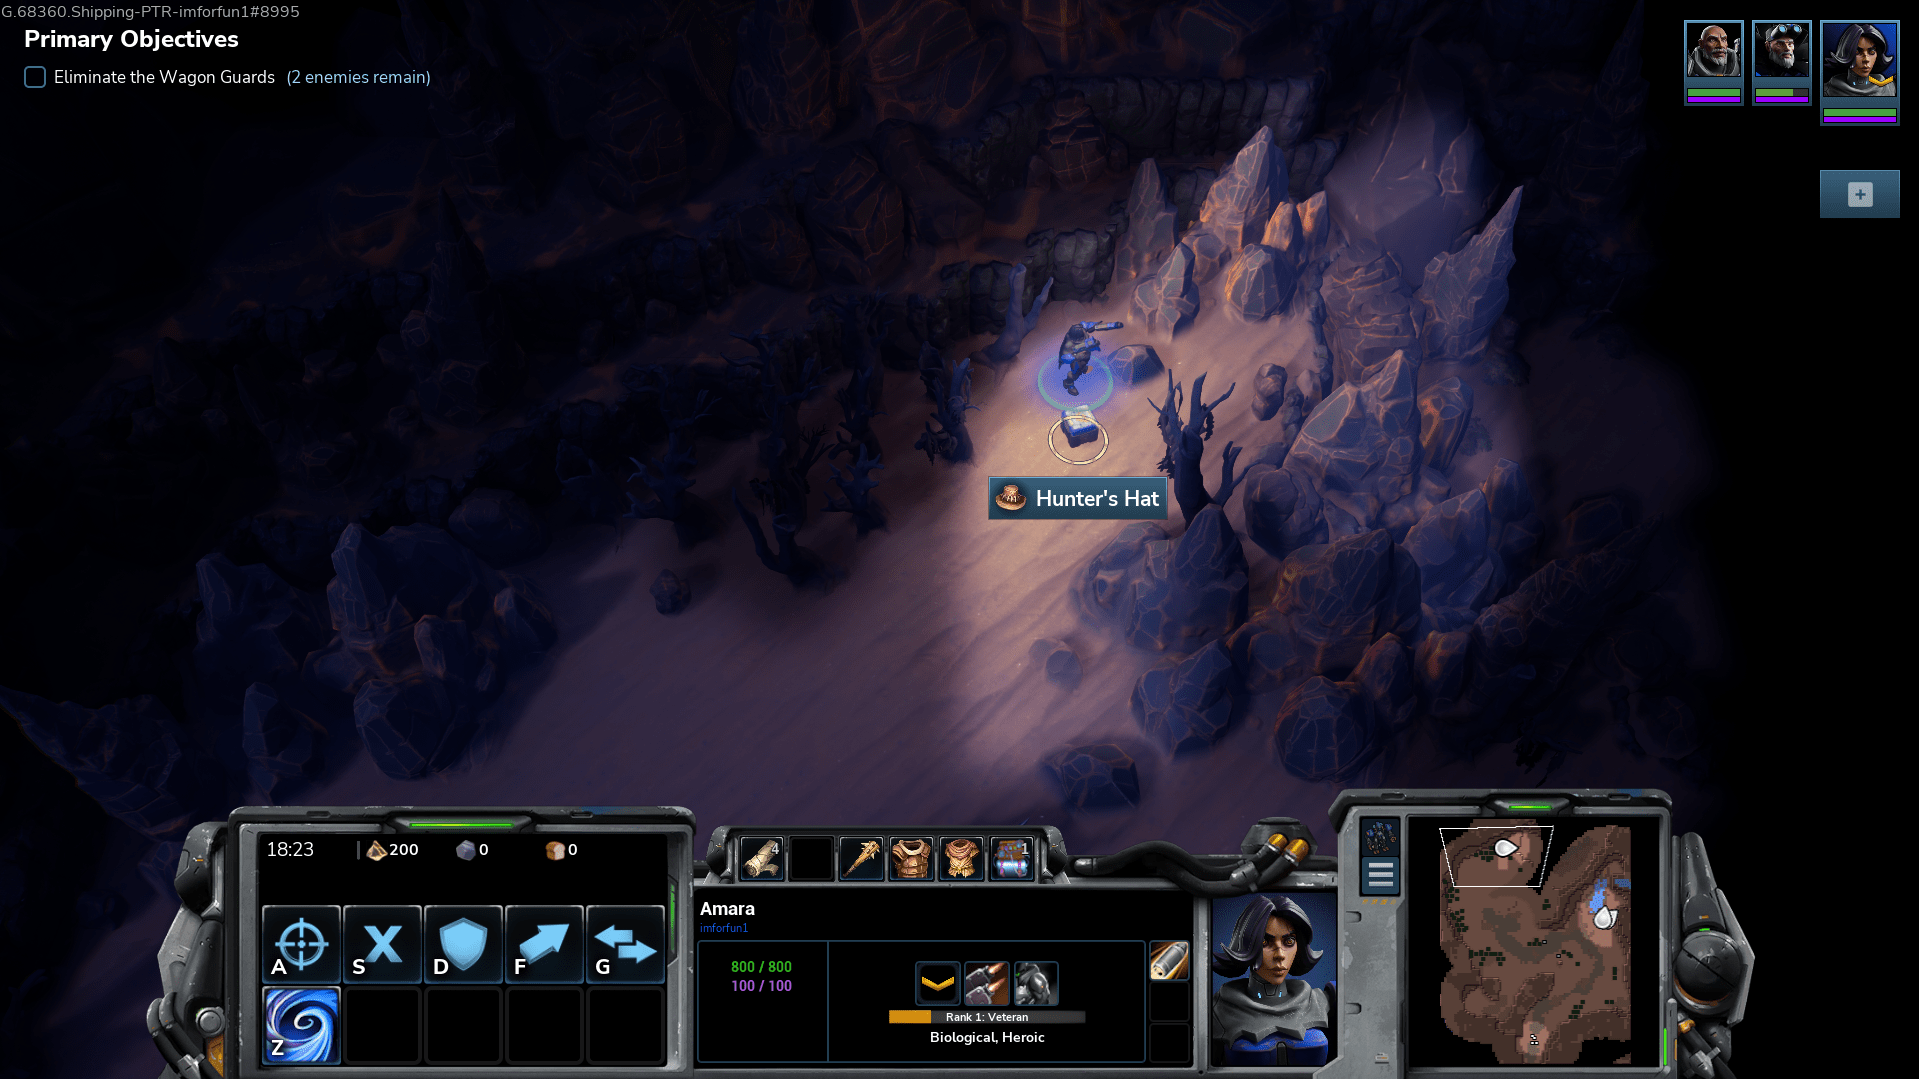
Item 5: Hunters Hat
- Gives more Move speed, Attack Speed, Vision Range, and Attack Range
Genuinely one of the most BROKEN items you can find as it gives a whole host of great bonuses. As you walk up into the area most of the scavenger guards are, DO NOT kill all of them. Instead, head to the left most edge of the map and walk around the left side of the first truck you see. This will loop up around the outer edge of the area to the Hunter Hat on the north most edge of the open space.
Mission 2
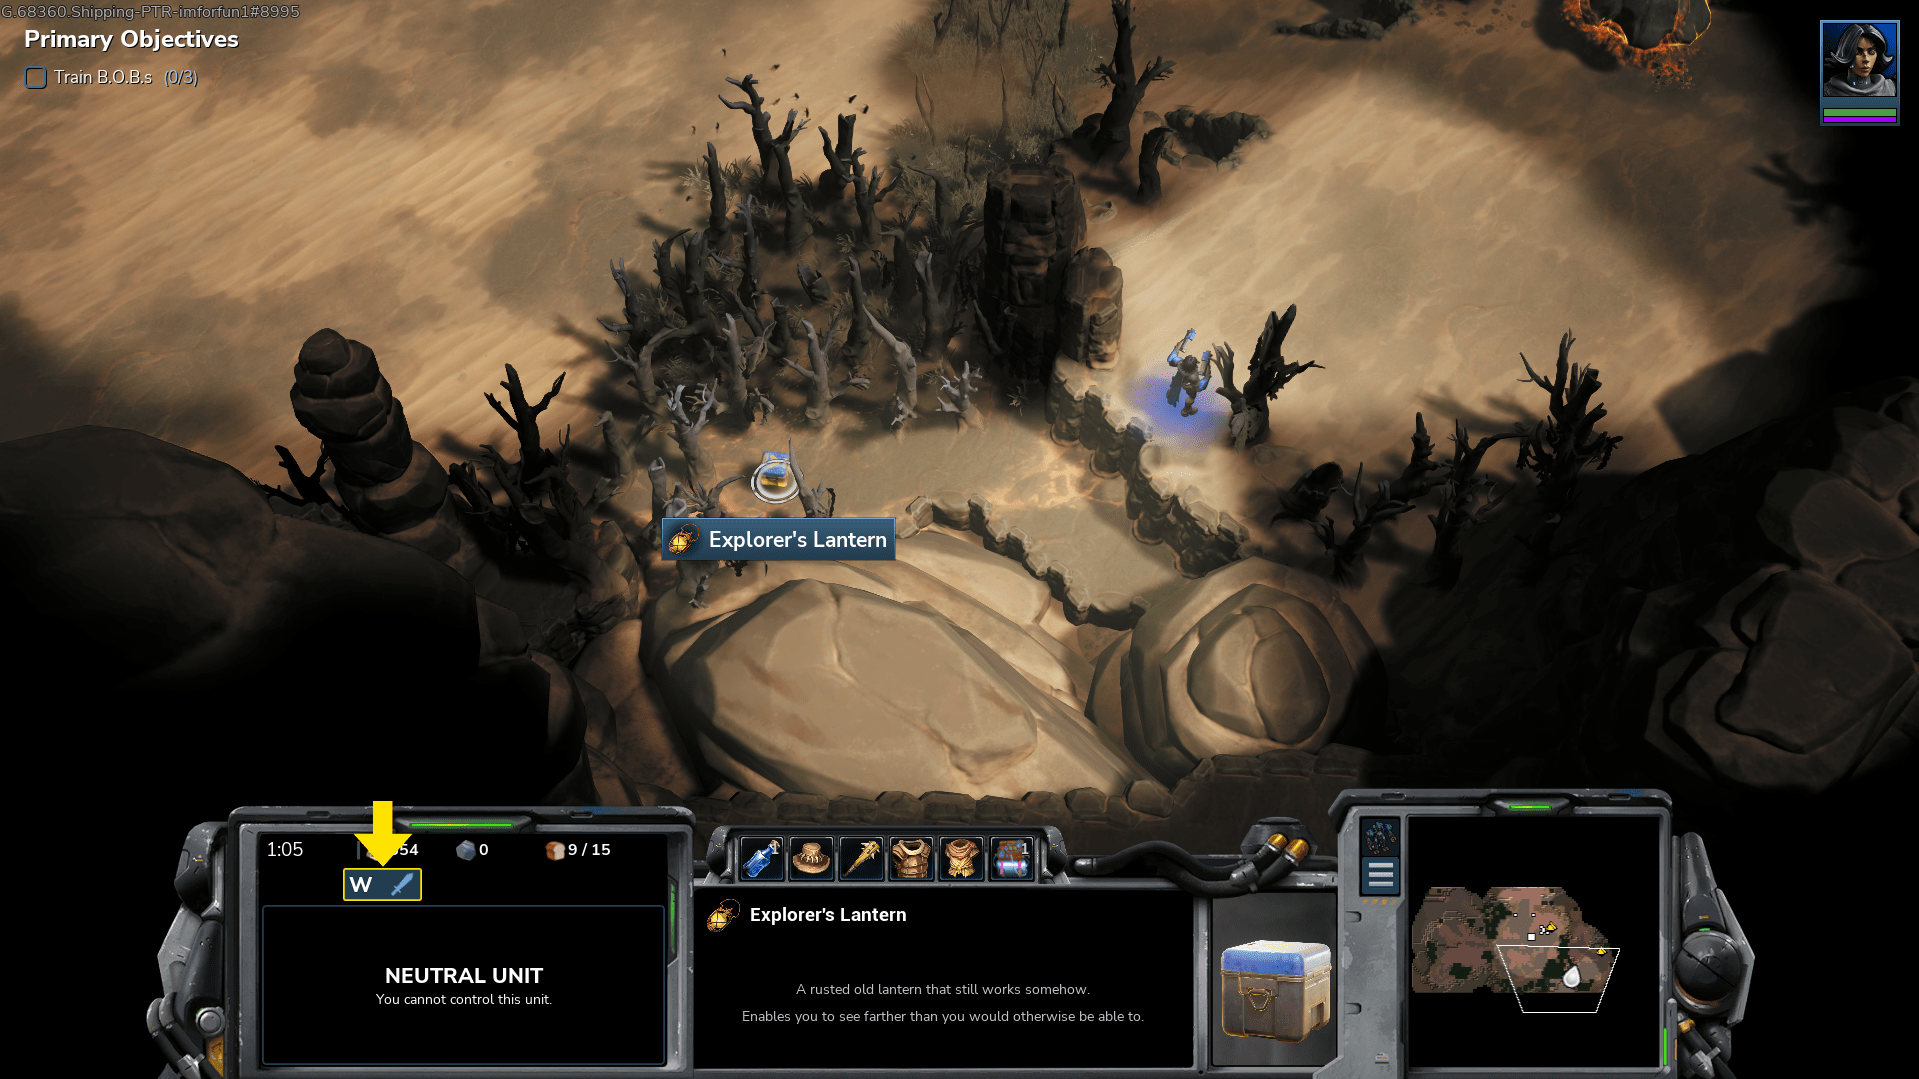
Item 1: Explorer’s Lantern
- Increased vision range
While not an item you will likely hold onto long, it is a free grab being just bellow the trees on the southern edge of the map bellow the base you find. You have to teleport down from the high ground to acquire it.
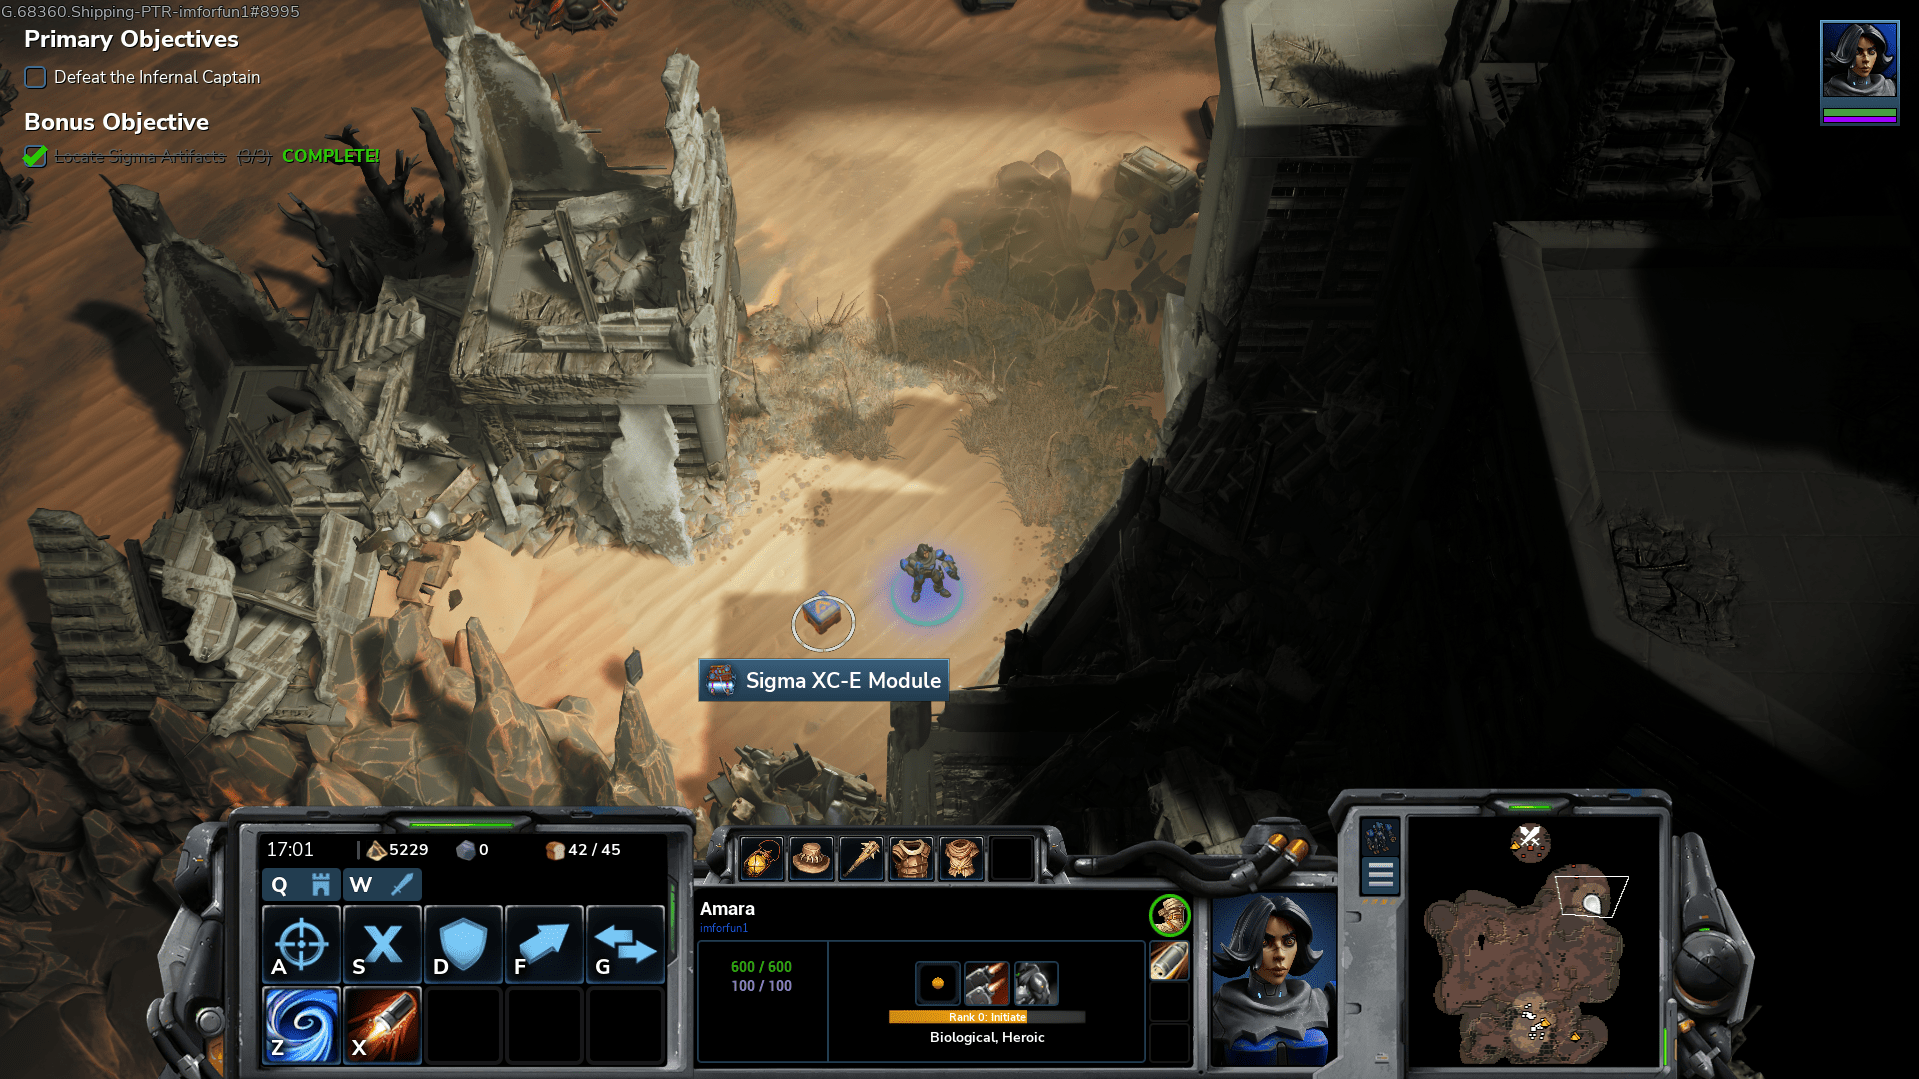
Item 2: Sigma XC-E Module
- +1 energy regen every 4 seconds (Can Stack the item)
As you begin moving through the pathway to the enemy base, just on your right is another stackable XC-E Module. Might as well start stacking them up!
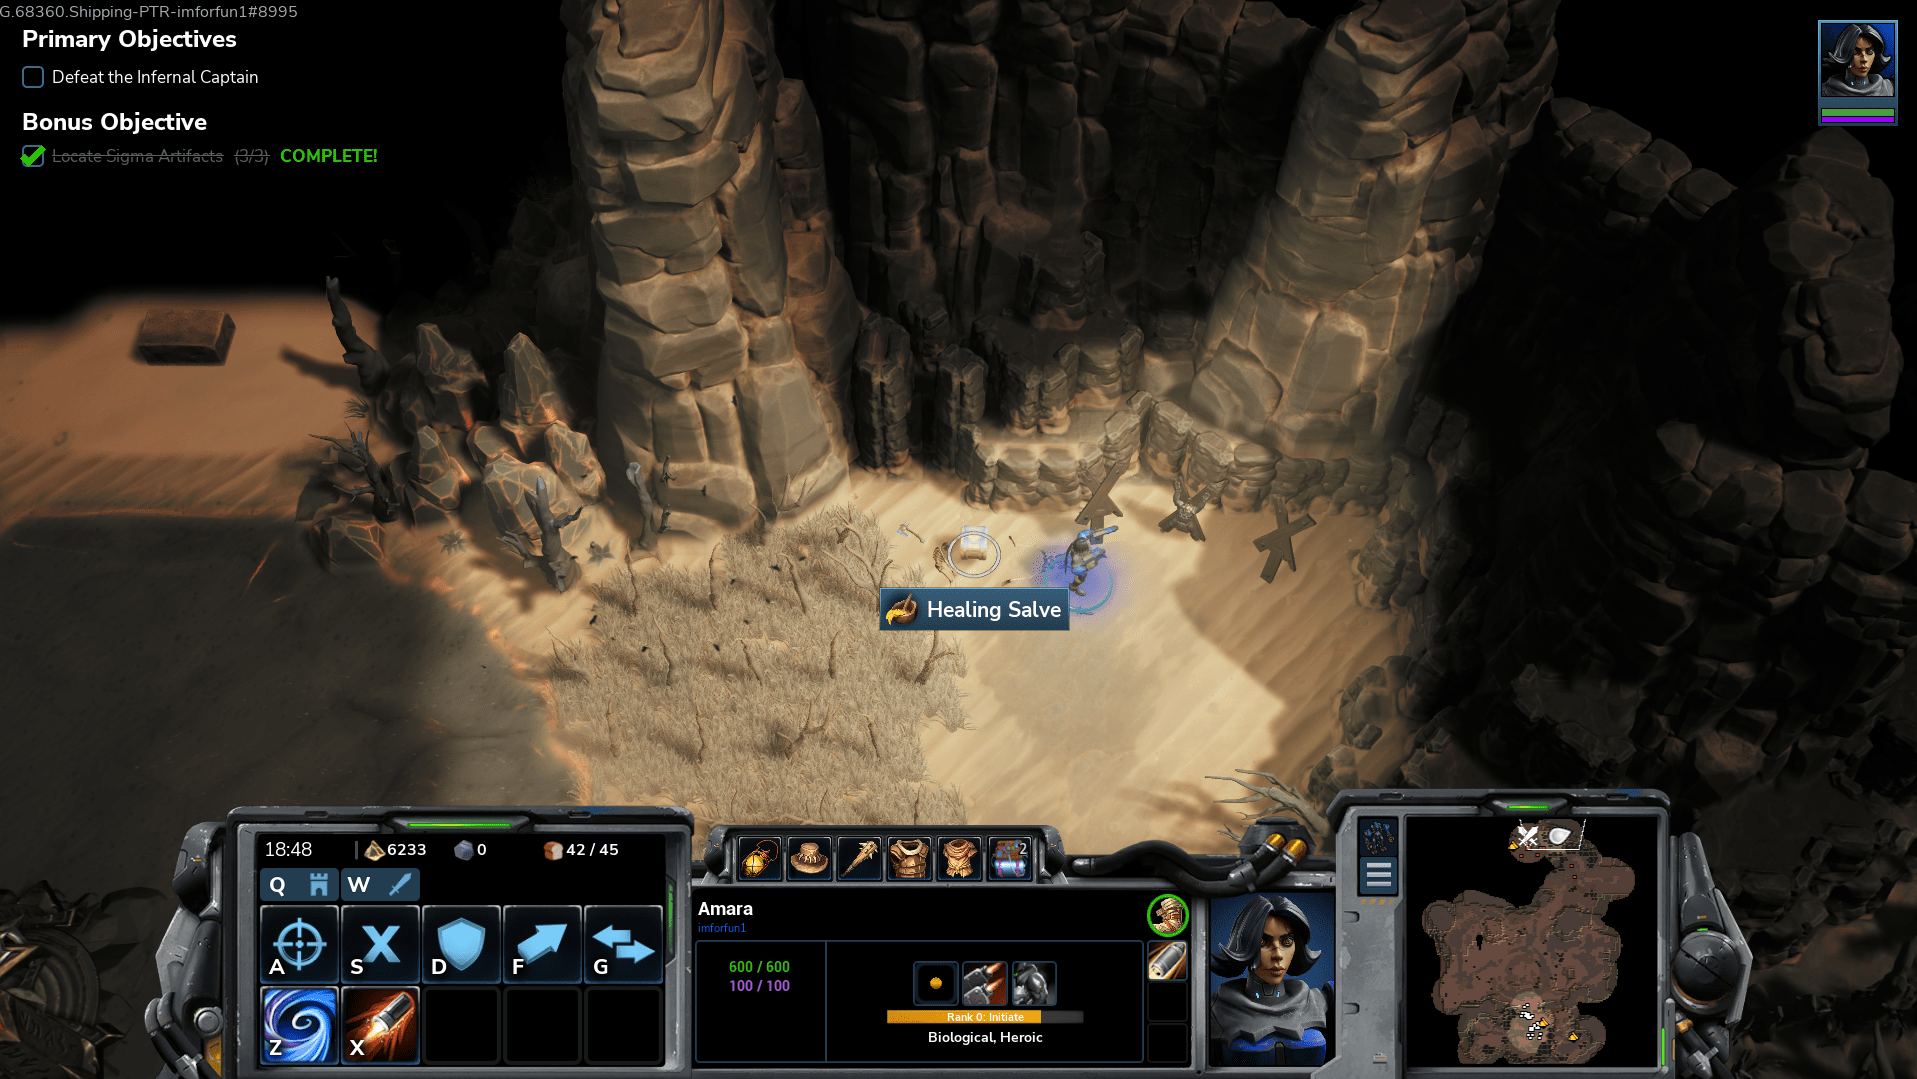
Item 3: Healing Salve
- Gives a large amount of health regen.
Continuing around the edge of the map, you will find it on the left on the left most edge just right of the blade we are after. I choose to leave this item for better finds, but it can be strong for just never dyeing.
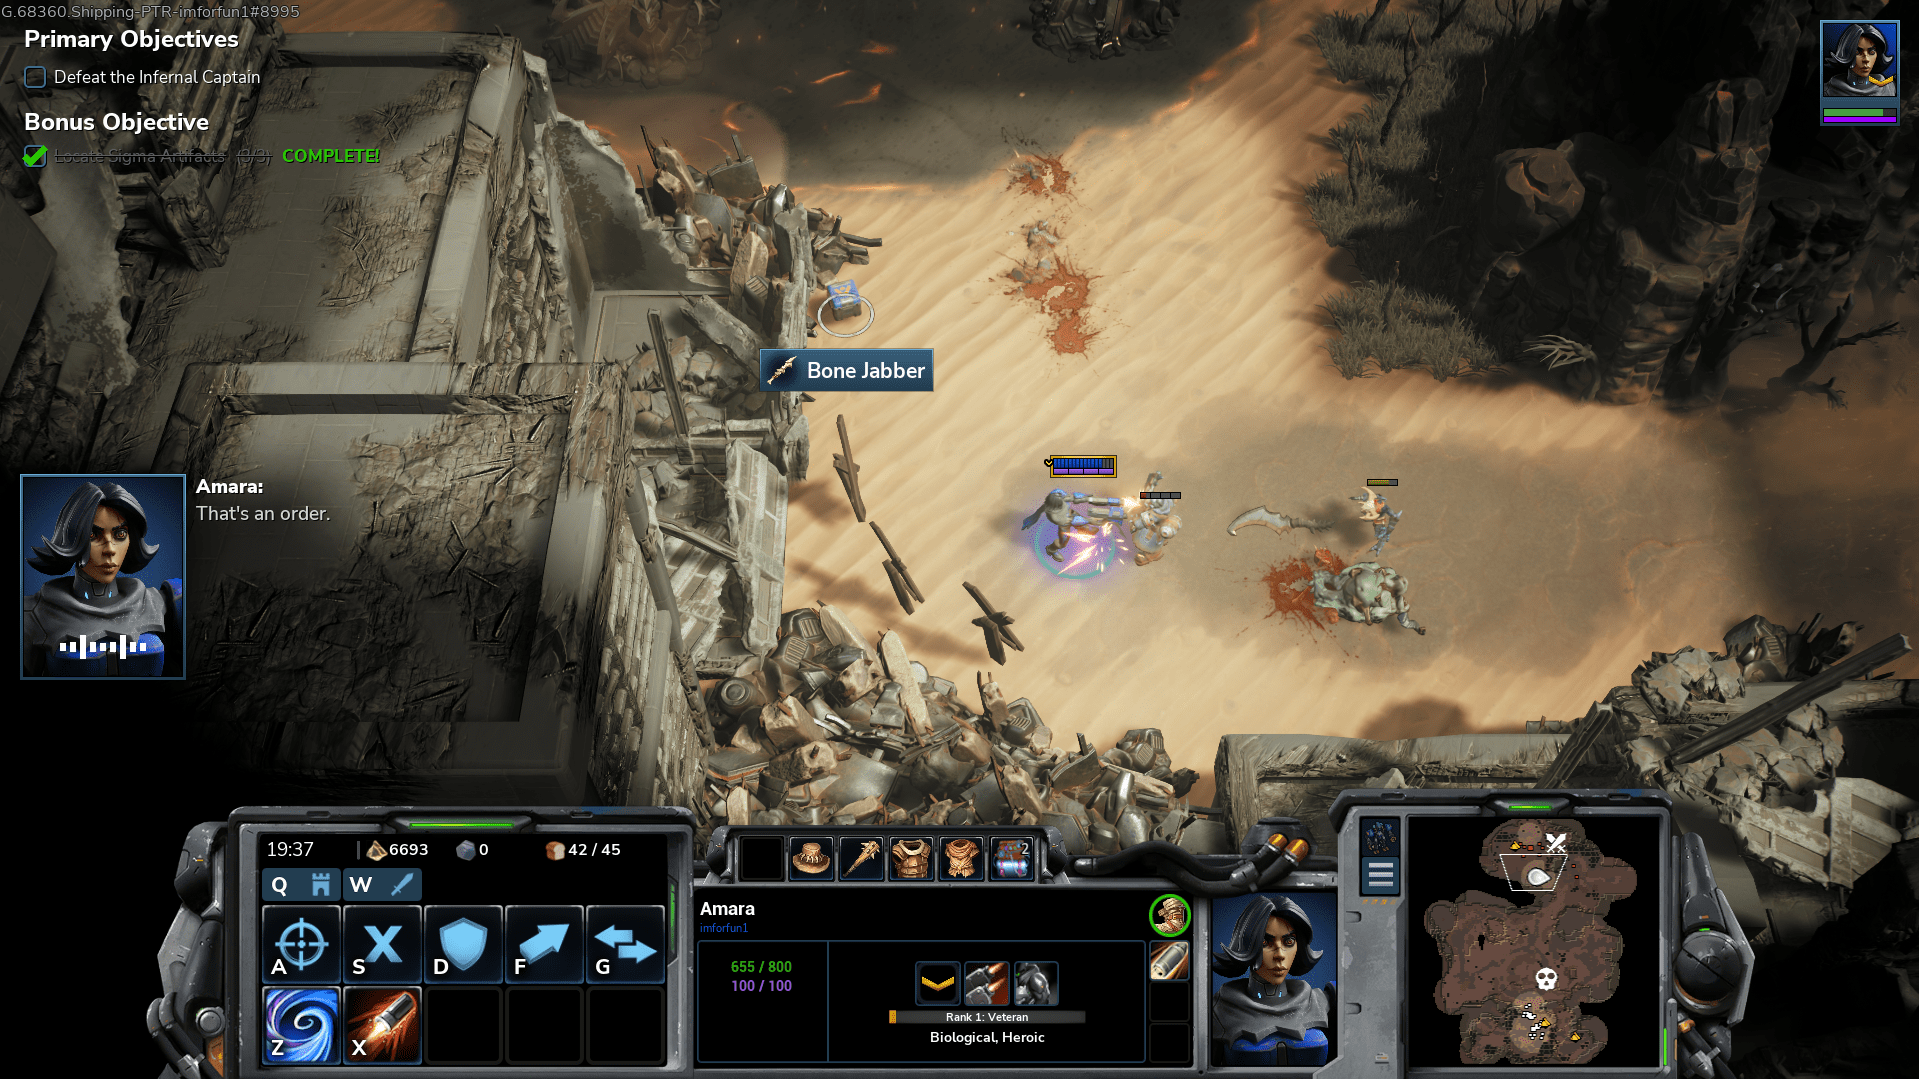
Item 4: Bone Jabber
- +4 Damage (around 40% increase at this stage)
The better Crude Cudgel, I opt to drop the lantern for this item at this time. It is just south of the enemies base near the transport that takes off with civilian prisoners.
Mission 3
Item 1: Combat Vest
- +20 Armor
Found just on the bottom most edge of the lower prisoner camp. Time to replace your desert garb!

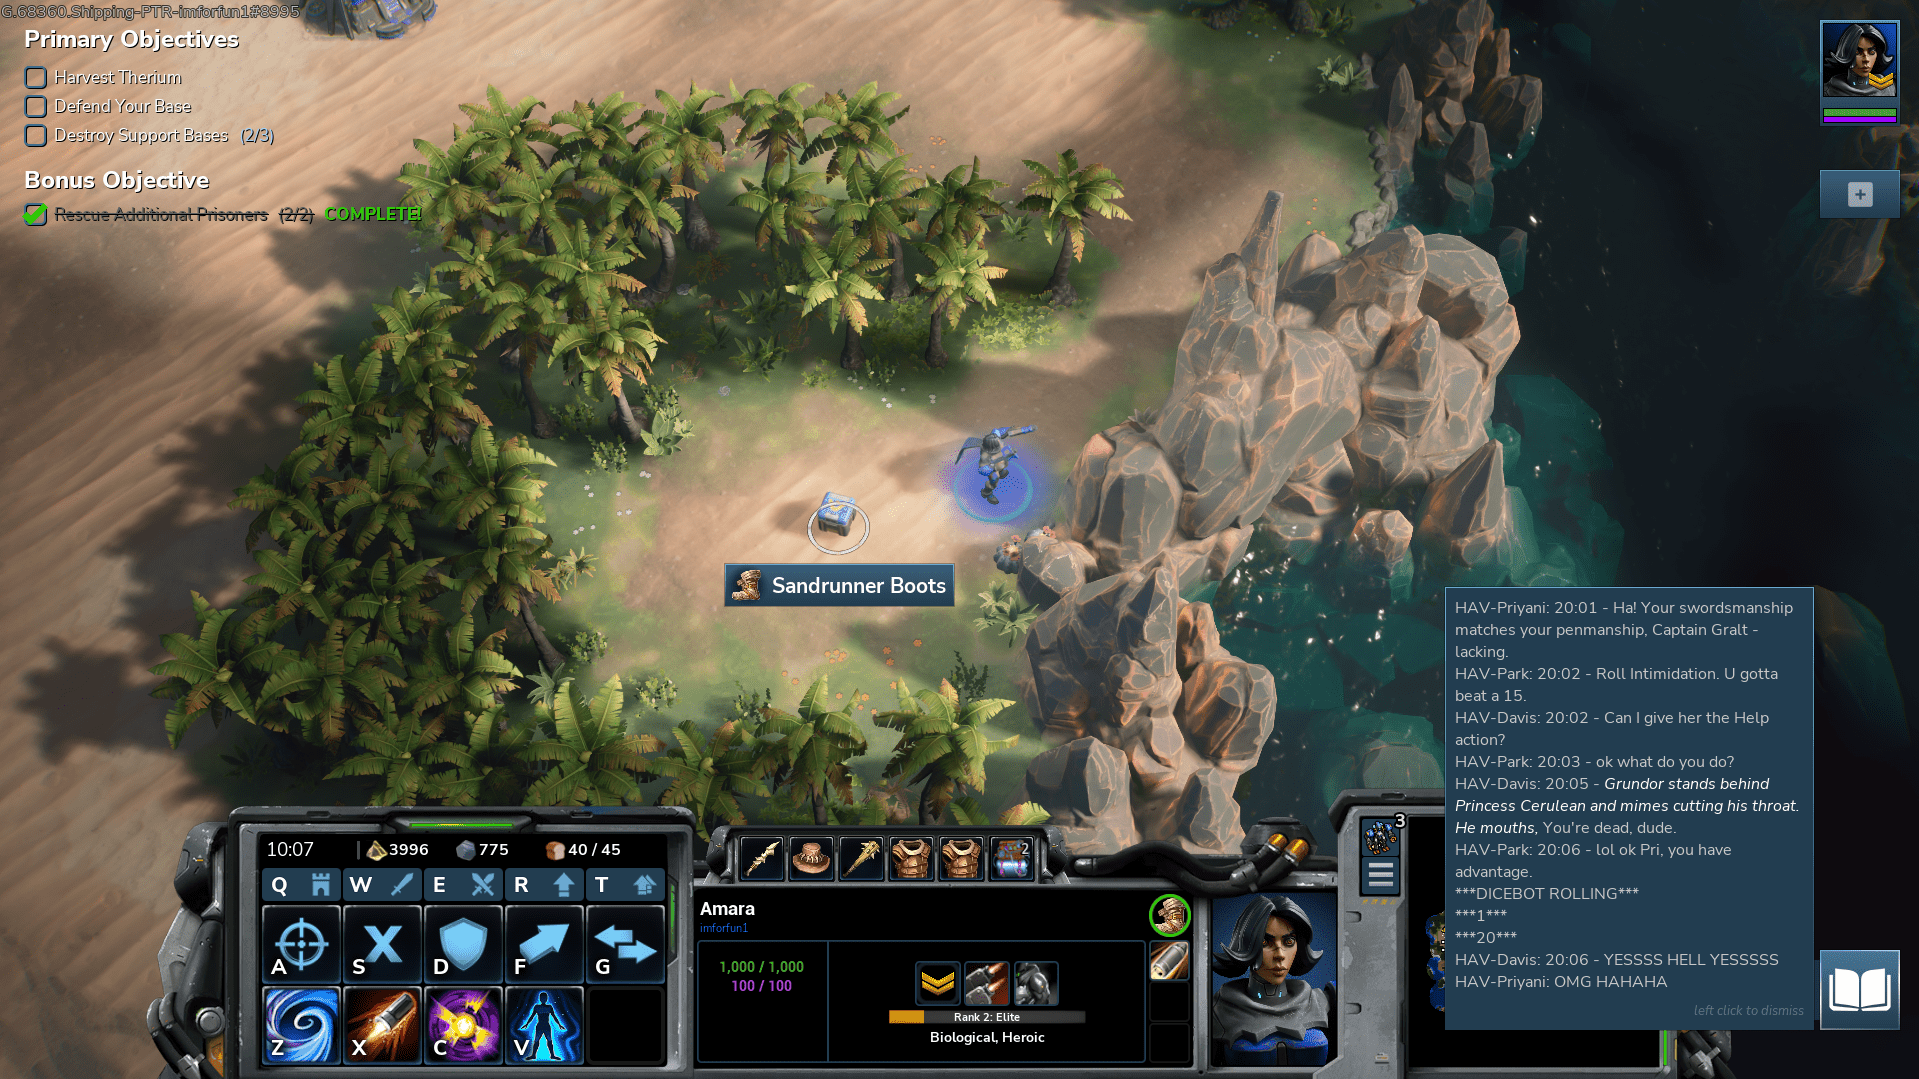
Item 2: Sandrunner Boots
- +1.2 Movement Speed
In a little alcove of trees right near the second base you can claim to get Vulcan, these boots are stashed away. I choose to swap my cudgel out for them just for the convenience of getting around faster.
Item 3: Misc
- Big Red Button
No idea what it does, but would love to find out. It is found on the far left of the map over on a little island you can teleport to. The pathway is near the first base you acquire.
I chose to loose a vest in hopes of finding out, but it’s not worth it so far from what I can tell.

Mission 4
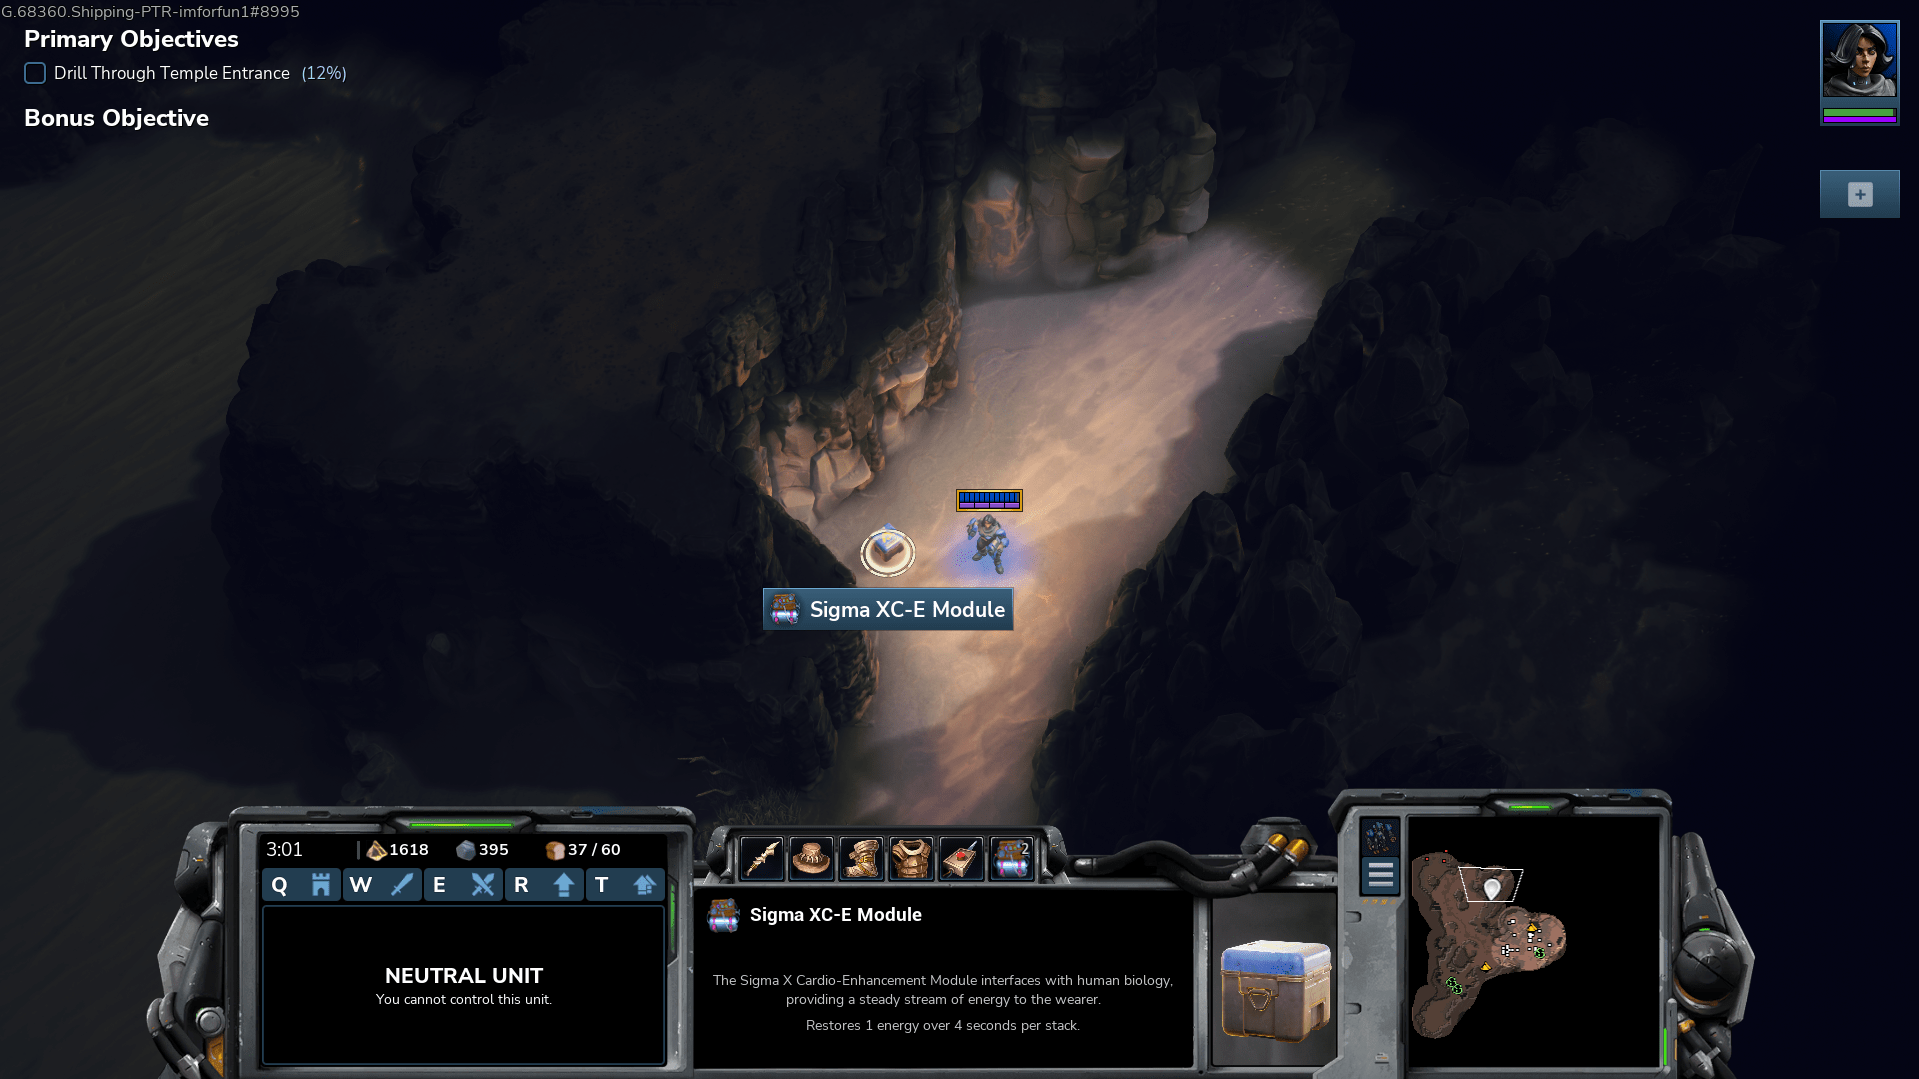
Item 1: Sigma XC-E Module
- +1 energy regen every 4 seconds (Can Stack the item)
Our third XC-E Module can be found laying around on the left side of this map just south of the rightmost entrance to the infernal base.
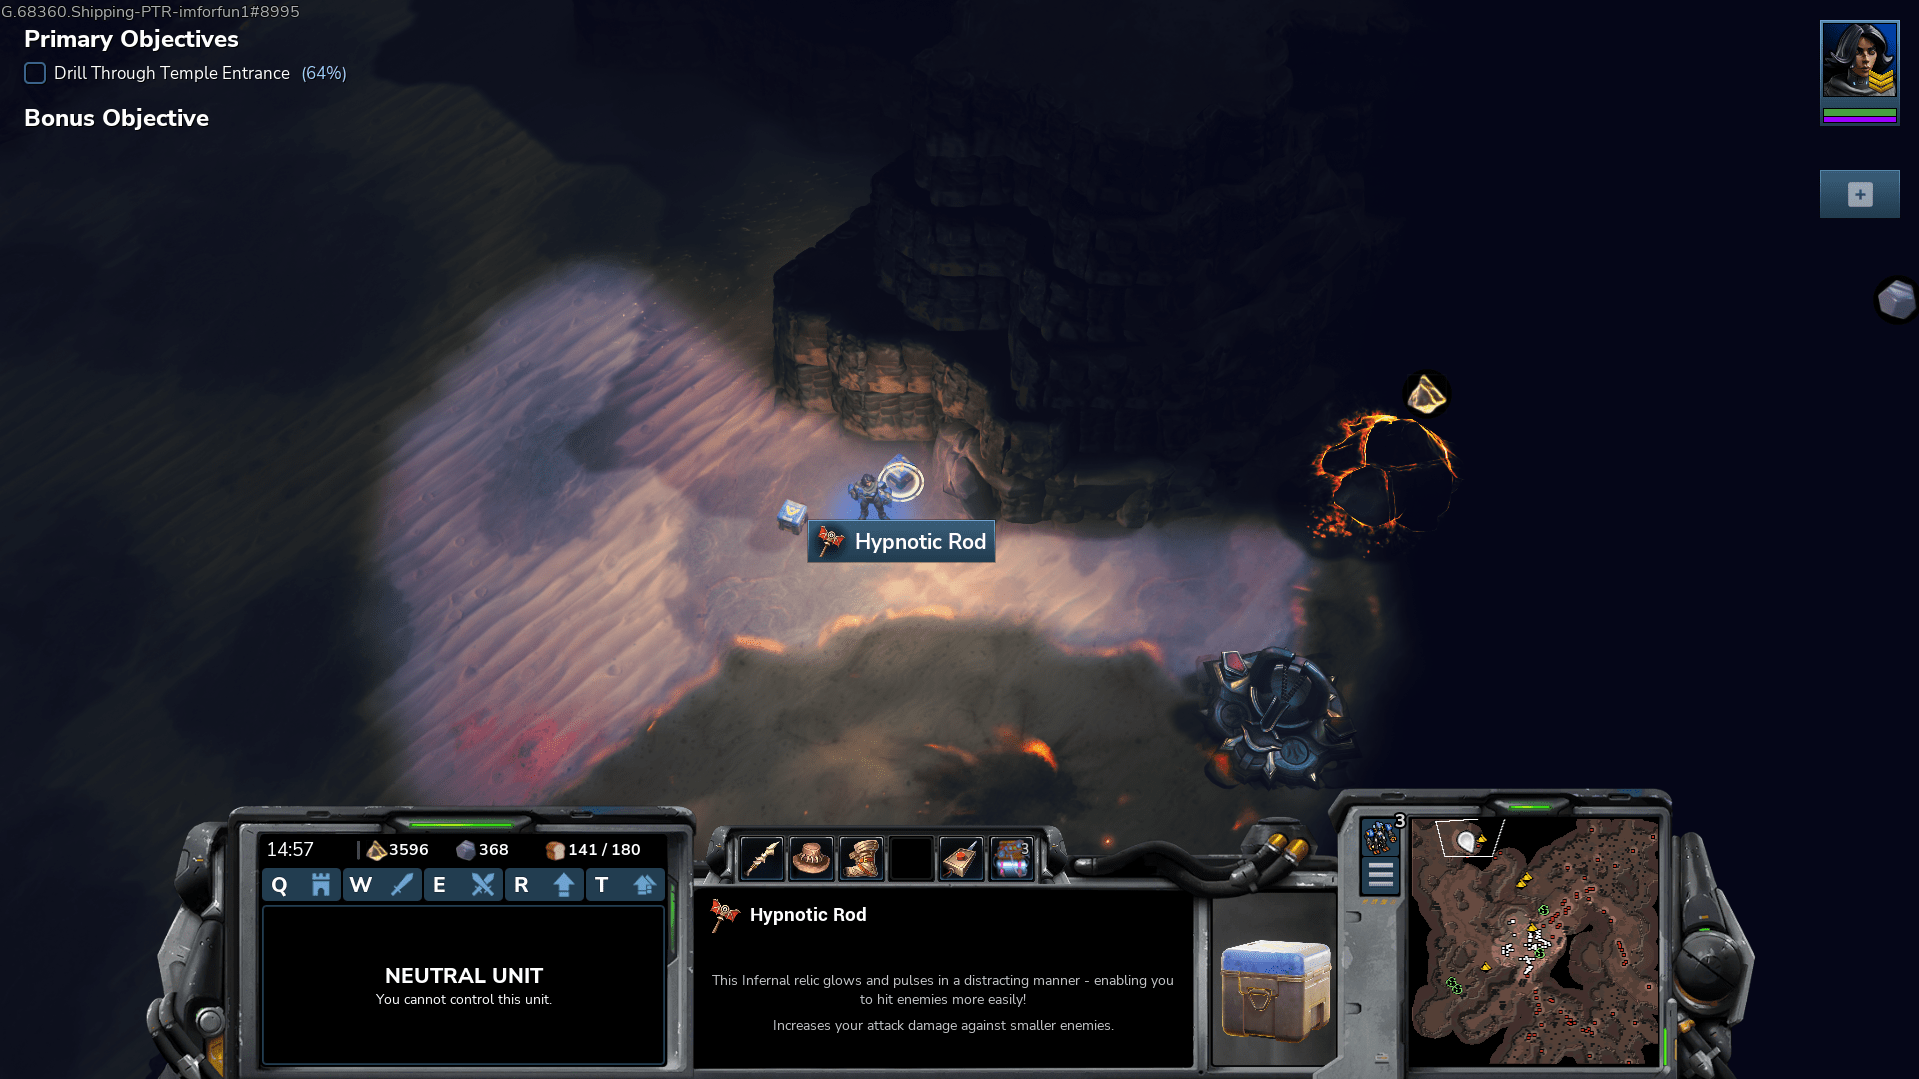
Item 2: Hypnotic Rod
- Bonus damage to light armor units.
Tucked ked away within the Infernal base is this unique artifact. It is however too weak in my opinion to consider using over our other items.
There is also three training manuals which give free unit veterancy experience hidden around the map, but they are not really worth going out of your way for. It might be useful to pump power in the next two missions though, so some experimentation could be in order.
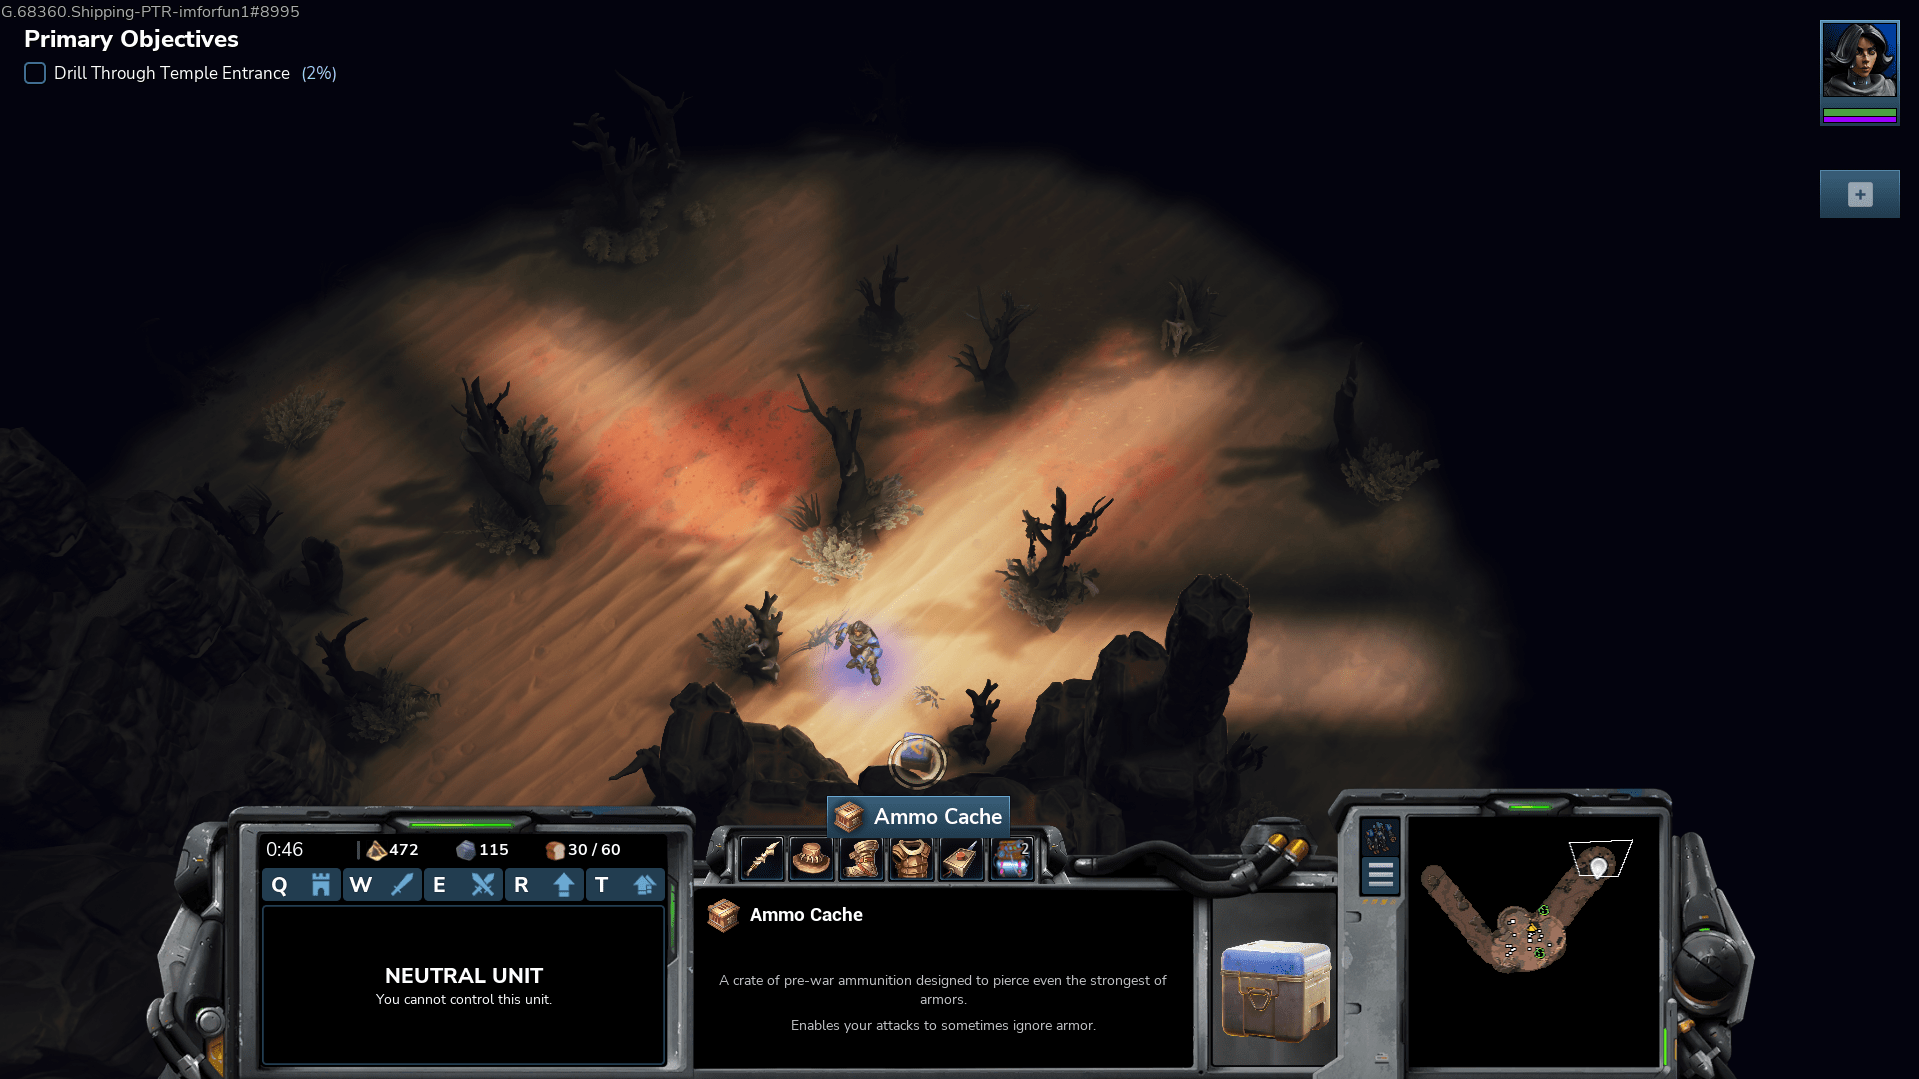
Item 3: Ammo Cache
- Allows attacks to sometimes ignore armor.
I am really unsure what the purpose of this is, as your hero already has a passive called Hallow point Rounds which allow her attacks to ignore armor?
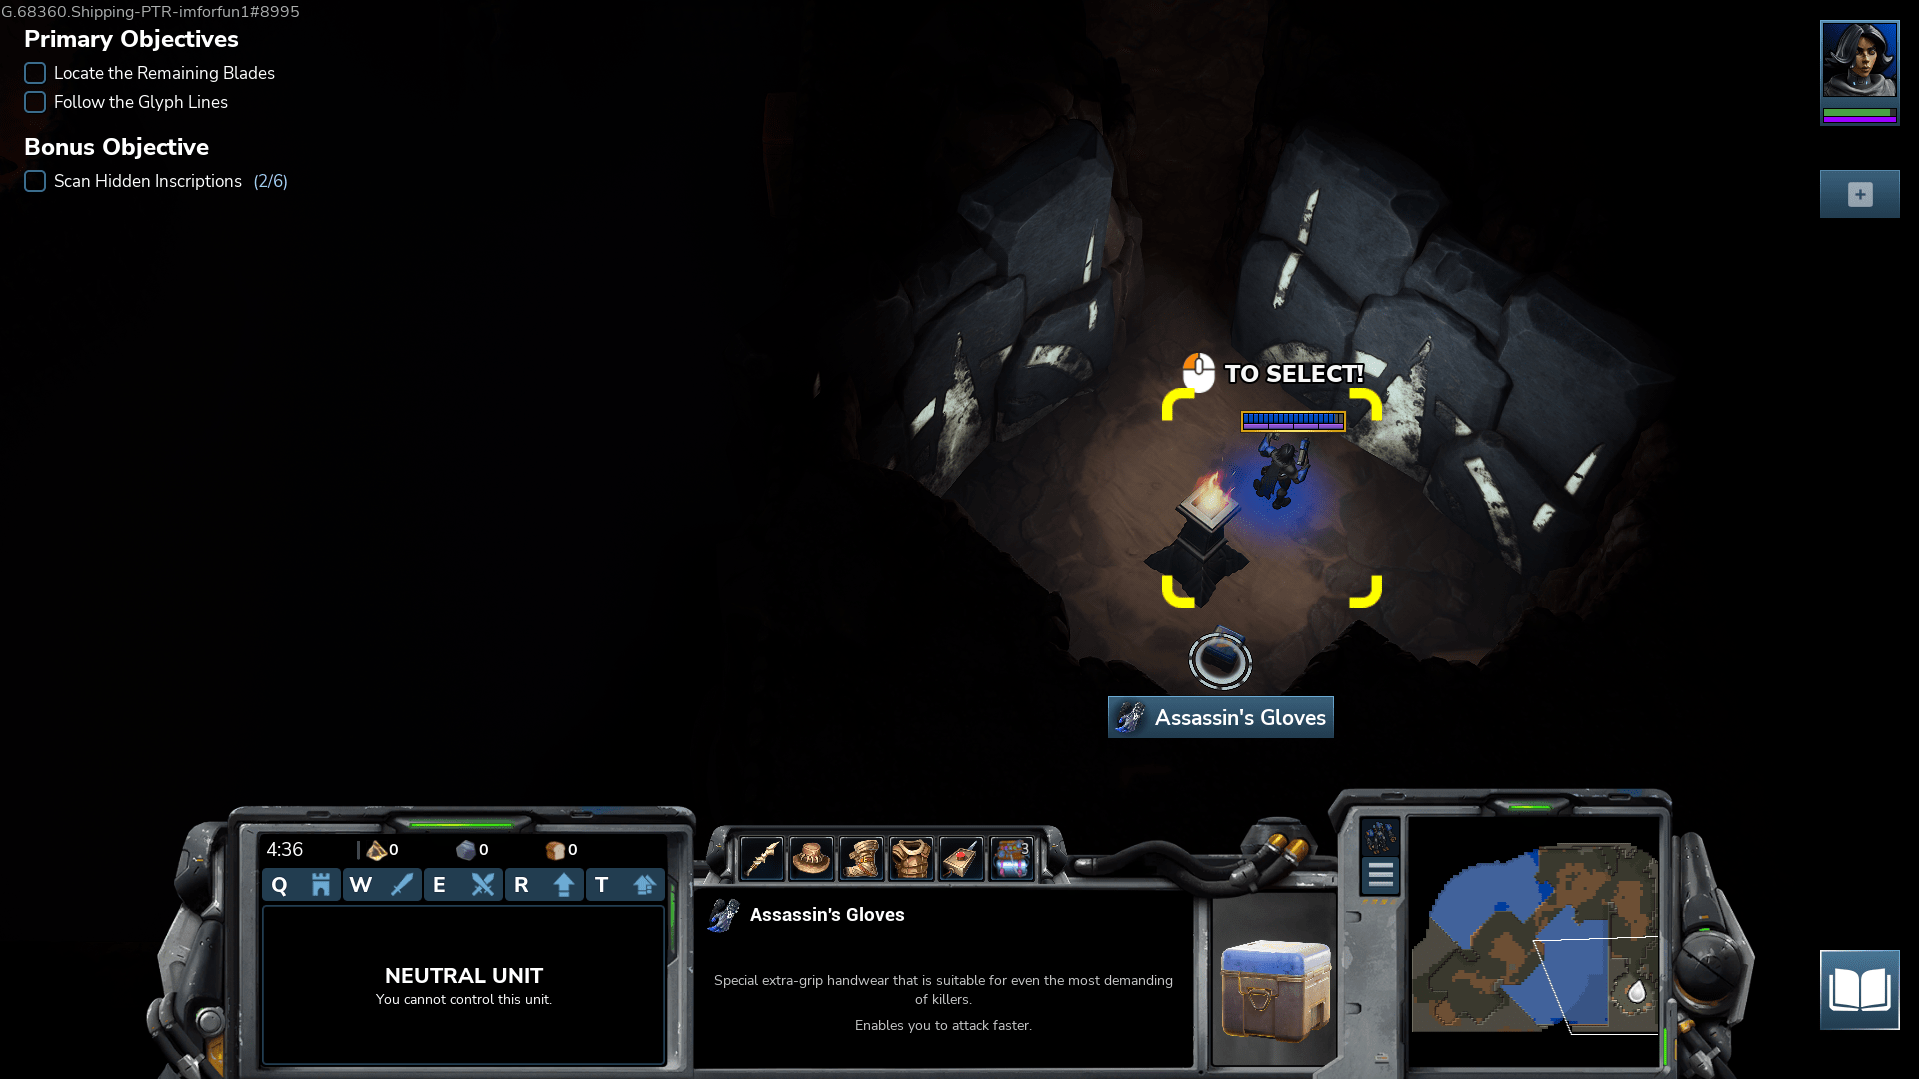
Mission 5
Hidden in the second stage where you find your second marking for the bonus objective is EITHER another explorer’s lantern OR Assassins Gloves which are an amazing item which increase your attack speed! Having tested this mission a hand full of times, it is indeed random loot.
- You can attain your fourth Sigma XC-E Module along the way. It is not hidden at all.
- There is also a strange doll you can find along the way to the sixth hidden objective location.
- There is also the strongest armor you can currently get which gives +30 armor, and is dropped by your shadow after the fight.
- All of these don’t need pictures since you are extremely likely to notice them.
Mission 6
Finally we come to the last mission, but there is only two items here that have real promise to consider.
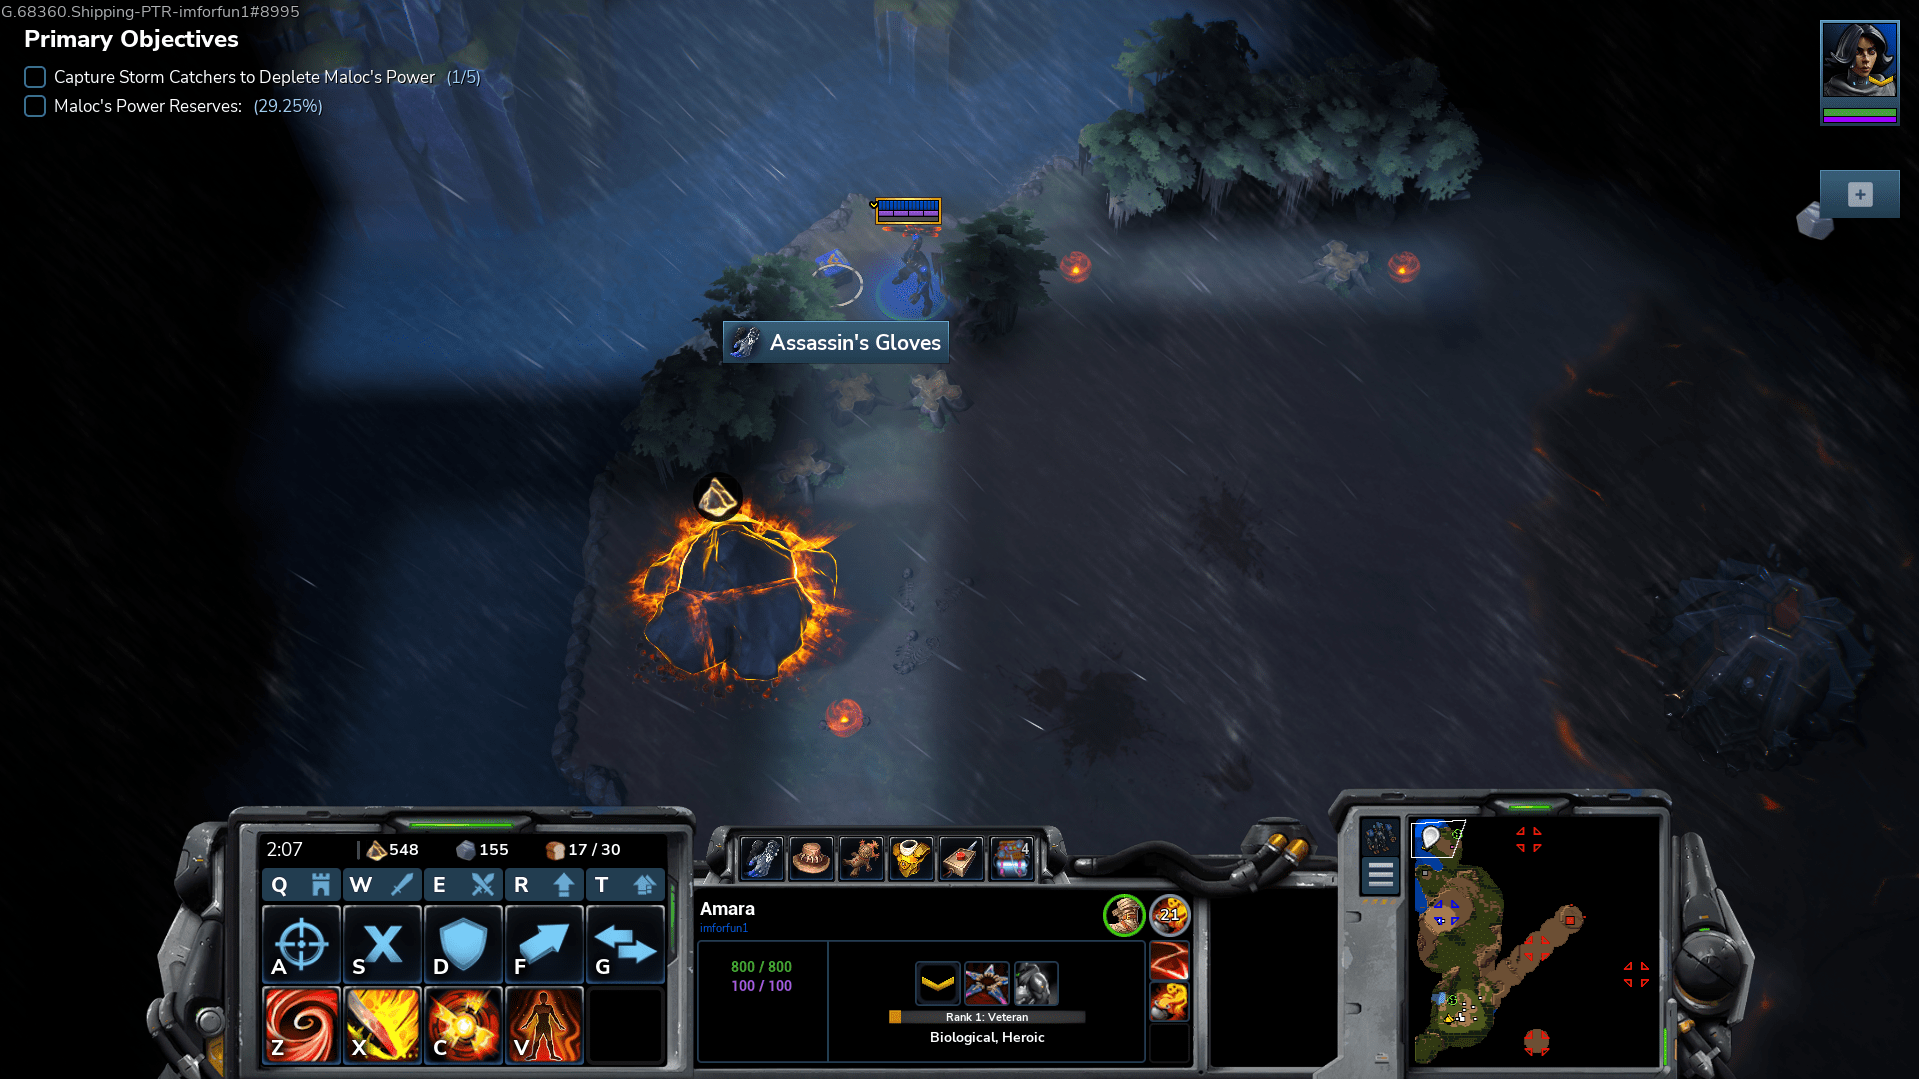
Assassins Gloves
- Increases Attack Speed
Another spectacular pair of assassins gloves can be found tucked away behind the northern most enemy base.
Camo Cloak
- Makes Amara invisible while she is not moving
A unique find, this item is pretty interesting however at this point in the game has no real purpose. Who is to say if it might have value in the future though?

Ammo Cache
We have another ammo cache hidden behind the ship within the tree’s.

XC-E Module and Sand Runners Boots
Next, there is both a XC-E Module and Sand Runners Boots tucked away on a cliffside you have to blink to, to reach.

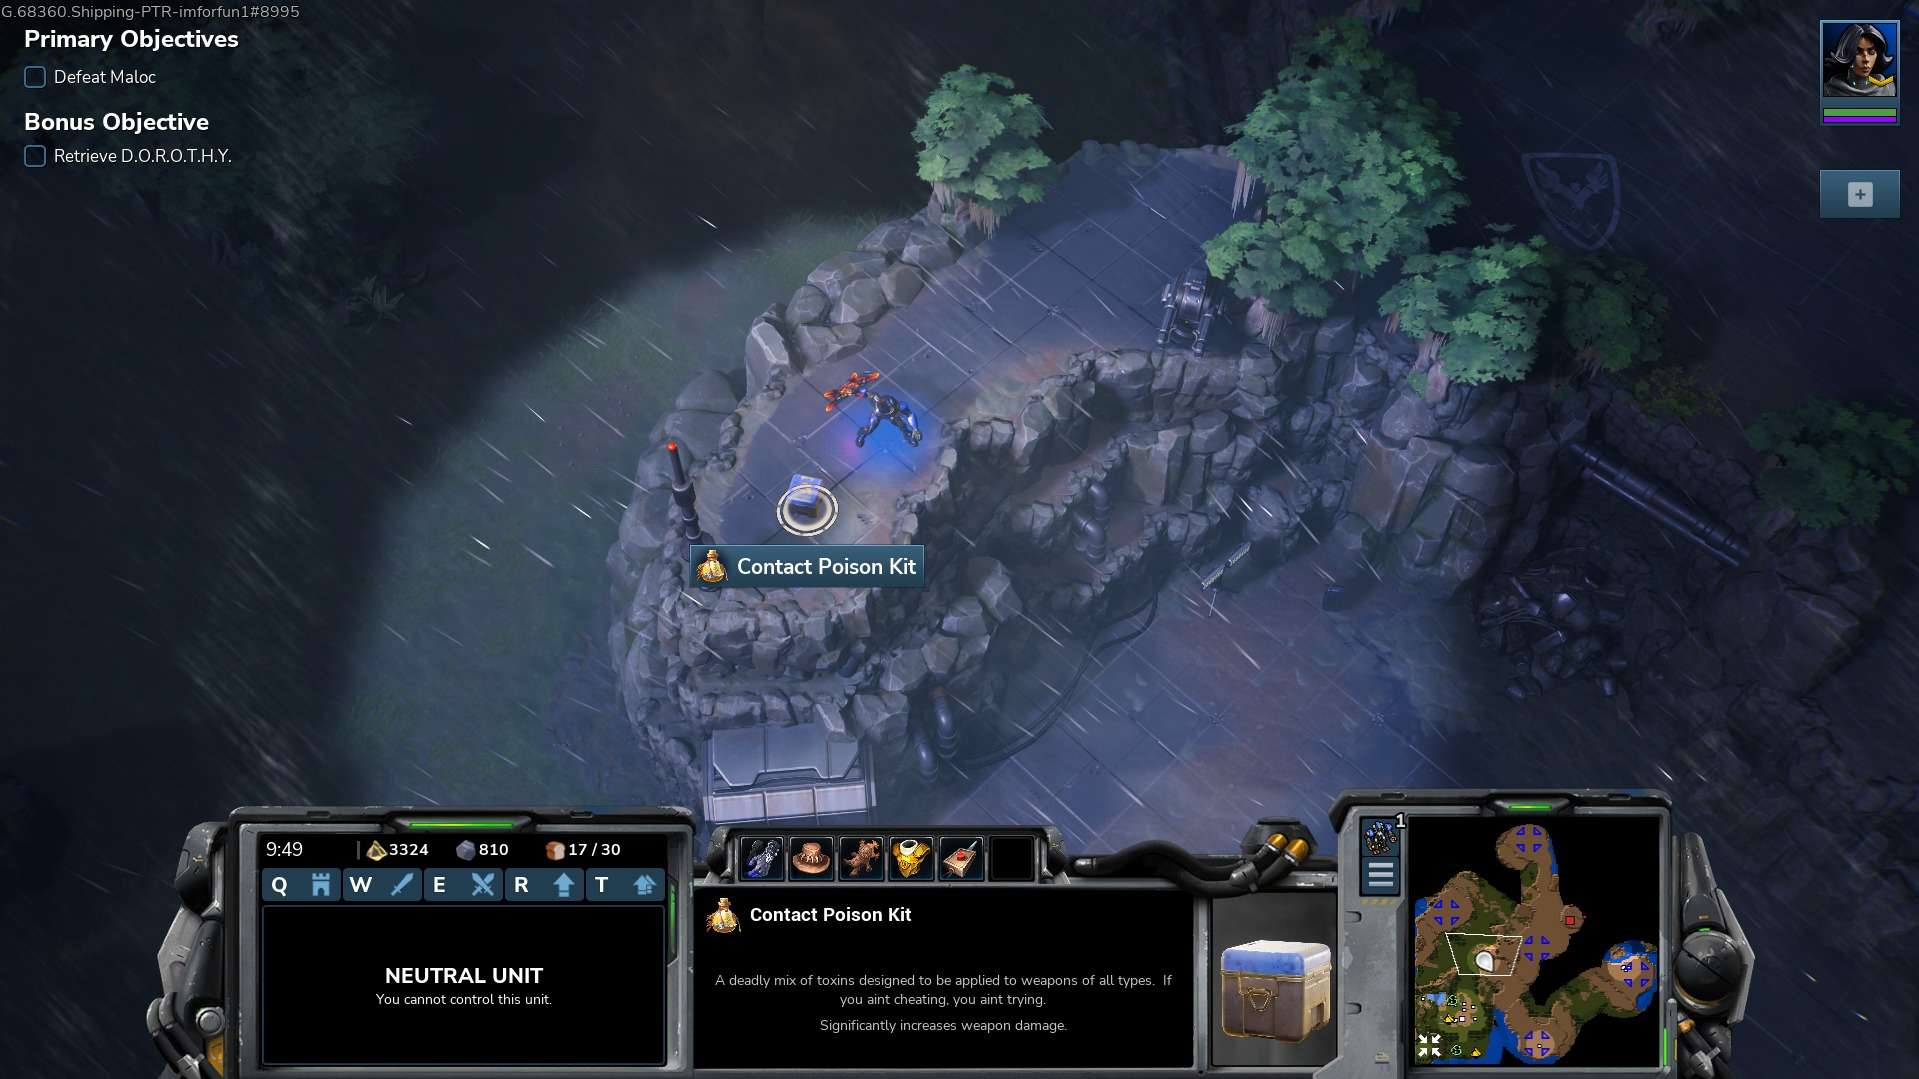
Contact Poison Kit
And lastly, I have also found the strongest damage item yet! Giving even more raw damage than the two prior! Sadly, I can’t tell the exact amount with all of the % bonuses I have at this point in the campaign.


Be the first to comment