
Guide to monolith and stabilizer locations across chapter 8, spoilers ahead.
Chapter 8: Locations of Stabilizer and Monolith
Stabilizer Locations
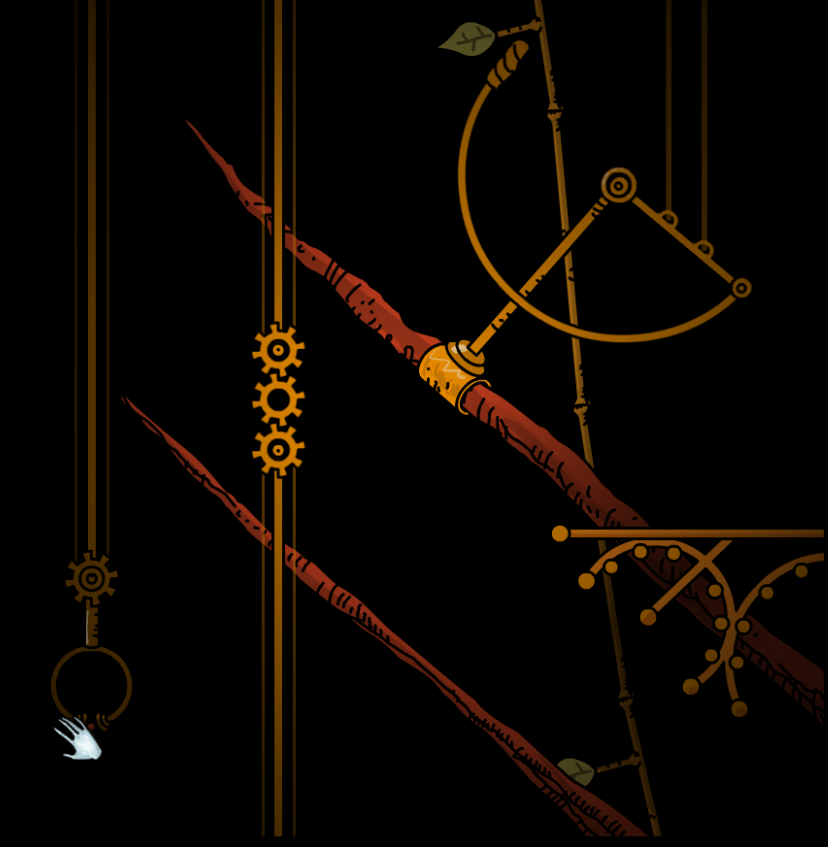
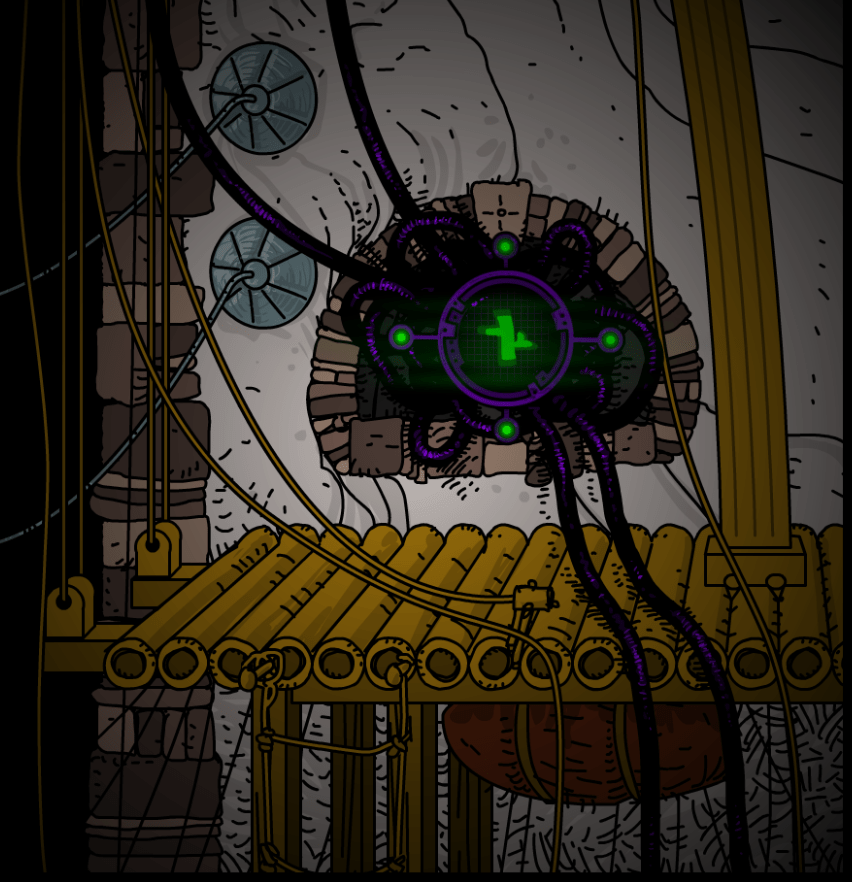
- In layer 1, move the yellow beam to its original location.
- Go to layer 3 and go left.
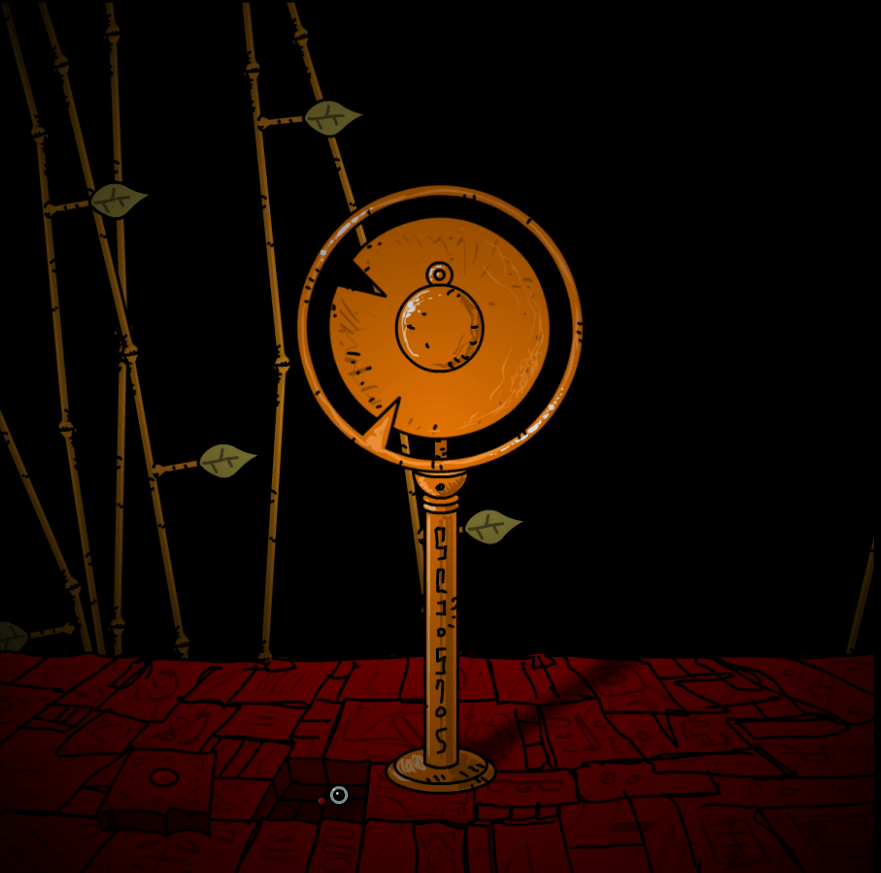
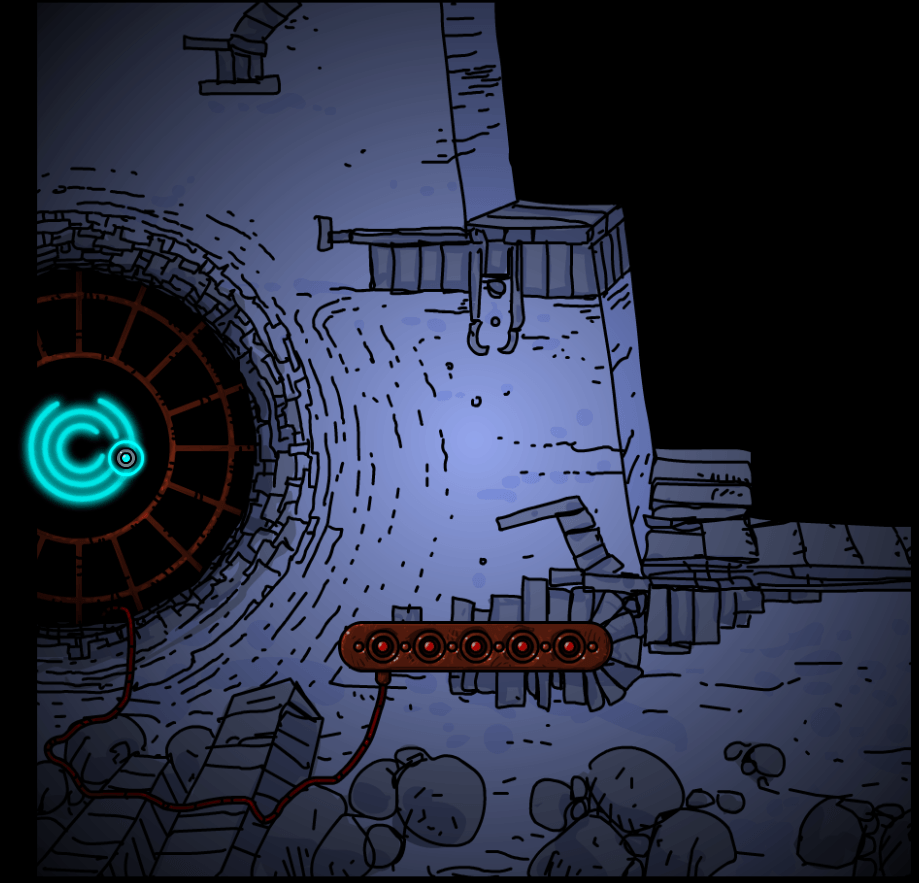
- In layer 3 on the floor beside the spin device.
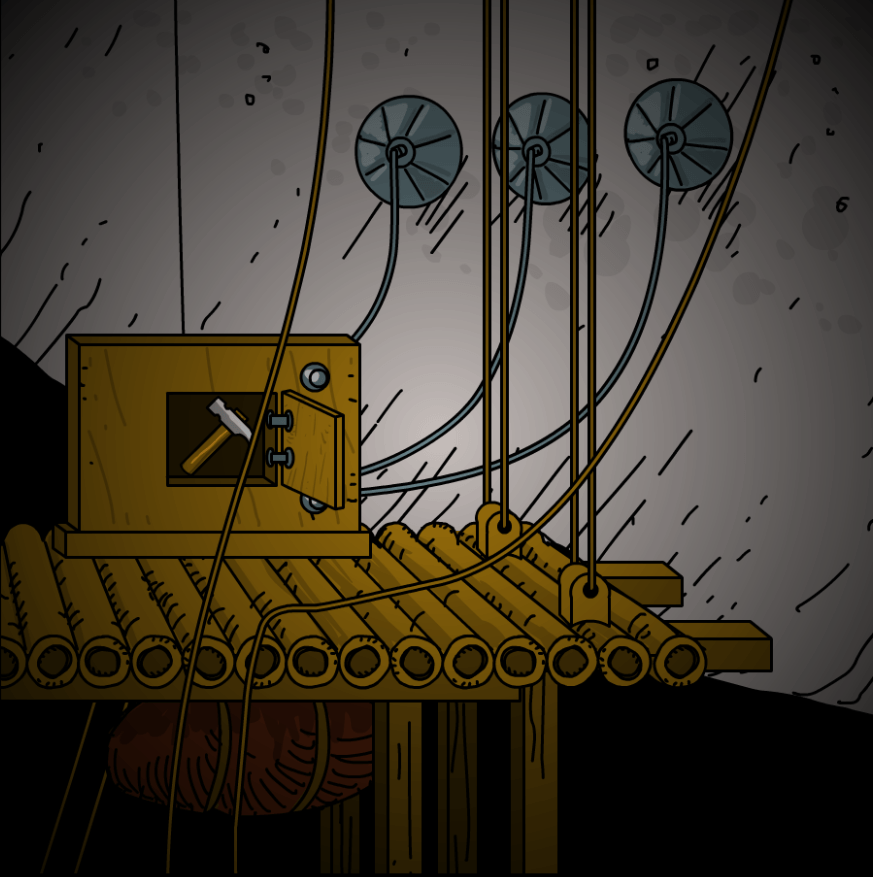
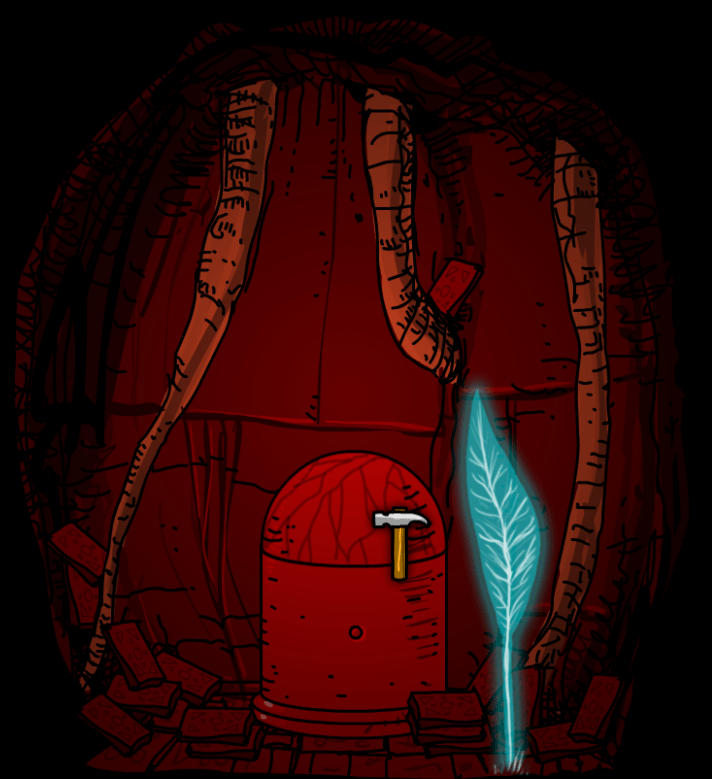
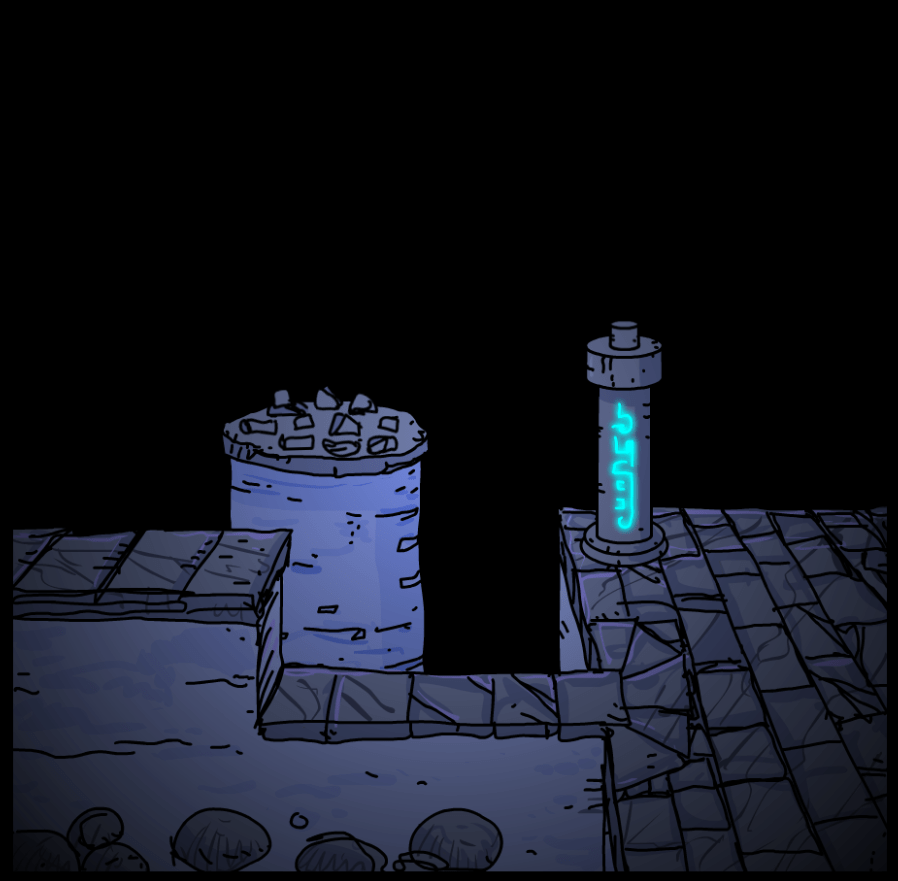
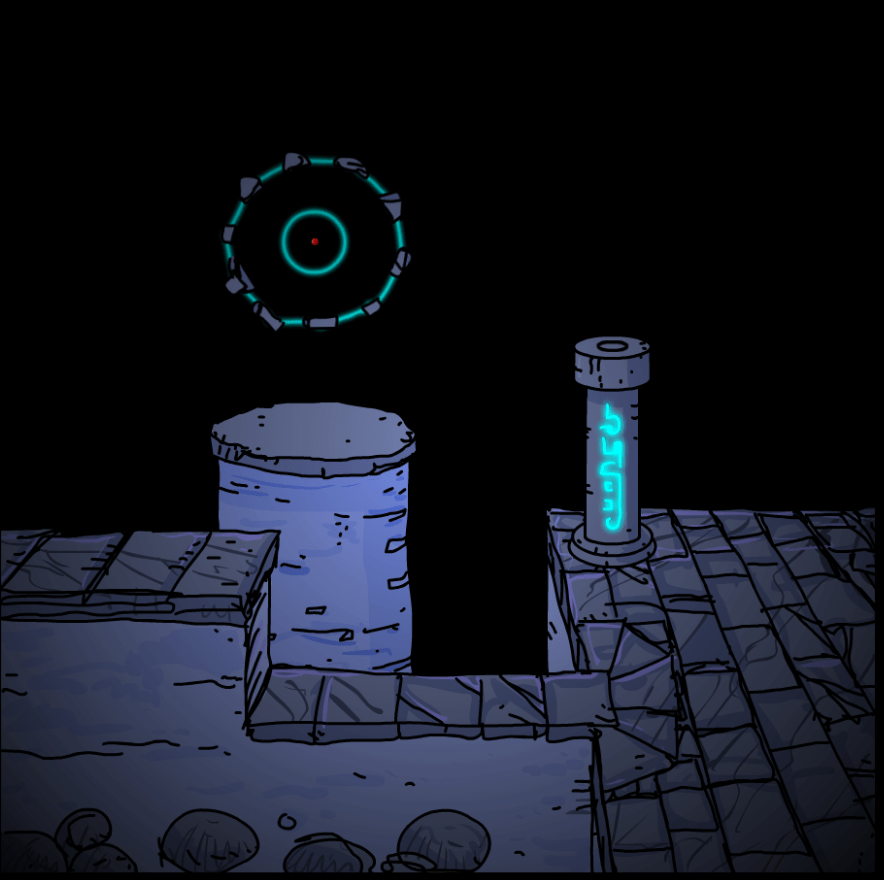
- Grab the hammer and a stone button in layer 7.
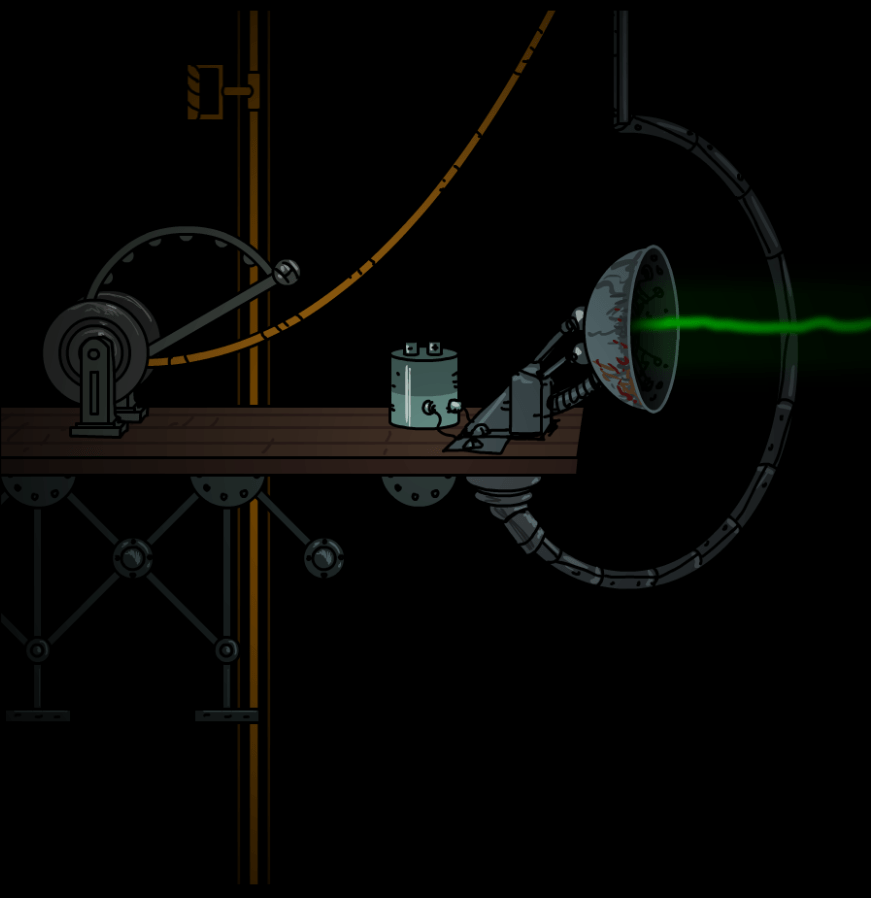
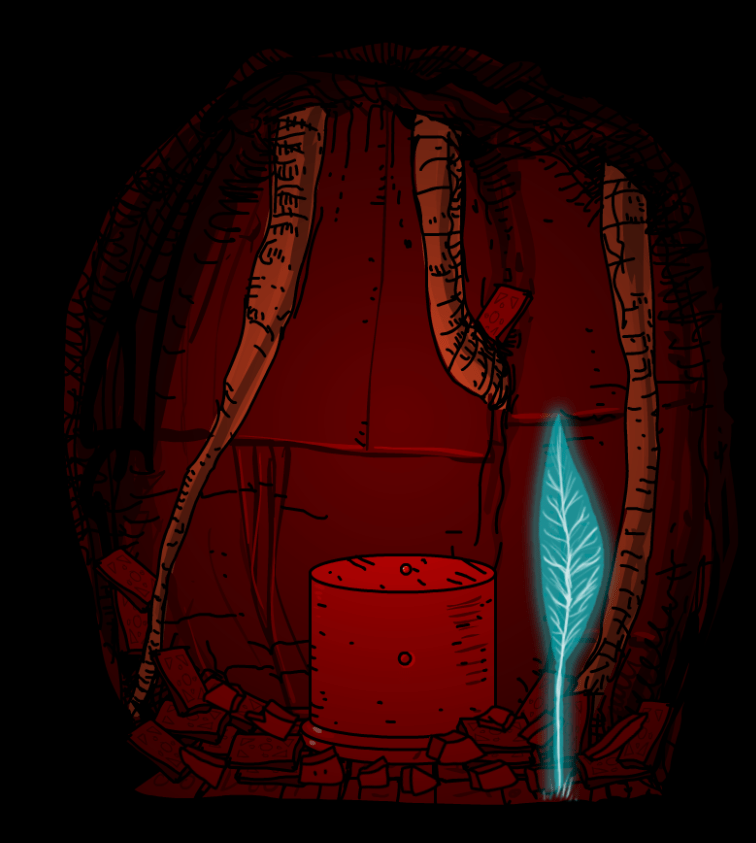
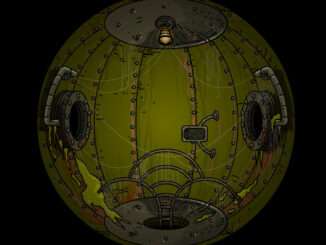
- In this location in layer 1, warp to layer 3 and smash the dome with the hammer.
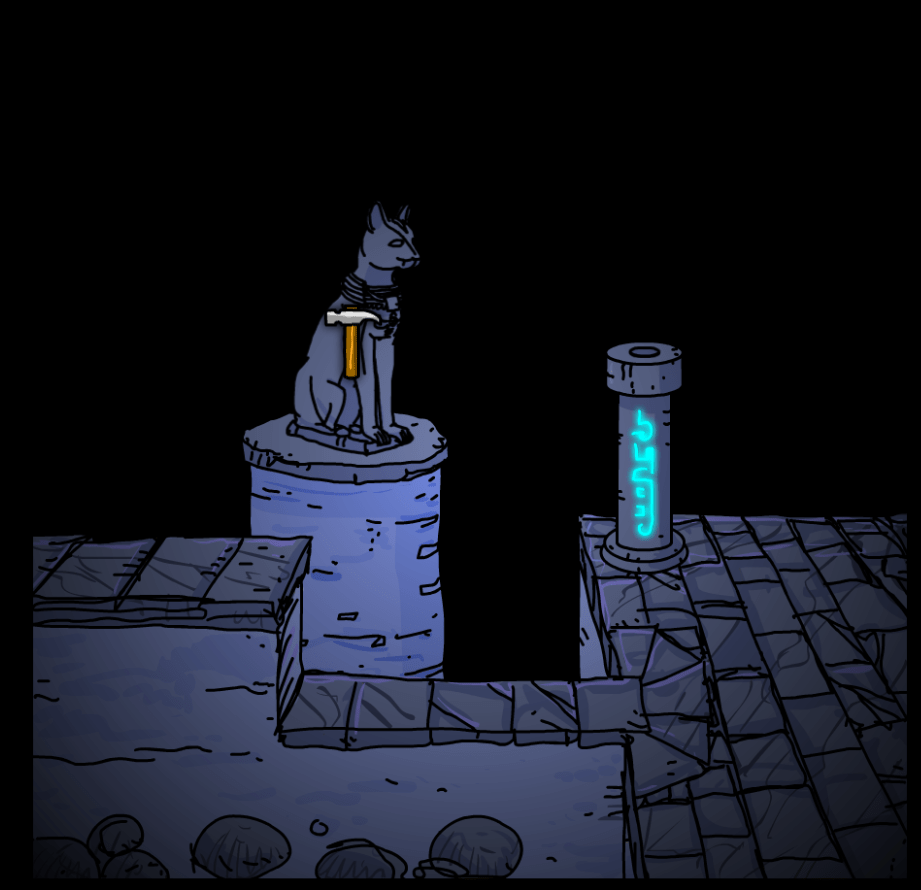
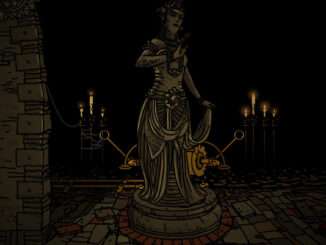
- In layer 5, smash the statue with the hammer, insert and press the button.
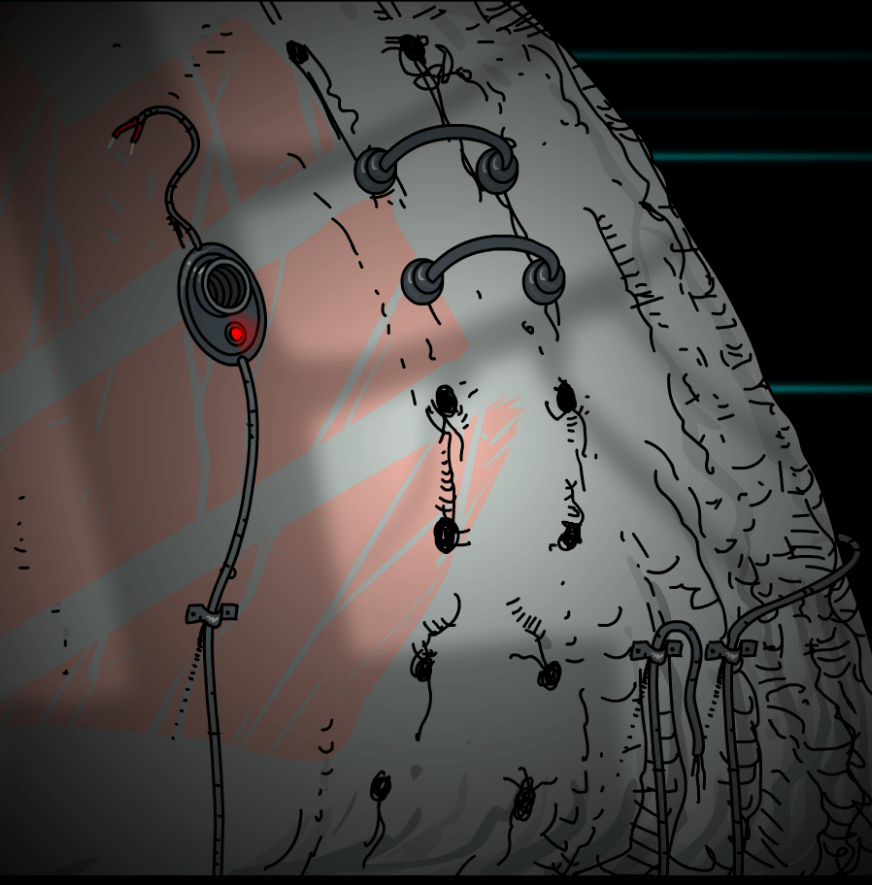
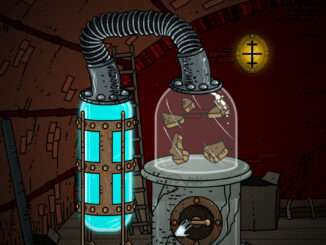
- In layer 6, smash the pipe in the far right.

Monolith
- In layer 5, go left beside the gate.
I think it’d be helpful to label which number each monolith is? So people can look at their achievements and search for the ones they’re missing.
I is in ch 1, II is in ch 2, III is in ch 3
IV is the 2nd one in ch 4, V is the 1st
VI is the 2nd one in ch 5, VII is the 1st
VIII is the 2nd one in ch 6, IX is the 1st
X is in ch 7
XI is in ch 8
XII is in ch 9
XIII is the 1st one in ch 10, XIV is the 2nd one
XV is in The Future
XVI is in The Ruin
XVII is in the Sand