
Guide to monolith location across chapter 1, spoilers ahead.
Table of Contents
Hide
Guide to Monolith Location in Chapter 1
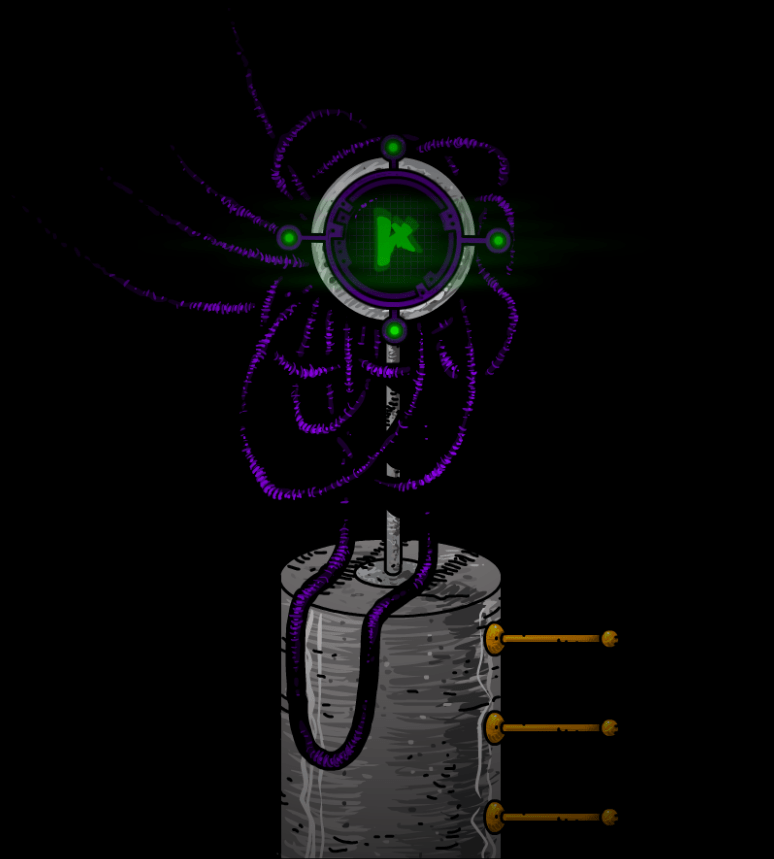
The Ruin
Pretty straight forward. Solve the puzzle and activate the thing. Easy!
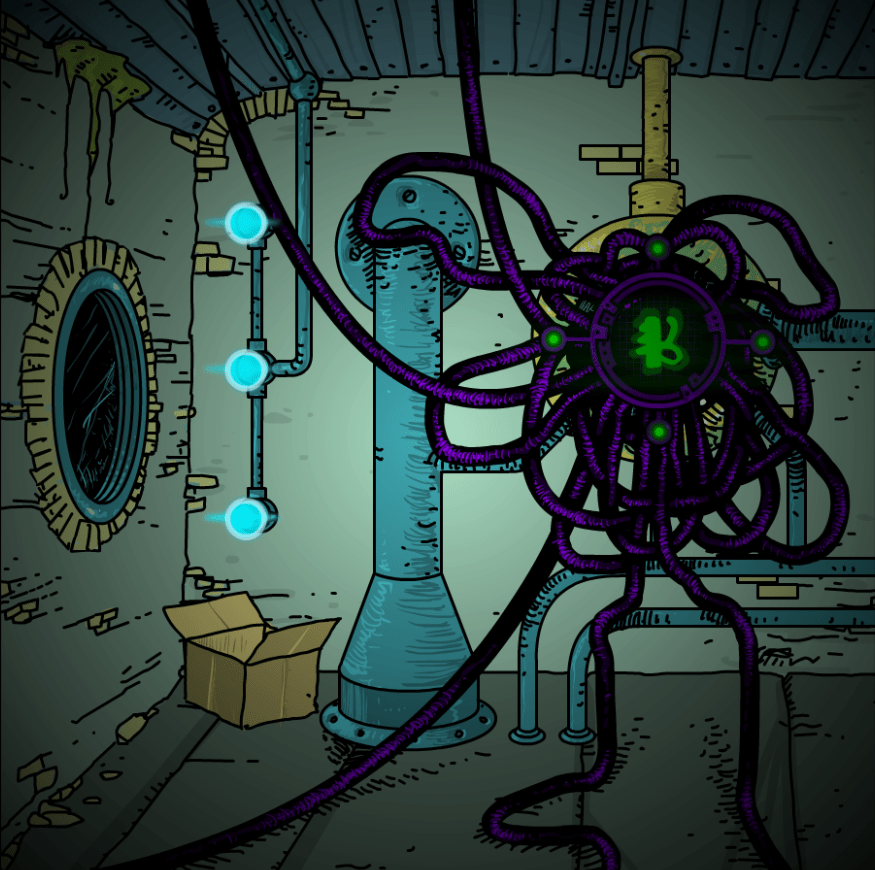
The Sand
Another very straight forward one. Do the thingy activate the thing. Ez peezy.
Chapter 1
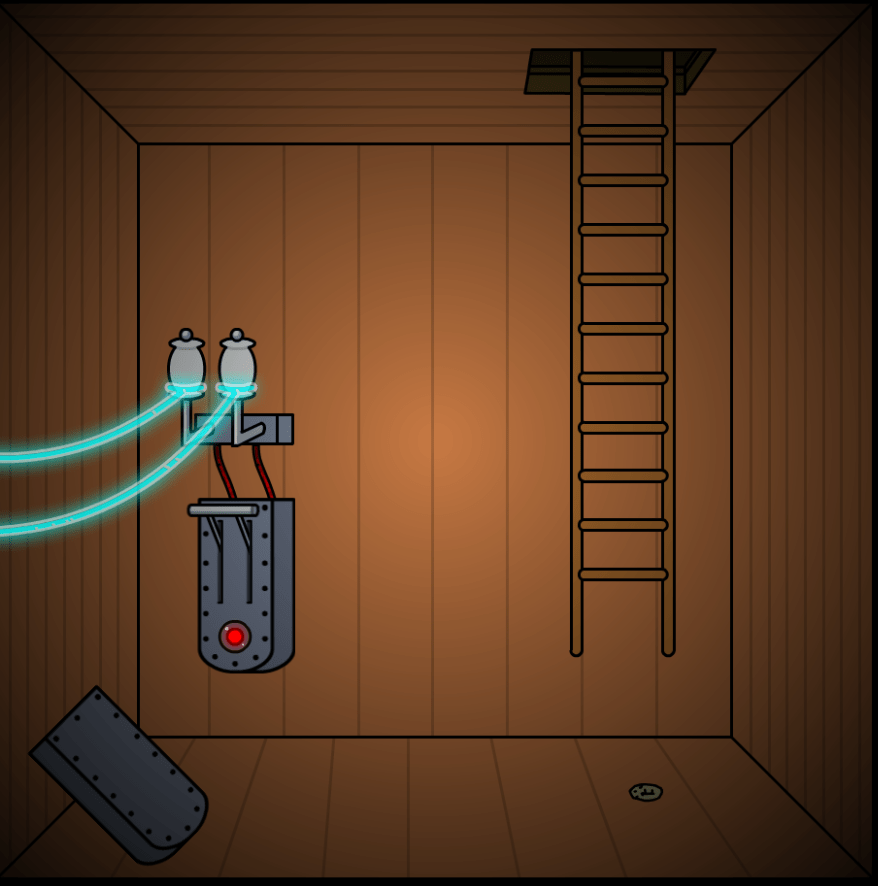
- After cranking all the levers, go back to the coin room and activate the last lever.
- Important: make sure you pick up the coin.
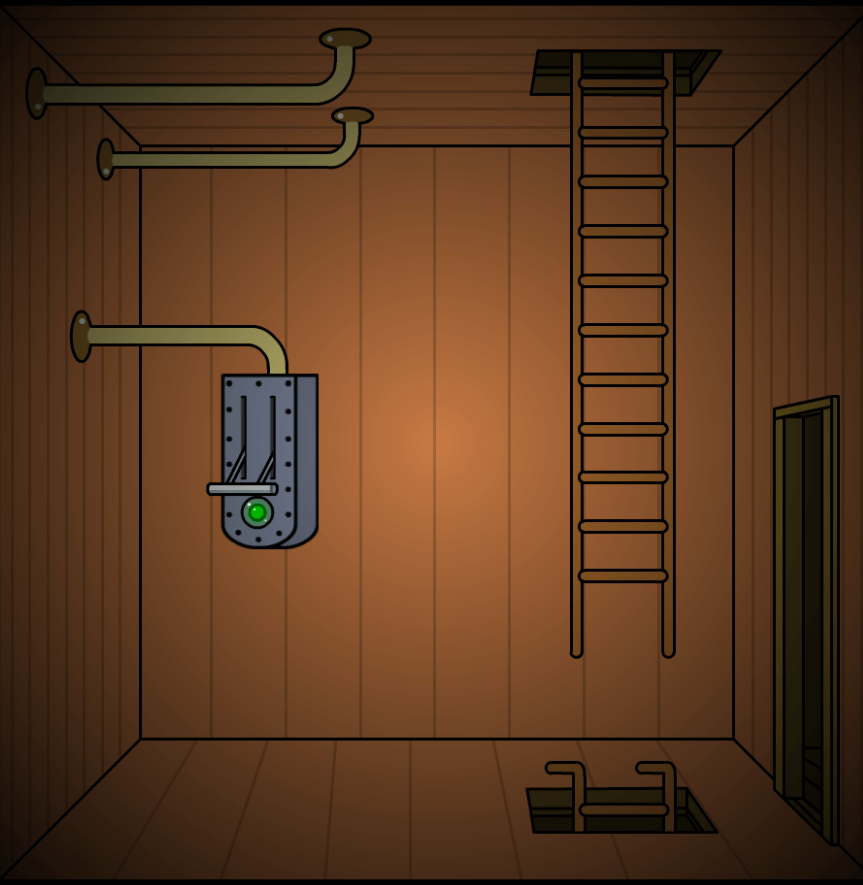
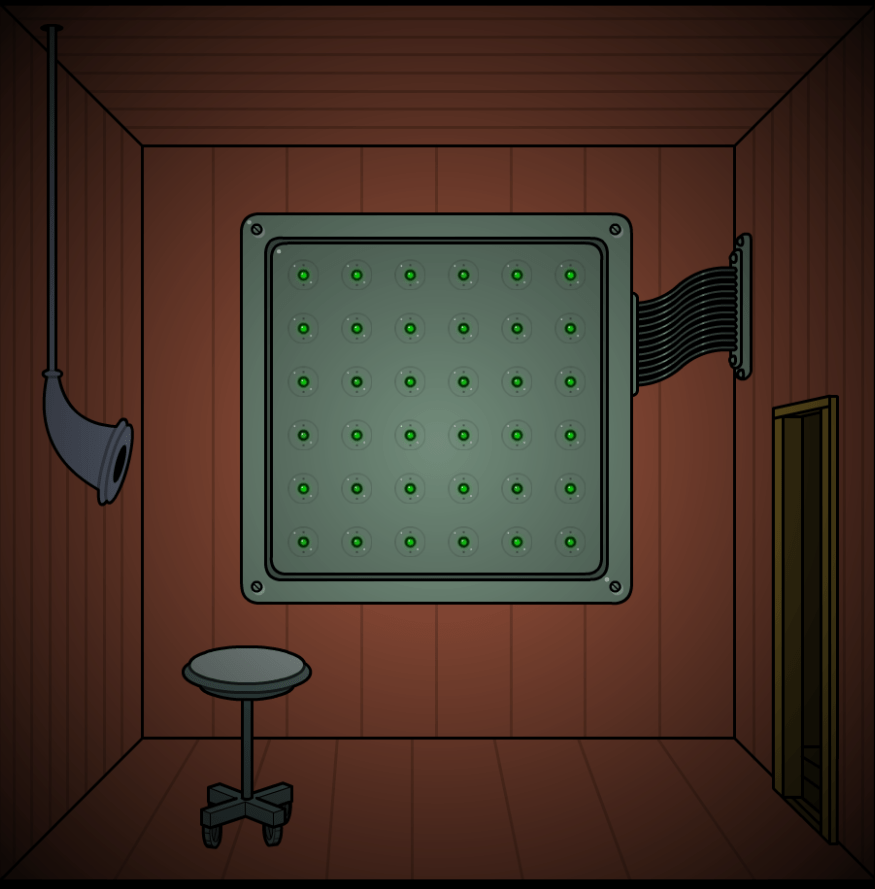
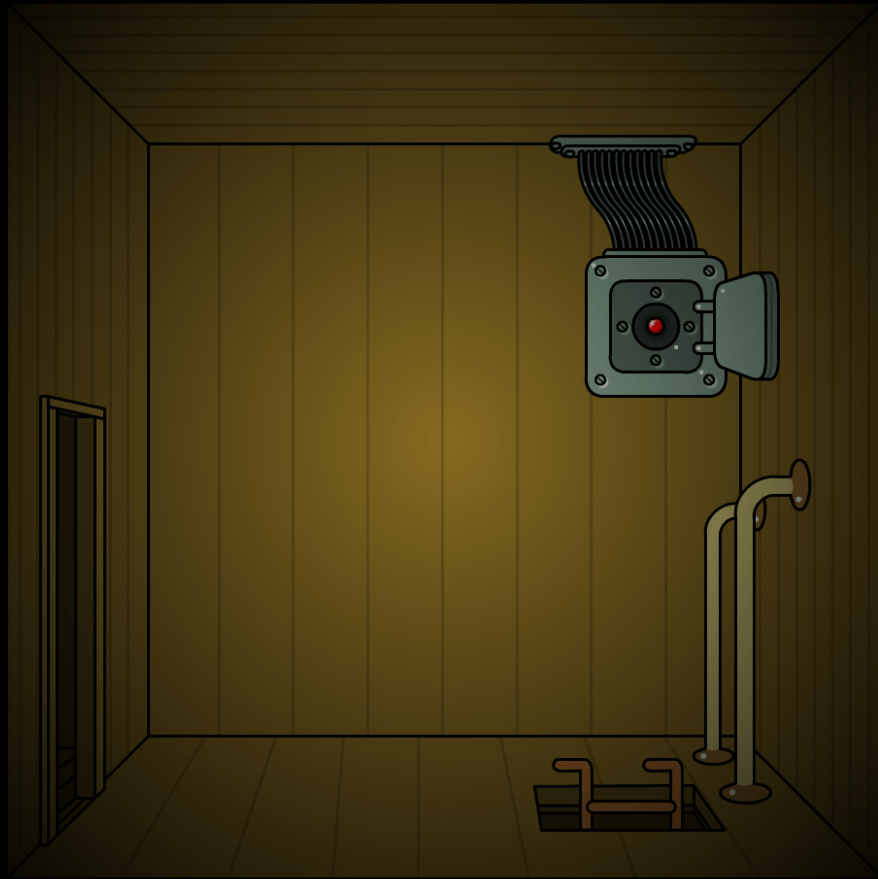
- Go to this room, there should be a ladder pop from the ceiling.
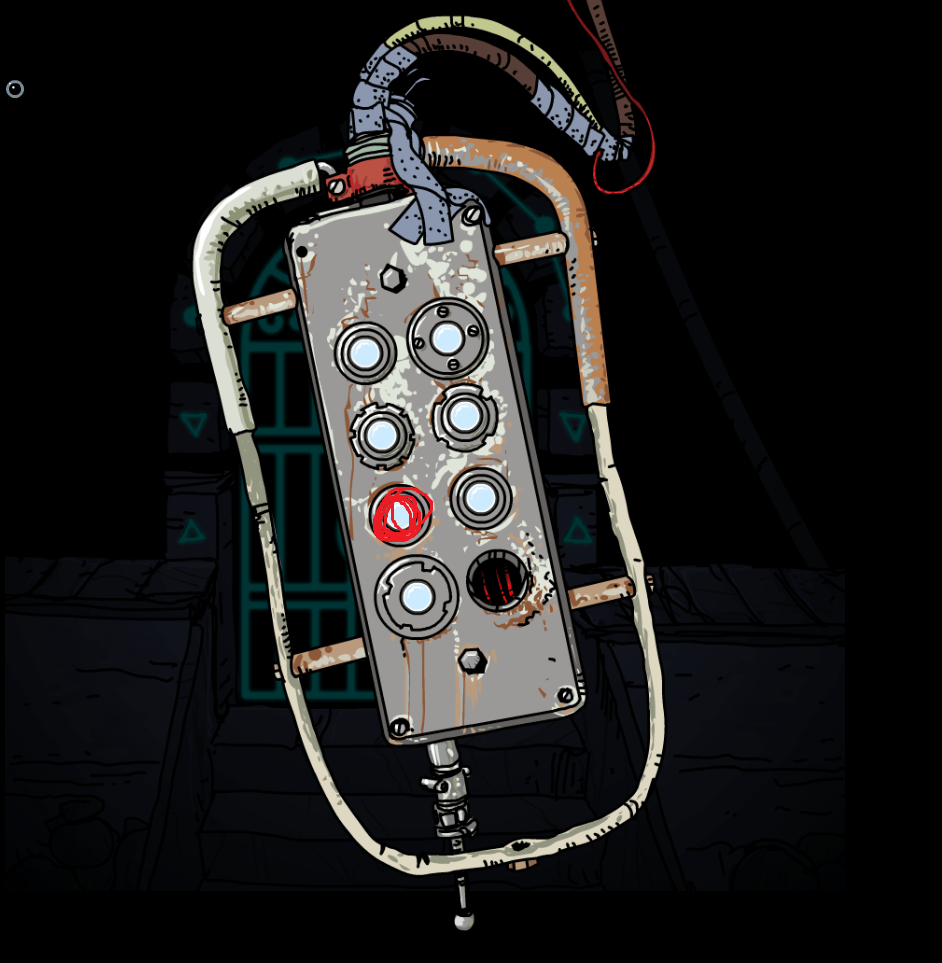
- Go inside and look at the board. If there is one red spot it means you haven’t picked up the coin or haven’t done all the objectives.
- Go back and the one stabilizer should be there.
- Go to chapter 8, warp to the 5th layer and go back to chapter 1.
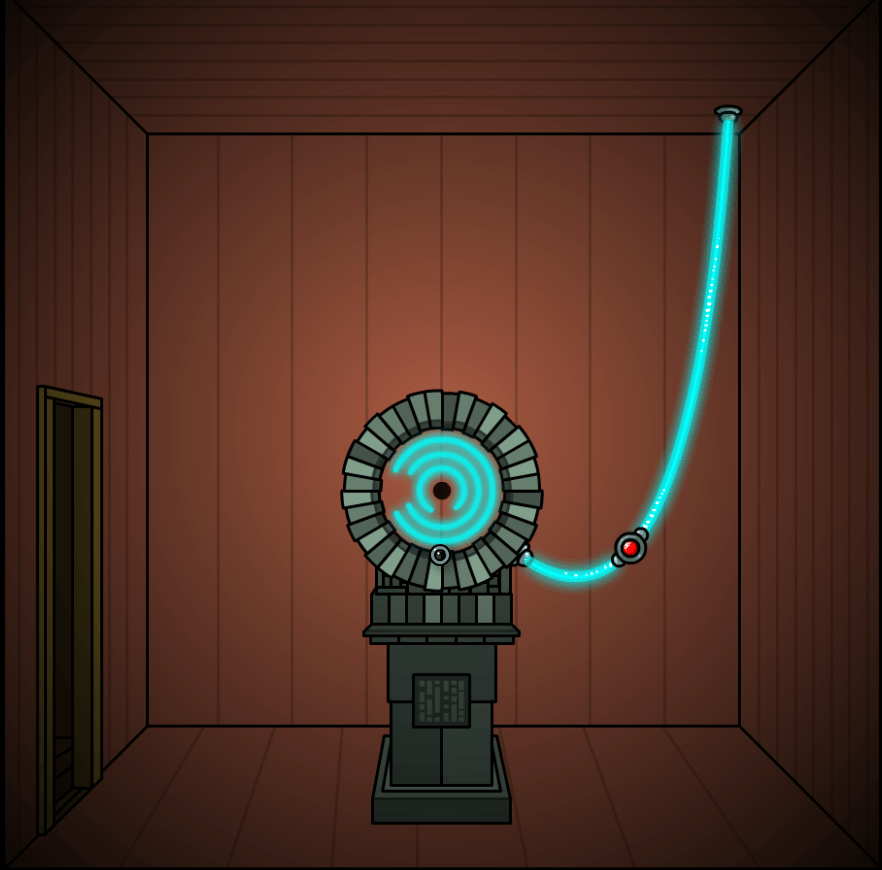
- Go to this room next to the radio room and enter the portal.
Be the first to comment