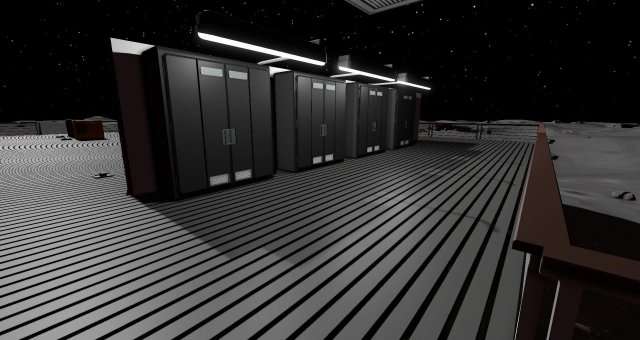
A walkthrough of an automated advanced furnace setup that uses two ICs to make all the alloys in the game.
Advanced Furnace Automation Walkthrough
You’ve processed basic materials in the arc furnace and then created standard alloys in the next furnace. Your base is set up, you have your gas storage organized, and you now want to automate an advanced furnace. This is a design for your first automated furnace.
This design requires fuel in gas form, which can be made by mixing hydrogen and oxygen or by using an electrolyzer. It also requires a lot of a different gas, other than oxygen or hydrogen, to be used as a coolant.
Devices Needed for the Build
- 1x Advanced furnace
- 2x volume pumps.
- 2x IC housings and IC10 chips
- 1x Console
- 1x Dial
- 1x Botton
- *Optional* 2x consoles to display pressure and temperature.
- Bunch of chutes, cables, and pipes.
Putting It All Together
The first step that you need to do is to place down your advanced furnace which will be enclosed in a frame. if you maneuver your furnace in the right way you can get the panel to stick outside the frame while the chamber is inside.
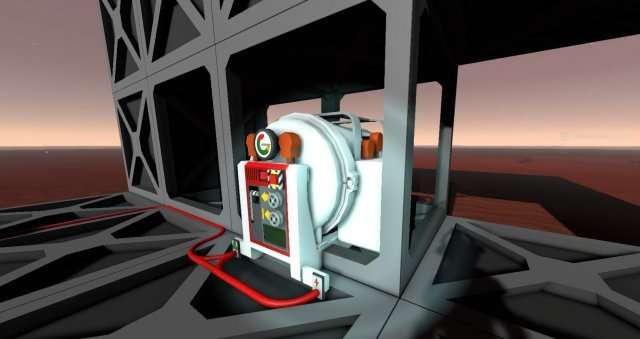
The next step is to do the plumping in the back, the idea here is to have two pumps joined on the input connection of the furnace so that one can inject fuel and the other can inject coolant when the furnace needs to be cooled the coolant pump will run.
There is no other way of cooling it down since enclosing it with a frame will trap the heat inside. which means we’ll have more control over the furnace’s temperature.
Note: make sure all of your pipes and tanks are insulated unless you know what you are doing.

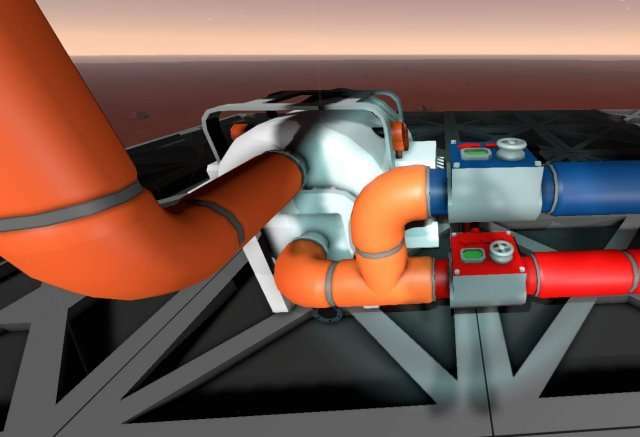
You don’t need to set the pump to any values they will be controlled by an IC, just give them names so you know which one is which when you set the pins.
As for the output pipe, here I’m just running it to the outside with a passive vent to get rid of the exhaust but you can do whatever you want with the furnace exhaust as long as it is not blocked. you can cool the gasses down and filter them back later if you have a filtration system running.
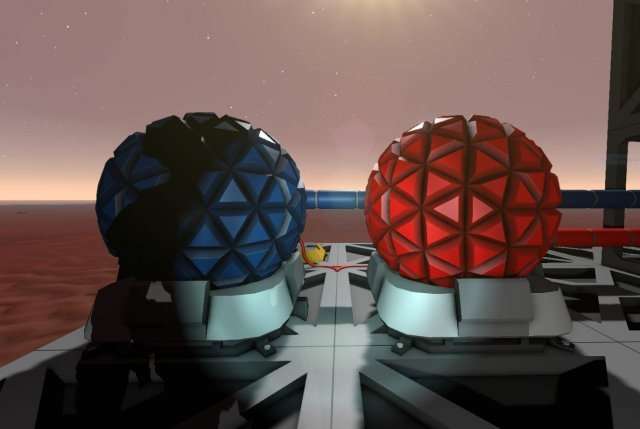
In this example I’m using two tanks the blue has X and the red has fuel.
Next up are chutes for input and output of the furnace, you can do the chutes however you like as long as you have access to the furnace since it’s going to be enclosed.
If you have been following your setup should look something like this.
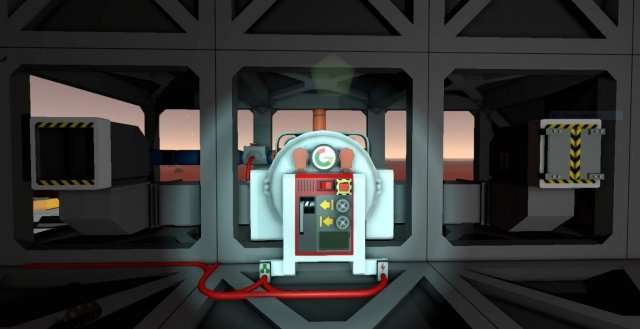

Before you fully build your frames make sure that you have changed the names of the pumps because you won’t be able to see them after the frames are built. the only frame that needs to be fully built is the one that the furnace sits on the rest are optional.
The next and final step is to install and configure the electronic parts of this build.
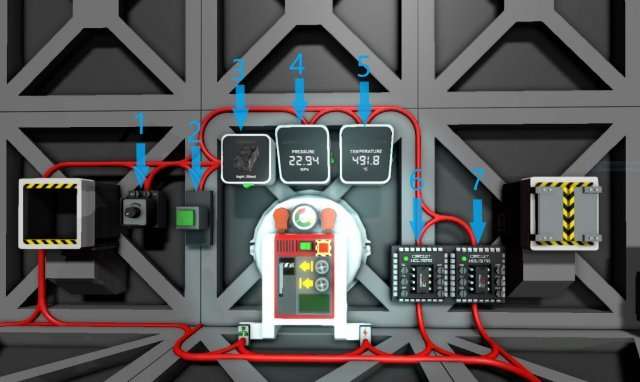
- A Dial that you will use to select which ingot you want smelt, turning the dial will cycle through the ingot type. The dial will be used by the 2 ICs. You should set the upper limit for the dial with your screwdriver to any number over 14.
- A button that will start the smelting process after you have selected which ingot you want to make.
- A console with a Hash display chip inside of it. You need to configure the console using a DataDisk to read the Hash IC. NOT the furnace.
- Optional Console should have a Gas display chip inside of it and configured using a DataDisk to read the furnace Pressure or Temperature.
- Optional Console should have a Gas display chip inside of it and configured using a DataDisk to read the furnace Pressure or Temperature.
- Hash IC This IC will control the dial, the button, and the Hash Console which should be set to read its value as mentioned before. the pins on this IC should be as follow:
- d0 Dial
- d1 Button
- d2 FurnaceControlIC (the other IC)
Code:
7. Furnace Control IC This IC will control the pumps and the other furnace operations. the pins on this IC should be as follow:
- d0 Advanced Furnace
- d1 Coolant Pump
- d2 Fuel Pump
- d3 Hash IC (the other IC)
- d4 Dial.
Code:
Load up the codes on the relevant IC’s and you are done.
Example world savefile:
Note: You might need to adjust the setting for the coolant and or the fuel pumps depending on the coolant and its temperature. this build will work with any gas that is not H2 or O2 and at any temperature. but depending on those values you might need to adjust the setting of the coolant pump if it’s very slow to cool down or so fast that it over shots the target.
How to Operate
Rotate the dial to cycle through the ingots types, when the hash display is showing you the ingot that you want to make load up the input with ores for that ingot and hit the button. Then just wait for the furnace to spit out your ingot when it is ready
I made a special case for all the basic ingots to cut down on cycling, if you need to make any basic ingots like Iron, Gold, Silicon..etc. Then you always want to cycle and use the first option which is Iron for all of them. once you’re done smelting the furnace will not spit those out for you, you have to manually pull the lever to get them out once they are done smelting.
The reason being is that you would need to use the furnace as a quick way to smelt basic ingots in large quantities so having the first setting active on the furnace will keep the furnace over 900 degrees and the pressure below 50000.
The lever acts as a hard rest if you pull it manually it will abort the current operation and reset the furnace.
End Notes
This is by no means the only way to automate an advanced furnace, this system can be expanded upon greatly by adding notification lights and sorting systems, and such. This however in my opinion is one of the simplest ways of doing so.




Be the first to comment