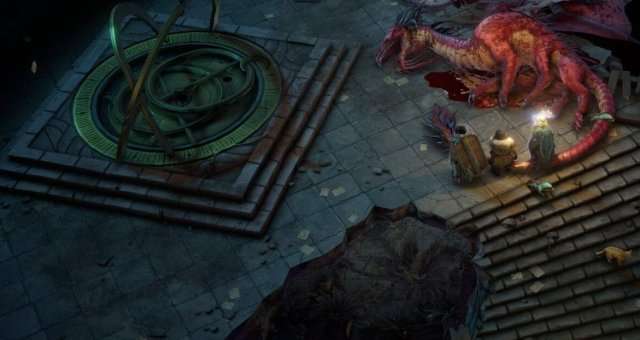
This is a guide that explains how to solve each Enigma puzzle. It shows the correct answers and the reasons why those answers are correct.
How to Solve Enigma Puzzle
I’m going to assume here that you, the prospective guide reader, have already found all four of Nenio’s masks. In case you haven’t, they are located in the following locations:
- Heart of Mystery. You don’t have to solve any puzzles to find it, it’s inside the cave but right outside the puzzle area.
- Ivory Sanctum: In the central room with the Baphomet statue. Use the code 3654 to spawn the chest containing the mask.
- Pulura’s Fall: Non-Angel paths have to wait until chapter 5. Go to Pulura’s Fall, and in the temple, solve the constellation puzzle by clicking on the tiles in the following order: Newlyweds, Daughter, Patriarch, Pack, Follower.
- Ineluctable Prison: Cannot be done until chapter 5 even though Demon goes here in chapter 3. Use the code 4365 to unlock the chest containing the mask (which is not in the room with the Linnorm or near the worm).
There are, essentially, only four puzzles, just with various iterations. They are the arrow puzzle, the tic-tac-toe puzzle, the memory puzzle, and the final puzzle.
Puzzle 1: Tic Tac Toe
The rule is you can’t put more than three of the same colored tiles (red or green) in a row, column, or diagonal.

But to simplify it, it’s tic-tac-toe, and looks like this:
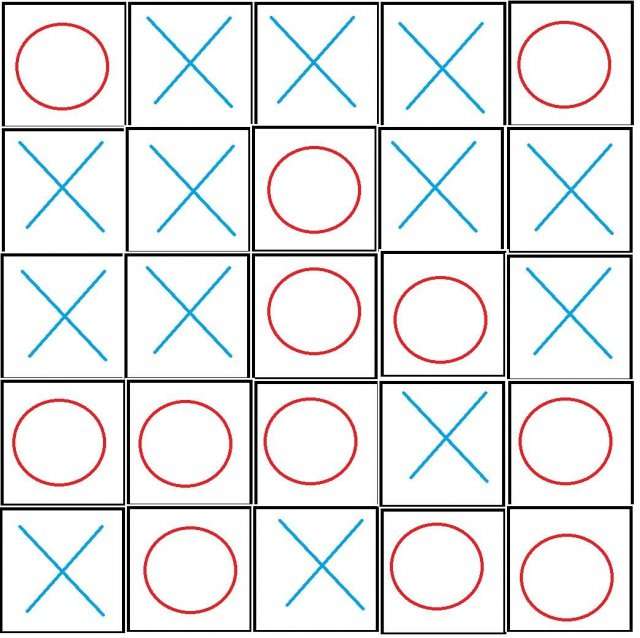
Note that before you do this puzzle, you have to go through the pyramid depths to pick up blue crystals to power the central stone, in addition to having two extra crystals.
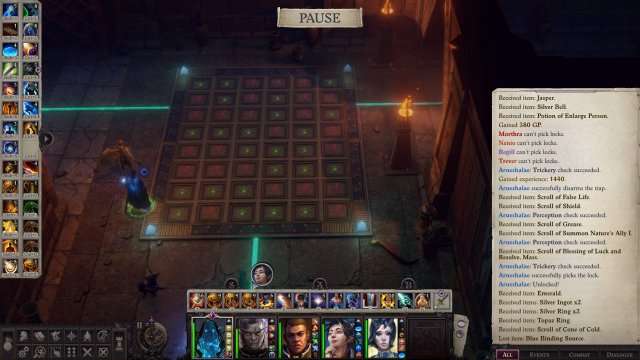
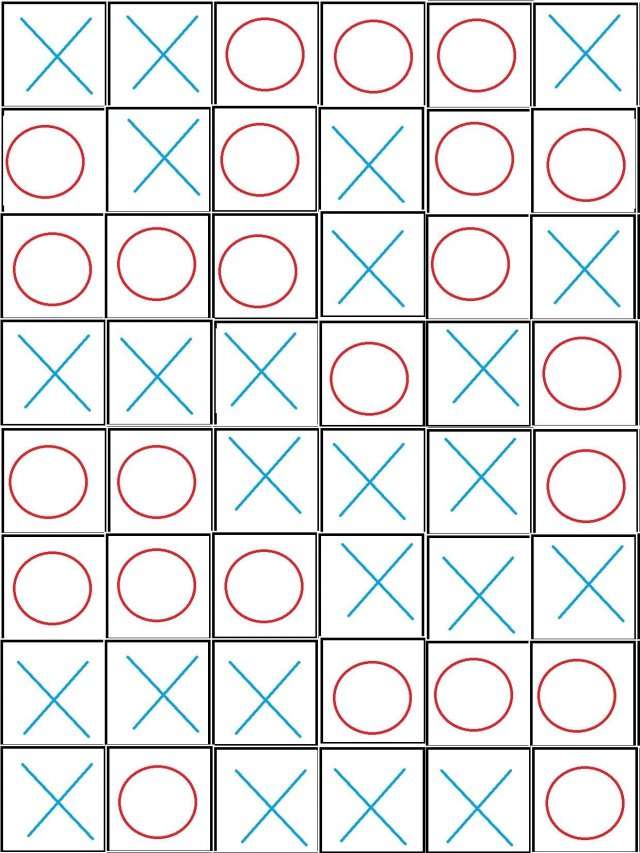
The second such puzzle appears later, and is essentially the same puzzle, albeit with a larger grid. Again, the implemented solution is this:
Which in its simple form looks like this:
Puzzle 2: Arrows
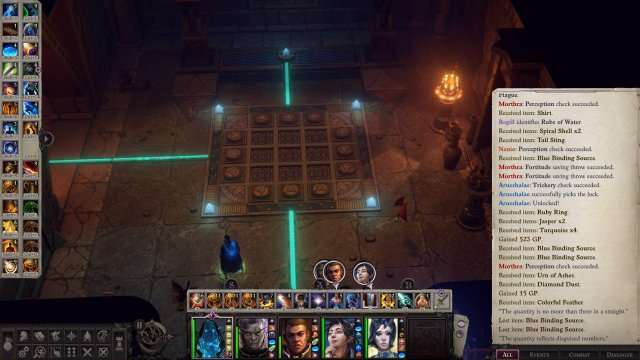
The hint for this puzzle is “The quantity reflects disguised numbers” – essentially, each symbol represents a number. This number is the number of times that symbol appears in the (accessible up to that point) dungeon as a decoration. You go around and search for those symbols, and then for each symbol, have a number of arrows corresponding to the number the symbol represents pointing to it.
The first arrow puzzle is as follows:
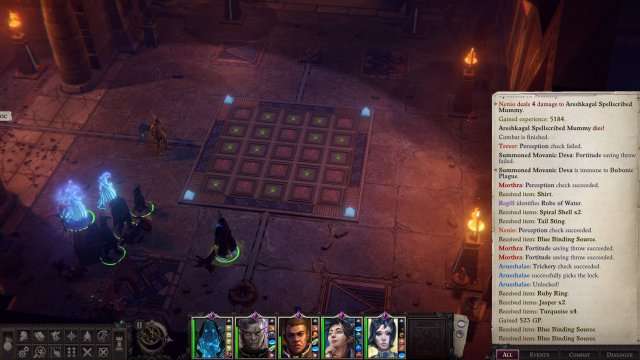
The numbers that each symbol correspond to are:
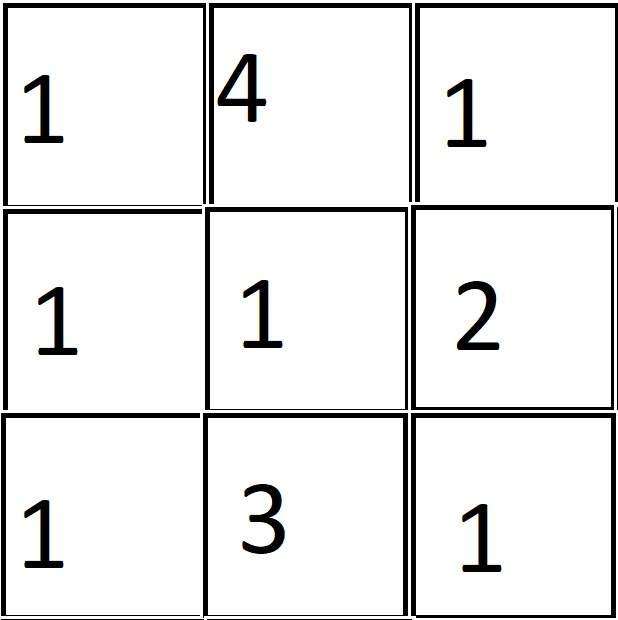
So therefore, the arrows are adjusted such that you get the solution, here:
The second arrow puzzle is harder. One symbol only appears once in this area and means zero. Do not take any items except the crystals.
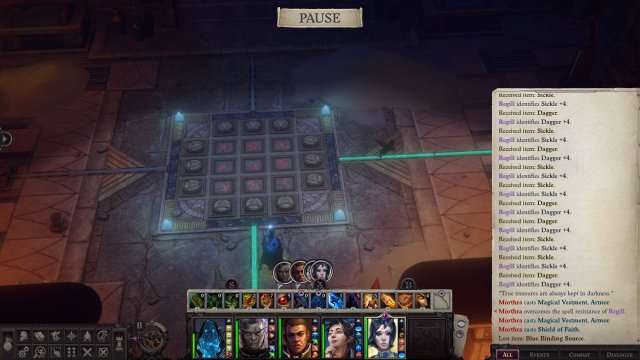
However, when you break it down it functions exactly the same –
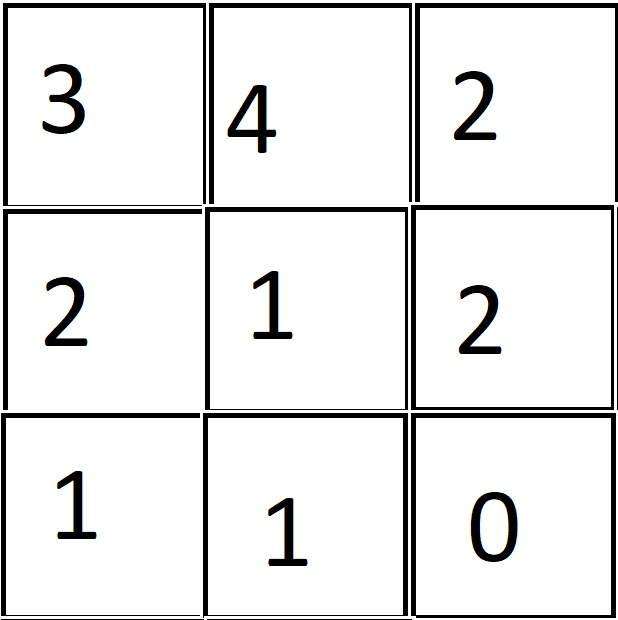
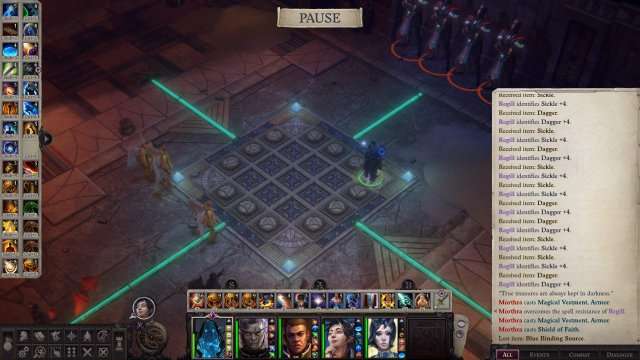
And when solved gives you this:
The Final Puzzle
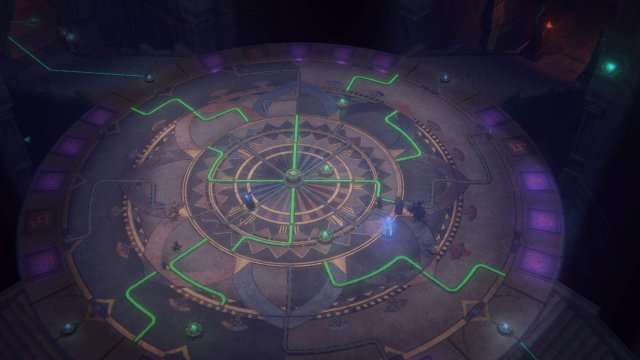
So once you’ve obtained all four green crystal sources, remove all the blue crystals from any springs that you placed them in and make your way back to the central area. If you place the green crystals in the central four springs, you will see that they point to certain glyphs (or well, close enough). Different pipes light up depending on whether or not you put blue or green crystals into the central springs.
There are actually two solutions to this final puzzle – the main solution is to put the green crystals into the four outer springs and the blue crystals into the central springs, then step on the tiles that the pipes that aren’t lit up are pointing to (the pipes that would light up if you had put green crystals in the springs), then to press the button.
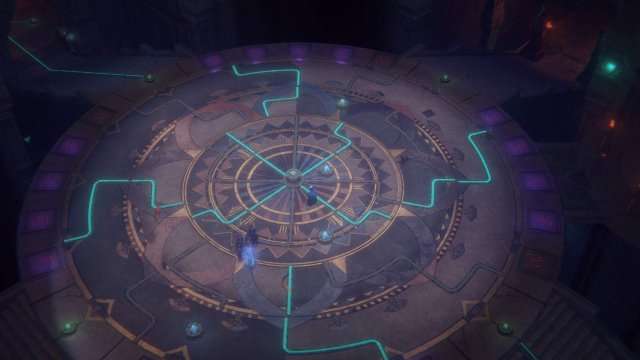
The other solution is to do the inverse. This sends you to a secret area containing goggles that increase your caster level by 2, and the DC of mind-affecting spells you cast by 2.


I did solve all of them myself, but never occured to me there can be a second solution to the final puzzle.
Thanks for this!
So what is the reward for all this annoying fiddling with puzzles? I did it once and don’t remember anything except another OP mask similar to the one from just doing Secrets of Creation. Is there a Storyteller page?