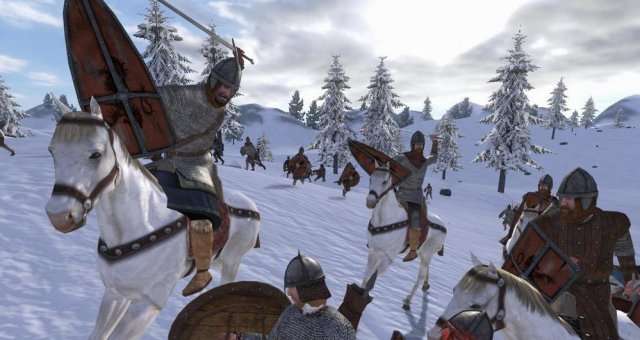
Soloing is a risky, tricky, thing to pull off in M&B:WB, but with this simple guide, you’ll (probably) find yourself singlehandedly racking up more bandit corpses than you can count.
Disclaimer: While the techniques in this guide are somewhat universal to most M&B Modules, this guide is directed towards the Native module, and some bits of information may not provide helpful in other modules & entries in the franchise.
Other Mount & Blade: Warband Guides:
- Cheats.
- Beginners Guide.
- Basic and Improved Infantry Melee.
- Prophesy of Pendor Guide.
- Kingdom of Nords Guide.
Essential Equipment
Get a Horse
This is, by far, the absolute most important part of fighting bandits solo.
A horse allows you to get & stay out of tight situations, it allows you to swoop in at oppertune times, it allows you to kite the enemy, it allows you to chase down routers & stragglers, and many other things. In short, a horse keeps you 10 steps ahead of the enemy, and you absolutely need it to survive as a solo.
Get a Shield
This one is much less important than having a horse, but crutial none-the-less.
You should always have your shield facing the enemy archers, and only have it down when facing directly away from the enemy, attacking, couching, and when you have your ranged weapon out.
You won’t really need it too much, however, when the enemy’s ranged attacking capabilities are neutralized.
Get a Bow or Crossbow
This will allow you to kite the enemy, whilst still inflicting casualties on the enemy.
Remember to take out the enemy archers before using this thing, because you can’t have your shield and bow out at the same time.
Techniques & Maneuvers
Kiting
Kiting is a very important part of soloing, and it’s what you’ll spend 90% of a battle doing.
The actual process of kiting is actually pretty simple. Repeatedly circle the group of enemies.
When the enemy still has their throwables, it’s a very good idea to keep an aditional 40-70 meters away from the enemy, as the AI isn’t very good at leading their shots, so almost all of their projectiles will be drunkenly flung onto the ground behind your horse. Doing this is actually quite helpful even when you have an actual army, as it makes the enemy waste their very limited supply of throwing spears, saving many of your own men from dying right before the fight even starts.
Exposing their archers
Now, unlike the melee infantry that run at you in a straight line, archers, as long as you stay within their range, will just stand in one spot. And since these guys are your #1 threat while soloing, you want to get them out of the way ASAP.
So here’s how you do this: Kite the enemy in an uneven circle, luring them in a particular direction, until the enemy infantry is seperated from their archers. After this is done, charge the archers, 1 by 1, while strafing & wiggling as much as you can, and start to pick them off. Charge, lure the infantry away, charge, rinse & repeat until all archers are wiped off the field.
Exposing their faces
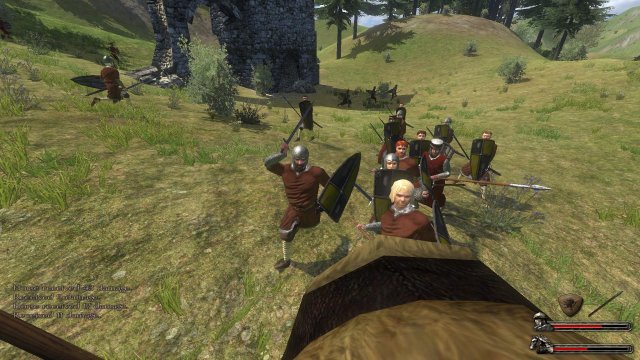
After taking out the enemy archers, you’ll find that you’ve now got to deal with a solid brick of shields.
But the M&B AI are programed to hold up their shield at all times, until they’re near an enemy, in which they will lower their shield and raise their weapon, preparing to strike, and at a closer range, they will actually attempt to strike with their weapon.
You want to ride right past them, to the point where they almost get bushwacked by your horse’s tail, right at the point where they raise their weapon and lower their shield. This is when you should strike, either with your ranged or melee weapon.
Weaving
This one goes hand-in-hand with the former technique, as you’ll need it when getting so close to their line, especially with spearmen.
Weaving consists of charging towards an idividual straggler, or the edge of the enemy formation, and subtly wiggling your horse during the charge to avoid missile fire (charge weave), weaving towards the enemy right as you make contact (Contact weave), and weaving out to better avoid their melee retaliation (escape weave), or the melee attacks of the other members of their formation. The charge weave can be ignored, however, if the enemy has no more ranged weapons, although it is very important when charging archers.
Types of Bandits & How to Deal with Them
Looters
These guys are who I would recommend going after whenever you can, as they’re pretty easy targets for soloing, as their ranged weapons are very weak, they have no shields, and their melee weapons are mostly short ranged swords.
Now, if you’re all decked out in a full suit of late game armor, their rocks will just bounce right off of you, doing 0 – 1 dmg per hit. Just kite them, and shoot blindly into the crowd, and your archery/throwing/crossbow skill will quickly improve.
If you’re not particularly well armored, then it’s best to wiggle around as much as possible when kiting, and preform the charge weave constantly, but the damage of their stones still shouldn’t be that much of a threat to you.
Forest Bandits
With forest bandits, it’s actually best to dismount and take advantage of the enviroment that you found them in.. the forest. Just hide behind a tree, peek out, take a pot shot, and hide back behind the tree to reload. Some of them will eventually try to flank you, so make sure to keep vigilant over your flanks and take the flankers out ASAP.
Tundra Bandits & Sea Raiders
I’m throwing these 2 into the same bin, because Sea Raiders are essentially just upgraded Tundra Bandits.
So with these guys, you want to do an initial loop around them with a very wide distance between you & them, in order to make the infantry expend their throwables. Then, you want to lure the infantry away from the archers, take out the archers, and kill off the infantry as usual.
Mountain Bandits
Same as the Tundra & Sea Raiders, but with yourself being put at a disadvantage due to the steep terrain, which almost knocks your speed advantage right out from under you. Almost.
At the very start of the battle, scout out the area to see if you can manouver properly. If not, retreat and attack again, re-generating the battlefield terrain. If it’s still not suitable, repeat once more. If you do this again, it will go back to the first of the 3 maps that it generated and cycle through them in the same order, so pick the best, most flat terrain that you can.
Sandits
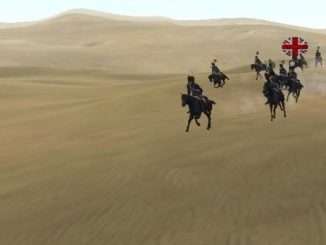
These guys are on horseback, just like you, so make sure to only pick small groups. As always, go after the archers first, and then move onto the melee ones.
Oh yeah, and DO NOT GET COUCHED!
If you get hit by a couched lance, it’s game over. Those things do about 400 damage, which is enough to one shout both you, and a low-end shield. If you see a couched lance with your name on it, just put your shield up, and get out of the way.
Remember that fighting these guys is the medieval equivalent of being in a modern day dogfight, so make sure that you keep vigilant at all times, or else a single fell swoop from behind is gonna be your demise.
Steppe Bandits
Alright, now here’s how you solo fight a group of steppe bandits: You don’t.
Seriously, you might as well fight a helicopter with an M60 gunner on the side. Just don’t.
Fighting Dismounted
Okay, you’ve just had your horse turned into a shish kebab, so now what?
Well, before you put your weapon down and accept your fate, there’s a few things that you can try in a last-ditch effort to stay alive.
Backtracking
Keep walking backwards, and make it so that only one enemy is engaging you at a time. If you can successfully funnel them into a single file line, then you have an infinitely higher chance of surviving unhorsed, than if you were to run in and surround yourself with bandits.
Horse Impaling
Alright, you’ve got a horse coming straight towards you at 40mph, what now?
Get your melee weapon out, preferrably a spear, and slightly fling your mouse directly downwards while clicking and holding. This should set your spear in the “Stab” position. Wait until the time is right, and depress the mouse button, impaling the horse, instantly killing it, and giving the rider a mouth full of dirt. Kill him. Kill him now.
Dodging a couched lance
You’ve now got a couched lance coming for you, and your weapon is too short to impale the horse before the lance reaches you. Again, don’t give up yet.
Unequip your shield if you have the time, wait until the time is right, and strafe-jump to the right (or the left of the horseman), and block mid-air.
Time this too soon, and the horseman will correct their trajectory, too late and you’ll either get trampled by the horse or impaled by the lance.


Be the first to comment