
An unnecessarily exhaustive transcription of the tragedies that befell the Obra Dinn, the fates of its crew, and why.
Other Return of the Obra Dinn Guides:
Obvious spoiler warning. This is literally as spoiler-heavy as it can possibly get, it’s a total retelling of like 90% of the game.
Prologue
In 1803, the ship Obra Dinn began its voyage to Asia, with a stop at Cape Hope. The ship carried 51 crew members and 9 passengers. Among the passengers were two royals from Formosa (now Taiwan) and their two guards.
The Formosan passengers were transporting a chest of significant value, believed to contain an object with magical properties capable of repelling sea creatures. A plot to steal the chest and harm its owners, combined with poor management of the situation, led to a series of tragic events. These events resulted in the deaths of 57 people.
Chapter 1: Loose Cargo
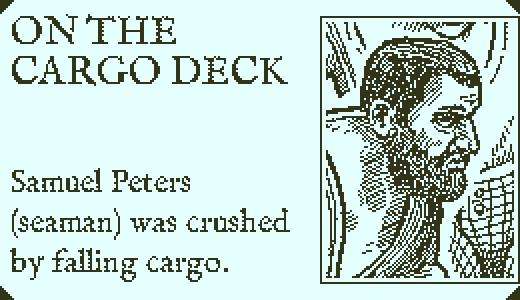
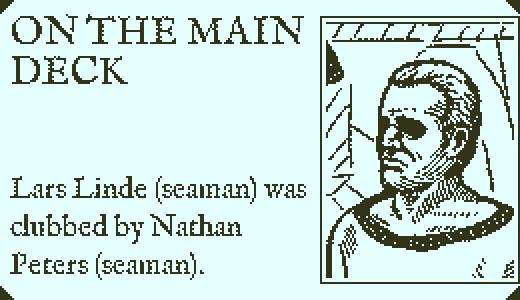
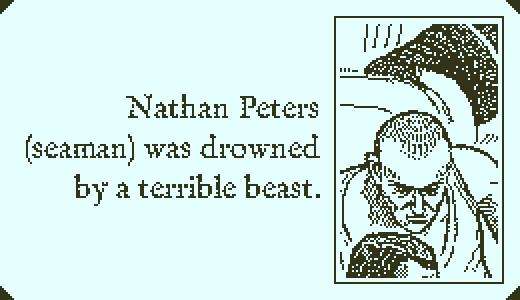
Before setting off, a tragic incident occurs while the Obra Dinn is still in port. As cargo is being loaded onto the ship, the first two deaths happen: A rope holding a pallet of cargo comes loose and crushes Samuel Peters, and a stowaway hiding in a barrel on the same palette is killed by the fall. Nathan, Samuel’s brother, comes to blame fellow seaman Lars Linde for the accident.
Chapter 2: A Bitter Cold
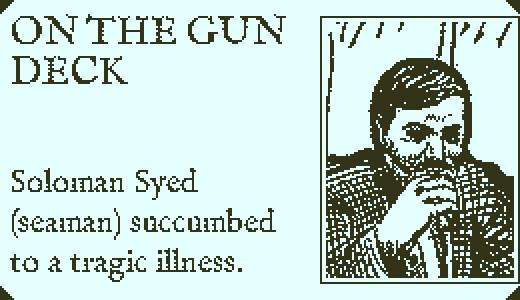
About halfway to the Canary Islands a pair of Indian seamen begin suffering fatal symptoms from a lung disease in the middle of the night. Around this time most passengers are asleep, save for the three Russians – This memory provides vital information for identifying a dozen or so passengers. Solomon Syed dies in his hammock, and Renfred Rajub passes away shortly after.
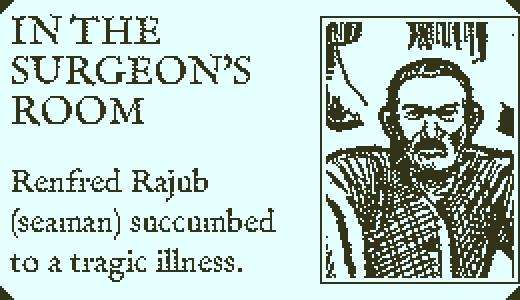
As Renfred is hauled off to be placed in a coffin, the three midshipmen help the butcher Emil O’Farrell slaughter a cow for its beef. The cushier Charles Hershtik vomits after finishing his role.
Chapter 3: Murder
As the ship approaches the Canary Islands, a plot boils to steal the chest the Formosan royals are guarding. It is indeterminate whether it was planned from the start or concocted mid-way and if the conspirators also initially planned to kidnap the royals. The conspirators are the 2nd mate and his steward Edward Nichols and Samuel Galligan, the two Russian seamen Aleksei Toporov and Alarcus Nikishin, Irish seaman Patrick O’Hagan, and Chinese topman Li Hong.
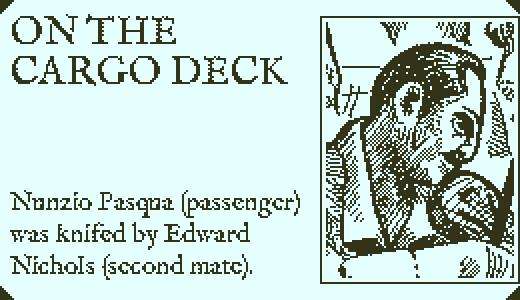
2nd mate Edward attempts to steal the chest at night, knocking out Hok-Seung Lau in the cargo hold. Musician Nunzio Pasqua hears the commotion and investigates, and is unwittingly murdered.
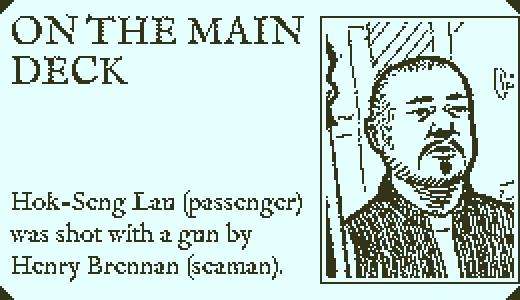
Instead of stealing the chest that night, Edward instead frames Hok-Seung for Nunzio’s murder. Captain Robert Witterel mentions that Hok-Seung confessed to murdering Nunzio – The most plausible explanations to me were that either Li Hong purposefully mistranslated the Formosan’s statement to get him executed or that he did so to take the heat off of the other Formosans. Regardless, he is sentenced to death by firing line: Seamen Patrick, Aleksei, and John Naples miss, but Henry Brennan fires the single, fatal shot. Half of the remaining crew attends the execution.
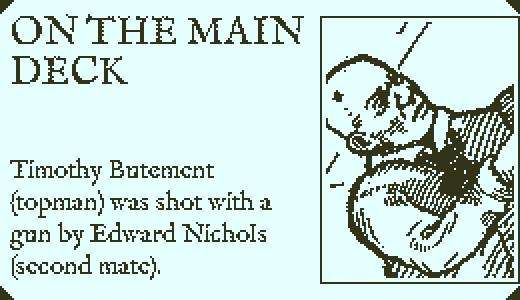
The night of the execution, the conspirators smuggle the chest out and kidnap the royals Bun-Lan Lim and It-Beng Sia. In the process, they end up incapacitating Lars and midshipman Peter Milroy, also stabbing helmsman Finley Dalton through the leg in the process. Edward, holding Bun-Lan hostage, is threatened by topman Timothy Butement and shoots him off the side of the ship. Timothy ends up dangling off of a rope afterwards, his lower leg somehow remaining there for the rest of the journey.
Chapter 4: The Calling
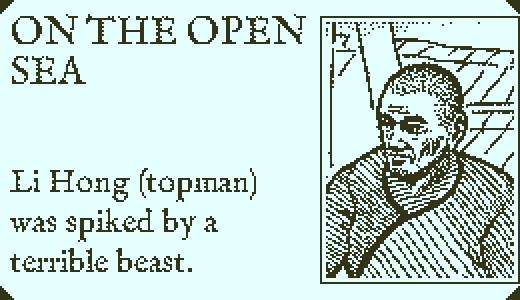
The conspirators begin rowing away from the ship in two of its lifeboats, hoping to reach the Canary Islands first. Bun-Lan warns It-Beng that the chest cannot fall into the ocean, likely as it serves as some counter-measure against a terrible evil. The Chinese conspirator Li catches a bit of this conversation and warns his crewmates. He gets spiked through the torso by a mermaid for his troubles, narrowly missing It-Beng.
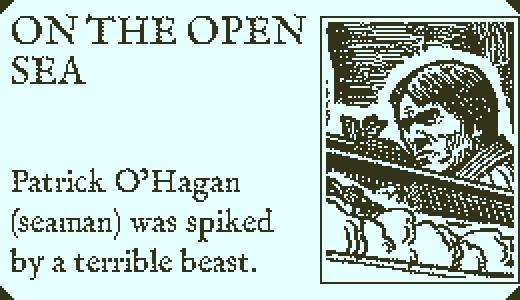
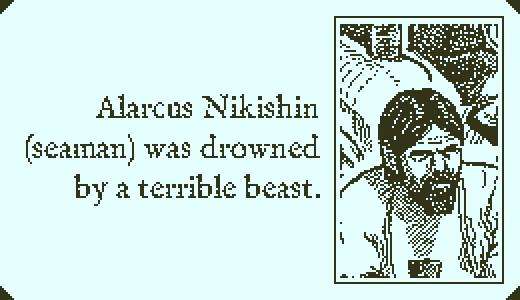
As the conspirators begin to recognize their predicament, It-Beng begins to escape his bonds to follow Bun-Lan’s orders and head for the chest. Alarcus is grabbed and dragged into the ocean while Patrick is spiked through the throat.
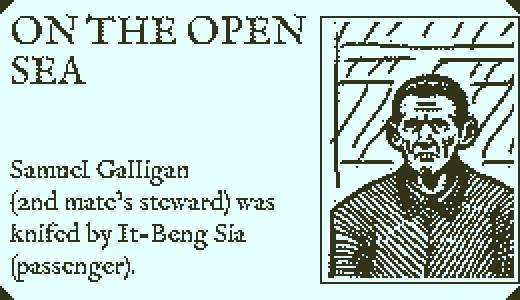
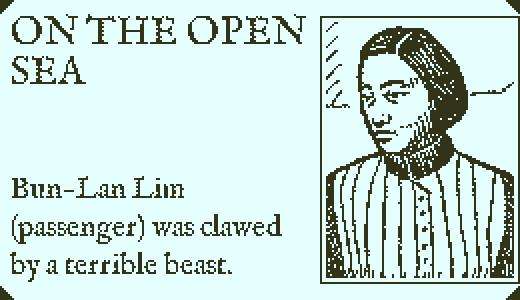
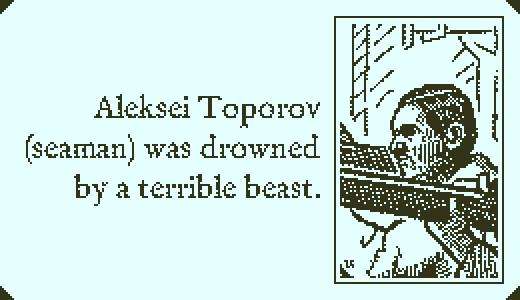
It-Beng rushes forwards and stabs the rogue steward Samuel in the side of his neck. While attempting to stay low Bun-Lan is instead clawed in her face and neck. Edward resorts to cowering in the bottom of his lifeboat in fear as Aleksei is pulled by his arm out of his lifeboat.
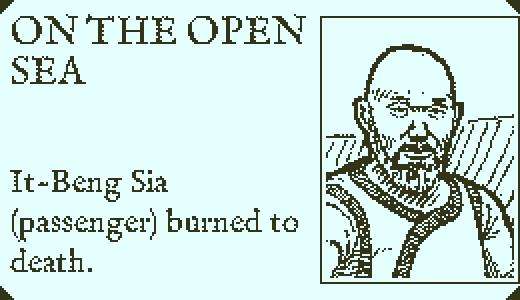
It-Beng finally manages to open the chest, releasing its contents and neutralizing the mermaids. In the process his arm slips in and is melted to the bone.
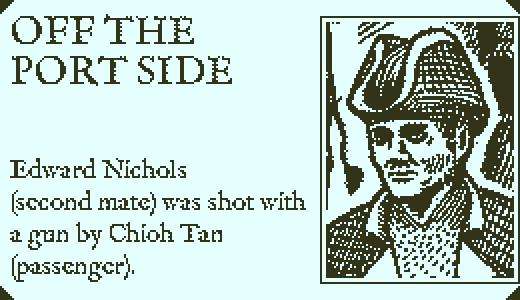
As the Obra Dinn catches up, Edward realizes the danger is gone and pulls the mermaids onto the lifeboats. The remaining Formosan Chioh Tan shoots him from below the deck as he approaches, either as revenge for his actions or to prevent him from bringing the mermaids on-board. The bodies of Li and Patrick have been lost at some point between this memory and the last.
Chapter 5: Unholy Captives
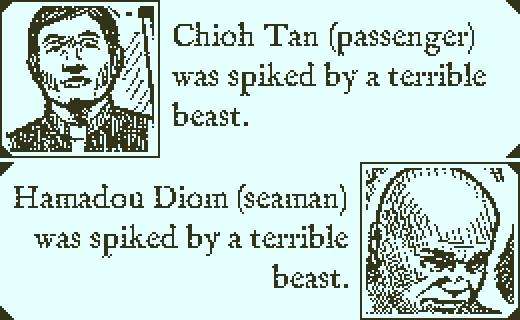
The ship has begun turning back towards England or towards the Azores, likely due to the deaths of the Formosans. After Edward is shot, seaman Hamadou Diom restrains Chioh as he is brought up top to explain himself. He describes the importance of the shell, but immediately afterwards he and Hamadou are spiked by the mermaids as they are hauled on-board.
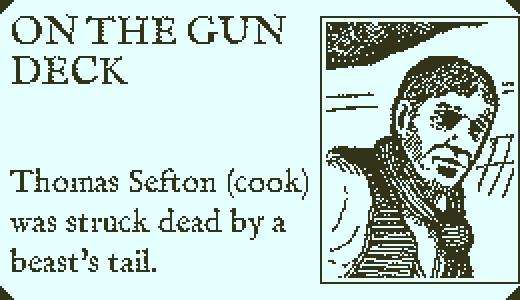
As seamen begin hauling the mermaids down to the lazarette, the ship cook Thomas Sefton joins to observe and comment about them. As he observes a shell, a mermaid retaliates by fatally striking him in the face with their tail.
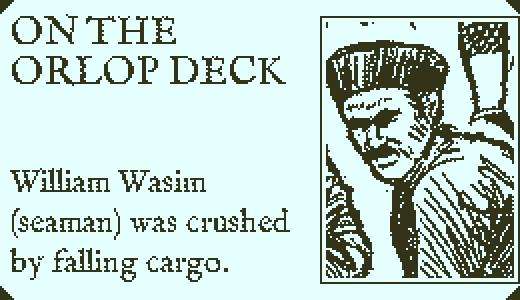
This unbalances the seamen, and as the front two tumble down the staircase, William Wasim is crushed between the bed carrying the mermaid and a wall at the end of the staircase.
For one reason or another, seaman John’s leg is sliced off by the captain’s steward Fillip Dahl. As he’s restrained, Fillip warns the captain that the mermaids are cursed must be thrown overboard to avoid disaster. Robert ignores this and instead has him chained up in the lazarette. John dies to his injury despite the best efforts of the surgeon and his mate, with his severed leg remaining in a corner on the other side of the cargo deck.

Chapter 6: Soldiers of the Sea
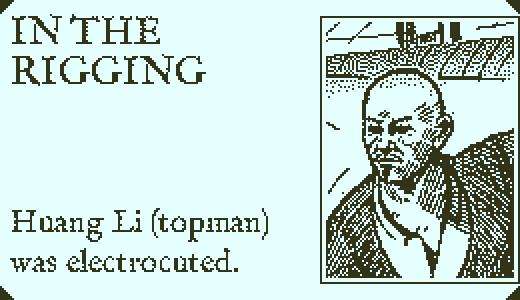
In the midst of a thunder storm, terrible spider-crab riding beasts have begun boarding the ship. Topman Huang Li is struck by lightning as he climbs the rigging, falling to the deck below as two beasts climb up port and starboard.
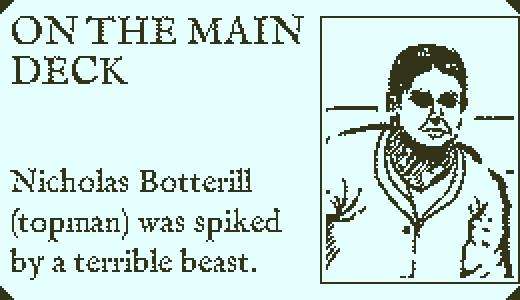
As he climbs down the rigging, topman Nicholas Botterill is stabbed by a beast. Most everyone above-deck has begun to realize their predicament and starts fleeing below-deck, either to acquire weapons or to hide.
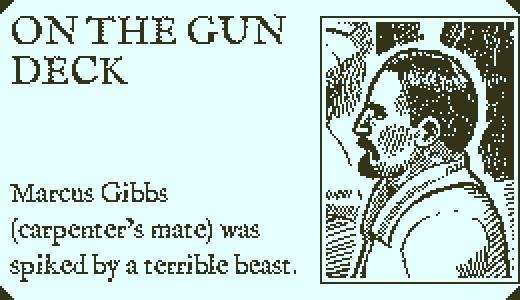
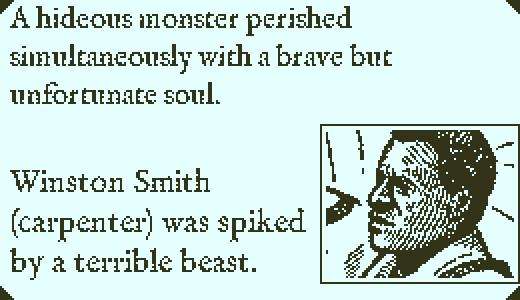
As crew members scramble down the decks, the beasts begin heading for the lazarette. As they descend through the gun deck, 4th mate John Davies approaches from behind and his steward Davey James watches from cover. Carpenter’s mate Marcus Gibbs attempts to catch the beast’s attention, hurling an axe towards it. The beast retaliates by slaughtering him with spikes, also catching carpenter Winston Smith in the shoulder as he attempts to dissuade Marcus.
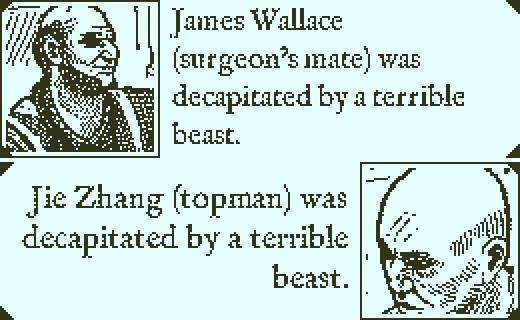
In the center of the orlop deck, one of the beasts simultaneously decapitates topman Jie Zhang and the surgeon’s mate James Wallace. Two of the midshipmen engage it with swords, with Thomas Lanke falling over into the cow’s enclosure. The third midshipman, Charles, hurls a lantern at it to set it on fire. The butcher Emil retreats holding a spear, while behind him ship steward Zungi Santhi crawls away with a spike in his back.
Gunner Christian Wolff hands out guns from the armory to the bosun and his mate Alfred Klestil and Charles Miner. Gunner’s mate Olus Wiater opens the bow-side door to the cargo hold.
Above, John and topman Omid Gul attempt to engage the other beast as it heads down, and Nathan drags Winston behind a wall as he takes the spike out of his shoulder. 1st mate William Hoscut takes aim at the beast from below.
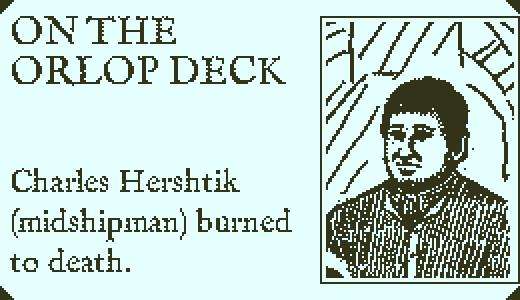
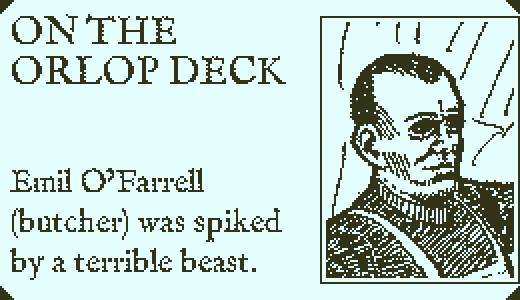
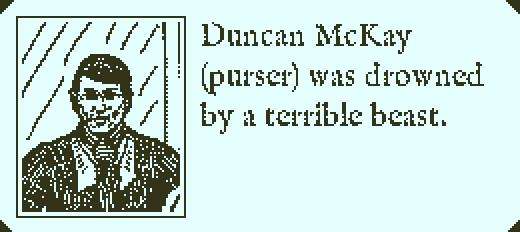
The midshipman Charles has climbed on top of the beast, likely attempting to restrain it as the two of them burn to death. Emil has been spiked several times to a nearby wall. Peter stabs the beast a final time, while Alfred and the surgeon Henry advance and Winston and Nathan descend the staircase. Thomas watches from nearby, either injured or exhausted, as Zungi continues to crawl towards the port walk and the nearby purser Duncan McKay hides in his office. William and the bosun’s mate Charles take cover from the other beast approaching bow-side.
The surgeon Henry attempts to save Emil, but he bleeds out before anything can be done. Zungi continues to stumble through the port walk to find cover, at this point having removed the spike from his back. Peter extinguishes the burning beast and his crewmate’s corpse while Thomas watches. Nathan opens the stern-side door to the cargo hold as an injured Winston takes Alfred’s blunderbuss.
As Christian and Olus continue to grab armaments, the last beast descends from the gun deck. William, Alfred and his mate Charles engage it with firearms while Omid and Robert attack it with swords. As Zungi leans against a wall in the port walk, he is shot through the other side by a stray bullet from the bosun’s mate.

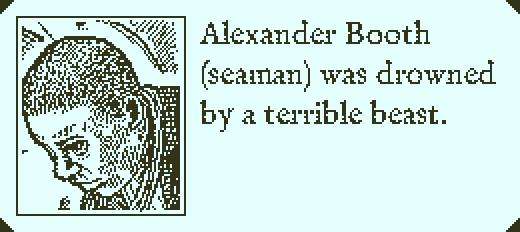
The last monster has made it to the bow-side cargo hold staircase. Omid and Charles chase it from above, while seaman Alexander Booth and topman Maba approach from below. Nathan stabs it from below the staircase as it grabs onto Alexander’s spear.
Winston has crossed the cargo deck and confronts the beast at the bottom of the staircase. As it stabs him multiple times with its appendages, he returns the favor with the full force of his blunderbuss.
Chapter 7: The Doom
Recognizing the danger they’re in, multiple crew members attempt to escape the ship after dark. As Lars attempts to join Nathan, Alexander, and and Duncan on the lifeboat, he is clubbed by Nathan as vengeance for his brother’s accidental demise.
On the gun deck level of the bow, artist Edward Spratt is crushed to death by the kraken while defacating. Omid looks on at the deserting crew members while the 4th mate and his steward John and Davey observe Lars’ corpse.

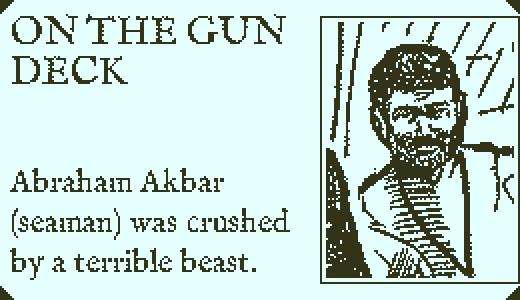
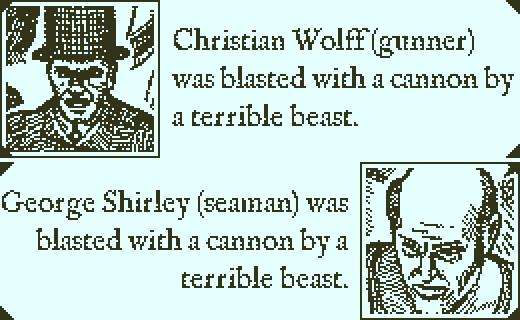
As the crew sees the kraken, multiple crew members begin to engage it from below deck. The gunner Christian directs several crew members to fire the cannons. After one of the cannons is lit, the kraken grabs it along with seaman Abraham Akbar through its portal, crushing the two together and latching Christian and seaman George Shirley to its barrel.
The cannon fires, obliterating Christian and George, crashing through the right wall and knocking a nearby cannon loose.
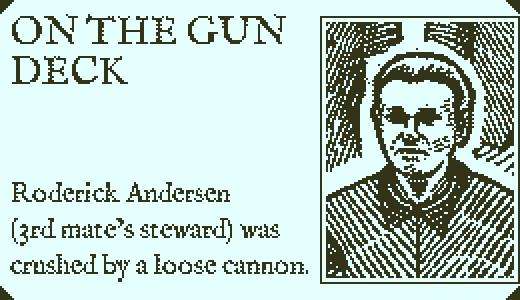
The 3rd mate Martin Perrott and his steward Roderick Andersen descend to investigate the commotion, as well as the two remaining midshipmen. As the kraken rocks the ship, Martin warns his steward to find his footing. Roderick is crushed by the loose cannon into the wall behind him.
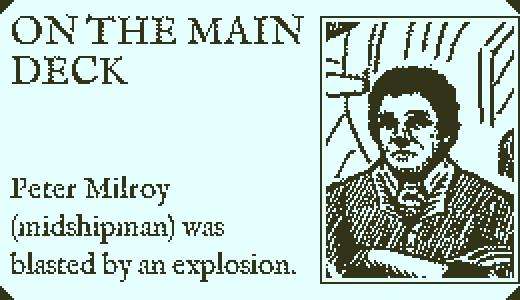
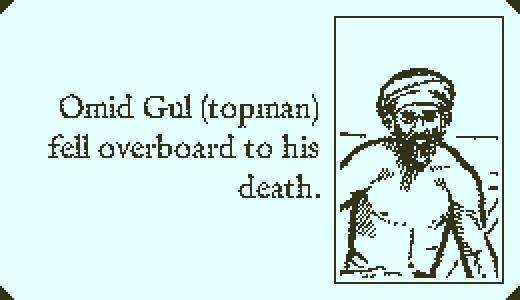
By this point the crew has begun engaging the kraken above deck, with Olus and John delivering firearms up and Maba wielding a sword up top. Peter, who was like delivering gunpowder or intending to blow up the kraken’s tentacles, is grabbed by the kraken. Thomas attempts to pull him back with a rope but the gunpowder explodes, severing a tentacle and killing Peter. The ship bucks portside, stumbling the spectators and sending Omid falling off the rigging and into the waves below.
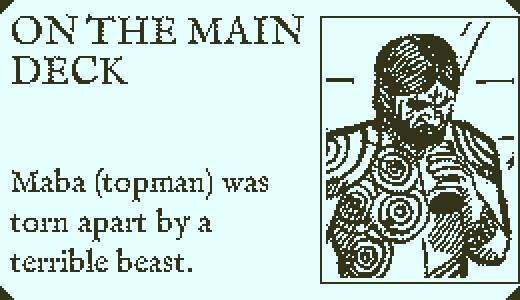
After Maba stabs the kraken through a tentacle, it grabs him and tears his legs from his torso. The kraken tosses the lifeboat containing Nathan, Alexander, and Duncan into the air and sends them into the water below. Charles and topman Leonid Volkov attack the kraken with spears, with Leonid throwing his into a tentacle. Martin and John wield rifles against it and Olus tosses one to Alfred.
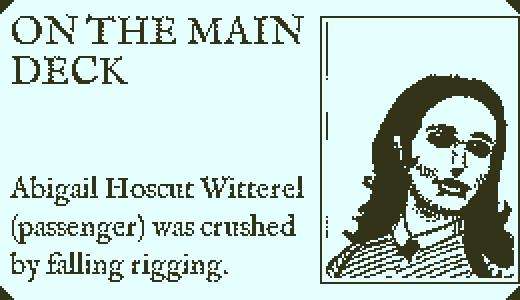
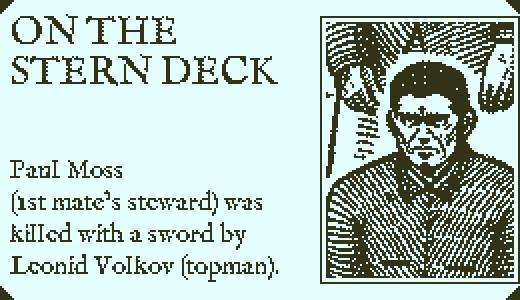
The captain’s wife, Abigail Hoscut Witterel wanders out of her cabin in search of her husband. Martin warns her to get back inside, but she is hit by a mast wielded by the kraken as 1st mate’s steward Paul Moss and the remaining passengers Emily Jackson and Miss Jane Bird watch. Olus has fallen over and takes aim with a pair of flintlocks.
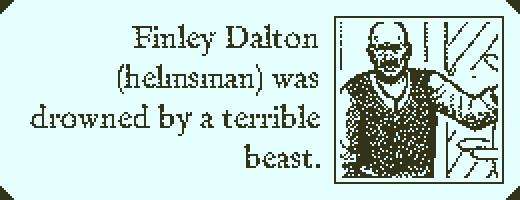
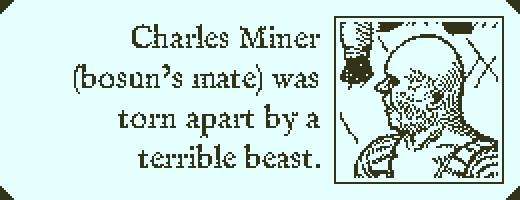
The helmsman Finley is grabbed by the kraken and pulled into the water, and topman Wei Lee is swept off of the rigging. Alfred’s arm is torn off by the monster and his mate Charles, whose spear is stuck in a tentacle, is torn apart shortly thereafter. Topman Lewis Walker drags Maba’s upper half away.

Chapter 8: Bargain
The events of this chapter happen concurrent to the ending moments of The Doom and before the start of The Escape.
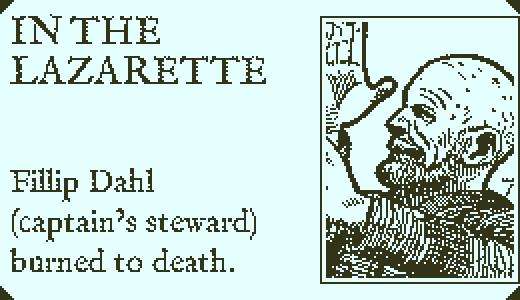
While locked in the lazarette, the chest is placed next to Fillip. He opens the chest and reaches inside, having his arm melted off and retrieving a shell for the trouble.
While the kraken is attacking the ship, Robert has locked himself in the lazarette and threatens the mermaids. He shoots the first mermaid and stabs the second as they refuse to cooperate, presumably finally driving the kraken off.
After the kraken has left, Martin heads down to the lazarette to free the last mermaid with Paul and Davey. As he opens its enclosure, he is spiked multiple times. However, before he dies he gives it the third shell that Fillip has been holding, and he directs the stewards to send it back into the sea.

Before disembarking, the surgeon Henry heads down to the lazarette. Before he and Paul head out he lures a monkey into the lazarette and shoots it, so the chief inspector may learn what occurred inside using its death.
Chapter 9: Escape
After the kraken has left, a one-armed Alfred is taken below deck. John and Olus hear out his dying words, while Robert and William head up top and Thomas ascends from the orlop deck.

Paul boards the passengers Emily and Miss Jane, the surgeon Henry, and Davey onto the last remaining lifeboat, but Leonid attempts to stop them and engages Paul in a sword fight. William and Henry Brennan approach from portside, while Robert ascends the starboard staircase holding up his flintlock and Lewis climbs up over the side of the ship. Leonid stabs Paul in his chest.
On the gun deck, Olus confides in John his plan to mutiny, while Thomas eavesdrops from behind a nearby wall.
Robert aims his flintlock at Leonid and commands him to stop. As Leonid attempts to climb overboard, Emily avenges Paul by shooting his killer through the chest. Their lifeboat safely makes it to Morocco after they’re cut loose.
After hearing Olus, Thomas scrambles away and attempts to warn the captain of the mutiny.


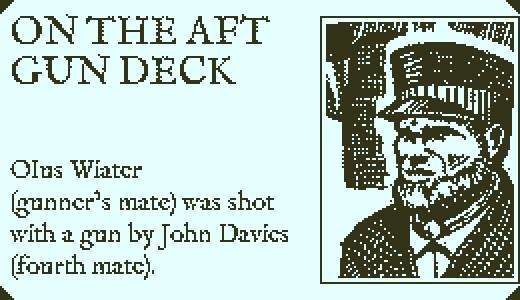
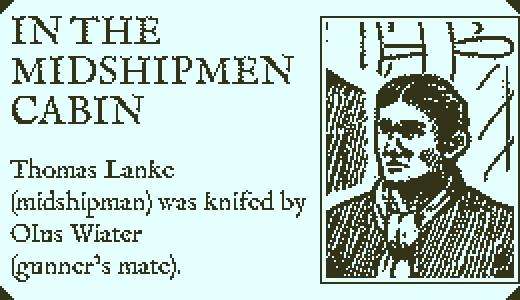
Olus chases after Thomas and stabs him in the back. In response, John struggles with Olus and ends up shooting him through the head with a flintlock. Hearing the commotion, William and Henry Brennan begin heading back down. Lewis dumps the bodies of Paul and Leonid overboard.
Seeing that John has shot Olus, Henry Brennan clubs him from behind. Thomas crawls towards his cabin and William heads after him.

Thomas bleeds out in his cabin, giving his last words to William. William calls for Henry Brennan to bringing him the surgeon’s kit, to no avail.
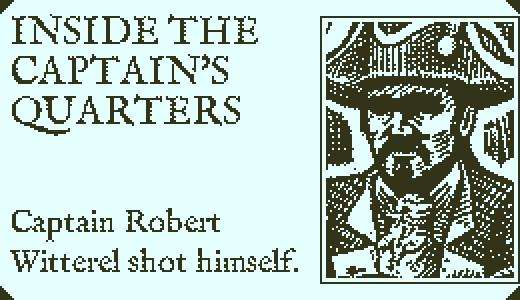
Chapter 10: The End
Robert has locked himself in his quarters. William and Henry confront him at his door, while Lewis climbs above. When told to hand over the shells, Robert opens the door and shoots William through the chest.

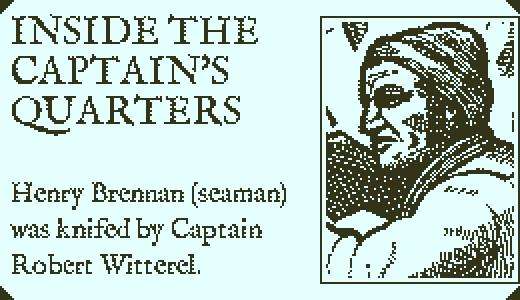
Henry confronts Robert in his quarters, and after a brief exchange the two struggle. He stabs Robert in his shoulder and has his neck sliced open in retaliation. Lewis climbs down to the railing from above.
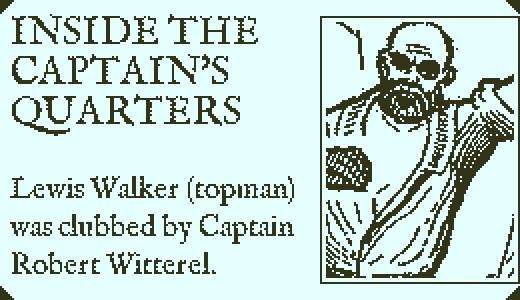
After their struggle, Robert catches his breath and removes the spear from his shoulder. Lewis sneaks up and stabs Robert in his side, getting his skull caved in immediately after.
Robert sits down and reloads his flintlock. After confessing his regrets to Abigail, he commits heart shoot.
Final Notes
There are certain details I’m uncertain of, which is part of why I decided to make this:
- I’m unsure where exactly the shells came from, whether they were in possession of the mermaids, if they were in the chest or both.
- The circumstances around John Naples’ death are vague, specifically as to how his leg ended up across the ship.
- When exactly the chest was placed in the lazarette is unknown to me.
Any thoughts on these deets would be appreciated.
Closing Note
It took a good four and a half hours to put this together, but I’d be lying if I said I was doing this for any other reason than to not do my homework instead. If you have any thoughts or felt anything went differently than I’ve interpreted, let me know below.

Hi, I really liked your explanation! I’ve been looking for a detailed breakdown of the story for a while now. I think I can answer some of your questions. Firstly, there appear to be three shells throughout the game. The first starts in the possession of the Formosans. It is stored inside the mysterious chest that they bring aboard with them. The other two are brought aboard along with the three mermaids that Nichols brought back to the ship. The first shell stays with chest throughout the game until Filip removes it and it is eventually given to the last remaining mermaid. The other two stay in the Lazarette with the mermaids until the captain kills them and throws these two shells overboard. As for the chest, it gets brought back on board along with the mermaids after the boats are recovered, and can be seen carried below deck in various memories. It was likely put there at the same time as the mermaids and was there shortly before Filip Dahl was locked up. I’m not sure why Filip started attacking, maybe he was spooked after seeing the mermaids being brought on board and tried to physically stop them from being brought below decks, but he likely targeted John because he was one of the seamen helping to carry the mermaid down to the Lazarette.
There are also a few interesting details about the chest and the shells that I’d like to point out, I think they help to better explain the mermaids powers and the cause of the events. Firstly, the chest has two distinct parts, the top holds a liquid similar to “quicksilver” or liquid Mercury, which is very toxic. There are also a set of drawers which hold the magic shell. When Beng attempts to stun the mermaids, not only does he open the top of the chest but he also opens a drawer. Presumably he takes a shell out of the drawer and plunges it into the liquid, thus stunning the mermaids and burning his hand in the process. It seems like keeping the shell in the liquid “quicksilver” directly supresses the mermaids power. Later on, after struggling against his chains, Filip Dahl finally reaches the chest and removes the shell from the liquid, getting burned himself. It seems like this causes the mermaids power to return as the Kraken begins attacking immediately afterward.
Doesn’t the first chapter say a stowaway died in a barrel? And that’s the barrel with flies around it that you find in the store room?
That’s right, the stowaway did die during the fall. However, since the barrel did not break open, the crew likely didn’t notice that there was someone inside, or that they had died. It just got stored with the rest of the cargo.