
More Half-Life: Alyx Guides:
- 100% Achievement Guide.
- Cheats and Console Commands.
- How to Skip Jeff (Cheats).
- Hand Disappears Fix.
- Weapon Upgrades.
- Tips and Tricks.
I figured out how to make and import custom maps into Half-Life: Alyx. I’m not sure if this is new, but I thought I’d share this with you guys as you’re no doubt much better at map making than me!
Setting Up
You need a few things to get set up, first you’ll need a VR HMD, obviously, and a copy of the game, also obviously. You also need to be able to access the developer console, to do this, right click on the game from your library, go under Properties > Launch Options and enter ‘-console’ and ‘-vconsole’. I’m not sure if this is necessary, but I recommend installing the Half LIfe Alyx asset pack on the Steam VR workshop.
To begin with, open up Steam VR, without opening any applications. Right click at the top of the Steam VR window and under workshop hit ‘Create/modify an environment.’

From their, click ‘Create Empty Addon’ and call it whatever you like.

(If you have installed the Half Life Alyx asset pack, select the addon and click ‘Edit Dependencies’ in the bottom right, and select ‘Half Life: Alyx Asset Pack’)
From their, double click your addon or select it and click ‘Launch Tools’, this will open the asset browser.
There’s a lot of stuff you can do in this window, I’m not gonna pretend to understand it all, but to start mapping open the hammer editor (top left).

Using The Hammer Editor
Now I am by no means a mapper, but I feel like without including just a little bit about the editor this guide would be incomplete.
To start off, go File > New to create a new map file, and then just start mapping. As I said I am by no means a mapper so I can’t help you there, but there are plenty of online resources to help you learn!
After you’ve finished mapping, go File>Build Map and perform a Full Compile (you can un-check ‘Load in engine after building’ since you’re just going to port the map into HLA anyway) by clicking ‘Full Compile’ and then ‘Build’.

Tips
Make sure you add a light to your level! I made the mistake of forgetting this and for hours thought the game was just not rendering my level!
Entities from HLA do work in the editor, but they won’t appear until you compile and run it in HLA. Just give the entity the appropriate name, for example, npc_zombie for a zombie and it will work!
Use assets from the assets pack where possible, otherwise you could run into issues of missing textures or models.
Importing Your Map Into The Game!
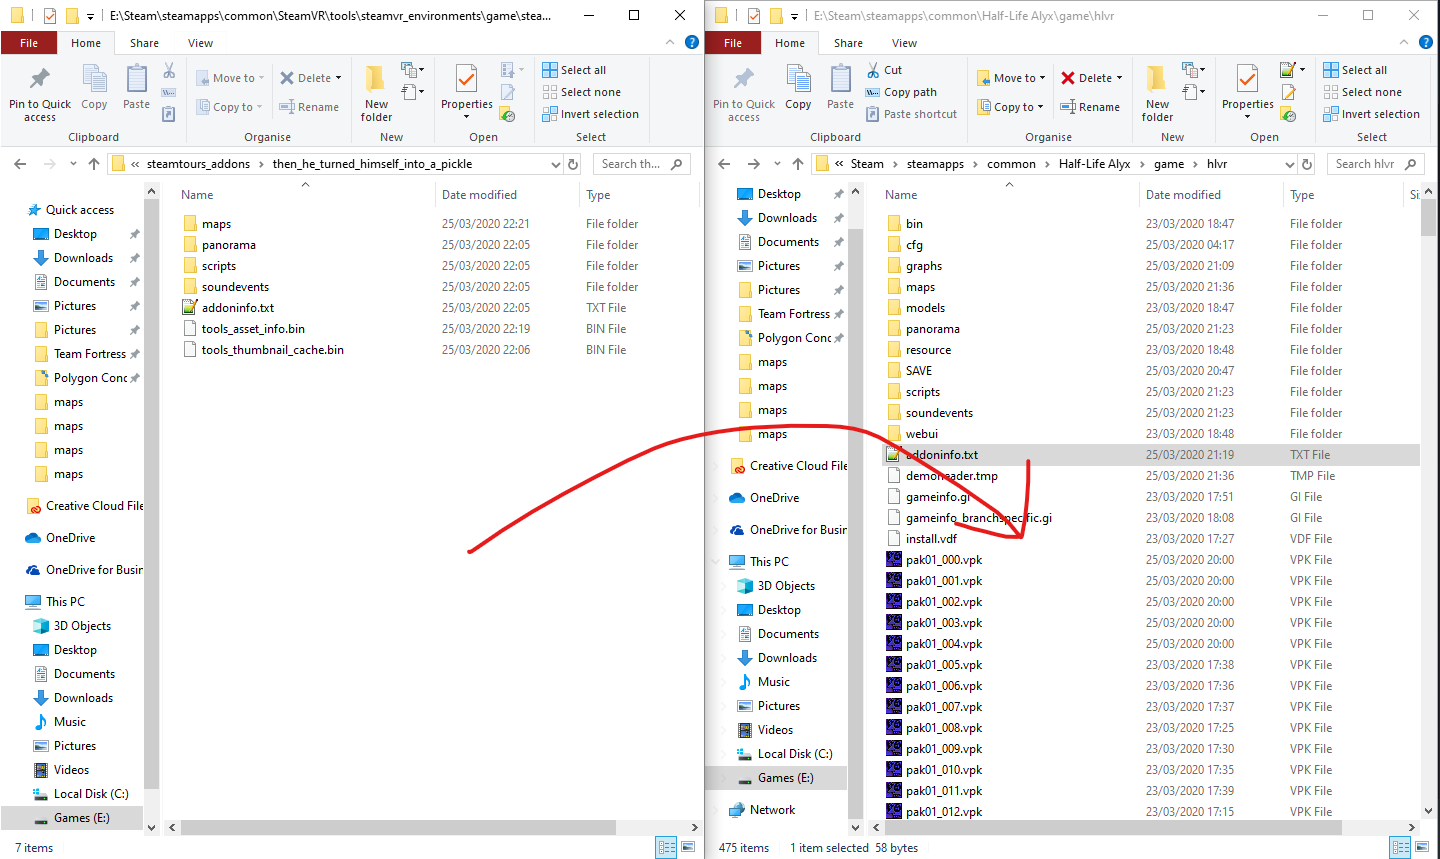
To finally play your map in glorious virtual reality, find it in your Steam VR addons (usually under SteamsteamappscommonSteamVRtools steamvr_environmentsgamesteamtours_addons*Addon Name*) and copy the content into the HLA folder hlvr (usually under SteamsteamappscommonHalf-Life Alyxgamehlvr) you’ll know it’s the right folder because it will have the maps folder within it.
Important: do not replace any .pak files or it may make your game unplayable, if this does happen you can verify the game’s integrity to fix it.
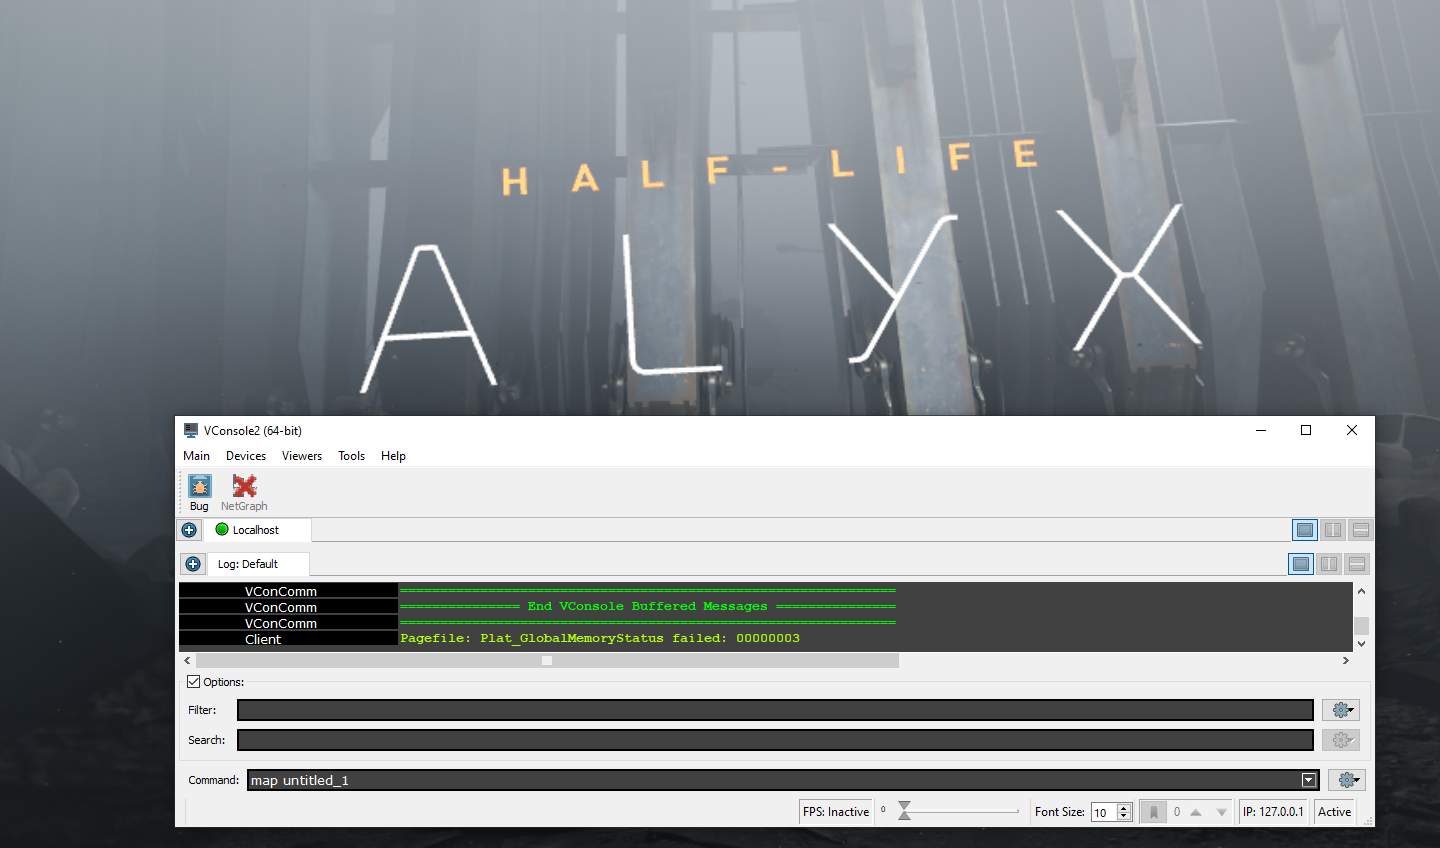
Now, open HLA and enter the developer console by pressing the key below escape (varies depending on your keyboard layout) and entering ‘map your_map_name’ (make sure this is the name of the .vpk file you compiled, and not the name of the addon you made in Steam VR)
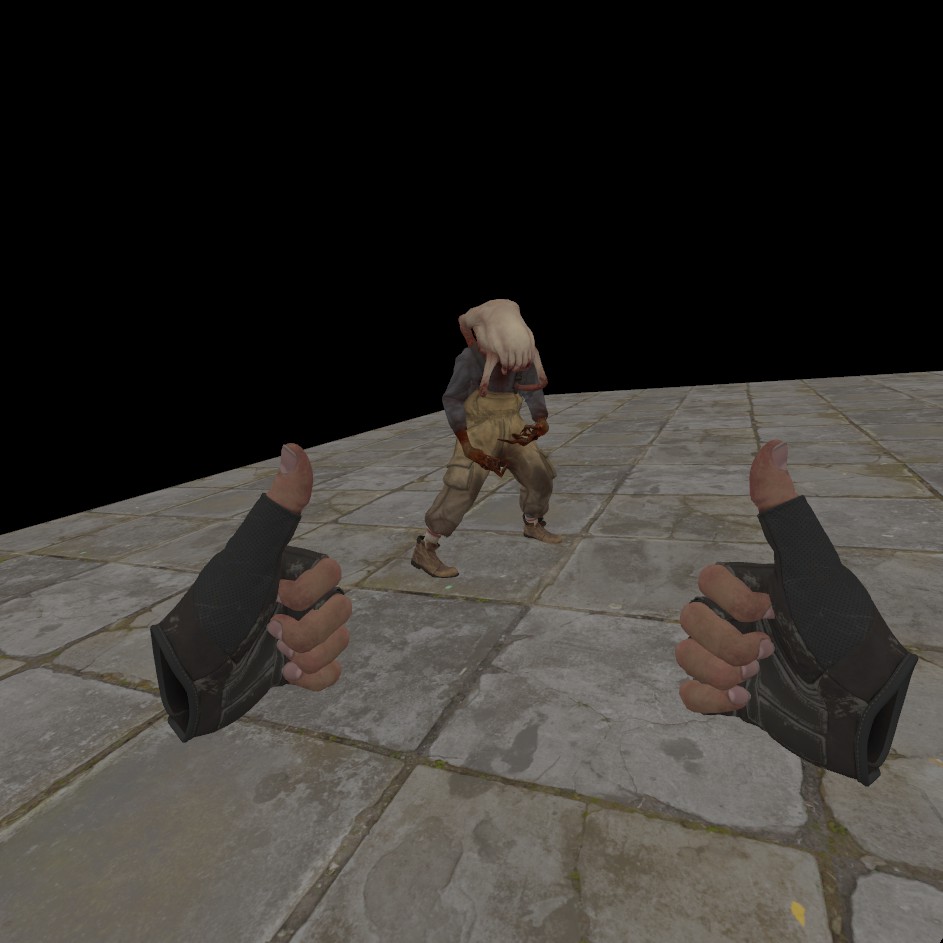
If you’ve done all this correctly, you should now be able to play your Half Life Alyx custom map! Hoooray!

Be the first to comment