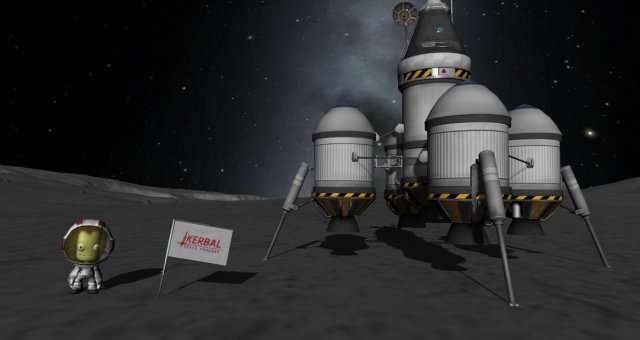
This guide will give a short explanation on how to create an unmanned spacecraft, or, more specifically, an orbiter.
The Basics: What You Need
To make a working spacecraft, you absolutely need a few different parts:
- A computerized system to control the spacecraft.
- Some sort of battery pack.
- A monopropellant tank.
- A communications relay.
- 2 or 3 solar arrays.
- 4 to 8 RCS thrusters.
The cheapest spacecraft you can make, following these guidelines, looks like this:
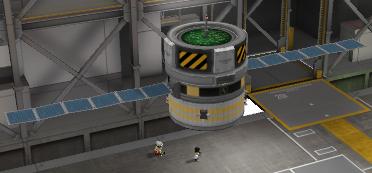
Remember, however, that you will still need a rocket to get it into space and, if you want it to do a lot more good, and some science equipment, such as a thermometer. I often make a much bigger orbiter
that looks like this:
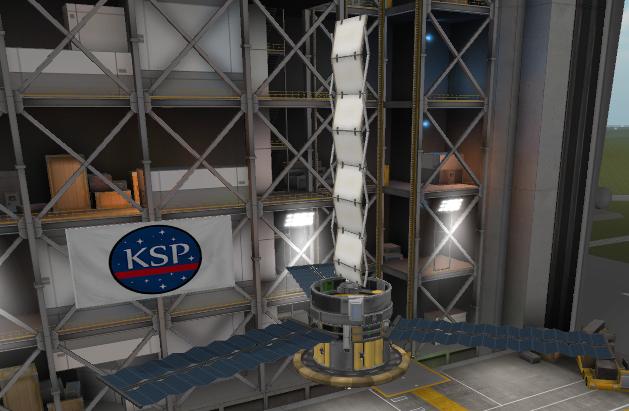
This is okay too. Anything is, as long as it follows the parameters above.
Making an Orbiter: a Walkthrough
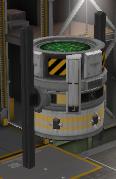
First, start with a RC-001S Remote Guidance Unit as the base, or, as I like to call it, the computer. Next, attach a Z-1K Rechargeable Battery Pack to the bottom of the computer and a FL-R25 RCS Fuel Tank to the bottom of that. Now put an Advanced Inline Stabilizer to the top of the computer. Your orbiter should now look like this:
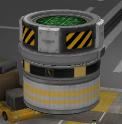
Now, for the small stuff. Turn on symmetry (x2) and place a Gigantor XL Solar Array on each side (remember, with symmetry). Now, click on symmetry 3 more times to make it x6. Now, put 6 Yawmaster RCS250 Light RCS thruster blocks onto the RCS Fuel Tank. We still need a communications unit, so turn symmetry off and place one Communotron DTS-M1 data transmitter on. Your orbiter should now look like this:
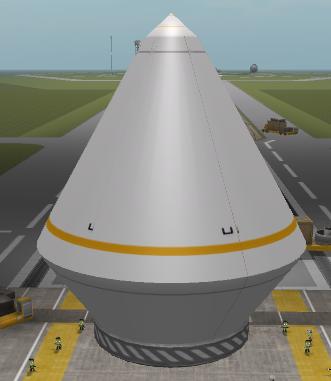
We’re almost done! Yay! Now for safety, place a MK16-XL Parachute on top. I forgot to turn the solar arrays horizontally, so do that now. Place an AE-FF2 Airstream Protective Shell around the spacecraft for better protection, and a Heat Shield (2.5m) on the bottom just in case. The finished product should look like this on the outside:
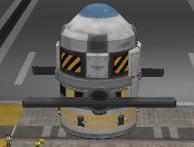
And this on the inside:


Be the first to comment