
This guide will help you set up a dedicated server, or you can click the link below to order your own game server.
I successfully downloaded and ran a server using the steps below. This guide is brief because I assume you have some basic understanding of how servers and SteamCMD work.
SteamCMD and Installing Content
- Download SteamCMD from here.
Extract it to any location. I keep my SteamCMD on my desktop.
Create a .bat file named “update.bat” and paste the following in it:
- C:UsersUSERNAMEDesktopSteamCMDsteamcmd +login anonymous +force_install_dir C:Valheim +app_update 896660 validate +exit
Change C:UsersUSERNAMEDesktopSteamCMDsteamcmd to where you extracted SteamCMD.
Change the +force_install_dir C:Valheim to where you want to install the server.
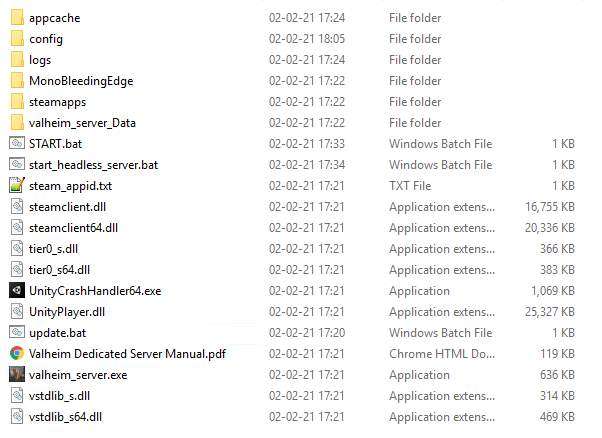
Save the .bat file and run it. When it has finished it should look like this in the folder you specified:
Move your “update.bat” to the installation folder to keep it organized and run it when you want to update the server.
Configure Server
Make a copy of the “start_headless_server.bat” in your server folder and rename it to “start.bat”. Open “start.bat” with any text editor.
I’ve marked the text you need to change with “CHANGEME” below, change them to what you want. When you’re done, save and exit.
@echo off
set SteamAppId=892970
REM Tip: Make a local copy of this script to avoid it being overwritten by steam.
REM NOTE: Minimum password length is 5 characters & Password cant be in the server name.
REM NOTE: You need to make sure the ports 2456-2458 is being forwarded to your server through your local router & firewall.
start valheim_server -nographics -batchmode -name "CHANGEME" -port 2456 -world "CHANGEME" -password "CHANGEME" -public 1echo Server started
echo.
echo Press ANY KEY to stop server
pause > nul
echo 1 > server_exit.drpecho Server exit signal set
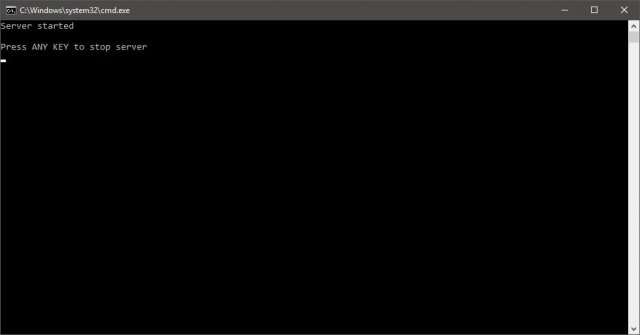
echo You can now close this terminalMake sure ports 2456-2458 are open in your firewall on your router and PC. You can now start the server with the “start.bat” file. The server is ready when it says “Game server connected”. To close down the server properly, open the CMD prompt that is open (see picture below) and input any key.
Save Location
You can find your world in AppDataLocalLowIronGateValheim. You can move your Singleplayer saves over to the dedicated server if it’s on another PC, just make sure you name it the same in your “start.bat”.
Direct Connect
- Go to Steam > View > Servers > Favorites > Add a server
Put your machines IP and then port 2457 (default port +1 if you changed it), example: 192.168.1.20:2457
You can now direct connect through the steam server browser. If you’re connecting from the outside, put your exterior IP.
It might show for a second and then disappear, make sure to double-click it instantly after refreshing. Not sure why this happens for me.


Hello, good guide, but i have a question, how can i save the server when i want ? The command save in the in-game console doest not work and cannot type anything in the server concole.
Would it be possible to take someone’s Private server (my friend’s server that a group of us played on for a few hours) and convert that to a Dedicated server?
How can i change map name and server player slots?
Thanks for this! In case anyone is googling, I started a regular, non dedicated server, and using this guide i was able to start the same server as a dedicated one. I did notice that I had to use a new password for the dedicated server, otherwise the server would not start
No linux server ? 🙁
can I start the server without a password?