
Guide to Unique Monsters
These are a special kind of enemy you can find all over Valandis. They spawn under certain conditions and can drop rare items.
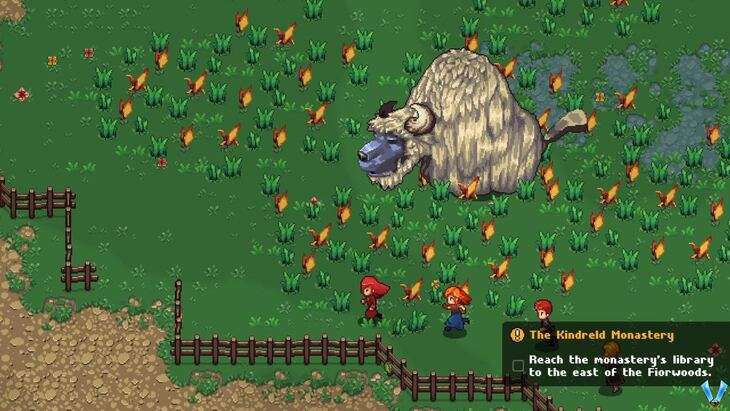
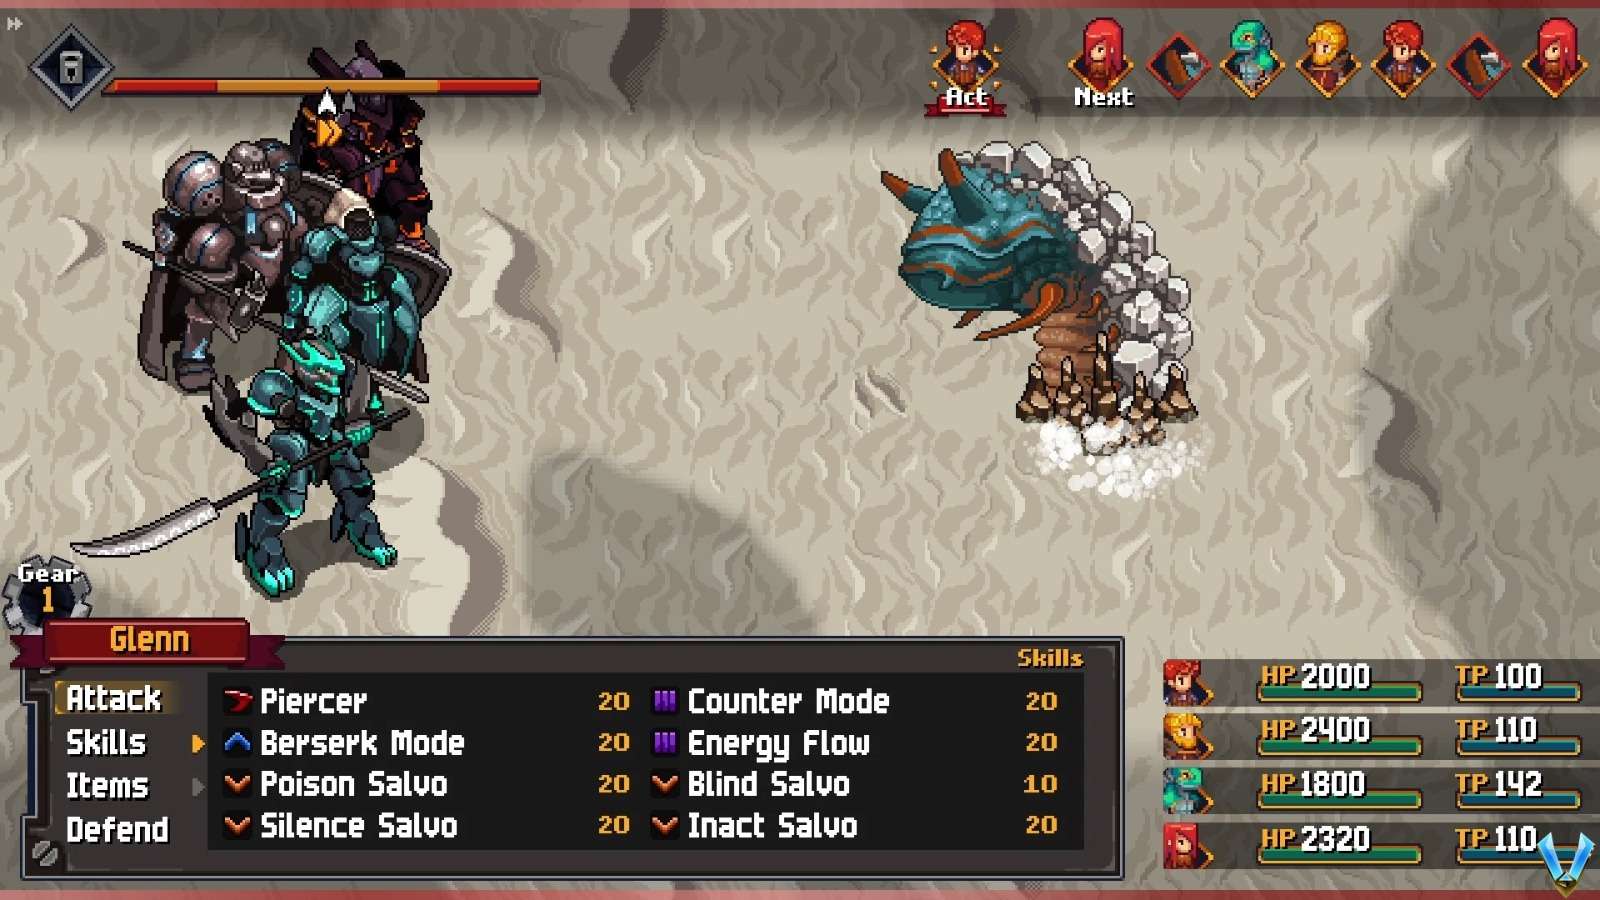
Tak the Yak
- Location: Rohlan Fields (north of Farnsport)
- Reward: Snack x5, Angel Wing x2, 200a
Spawns always. This isn’t your typical boss fight, but the same tricks you’ve been pulling off work here too. This dude’s got no weak spots, so just have Lenne go all out with her biggest spell. For Sienna, kick things off with X-Slash to get that Bleed going, then switch to Kesa Giri for some serious damage. Oh, and don’t forget to snag some loot with her. If Sienna’s rocking the Vampire Class Emblem, she can keep herself in the game without hassle. Just watch out for Life Sucker eating up your TP when you least expect it.
Victor’s your go-to for buffs and healing. If he’s got the Cleric Class Emblem, he can keep everyone topped up with Heal All. Kylian’s not super useful this time since he’s all about slowing things down and spot healing, and this boss doesn’t give a hoot about single-target stuff (unless you’ve got Kylian’s solo move, which I totally skipped).
Glenn’s the usual beast, tearing through defenses with Armor and Arms Break and dishing out damage with Cross Slash. Keep Victor’s TP filled with Lend Energy. Slapping “Restrain” on Glenn can seriously cut down the OD gauge, too. Then there’s Thraz and Robb. I mostly use Robb for poisoning and paralyzing, setting traps, and messing with the OD gauge (hit or miss, though). Thraz? Not so hot this round since he shines against groups, kinda like Kylian.
Boss’s regular hit does about 40 damage to one bro, but his Stomp? That’s the real kicker, slamming the whole squad for 45-60 damage. Watch out, it’s brutal.
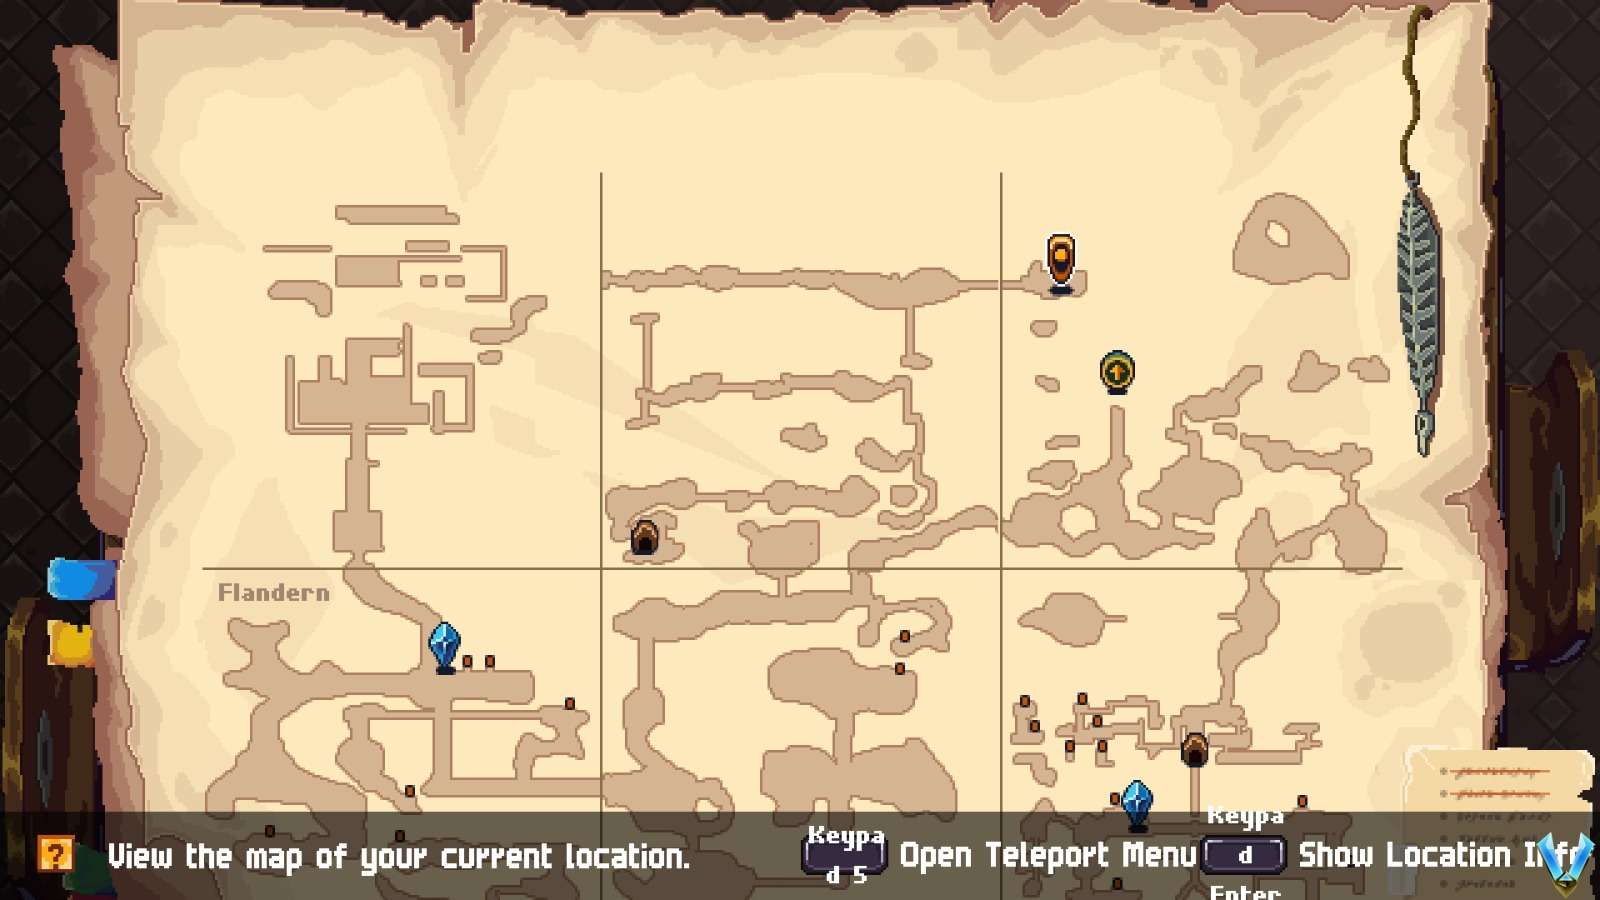
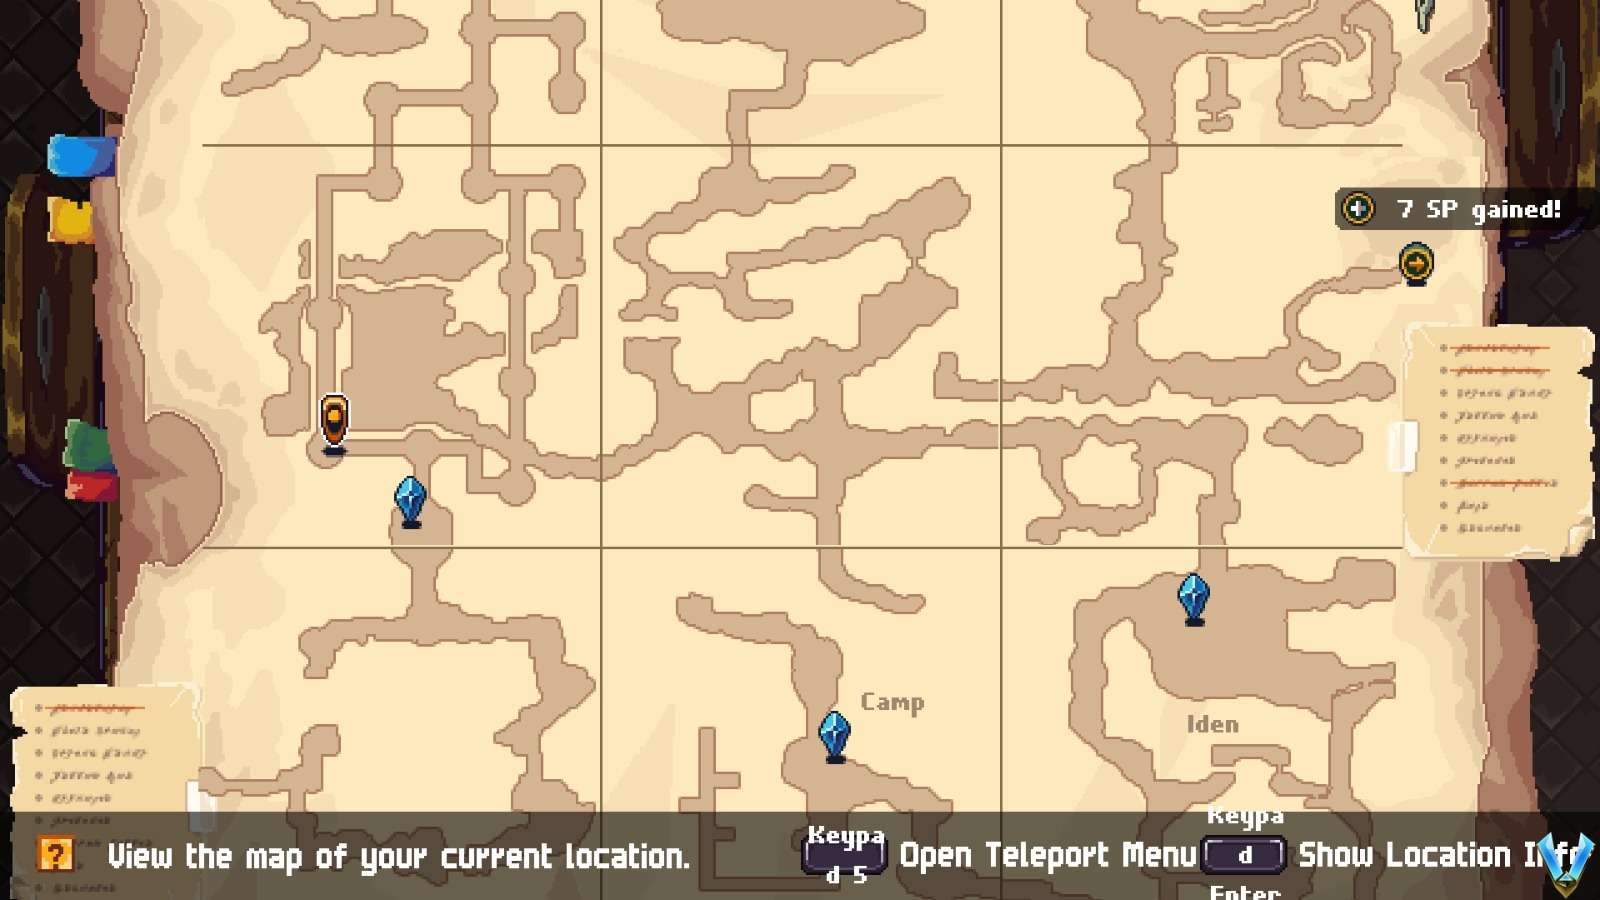
Leaping the Frog
- Location: Rohlan Fields (north of Farnsport)
- Reward: Attack Overdrive x3, Heal Overdrive x3, Debuff Overdrive x3, Utility Overdrive x3, Magic Overdrive x3, 500a
Can spawn in one of three locations. Only one location is accessible.
Alright, so here’s the deal: if you’re trying to find this dude who’s always chilling out of reach on the north ledge, it’s all about your Rewards Board progress. Seems like you gotta hit a certain number in your chain or tick off enough challenges in Rohlan Fields. I had everything done there and was sitting on a 21-chain (almost 22 with the Temple of Purple Flame coming up) when he finally decided to show up. Tried before with like a 15-16 chain and no luck, so maybe aim for 18-20?
This guy’s a unique monster, tougher than the rest, but doesn’t count as a boss since his move set’s kinda basic. He slaps with a normal attack for about 65 damage (50 in OD mode) and has this group water attack that hits everyone for 50 in OD. Watch out for that one.
He’s a pushover for earth attacks, so Victor’s your man. Thing is, I turned Victor into my main healer with the Cleric Class Emblem, so had him focus on keeping everyone up rather than throwing down. If you can get him to attack, definitely go for it. Also, this monster’s a sucker for Bleed and Poison, so hit him with those to drop his HP fast.
Dwelly of the Valley
- Location: Kortara Mountains (land on a small island south of the entrance of the Wygrand mines)
- Reward: Meal x2, 1000a
Spawns always.
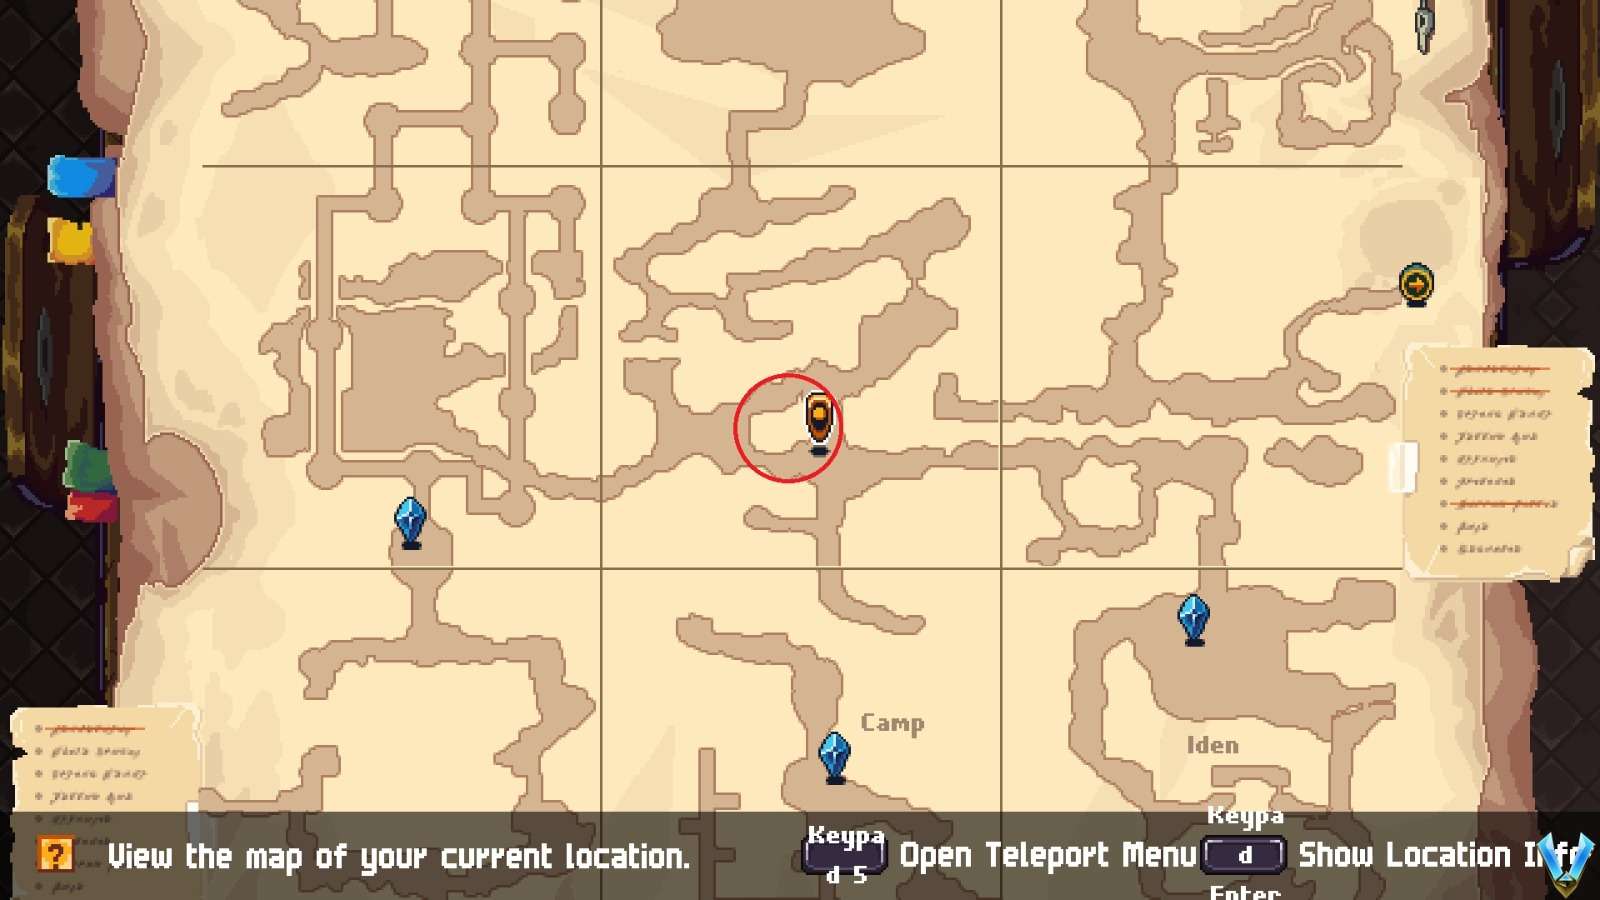
Gol D. Waterfly
- Location: Kortara Mountains (one of the peaks in the north reached by the bridges)
- Reward: Oil Lamp x4, Waterbomb x4, Silph’s Fan x4, Bolas x4, 1250a
Have 20 or more Waterflies killed when going there.
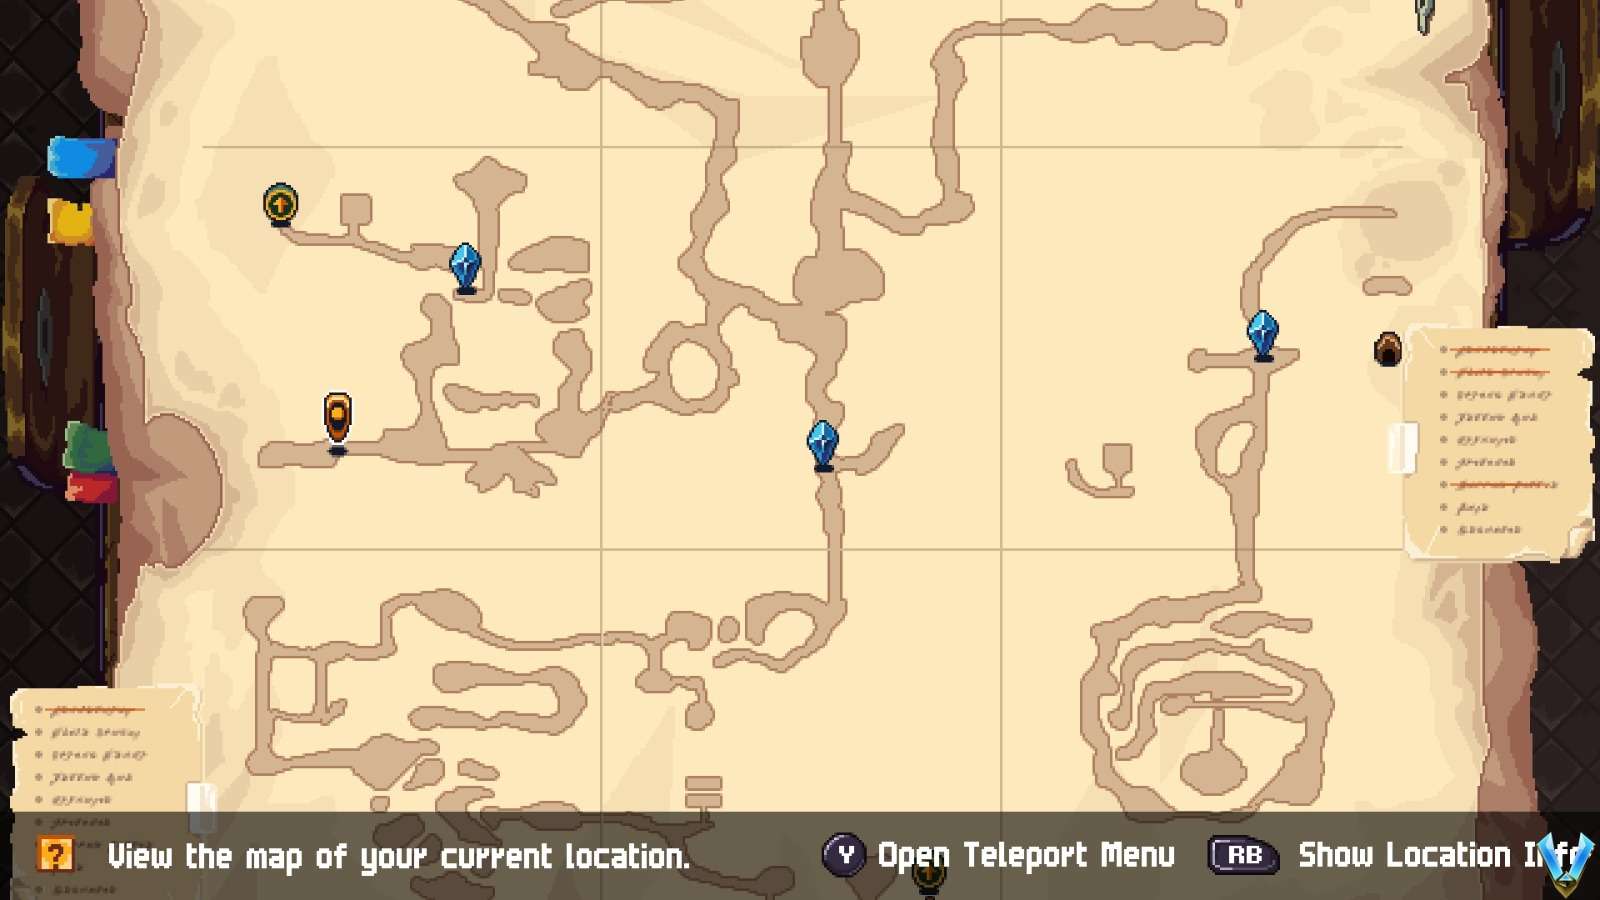
Head to the southwest corner of Kortara, in the forest bit. Only two of these buggers spawn there. Easy, right? Smash ’em, zip back to the nearby crystal, and do it again. Keep at it until you get what you need.
How many do you need to take down? Well, it’s kinda up in the air. Some say 20, others 30. I reckon it’s about 16, but who’s counting? If you’re itching to see if you’ve done enough, drop 10 and then go check for the Unique Monster.
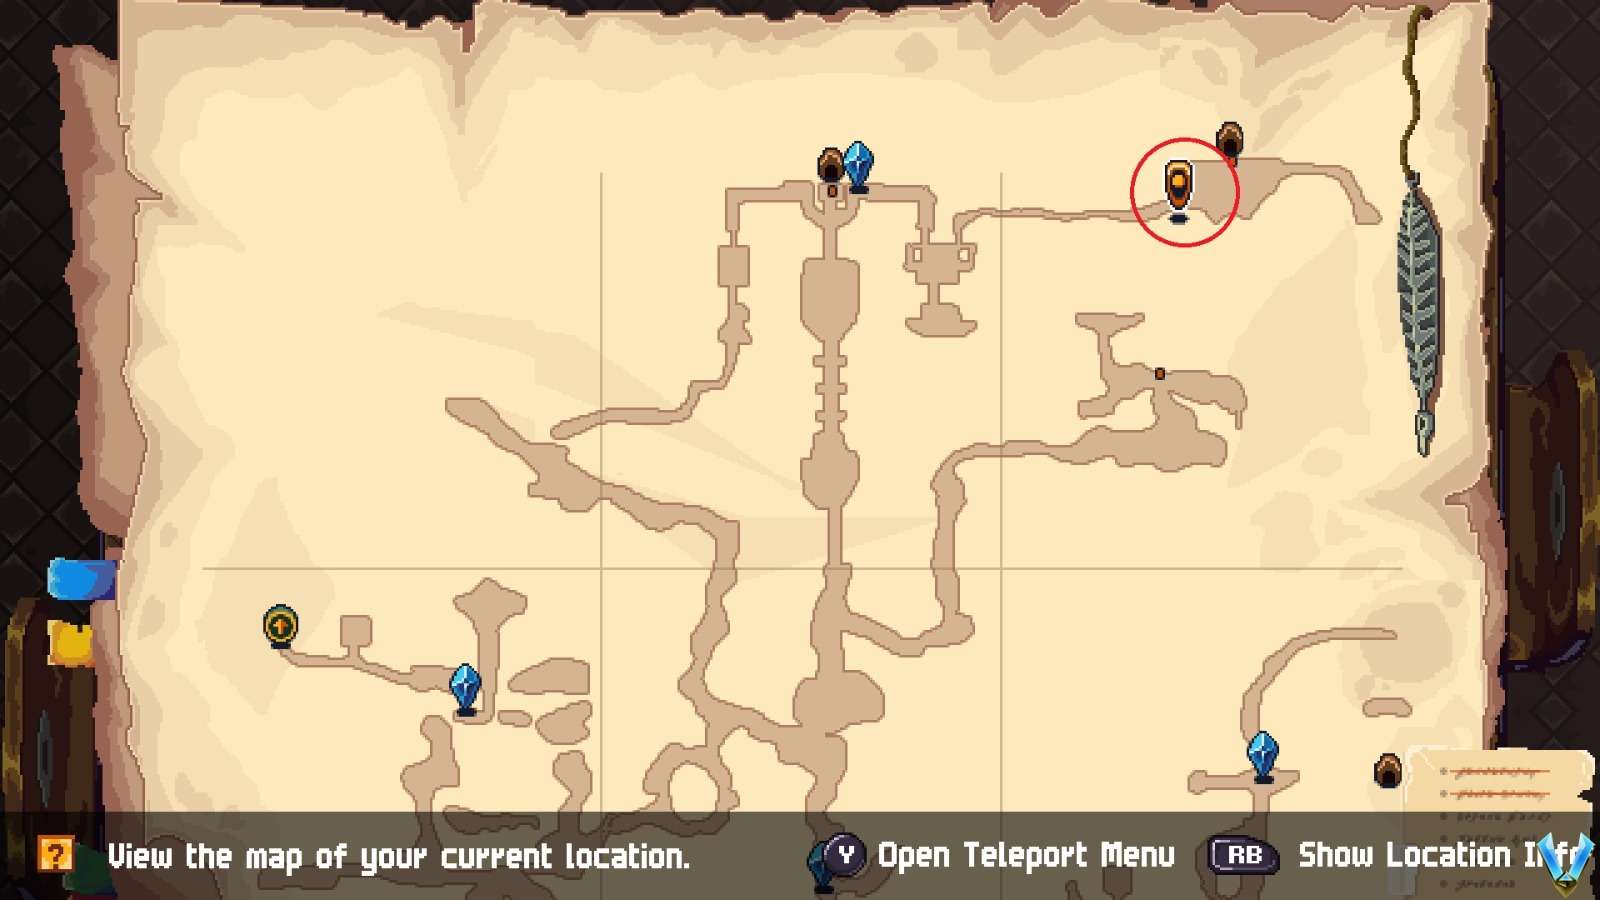
And where’s this monster hiding? Northeast corner of the region. We’ve got some pics below to help you out. Once you’ve shown those bugs who’s boss, this big guy will pop up ready for a fight.
Ekskalibur
- Location: Fiorwoods (central part)
- Reward: 2500a
Run 3 times around the trees directly east of the Gazer.
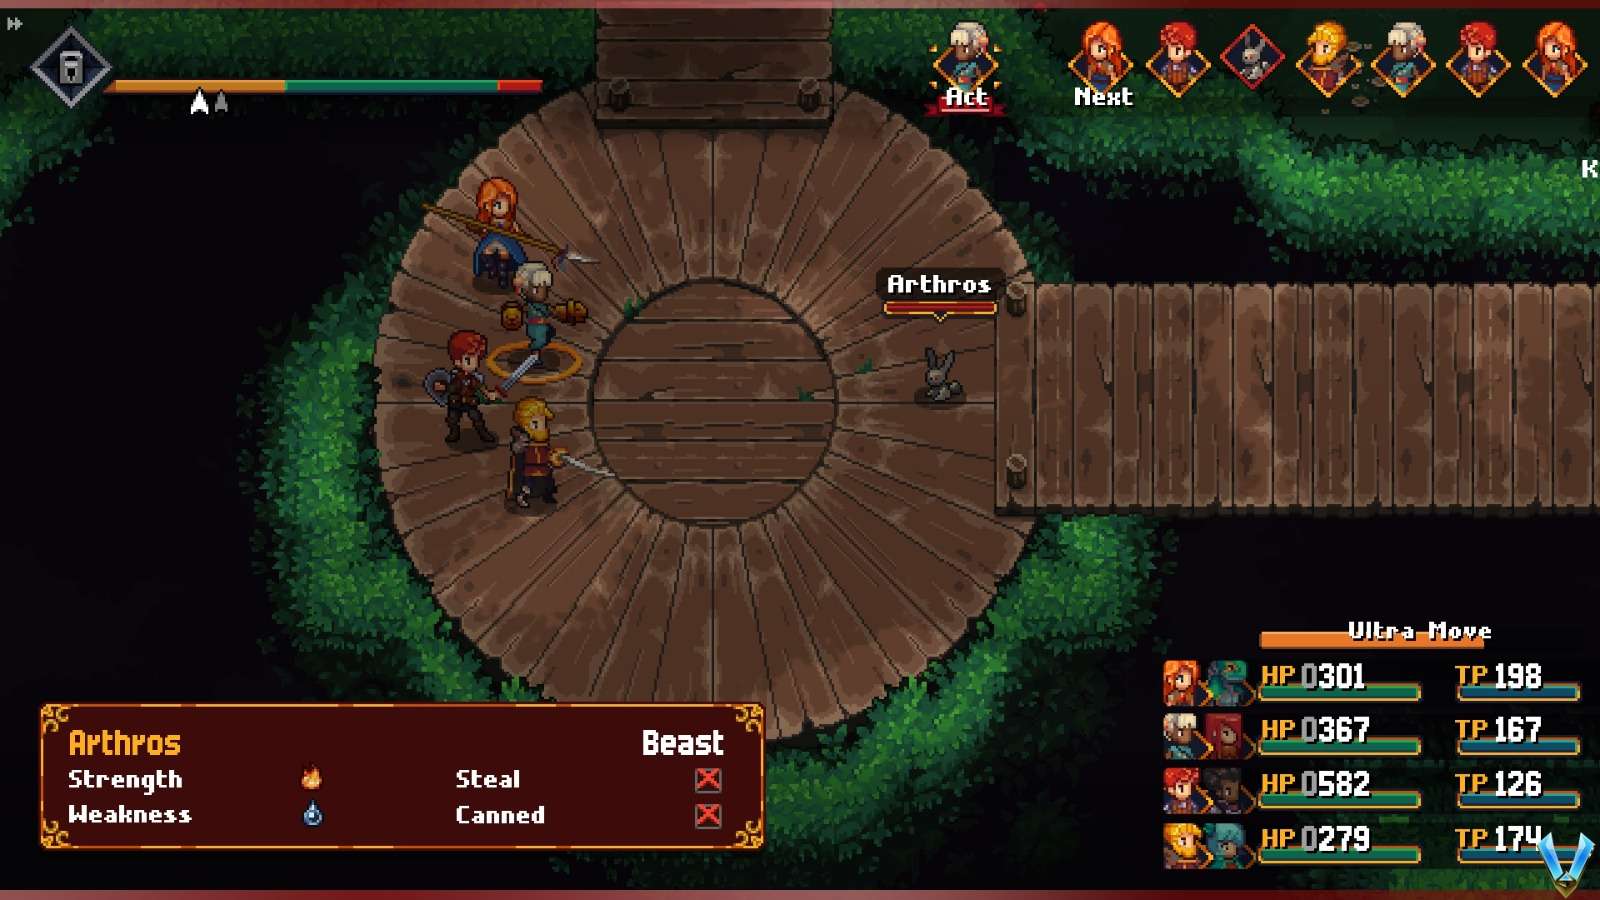
Arthros
- Location: Fiorwoods (on wooden bridges in the west)
- Reward: Repair Kit x4, Exchange Parts x2, 1500a
Have Ekskalibur killed and move directly to the wooden bridges area in the west without leaving the forest.
Da Capo
- Location: Perpetua (south, at the entrance to Ograne)
- Reward: Ambrosia, 1500a
Chance of 25% to spawn when entering area.
Humphry the Hungry
- Location: Perpetua (south east)
- Reward: Nectar, 1500a
Examine 3x suspicious sand vortex.
First up, this dude’s playing hide and seek, but in the desert. You gotta fly around the southeast part of the map. Keep an eye out for these weird sand swirls that look kinda like when you see bubbles in water.
You’ll have to spot these swirls a few times before you can actually get this enemy to show its face. The spots where it pops up might change every game, but here’s a tip: I first saw it near the church, then by the scientists, and then close to their tents. Just cruise around these areas until you’ve found it enough times, and bam, it’ll show up ready to rumble.
Now, for the real deal: this boss is no joke. You absolutely gotta use your SA (special attack, I’m guessing?) to take it on. Make sure one of your SAs has Heal All. Victor’s your guy for that, unless you’ve messed up like I did and took it off (lol, my bad). This boss has a nasty move called Earthquake that hits everyone for like 700-800 damage. But with Heal All, you’re golden. Its regular smack hurts like heck, hitting one of your team for over 1600 damage. Crazy, right? If your SAs are still rocking their default weapons, Thraz should have Quick Repair, which kinda helps with the damage.
So yeah, that’s pretty much the gist of it. The boss might seem simple, but it packs a punch, especially with that single-target smackdown. Make sure you’re geared up and ready for a healing game with this one.
Otter Nobunaga
- Location: Arkant (beach west of the village)
- Reward: 3000a
Run without anyone in your main party wearing armor.
Head west from the only fast travel crystal you got. But here’s the kicker – no armor on any of your squad. Yeah, all 8 of them gotta be in their birthday suits. Strip down, and boom, he’s just chilling there. You can take him out while on your SAs, which is way easier. Wanna gear back up? Go for it. Dude won’t vanish unless you bail or hit refresh on the area. Watch out for his Charm thing, though. Gets you stuck and you can’t tag out. Keep it simple, yeah?
Hairy Otter
- Location: Arkant (beach on the Taryn Base Island)
- Reward: Sweets x10, 2500a
Have magical characters in the front party like Lenne, Victor, Amalia, Bathraz or Magnolia.
Head to the north side of the southeast island, right where those baddies are camping out. Now, to get this guy to show up, your main crew – I’m talking the first four slots – needs to be all about that magic life. You got options like Amalia, Lenne, Victor, Thraz, Magnolia. Pick any four of them for your squad, and bam, he’ll pop up. And guess what? You can face off against him on your SAs, making this scrap last like, what, 3 seconds? Easy peasy.
Golden Borb Bob
- Location: Shambala (area where first landed)
- Reward: Repair Kit DX x2, 3000a
25% chance to spawn when entering the area with 100.000 arc.
Scoot over to the bottom middle spot where you kicked things off, right by where the crystal’s at. Look for this house with a tree busting out of it near the northeastern exit. Just south of that, there’s a golden egg hiding the monster.
Heads up, though – an adventurer might drop a hint saying this beast only shows if you’re packing 100k arc. But guess what? I rolled up with just 41k arc, and boom, there it was.
This dude shrugs off magic like it’s nothing, and from what I’ve seen, he’s got this one move, Melting Gold, that packs a punch, especially early on in Shambala. If you’re hitting this place up later or rocking your Sky Armor, you can wipe the floor with him, no sweat.
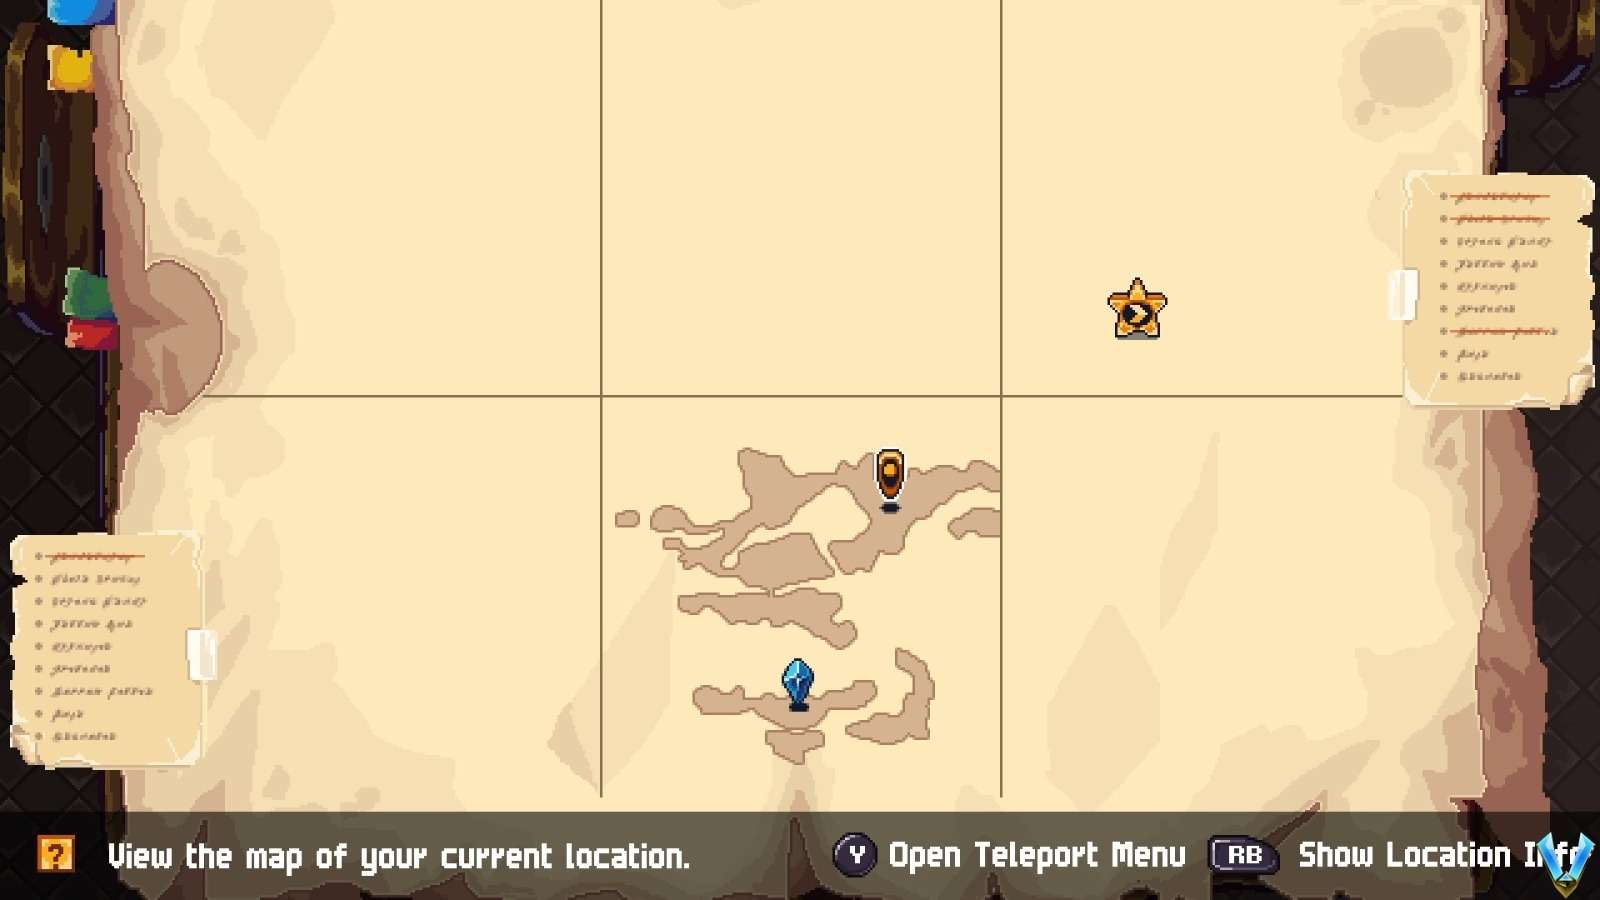
Aurora the Sky Dragon
- Location: Shambala (north eastern island)
- Reward: Elixir, 4300a
25% chance to spawn when entering the area.
It pops up on its own on the island marked below. But here’s the catch: it’s kinda shy, showing up is rare. You might have to play the ol’ back-and-forth game between screens to catch it. Might be a quick find, like a 2-minute deal for some, or a real patience tester, stretching up to 20 minutes for others. If it’s playing hard to get, just stick with it, and it’ll show up eventually. Keep at it!
Senior Tadeye
- Location: Ograne (western area where the Leonar statue is)
25% chance to spawn when entering area. If it spawns then no other Tadeye spawns in the area.
Head west from the central fast travel crystal. The trick to make this dude show up is kinda like playing red light, green light. Just keep moving between the central area and the western side until you notice the Tadeye at the entrance doesn’t pop up. No Tadeye means you’re in business; the creature is waiting.
You’ll find him chilling all the way to the west, just hanging out in front of the Class Emblem Statue. But yo, don’t go empty-handed – make sure you’ve got a berry to offer up. If you show up without one, it’s game over.
Bog the Real Gob
- Location: Ograne (exit from Raminas Tower)
- Reward: 5000a
Spawns when the Goblin curse is lifted.
It’s a bit of a marathon if you’re targeting this guy specifically. He’s just chilling on the way to the endgame area, but it’s not as simple as just walking up to him.
First step, you gotta wrap up the sidequest “A Goblin’s Dilemma”. Done? Cool. Now, you need to turn all those Goblins back into humans. Sounds like a fairytale quest, but it’s legit.
Next part’s a bit of a trek. Head to the northeastern corner of Ograne. But here’s the catch: getting there is pretty much an endgame move. You need the key that unlocks that area, and getting that is no walk in the park. The deets for this part? Check THIS PAGE – it’s got everything you need to know.
After you’ve journeyed through the tower mentioned in the link and made your way into Ograne Grottos, you’ll spot our little friend hanging out there.


Be the first to comment