
You wanna know how to use the amazing Icehelm Forge? Then you’ve come to the right place.
In the following guide, you will learn how the forge works and what exactly it does.
Finding the Forge
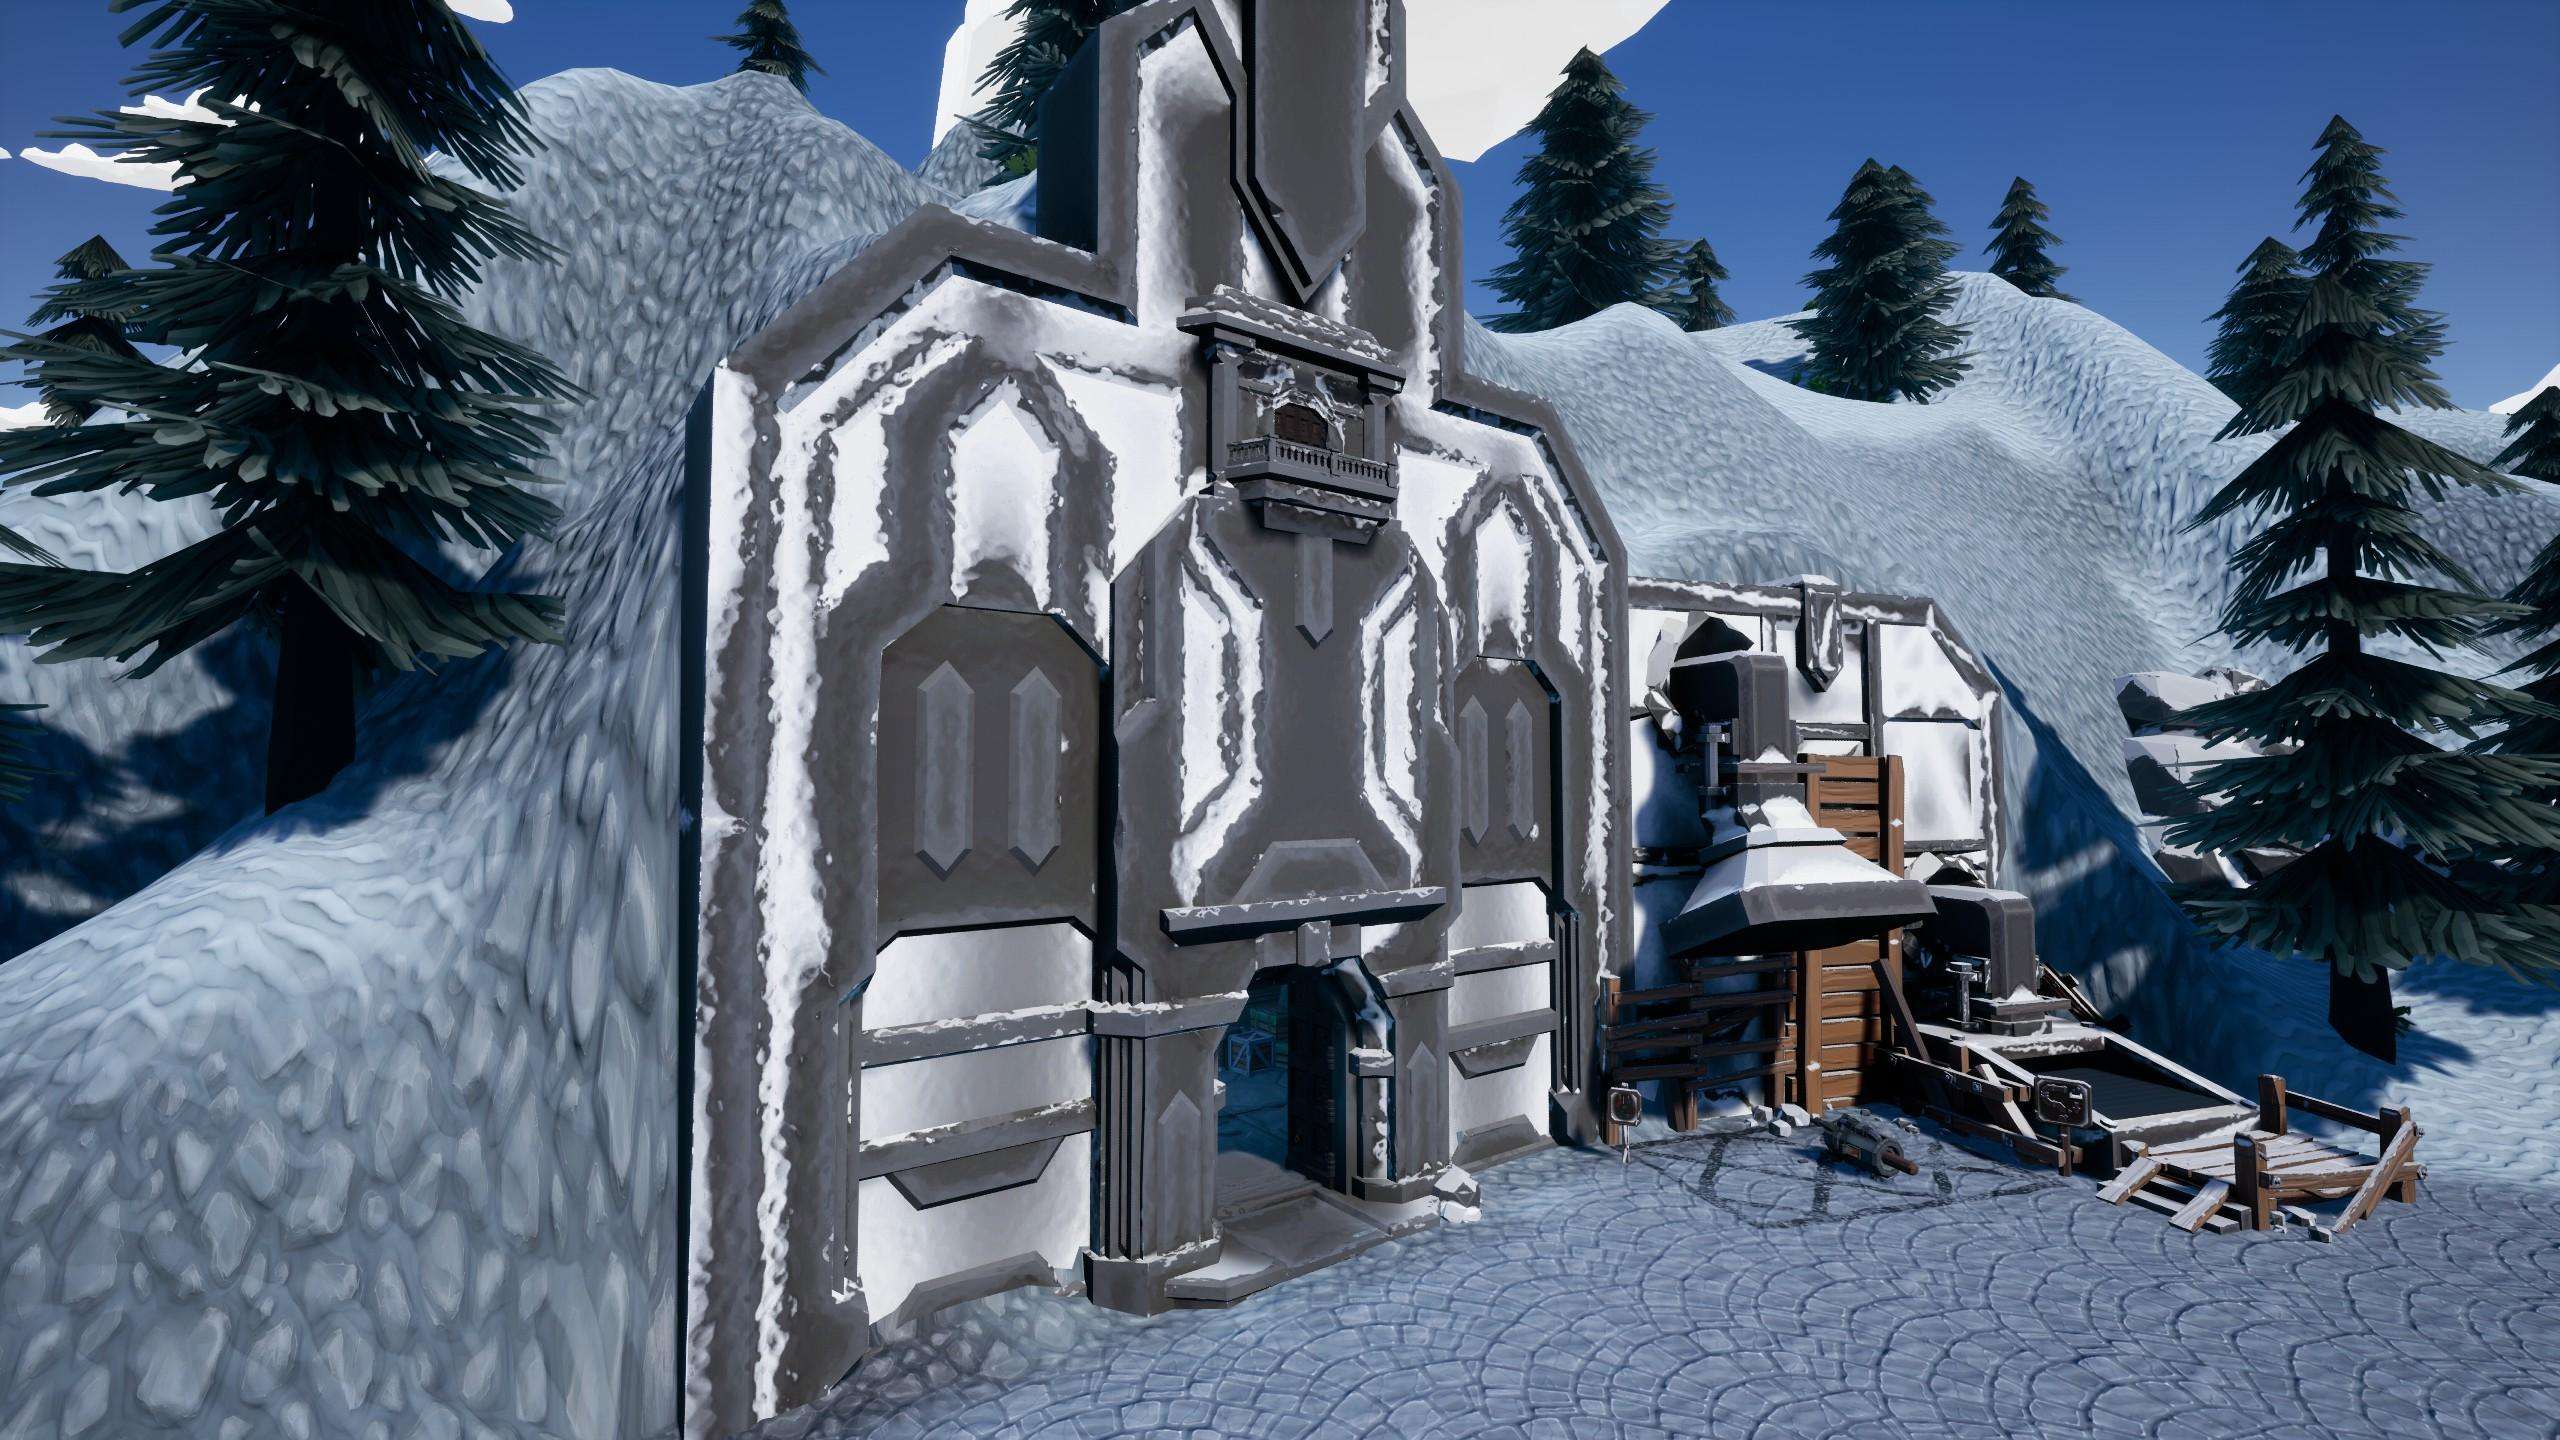
The forge is located in the depicted area on the map below.

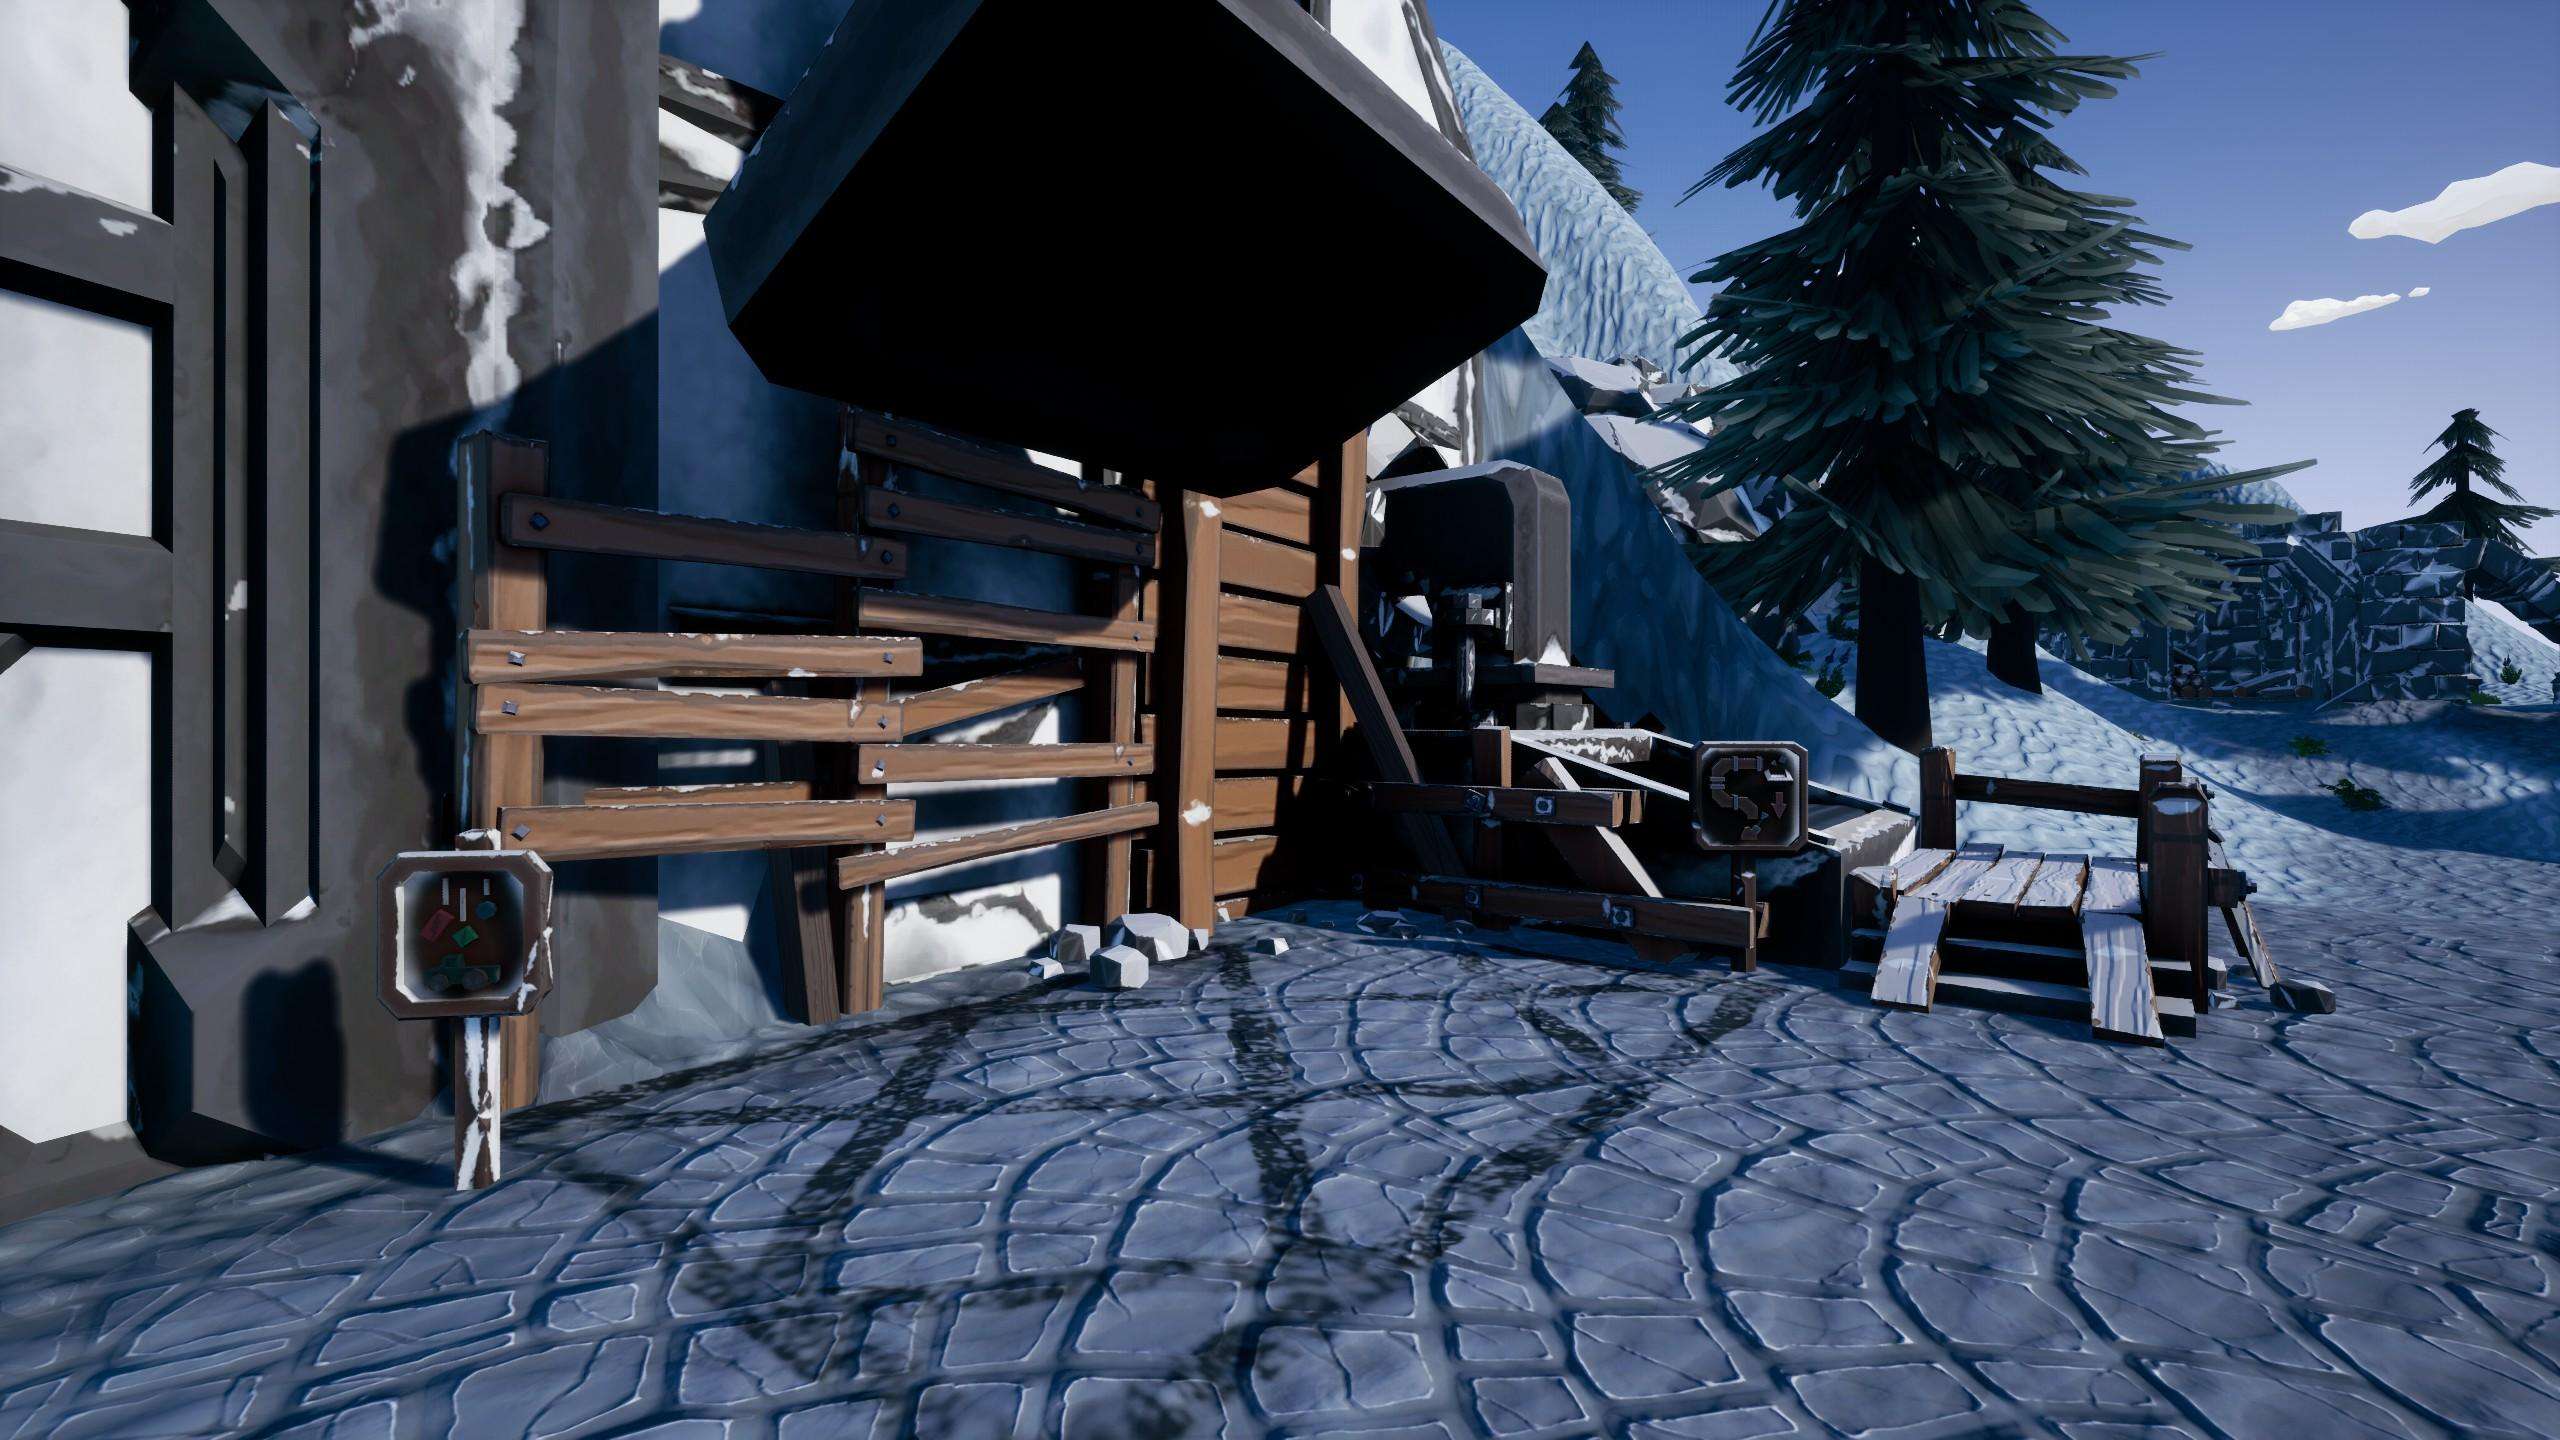
Once you’ve arrived, you will immediately notice two weird chutes to the right of the entrance:
You might ask yourself: What are these for?
These are travel paths that you can use for your loot, so you don’t have to carry everything one-by-one to and from the forge.
The right one moves your resources from the outside to the forge, while the left one moves things you built—or bought—from the forge back outside.
Neat, right?
Next, move through the entrance on the left and go down the lift. You can also fall down if you don’t want to wait for it, since currently there is no fall damage in the game.
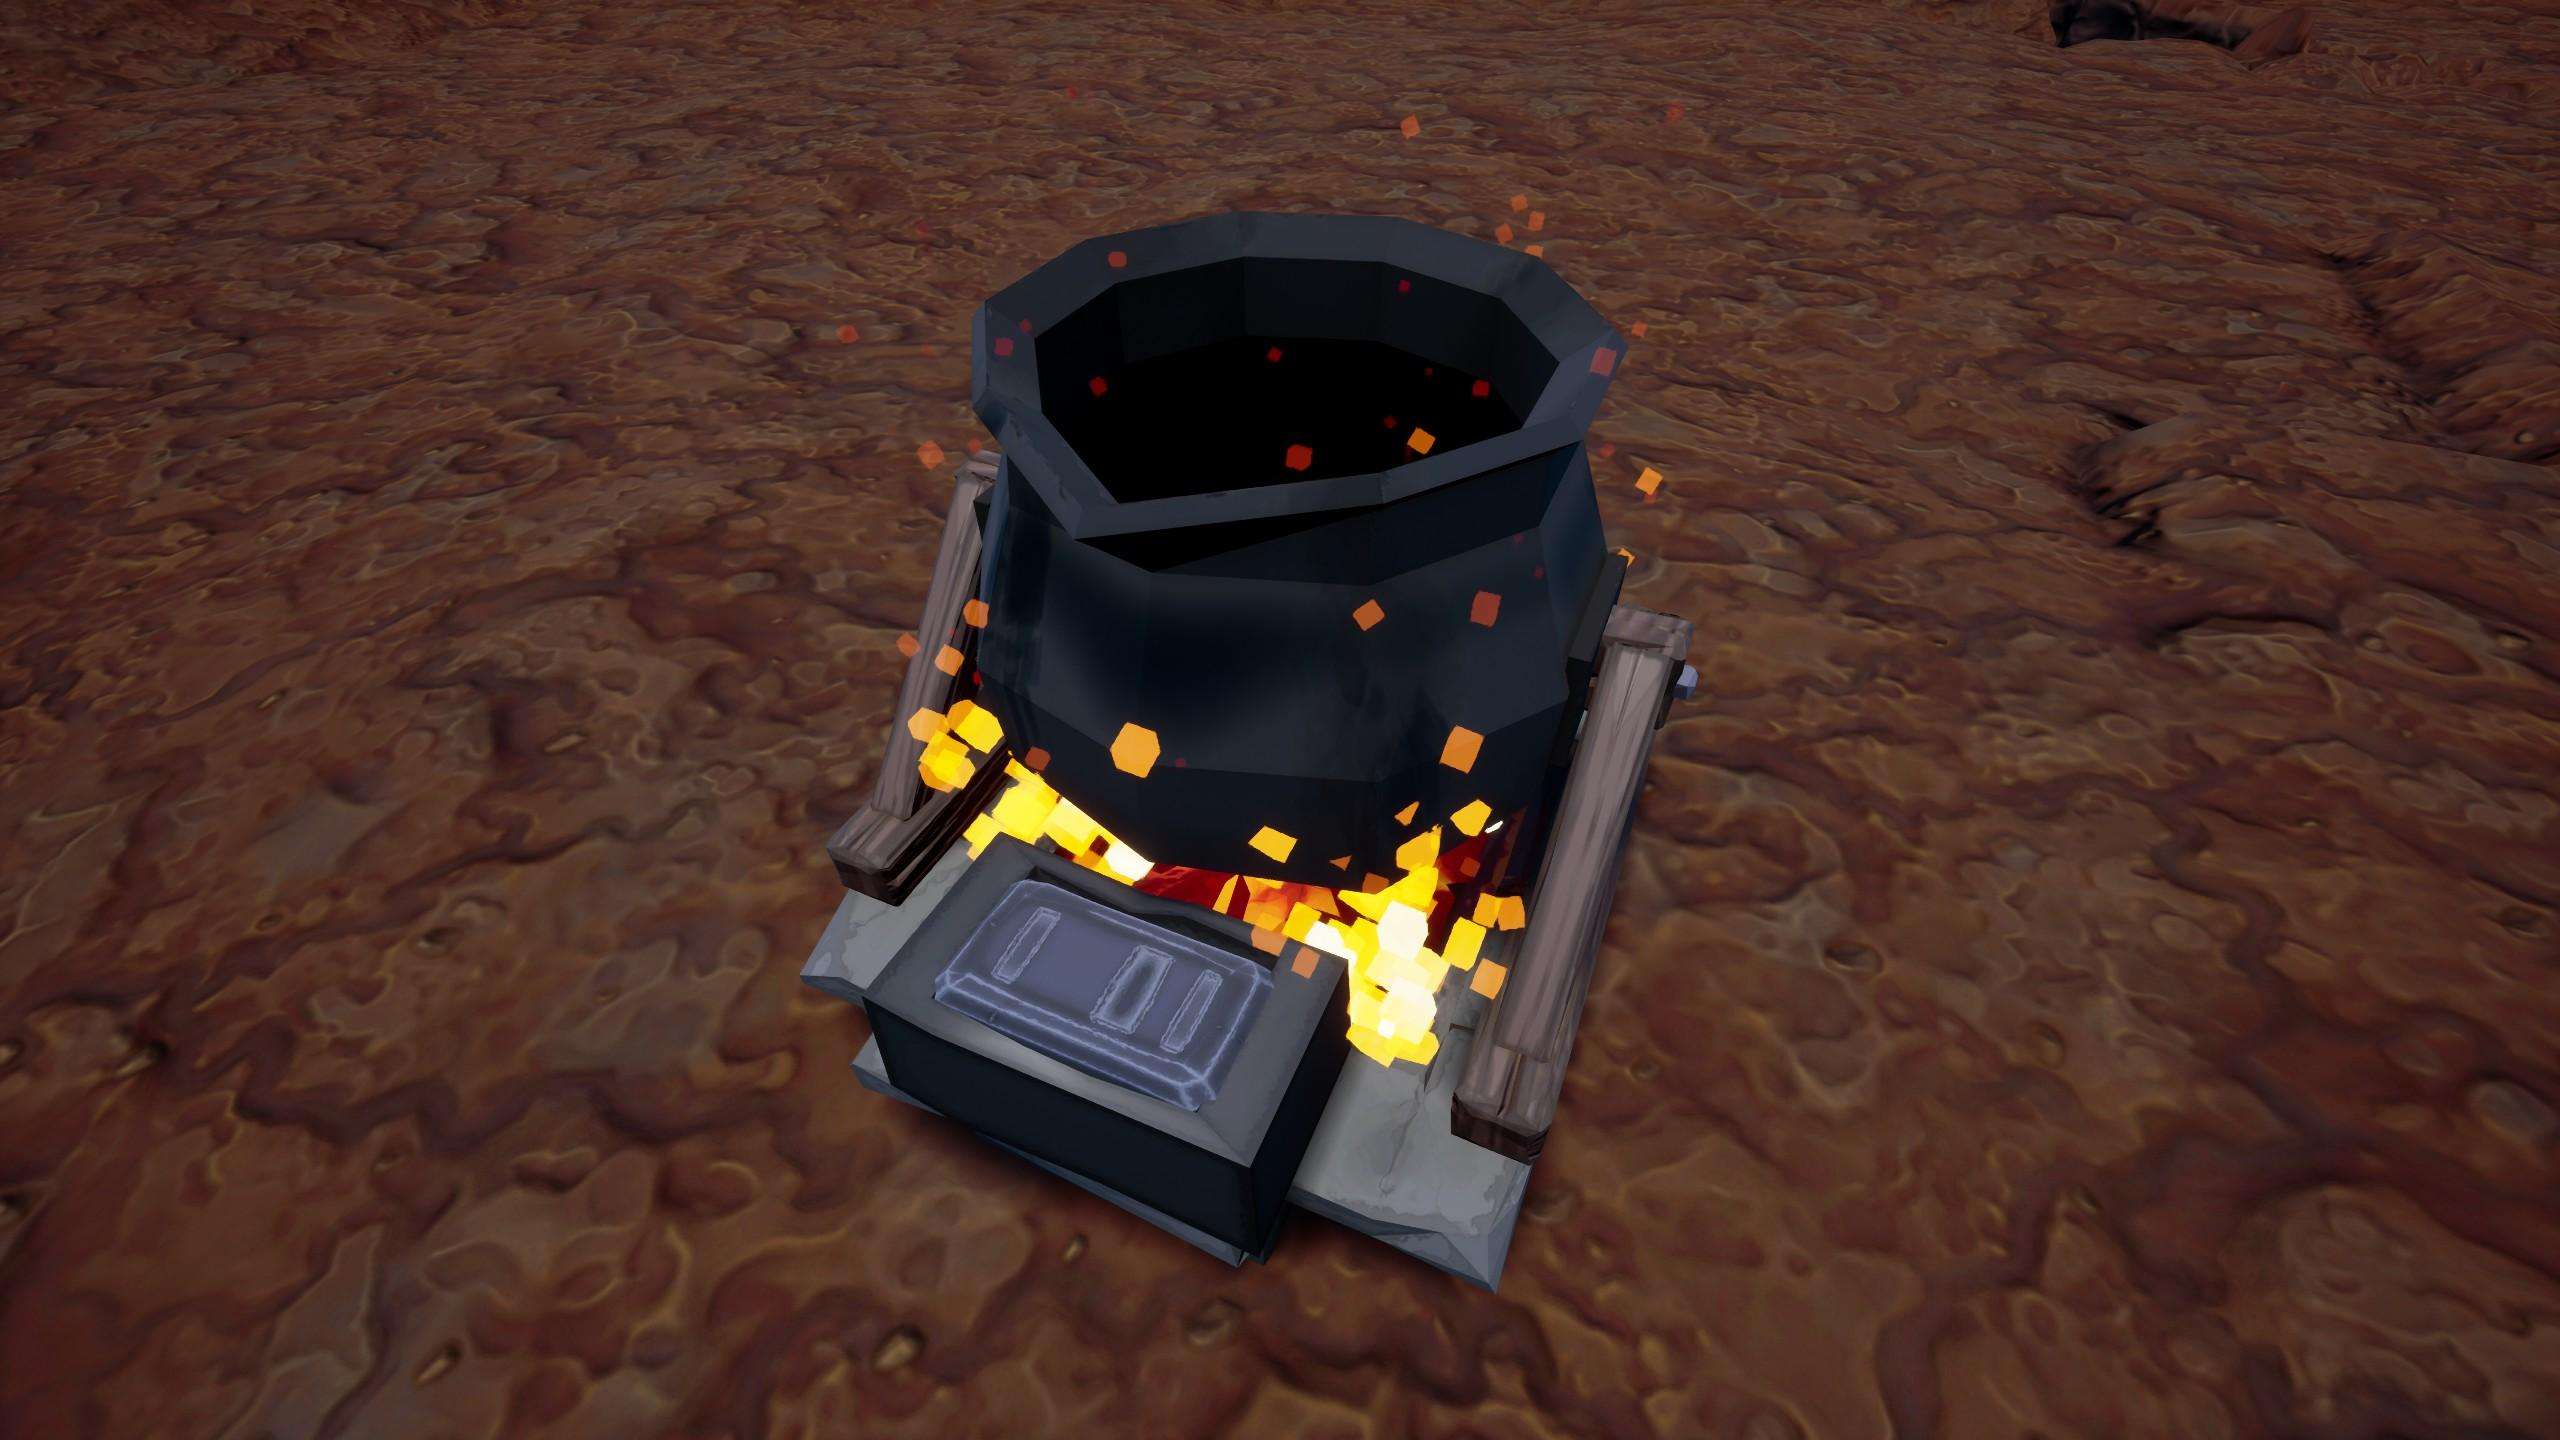
Icehelm Forge
Bathe in the glorious aura of the Icehelm Forge.
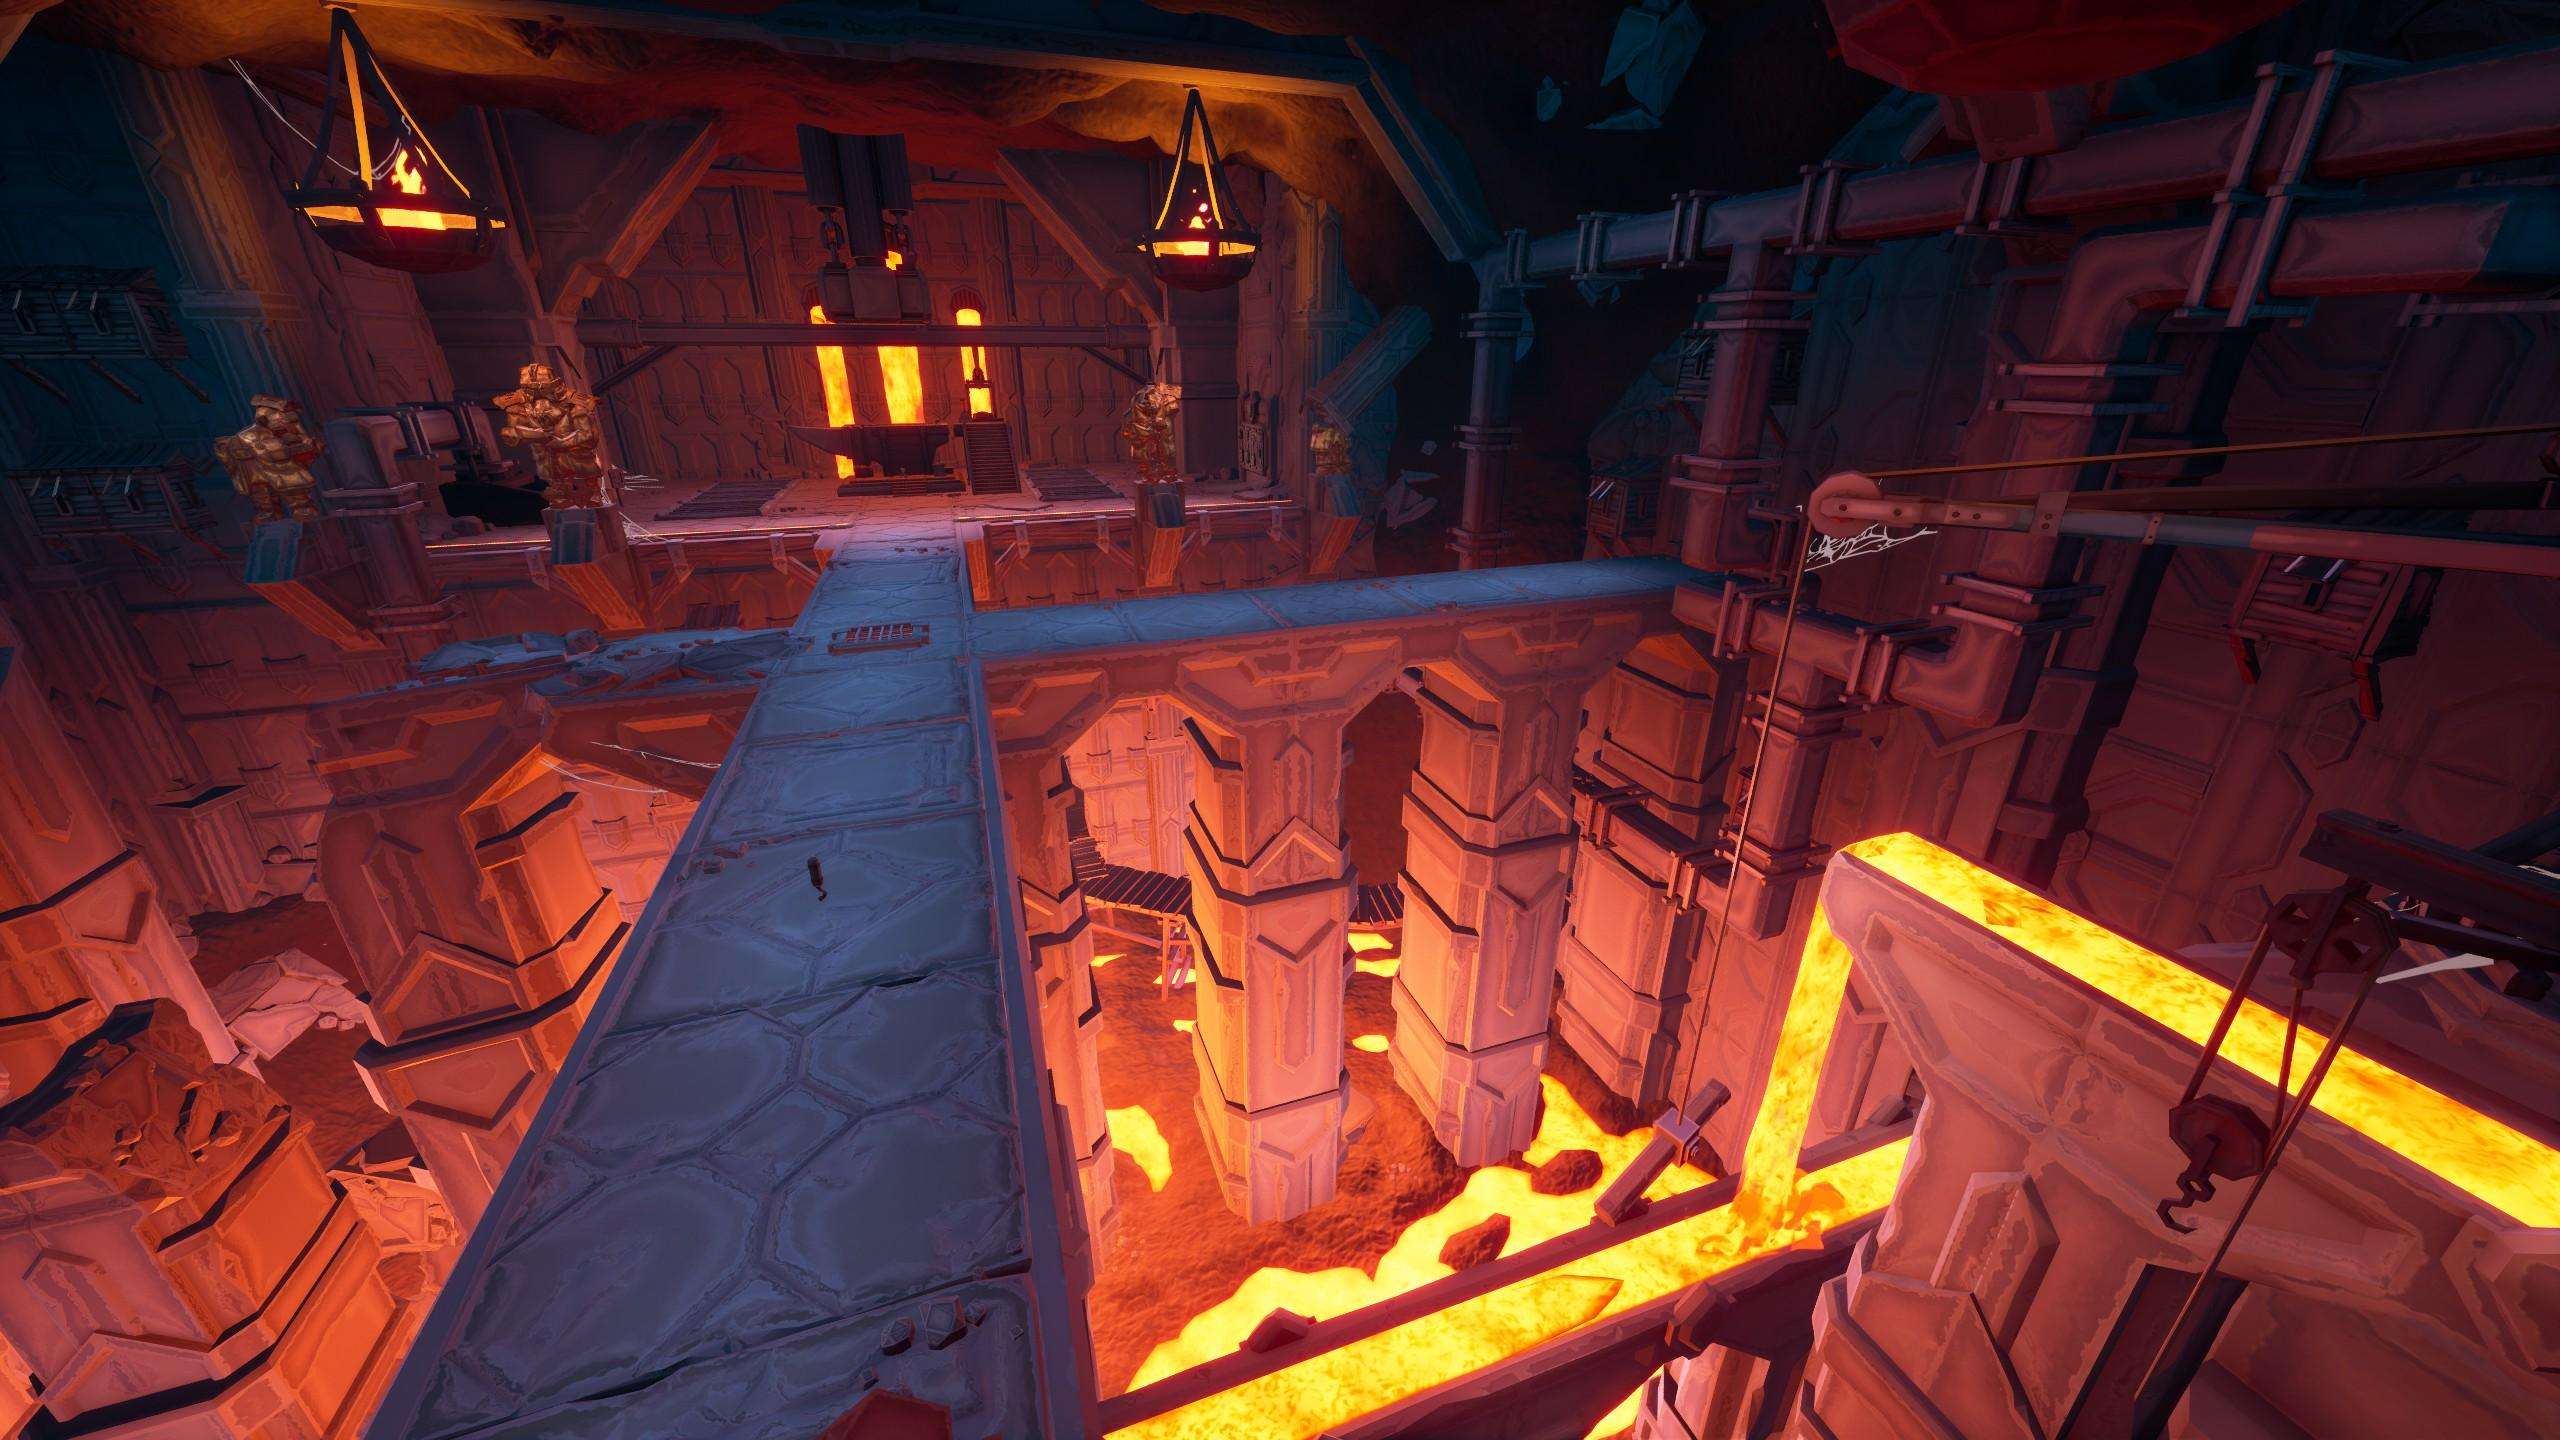
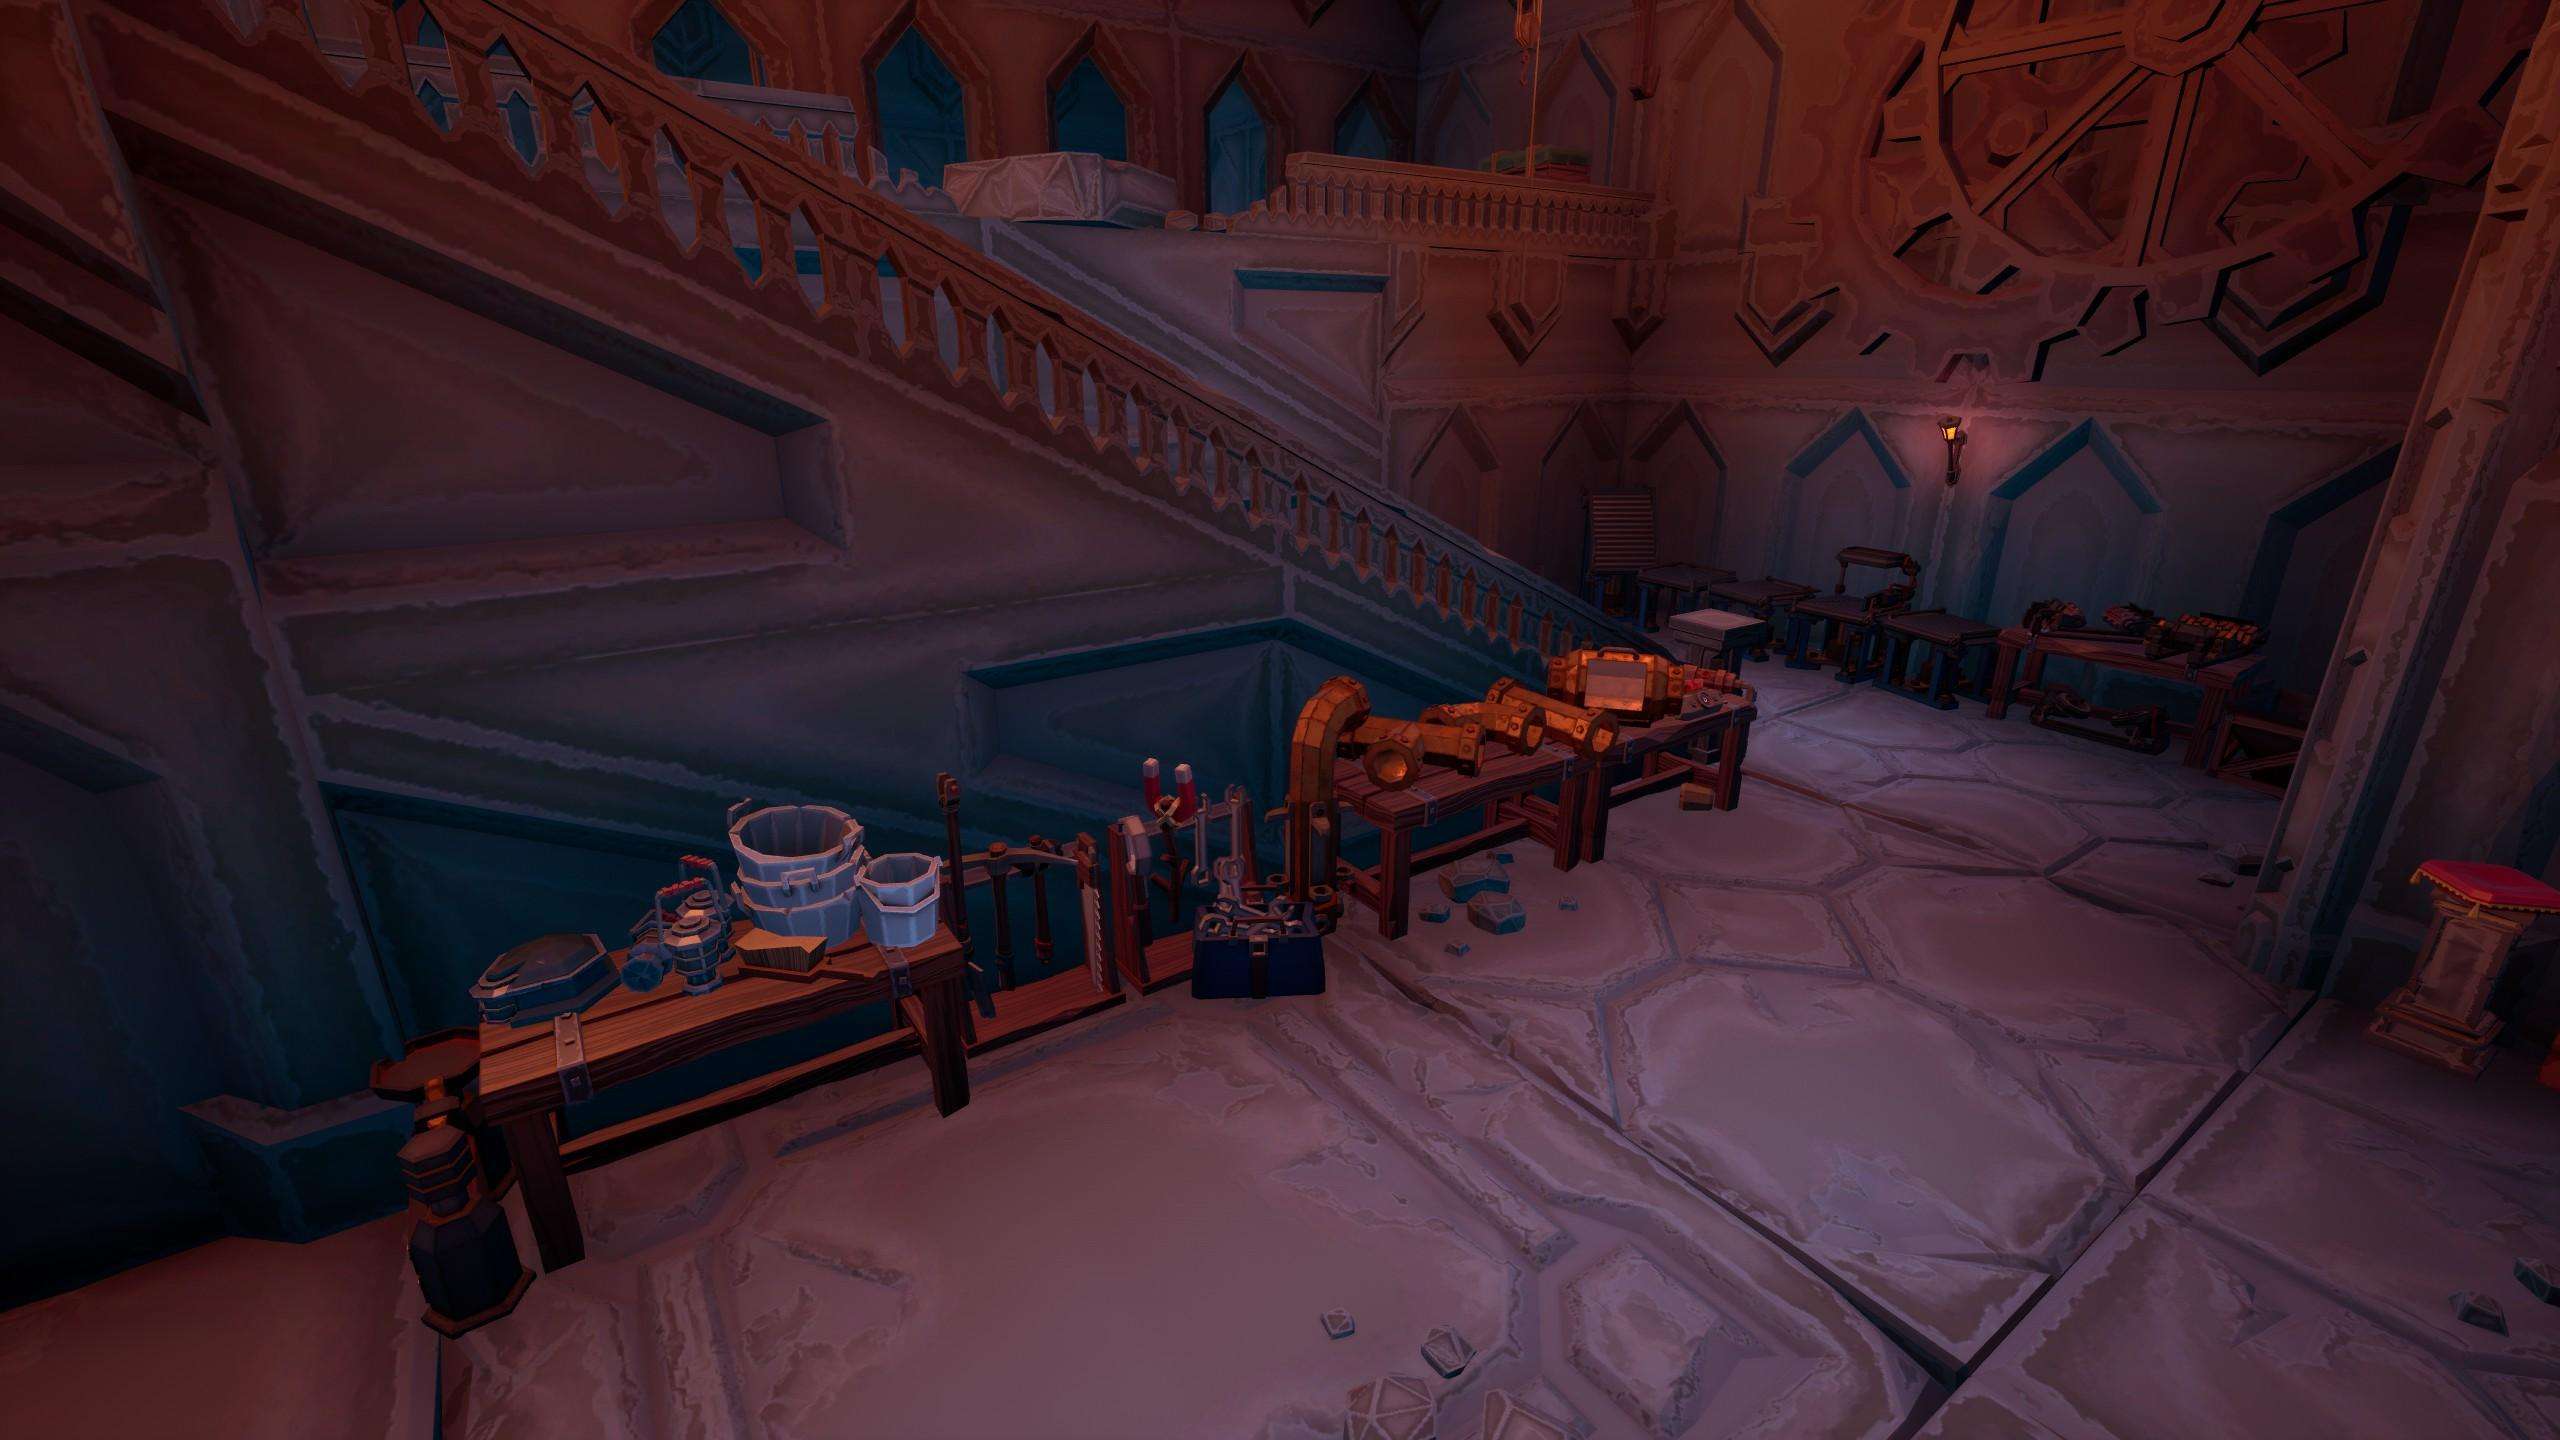
In front of you, you will see the main part of the forge, the forge itself.
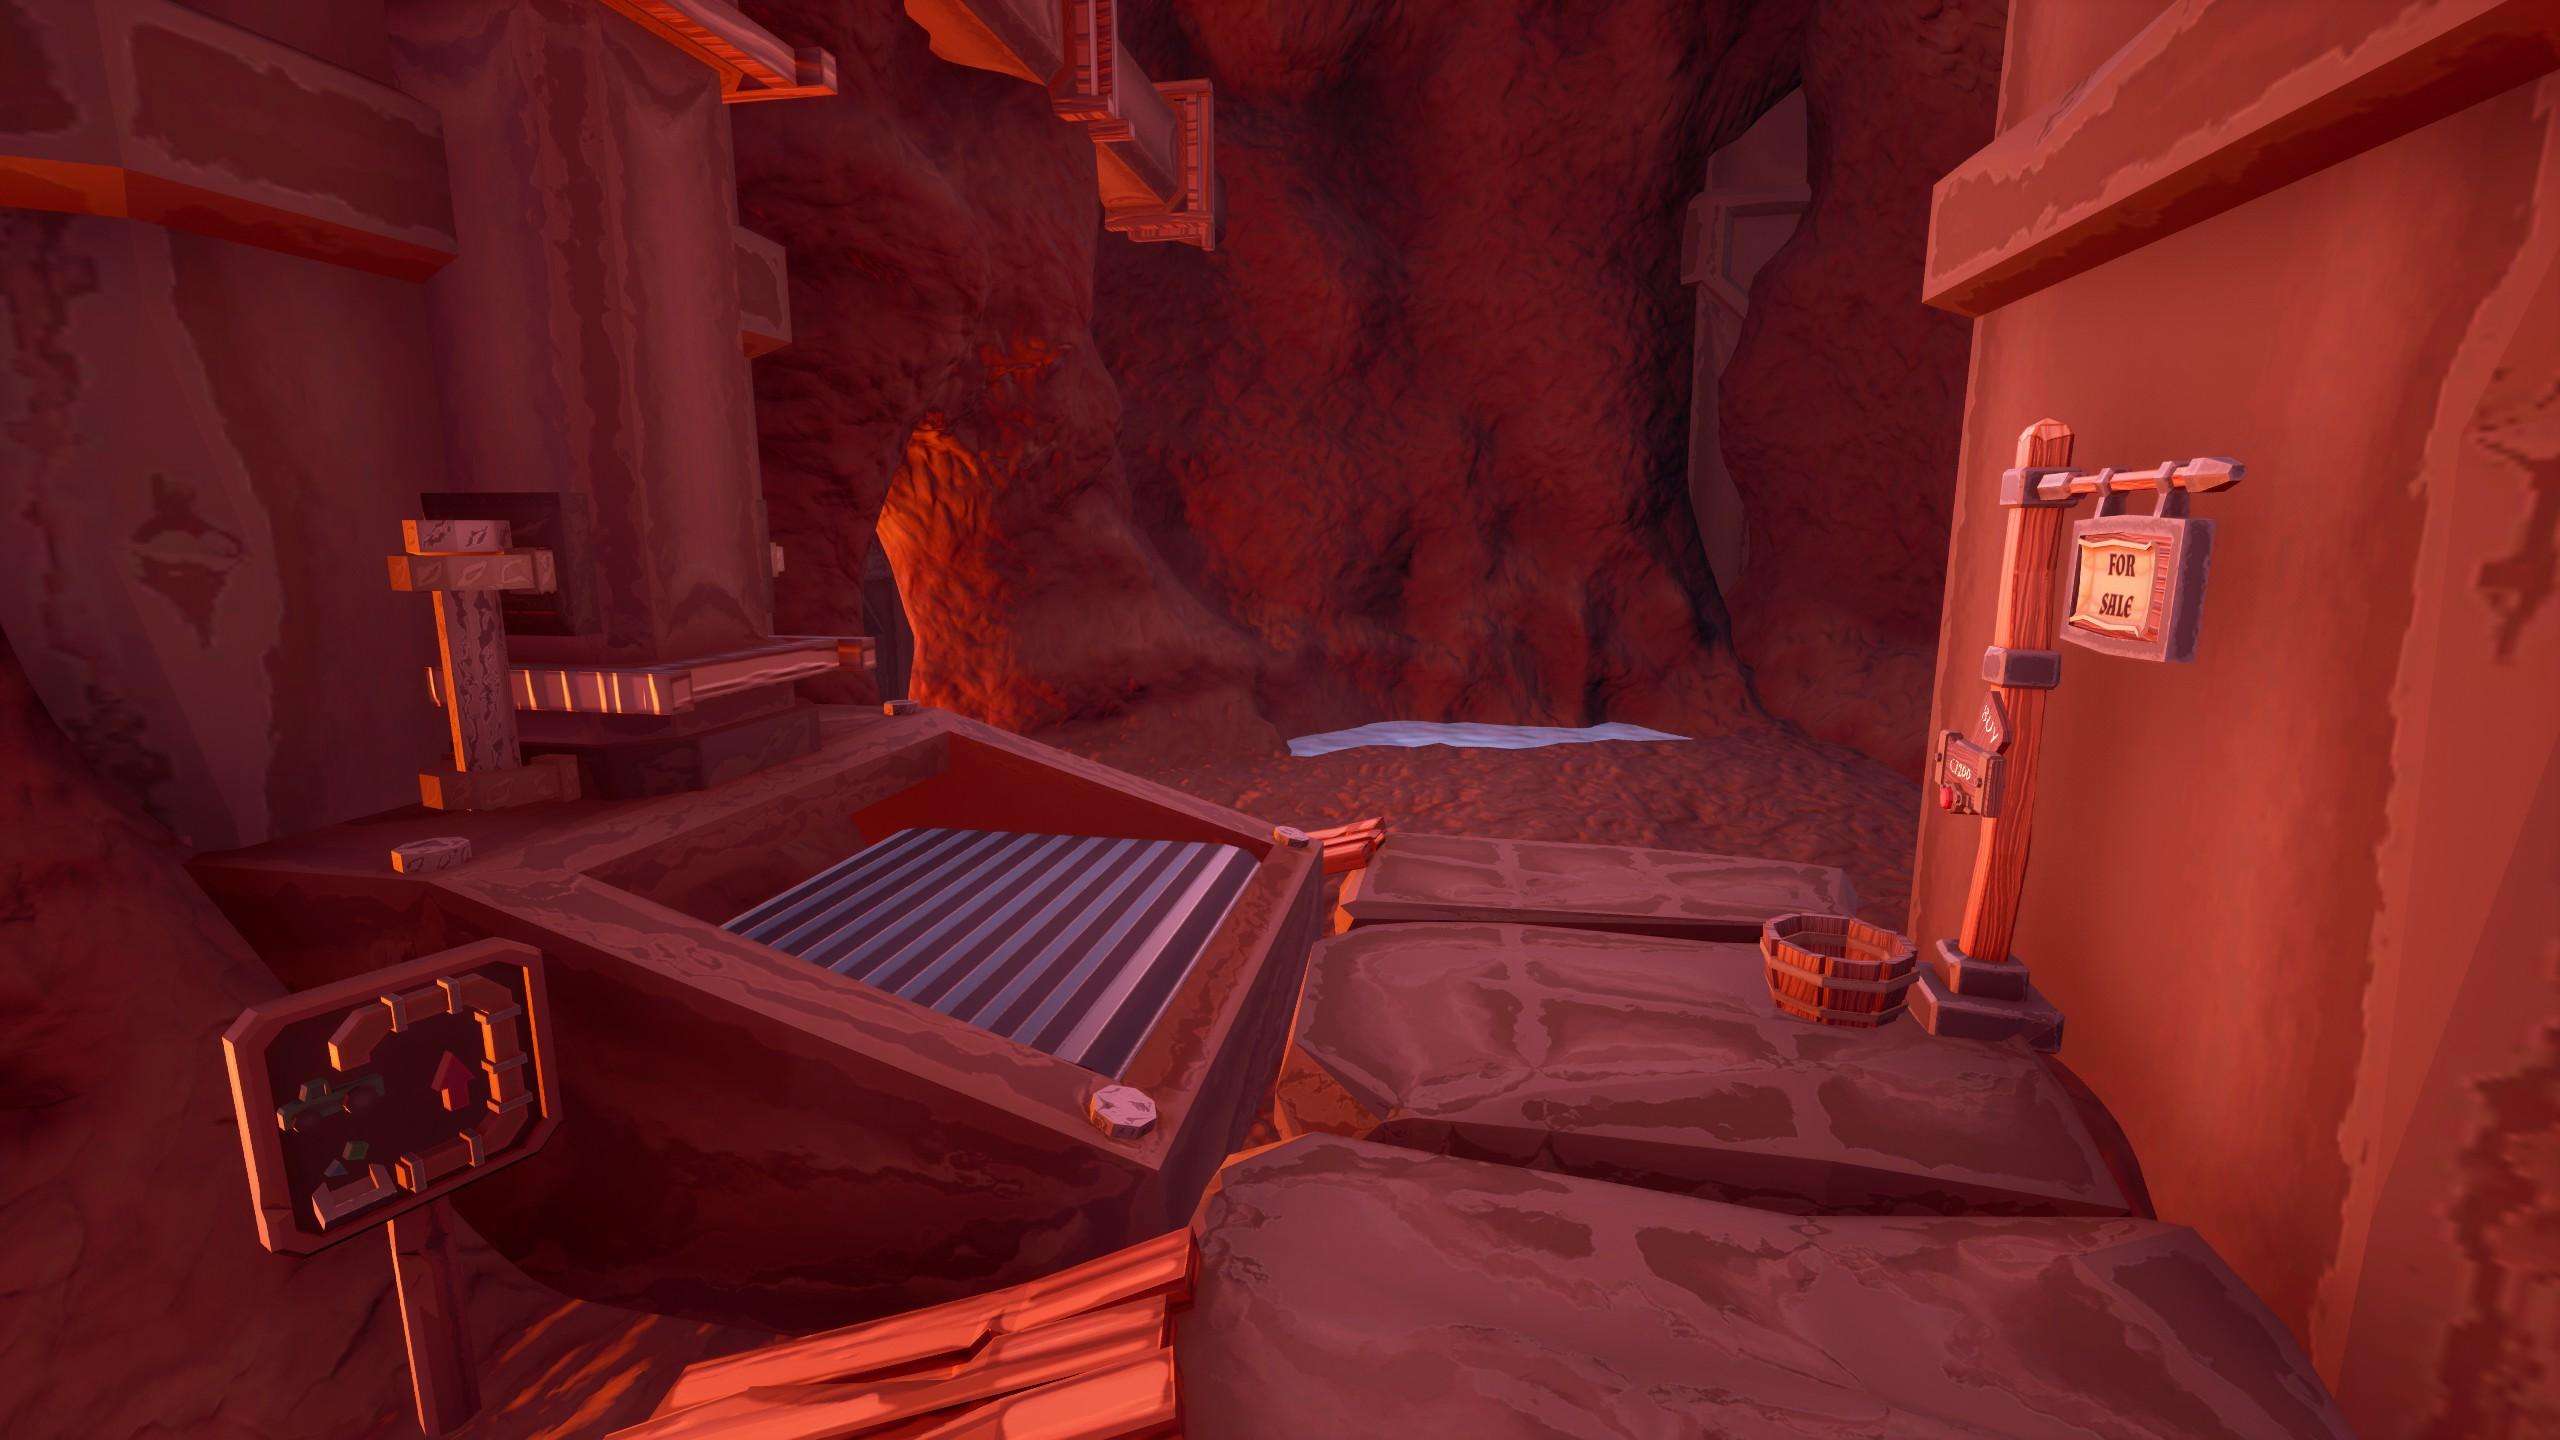
If you go right, you will get to the store.
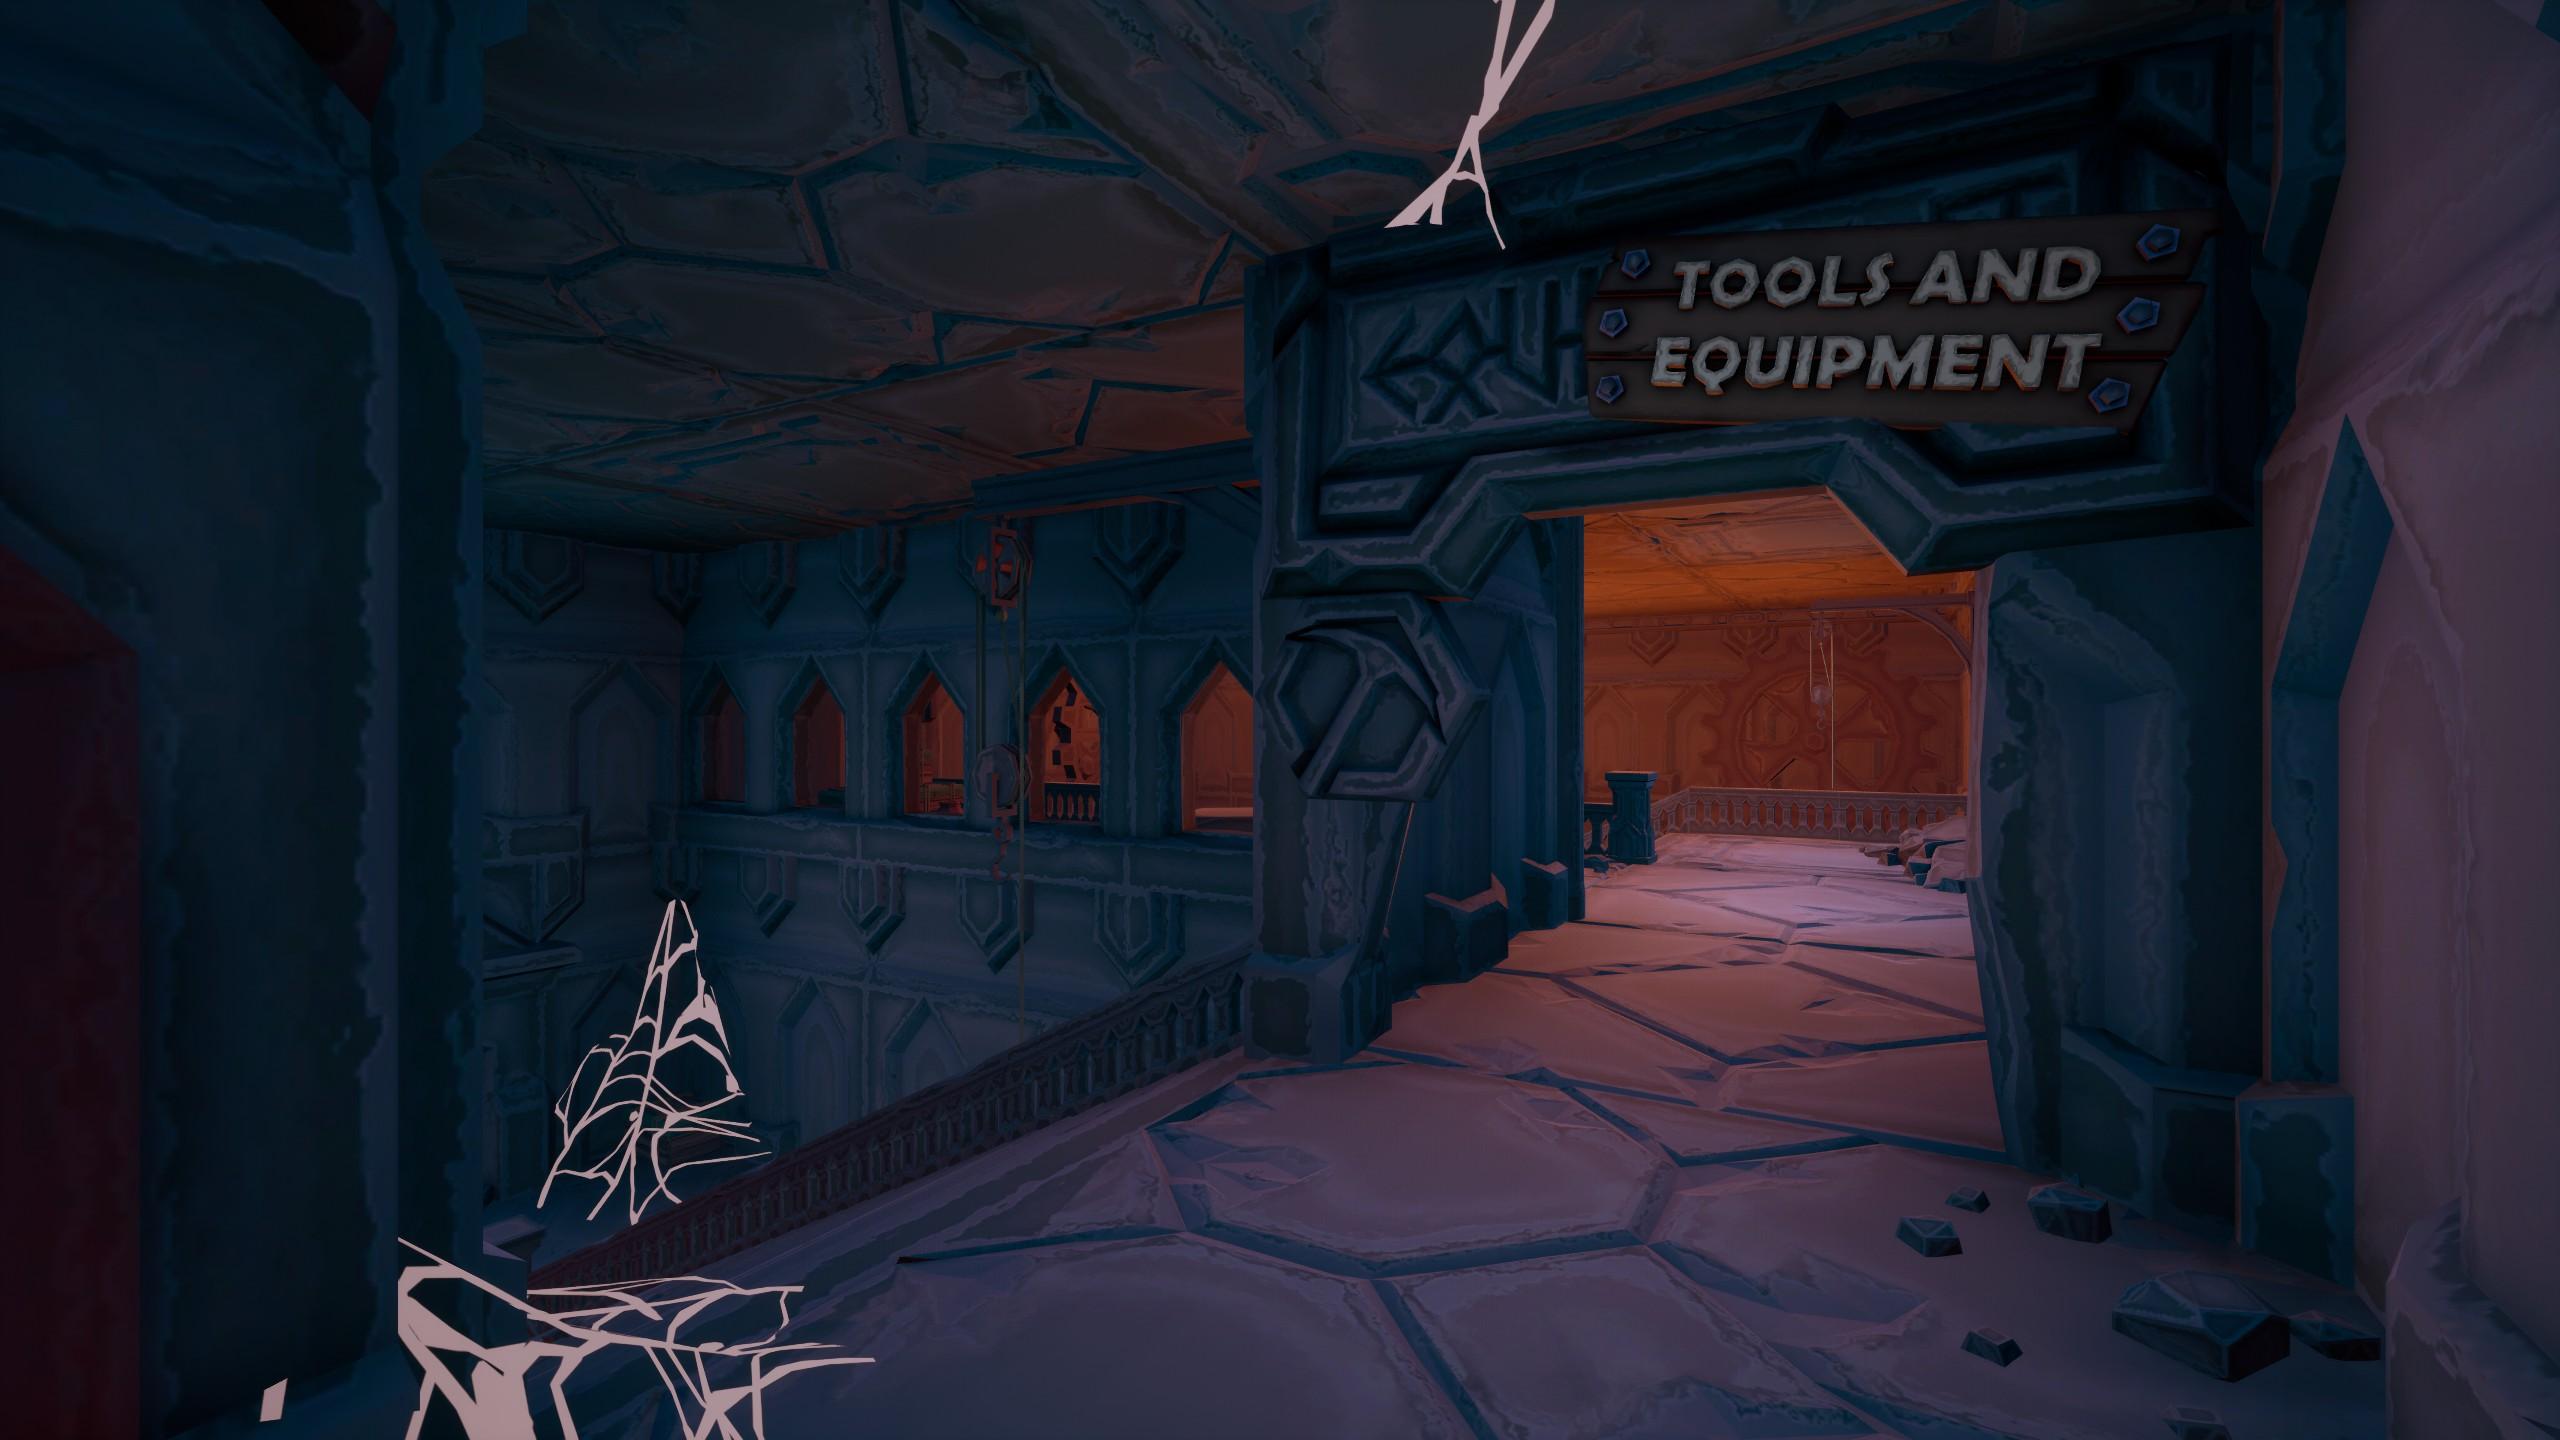
In the store you can buy various goodies like pipes, conveyors, etc.
Now for the Juicy Bits
You can also buy Masterwork Designs, which we will need.
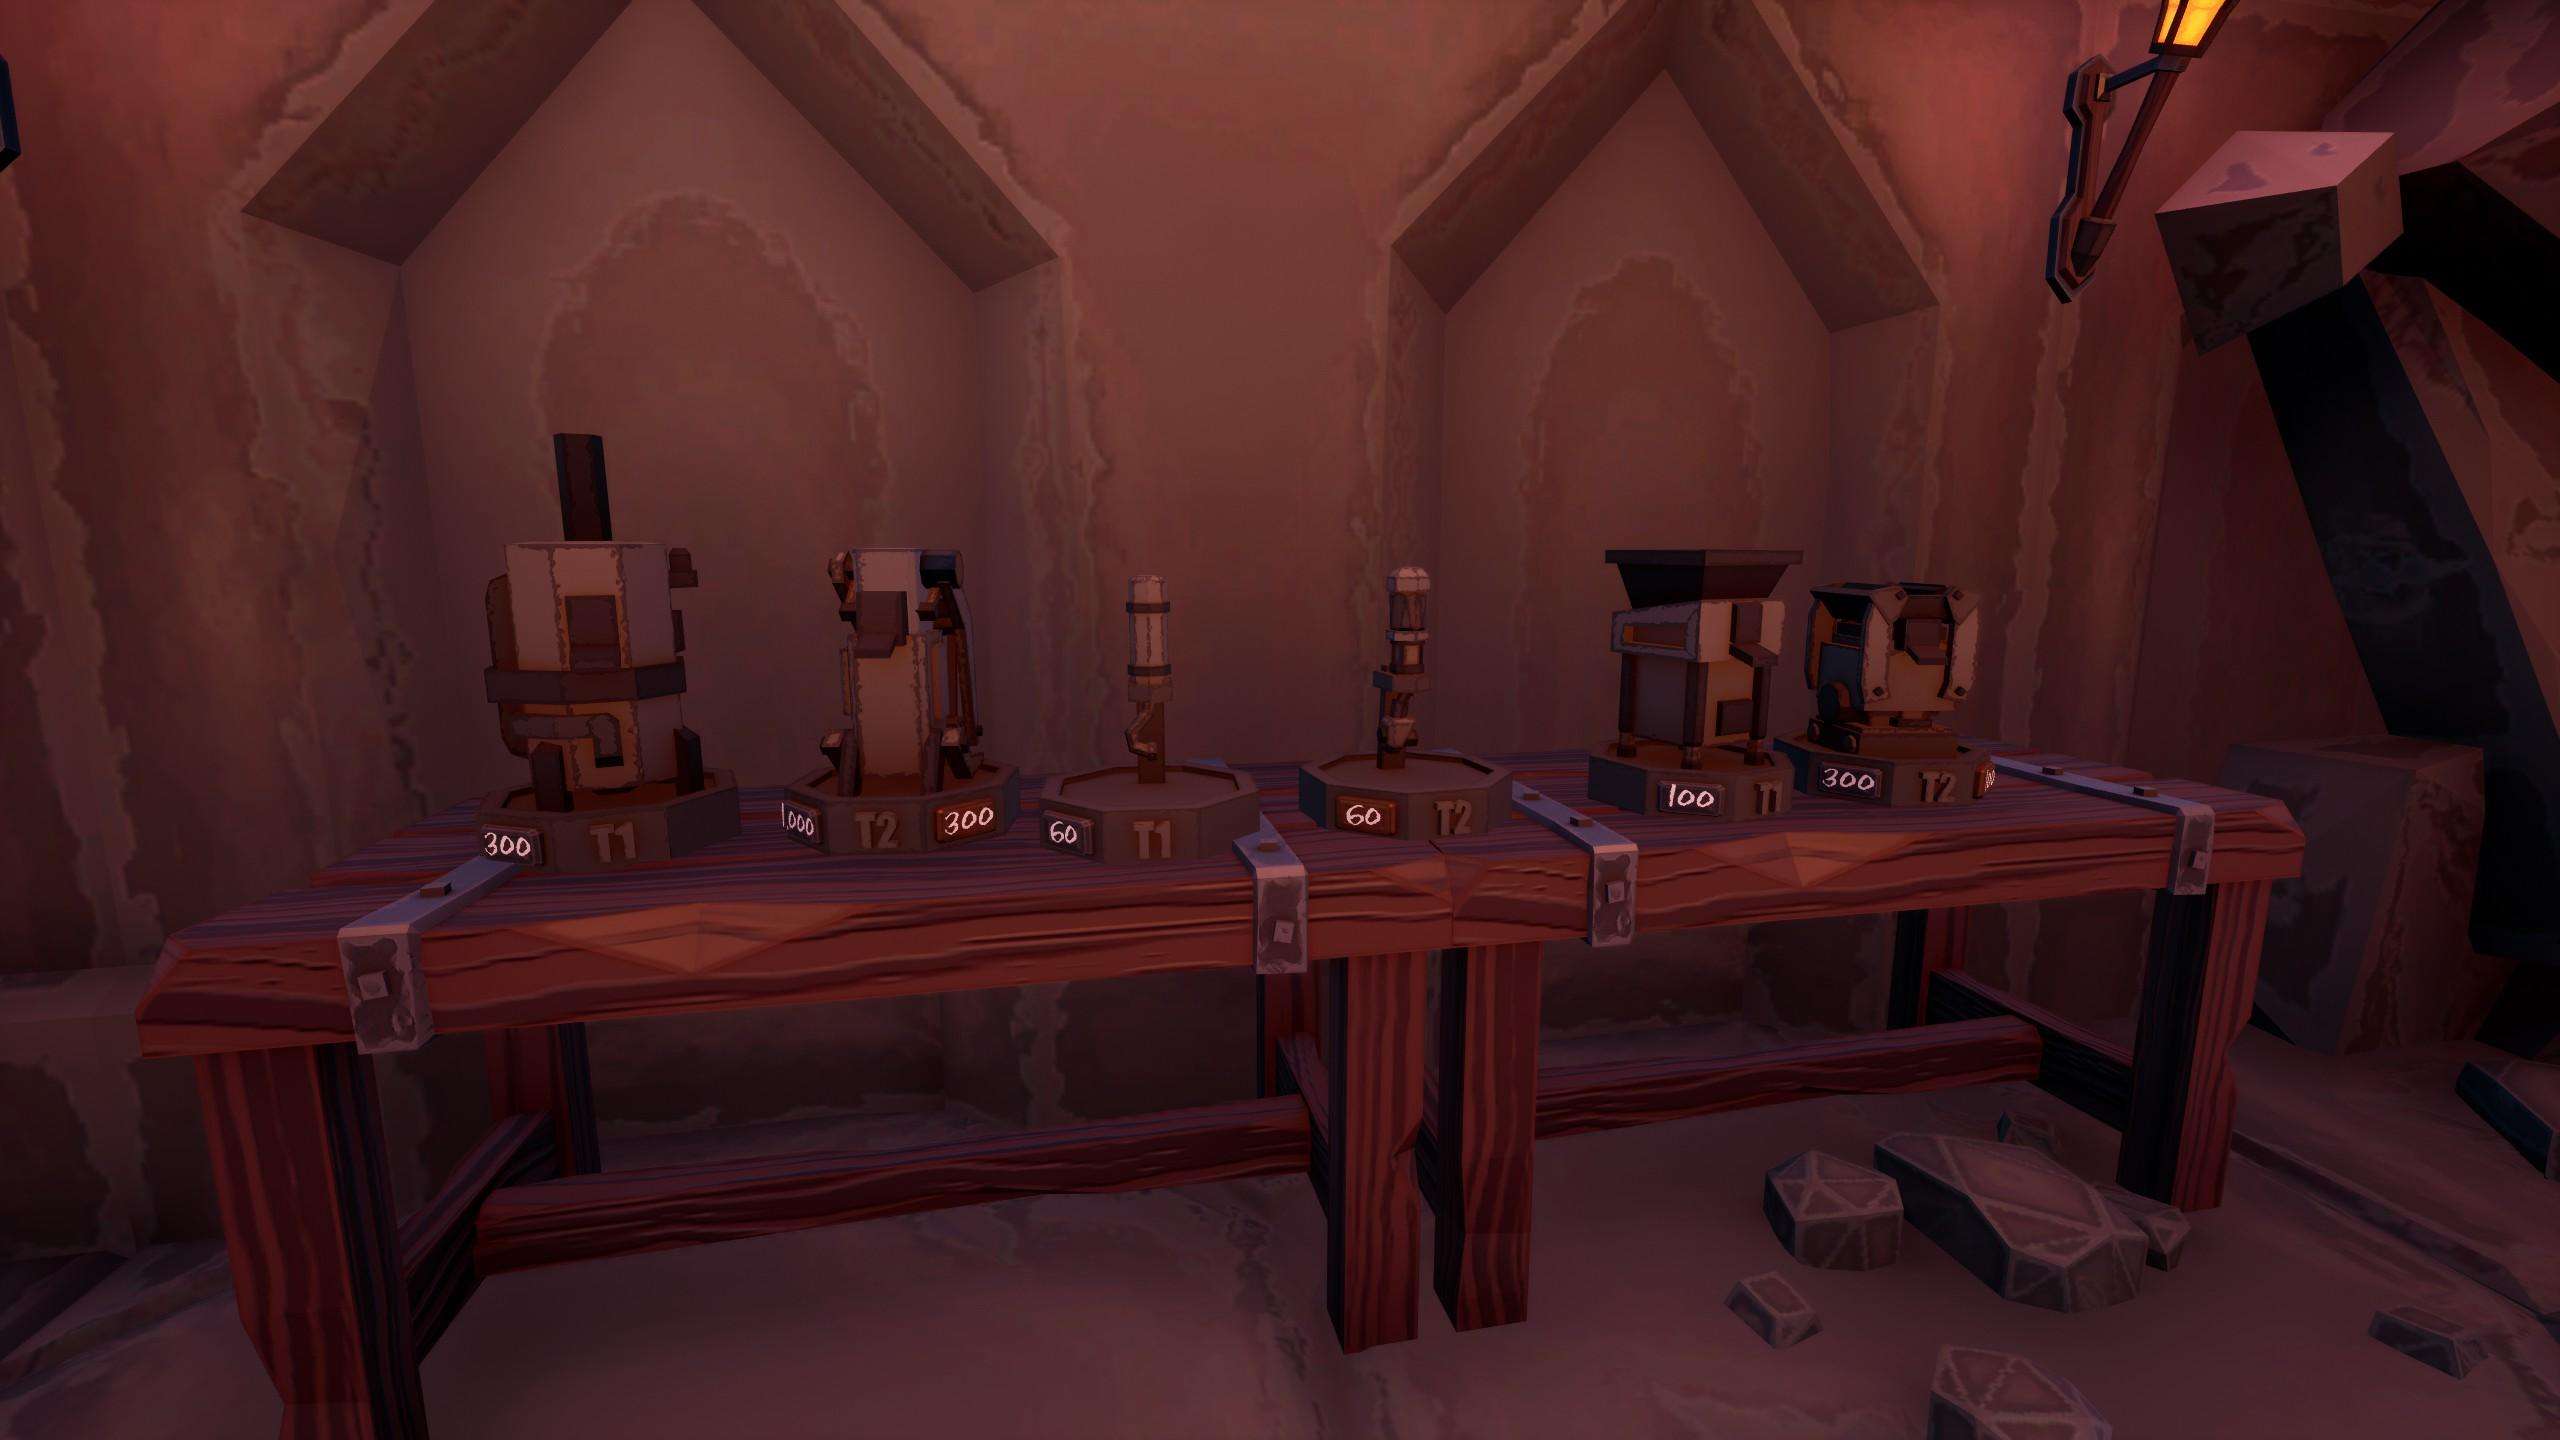
Going from left to right, you can buy the designs for drills, intake boosters, and harvesters.
As you can also see, they are labeled T1 and T2, which stand for Tier 1 and Tier 2, respectively. Those also correspond to the materials we need to make these. But more of that further down.
Keep in mind that you Only Need To Buy One of these designs. They do not disappear when you use them; they can be re-used as many times as you want.
Also, if you are wondering, the intake boosters boost your water pressure from your intake pipe. You can have up to four boosters per intake pipe, which are placed at the side of the intake pipe.
But Remember: Iron Boosters can only be used with Iron Intake Pipes, and vice versa for the Cloutium versions; NO MIXY MATCH.
Here are the prices for all designs, as of the writing date of this guide:
| Name | Price |
| Iron Drill Masterwork Design | 184c |
| Cloutium Drill MD | 1320c |
| Iron Intake Booster Design | 82c |
| Cloutium Intake Booster Design | 454c |
| Iron Harvester MD | 122c |
| Cloutium Harvester MD | 980c |
Forgin’ Dreams
With our newly bought design, we will go back in front of the anvil of the forge.
To the right of it, you can see a quick and easy picture-guide on how to use it:

I will still go a bit over the steps though.
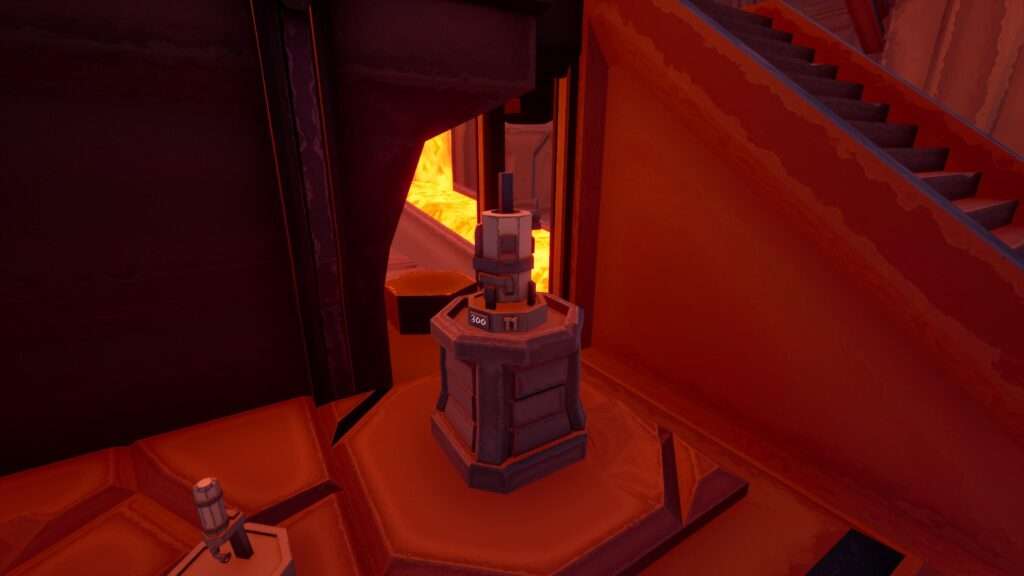
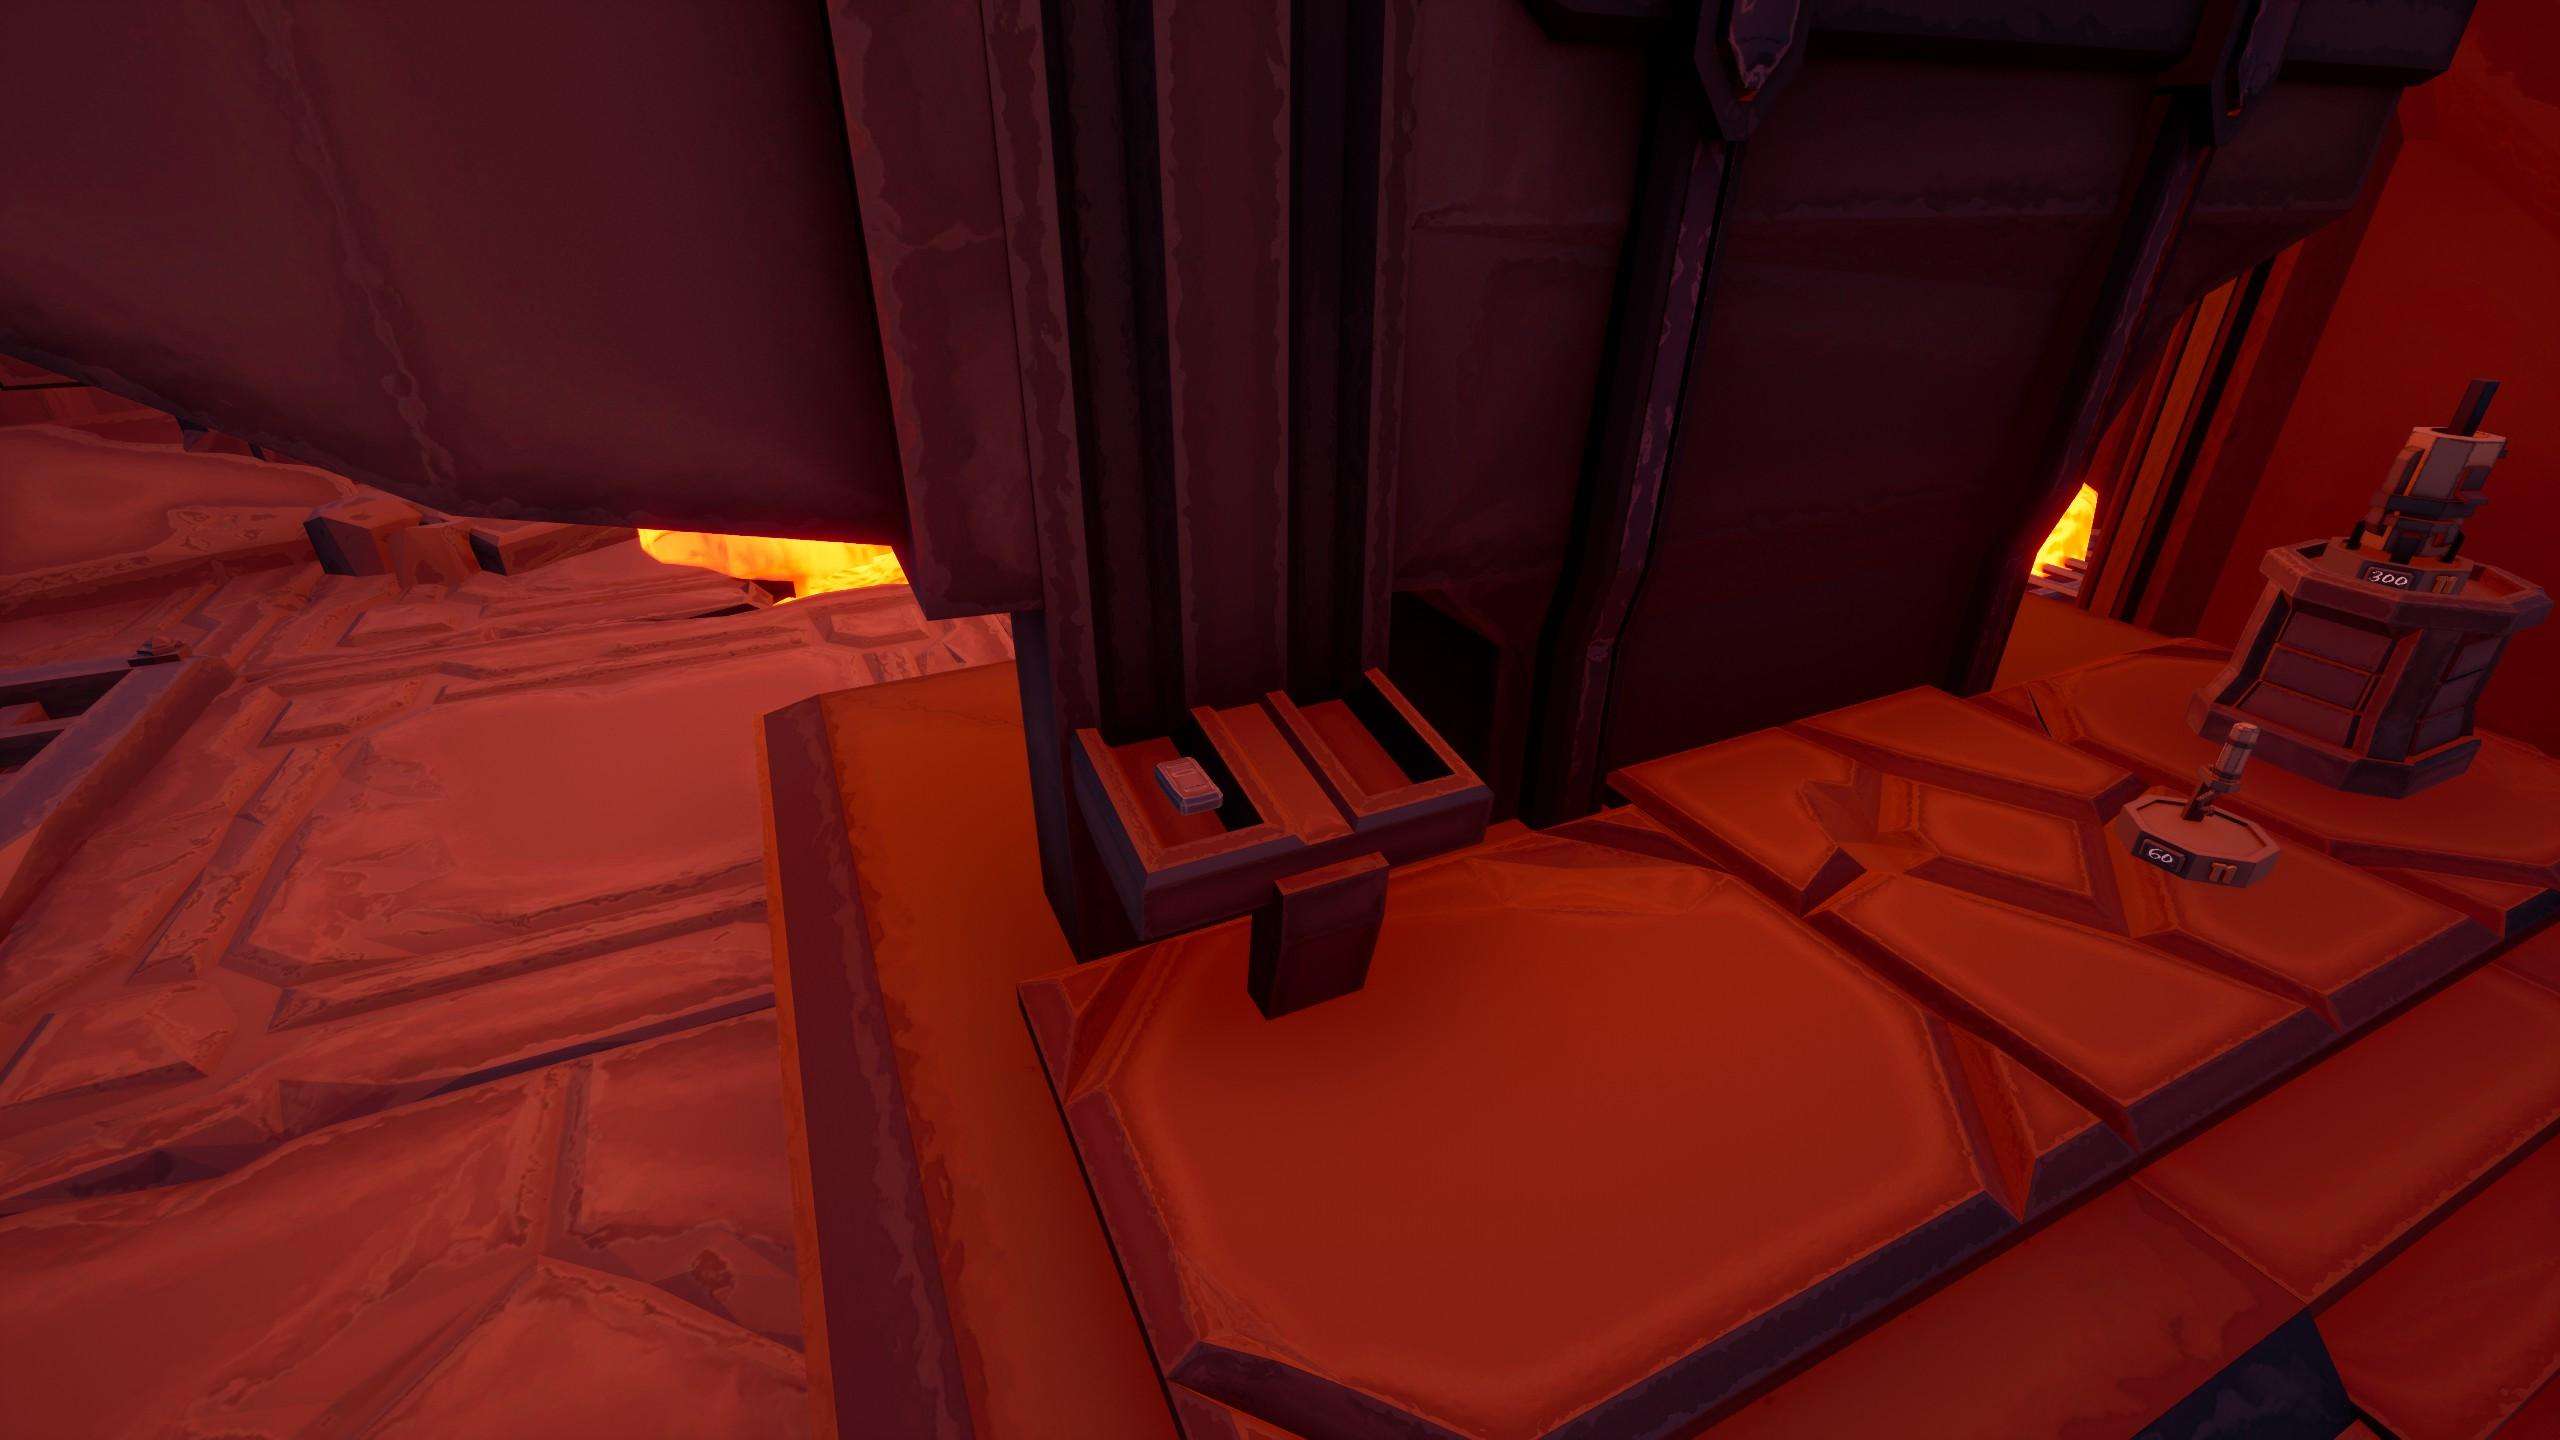
1) Place Template on the Padestal next to the Stairs of the Anvil:
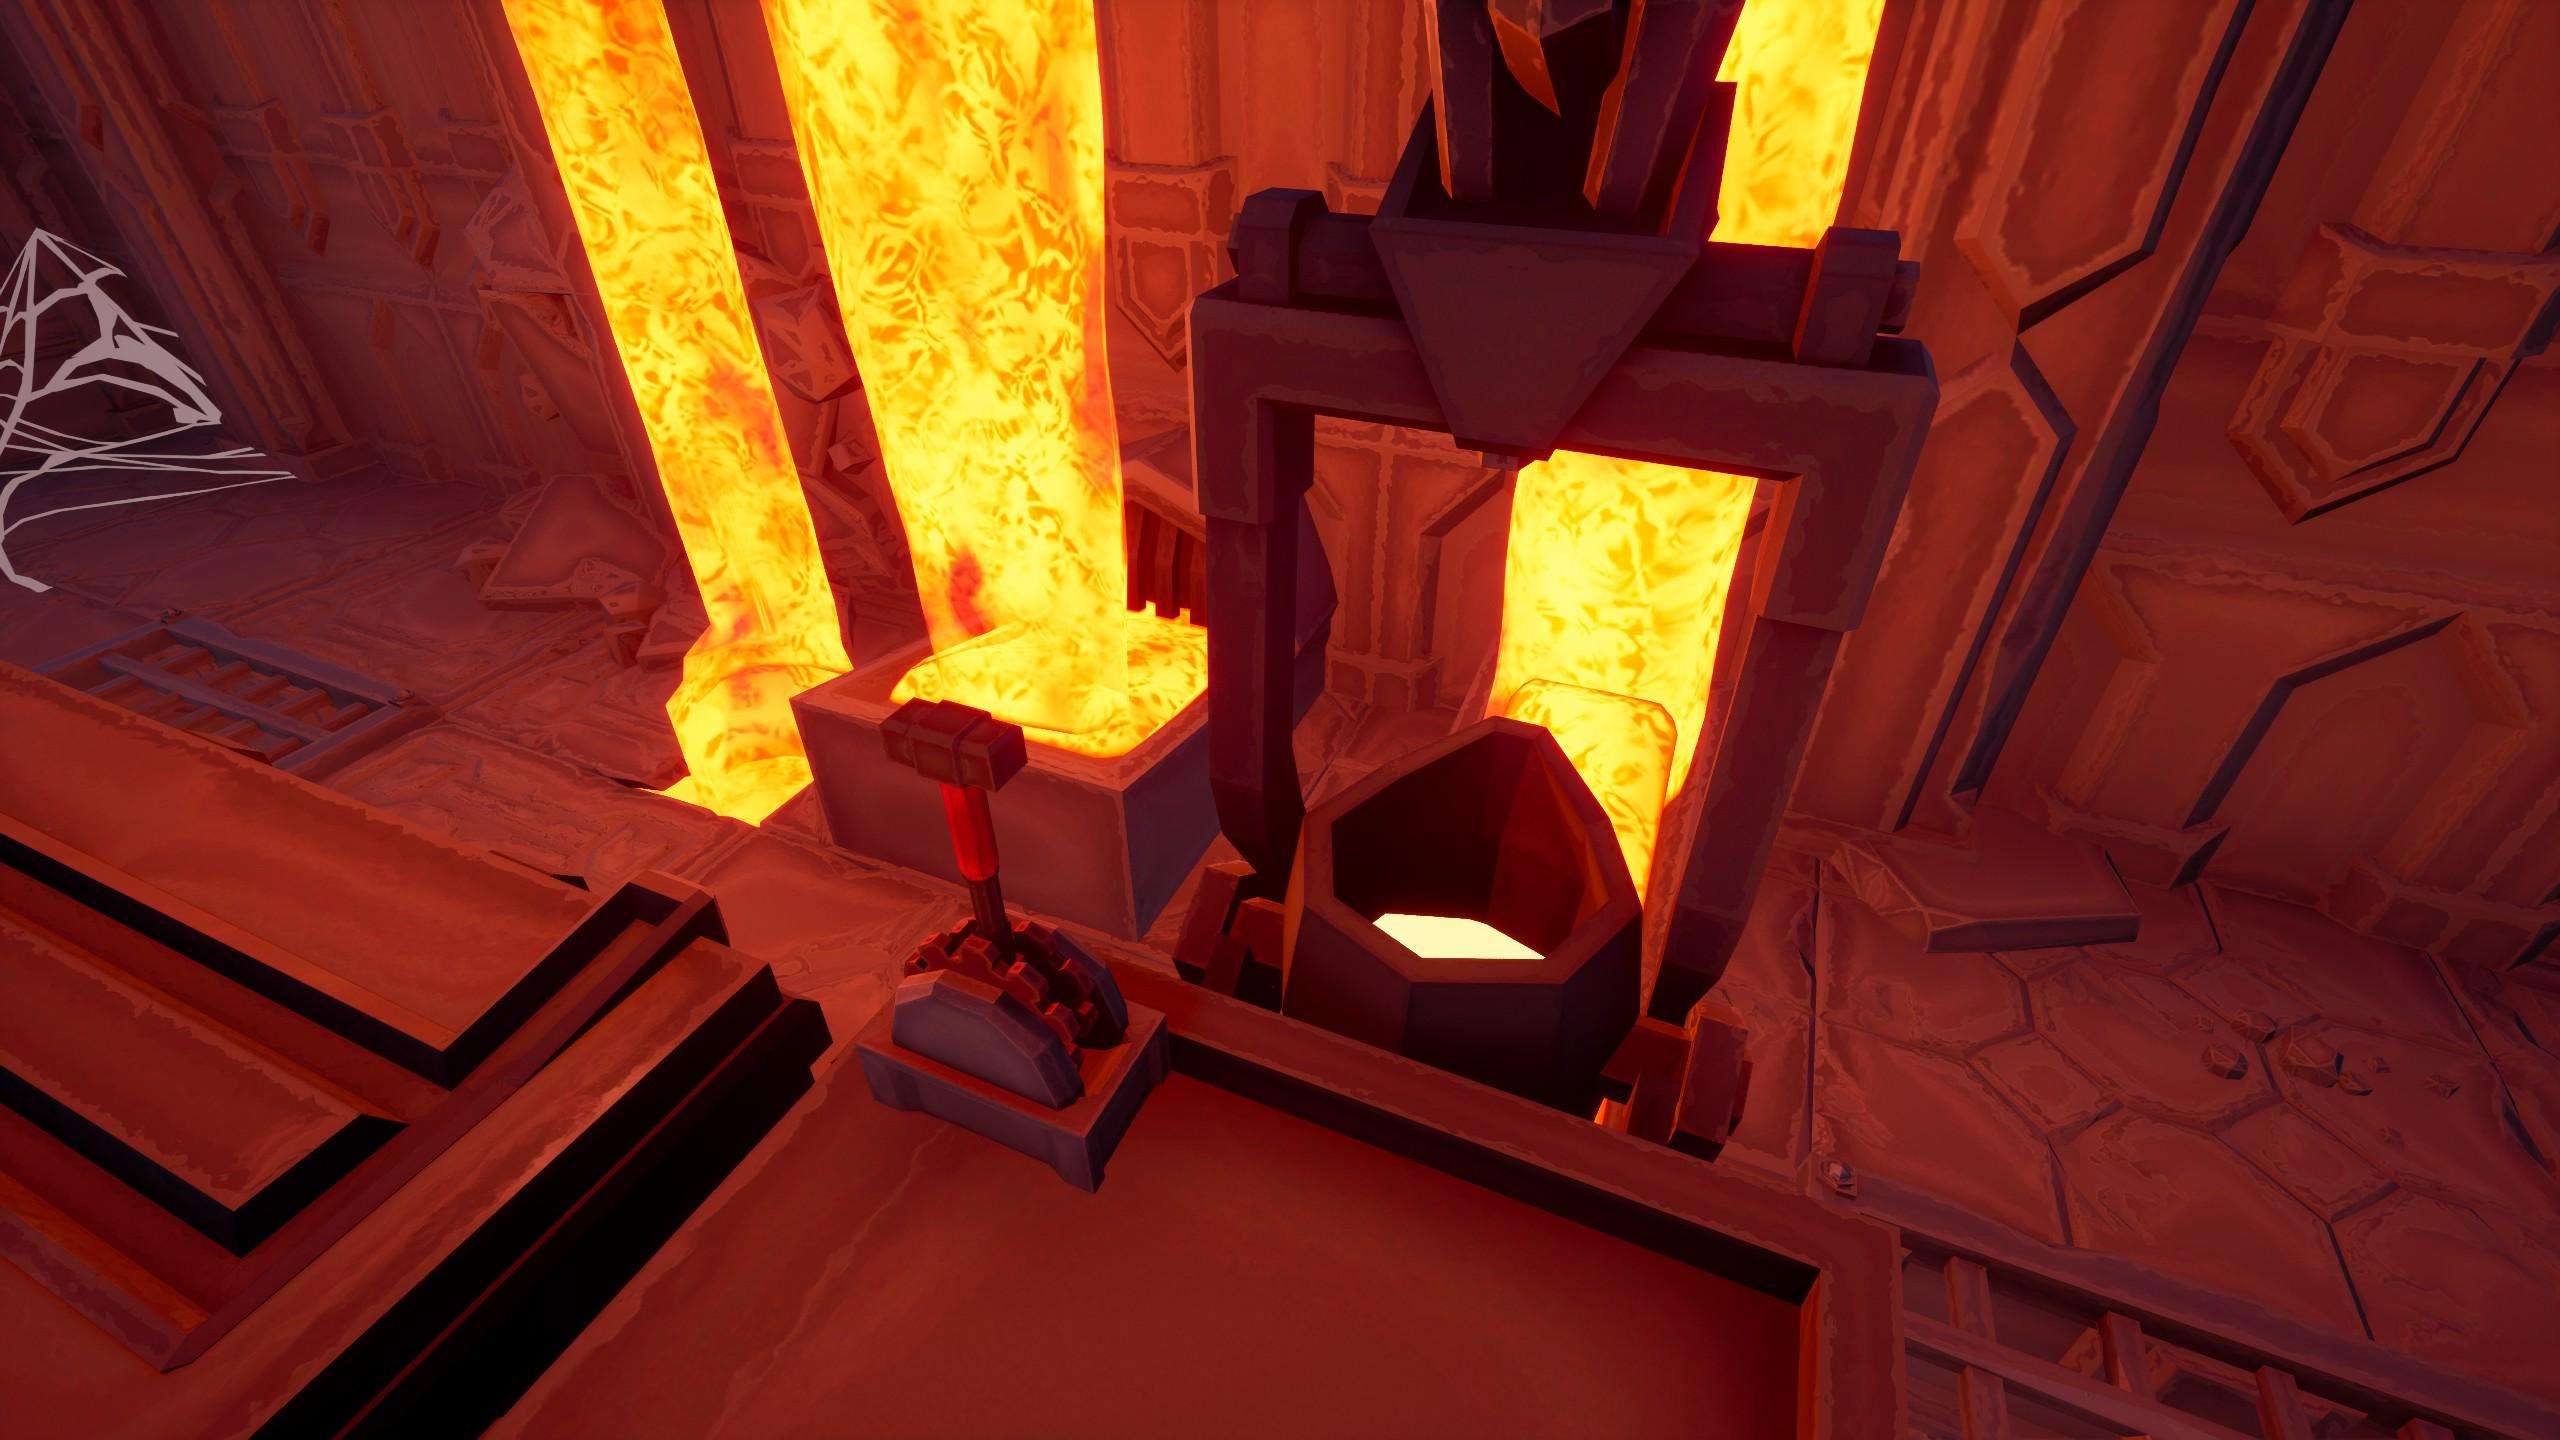
2) Put the Resource with the required Weight Amount in the Forge Crucible:
Wait a minute, what do you mean “weight”?
Weight is the second stat resources have, after the selling prices.
To forge our items, you’ll need the weight of resources required by each design.
Here are the weight requirements for each design:
| Name | Weight |
| Iron Drill Masterwork Design | 300 Weight Units in Iron |
| Cloutium Drill MD | 300 WU in Cloutium (for some reason the design also shows 1000, but this could just be a model issue) |
| Iron Intake Booster Design | 60 WU Iron |
| Cloutium Intake Booster Design | 60 WU Cloutium |
| Iron Harvester MD | 100 WU Iron |
| Cloutium Harvester MD | 300 WU Cloutium |
T1 designs require Iron, while T2 designs, on the other hand, require Cloutium, which can be pretty rare at the start of the game.
For example, in the picture above, the drill requires 300 weight units of iron.
Forbidden Chocolate Bars
I recommend smelting all of your iron or cloutium ore into bars, so figuring out the weight is easier.
This can be accomplished by putting them inside either a crucible and furnace and using the bar cast, or, which I use, utilizing a smelter, since it does the job of all three things above.
To see the weight of a bar, you will need a scale, which you can purchase at various stores, or at the icehelm forge itself, for 146c.
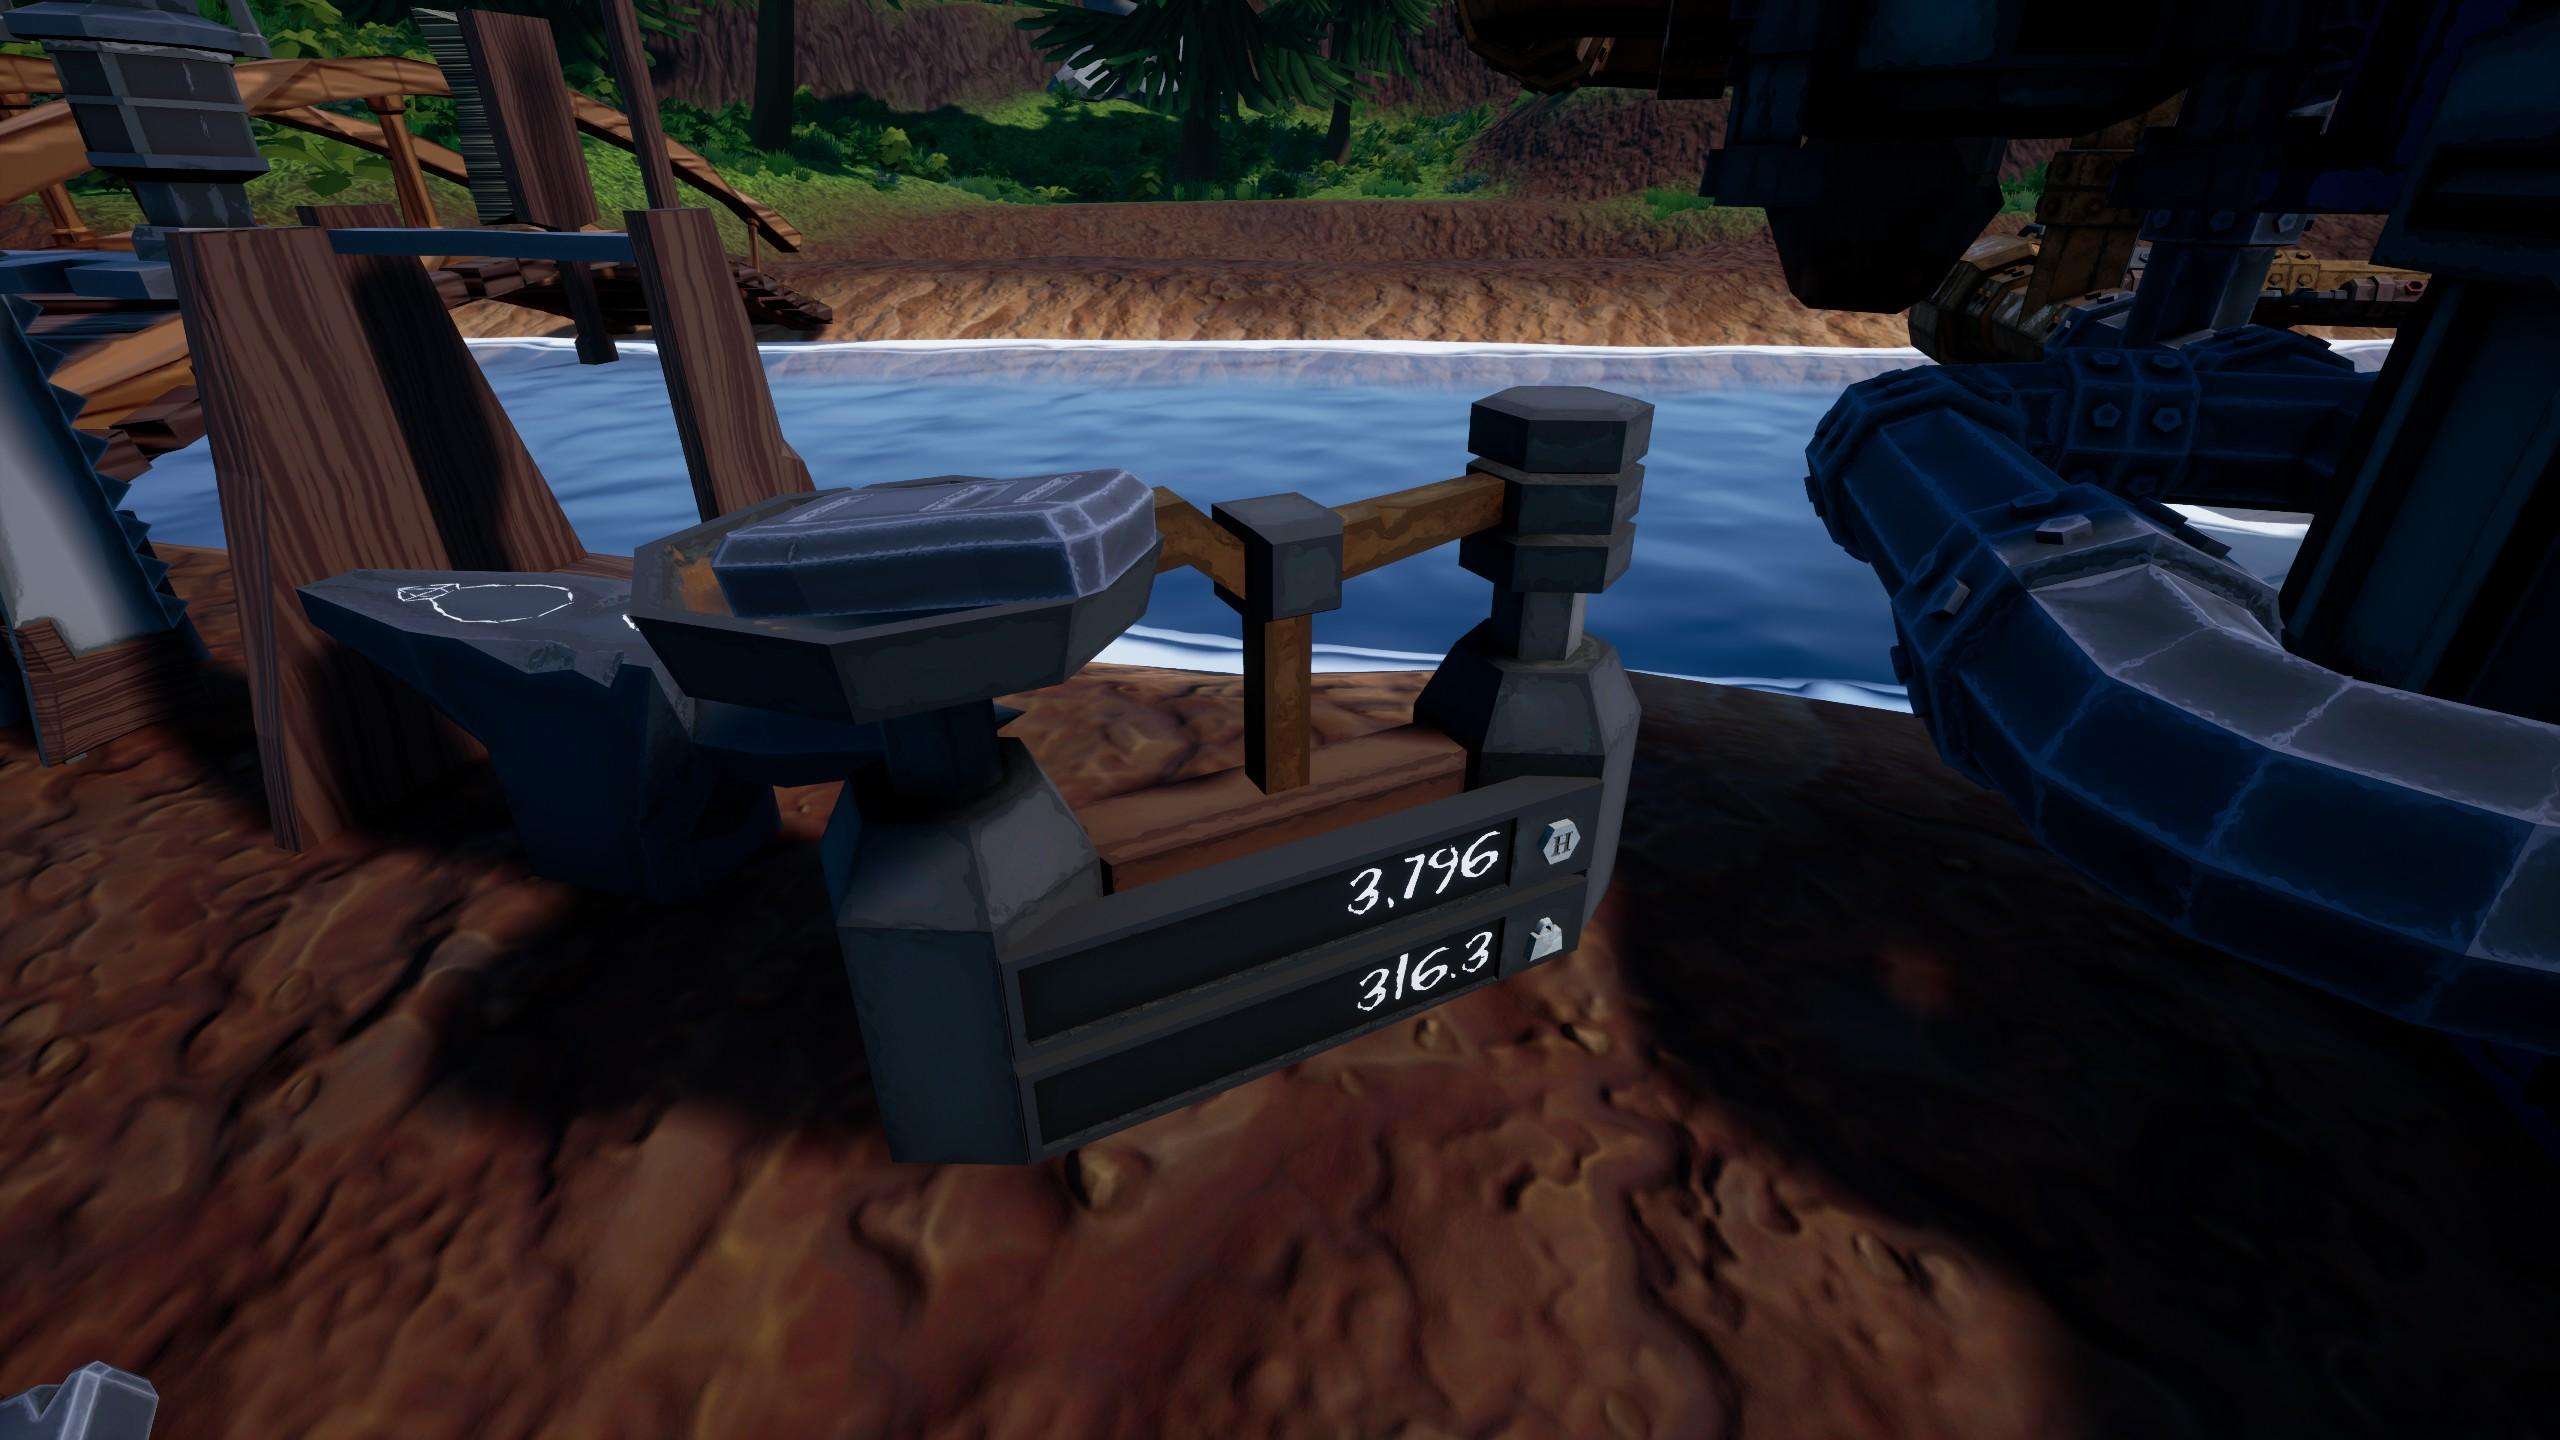
As you can see here, this iron bar weighs 316.3 weight units. Just enough for us to cast our drill.
If your bars don’t weigh enough, you can always re-add them to a crucible or smelter to smelt them back down.
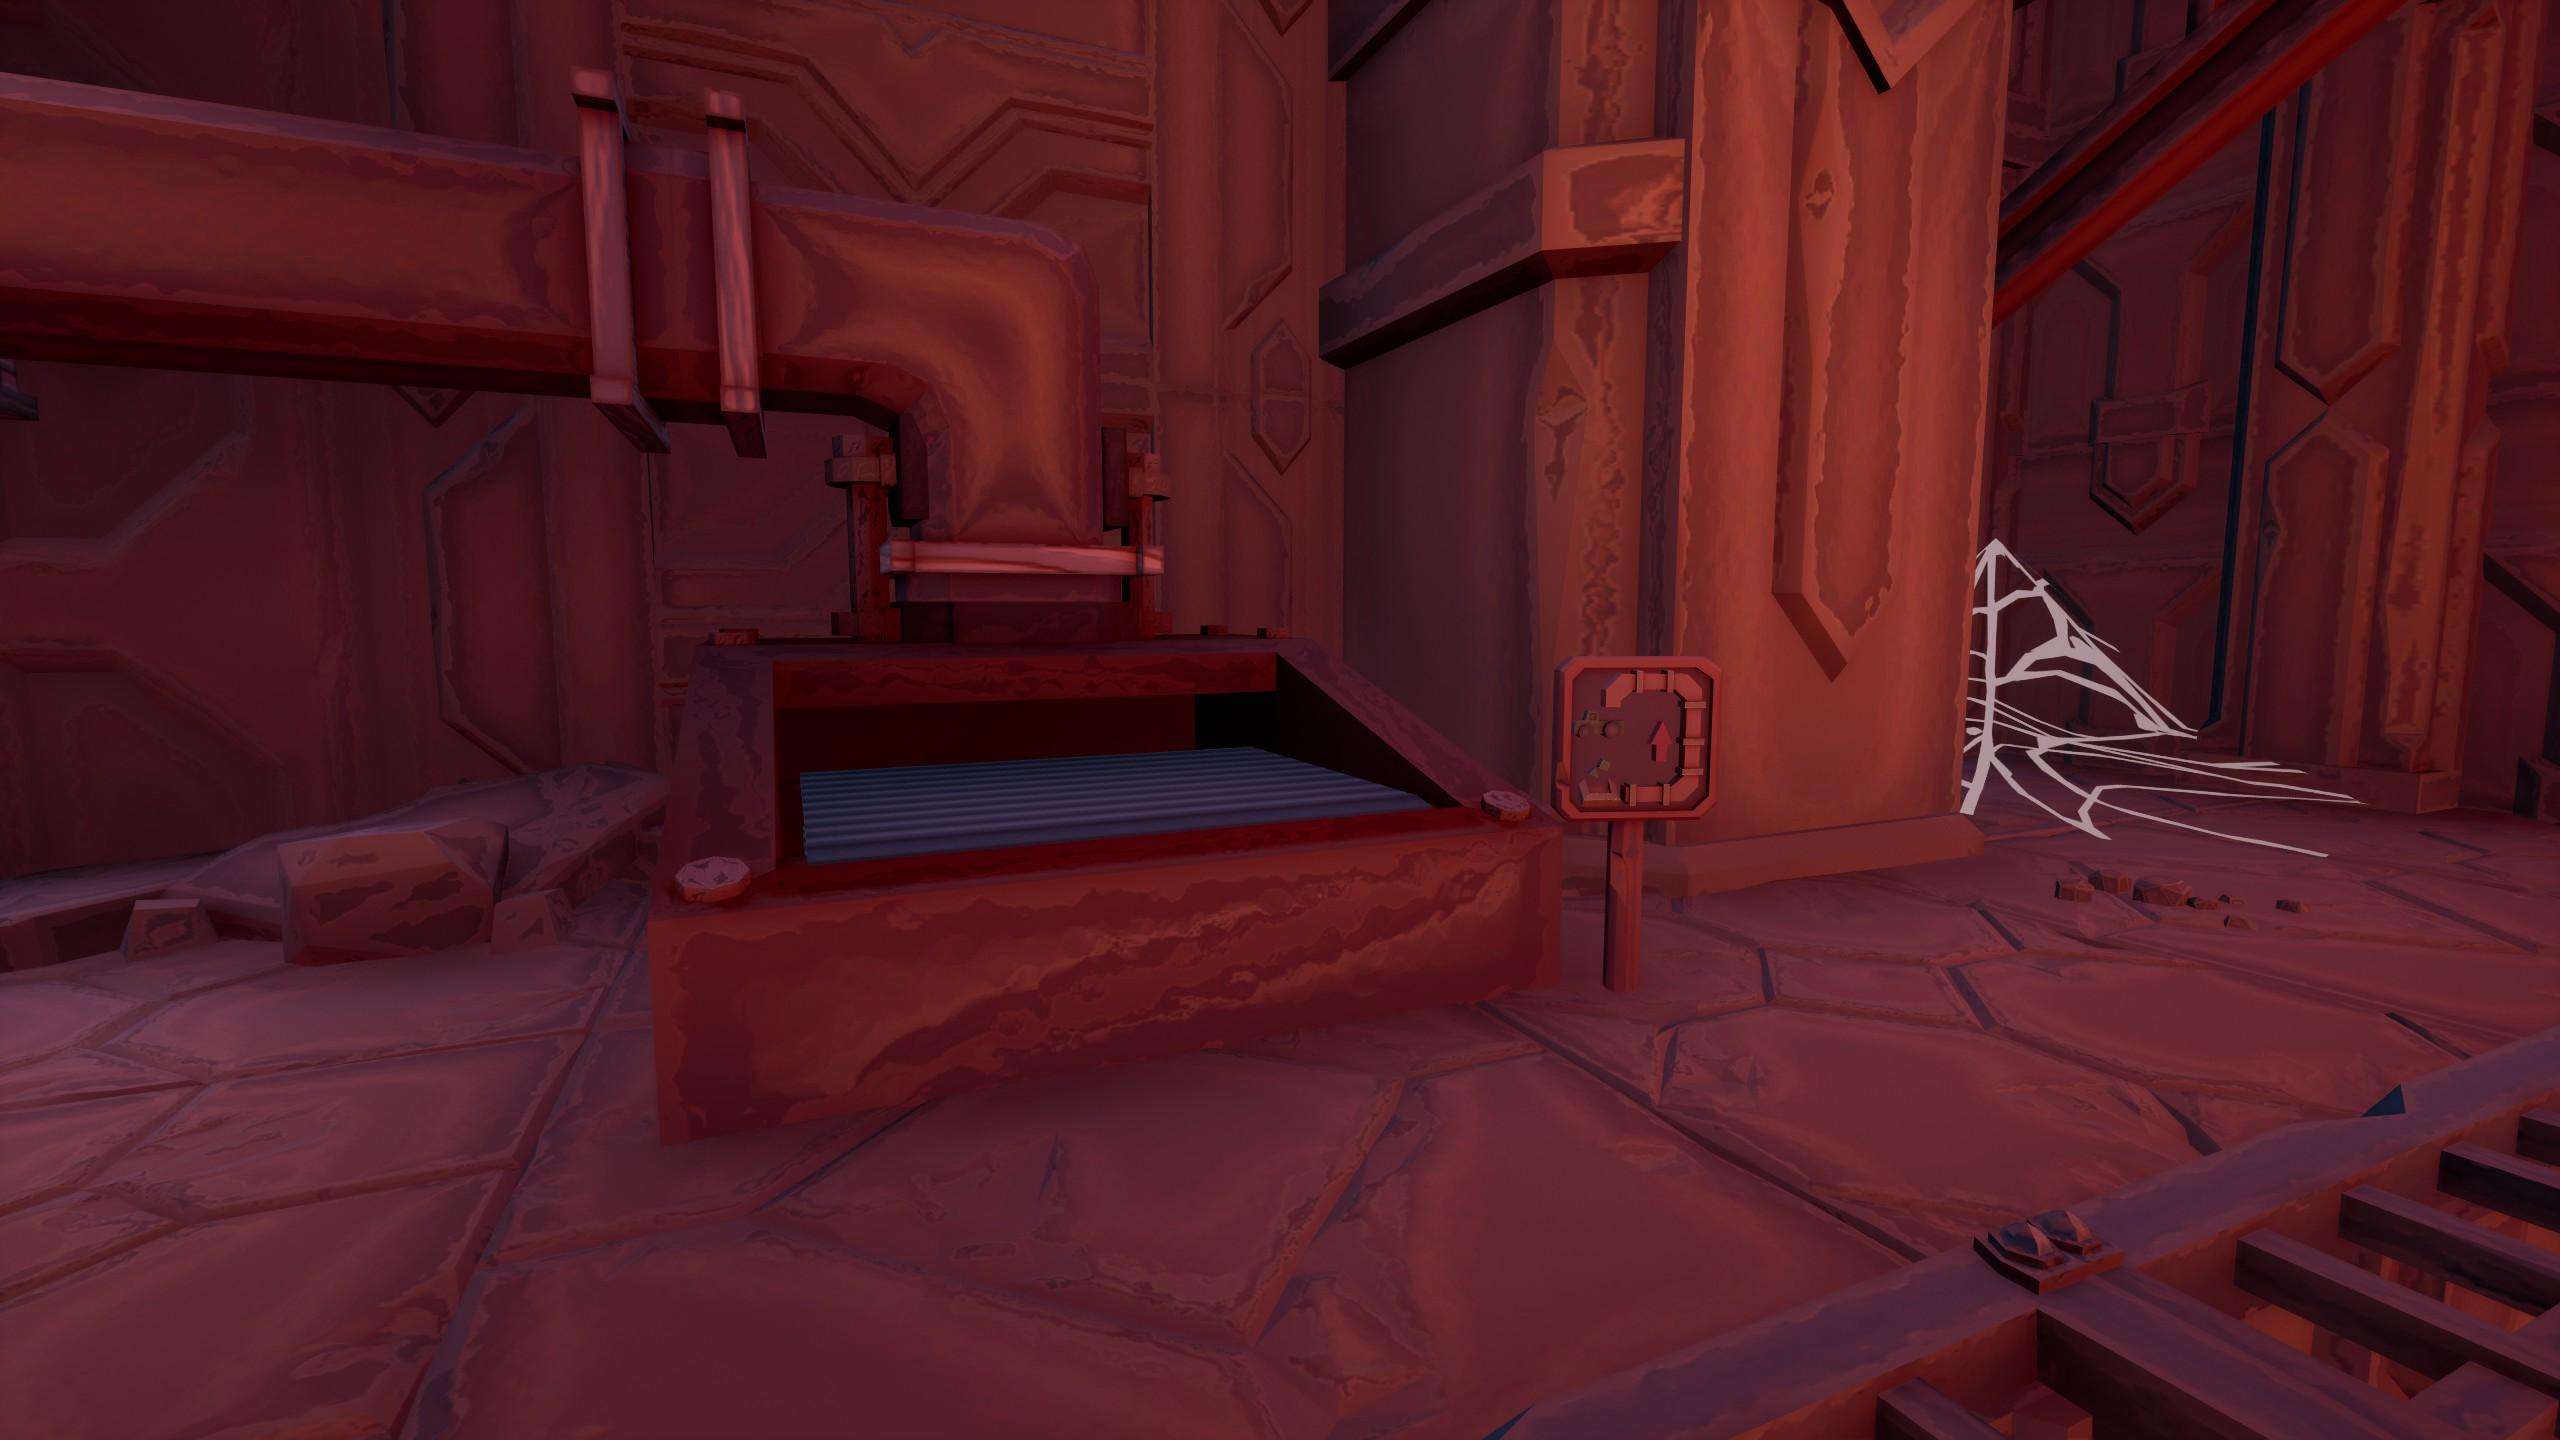
2.5) Finding the Resources in the Forge
Remember how I mentioned those transport paths earlier?
You can find the exit point of our outside belt in the area below the anvil.
Now, you can either go walk the way, which goes back along to the shop, or, if you want to get there faster, you can drop down between the grate. It’s pretty easy to fall down, actually.
In the middle of the room, you can also see another transport path leading back outside.
This is due to the fact that you can also buy a vertical dig site for around 7200c right there.
3) Press the Lever and Enjoy
If you did everything correctly so far, your item should now be cast.

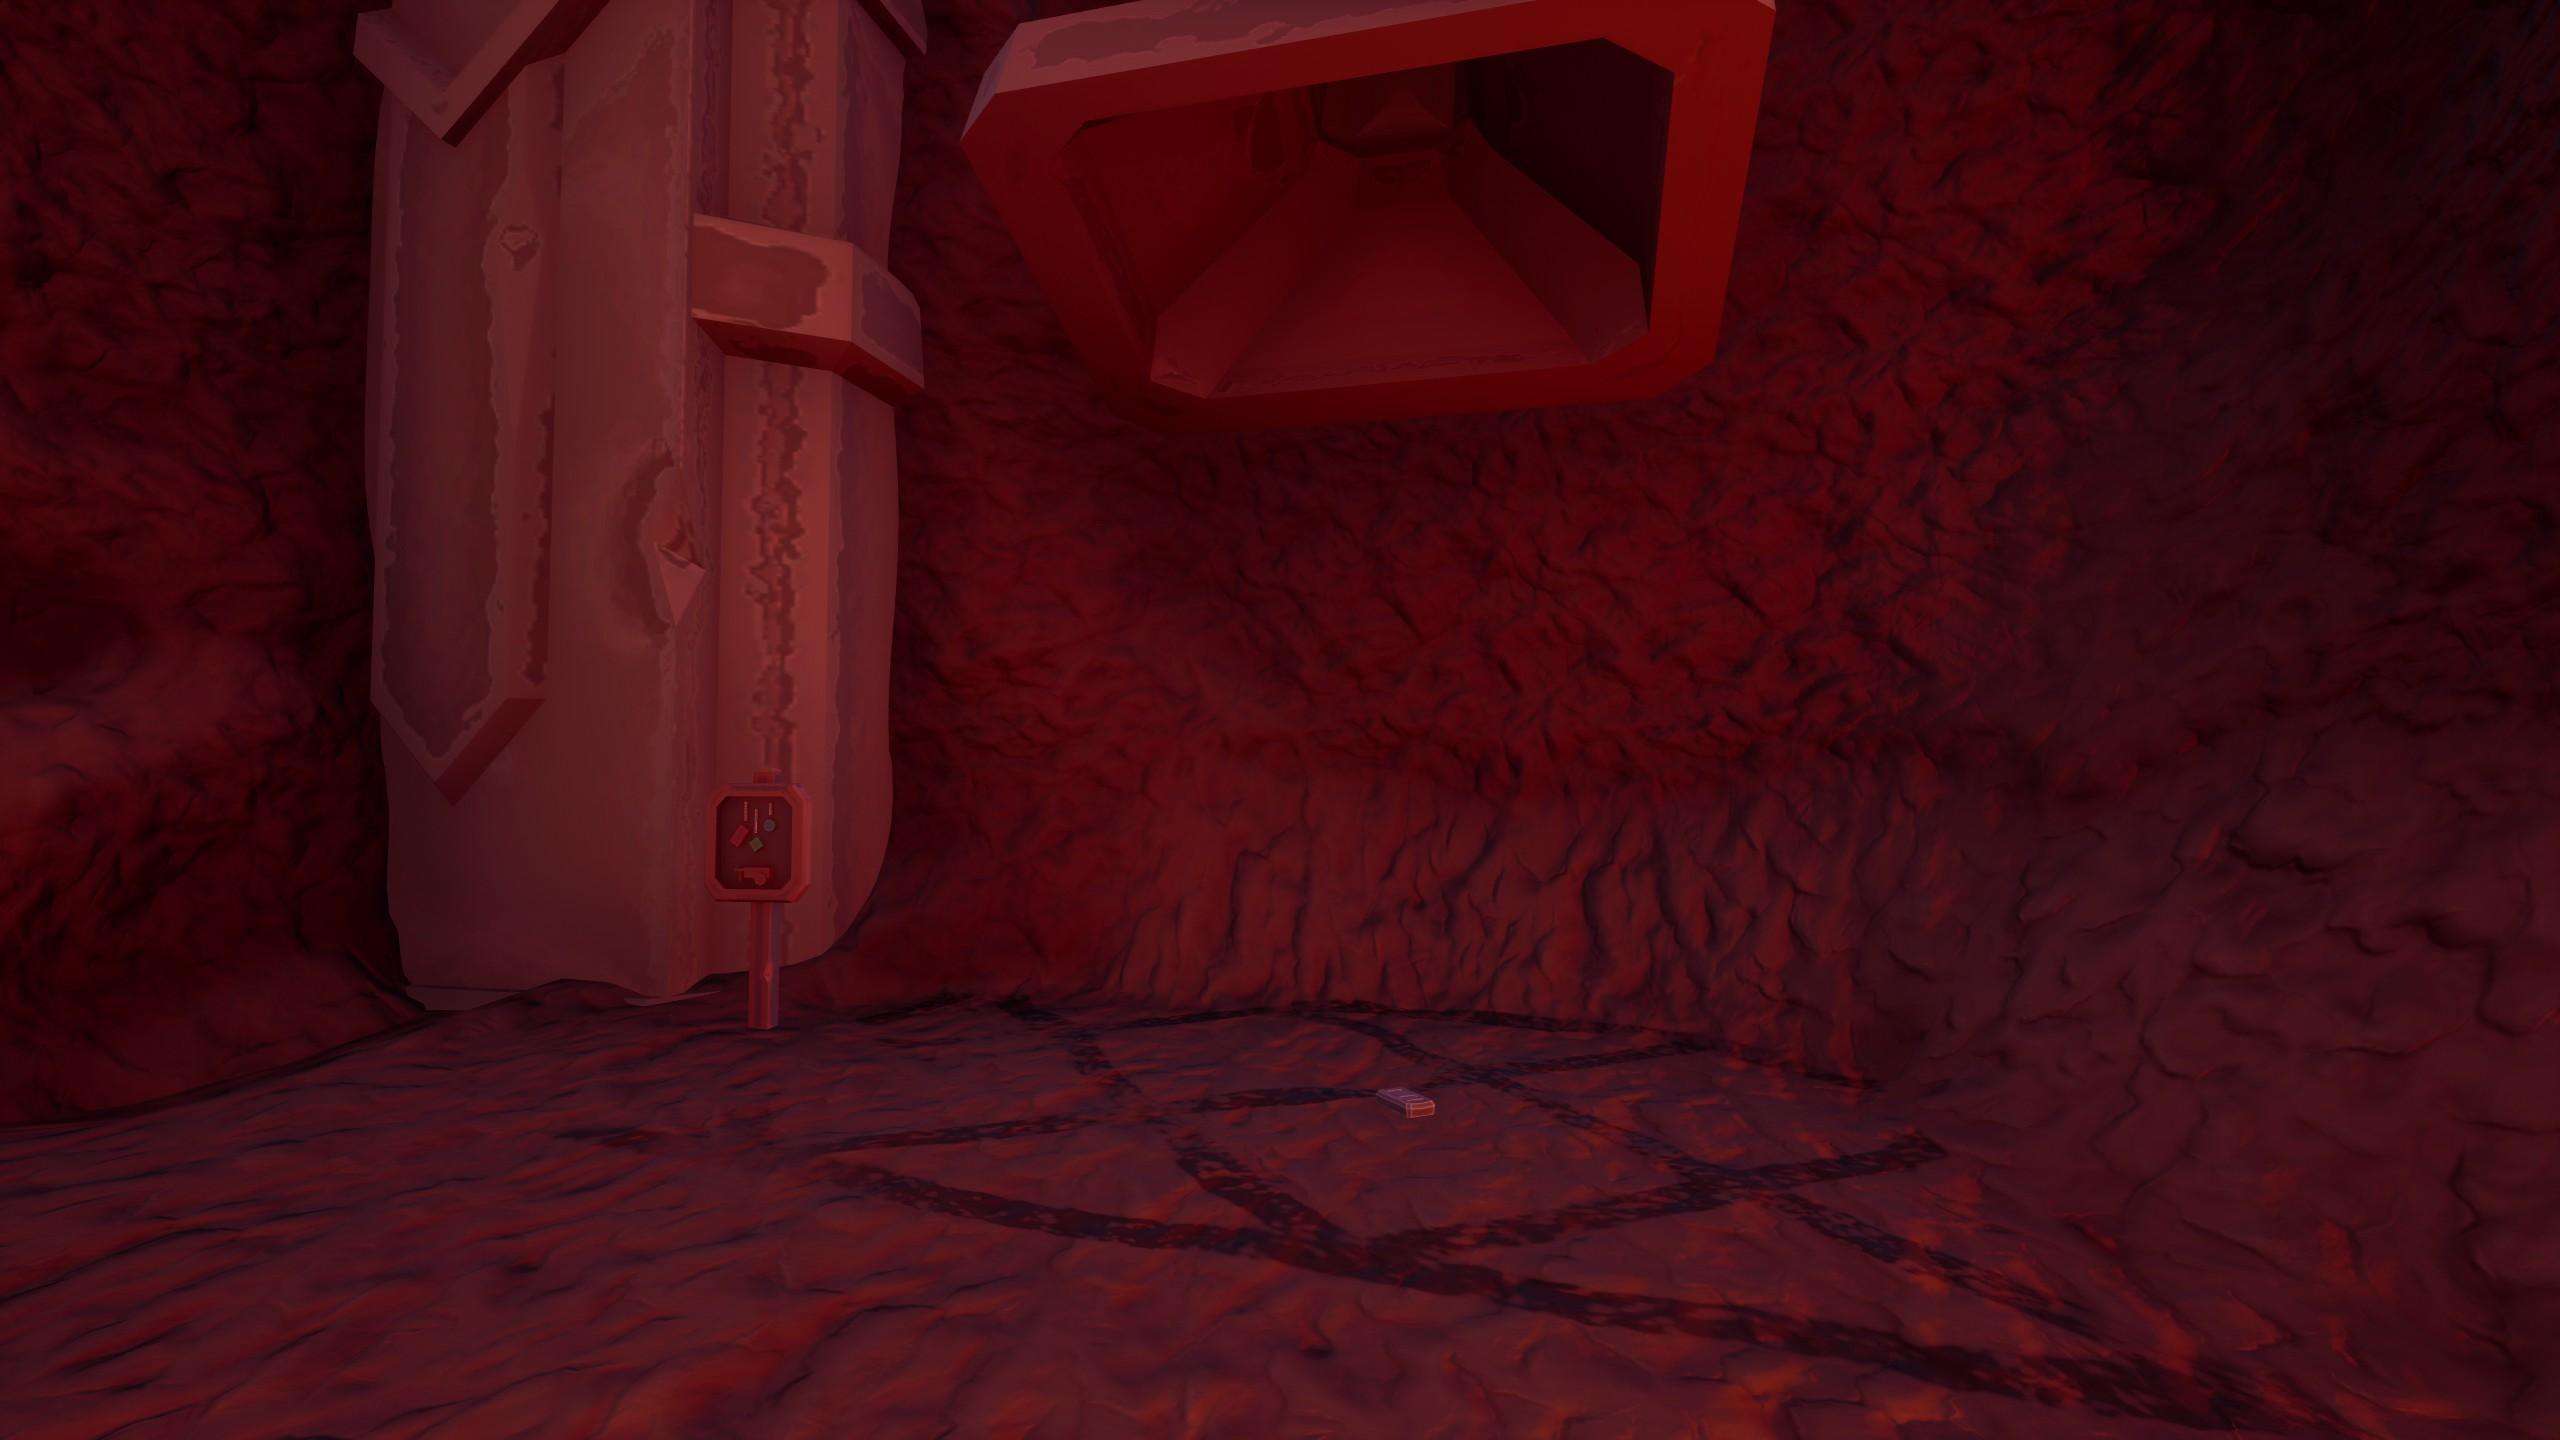
In addition to our finished product, you will also get back the excess resources that you put in the forge crucible. This can be found on the front-left side, when facing the anvil.
You can place all of your items on the transport path located left of the anvil to save time.
Finishing Words
Congrats!
You now got a new and shiny upgrade for your setup!

I haven’t verified yet, but it actually looks like the 1000 and 300 on the T2 drill is not a mistake. If you look closer I think it shows: 1000 iron or 300 cloutium. Meaning you could use either resource to make a T2 component.
Just a theory right now, but I’m pretty confident.
Thanks for the guide! I didn’t realize you could have up to four intake pipe pressure boosters at once.
Thank you man this will make the save I use for my stream look nicer 🙂
Thanks for the guide! I didn’t realize you could have up to four intake pipe pressure boosters at once.
thing to note is if you don’t have a masterwork design on the pedestal and pull the level, it will pour out what ever’s in the bucket to the final spot. Good if you need to check what the weight was. Great guide tho!