
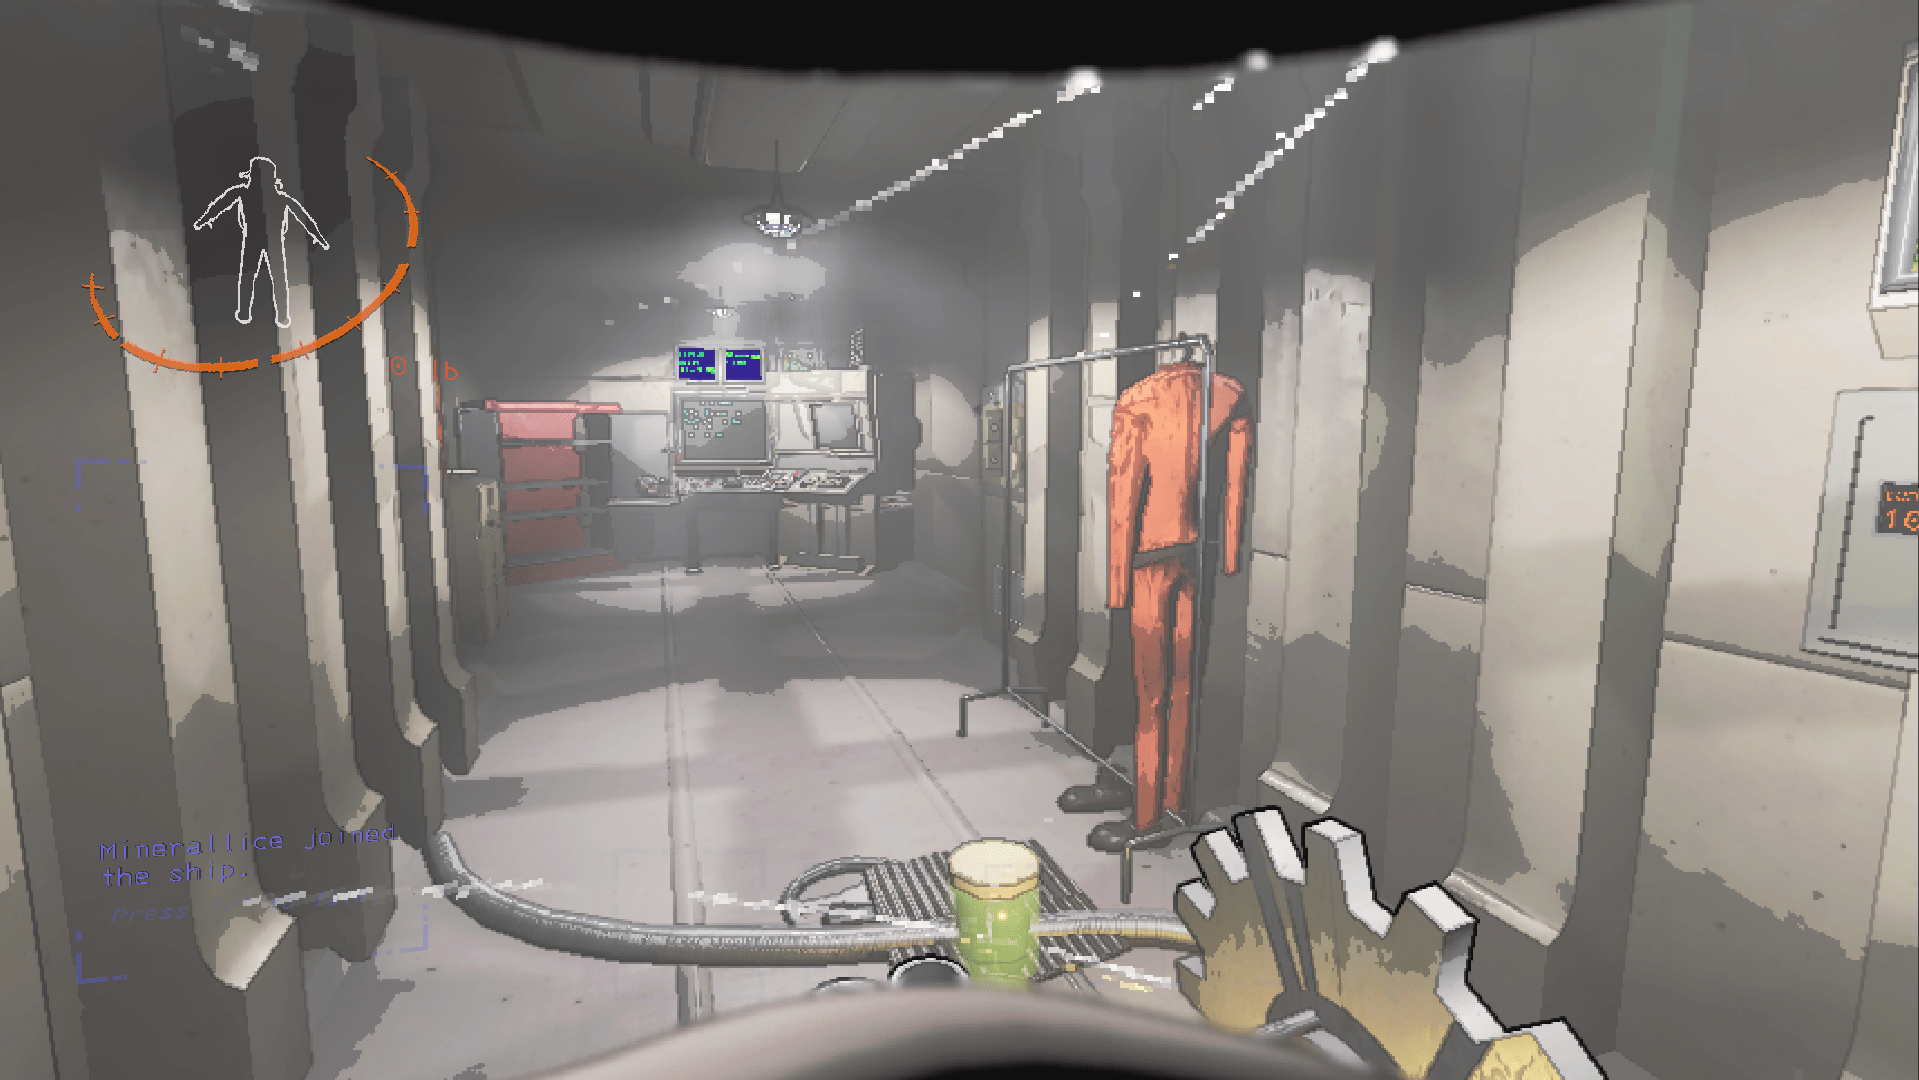
Ship Organization
For those of you who do not know the furniture (contents of the ship) can be moved around and place to where you see fit by pressing “B”. Organizing the location of the furniture can help you maneuver around the ship and have quicker access to them. Here are a few examples of what you can do.
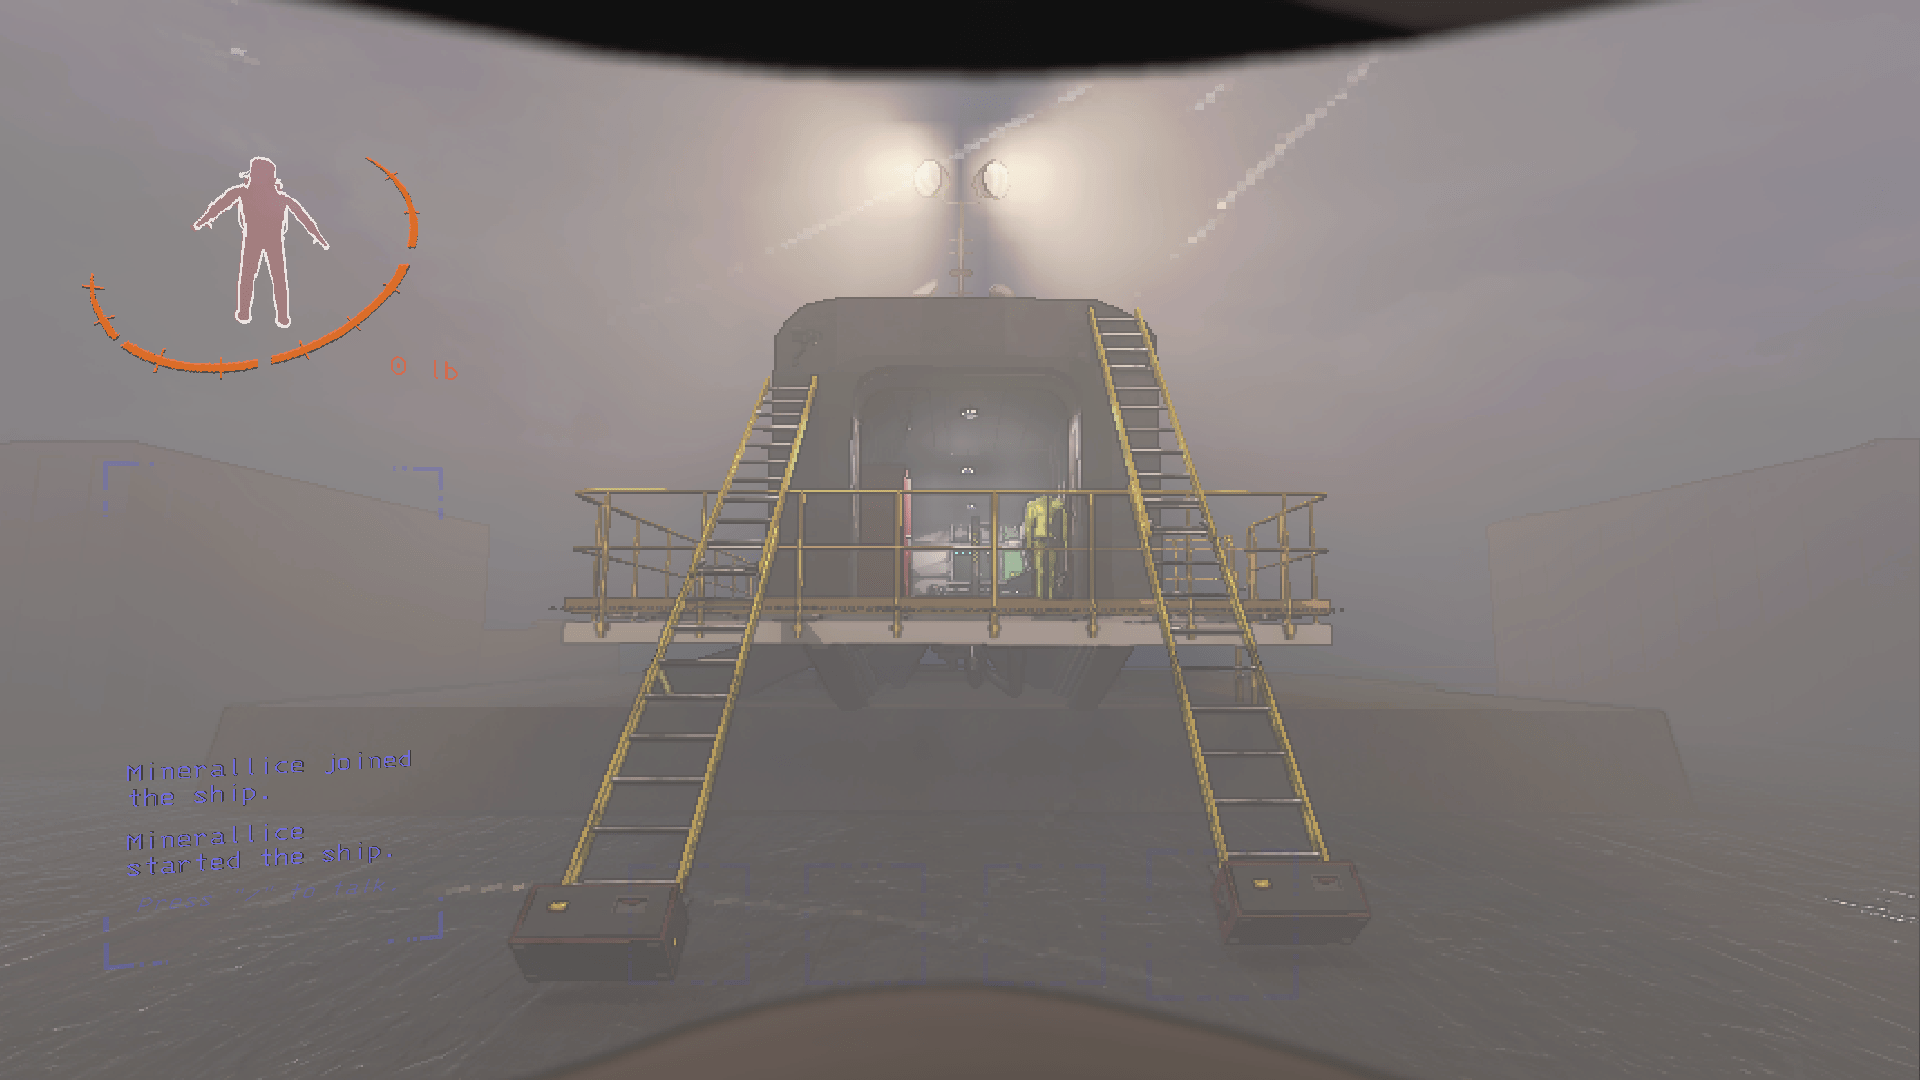
The take off lever, camera, door buttons, battery charger, clothes line, random air tank – all 4 of these furniture items cannot be moved so its important to take into consideration where they are located to help you with designing the ship.
File Cabinet – Lets start off with a fairly simple solution to a early noticeable problem, the random air tanks sitting next to the file cabinet take up far too much space. Despite being unable to move the air tank you can take advantage its ability to merge with other objects, placing the file cabinet over/within the air tank will give you both a operational small table for purchasable furniture and enable for more space.
Light Switch – Move the light switch to a location with constant light being able to see the switch is the top priority, having the switch be towards the front or back of the ship is dependent on play style and number of players.
Bunk Beds – Just place these in storage using “X” they don’t have a use. (Zeekers please give them a use).
Cup Board – The cup board is very useful in storing your tools, though it is quite the large object that at first takes up a large amount of space near the door that may get in the way. It is also important to have cup board be easily accessible. simply moving the cupboard where anyone can see inside no matter where you are in the ship. I would suggest placing the cupboard towards of the 2 corners near the take off lever.
The Terminal – Where you place the terminal depends entirely on how many people your playing with, I would suggest for newer players to simply place the terminal as close to the take off lever as possible. It is important that you can make a swift get away when creatures can enter your ship. However for players who are used to the dangers I would suggest placing the terminal near the door lock for quick access (note: you can place the terminal with the clothes line).
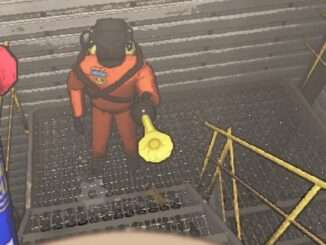
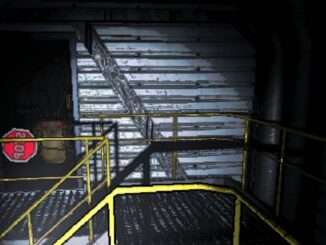
I have inserted 2 examples a ship design, take note of the large amount of space to walk around within the ship and the ease of access to enter the ship. I have also left an example of what not to do and an example of where to place the light switch.


Moons
Going to a different moon typically doesn’t lead to much altered game play though the selection of which one to choose should depend on play style.
Weather Conditions – Weather conditions are very difficult to deal with but I have found a very simple solution as of v37. Simply visiting the company building and leaving will cycle through the weather conditions without counting as a day.
Experimentation – This is a all around great map, its a straight line to the ship from the main entrance and having a height advantage works great if you spent too long in the building and dogs have spawned. only downside is needing to take ladders to get into the main entrance. (did you know that the pillars on the walls of the building don’t have collision?)
Assurance – Although a confusing map at first, once understood the pathing is very simple and the tool drop pod location is quite preferable over others. The downsides however: many sharp corners, no easy escape from main entrance, door is on the far side of the ship from the entrance.
Vow – One rule with Vow, never go here under weather conditions. you will die, or get lost 12pm. Beyond that it quite simple, lots of places to hide from Giants (forest keepers) and a very accessible fire exit. However leaving may be an issue as one of the bridges may break and forest keepers can and will chase from the entrance of the building and can even trap you at the fire exit.
Offense – This is just assurance but much more open, easier fire exit, and the ability to drop items off a cliff to cover a much larger area. I have noticed that dogs and worms are very common and come much earlier in the day on this moon however.
March – I assume the first time you go to this moon you walk straight into water and drown, congratulations. This moon is quite preferable over others however as it is extremely simple, the ship, a body of water you must go around, and the building. if you ever get lost just go straight until you see the pit of water. only downside with this map is that getting on the ship can be quite difficult with larger scrap.
Rend – You can’t see a thing and have rely on lights to get around however the main building is actually quite nice area if it weren’t for the creatures there being much more deadly. As for the fire exit, I still have to both know how to find it and how to get back to the ship from it and I think that speaks for itself.
Dine – Dine is much preferable over Rend as instead of having lots of creatures there are landmines and turrets. The landmines are no problem at all considering how large the rooms are, however the turrets are quite difficult to avoid. The fire exit on this map takes you right next to the ship and is great way to get back their when in a pickle.
Titan – This is a great map, although some of the scrap within the building isn’t a amazing the ability to just drop your items off the edge and pick them up at the bottom is a bless as you don’t need to carry everything back over a large distance. The ship landing facing the building and easily accessible with no difficult jump needed is perfect. Though the inside is a absolute maze and I would suggest considering having someone enter through the fire exit first as to be able to cover a larger area this is still a good moon.
Creatures
This section will cover each creature and the most simple way to survive each one and some small little ways to help assist you. I have also given some of them nicknames as to help you properly identify some of them.
- (A) Outside the building
- (B) Inside the building
Non-Hostile
Manticoil (A) – Its just a bird, you can ignore them
Locusts (A) – Just a swarm of locusts that do nothing
Semi-Hostile
Hoarding Bugs (B) – Staying away from them is the best solution as all they want to do is collect and keep a single scrap within the map. However there may be a small chance the bug doesn’t find an item, in which case it’ll instead take yours (this is not how it actually just simple, please check the very bottom of this section for more). you have 2 options, fight or flight. In the case where it transforms and you cant fight it just leave the building and enter through the fire exit.
Circut Bees (A) – These are just bees, stay away from their nest and they wont hurt you. If you are attempting to take the nest do not take it unless someone is ready to pull the take off lever. If the bees end up in the ship with the nest your run is more or less over.
Spore Lizard (B) – This unique creature only attacks if you chase after it, You can just ignore this one but do attempt to avoid going down the same hallway it does.
Snare Flee (B) – The best way to avoid this creature is too look up and constantly use the scanner. Snare flees will only attack if your underneath them and in the scenario where they do fall down your easily faster than them. If you are caught by one start yelling for a teammate and pray they have a weapon on them.
Hostile
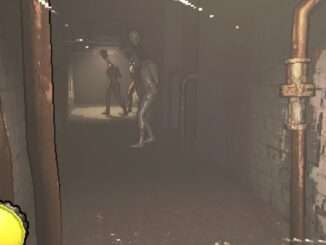
Spider (B) – If you see webs turn around and continue your search, spiders do not always remain near their webs and will after some time begin searching and hunting for you within the building. However, you are faster while sprinting, so In the scenario is does come after you just remember where the exit is.
Slime (B) – This thing is slow as hell, just don’t get cornered and it cant hurt you.
Thumper (B) – The Thumper makes loud thumping noises. If you can hear it then leave. If the Thumper sees you (it cannot hear acording to my knowledge) turn as many corners as you can while making your way to the exit. The Thumper is fast but only in straight lines.
Flower Man (B) – This is the most complex creature in the game so far. according to the bestiary the best way to survive it is too both look at it and don’t look at it….. but thats clearly not a good enough answer so Ill make this simple. occasionally turn around to see if anything is following you, if you see 2 glowing white dots its the Flower man. once you see it you will have to either look till it goes away or run from it. A small way to decide is if the flower man starts growling, if this happens it means you pissed it off and you should start running. (Even after you get away continue checking behind you as the Flower man will not stop following you).
Dogs (A) – These creatures only appear later into the days so simply leaving the planet is the best way to avoid them. However if you see them outside and on your way back to the ship start slowly crawling, their noses arn’t very strong and they rely heavily on sound. (also turn off your walkie talkie).
Spring Heads (B) – These creatures are fast just don’t look away and you should be safe. However if you hear one coming but don’t know where it is, run to a corner/wall as to avoid it approaching from behind.
Giants (A) – The bestiary says that they will only rely on sight to catch you, but I know this ain’t true. On foggy weather conditions and even if your hiding behind a tree or a rock the Giant may still see you. This creature should really have a danger rating of 80% cause even after 12 hours I still have little to no clue how your suppose to avoid it except being in the building, in your ship, underneath the ship or by throwing a stun grenade.
Jack in the Box (B) – If you see it run, run to the exit, run to the exit. You cant hide, you cant evade it, your just dead. Moment the jack in the box shows up that’s your timer to leave.
Special
Land Mines (B) – A simple trick to avoid these is too listen for the sounds they make, if you hear it once that means there could be infinitely many inside the building, moving forward with caution is your best bet. In the scenario where you do get caught on a landmine don’t move, this will allow your teammates to avoid dying with you, you can get saved by being teleported and if a monster shows up, you can take it down with you.
Turret (B) – When walking around corners count 5 seconds before moving on. these turrets can see through gas leaks and you have no way to know where they are until its too late usually. some small things to take note of are, the turret only turns 180 degrees so approaching from behind is safe. and being behind any object will cause it too no longer see you.
Little Girl (B) and (A) – this is a little Easter egg you can find on maps that have a library, you may see a little girl in a red dress, only one player can see it and if that same player attempts to touch it they will instantly die. On the other hand if a player if who does not see the girl touches her, the little girl will begin skipping around. If the little girl is skipping around you may also see her outside the building. While the little girl is present all audio becomes distorted.
Playing the Game
This section will go over a simple and straight forward way to play the game. I will also be going over the differences you will make while playing depending on who and how many your with.
Solo
Put simply this is definitely the hardest way to play the game. Although the number of creatures increases depending on the number of players, the draw backs of being solo far outweigh that.
With one death you lose everything, nearly impossible to deal with specific creatures, some tools being useless, and doing everything yourself is quite the challenge
What moon to choose is very simple, either experimental or March. the reason for choosing these maps while solo goes as follows:
- The distance between the ship and building are as close as possible
- The fire exit is easily accessible
- Few slopes, hills, and walls (blind spots)
(Returning the ship to the company building will change the weather without wasting a day)
The difference between these 2 maps is about whether or not you want to deal with Giants (forest keepers) or dogs if you take too long to escape
Equipment: Your best bets are pro-flashlight, stun grenades, TZP inhalant, or a Zap gun.
8:00 am
Enter the building don’t purchase any equipment grab what you can and get it out.
3:00 pm
Leave the building and start bringing what you found back to the ship
6:30pm
Leave before anymore creatures show up
You are gonna repeat this for every day until you have enough for rend, dine, or most preferably titan. Titan allows for the collection of higher priced scrap, and if there is ever a weather condition you wont need to worry about carrying scrap back as the distance to carry it is extremely short.
Duo
Running duo is a great pick, it is very simple and easy to coordinate, no map is terrible but choosing maps with a short distance between the building and ship are great.
While running duo I suggest both players run straight into the building, grab what you can until its past noon. Once this occurs the next player should start carrying items into the ship while the other continues exploring till 5pm.
When there are no items to carry back don’t re-enter the building just go back to the cameras and assist in keeping your cremate safe and help them find scrap.
Leave preferably before 7pm.
Trio
Same as a duo but once someone find something within the building they take it back and help on the ship cameras.
Full Crew
Keep one person on the ship, one person carry scrap, and the other 2 explore. Give everyone walkie talkies except the carrier for extra room (you can also run with one explorer having a flashlight).
Small Side Note: If not playing solo and all of your money been spent, just send everyone into the building. If someone dies, who cares because you cant lose money if have none.
Proper Utilization of Credits
This section will how to properly gain, spend Credits. as well as give you some insight into a small cheat I’ve found as of v37.
Ignoring Body’s
Spending all of your credits before going to moons (while not solo) can be huge. Not having to bring back body’s can save a ton of time, and avoids losing large amounts of credits. However this does not work late game it is still very useful to keep in mind.
Gaining / Spending
- Start off by selling only enough to meet the profit quota.
- Then check the store to determine what tools you wish and can purchase.
- Finally sell only enough to purchase those items.
- Keep the rest for your next quota as to help you make it.
- Note: if there are items for sale do focus on purchasing them if you may use it in the future
- (This does not work for crews who play it safe)
If you are a crew that just sends everyone out on an eclipse, instead sell everything you are then gonna want to purchase as much as possible.
Get as close to 0 dollars as possible. Upon death you will no money as you have non already and tools on the ship never disappear even when the entire crew dies
Lastly if you did not make quota there very simple way to do so, sell your friends! With 3 other crew members you can make up to 15 more credits which may come in hand when in a pinch. To do this though your crew must be dead.
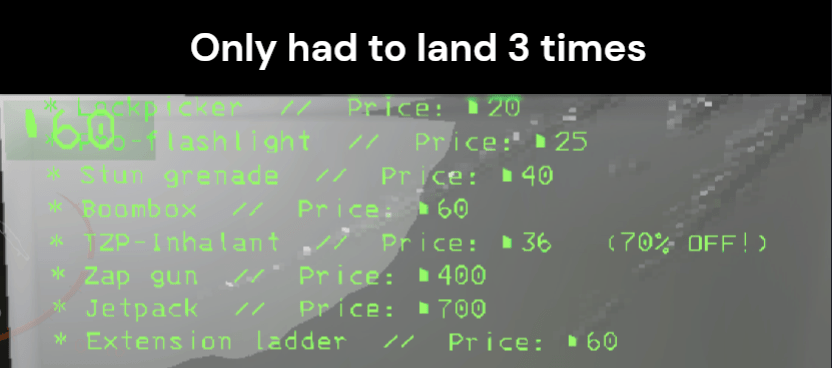
Cheats
- Ignore everything I have said before
- Sell everything, check the store for sales
- If there is nothing you want for sale go into orbit
- Then return to the company building
- And then leave again
- While doing so check the sales
- Keep repeating till you get what you want for sale and purchase
- This can be repeated forever and doesn’t waste any days
- (This will take some time, approx: 3-4 landings)
- (If at any point this begins to stop working, simply reloading the save file will all you do it once more)
- (Going into orbit will save the game)
Tools
This section will cover some of the items within the store as some of them can be used in unique ways.
Stun Grenades – These can affect teammates as much as they affect fauna, that is a small warning to remember when carrying one that you should warn your teammates prior to using it.
Extension ladder – The ladder has a added feature to work as a ramp to allow those with heavy objects to simply walk onto the ship rather than make a difficult jump.
Shovels – Shovels are actually a better investment than searching for stop signs. As well as that, the chances of a snare flee encounter are actually great than encountering a stop sign (if you arn’t a solo runner like me lmao).
Secure doors, turrets, and mines, can all be interacted with at the terminal on the ship. There will be a 2 digit ID for each. Entering the ID will (open/close/temporarily turn off) the object of interest. I recommend having the terminal and front screen nearby eachother, as you can swap between watching different people, radio, and use the terminal to disable threats, open doors for players, or block monsters.x
Only change I would make is shovel vs stop sign not. Full price shovel is only 30 vs a stop sign which sells for 45, and worth having early so you don’t accidentally fall victim to a snare bug or hoarder