
Pearls are not a complex game mechanic, but I wish I knew some things before starting the game. For example, how a pearl’s status influences its contents or how to increase the chance of car accessory drop. This guide is pretty much useless in the late game, as there is a garage upgrade that allows you to get new accessories from there, but at that point you don’t have much of the game left to enjoy new stuff.
Guide to Dumpster Pearls
Basic Info
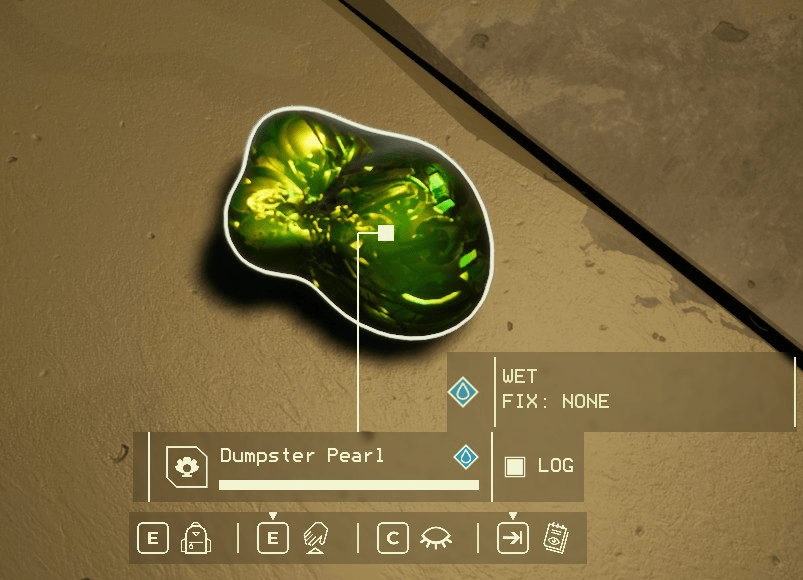
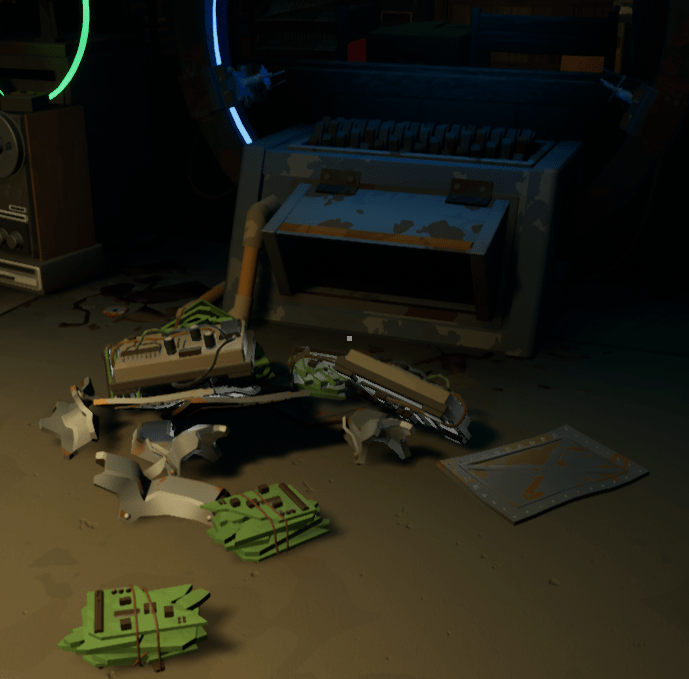
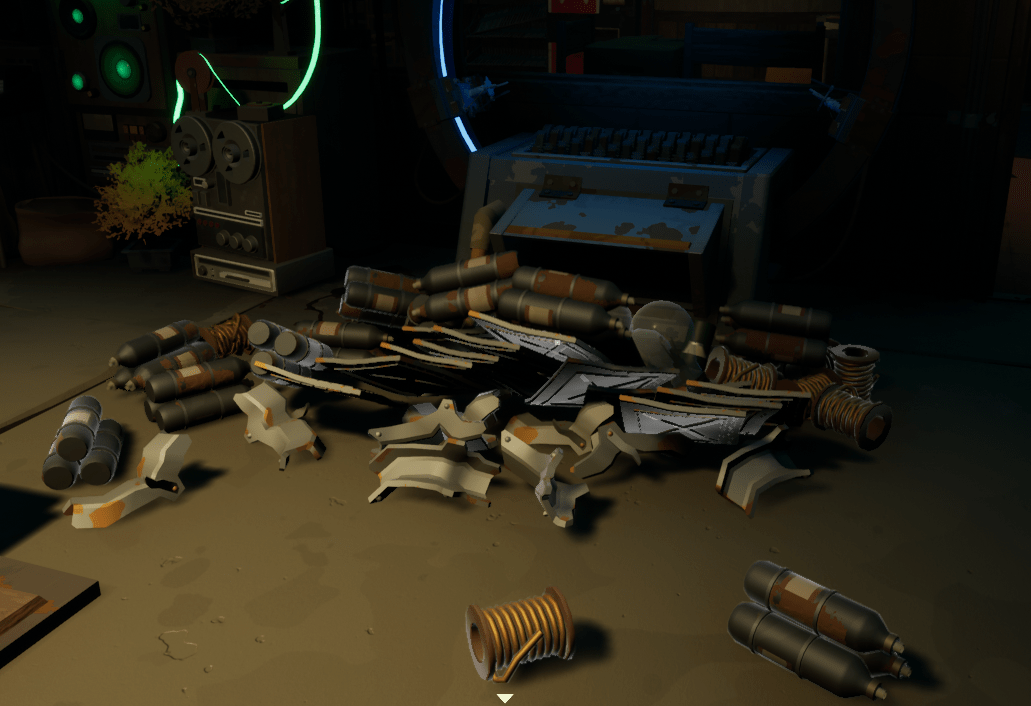
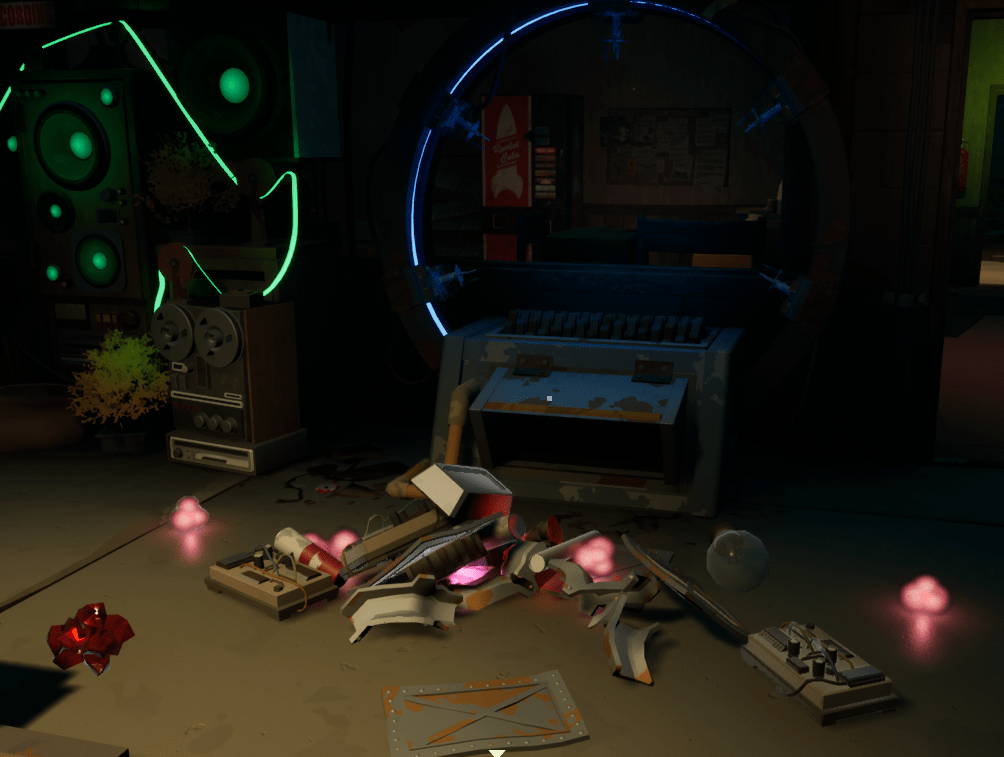
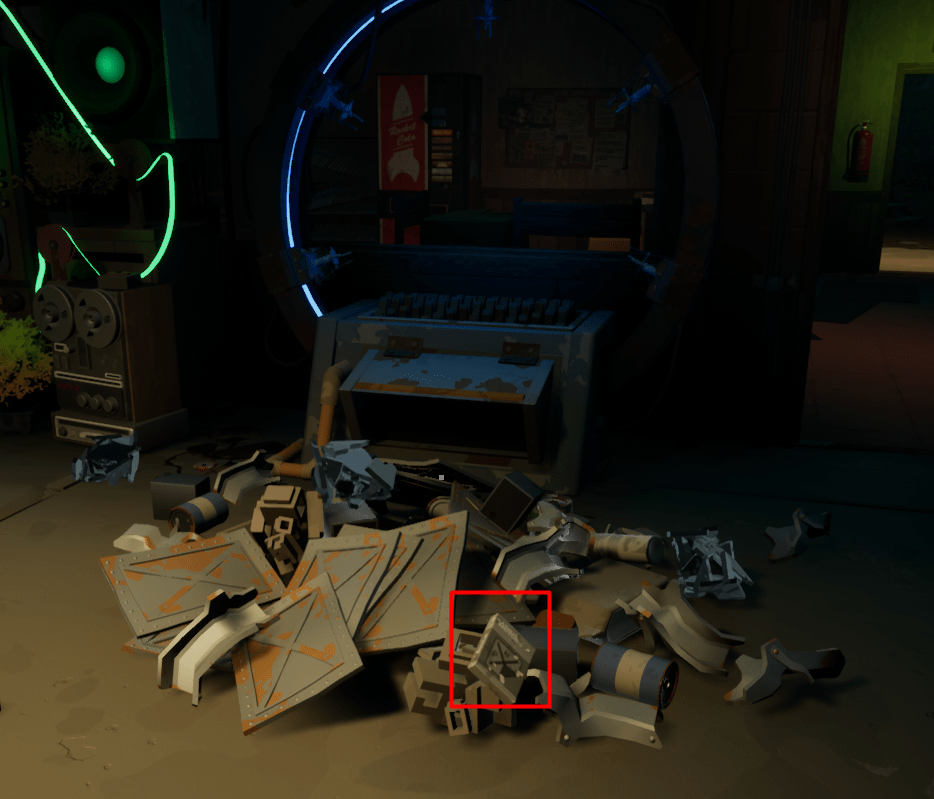
Pearls are basically compressed loot that can look like this:
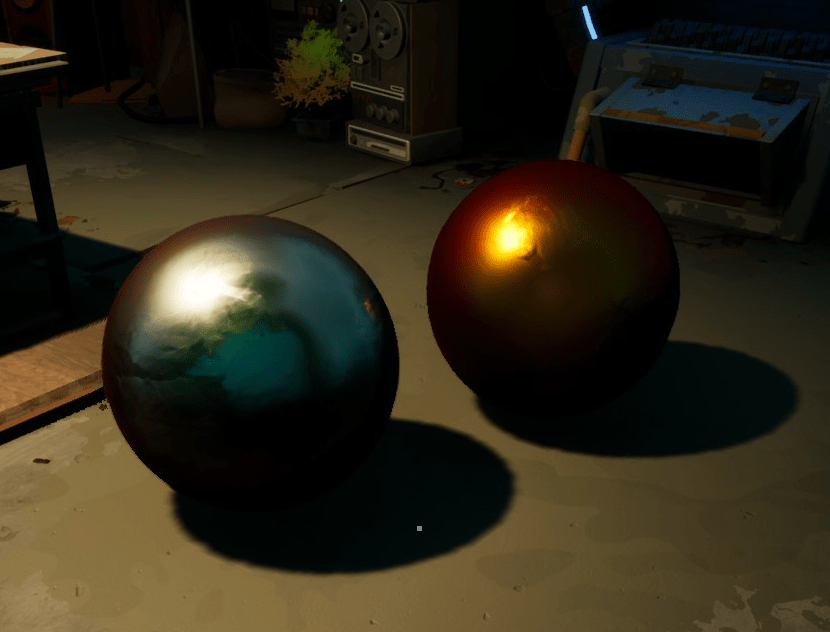
The size of a pearl only affects the amount of items received. Round pearls are fully formed and will give the most items, while chunks will give only small amounts.
Where to Find
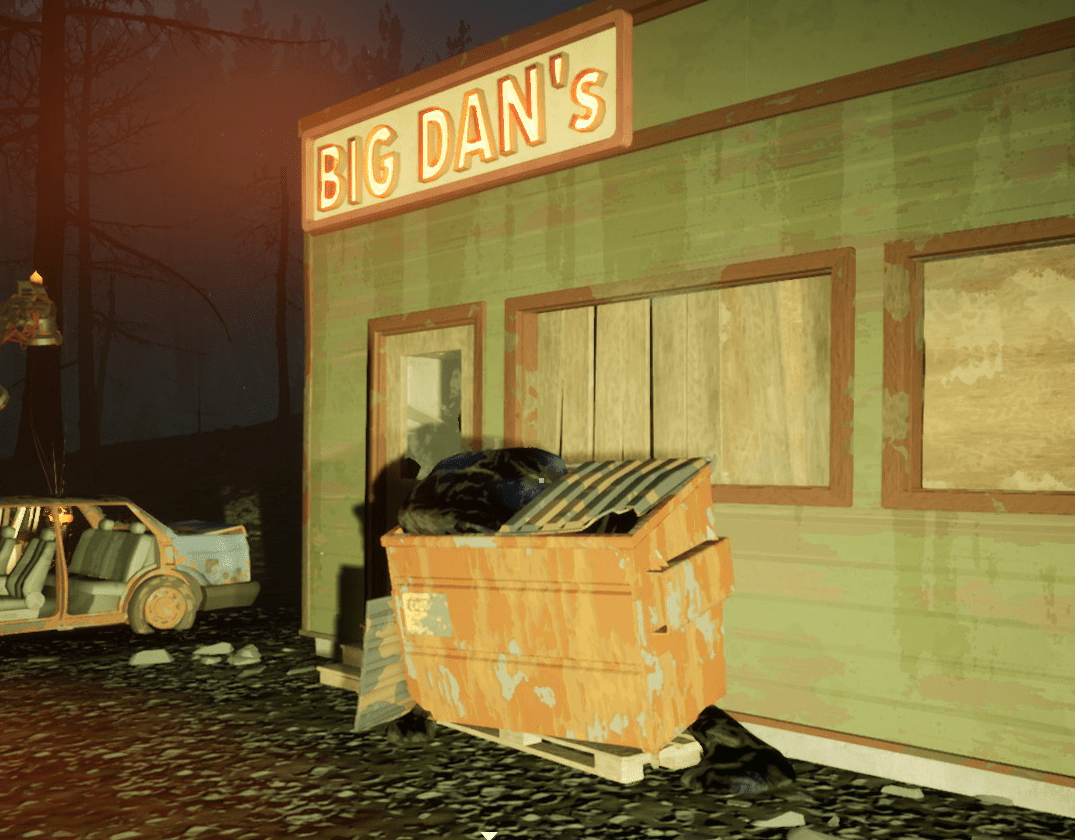
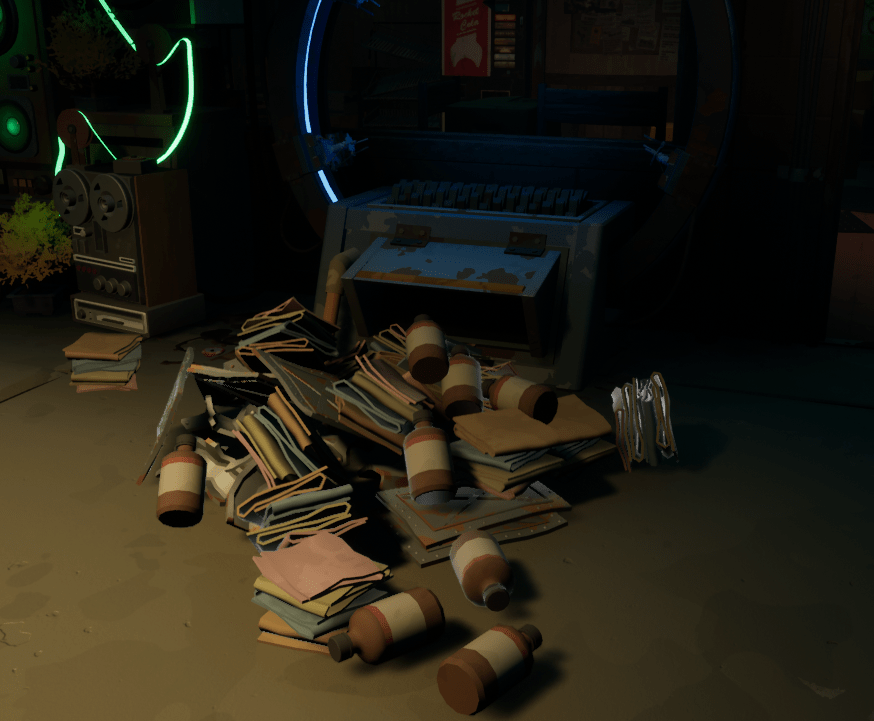
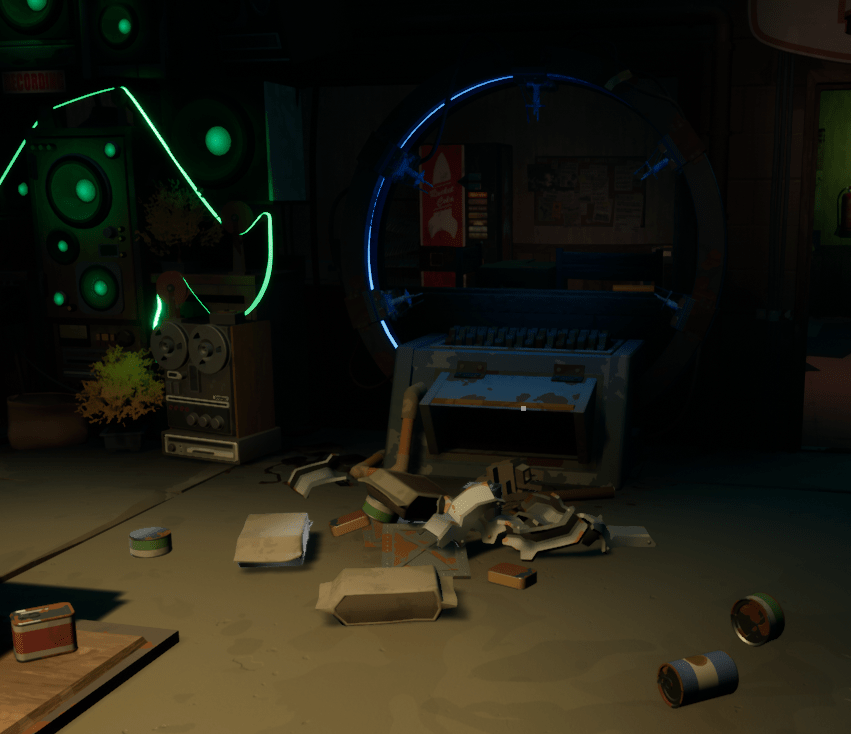
Pearls can be found in friendly dumpsters and malevolent dumpsters (simply named dumpsters, but they spawn bunnies along with pearls), found on most gas stations:
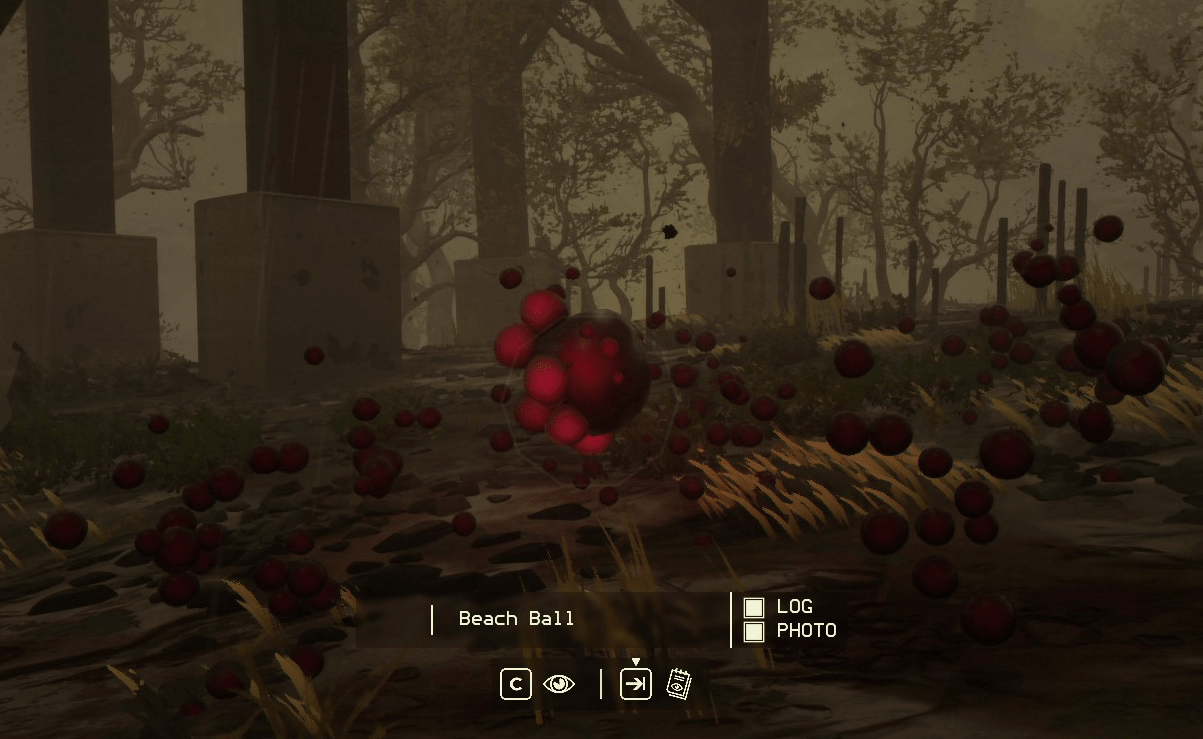
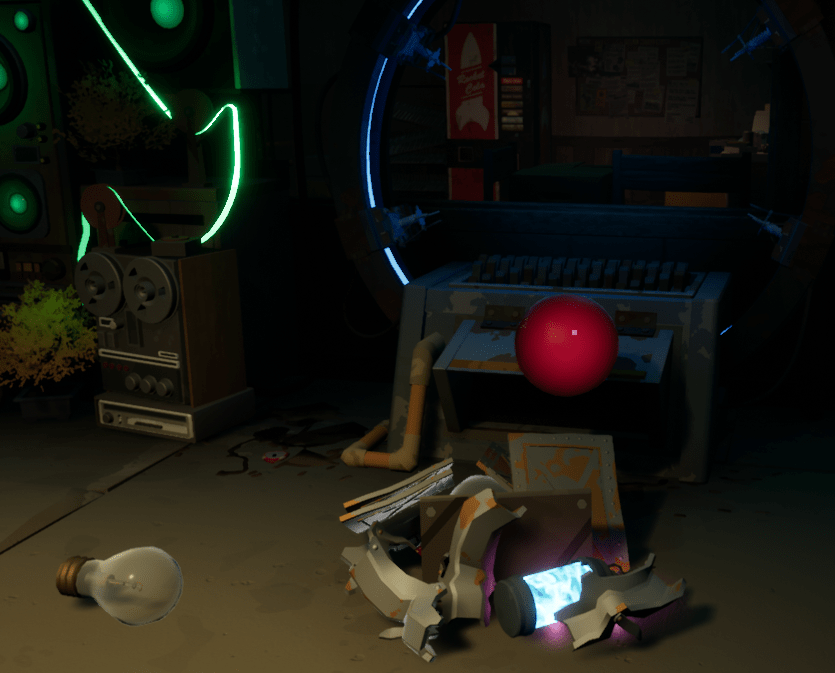
Can be extracted via Hand-Vac from the Beach Ball anomaly, found in the Deep Zone:
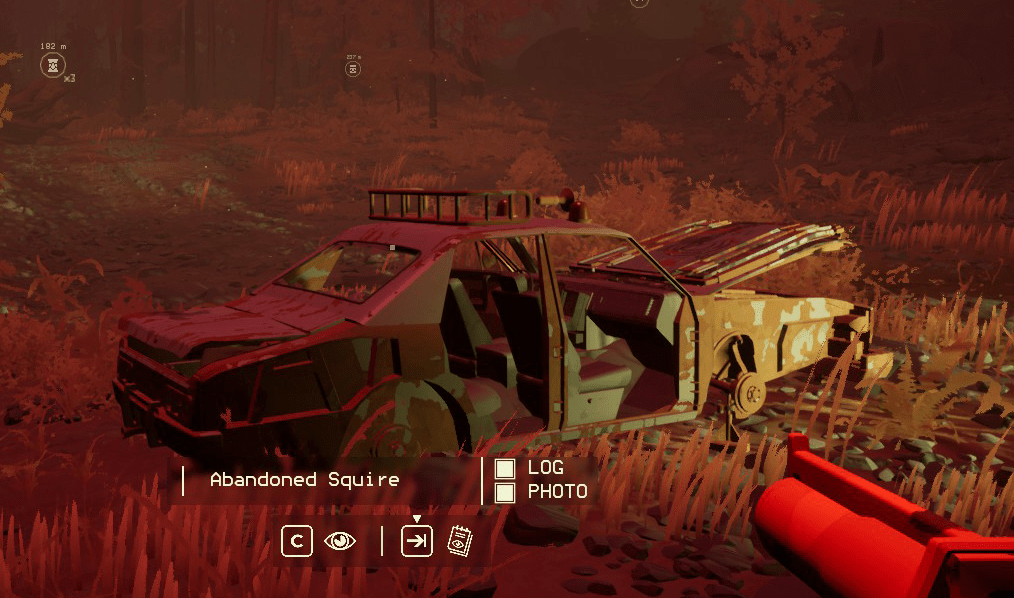
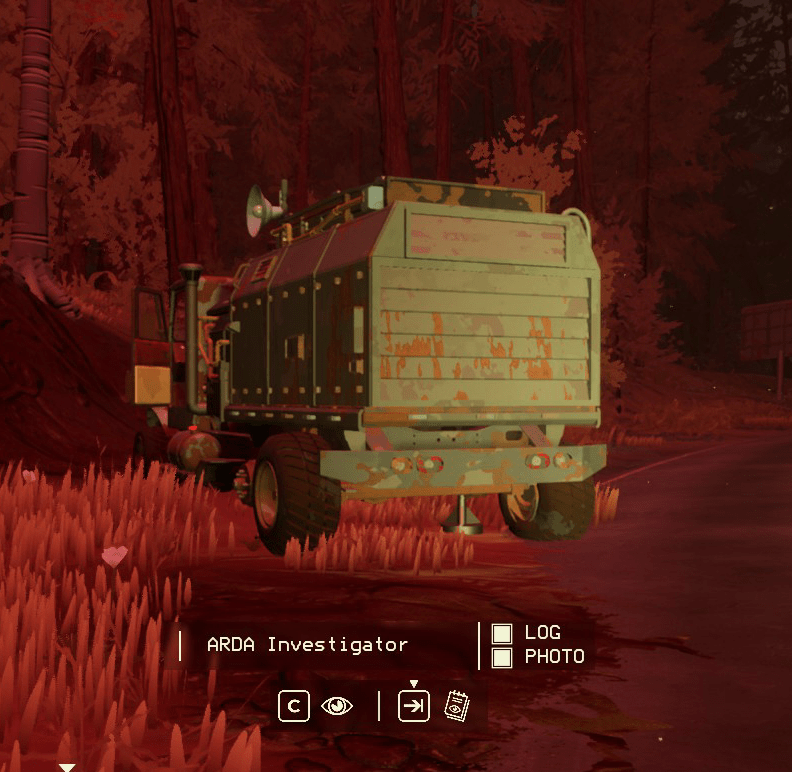
Or found in pneumatic deposit boxes, ARDA investigator trucks and abandoned squire’s trunks (the deeper into the zone, the bigger the spawn chance):

Statuses and Specific Loot
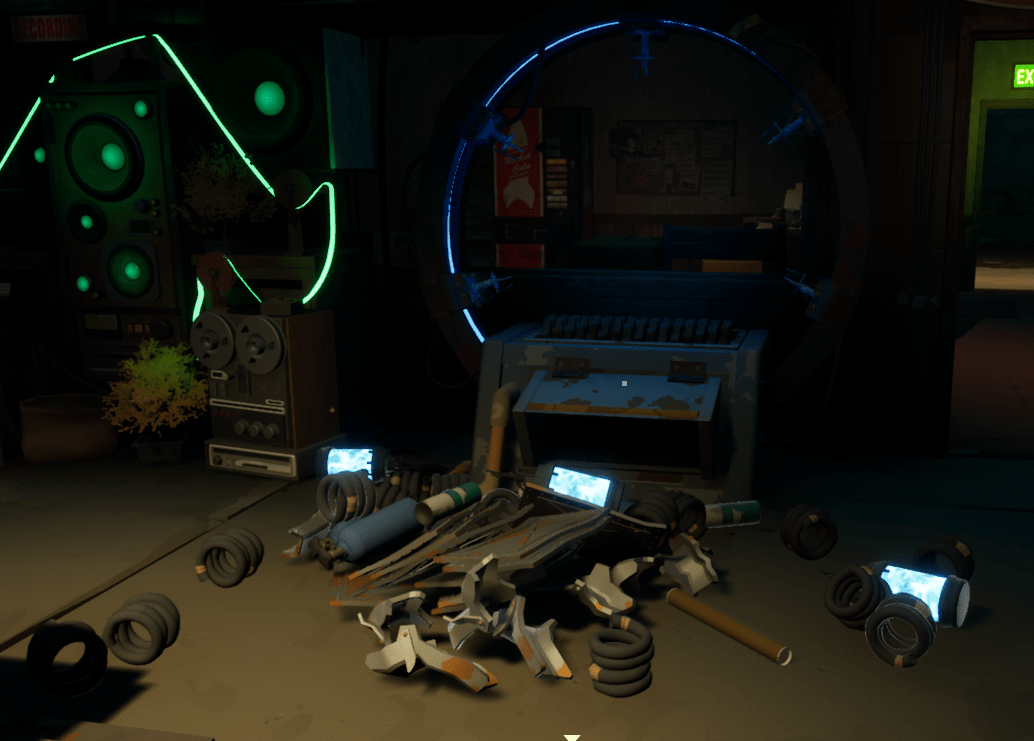
To get the loot stored in a pearl you will need a Matter Deconstructor, which must be built first:
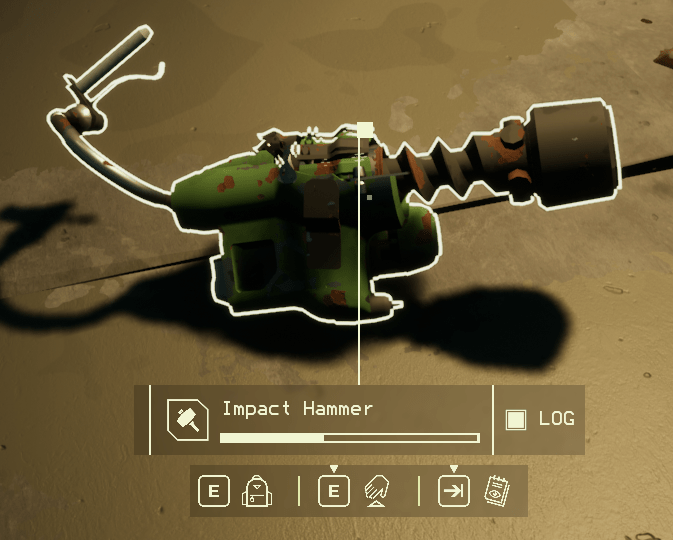
You can also break pearls using Impact Hammer or Magnetic Hammer, but this is not only the waste of tools (1.5 magnetic hammers needed to break the smallest fragile pearl), but also reduces the loot recieved to 1/3 of usual amount.
Pearls come in different statuses, each status guaranteeing specific drop, however, all pearls drop metal scrap and steel sheets, and all pearls can drop paint, accessories and bulbs. The list below only shows which status increases specific item drop:
- Wet pearls drop electronics and circuit boards.
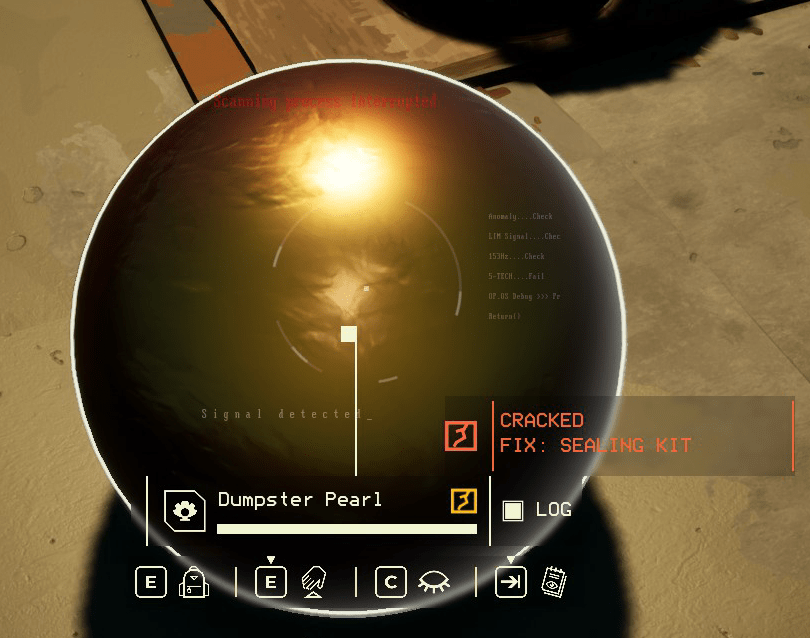
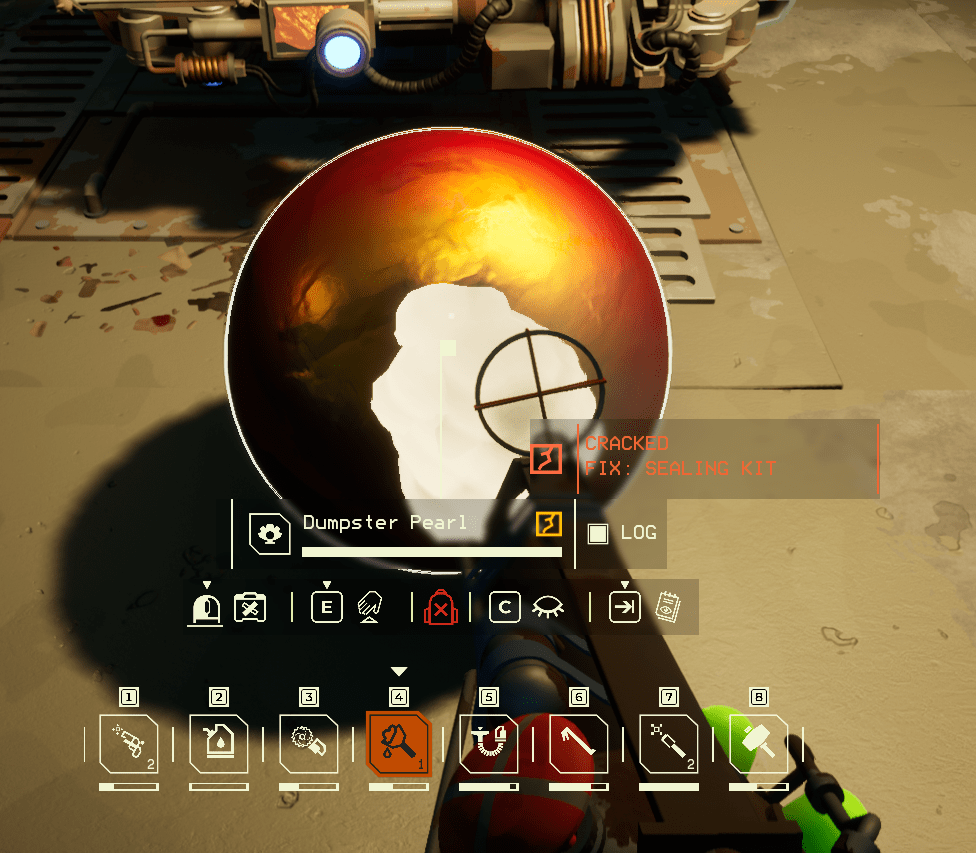
- Cracked pearls drop copper wires, pressurized cartridges and bulbs.
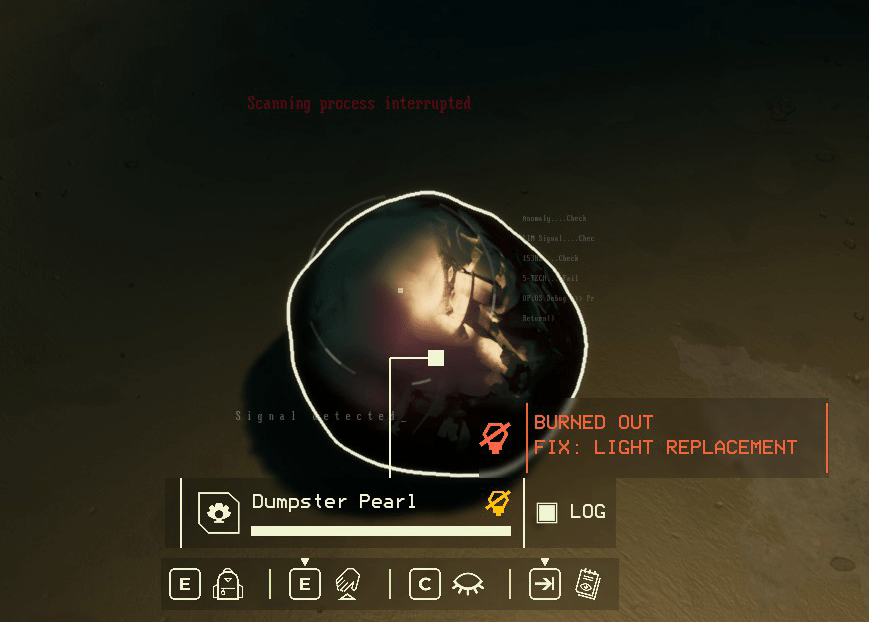
- Burned out pearls drop marsh eggs, red balloons, swamp corals, lead platelets, thermosap crystals and circuit boards/plasma (these seem to be mutually exclusive).
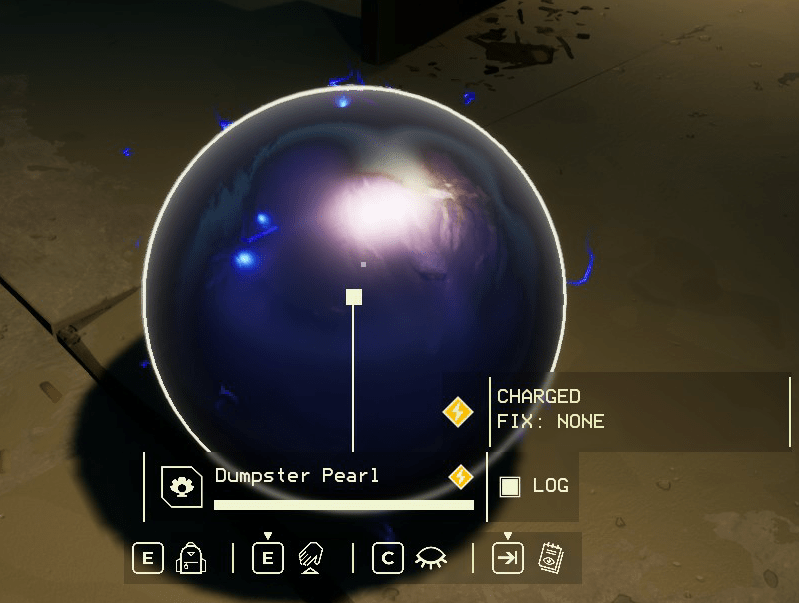
- Charged pearls drop plasma, rubber, gas cylinders and more paint and decals than other pearls.
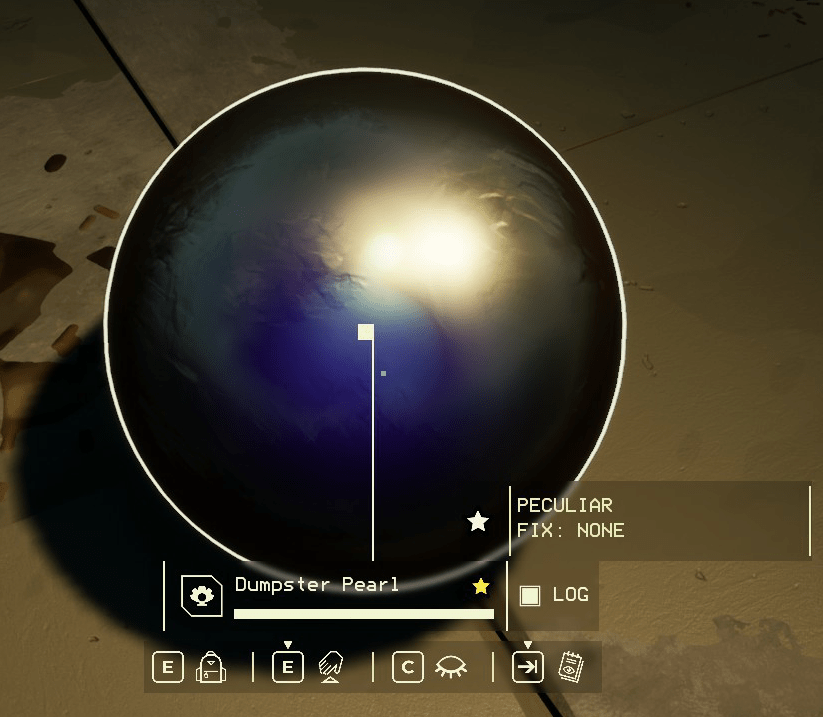
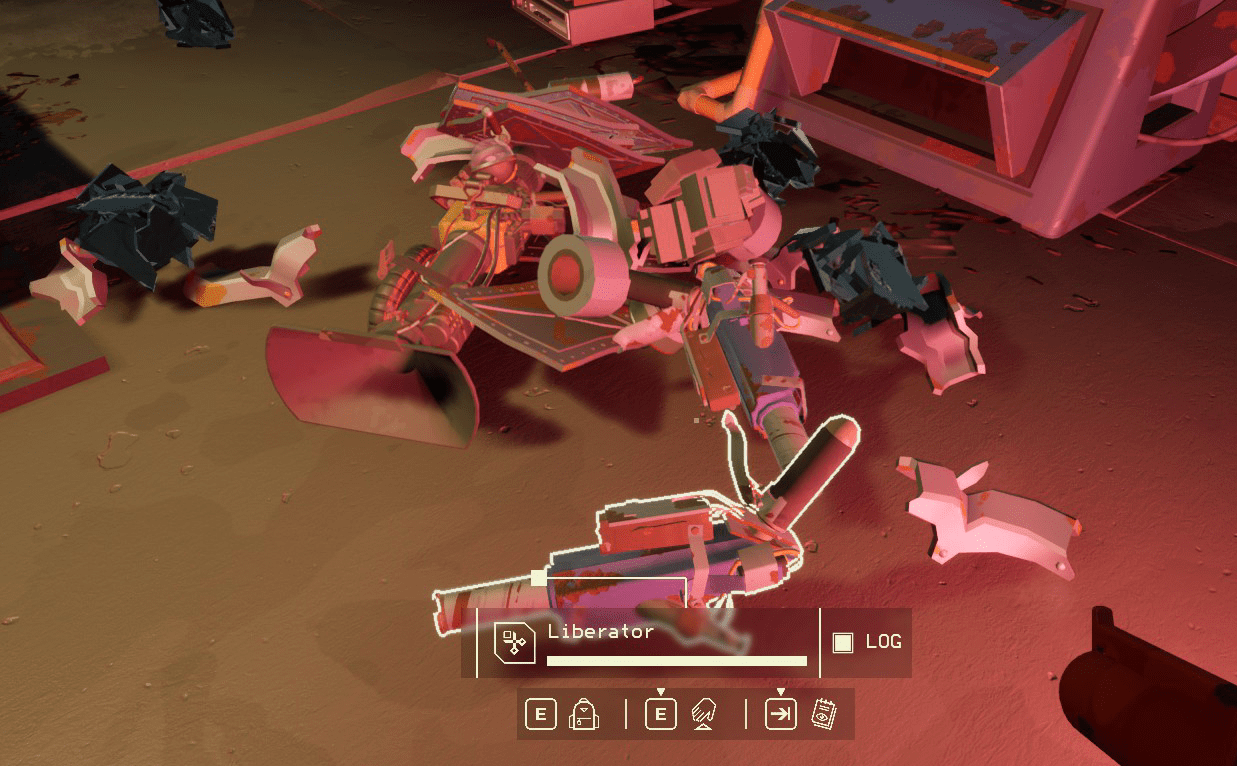
- Peculiar pearls drop tools and random resources. The bigger the pearl, the better tools will drop. You can see a thermal vacuum and two liberators dropped by this pearl.
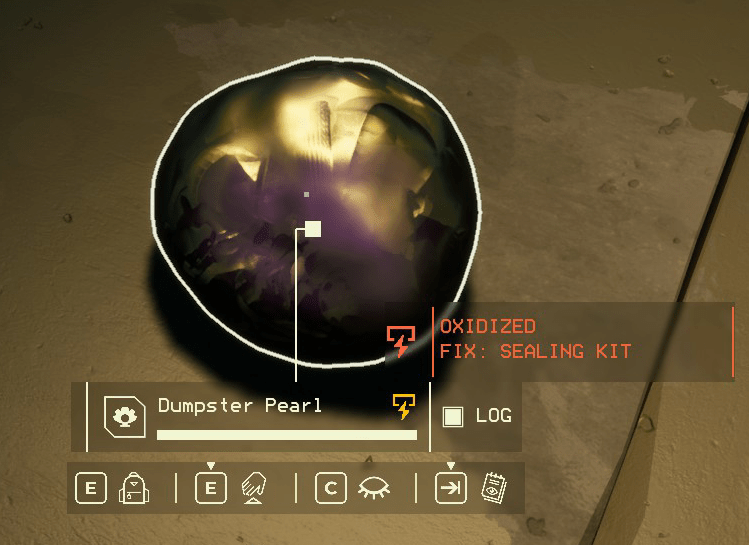
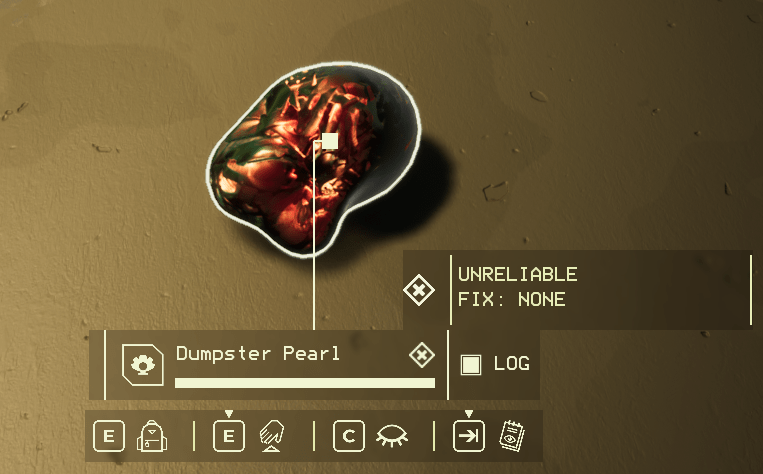
- Oxidized pearls drop fabric and chemicals.
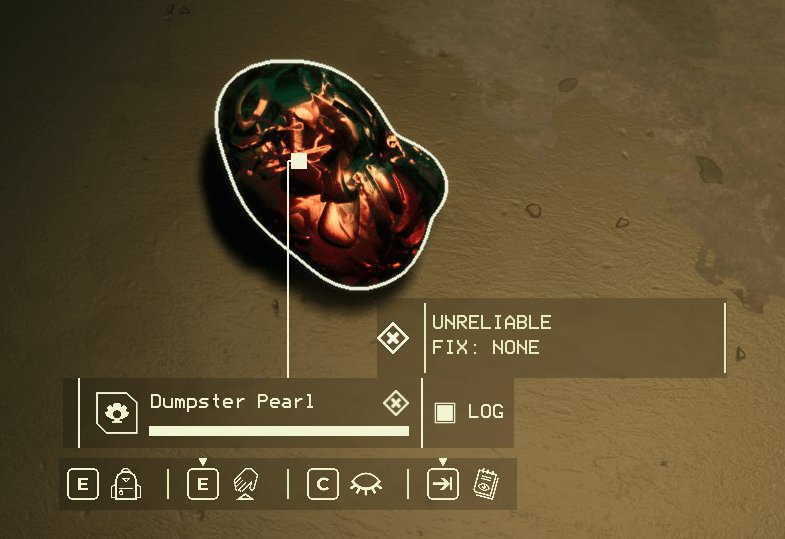
- Unreliable pearls drop food, MRE and decals. One might think this is the most boring pearl imaginable, but I think it’s the best pearl there is, I’ll explain below why.
Increasing Accessory Drop Rate
By now you have probably noticed that some statuses have possible “fix”. Fixing a pearl will change its status to unreliable. While these pearls offer only basic resources, they have the biggest chance of dropping paint, decals and car accessories. 8 out of 10 unreliable pears have dropped an accessory. 4 out of 8 pearls dropped two accessories.
Even non-fixable pearls can be turned into unreliable (however, I don’t recommend sacrificing peculiar pearls, as they are rare, but you do you). Here’s how to do it:
- Take a pearl you don’t need. Let’s say, the charged one.
- Smash it with an Impact Hammer, it turns into cracked.
- Apply a fix with Sealing Kit, the pearl turns into unreliable.
- Put it into the Matter Deconstructor.
- Enjoy your new accessory.
This is the only status change you can get. You can’t get a pearl charged by throwing it into an electrical anomaly or get a pearl wet by throwing it into the puddle. Only hitting them with a hammer yields results.
Useful Tips and Tricks
- You can quickly equip an item from an inventory screen by right clicking.
- You can quickly put your held item into a container by holding R.
- Enable the accessibility option to swap installed item with held item. Makes swapping out panels and doors much easier.
- Off road tires, get them asap.
- Armor the front of your car. Stagger the other panel/door types.
- Don’t leave items in the shop vacuum, they die over time.
- Hold middle click to zoom, very useful.
- You can scan multiple points on the map while planning your route. This can be upgraded.
- Resource scanner is very under rated. Super useful. Get it.
- Where you shoot the liberator matters. 1 shot between multiple panels or doors.
- Don’t ignore road flares. They have so many uses. Examples are blowing up tourists and feeding the abductor.
Deep Zone. I completely forgot to bring the shield. Getting past all the stupid demon rocks was horrible. Remember to bring the shield people.
- When something gets the fragile status, time to replace it.
- Don’t forget to upgrade your clothing!
- Dumpster pearls can be broken apart in the matter deconstructer.
- Flair guns are kind of a joke.
- Wind turbine + backseat battery. You’ll never have to worry about energy again.
- Floodlights are kind of useless.
That’s all I have hope this helps someone. Be safe out there in the zone.


Should probably note the various ways of changing pearl status. You can make it charged by dropping one in the path of a spark tower arc. Oxidized by blowing it up with a Liberator. Or fix it with whatever it needs to turn it into unreliable (not just cracked, though only cracked are worth fixing since the other fixable pearls can’t be created manually).
So it works now. I remember coming up to a tower thinking logically that there is no better way to charge up a pearls but dropping it straight into the electrical anomaly.
Shocking them is functional but I did find the hitbox slightly odd and unintuitive when the pearl is on the ground. Charging them by holding them in your hand slot and electrocuting yourself actually works more reliably if you don’t mind the damage.
I also need to report: you can Oxidize pearls by throwing them at Tourists and having them blow them up! You don’t need to waste liberator shots to do this. Only downside of doing this way is the risk of losing the pearl because it’ll get launched violently in a random direction.
on unrelated note but still important; using higher tier tools yield better results even though it was not recommended. take plasma generator as an example; when you break it with an impact hammer (the recommended one), it only yields 1-2 plasma. meanwhile if you break it with magnetic hammer, it can give you 2 -4 plasma and also increased amount of glass shards. in conclusion dont slept on those expensive end game tools; theyre give more in the long run
Using the incorrect tool to break down harvest-able materials always reduces the loot output. Pearls just happen to be the one you can lug around, but plasma generators have the same effect if you try to break them with crowbars or scrappers.
I actually got a pearl wet. I had a charged pearl and I thought the best way to removed the charged was to discharge it in the water. IT did discharges then it became wet status. Have not tried with other type of pearl.