

Comprehensive Gatling Gun Gunslinger Guide (Lv. 1–69)
This guide focuses on the Gatling Gun Gunslinger build and is primarily intended for F2P players. It covers leveling, skill progression, stat priorities, equipment, Rune Engine, card recommendations, and gameplay tips up to Level 69.
The Gatling Gun Gunslinger is a long-range, critical-focused DPS. Unlike melee damage dealers, your greatest strength is your attack range. However, you are also one of the squishiest classes in the game, making positioning and timing more important than raw damage.
This is not the only way to build the class, but it provides a strong foundation for both PvE and PvP without requiring heavy investment.
Strengths
- Excellent sustained ranged DPS
- High critical damage potential
- Strong performance in PvP and GvG
- Safe damage output when properly positioned
Weaknesses
- Very low survivability
- Vulnerable to melee divers and assassins
- Requires careful positioning
- Punished heavily for mistakes
Early Progression
Level 1–40
Use Pistols until reaching Level 40.
Pistols provide excellent burst damage and fast clearing speed, making early leveling smooth and efficient. Since progression to Level 40 is relatively quick, there is little value in heavily investing in early equipment.
Once you advance to Rebel, switch to a Gatling Gun.
Save Your Crafting Materials
Avoid crafting unnecessary equipment before your second job.
Craft only what is required for quests and progression. Save the majority of your materials until Level 40+, when you can craft your Gatling Gun and higher-tier equipment.
Card Farming
Farm useful cards while the monsters are still close to your level. Doing so is much more efficient than returning later when experience penalties make low-level farming significantly slower.
Early Priority
- Hydra Card
- Smokie Card
Smokie becomes especially valuable later in PvP, allowing you to use Hiding to escape enemy dives and reposition safely.
Mid Game
Farm these cards naturally as they become available:
- Matyr
- Bapho Jr.
- Orc Archer Skeleton
Avoid forcing yourself to grind monsters that are far above your current level.
Stat Priority
Level 1–40
DEX > AGI
- DEX is your primary source of damage.
- AGI improves Attack Speed.
- Do not overinvest in Attack Speed early, as it improves naturally after becoming a Rebel.
Level 41–69
DEX > AGI > LUK
Continue prioritizing DEX. Increase AGI until reaching approximately 185+ Attack Speed while using Concentration and an Awakening Potion. After reaching a comfortable Attack Speed, begin investing in LUK to improve critical hit consistency.
Skill Progression
Level 1–40
Max skills in this order:
- Desperado Lv.10
- Chain Action Lv.10
- Platinum Altar Lv.10
- Cracker Lv.10
Level 41–69
Max skills in this order:
- Gatling Fever Lv.10
- Eternal Chain Lv.10
- Last Stand Lv.10
- Armor-Piercing Rounds Lv.10
Core Skill Mechanics
Platinum Altar and Last Stand
These skills do not stack. Activating one replaces the other.
The recommended sequence is:
- Activate Platinum Altar.
- Gain its shield.
- Move into a safe position.
- Activate Last Stand.
- Begin attacking.
Positioning before entering Last Stand greatly reduces the chance of being caught during its immobile state.
Master Last Stand
Last Stand is your strongest offensive skill, but also your greatest weakness.
While active:
- You cannot move.
- Enemy players can easily focus you.
- Poor positioning often leads to instant death.
Never activate Last Stand simply because it is off cooldown.
Instead, use it only when:
- You already occupy a safe position.
- Defending objectives.
- Attacking towers.
- The battlefield is under control.
- No immediate threats are approaching.
Escaping Enemy Dives
If enemies begin collapsing on your position:
- Cancel Last Stand with Platinum Altar.
- Gain the shield.
- Use Hiding (Smokie Card).
- Reposition.
- Re-enter combat only after reaching safety.
This combination provides one of the class’s strongest defensive tools.
Cooldown Management
After escaping, avoid immediately activating Last Stand again.
Wait until Platinum Altar is nearly available—or fully off cooldown—before committing once more. This ensures you always have an emergency escape option if another enemy dives you.
Equipment
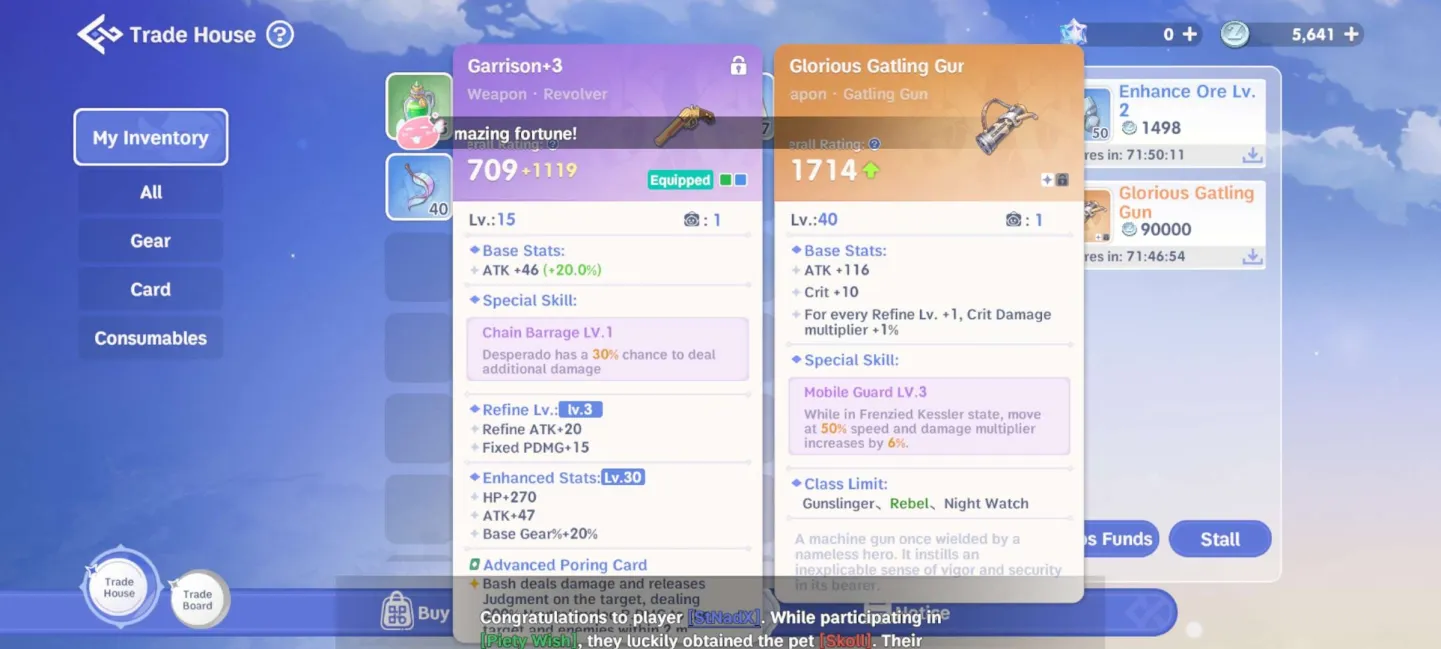
Weapon
- Gatling Gun
Recommended Weapon Special Skills
Priority:
- Rapid Warm Up
- Crimson Marker
- Endless Frenzy
Mobile Guard is a viable alternative, but Endless Frenzy generally offers better offensive value.
The author recommends manually cancelling Last Stand and repositioning instead of relying on slower movement while remaining rooted.
Armor
Recommended Gale Set:
- Gale Robe
- Eagle Wing
- Black Leather Shoes
Recommended Armor Special Skills
Choose according to content:
PvP
- Player Damage Reduction
PvE
- Medium Monster Damage Reduction
- Large Monster Damage Reduction
Swap these bonuses depending on the activity you are focusing on.
Accessories
Until Level 70:
- 2× Bison Horn
Replace them with higher-level accessories once they become available.
Rune Engine
The Rune Engine grants additional bonuses through Elemental Crystal Resonances.
Resonance Priority
Aim for:
- 7 Blue Resonance
Afterward, customize your setup according to your preferred content.
Recommended PvE Traits
- Agile Defense
- Desperate Attack
- Layered Blade
- Blade Damage Boost
- Balance Defense
Balance Defense is particularly effective for ranged classes. Since Gunslingers should avoid taking frequent damage, maintaining HP above 50% allows you to benefit from its offensive bonus consistently.
Recommended PvP / GvG Traits
- Agile Defense
- Desperate Attack
- Layered Blade
- Mighty Guard
- Endure Counter
Mighty Guard
As one of the squishiest classes, you will eventually become the target of enemy divers.
Mighty Guard improves your chances of surviving burst damage long enough to escape using Platinum Altar and Hiding.
Endure Counter
Many frontline classes initiate fights while protected by Endure.
Endure Counter is particularly valuable because it helps deal with these aggressive melee initiations while maintaining your damage output.
Positioning
Positioning is the single most important aspect of playing Gatling Gun Gunslinger.
Your build, equipment, and cards all contribute to your damage, but poor positioning can negate every advantage.
Stay Behind Your Frontline
Never play like a tank or bruiser.
Allow your frontline to create space while you continuously deal damage from maximum range.
Set Attack Range to 12 Meters
Configure your attack range to 12 meters, matching your skill range.
This prevents accidentally chasing enemies beyond your effective distance.
If an opponent leaves your range, let them go.
Overextending for a single kill is one of the most common reasons Gunslingers die.
Objective Play
Avoid using Last Stand while your team is actively pushing contested objectives.
During these moments, mobility is more valuable than stationary damage.
Reserve Last Stand for situations where:
- Your team already controls the area.
- You are defending an objective.
- You are safely attacking towers.
- Immediate threats have been eliminated.
Elemental Bullets
Always switch to the elemental bullets that counter your target’s elemental property. This simple habit noticeably increases your overall damage in both PvE and PvP.
Consumables
Before entering difficult content such as GvG:
- Eat food buffs.
- Drink potions.
- Use available consumables.
Temporary buffs provide a meaningful increase in overall performance.
Team Play
Strong damage alone does not win battles. Listen to your commander, support your teammates, and avoid unnecessary solo plays. Good coordination consistently outperforms individual performance.
Common Mistakes
Avoid these common errors:
- Chasing enemies beyond your effective range.
- Activating Last Stand immediately after it comes off cooldown.
- Standing on the front line.
- Forgetting to change elemental bullets.
- Ignoring food buffs and consumables.
- Never using Hiding.
- Panicking when melee classes dive you.
A defeated Gunslinger deals no damage. Prioritizing survival is often the greatest increase to your overall DPS.
Quick Build Summary
Stats
DEX > AGI > LUK
Skill Progression
Level 1–40
- Desperado Lv.10
- Chain Action Lv.10
- Platinum Altar Lv.10
- Cracker Lv.10
Level 41–69
- Gatling Fever Lv.10
- Eternal Chain Lv.10
- Last Stand Lv.10
- Armor-Piercing Rounds Lv.10
Early Card Priority
- Hydra
- Smokie
Mid Game Card Priority
- Matyr
- Bapho Jr.
- Orc Archer Skeleton
Equipment
Weapon
- Gatling Gun
Weapon Special Skills
- Rapid Warm Up
- Crimson Marker
- Endless Frenzy
Armor
- Gale Robe
- Eagle Wing
- Black Leather Shoes
Accessories
- 2× Bison Horn (replace after Level 70)
Core Gameplay Principles
- Position before attacking.
- Stay behind your frontline.
- Use Platinum Altar before Last Stand.
- Only activate Last Stand from a safe position.
- Keep Platinum Altar available as an escape tool whenever possible.
- Use Smokie Card and Hiding to disengage after enemy dives.
- Match elemental bullets to your target.
- Surviving longer results in higher overall damage than chasing risky kills.



Be the first to comment