Building Structures
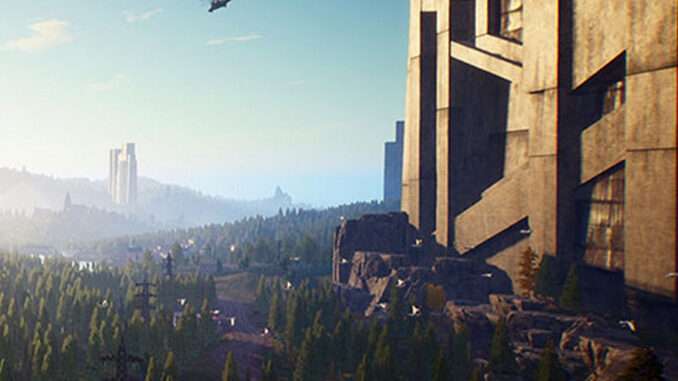
Structures are important places for storing supplies and providing shelter. Having a proper base will allow you to survive the harsh world of The Front. You will be able to choose the site at which you build your base, its construction, layout, support, and decorations.
The Front features structures composed of different materials such as wood, concrete, stone, steel, and metal alloys. The higher the quality of the material you use, the higher your structures’ Durability and defensive capabilities will be.
This will give you a leg up on some of the game’s more powerful wild creatures and hostile forces.
Foundations
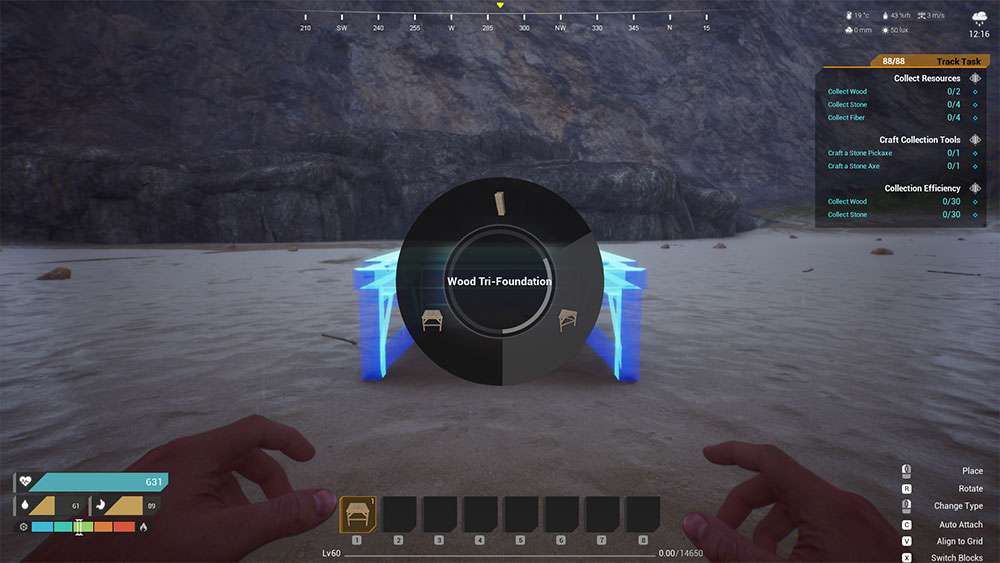
Basic structure components include foundations, tri-foundations, and pillars. These can all be unlocked from the Structures tab of the Tech interface [O]. Tri-foundations and pillars are not unlocked individually, but are unlocked as part of the foundation structure, and can be switched to when placing a foundation.
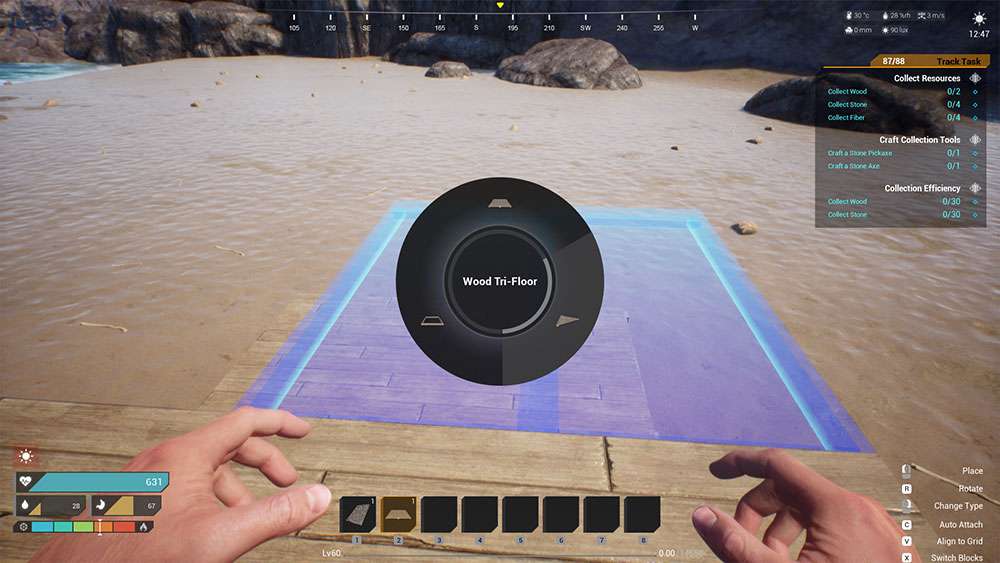
Switching Between the Different Types of Foundation Structures:
- Craft a foundation, drag it to your shortcut bar, and then press the corresponding shortcut key to equip it.
- Click [RMB] to bring up the structure switching menu, click and hold [RMB], then drag the mouse to the structure type you want to switch to, then click [LMB] to switch structure types.
- Click [LMB] to confirm the location at which you want to place the structure piece, then slide the mouse left and right to adjust its orientation.
- Click [LMB] one more time to place the structure.
Support
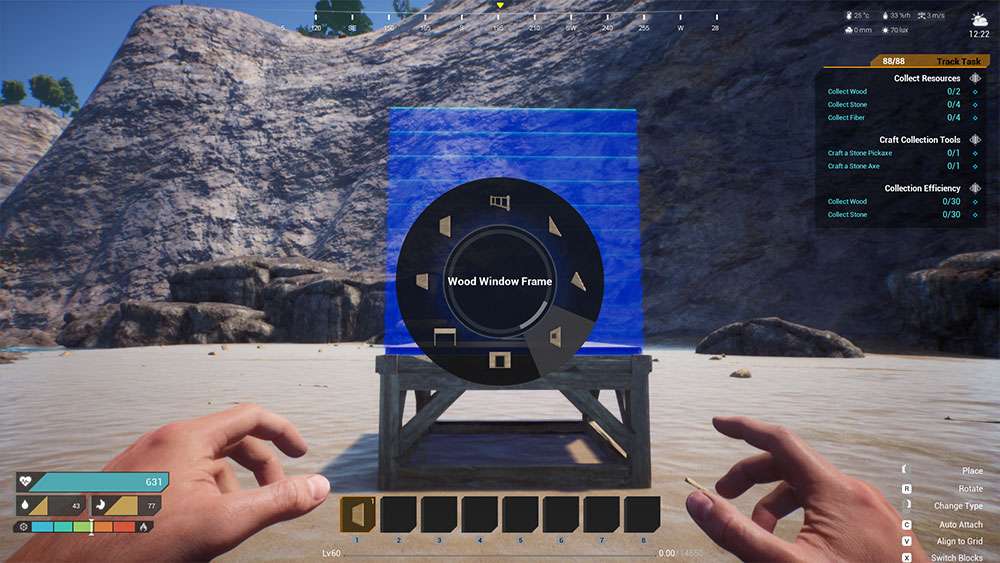
Support structures need to be placed on a foundation. These structures include walls, half walls, open walls, door frames, window frames, vertex walls, tri-walls, and railings. All of these structures can be unlocked from the Structures tab of the Tech interface [O].
Half walls, open walls, door frames, window frames, vertex walls, tri-walls, and railings are not unlocked individually, but are unlocked as part of the wall structure, and can be switched to when placing a wall.
Switching Between the Different Types of Wall Structures:
- Craft a wall, drag it to your shortcut bar, and then press the corresponding shortcut key to equip it.
- Click [RMB] to bring up the structure switching menu, click and hold [RMB], then drag the mouse to the structure type you want to switch to, then click [LMB] to switch structure types.
- Click [LMB] to confirm the location at which you want to place the structure piece.
- Click [LMB] one more time to place the structure.
Roofs and Ceilings
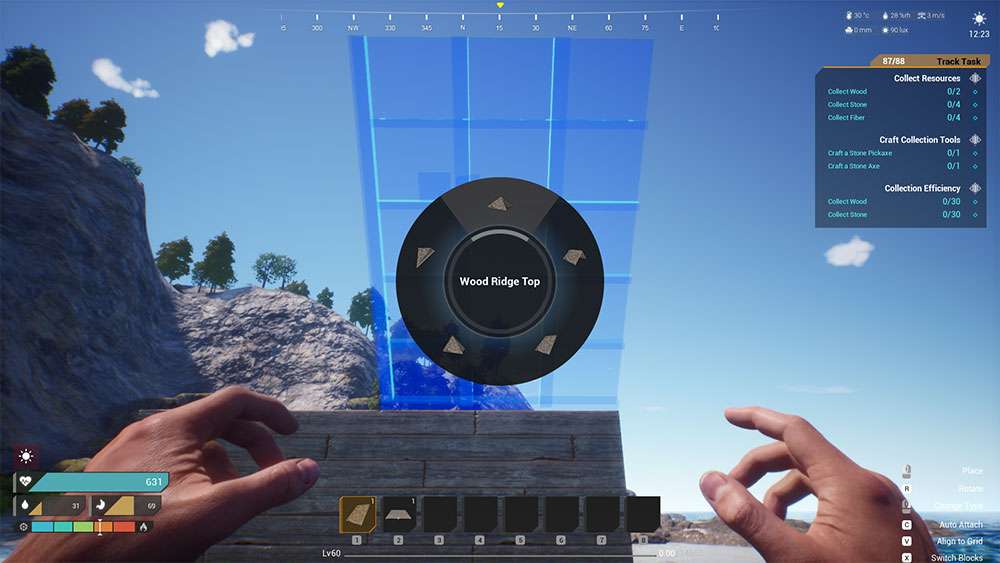
Roof and ceiling-type structures include roofs, ridges, ridge tops, ridge corners, and ridge concave corners. All of these structures can be unlocked from the Structures tab of the Tech interface [O].
Ridges, ridge tops, ridge corners, and ridge concave corners are not unlocked individually, but are unlocked as part of the roof structure, and can be switched to when placing a roof.
Switching Between the Different Types of Roof Structures:
- Craft a roof, drag it to your shortcut bar, and then press the corresponding shortcut key to equip it.
- Click [RMB] to bring up the structure switching menu, click and hold [RMB], then drag the mouse to the structure type you want to switch to, then click [LMB] to switch structure types.
- Click [LMB] to confirm the location at which you want to place the structure piece.
- Click [LMB] one more time to place the structure.
Doors and Windows
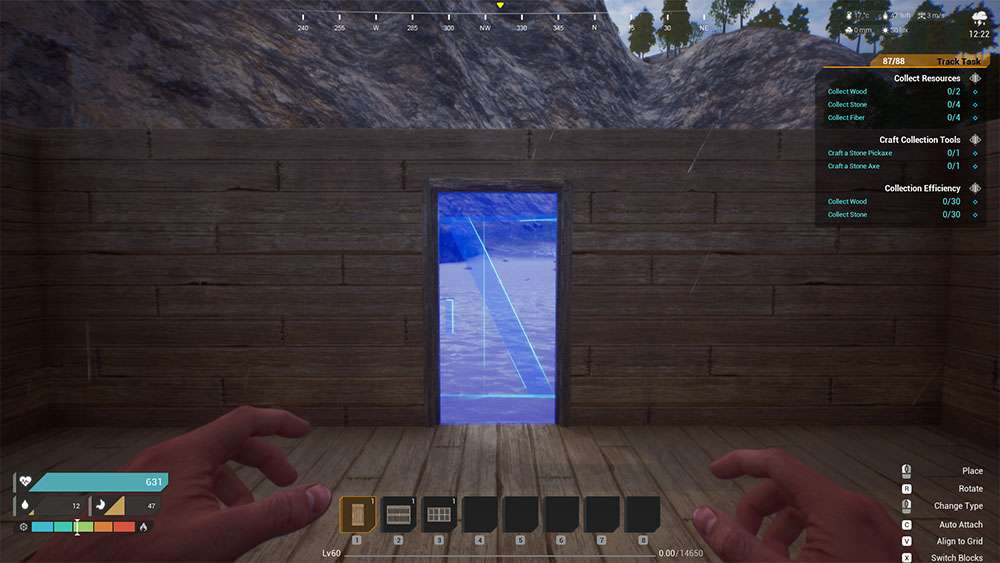
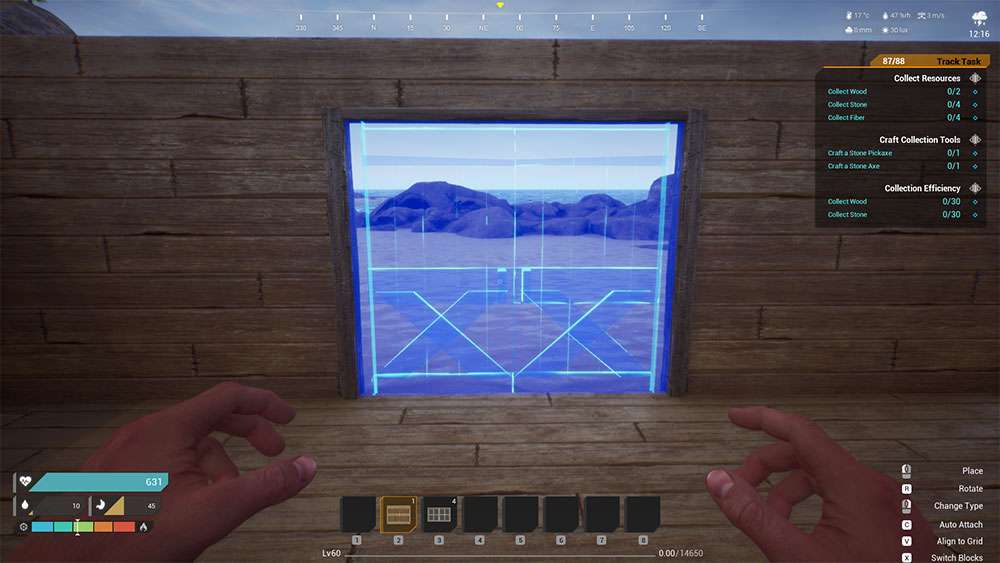
Door-type structures include single doors, double doors, windows, barriers, and gates. All of these structures can be unlocked from the Structures tab of the Tech interface [O].
Doors and windows can only be placed in door frames and window frames. Door frames and window frames are unlocked as part of the wall structure, and can be switched to when placing a wall.

Stairs and Ladders
Climbing structures include stairs, ladders, winder staircases, and stair landings. Ladders, winder staircases, and stair landings are not unlocked individually, but are unlocked as part of the stairs structure, and can be switched to when placing stairs.
Switching Between the Different Types of Climbing Structures:
- Craft stairs, drag them to your shortcut bar, and then press the corresponding shortcut key to equip them.
- Click [RMB] to bring up the structure switching menu, click and hold [RMB], then drag the mouse to the structure type you want to switch to, then click [LMB] to switch structure types.
- Click [LMB] to confirm the location at which you want to place the structure piece.
- Click [LMB] one more time to place the structure.

Furniture
Furniture structures include sleeping bags, beds, storage chests, tables, and chairs. All of these structures can be unlocked from the Structures tab of the Tech interface [O].
Sleeping bags and beds are important items in The Front. Once you’ve placed a sleeping bag or bed, you can use it as a respawn point when you die, reducing the risk of spawning in a random location. Storage chests provide ample space in which you can store your supplies.
Lighting
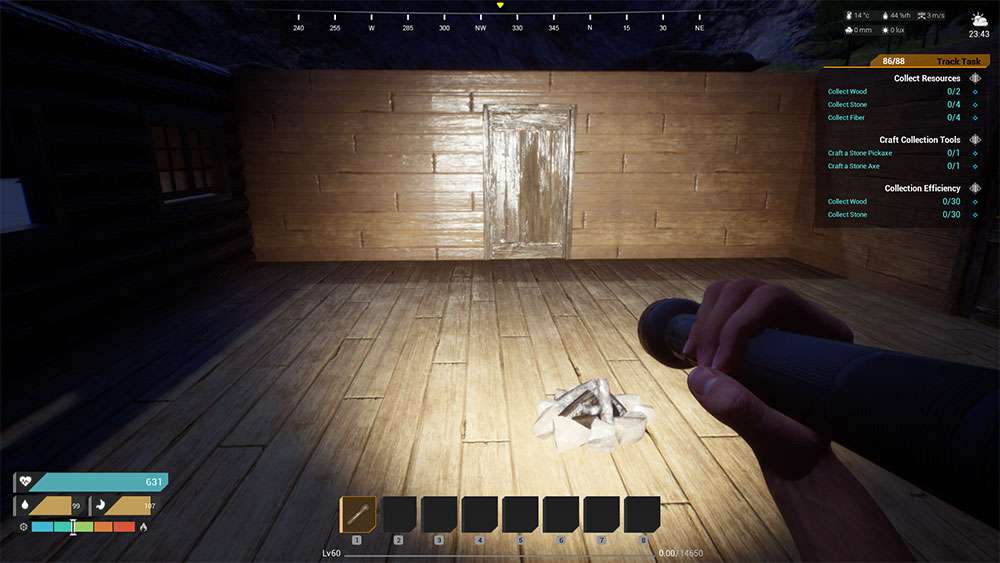
Lighting equipment includes bonfires, wall torches, flashlights, fluorescent lights, and fixed searchlights. Bonfires can be unlocked from the Supplies tab of the Tech interface [O], flashlights can be unlocked from the Weapons tab of the Tech interface [O], wall torches can be unlocked from the Structures tab of the Tech interface [O], and fluorescent lights and fixed searchlights can be unlocked from the Technology tab of the Tech interface [O].
Bonfires require fiber or wood before they can be lit, wall torches and flashlights provide illumination without any other required materials, and fluorescent lights and fixed searchlights must be connected to an electrical system before they will provide illumination.
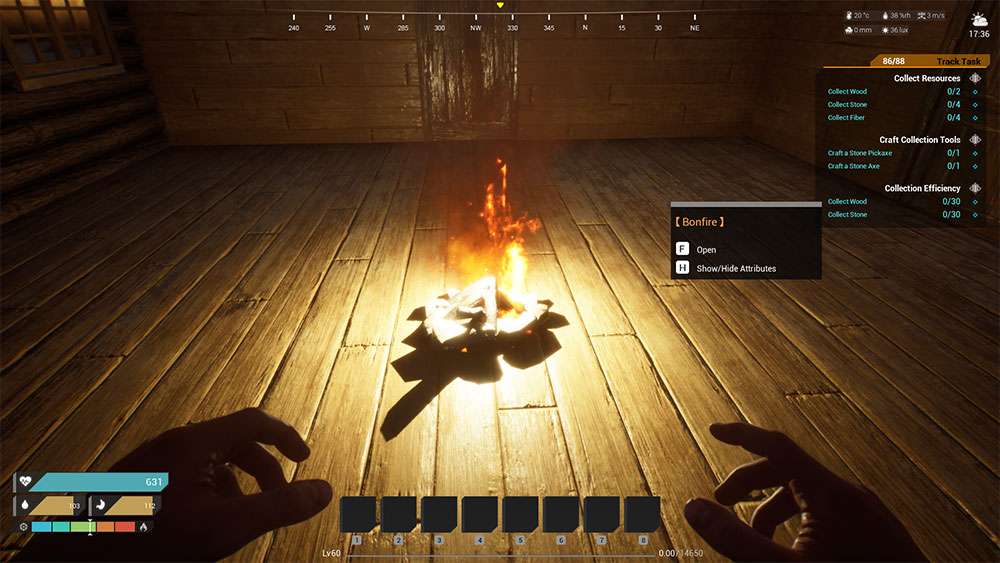
How to Use Bonfires:
- Open your crafting inventory [TAB], then click [LMB] on the bonfire icon located on the left side to craft one.
- Click and drag the bonfire you just crafted onto your shortcut bar, then press the corresponding shortcut key to equip it.
- Click [LMB] to place the bonfire.
- Face the bonfire and press [F] to open its interaction interface.
- Click [LMB] the “Start” button beneath the bonfire’s consumable bar.
Press [ESC] to return to the game and the bonfire should be lit.
How to Use Flashlights:
- Craft a flashlight, drag it to your shortcut bar, then press the corresponding shortcut key to equip it.
- Click [RMB] to turn on the flashlight. Click [RMB] again to turn it off.
Electrical Appliances
Electrical appliances include heaters, refrigerators, air conditioners, and more. These can all be unlocked from the Technology tab of the Tech interface [O]. Electrical appliances must be connected to an electrical system before they will function properly.




Be the first to comment