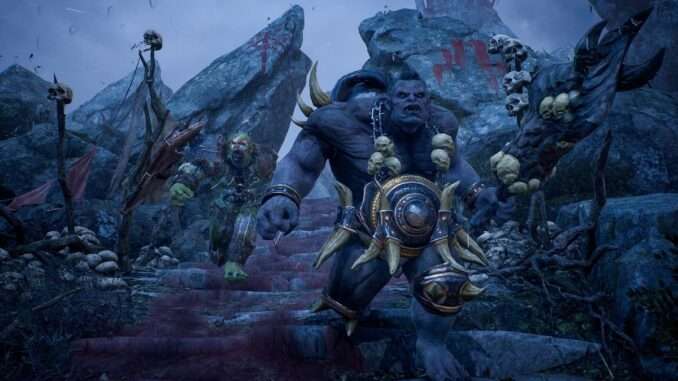
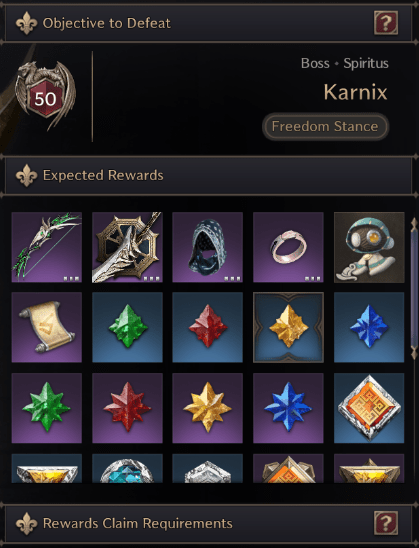
Death Abyss
- Difficulty: 2/5
- Good for beginners!
Teleport Slam
The boss will teleport to the farthest player and perform a big AoE slam, then teleport to the new farthest player and perform another big AoE slam followed by a blockable attack.
Players should position themselves together between the tank and a “bait” player. The bait and tank should direct the AoE away from the party.
- Orange = Tank
- Red = Boss
- Blue = Party
- Green = Bait

Note: This pattern is usually followed by a party-wide blockable attack.
Spinning Blades
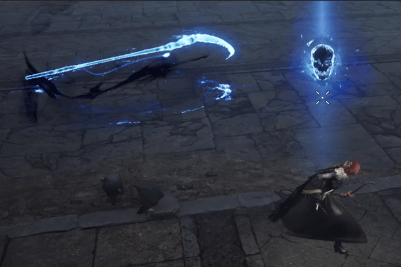
The boss will pick 3 players (usually the closest 3). These 3 players will have skulls above their heads and spinning blades that will follow them. These blades deal A LOT of damage, so you must run away from them. During this mechanic, the boss will also perform his teleport slam pattern, so try to keep track of all party members.
Note: Below 30% health, the boss will target 5 people instead of 3.
Group + Block
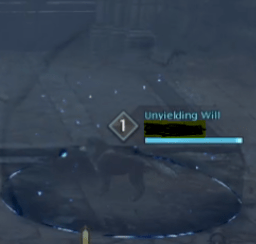
This pattern starts immediately after the Spinning Blades pattern ends. One player will receive an orb around them; the entire party needs to group together inside this orb to survive. The boss will attack the orb and then perform a blockable AoE.
Note: Start running towards the center at the end of the Spinning Blades pattern to make this easier.
Cursed Wasteland
- Difficulty: 3/5
- Need’s good communications!
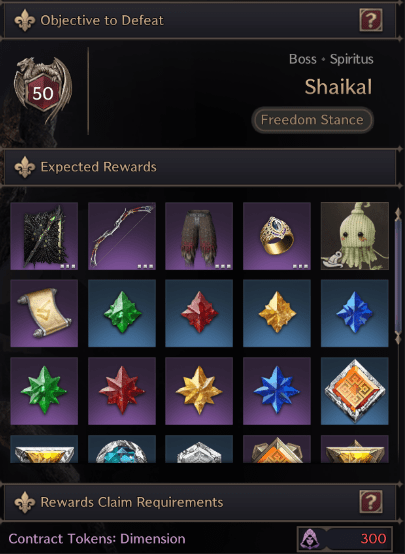
Raid Details
The raid map is separated into thirds by 3 yellow lines on the ground. These lines will stun you and deal LOTS of damage. You can dash through them with movement skills.
At the end of every yellow line, there is an interactable pillar. Interacting with this pillar will briefly remove the yellow line, allowing players to move between different thirds of the map.
Players should position a tank in their own third, while the rest of the DPS stack in the same third and rotate together.
Throughout the fight, it is crucial that everybody counterattacks the boss’s AOE attack.
Red Pool
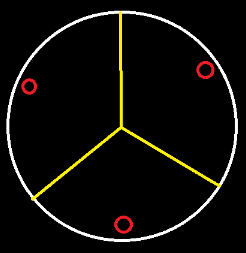
One player will receive a red orb above their head. They will need to run to the outside edge of the map to drop a red pool, which will pull in players and deal damage.
Note: Once the debuff for the pool disappears, you can start running to safety.
Run to the red circles to place the pool ->
Purple Orbs
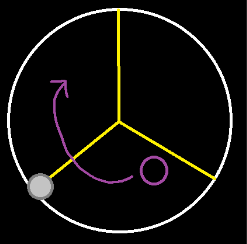
One player will receive a purple orb above their head. They will need to run to the inside edge of the map. The boss will target them and start shooting a laser which will follow the player. Teammates will need to interact with the pillars at the end of the yellow lines to temporarily remove them, allowing the targeted player to move between thirds while dodging the laser.
Note: This attack is often followed by a quick counterattack, so be cautious. It is easier to dodge the purple laser by staying close to the Boss (smaller circumference).
30% Changes
At roughly 30% health, the boss will spawn 2x Red Orbs and 2x Purple Orbs for each mechanic. The 2x Red Orb players can stack the AOEs together.
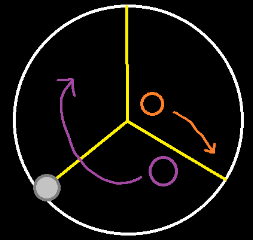
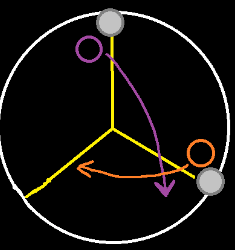
For the 2x Purple Orbs, the players will need to rotate twice around the arena. This includes the tank as well.
1st Purple Orb Rotation:
- Purple = DPS
- Orange = Tank
2nd Purple Orb Rotation:
- Purple = DPS
- Orange = Tank
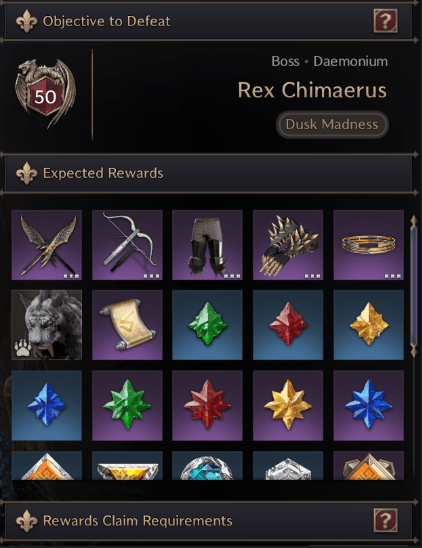
Temple of Slaughter
- Difficulty: 3/5
- One person needs good ping!
Fireballs
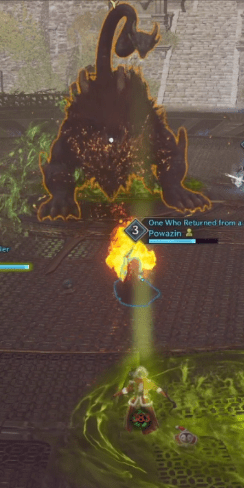
One player will receive a green aura from the boss. This player will be stunned, and the boss will shoot 3 fireballs towards them. Teammates need to take turns intercepting the fireballs to prevent them from reaching the targeted player. You can skip this mechanic if the targeted player is too far from the boss when he shoots the first fireball.
Grapple Mechanic
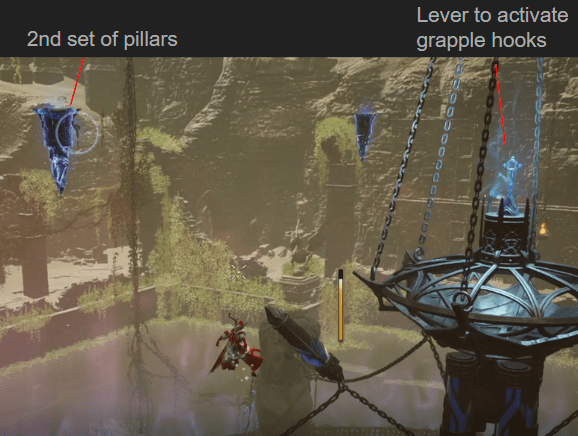
The boss will jump to the center of the arena and spawn 4 small blue pillars around the map. One player will need to grapple off these pillars and fly to another set of blue pillars in the air. They will need to grapple off the second set of pillars to then fly to the center of the map to land above the chandelier. Above the chandelier is a lever which, when activated, enables the 4 grapple hooks around the map. The rest of the party needs to interact with each grapple hook to pass the mechanic (similar to the lvl 30 dungeon).
Butchers Canyon
- Difficulty: 3/5
- Need’s good communications!
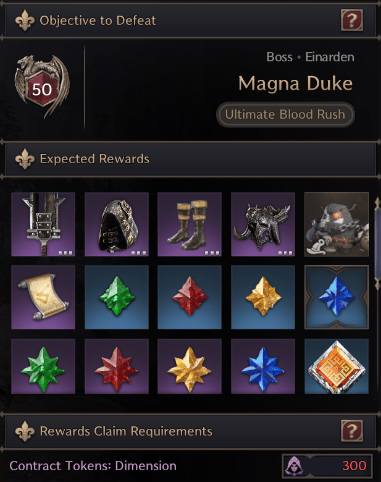
Raid Details
There are 4 pillars surrounding the arena at North, East, South, and West. These pillars will alternate between Red and Blue after every mechanic. This fight is very difficult to learn and highly dodge-intensive.
Attacks generally go as follows:
- Block -> Fire Pillars -> Block -> Jump -> Block -> Fire Pillars -> Mechanic.
DPS is very important in this fight. It is highly recommended you use Astralites, Buff Food, DPS Potions, Guardians, and properly rotate debuffs/buffs accordingly.
Blue Pillar:
Fire Rings
The boss will pull everyone into the middle of the arena and spawn rings of fire. These rings will stun and burn you to death if you walk into them. Players will need to jump over the rings and activate the two RED pillars outside the arena.
Notes: The Red pillars will always spawn opposite each other.
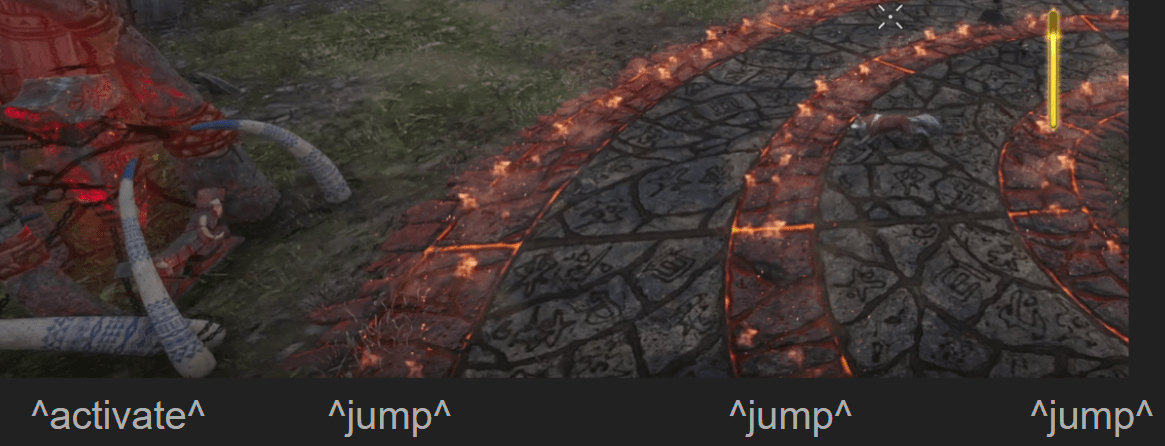
Fire Rings + Sheep
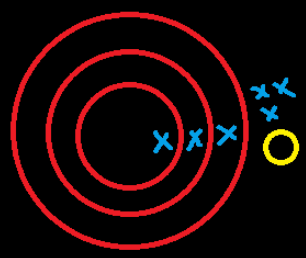
This mechanic alternates with the Fire Rings. The boss will pull everyone to the middle of the arena and then summon rings of fire. This time, 1 player will be transformed into a sheep which will explode and wipe the party. Instead of activating the pillars, players will need to kill 1 of the shapeshifters (next to the red pillars). The shapeshifter will drop a blue pool on death. Players must pass the sheep debuff to each other across the fire rings. Once the sheep reaches the blue pool, the debuff is removed. Fire pillars will spawn under random players throughout the mechanic.
Yellow = Shapeshifter
Underground Cave of Destruction
- Difficulty: 4/5
- Bring a healer!
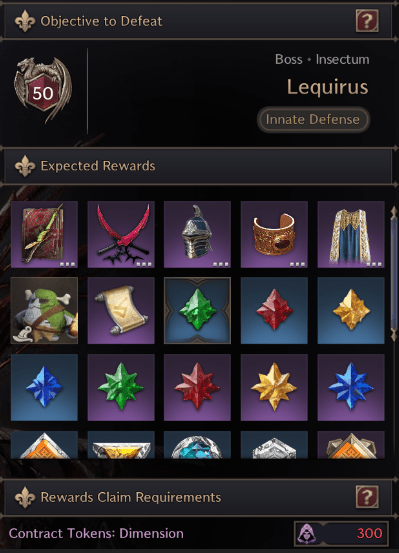
Red / Blue Ants (Skippable)
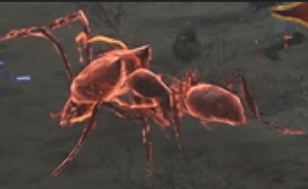
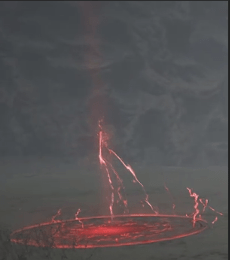
Red/Blue ants will spawn, as well as an electric lightning field. These ants need to be killed in order to enter the lightning field, which summons a pillar to help you fly to the next mechanic. YOU DO NOT need to kill these ants. It is recommended to instead kite/cc the ants and push DPS instead. You can skip this mechanic with no repercussions. The ants are very tanky, and it’s a lot of wasted damage.
Ants to ignore/CC:
Lightning to also ignore (don’t touch):
Pillars / Gem Ant
Players will need to split up and run to different pillars around the map (3 in total). Wait for the orange egg to explode before running to the top of the pillar. One of the 3 pillars will spawn a Gem Ant on top. Every player needs to rush to the Gem Ant and kill it as soon as possible to avoid stacking too many poison debuffs.
Yellow Larva
Everyone will receive a yellow larva on their head. 2 players will need to stack together to transform the yellow larvae into green ones. Once green, the 2 players then need to split up and stand on top of another yellow player to remove their larva. Green players can only eat 2 other larvae without taking damage. The green larvae will do an AOE explosion, so after eating 2 people’s yellow larvae, they should stay away from the rest of the party.
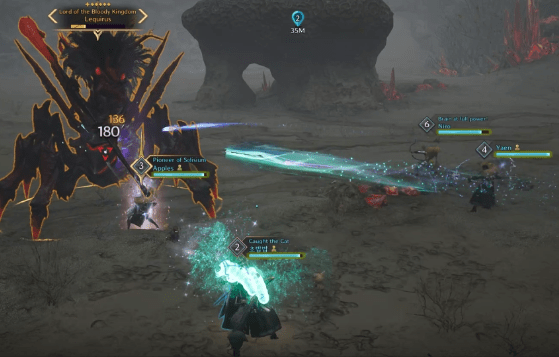
Tyrant’s Isle
- Difficulty: 4/5
- Good DPS required!
Raid Details
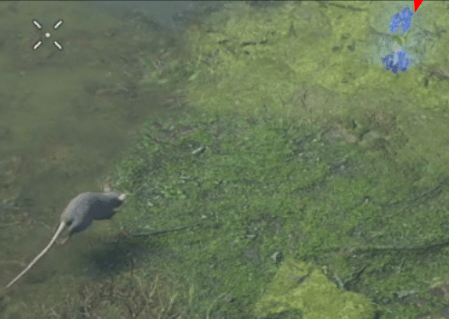
Each party member should pick their own blue flower before the fight; this flower is important for the Rat Run mechanic. The boss will perform many AoE blockable attacks. It is crucial that everyone blocks these attacks since they do a lot of damage.
Attacks usually occur in the following order:
- Blockable AoE
- Starfall
- Blockable AoE
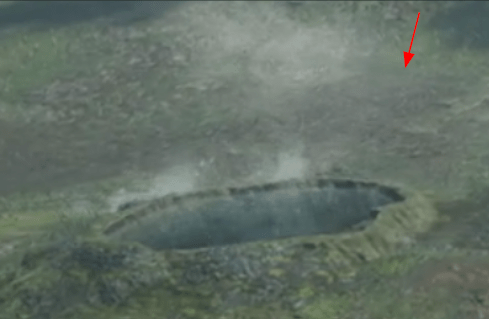
- Geysers
- Rat Run
- Repeat
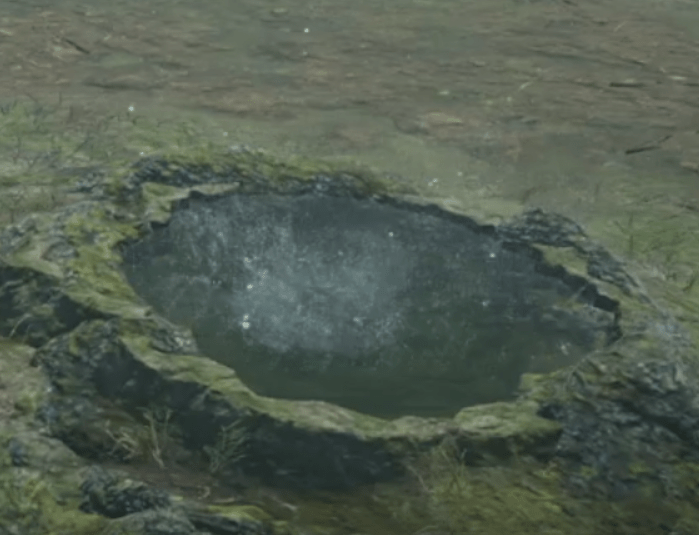
Geyser about to erupt
Blue Flower
Starfall
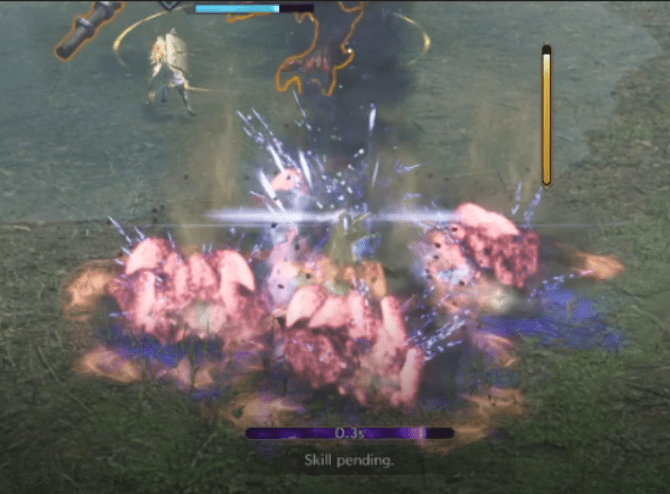
The boss will shout “I’ll fry you!” then drop 3 meteors that explode in a cross shape. These meteors fall very quickly, so you should preemptively start dodging diagonally to dodge as quickly as possible.
Geysers
The boss will shout “Try to dodge this!” and 2 of the 4 geysers around the map will start bubbling. These geysers are safe spots. Everyone will need to run to their nearest safe spot as quickly as they can. The geysers will then launch everyone up into the air, allowing them to dodge the boss’s AoE attack. Make sure to morph into glide form to avoid taking fall damage.
Rat Run
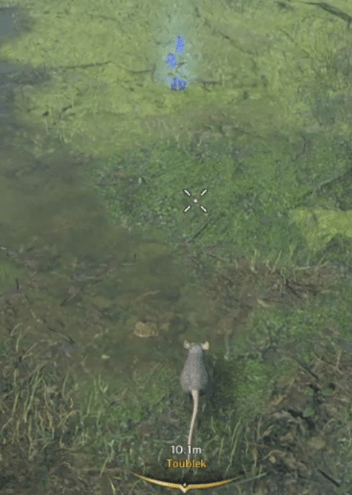
This mechanic happens shortly after the Geyser mechanic. The boss will pull everyone into the center of the map and transform them into rats. Rats have a unique skill to dig/hide underground (1st skill on your skill bar). Rats will need to run to a blue flower to transform back to normal. The boss will perform an AoE attack that rats will need to dodge by hiding underground.
To pass the mechanic, players will need to do the following:
- Get pulled to the center
- Run halfway to a flower
- Dig underground to dodge the AoE
- Continue running to the flower to transform


Be the first to comment