
This guide shows you how to add thumbnails to the routes you have built in the world editor.
Guide to Add Thumbnails to Your Routes
All credit goes to Southwesternturbo159!
Introduction
All route DLC you own has an image in the route editor shown in the top right corner when you click on it:
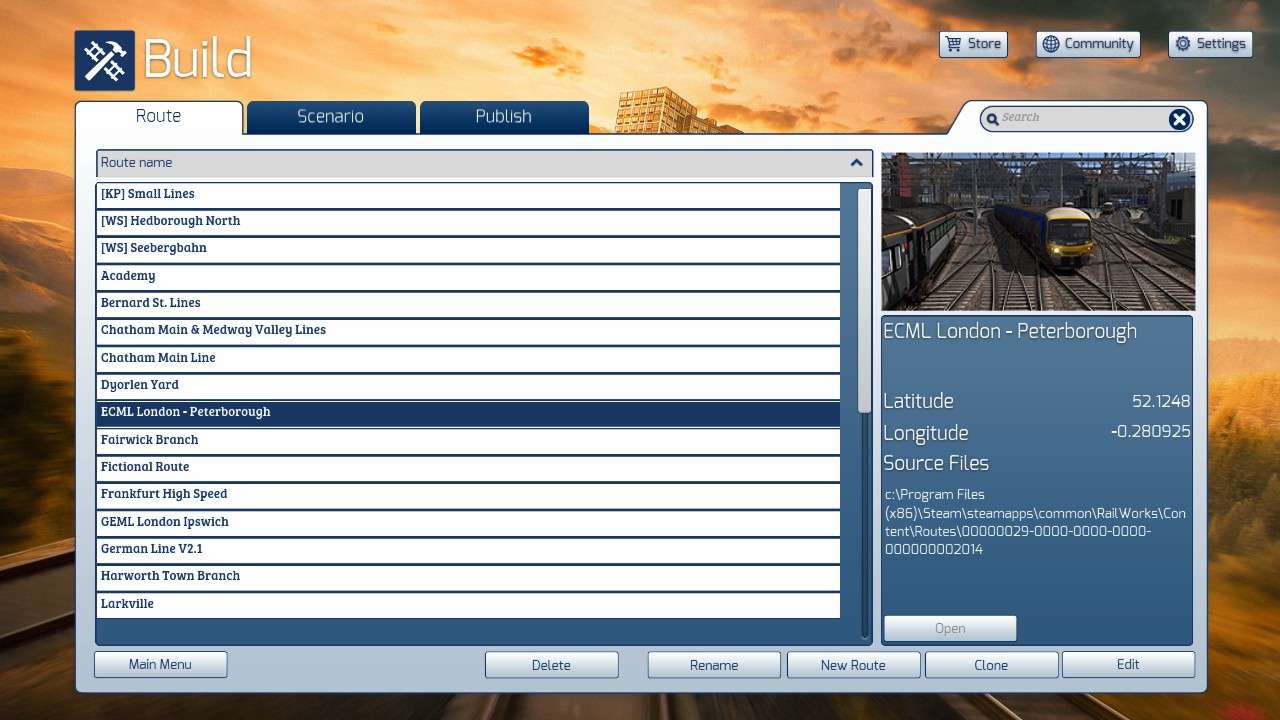
This image is also shown on the quick drive selection screen.
However, routes you created do not show an image, just a symbol to indicate there isn’t one:
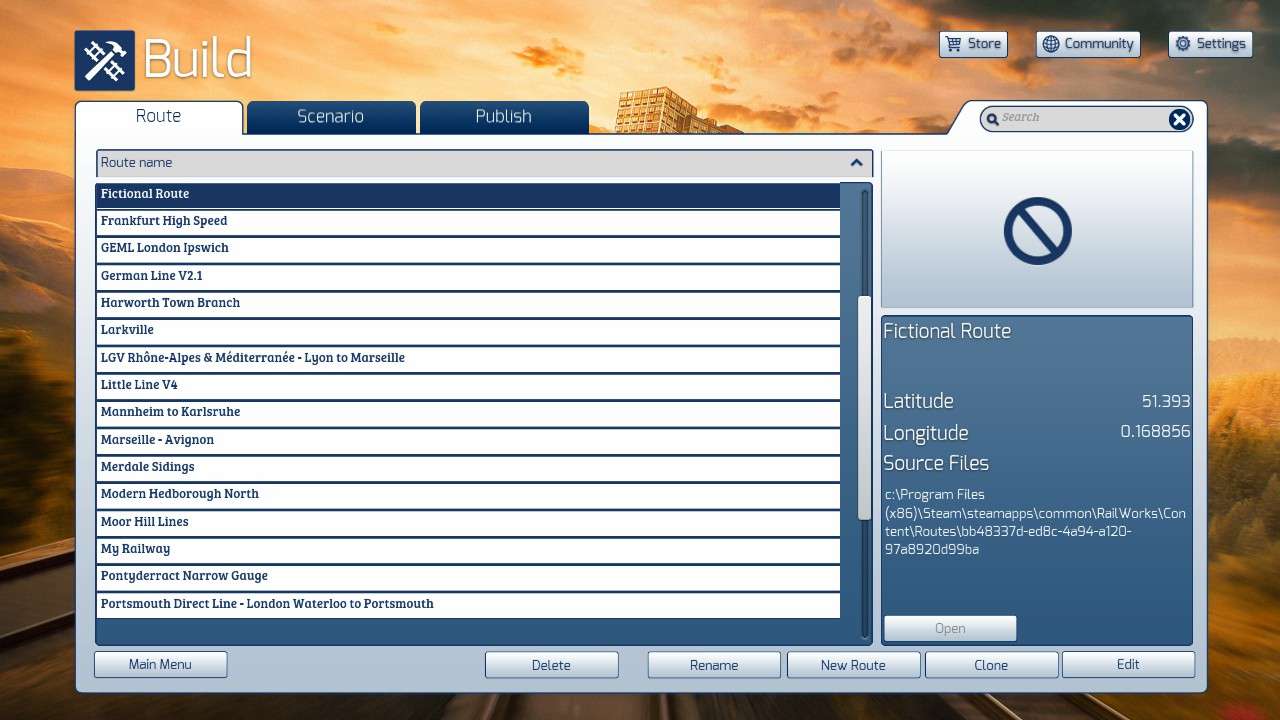
Also when you create a quick drive scenario for your route, it shows the same symbol instead of the route picture.
You also need an image to publish this route on the workshop.
Screenshot
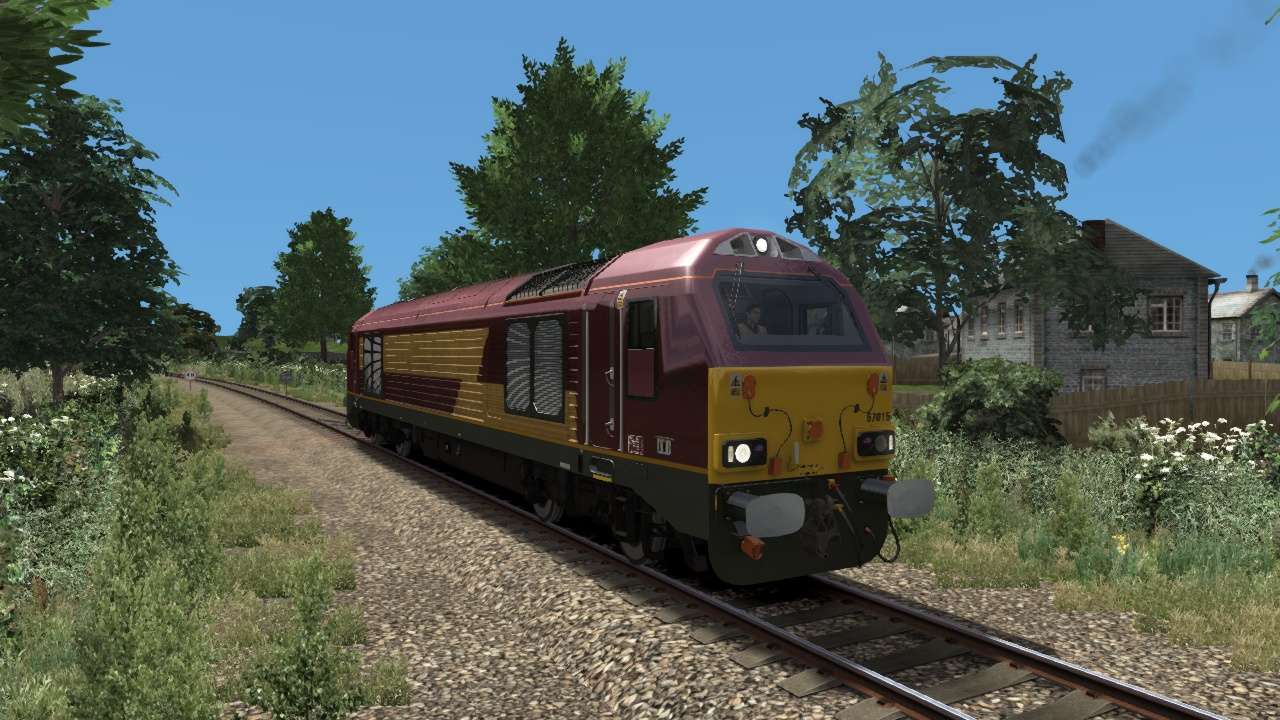
First take a Screenshot in game by pressing Ctrl + S. Here’s Mine:
Next find and open this Screenshot in file Explorer.
If you can’t find it, the game shows Screenshots beneath where you launch it, under the title:
‘Post-Game Summary’. if you right click it and the click ‘Manage Screenshots’, it will open up a list of your Screenshots. Next to where it says Train Simulator (or any other game) in a drop down menu, click on this symbol:
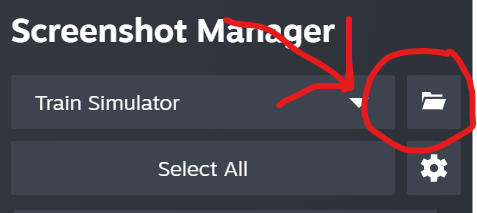
It should open your Screenshots folder where you can find you Screenshot and open it.
Now if you want to Customise your Screenshots by adding the name of your route or something then do it now.
- However, all your Screenshots (or at least all mine) are saved as JPGs.
- You will need to convert it to a PNG.
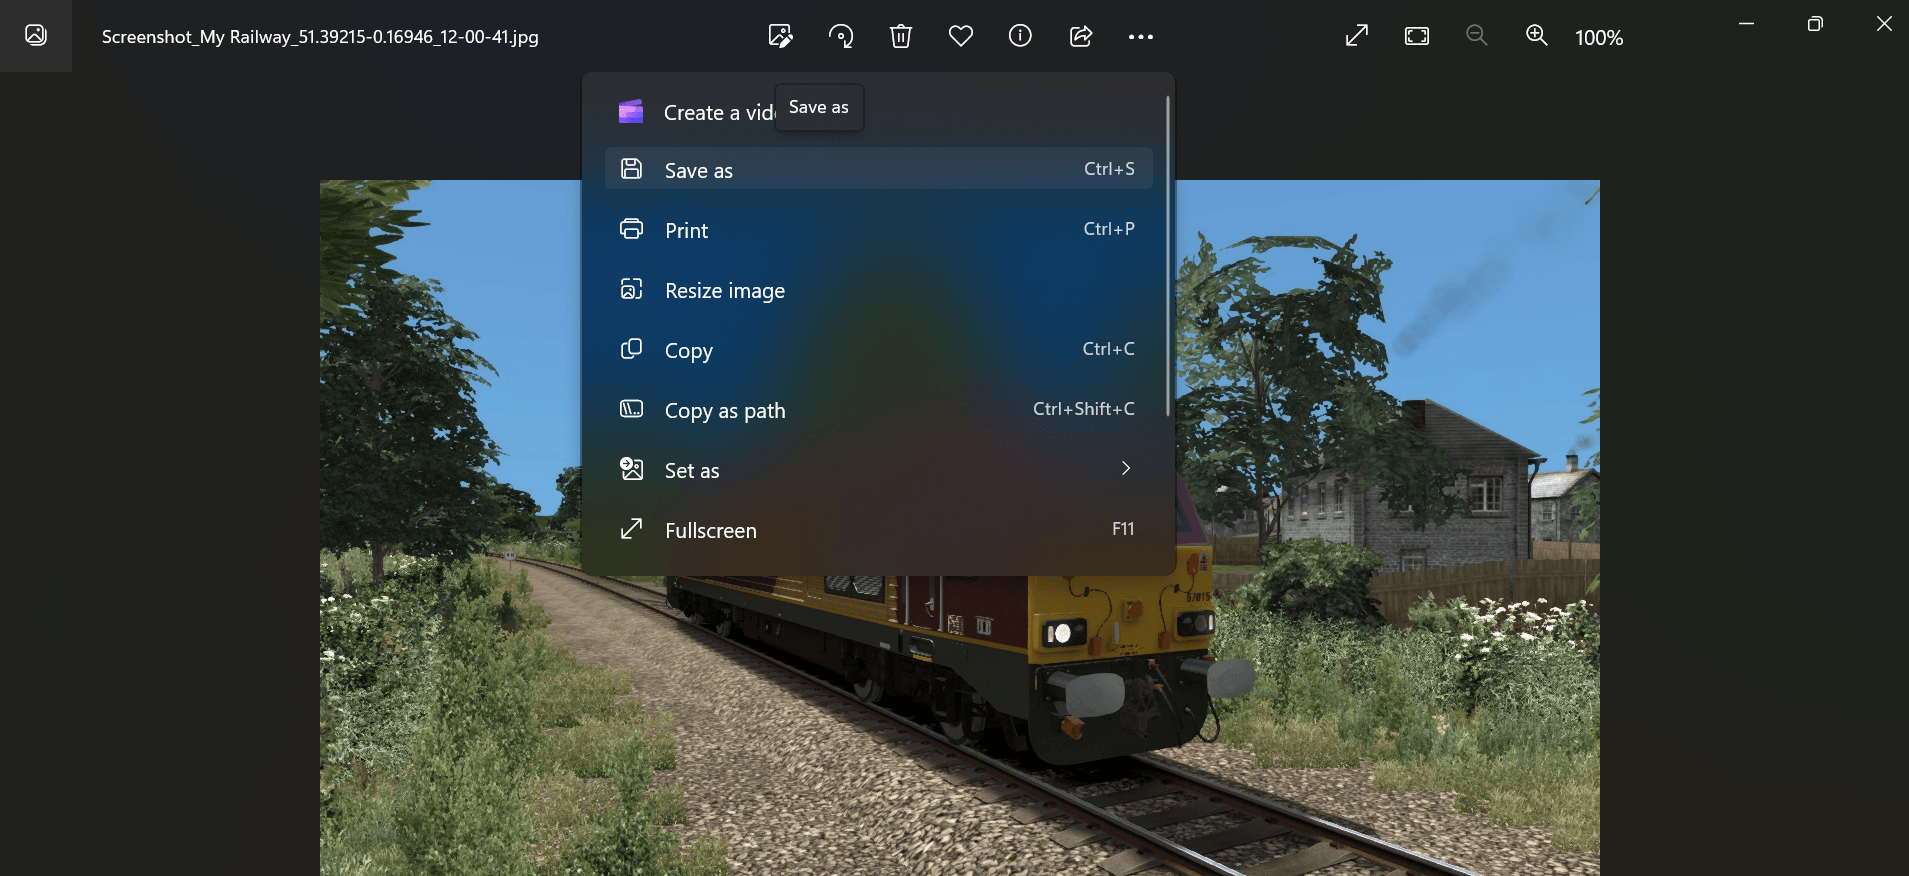
- You can either do it online or simply open your Screenshot in Photos.
- Then click ‘…’ and ‘Save as’.
Then save it to a temporary folder. You must Select PNG from the drop down menu and it must be named ‘Image’.
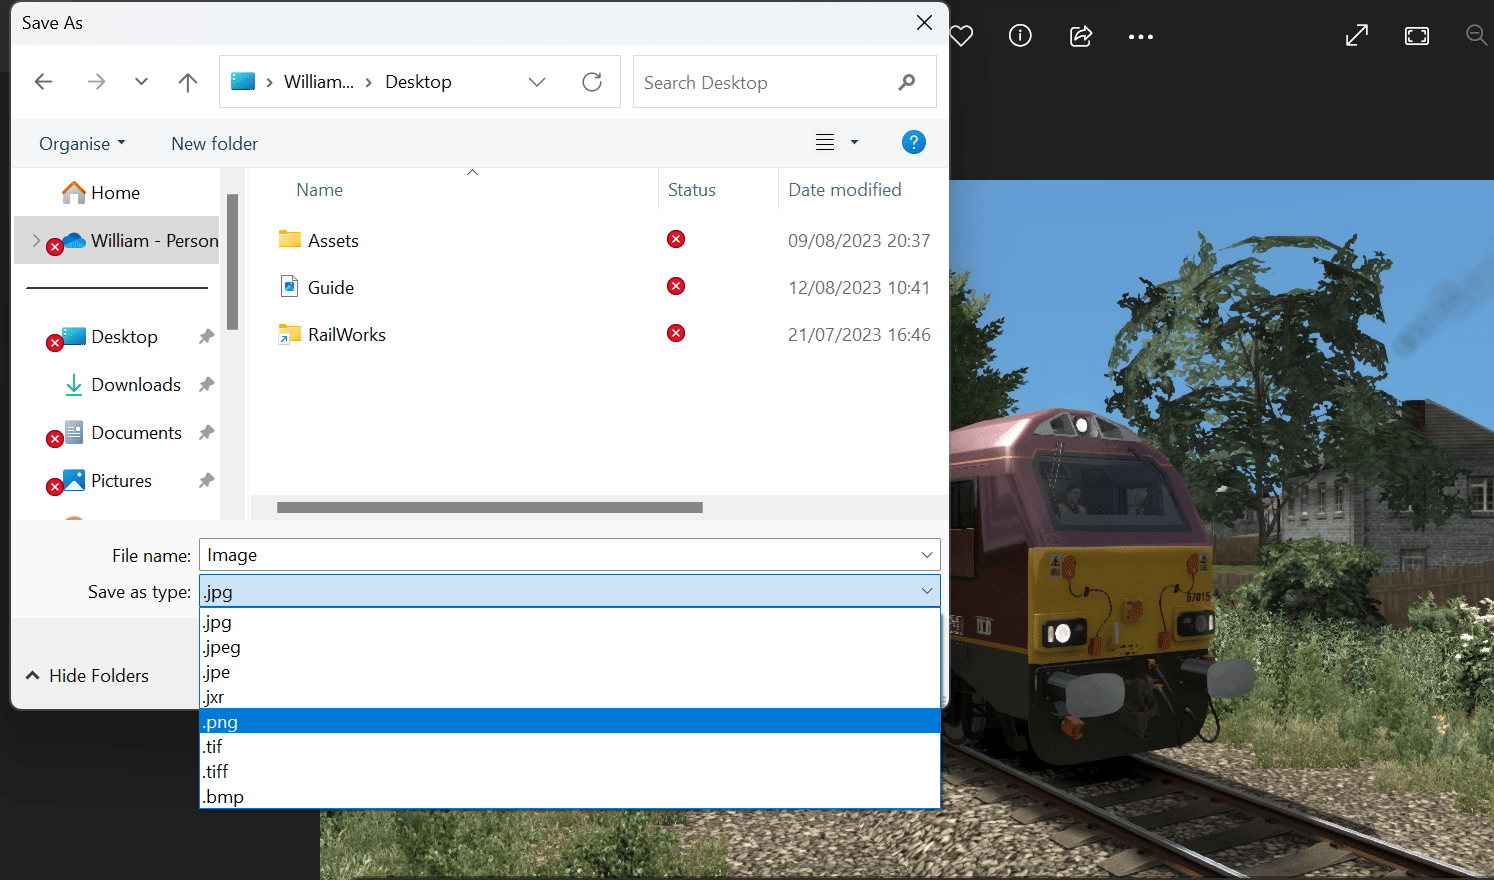
If you put it through a JPG – PNG converter online, then you must rename to ensure you have the file:
- Image.PNG
Upload
Now go back to the route building menu in TS.
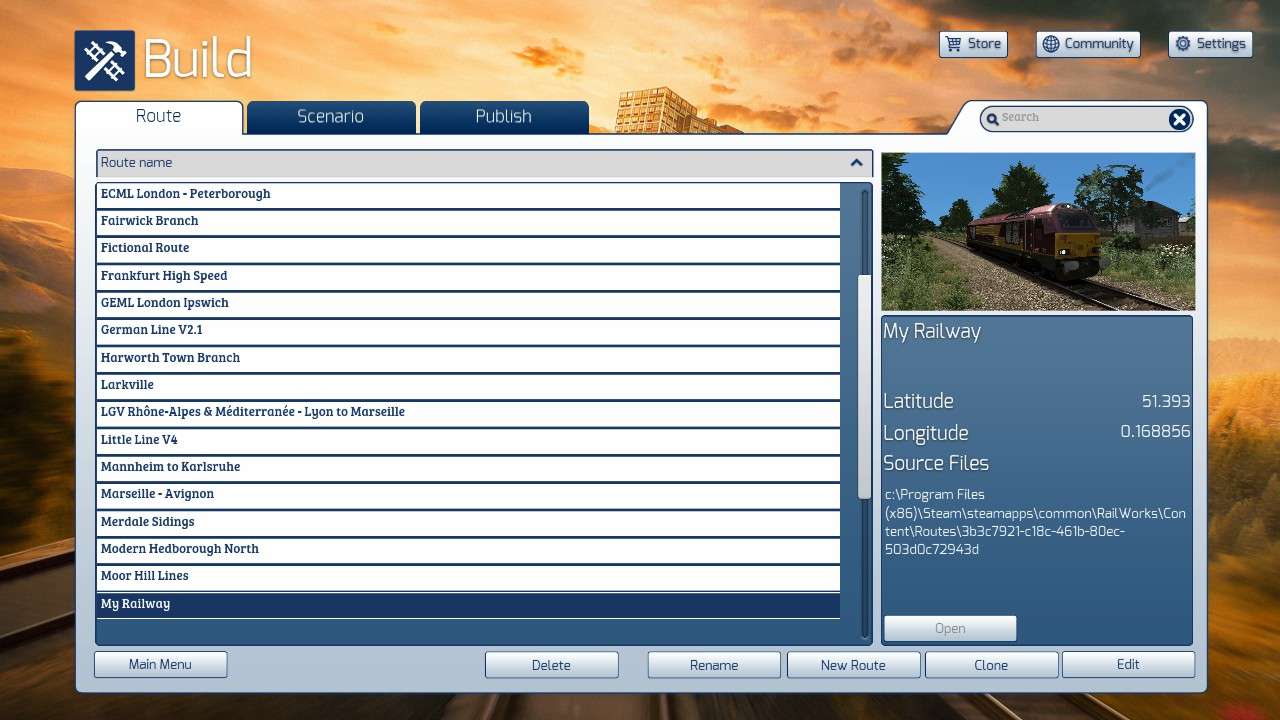
You will need to find a the directory shown here:
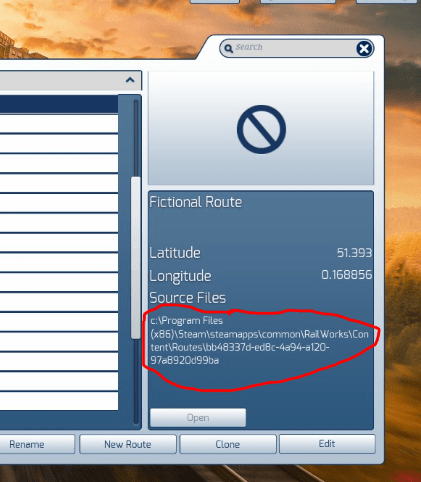
Start from your Railworks Folder and go to: Railworks, Content, Routes, Then the extremely long and Complicated Sequence shown in the editing menu.
It should now look a bit like this:
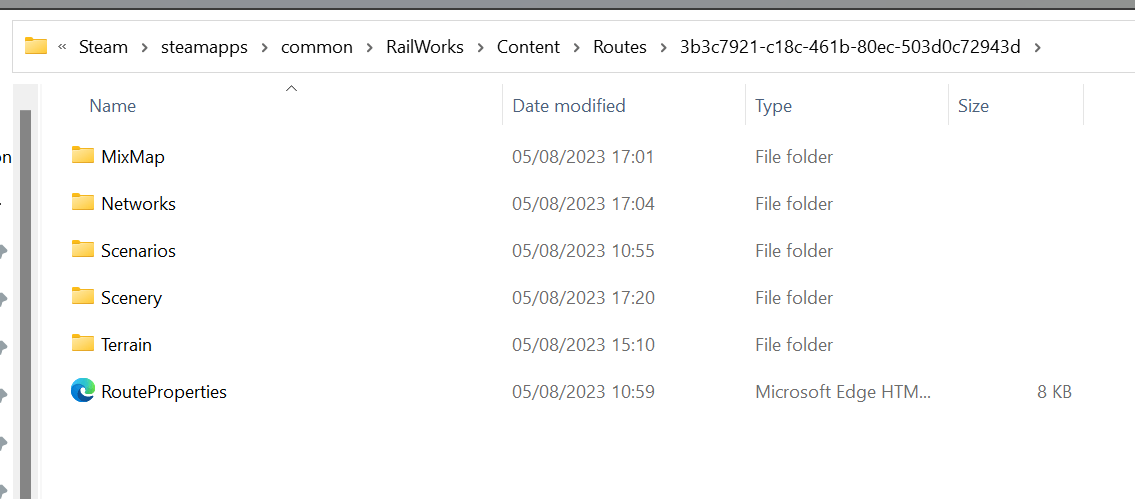
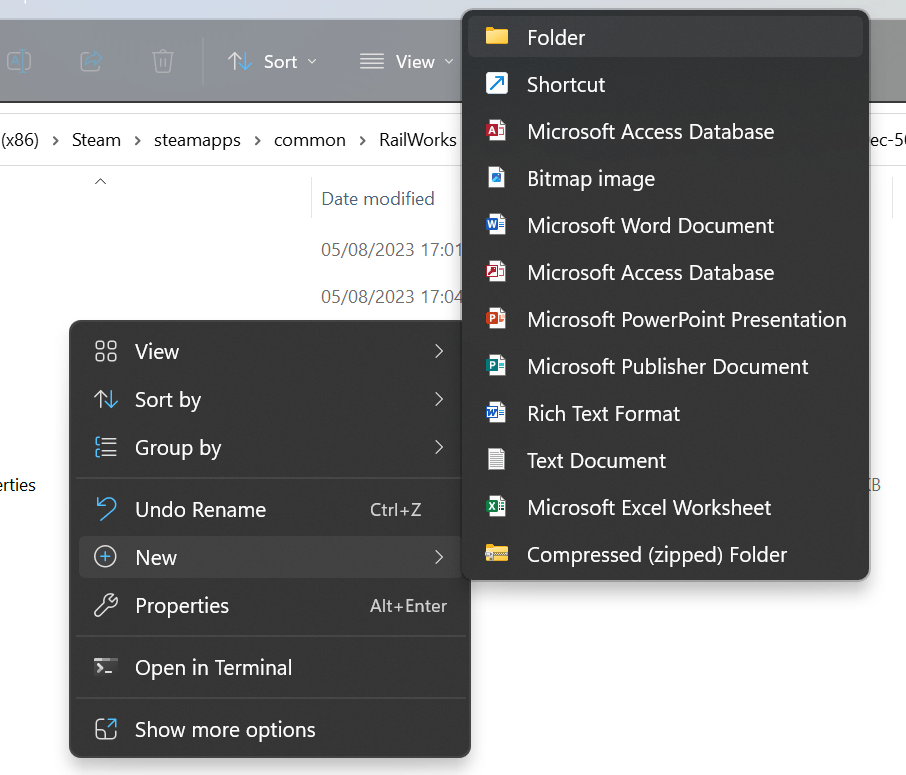
Then Create a new Folder, named ‘RouteInformation’:
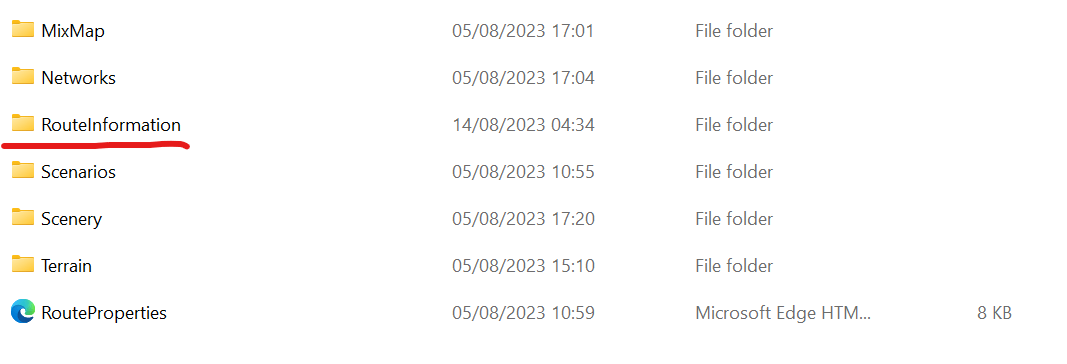
Then go into that Folder and paste Image.PNG into that:

If you want to publish your route on the Workshop, create another folder in that Called ‘EN’ (or your chosen Language) and in that you need a Html document called Description.Html, which is the Description of your Route.
Now your Route has an image, which will show in the Editing Menu and the Quick Drives, and also in the Editing Menu and Quick Drives of anyone who Subscribes to your route on the Steam Workshop (should you choose to Publish it).


Be the first to comment