
Construction recipes that can make your Valheim experience safe and enjoyable.
Introduction
New single players may find some of the challenges in Valheim more than they can handle. For many, this can now be adjusted with the world modifiers. But even with these modifiers there may be occasions that can be overwhelming if you face them alone.
Combat engineering borrows from Sun Tzu’s classic The Art of War to understand and even prepare a battle area to give you as many advantages while at the same time minimizing the advantages of your opponent. And in Valheim, many of us could use all the help the game can offer.
A Secure Home Base
Many players choose to build magnificent structures only to have these destroyed by Valheim events. World modifiers may allow players to simply disable these events so that their creations do not suffer destruction. But with a little site preparation, events do not need to be feared even if your combat skills are not enough to kite mobs away from your home. Instead, they can be looked at as a delivery truck bringing raw materials to your doorstep.
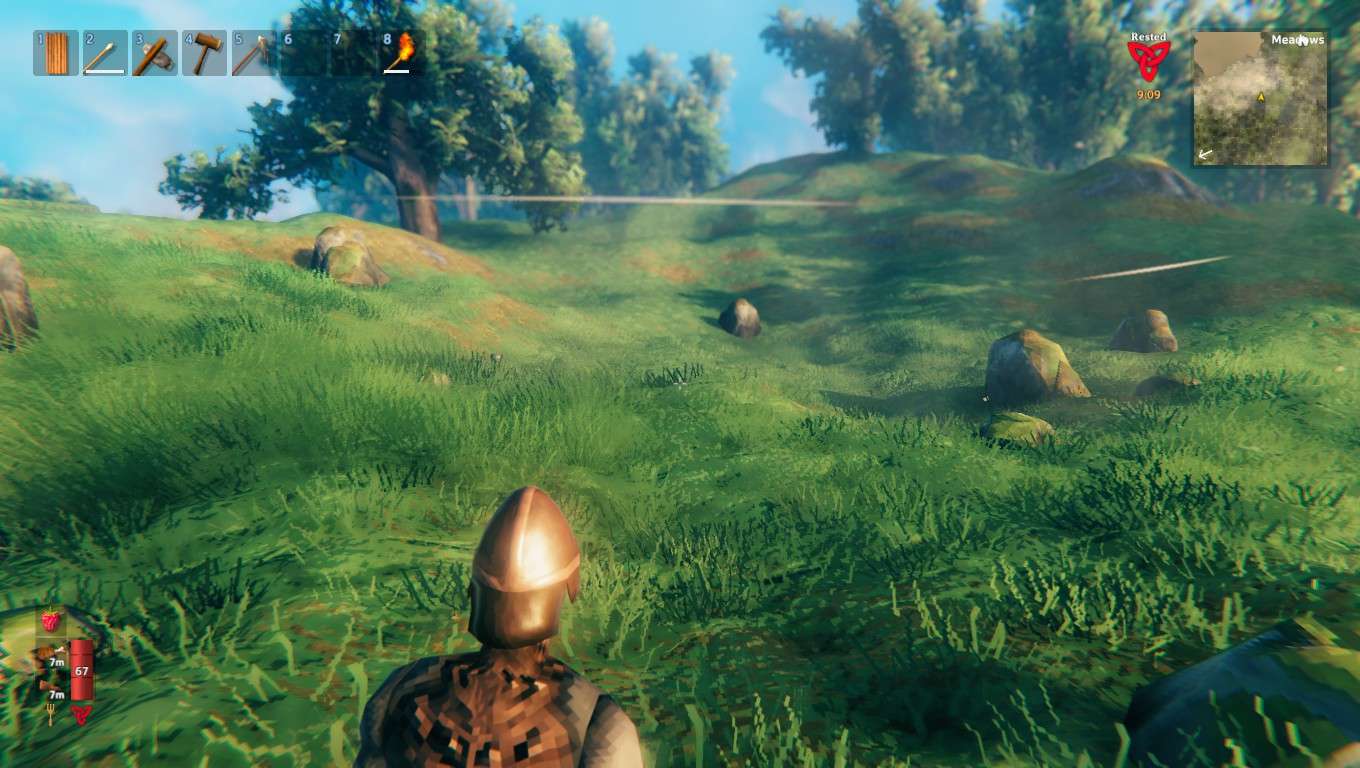
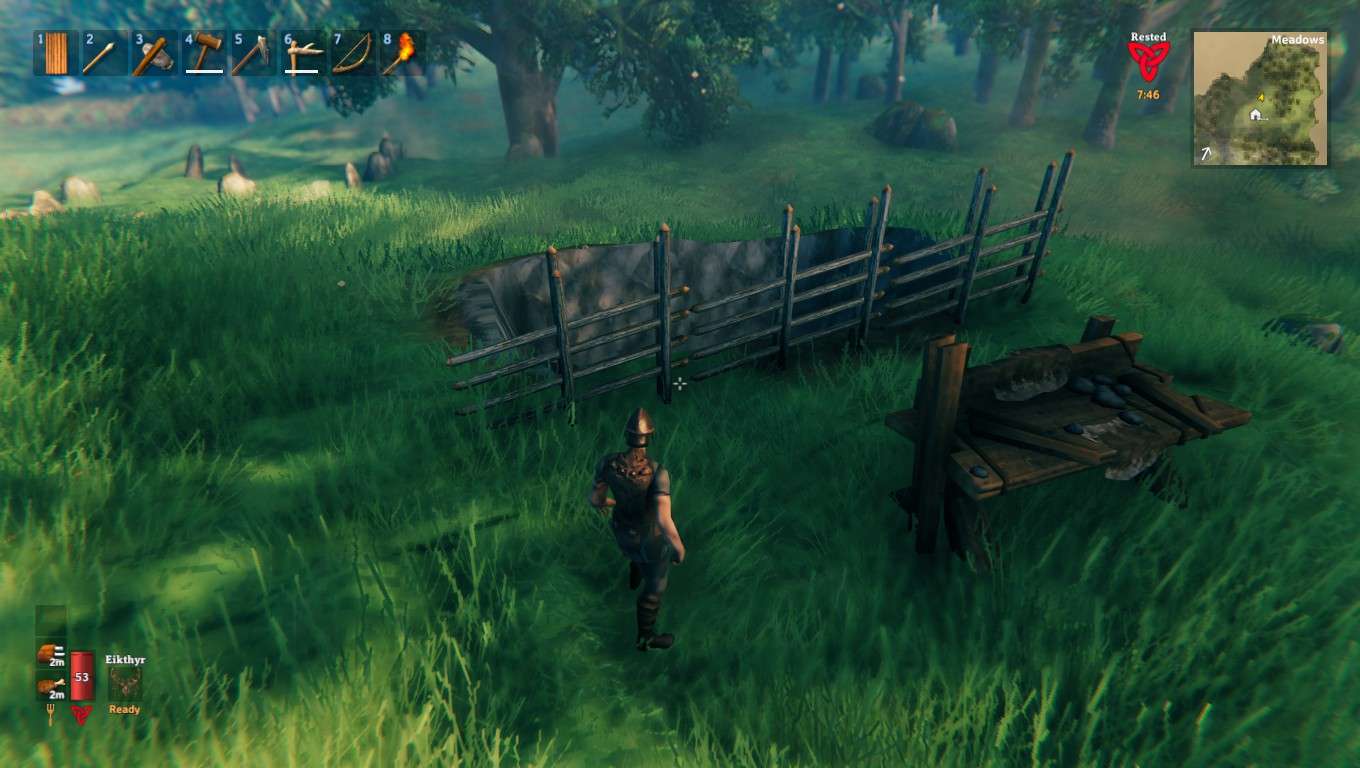
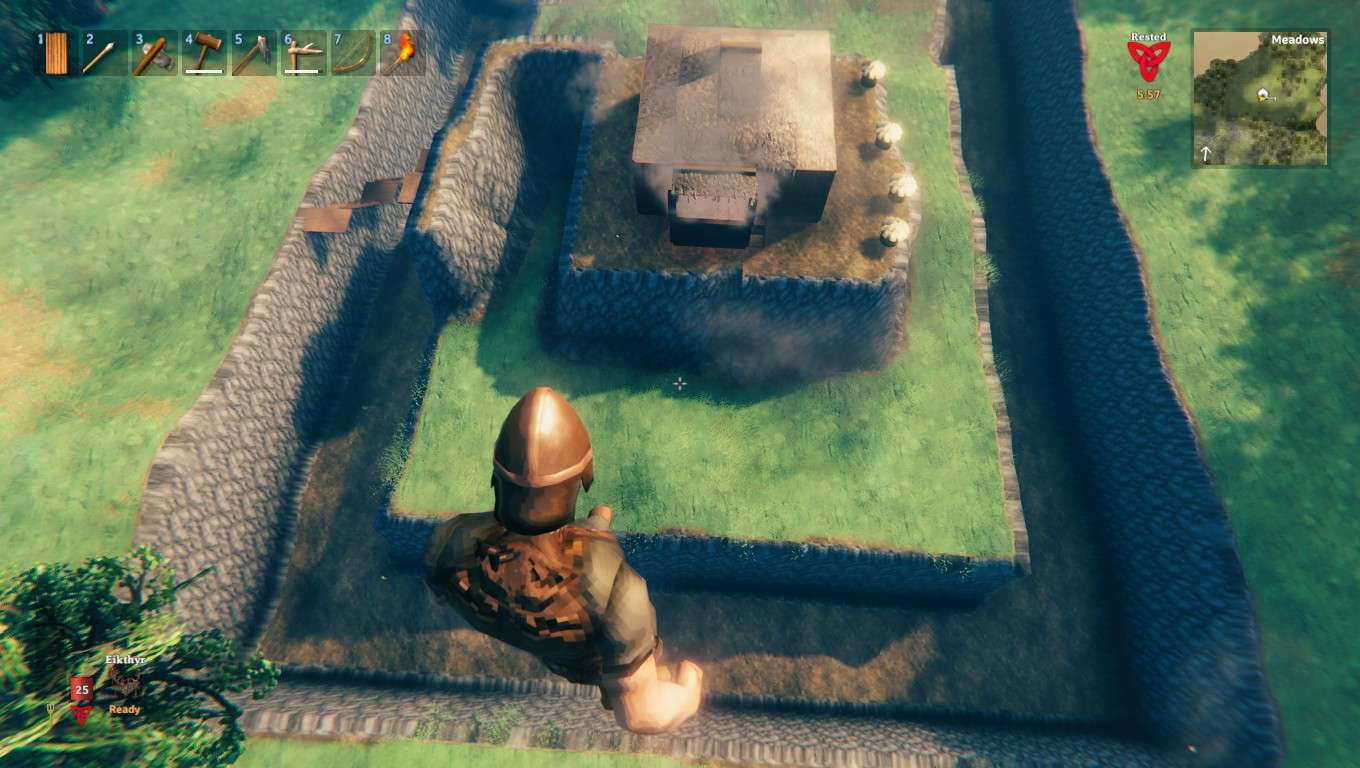
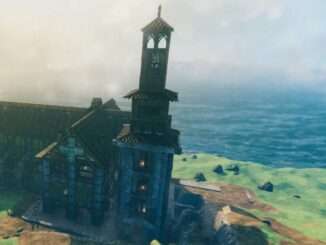
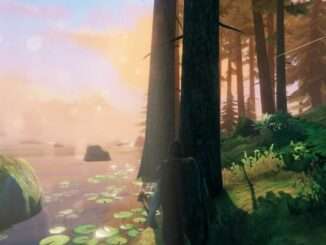
When first arriving in your new seed, you will no doubt just be looking at building a new home or renovating some structure in the Meadows biome. But before you sally forth to take on the first Forsaken, you may want to spend some time locating some site where you can build something a bit more permanent. Many guides point you to a location near the Ocean or even near the Black Forest to minimize time hauling materials back to your crafting stations. In any case, you will probably want to find a location with an area of relatively even terrain.
Probably not here.
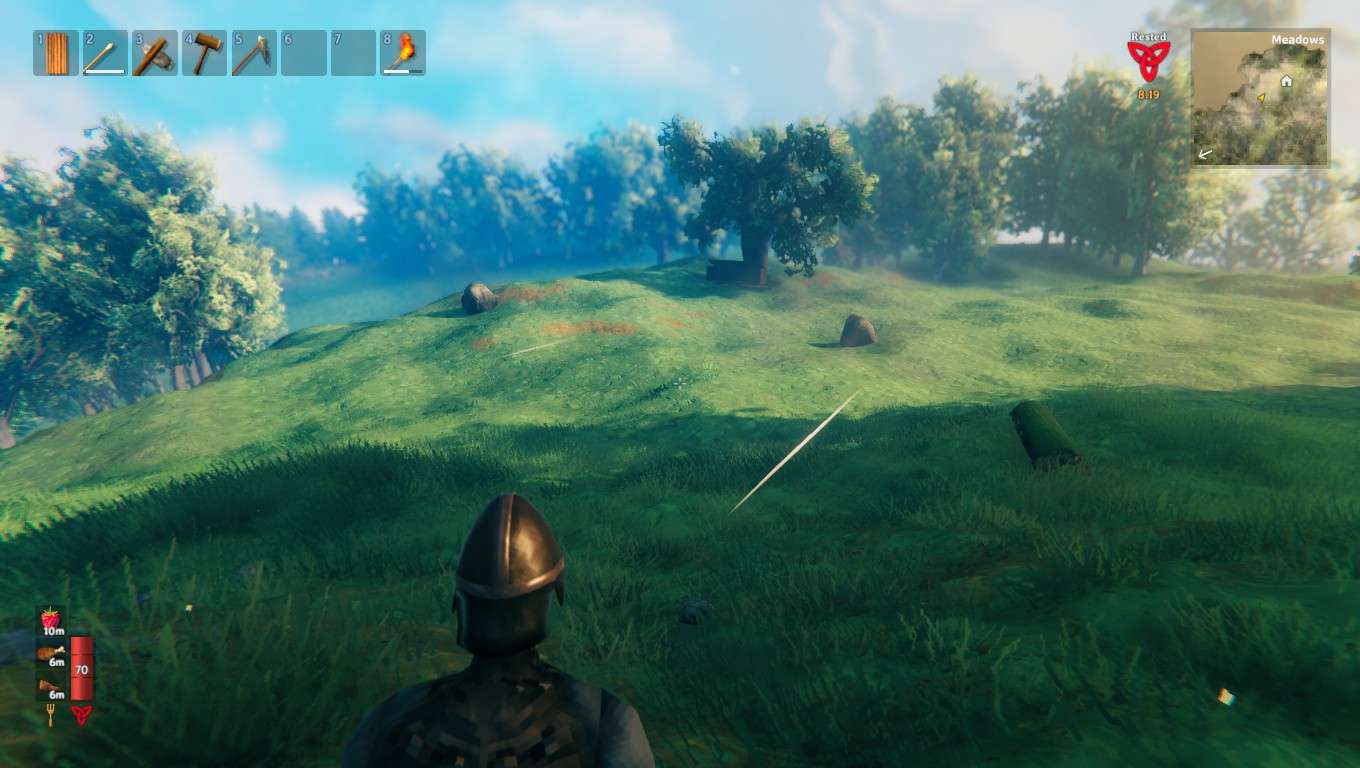
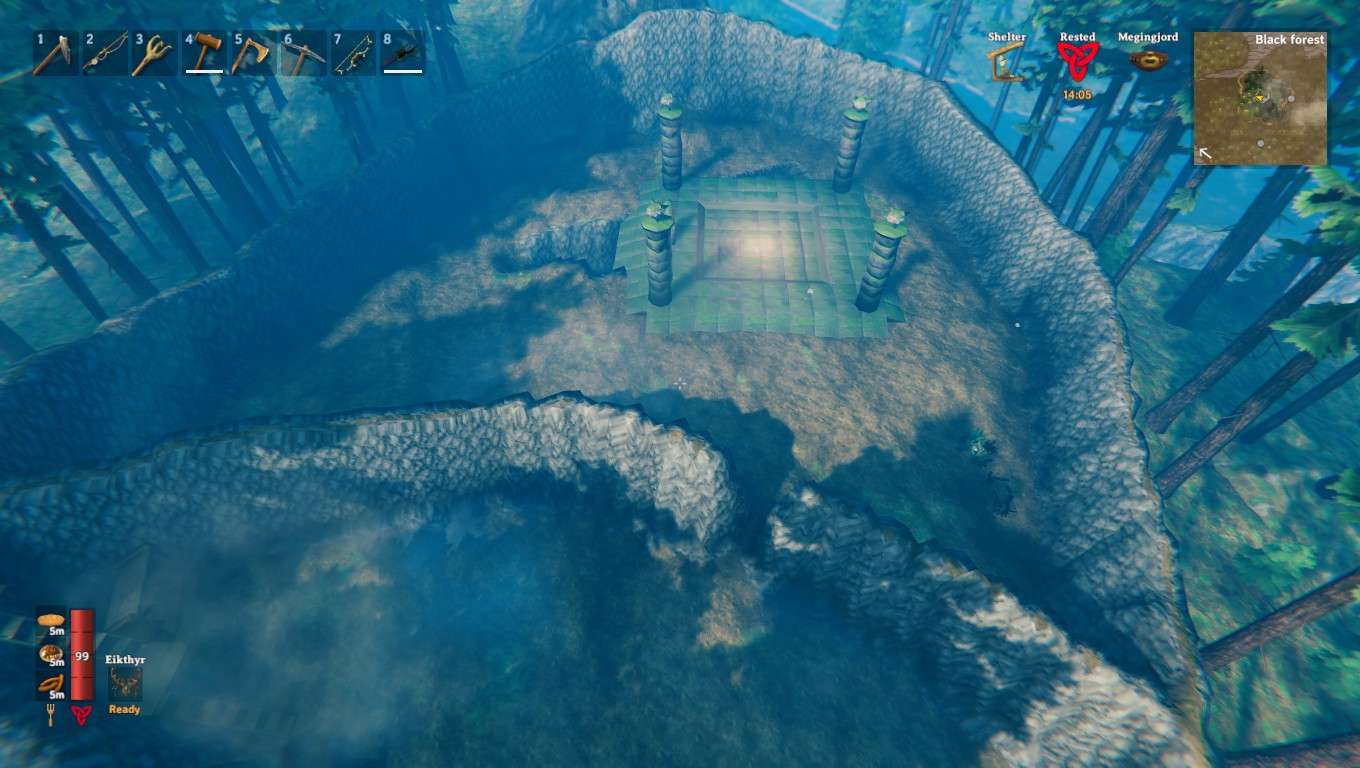
But this shows more promise.
Next, you want to explore your Meadows biome to pick up between 600 and 800 free stones laying about and bring them back to your selected site. Locate an area roughly in the middle of your site but at what you believe will be the lowest point and use your hoe to raise the terrain to build a plateau.
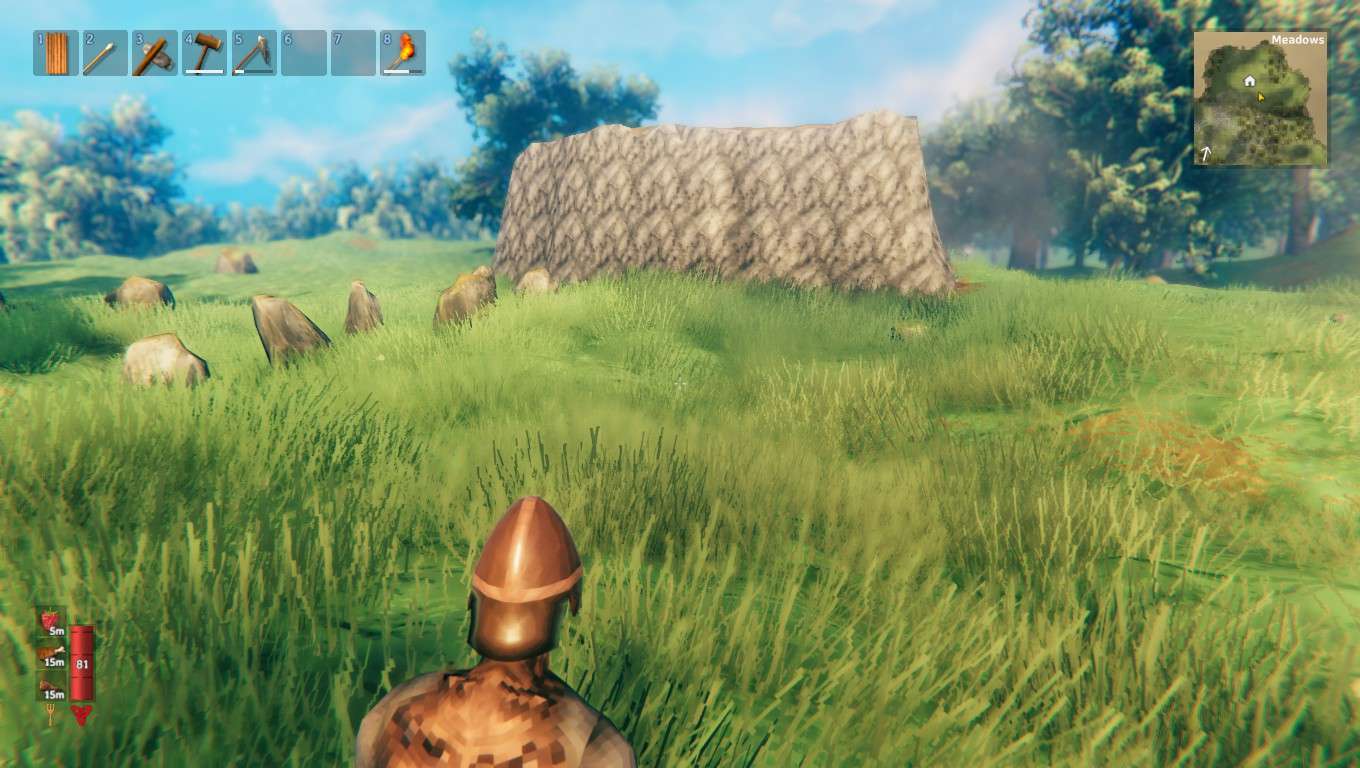
Build a ladder up to the top of this plateau and build whatever structure you intend to live in for a brief time. After having this structure, you can now go off to face Eikthyr.
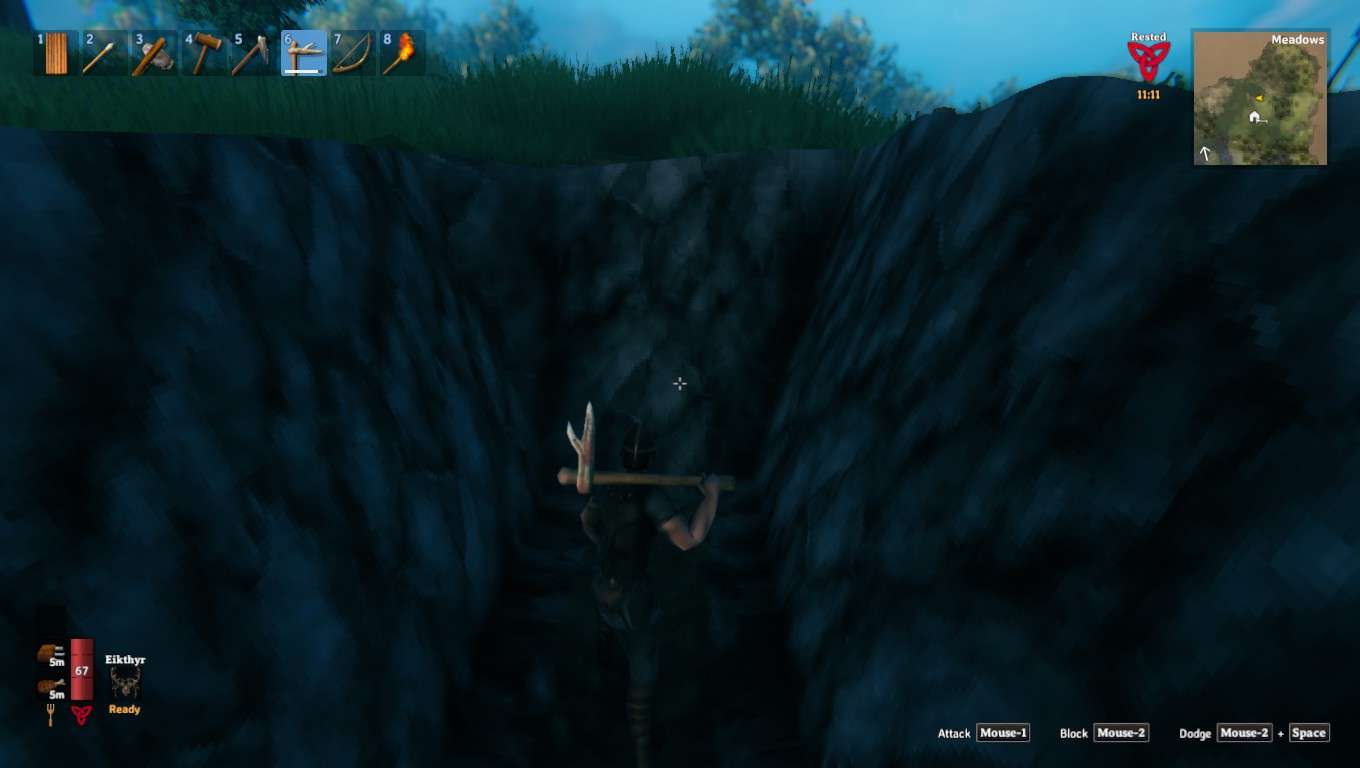
With the antler picks now in your inventory, it is time to dig your moat. Moats have clean edges if they are placed on the cardinal and ordinal compass directions. You can use the inner map to help align your dig but the pick will tell you when you have a clean edge.
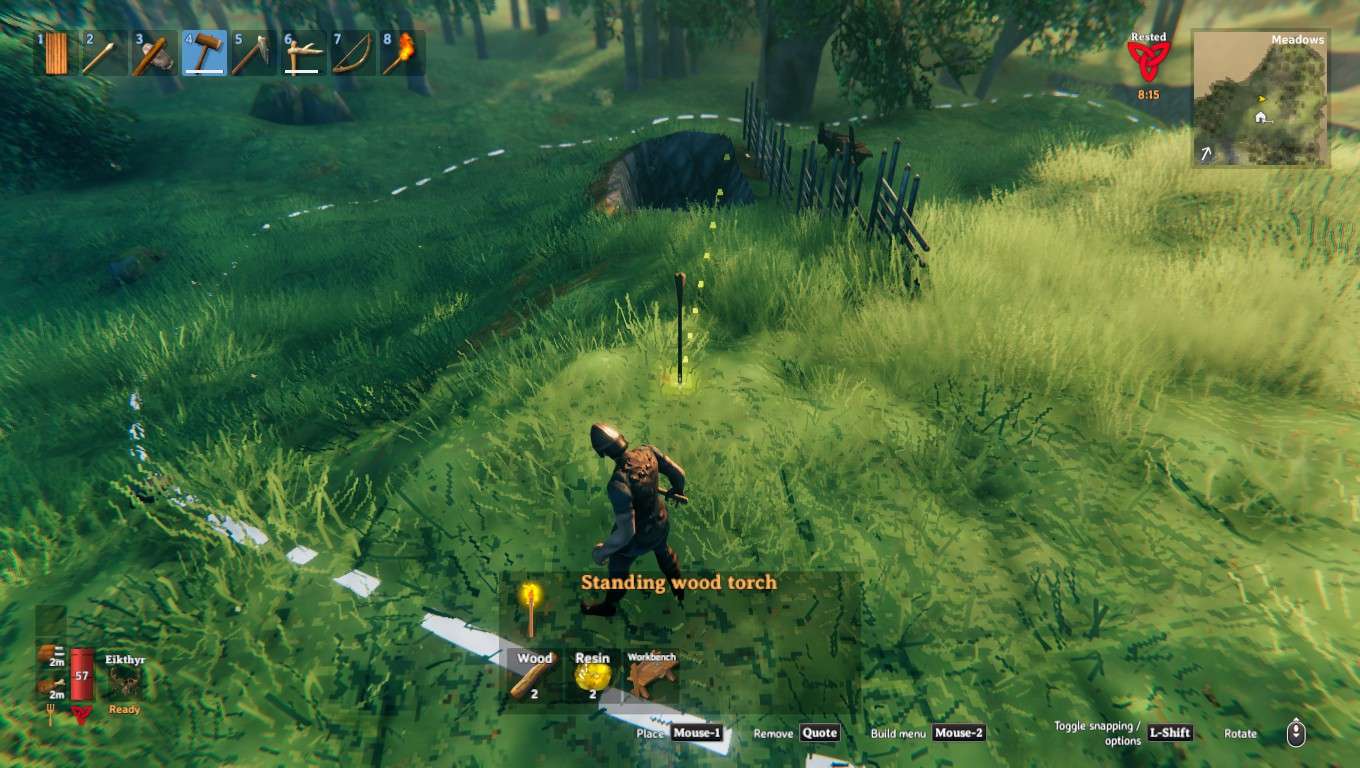
It is up to you of how large a base you wish to build. But a single player can probably get a fairly good set of structures built in an area roughly 80 x 80 blocks but by all means shrink (or expand) this to suite your eventual home base (or village) dimensions. To help lay out the settlement, you can use the roundpole fence.
Place wooden torches at the corners so you can spot these as you are digging and then know where to turn.
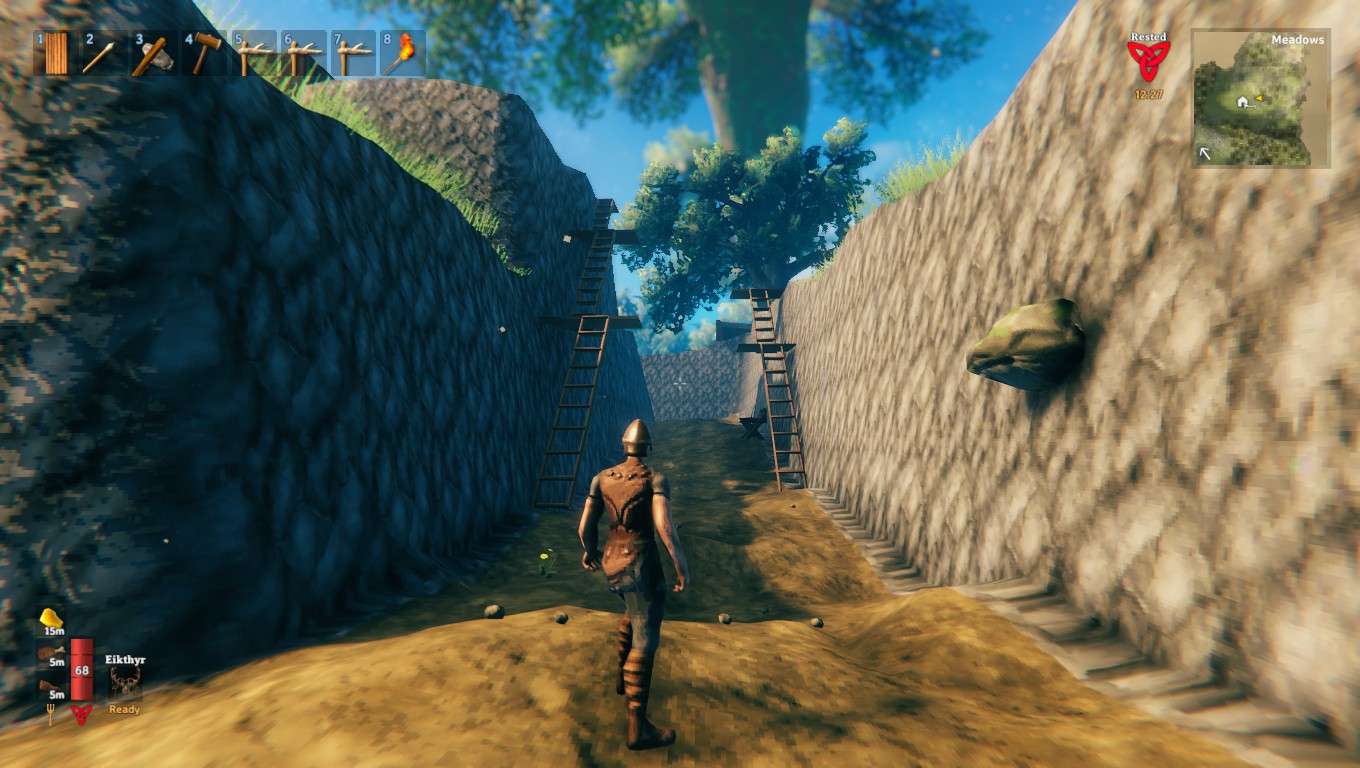
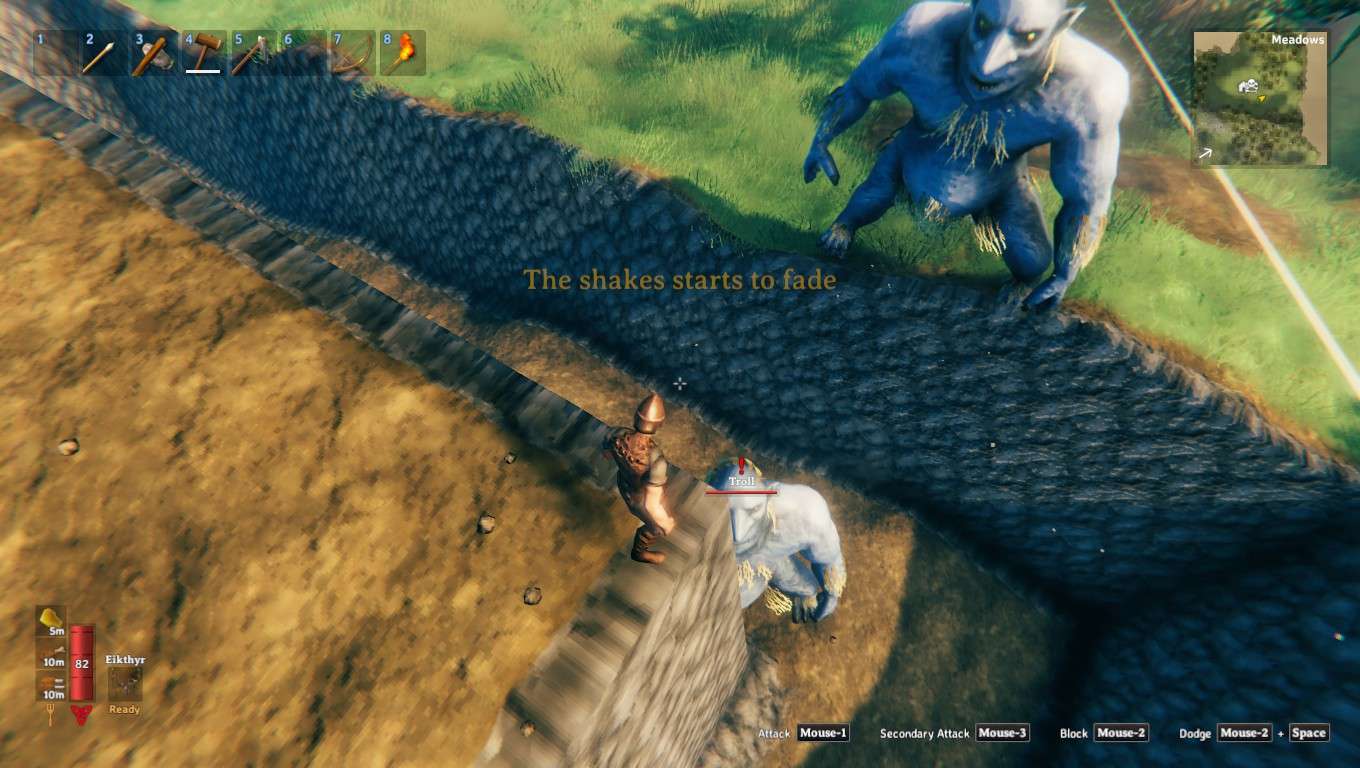
Be sure to have wood to build stairs on either wall of the moat
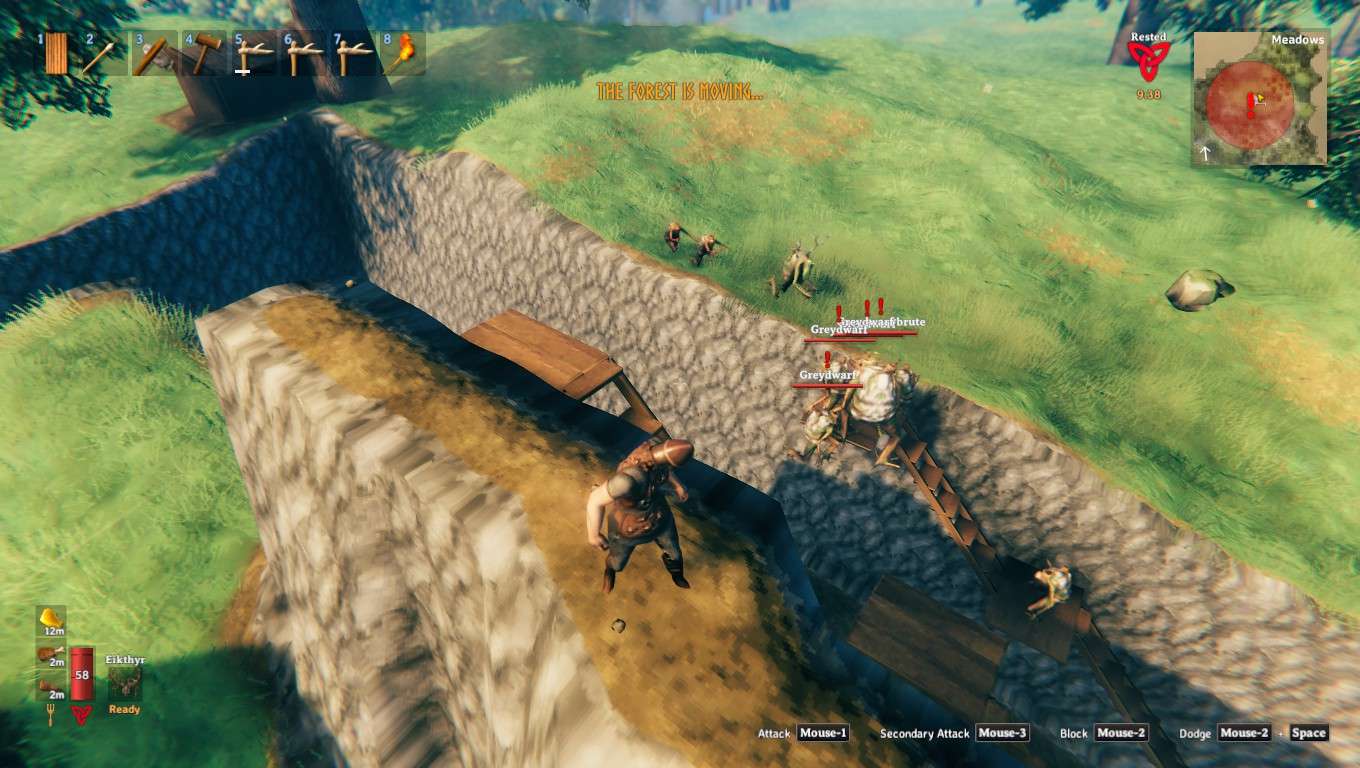
It is likely you will get the Forest is moving event while in your construction. You can retreat to the top of your plateau if you are not quite ready to face the mob. Note that this can occur soon after defeating Eikthyr which is why you want the minimal plateau noted earlier before fighting the stag.
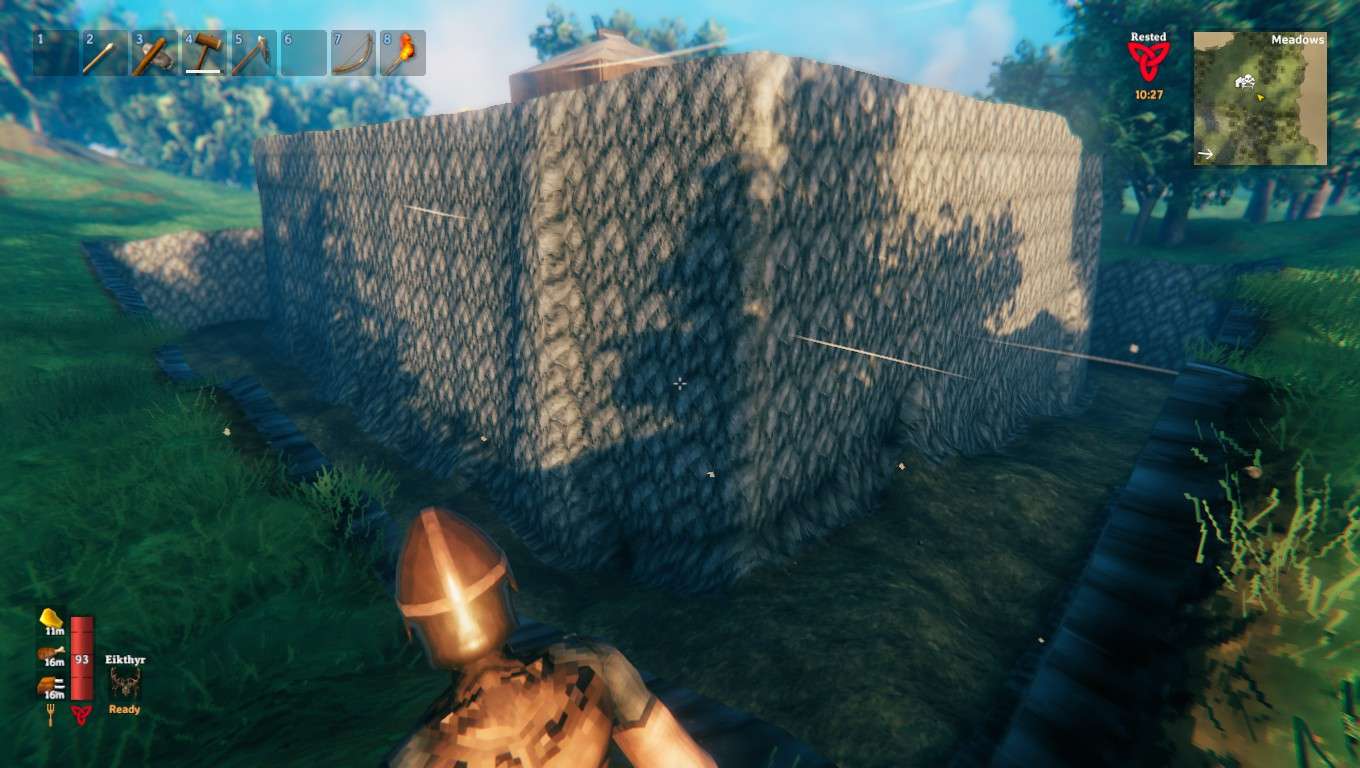
Eventually, your moat is complete.
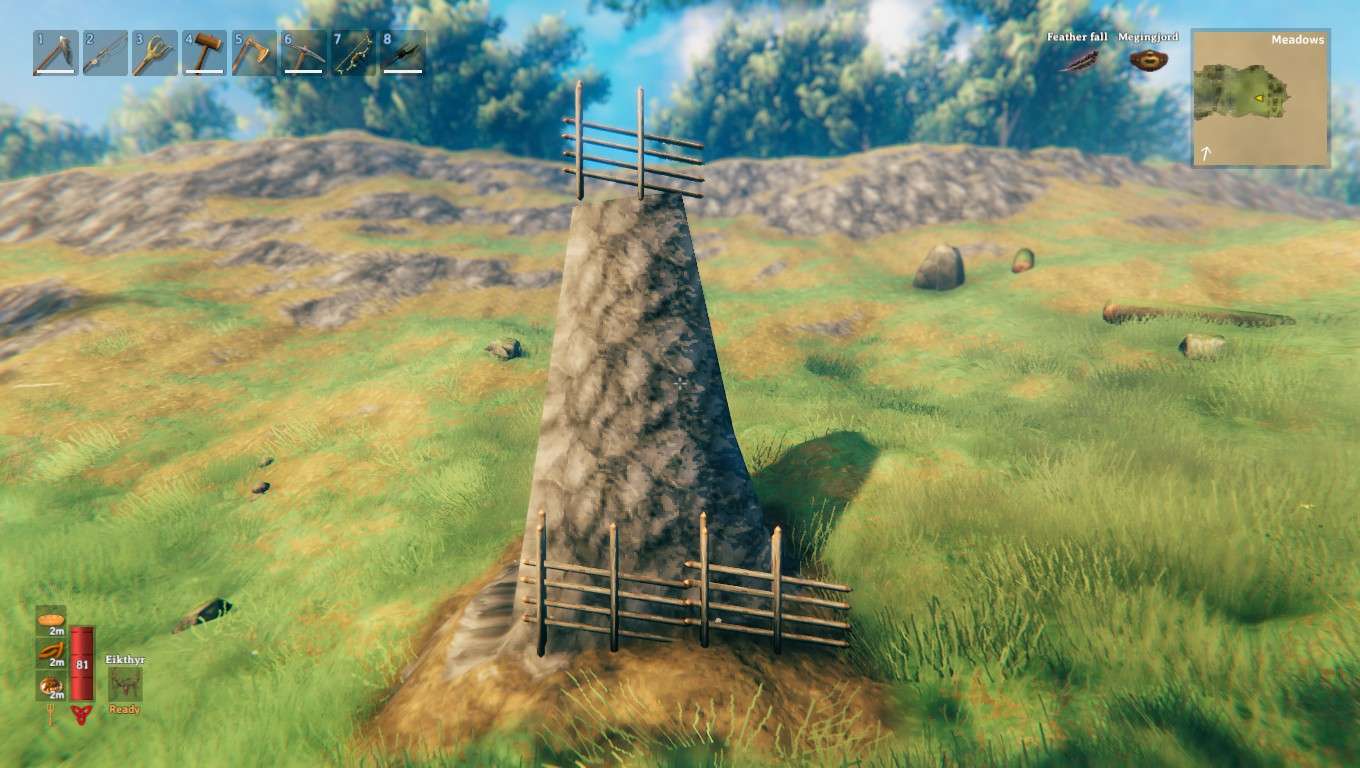
Now you need to complete the inner plateau. In spite of your best efforts to locate a site with even terrain, you will likely have some variation. If you located your initial plateau at the lowest point in the eventual site then you can expect a bit less than 20 stones to create more terrain columns. Here is a reference of a 20 stone column showing the width at the base and the top in terms of roundpole fencing and as you can see this is more of an isosceles object.
Depending on how many roundpole fences you laid out your structure with you can likely calculate the number of stones you will need to complete the plateau. For reference, this structure used a little less than 5000 stones.
Once the plateau is complete you can build whatever you wish for a home and various other buildings and you should be relatively safe from most mob events..

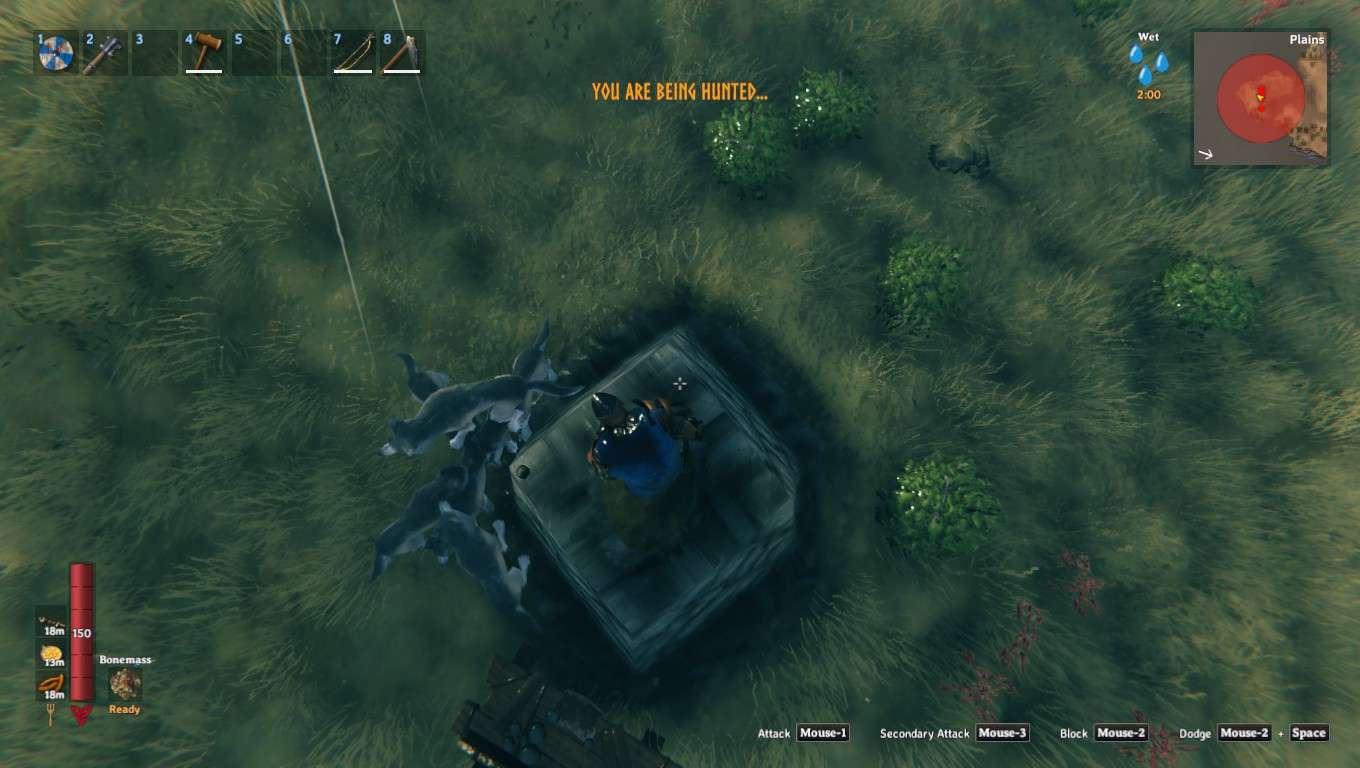
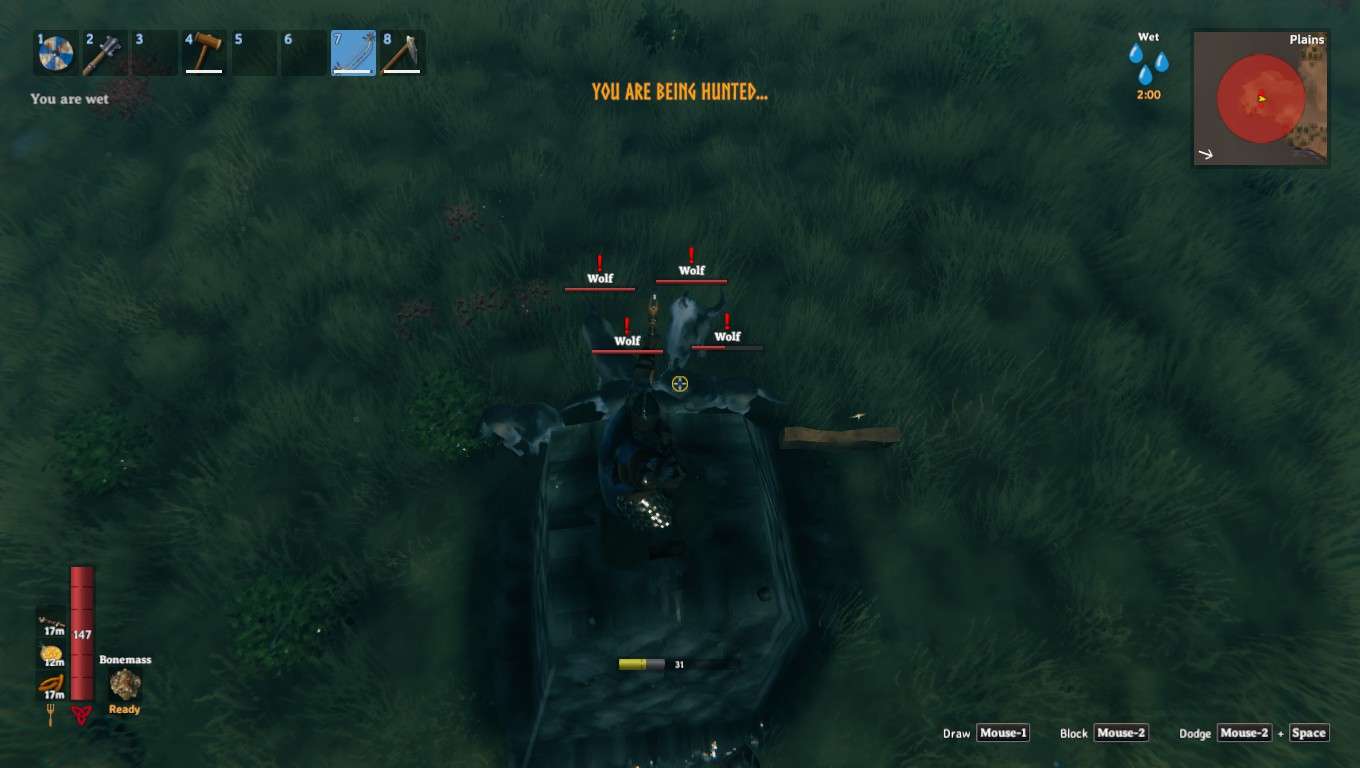
You Are Being Hunted
After defeating Bonemass, you are subject to the wolf event whenever you are in either the Mountains or Plains biomes. There are many suggestions for handling this event with combat style but in the theme of combat engineering, this event becomes an opportunity to collect wolf pelts, meat and trophies if you go prepared with 10 wood, 20 stone and a hoe. When the event triggers, you have time to drop a workbench and use your hoe to elevate yourself on a terrain column. You don’t need to go very high to get above the wolves and from your elevated position you can snipe them at your leisure.
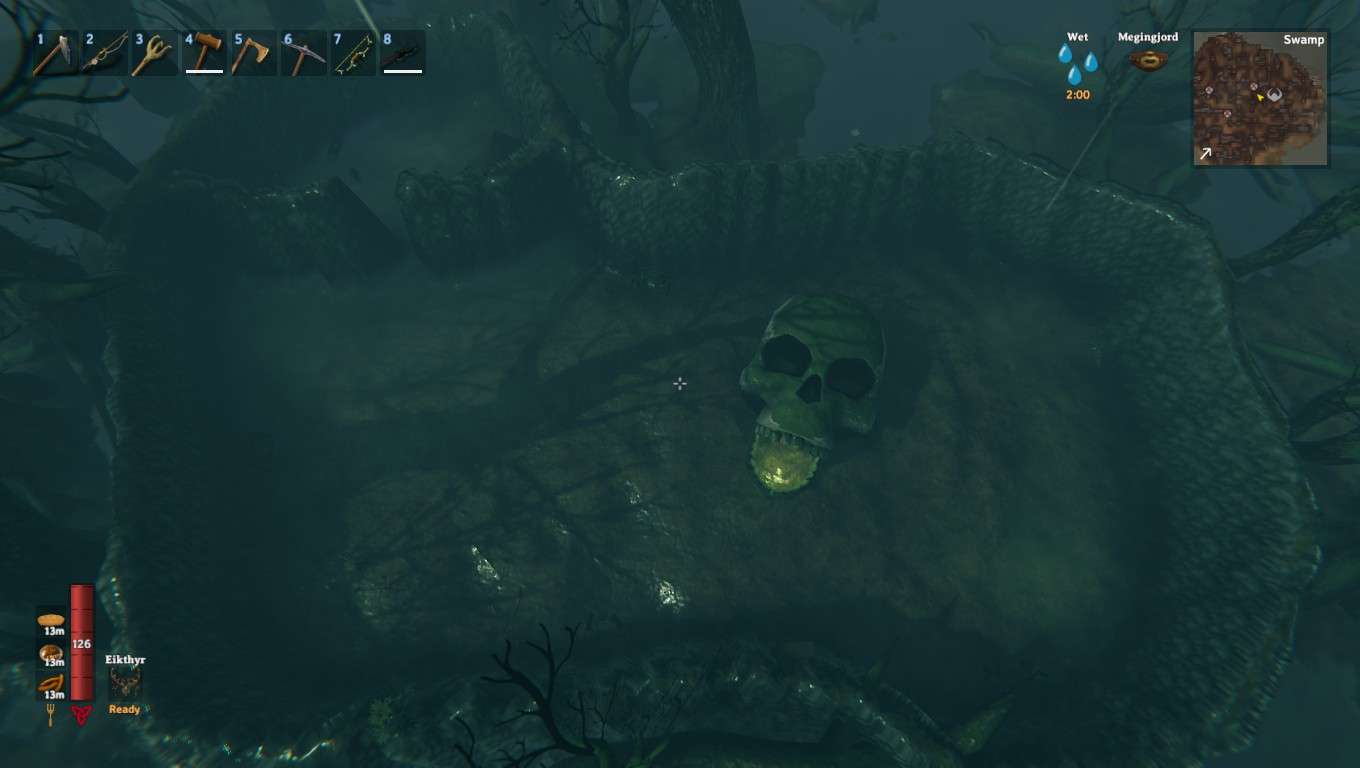
Forsaken
For many new single players, Forsaken engagements may seem nearly impossible to solo without very advanced combat skills. However, even those of us with mediocre combat skills can once again use combat engineering to even the playing field and collect those Forsaken trophies just like the veteran players.
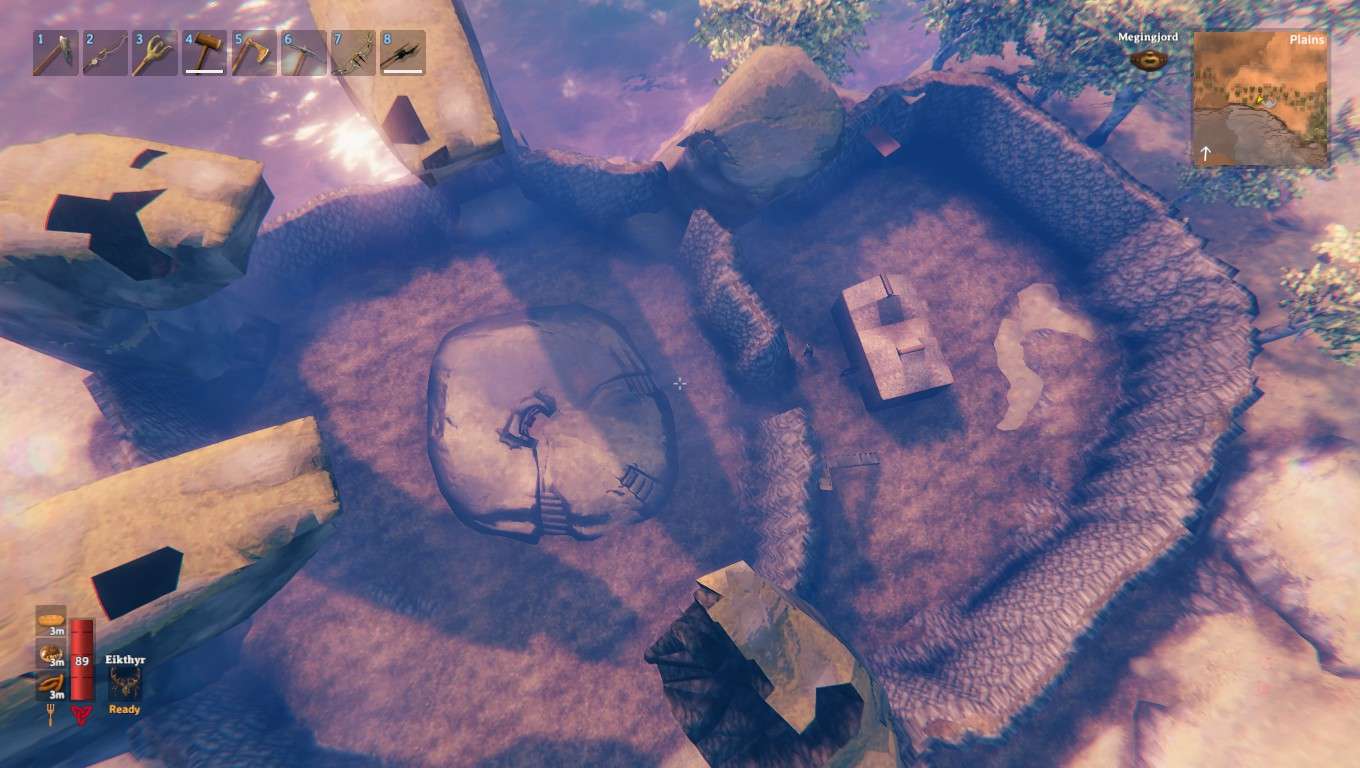
One technique is to build an asymmetric figure-8 around the Forsaken site with the larger ellipse enclosing the sacrifice stone and a smaller ellipse for the player. A very small gap between the ellipses allows the player to make the sacrifice and then jump through into the safety of the smaller ellipse and then manage the fight as they please. The enclosure not only isolates the Forsaken but also blocks additional enemies from encroaching other than those spawned by the Forsaken itself.
For the Elder.
Bonemass.
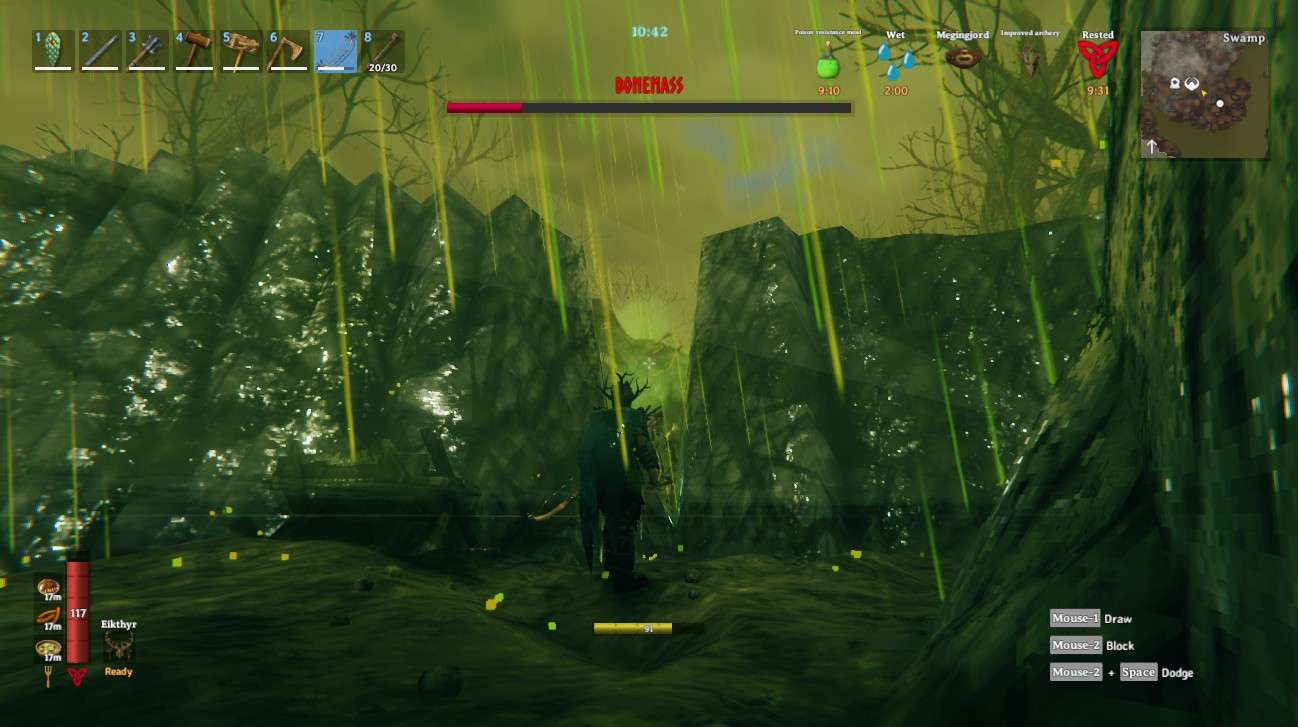
And even Yagluth.

Note the extra size of the player ellipse for Yagluth which allows plenty of room to avoid its meteor attack.
These figure-8 enclosures require a modest amount of stone – usually 2000 is enough – and some wood to build stairs on either side of the wall of the player ellipse. But the payout is a relatively safe combat experience.
Since Moder can fly, a more practical shelter directly around her altar stone gives the player a safe area to avoid her frost and projectile attacks and if the gaps around the altar are left wide enough the player can even shoot poison arrows into her with impunity.
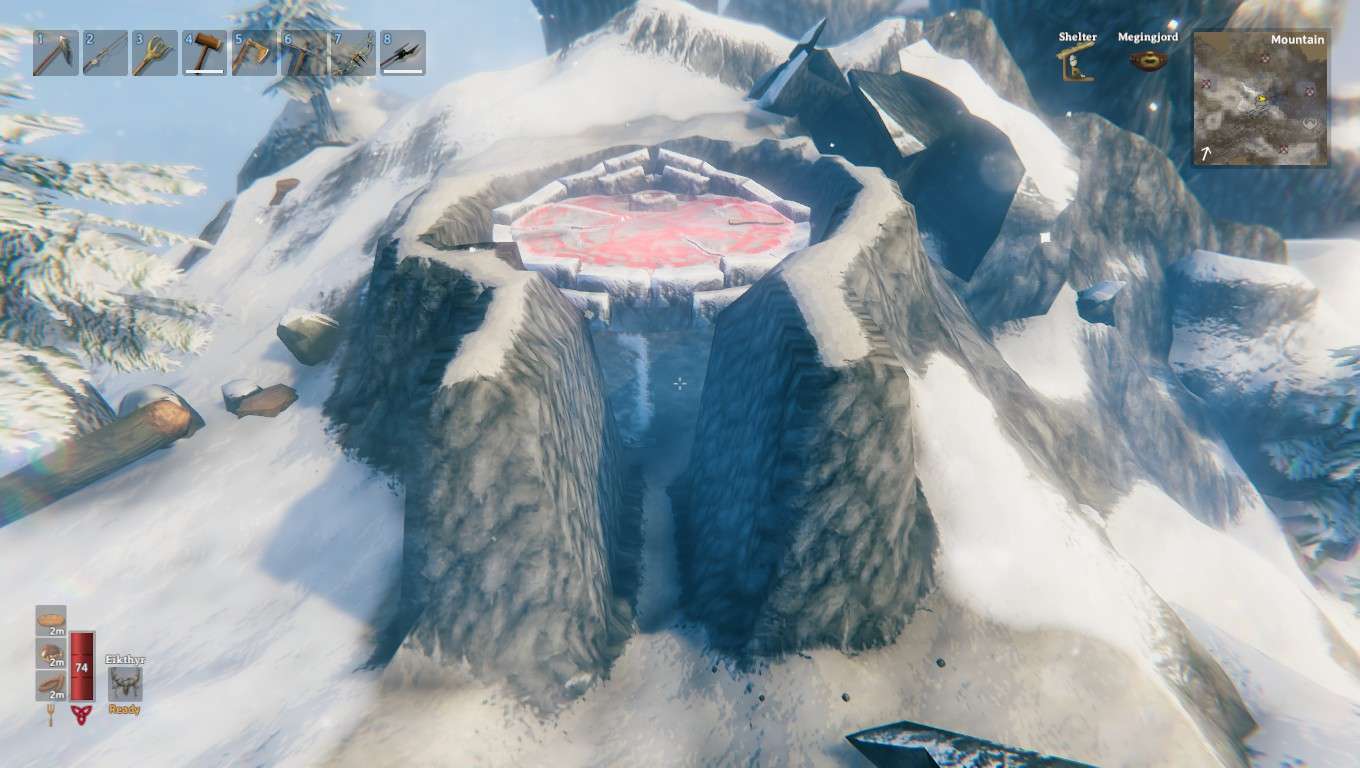
And in any case, her tears are yours.
The Queen
This would not be complete without the latest Forsaken fight and, unfortunately, a combat area that allows very little by way of combat engineering. You can spread wisp torches and even fires around the inside of the Infested Citadel but by the time you reach the Mistlands you had better learn how to survive with whatever you carry in your inventory as well as nutrition and rest. But pay attention to skill levels by the time you reach the Mistlands. There are many opinions as to whether skills matter and by how much. If you decide to invest time in developing them for the Mistlands, then you should also consider one or more skill academies.
Draugr, skeleton and greydwarf spawners are perfect opportunities to draft their residences into blocking and melee trainers and even trainers for elemental and blood magic if you prefer the mage path although elemental magic may best be developed with a stone golem trainer.
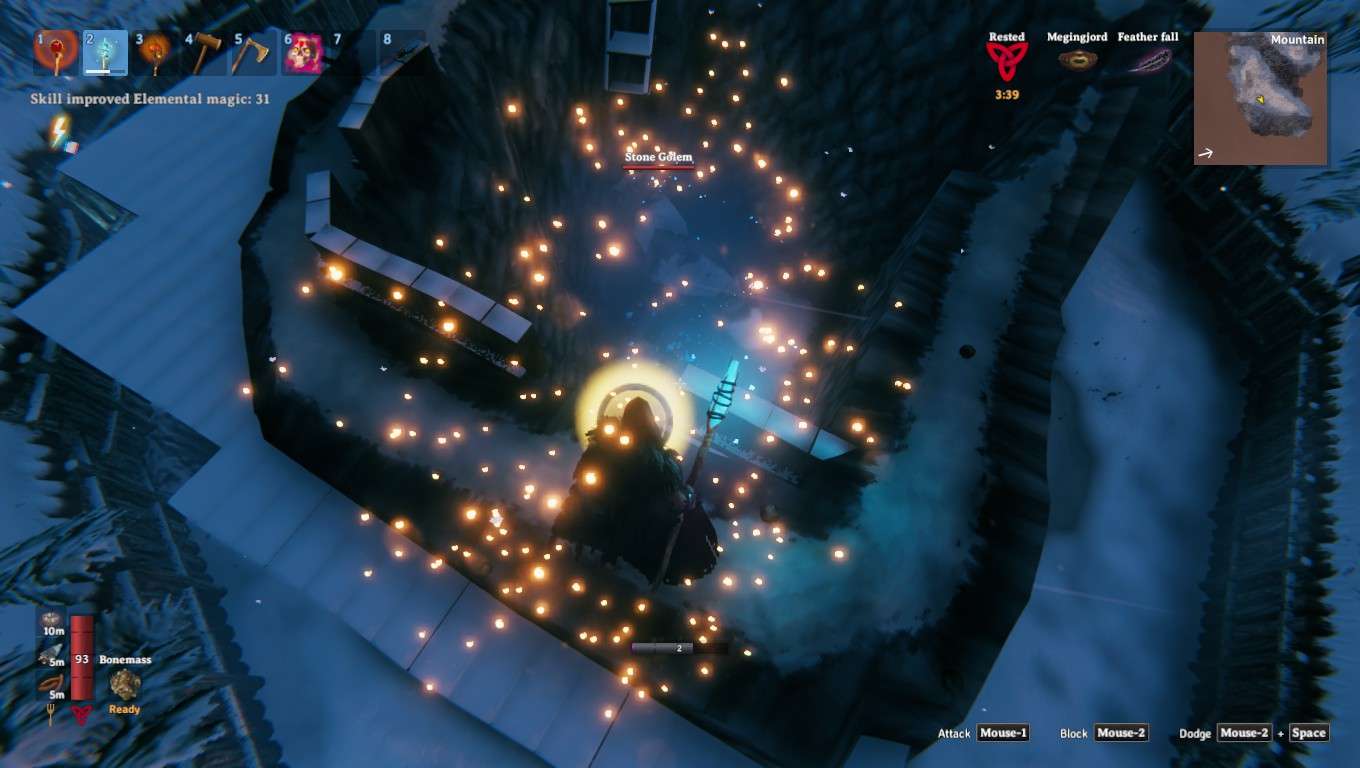
Once again, build a terrain enclosure but leave a gap. Lure an ice golem to chase you into the enclosure through the gap and have a step ladder to run up and then finish the enclosure trapping the golem within. Now you can return with a Staff of Frost and tickle the golem as your elemental magic levels rise. Remember that skill levels grow faster if resting so you can construct a small fire and resting shed to use the Staff of Frost from.
How will combat engineering fare in the Ashlands and Deep North? We will soon (hopefully) see!

Be the first to comment