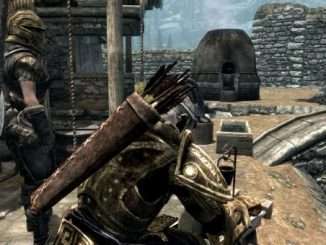
A simple guide on how to install ReShade, ENB and their presets, plus a list of recommended presets.
The Special Edition of Skyrim came out, and with it ReShade and ENB presets. This will be a step-by-step guide on how to install ReShade 3, ENB and their presets.
Requirements
Before we start, there are some things you need to know and have:
- TES 5: Skyrim SE Folder location: The folder where your game is installed, usually located in C:Program Files (x86)SteamsteamappscommonSkyrim Special Edition.
- ReShade 3: A generic post-processing injector made by crosire.
- ENB: A modification made by Boris Vorontsov for PC games, that messes around with post proccesing and such.
How To Install ReShade 3.0
First things first you need to download ReShade 3.0 which can be found on the official website.
Once the download is complete launch “ReShade_Setup_X.X.X.exe” (X is the version number of the ReShade) and then click the “Select Game” button.
As said on Requirements section, you need to know where the Skyrim SE executable is. Browse until you find it and select it (for example, my executable is located inside E:SteamsteamappscommonSkyrim Special Edition).
Now click on “Direct3D 10+” and when asked download the presets files, confirm by clicking on “Yes” button.
You can close the program once it says the installation is complete.
How To Install ENB
The installation of the ENB is very simple. Just download the latest Fallout 4 ENB files (yes, Fallout 4) from the official website.
Once the download is complete, open “enbseries_fallout4_vXXXX.zip” (XXXX is the version the ENB). Copy “d3d11.dll” and “d3dcompiler_46e.dll” from “WrapperVersion” inside the Skyrim SE installation folder.
Referring to How To Install ReShade 3.0 install ReShade 3.
How To Install Presets
The installation of presets is easy too. Once you downloaded a preset open the downloaded archive and copy the INI file that contains the settings of the preset and “dxgi.dll” inside the Skyrim SE installation folder (overwrite when asked). Copying the folder “reshade-shaders” is not necessary.
Notice: DO NOT copy “dxgi.ini” inside the installation folder (if it’s present with the preset you just downloaded). The settings may be incorrect and the preset may not work.
Recommended ReShade Presets
- Vibrant and Colorful.
- Sin.
- Lighthearted Hearth.
- Clean and Simple.
- Clearview.
- Re-Engaged.
- Better Looking Skyrim.
- Clear Sight.


Be the first to comment