
New players should begin here to learn the basics and play correctly.
Other Risk of Rain 2 Guides:
What Can I Learn from This Guide?
If you’ve played Risk of Rain 1, the answer is probably not much. If you’re a stranger to the game and decided to hop in for the sequel, welcome aboard!
This guide provides essential game information for new players. It is not a detailed, expert-level walkthrough. It aims to answer basic questions and give a general overview of the game. Advanced topics and secrets are not included, allowing players to discover them independently.
Controls
General Controls
- WASD – Your trusty ol’ movement keys.
- E – Interact with stuff.
- Q – Activate equipment-type items you may have picked up.
- Ctrl – Toogle Sprint: Press once to start running.
- TAB – Hold to see how you’re doing. You can also point at items to double-check what they do.
- M3 – Ping: Found the teleporter? Want to focus down an enemy? Aim at things of interest and press this button to let your team know!
Skills
Every character has all kinds of different abilities and ways to attack, so you’ll want to read up on what they do beforehand. Most of them will also have short cooldowns, so don’t just spam them.
- M1 – The “shoot gun” button. Has no cooldown, but also tends to be the weakest.
- M2 – A slightly stronger attack.
- Shift – Often a dash of some sort. Useful for evasive maneuvers or just speed up exploration.
- R – Often your strongest ability. Of course, the cooldown also tends to be the longest.
How to Win
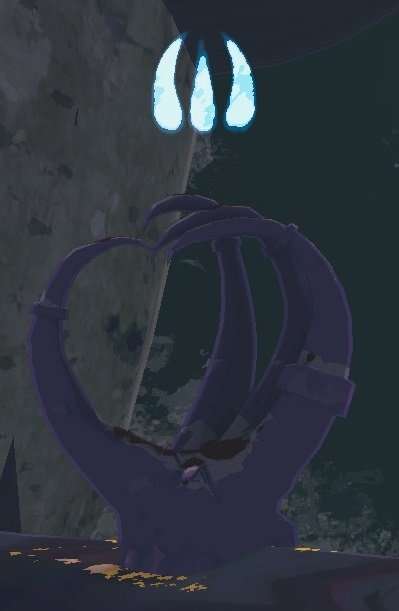
You will appear at a random spot in the level, and your ultimate objective will be to find the teleporter to the next level, which will also appear at a random location. It can be pretty tough to spot, especially if you’re not familiar with how it looks like. Keep your eyes peeled and remember to let other players know if you find it by pointing at it and pressing the Ping button (Mouse 3 by default).
")
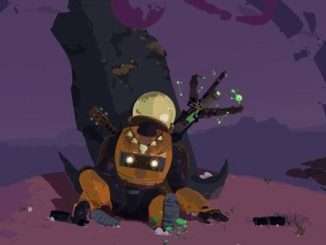
Those horn-like arcs are unmistakable
Once you activate the teleporter, you will need to charge it; all you need to do is stay inside the red bubble around the teleporter and hang in there. However, a boss will appear as soon as you activate the teleporter, and you’ll also have to kill them before you can proceed.
Use the teleporter again once you’ve done all this and you’ll shortly be teleported to the next level. There is no ending… yet; you will eventually loop back to the first level. Survive for as long as you can before you get yourself killed.
This game can be pretty hard, especially on your first few tries. Therefore, I recommend trying a couple of runs in singleplayer to get used to the controls and then hop right into multiplayer. This should help ease the burden on yourself and pair you with other people that can show you the ropes.
How to Get Stronger
As you look for the teleporter, enemies will appear all around you. You can kill them to earn money, which is automatically collected and shared with all players.
This money can then be spent to get items, which will be the main way you will power up throughout the game. Each item grants a small effect, but they can also be hoarded infinitely; Survive long enough to get plenty of items and you’ll become a one-man army!
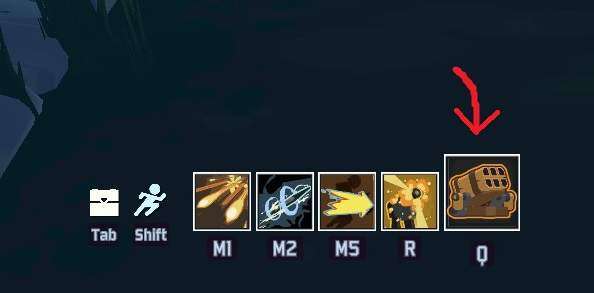
Now, while most items have passive, permanent effects, Equipment Items are a different story. You can only carry one at a time and they won’t do anything until you activate them (Press Q by default). They provide brief and extremely powerful effects and you can use them as many times as you like! However, they also have much longer cooldowns, so make each use count!
Items are color-coded into four groups. Passive items are, ranked from most to least common, white, green and red. The rarer the item, the more powerful they tend to be. Equipment items are all color-coded orange, and can vary in usefulness.
Always. Keep. Moving
You might think that farming all the items in one area before moving to the next will yield the easiest experience. Think again. As time goes on, the game will progressively get harder and harder. Enemies will become tougher, stronger and more plentiful. Heck, the game might just start throwing bosses at you before you even reach the teleporter.
You’ll need items to keep up with the rising difficulty, but you can’t hang around in one place for long either; you must strike a careful balance. If you already looked at your close surroundings, move along. If you spotted an item but it’s at the other side of the map, forget it. Grab whatever’s easily accessible and head straight to the teleporter.
…That said, only one person needs to activate the teleporter for everyone to move to the next level. Do look for opportunities to split up in order to bag more items than you could otherwise allow yourself to.
What is This Thing?
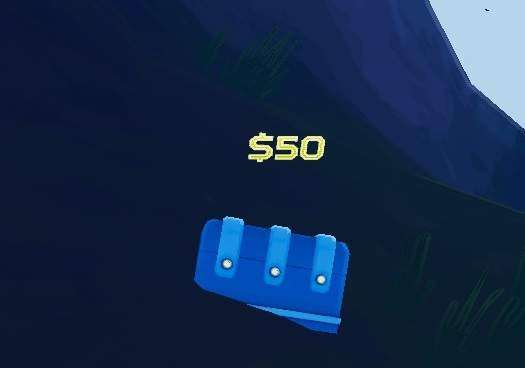
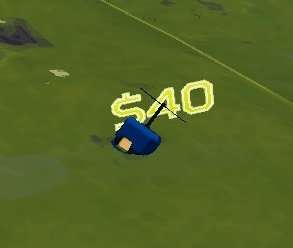
Chests
Your most common source of items. For the price listed above the chest, you can open it and claim the loot within.
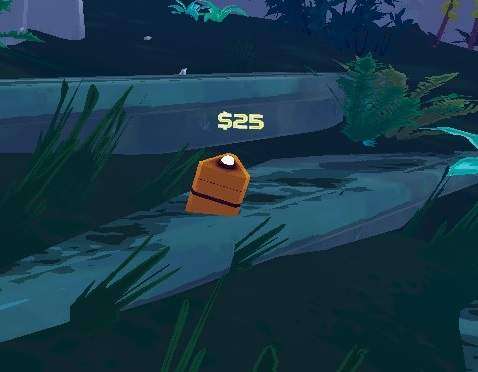
Equipment Chest
A particular kind of chest, this one is guaranteed to give you an equipment item.
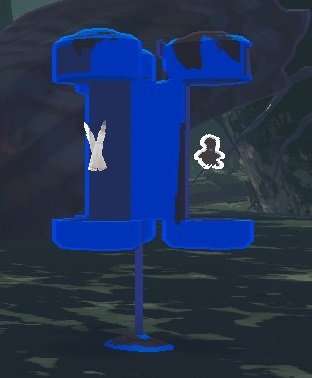
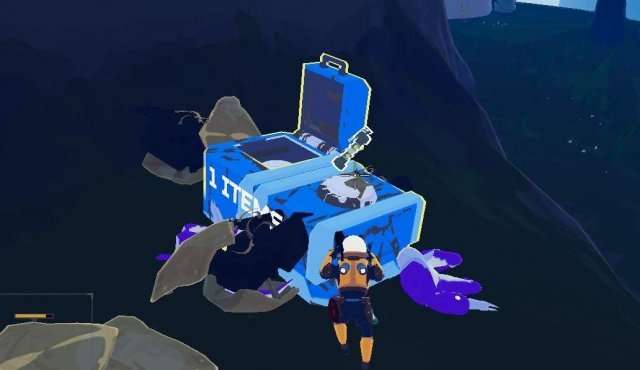
Tri-Pod Chest
Another particular kind of chest. It has three items, but you can only buy one of them, so make sure to stand in front of the one you want before you pay up.
Legendary Chest
Much larger and stupid expensive. This one is guaranteed to give you a red item. Good items don’t come cheap, you know!
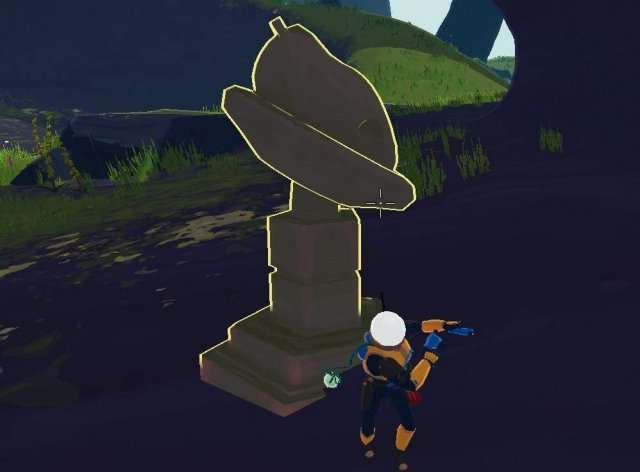
3D Printer
Give up a random item in exchange for a copy of the item shown. I wonder what would happen if I had one of these… or seven.
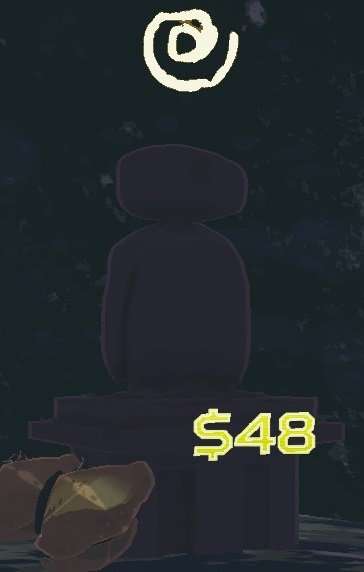
Shrine of Chance
Pay money for a chance of getting an item. Feeling lucky?
Shrine of Combat
Spawn a handful of enemies to fight. That’s it. Need some quick cash?
Shrine of Blood
Take damage in exchange for money. You really need some quick cash?

Shrine of Order
Reroll all of your items, mostly into bad ones. You’ll probably want to just ignore this thing unless you only had bad items, to begin with.

Shrine of the Mountain
Once activated, an additional boss will appear once you activate the teleporter. Are you up to the challenge?
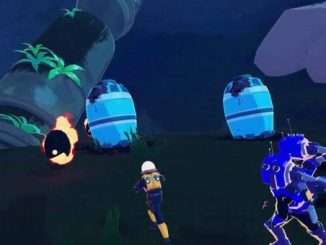
Drones
You can also find broken drones; you can drop a bit of cash to fix and recruit them. Some will shoot at enemies and others will heal you every now and then. They carry over though levels and can be a big help, just keep in mind they can be destroyed.
Recommendations, Tips and the More Subjective Stuff
- Consider activating the teleporter and using the money from the boss fight to go shopping afterward for greater efficiency. Just make sure you’re actually ready for the battle beforehand!
- Fall damage can hurt you real bad, but it will never drop you below 1 health.
- Try sharing items and think about who can make the best use of what. Keep everyone on their A-game and avoid relying on a single person to carry everyone else.
- Remember to ping points of interest or priority targets to other players!

Be the first to comment