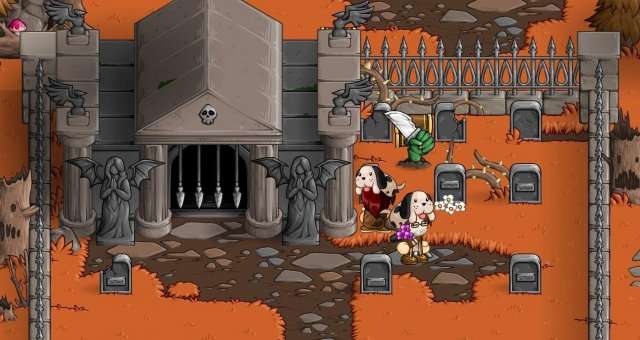
The arcade foes can be tricky to conquer, but this handy guide ought to let you know what makes them tick!
Arcade Battle Strategy Guide
Pumpkus
Pumpkus is a playful pumpkin thing that wouldn’t dream of hurting you… unless you hurt it first. Deal any damage, and its stats will skyrocket.
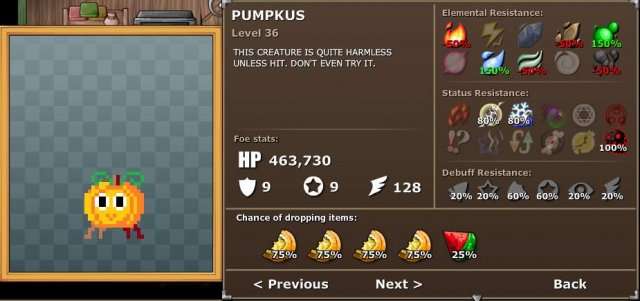
You can make Pumpkus weak again. Use water or bio damage on it before it attacks. Be careful, when it is weak, it uses an attack that makes your whole team tired. If it uses this attack too much, you might lose.
Angry Chair
Angry Chair hits with mostly non-elemental physical attacks, but also has an attack that conveniently lowers your physical defense.
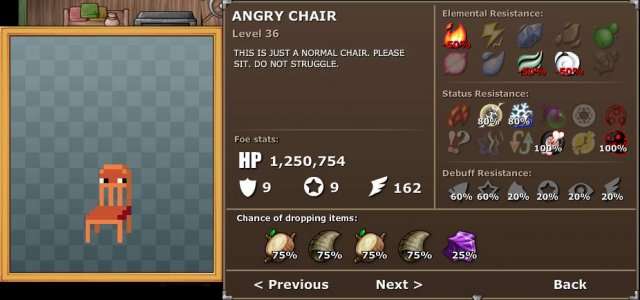
Luckily for you, the Morale status prevents you from receiving defense debuffs! The Spartan Helmet, the Turtle Gi, and the Tr*force are all going to be very useful for this fight for their passive Morale status. Alternativley, you could summon Stumpy Gloop (passivley summoned by the Amber Bobbles), Lost Fallen, or use the Death Metal limit break to give the whole party Morale status. When there is one chair left, it will flee for its life.
Bosh
Bosh uses plenty of bio attacks and likes to lower your physical defense and your magic defense. It also has a water attack it can use to dispel you.
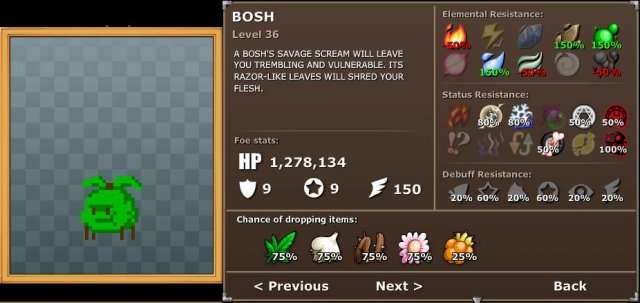
Bosh will focus on crippling your party’s stats at first. Once one of them dies, they will resort to going berzerk, forcing them to spam their leaf attack. If you can kill one of them fast, all you’ll need to worry about is resisting bio damage and keeping your defenses up. Otherwise, Dispel resistance and Morale are highly recommended. If only one is left, it will flee for its life.
Robo
Robo uses thunder and bomb attacks and can confuse you. Scarily enough, it lands x2 Critical Hits on every one of its attacks, effectively doubling its attack power.

You’ll need to have brave status on many of your party members to avoid getting wiped out. Brave status can be gotten from various equips, like the War Paint, Headband, Dragon Helm, Royal Crown and Obsidian Armor. It can also be given to one person with Matt’s Temper skill, or given to all party members at once with the Roasted Gloop (which can be passivley summoned with the Obsidian Armor) or with the Beheaded Fallen. Matt’s Ragnorok limit break also gives everyone brave status.
Glob
Glob inflicts a metric ton of status effects. You will want to be resistant to many of them, or at least the worst ones, like syphon, confuse and dispel.
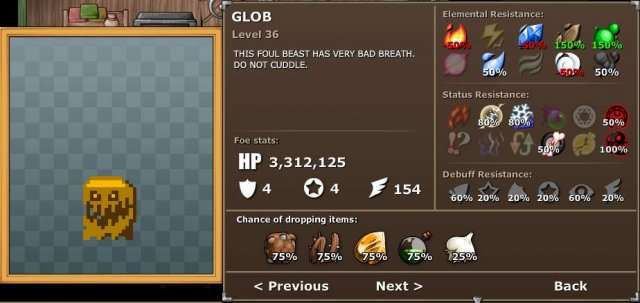
Glob doesn’t actually deal that much damage, so as long as you don’t fall prey to it’s immense amount of status effects, you should be fine. Glob is weak to holy damage, so pairing it up with curse and its defense-lowering properties is a great way to get rid of it. Burn works wonders, too.
Snek
A Snek’s main strategy is to take you down with all kinds of passive damage, like poison and scorch.
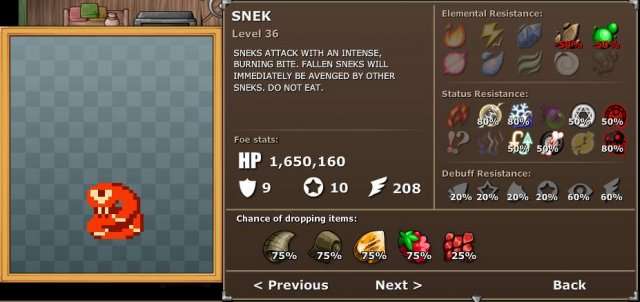
Sneks can also disable your party, so watch out. Ironically enough, poisoning a Snek is a great way to damage it as well. Just remember to kill them all in one turn: a Snek will summon another SNEK on its turn if there is an available slot.
Phoenix
Phoenix gets auto-revive every turn, and can even revive its teammates (read: summon another Phoenix).
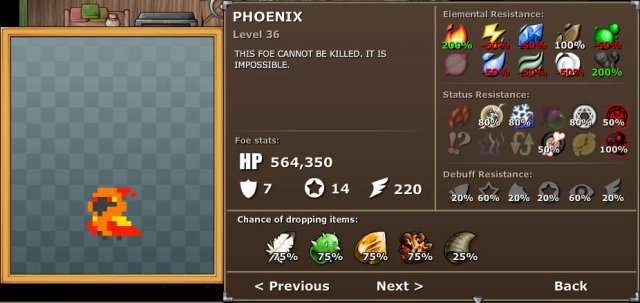
Phoenix also likes lowering your defensive stats. To defend against this, see angry chair strategy. You’ll want to hit them all at once, and dispel them all right before the killing blow. They take twice as much pyisical damage as they do magical, so keep that in mind. At the very least, they have quite a few weaknesses to work with.
Totom
Totom becomes stronger the more damage it takes.
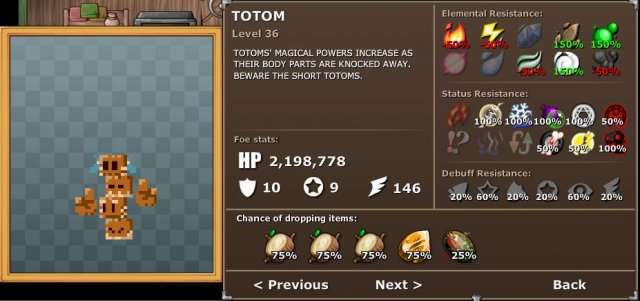
Needless to say, you may want to damage them one by one. A good thing to do is to set up a huge damage combo, which isn’t too hard considering how their defense stats only have a 20% debuff resistance, so you can take them out as quickly as possible. You can stall for as long as you want to set it up; Totom isn’t that dangerous in its first form. Be wary when you pull of your super damage combo, though; it becomes more and more resistant to thunder and wind as it becomes more powerful. Base it around fire and dark instead!
Treagure
Treagure likes to spit exploding gems everywhere. Those colors aren’t just for show, though. Each color has an element and a status effect attached to it!
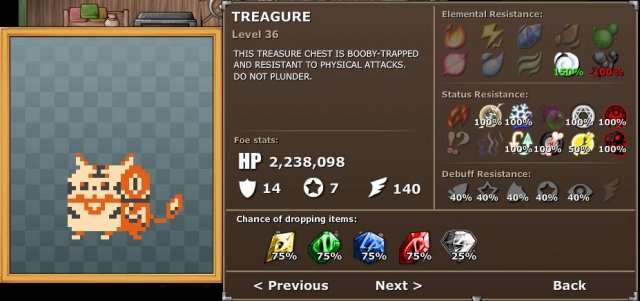
Similarly to GLOB, Treagure inflicts a ton of status effects. This includes syphon, freeze and doom, and they can dispel you with another attack as well. When only one Treagure is left, it will go berzerk and only attack with a biting attack that only targets one person with no other effects. It also takes twice as much damage from magic attacks than from physical, so keep that in mind!
Guoye
Guoye is an evil… thing that tampers with your defense as it pleases. Not only does it lower both of your defense stats, it can make you either invisible or enchanted!
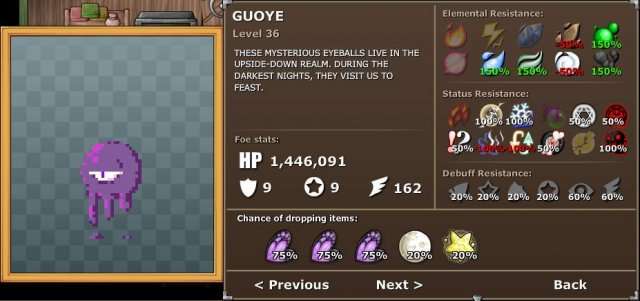
Again, keeping Morale on the whole party is a great idea for keeping your defenses healthy, but the invisible and enchanted effects could still be a problem. Luckily, their attack and magic attack debuff resistances are only at 20%, so, with a bit of luck, you can weaken them both and ride out the rest of the battle on easy street.
Coralia
Coralia likes to constantly buff herself and attacks you with some bio and wind damage.
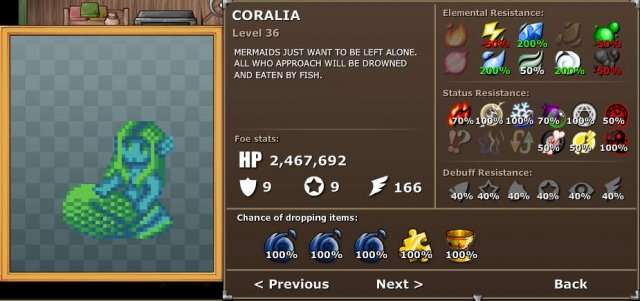
Coralia’s buffs stack, so if you don’t get rid of them fast, she will become unbearably tough. Luckily, out of her four possible choices (physical attack, magic attack, physical defense, magic defense), she will only buff two of these stats by 35%, and it’s not even guaranteed that she will buff every turn. If you make her weakened and cursed, the debuffing effect should easily be able to keep pace with her buffs. Poison is also a great way to damage her, if you can get enough status-boosting effects on your side.
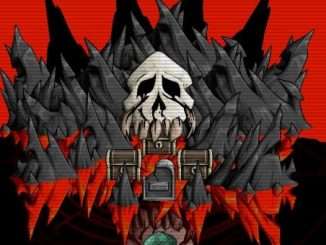
The Maw
The Maw has some of the scariest attacks in the game, all of them being guaranteed triple crits! It also likes infecting your party with deadly viruses.
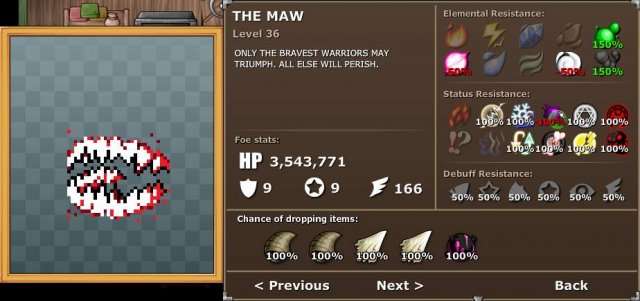
Only strong players can win this fight. You need the “brave” status to have a chance. Pumpkus will give your team and itself a lot of virus effects. Bio resistance is very important because it will use virus attacks when you attack it. All its other attacks are normal, so you only need to protect against bio damage.




Be the first to comment