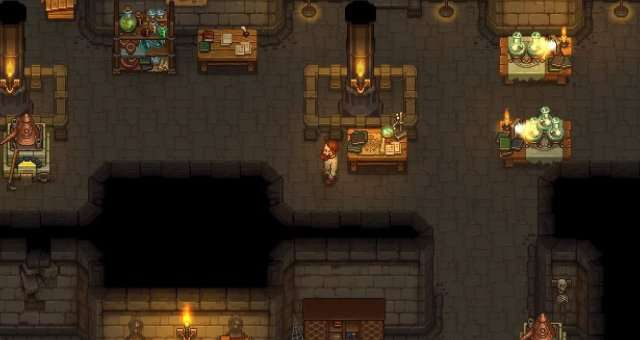
This is a list of tips and info for new players. It will help you have a better time with the game. It’s not a complete guide. I mention some things without giving away too much, so there are no spoilers. These tips will make the game easier for you when you start.
Gameplay Tips
Tech Tree and Chests Organization
- Your Tech Tree is your main source of progression in this game. You’ll get tech points based on things that you either make directly or things you do. I liked it alot actually <3.
- You start with 2 colors of tech points you use and eventually use 3. It’s not a spoiler since you can see it in the tech tree from the beginning. The 3rd type of tech point is gained by making specific things or studying items at a table you unlock.
- Running out of energy doesn’t make you collapse, restore your energy via sleeping or food. If you have enough food you can stay awake forever! BUT after a certain point you’ll lose energy over time from staying up too long so try and sleep about once a day even if only for a few minutes to keep that from happening.
- You can access literally any chest in your outside home area FROM any chest in your home area. Inventory management once you have enough chests and understand the game’s system is minimal and this is fantastic. If you’re going to craft it outside, store the materials in chest.
- Get organized about how you place your chests and what you put in them. While you’ll do most of your crafting from your home workshop outside you’ll still need to grab materials from time to time. Being able to remember what you store where makes this quick and easy. I think I had like 12 chests by end game though I prolly overstocked a few things.
- Never use the last of the materials in a chest. This is for the sake of organization. When you use up all of a material you start forgetting where you put things and later when you have automation this can end up with things being placed into chests you don’t want them in.
- Place 2 chests by the church, one on each side, you’ll thank me later.
- After this point IMO you should play the first 10 hours of the game without knowing anything more and have fun discovering most things naturally. Then come back to prevent end game frustrations. But it’s your choice, read to the next section if you want.
Corpses, Sins and Embalming
Corpses, Sins (Red / White Skulls) and Embalming (Your Graveyard Rating and You)
- If you don’t fully understand the sins / embalming and graveyard mechanics by now, then you need to learn because it’s very important.
- Basically for corpses the white skulls are your good rating and the red skulls cancel them out. Removing body parts changes the ratings. Embalming is your second way of changing the ratings.
- The better your rating the more money and special resource you’ll get later in the game for a weekly service you’ll provide. So yes, very important. Getting a strong graveyard early can help keep you from needing to grind coin later for a few quests that need alot of it. Also who doesn’t want more money?
- Gravestones and Fences determine the maximum value a corpse can contribute to your graveyard. So even if you have a perfect corpse full of white skulls and no red skulls if your combined stone + fence value is 4 you can only get the benefit of 4 of those white skulls.
- You can always replace gravestones and fences later! Don’t be afraid to upgrade slowly as you go. Rule of thumb though is to get 2 quality levels better at least on each item before replacing unless you’re a min maxer. It’s a nice compromise between constant replacement and missing out on the increased revenue. (if the corpse is good enough to provide it)
- Look for corpses with a decent ratio of white skulls to red skulls.
- Fat and blood are always safe to remove as they remove 1 red skull while adding 1 white skull.
- You’ll always want to use a glue injection on your embalming table.
- Lye injections add both a red and a white skull so for this to help you’ll need to remove the red skull it adds.
- Silver and Gold Injections remove red skulls while adding white skills. -1/+1 and -2/+2 respectively. They use rare resources so make sure you only use them when you have a red skull to remove. This will help determine what white to red skull ratio of corpses you can successfully use so they are powerful tools in that regard.
- Removing brains and guts and etc can be useful if you get lucky with the skulls randomly assigned to them, but mainly is done for quests and turning them into ingredients via alchemy or studying them.
Selling Items and You
- The in town economy system is obtuse and I hate it. It’s the single worst thing about the game. It’s not an issue until mid to end game so you go most of the game before this impacts your enjoyment.
- You learn that only specific merchants will buy specific things and not all of those type of things either. Things like “this quality doesn’t sell but this quality sells to this guy and that quality sells to another guy” happen. MOST stuff sells to people that make sense, but even then they won’t buy everything that make sense and often have quality limitations. Some qualities of some goods cannot be sold at all. None of this is explained, none of this is intuitive, none of this is ok.
- You have to run all over town to sell things to like 5+ different merchants since each only buy certain things.
- On top of this, the town has limited coin. Some shops will slowly regain coin over time at a crawl (compared to how much you need to earn to finish the game) and some will not replenish coin at all it seems. This is why getting a good graveyard going as early as possible is so important.
- You have to buy a certain amount from different vendors to even access certain tiers of purchase…which is a waste of money you’ll need for later. I never found it to be useful.
- When you start ramping up production, always test selling to merchants first before you really commit. Nothing sucks worse than ending up with tons of crap you can’t sell. There is no crap box to sell misc stuff in like Stardew Valley and there needs to be. A late game money making solution shows up but it’s also very limited.
Crafting, Alchemy and Automation
- Making things that have multiple qualities can only be done 1 at a time and the UI for it is cumbersome. This can be almost completely avoided, but it’s annoying. I ended up cooking alot of lower quality food because cooking higher quality food was not worth the trouble at all when I could just get easy to gather ingredients and carry around twice as much. Thankfully late game automation handles this on non-cooking stuff. I wish the game let you automate the cooking of quality based foods :(. This one bone headed decision made all star quality food basically worthless.
- This also means any food with a quality rating basically sucks when it comes to restoring your energy because it takes more time to craft it 1 by 1 than it’s worth to eat it.
- Simple easily obtained foods like sliced beets you can eat for energy are your best option. Once you have a good farm going you can easily power through with masses of cheap food that requires almost no prep.
- Best cost to energy food that can be mass produced I fond was muffins. Needs 1 dough and 1 honey for multiple muffins. Don’t get married to it, use whatever crops you have on hand to mass produce other foods too, but this is a good one to remember.
- Be aware some recipes have multiple ingredient options you can scroll through, like dinners (which are a quest item). I wasted alot of time once hunting down a specific ingredient for no reason.
- When it comes time to use them, do not use more flyers than you need. I wasted a good amount of materials trying to boost something that has an invisible cap. There is 1 quest that needs 10 flyers and then after that you need flyers for something else up to a point. The number will keep going up but past that point you get no benefit. Just do yourself a favor and look up the cap at that time :P. Being vague so as not to spoil but you’ll know what I mean :P.
- I never found candles or incense worth it. As 1 time consumables from what is a limited or time intensive resource to collect to help you collect a resource you can already easily collect…they are not great. that being said, no sense in saving any candles/incense you make…use em. Candles and insense are good only for that one purpose.
- With alchemy for awhile do yourself a favor and look up the recipes and then craft the ones that you think will be useful 1 time. After being crafted once it’s forever remembered. I enjoyed some “try and find the recipe” alchmey systems like Skyrim, but in Graveyard Keeper it did not feel satisfying so I recommend just looking up the recipes and how to find the ingredients to save yourself the trouble.
- There are 2 specific potions that are core, I used them constantly the moment I had a steady supply of materials. The Digestion Potion and Speed Potion will make your life so much easier when you are able to run perma buffed with them. Use the wiki after you start playing with alchmey to learn their ingredients and where to find them.
- Before using any potion that buffs you, especially speed and digestion potions, eat Sauerkraut. It’s easy to make and it extends buff duration significantly. This makes it a god tier food you should keep around 100% of the time.
- Rage and Protection potions can be useful for the dungeon, but TBH unless you have a ton of alchemy ingredients for them you can easily get by with proper food/drink.
- The automation in this game requires heavy investment but is surprisingly fun and good and continues to scale until the game is nearly over. Quite satisfied with it overall.
- The Alchemy automation is good for everything but distillations. Do yourself a favor and do the distillations yourself with the distillation cube. I think I had either 2 or 3. It takes ridiculous amounts of time to do distillations via automation. Powders and solutions however process in reasonable time frames so automation works very well for those.
- You can automate more than you think, experiment placing your automation at available tables in your outside production area of your homestead. You can also pick up and move the automation from one place to another. If it makes things and it’s in your main workshop yard, it can prolly be automated. You can also take over directly at any time if you need something faster.
- Produced items from automation will automatically go to chests that already have those items in it. Make more chests than you think you need, get organized, never take the last item of anything so automation doesn’t place it in a random chest next production cycle. Respect how it works and you’ll have no inventory management issues, it’ll pretty much manage itself.
Useful Tips for NPC’s
Ms Charm
Ms Charm shows up at the Dead Horse tavern at this time, exactly:

To talk to Ms Charm, first you must ask Horadric about ‘The Town’. Ms Charm leaves the Dead Horse tavern at this time, exactly:

Merchant
The Merchant arrives on his day at this time, exactly:

Merchant leaves on his day at this time, exactly:

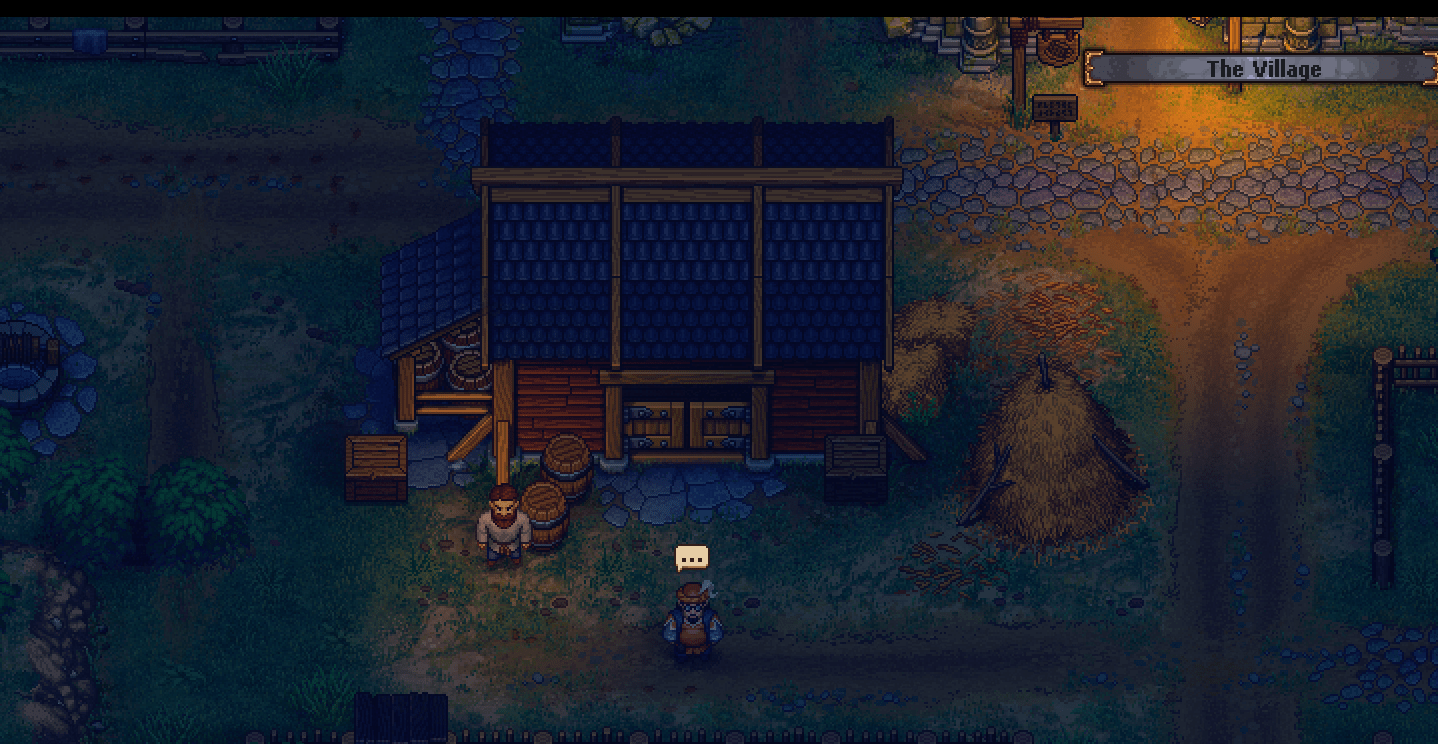
He will stand outside the ‘Merchant Stall’ with the 2 barrels that you can destroy with a swing of your sword for spare parts.
Inquisitor
Inquisitor arrives at his spot on Witch Hill at this time, exactly.

Inquisitor leaves his spot on Witch Hill at this time, exactly.
Astrologer
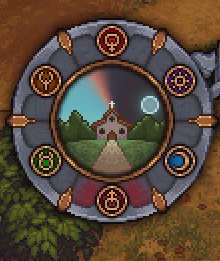
Astrologer arrives at the Lighthouse at this time, exactly. Bring a skull to unlock his stuff so he will trade with you and ask about the diary to get the key quest item needed for Snake’s quest. Show this item to Snake to get the instructions, use both at a study table with 2 faith to study and activate the key to access Snake’s first quest.
Astrologer leaves the Lighthouse at this time, exactly.

Dig
Dig lives off the side of the road near the crossroads to the beach area, the northern path to the Mountain Fort, and to the Lighthouse. He lives inside the ruined bell.
Dig will leave his spot and go inside his bell at this time, exactly (note: Dig shows up on ALL of the six days):

Lighthouse Keeper
Lighthouse Keeper shows up outside the Lighthouse each of the 6 days, at this time, exactly:

He goes inside the lighthouse after midnight, very early in the next day’s morning, at this time, exactly:

Snake
Snake has a few different times that work. When you first go into Keeper’s house basement and go near the southwestern area, it shows a cutscene of Keeper ‘hearing something’ and going to investigate. You will see Keeper walk to the obstruction, and Snake will walk up, say he will eventually get thru the gate, and ‘come back every day’ until he can get through.
Before you talk to him for the first time, he does come back every day at this time, right near midnight:

And during this part of the game, he will leave at this time per day:

Krezevold
Krezevold the blacksmith comes out and will move around his yard randomly. He will walk out of his house at this time, exactly:

Adam
Adam comes out of his house and sits at his spot at this time, exactly:

Clotho
Clotho lives in the swamp area. Clotho will come out of her house and be ready to interact at this time each day:

Rosa
Rosa lives in the house behind the Dead Horse Tavern. Rosa goes inside at this time, exactly.

Shepherd
Shepherd is Rosa’s husband. He works out of the back of the cow-yard and sells peat. He goes inside at this time, exactly, each day:

Donkey Delivery Time
Donkey will deliver corpses at this time.

Donkey has two separate corpse delivery ways:
- Upon game start; and then, after Donkey’s dialogue and carrot box interaction.
Upon game start:
- Delivery can happen on any day, as long as Keeper has space available in the Morgue. (see Locations: Morgue section for how to check space available)
- Donkey delivery of corpses is highly RNG based at this point.
Upon Donkey’s dialogue and carrot box interaction:
- Donkey no longer brings corpses on :Pride: Pride (sermon) day.
- Donkey will only bring corpses if your Morgue as space available (same as normal)
- Requires carrots in the carrot box, adding too late in the day may cause that day to be skipped – Donkey needs time to deliver them.
- Carrot box – Donkey wants 5 carrots per corpse for delivery, however requires 10 carrots (2 corpses worth) at a time, pre-paid before delivery.
I sincerely hope this was helpful. Good luck to you!


Be the first to comment