
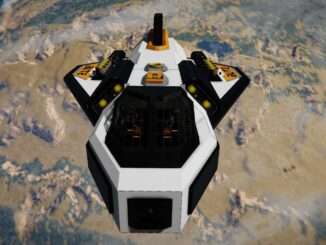
It is often seen on vehicle such as tanks that wheels are stacked impossibly close together. Now i’m sure there are some good tutorials, but i couldn’t find any so i made one anyways. This tutorial explains how to create these ‘Fake’ tracks, such as the one shown in the picture.
Guide to Wheel Track
Intro
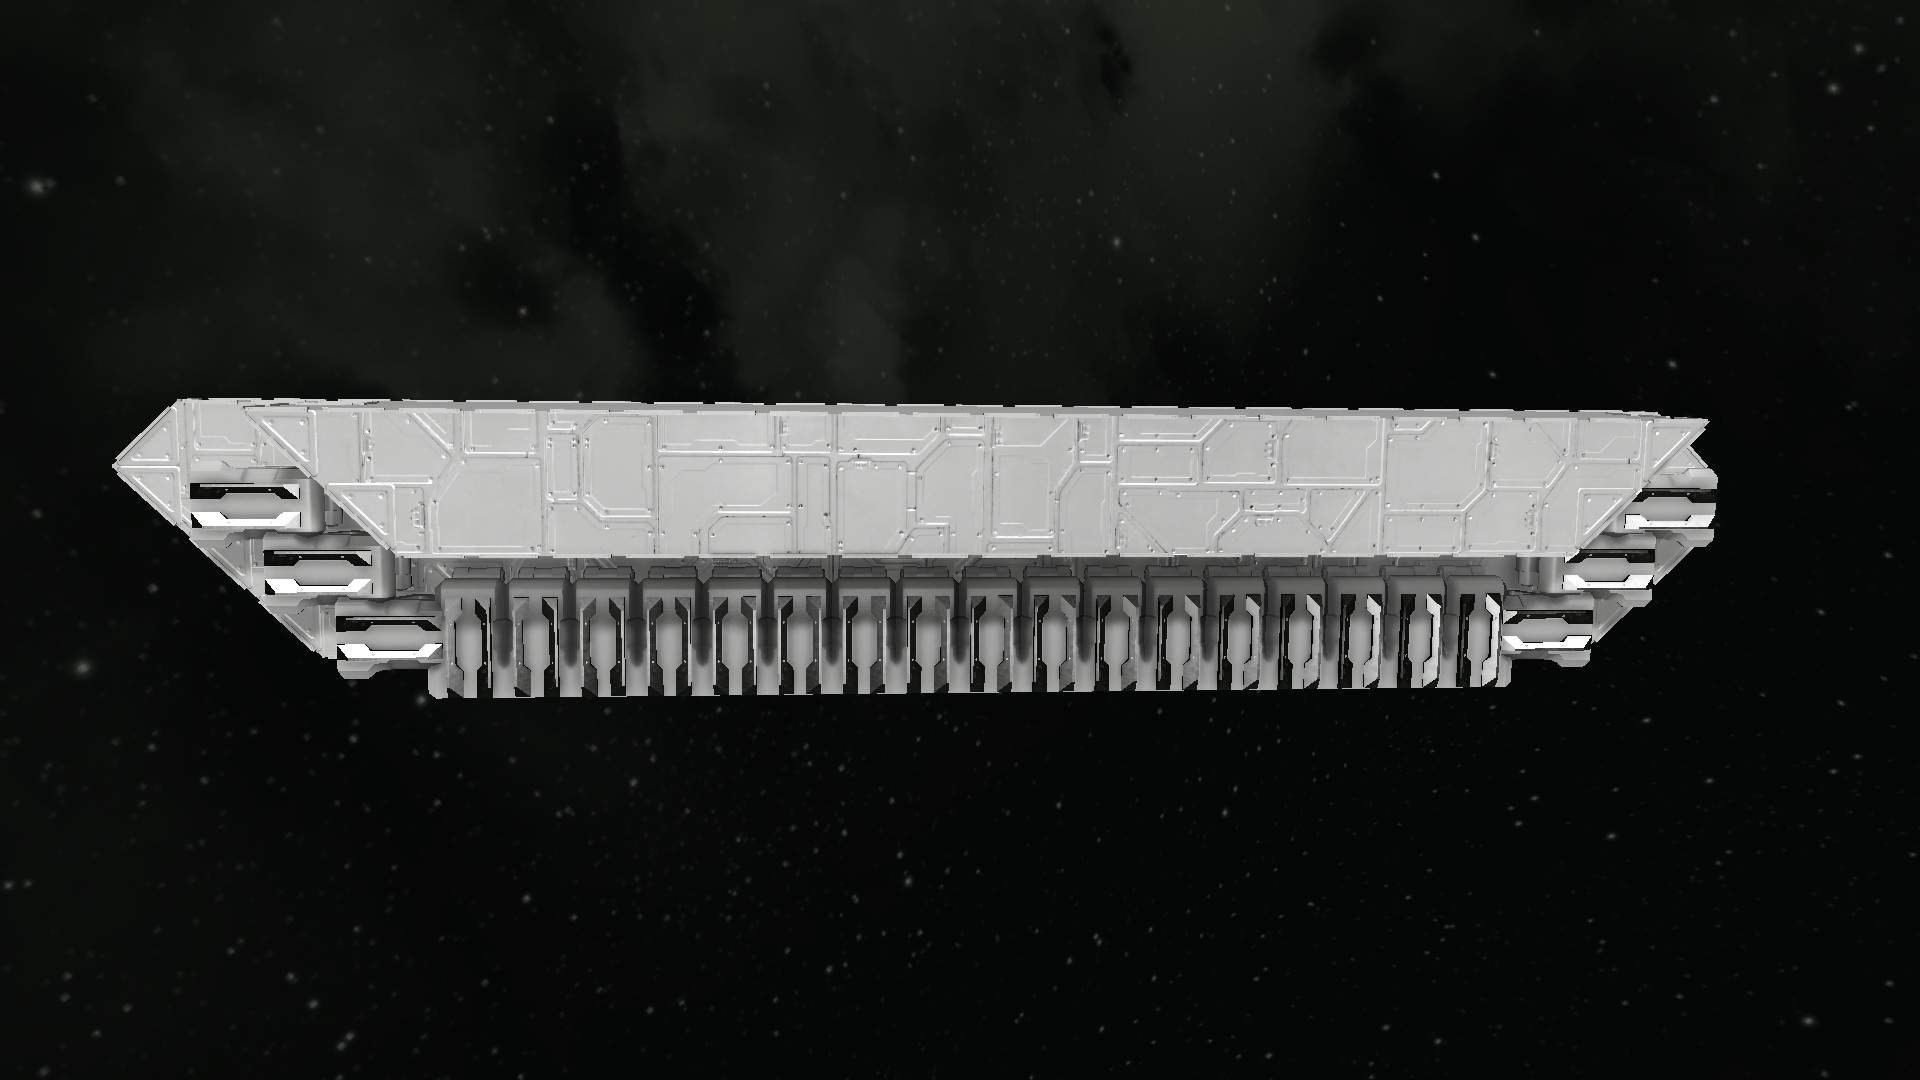
So first up, what am I talking about in this tutorial? Well, as seen on the picture below, the wheels on this mockup are placed 1 block from eachother and are clipping. This should be impossible, as the game does not allow you to create a wheel if it’s intersecting with anything. ‘How is it possible to make this?’ you might ask. That’s why i made this tutorial.
Here is a mockup i created to showcase the concept:

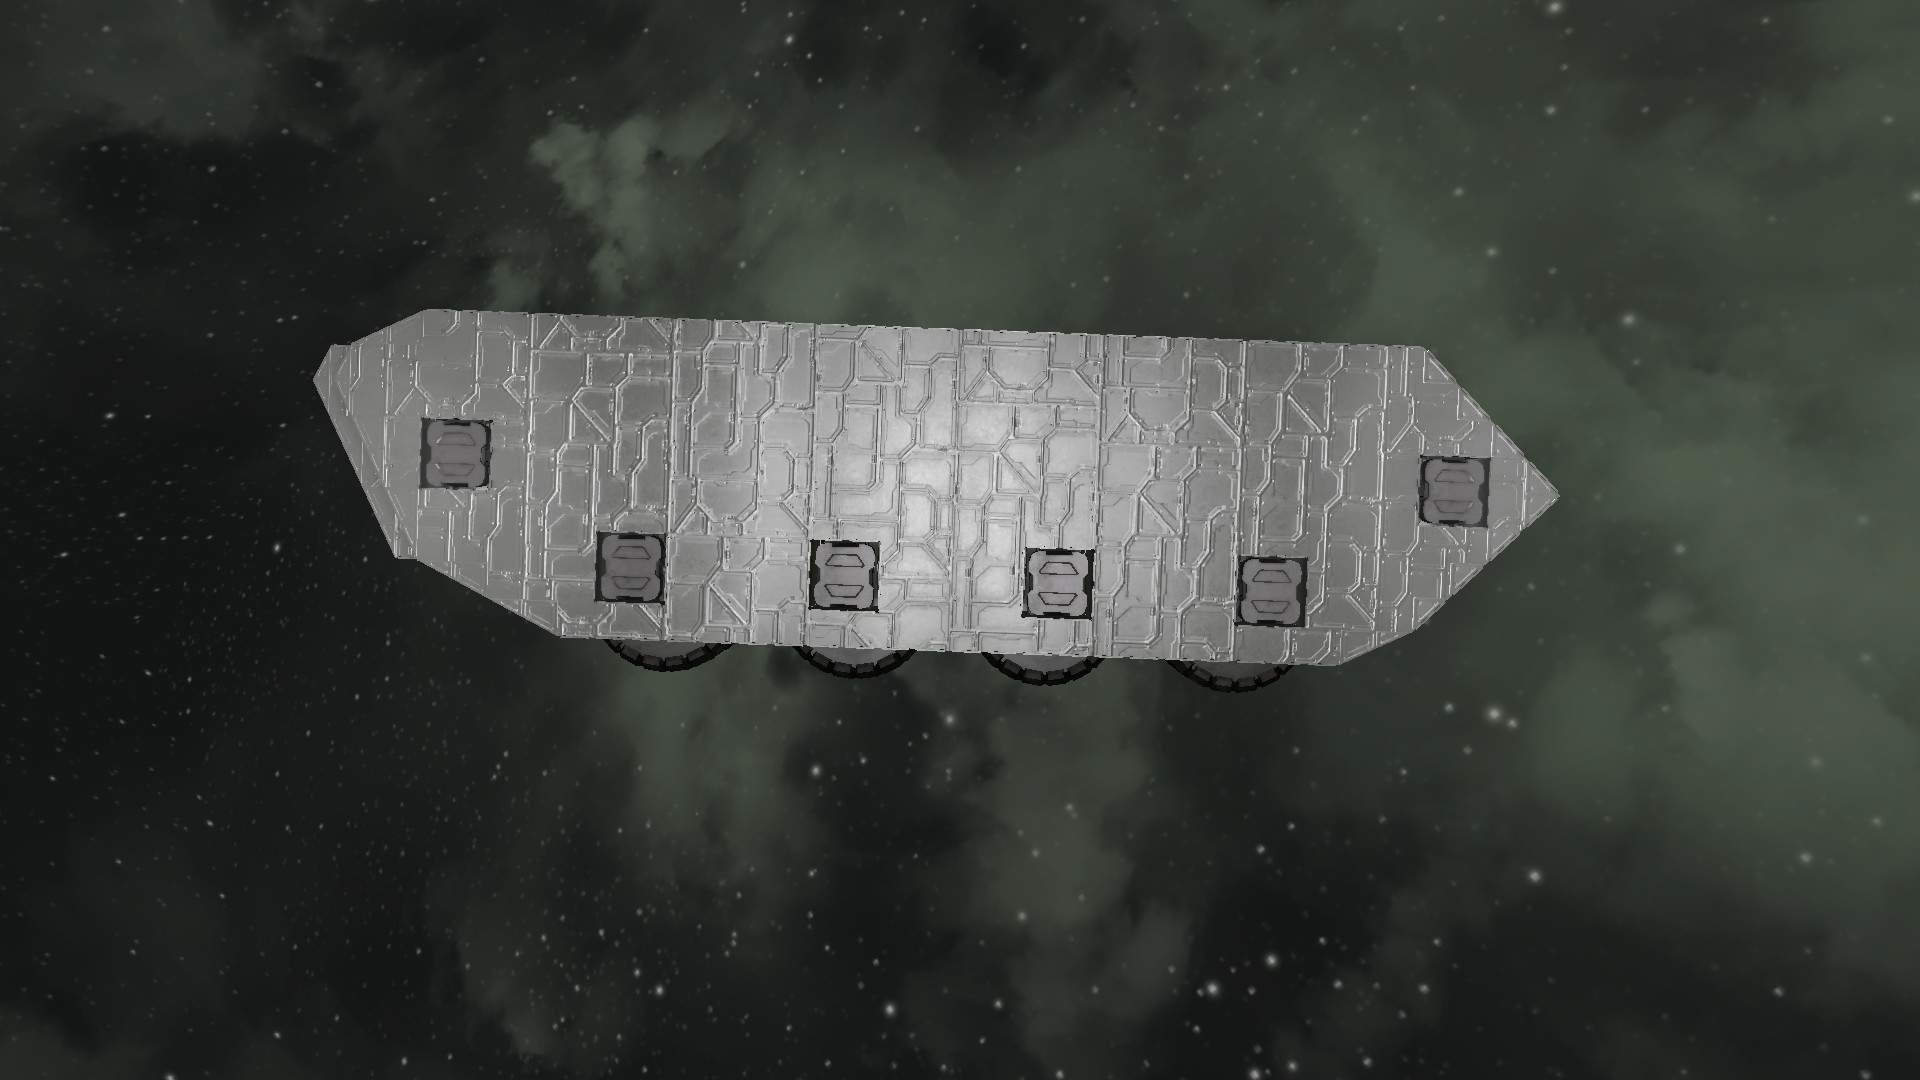
The same grid without wheels:

Here is a list of things you will need:
- Space Engineers (obviously).
- A blueprint you want tracks on.
- File access on your computer.
- A text editor program (any will do).
- A bit of patience.
Once you have all of these acquired, you are ready to begin with the first step!
Step 1: Creating Placeholders
In order to achieve this pattern, we will have to make so-called placeholders. What are these placeholders you might ask? Basically a rotor attached to a suspension. Take a look:
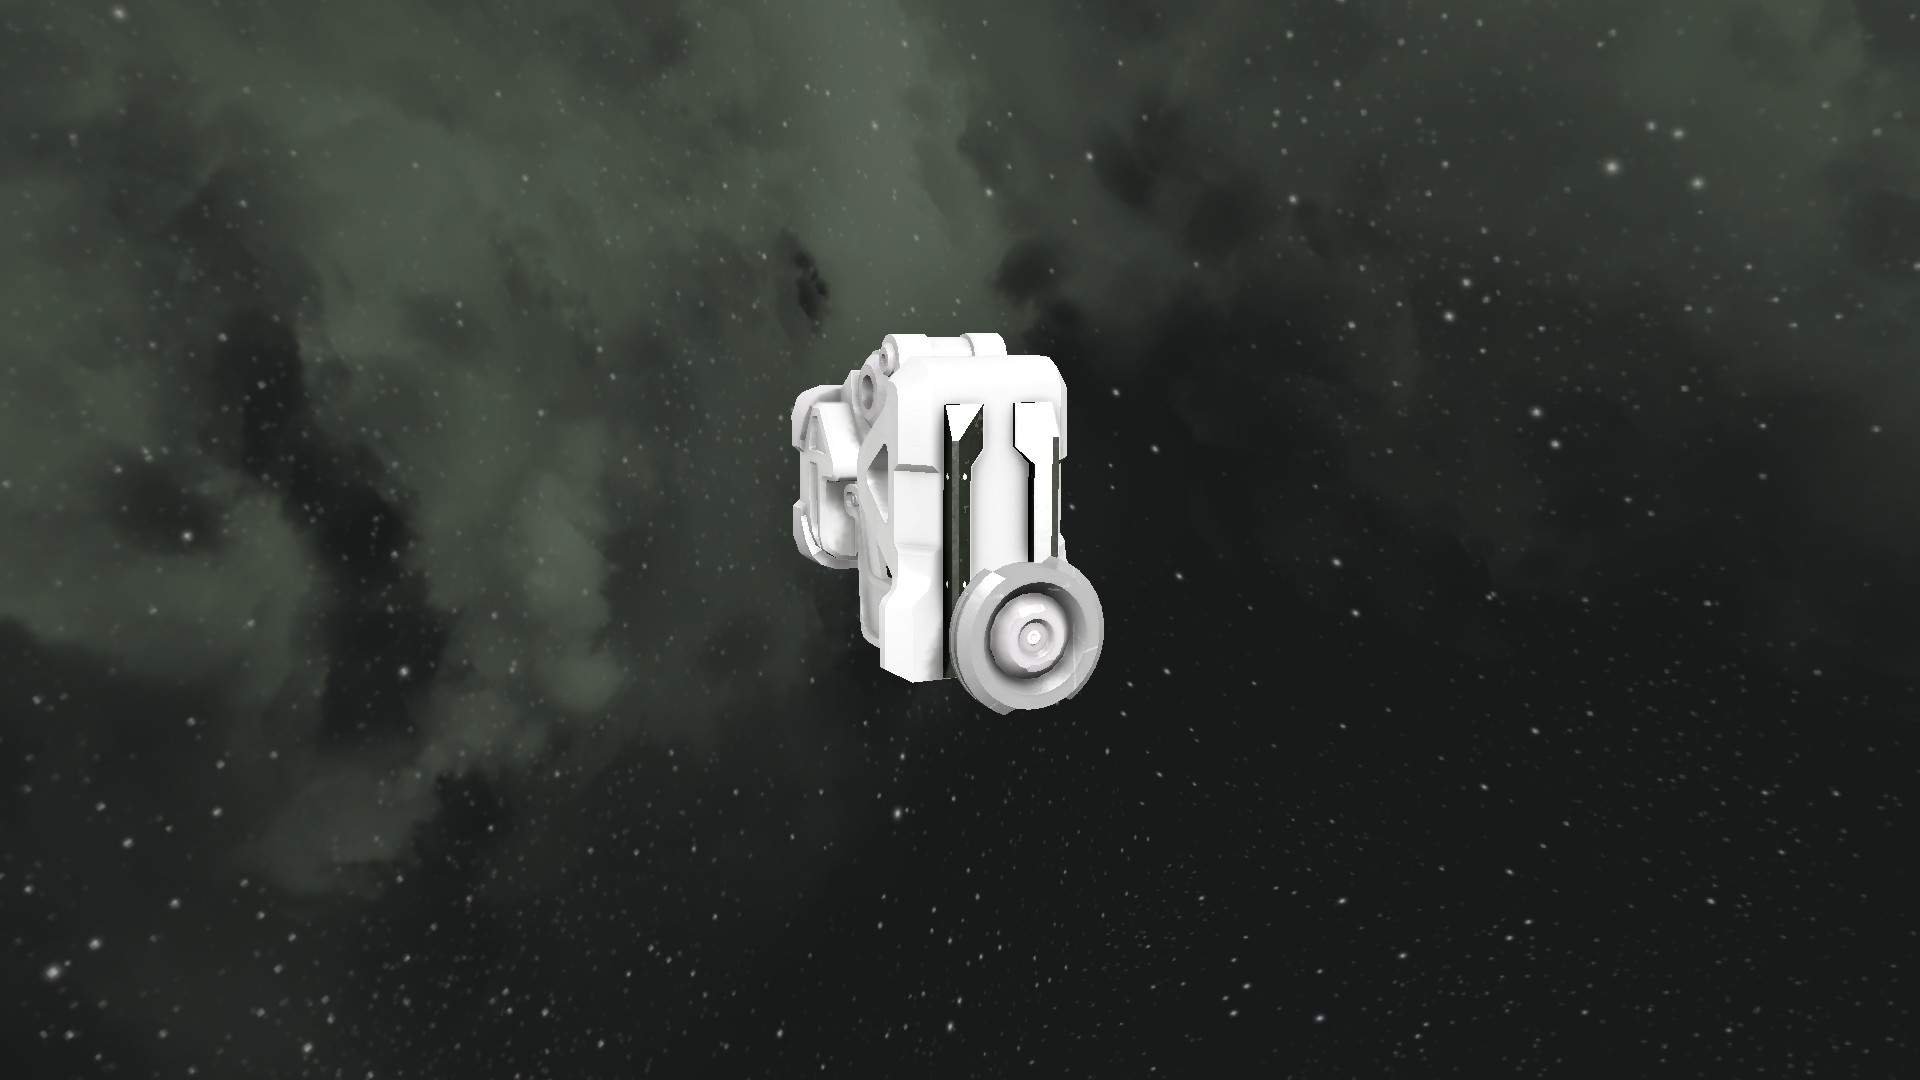
This too seems impossible, as suspensions only come with 1×1, 3×3 or 5×5 wheels. And that’s where we enter the world of blueprint editing. Blueprints in this game are saved down in text files, which is why a text editor is required for this next step. As a side note, always make sure to have the latest version of the blueprint available, but we will get there.
Start by placing either a 1×1, 3×3 or a 5×5 wheel of desired grid size, then blueprint it using Ctrl + B. Name this blueprint something like ‘Place holder’ or ‘Track piece’. This will become important later on, also to be explained. One important thing is that it does not matter which wheel size you picked now, apart from the 5×5 since that one has a larger model, the wheel that will be added on later can be whichever size you choose.
Step 2: Editing the Blueprint
Now, open up your preferred text editor, and go to the following folder in your computer (also make sure to have access to this folder): C(or whichever letter your hard-drive has):/Users/(your username)/Application Data/Space Engineers/Blueprints/local.
This is the folder that stores all your local blueprints, and this is where you can access them for editing. The blueprint’s files themselves are found in folders with corresponding names to their in-game blueprint names.
For this tutorial, i have created a 3×3 wheel i nicknamed ‘Placeholder’. Now, when i find the folder nicknamed Placeholder, there will be atleast 3 files inside. These include:
- bp.sbc
- bp.sbc5
- thumb.png
You should search for whatever you nicknamed your placeholder. When you found that folder, start by deleting the .sbc5 file. This is required, because it holds the information required by the game to spawn the grid, however when deleted the game reads off of the sbc file to create the grid. If not deleted, in game you won’t see any changes despite the edits. Unlike the sbc5, the sbc file is in a human-readable form and that’s why you can edit it using a text editor. Once you have found your bp.sbc file, use your text editor and open the file.
This is where the hard part begins. You will see alot of code that you probably don’t understand, but that is ok. You only have to change one part. Now, depending on which wheel you had, you should search for the following pieces of code:
Small Grid sizes
Wheel size -> Code
- 1×1 Wheel = SmallRealWheel1x1
- 3×3 Wheel = SmallRealWheel
- 5×5 Wheel = SmallRealWheel5x5
Large Grid sizes
Wheel size -> Code
- 1×1 Wheel = RealWheel1x1
- 3×3 Wheel = RealWheel
- 5×5 Wheel = RealWheel5x5
- Search for one of the above piece of code, depending on wheel size you saved with the blueprint.
- Replace this piece of code with the following: Small -> SmallRotor or Large -> LargeRotor.
- Once this is done, save the file and delete the sbc5 file if you havent done so already.
Before you move on, this is an extra step you can take to make sure your creations work as intended. Suspensions have something called ‘default state’, and this is basically the angle thats 0 to the suspension. It can happen that at times, the suspension is not in a default state, and when handbraked, it returns to this default state which may cause it to break. Normally, this is not an issue since only wheels should be present, however this may be an issue if more complex creations run into this problem. This will be explained further in the extras section.
To fix this issue, spawn your placeholder in your world. While doing this you may also observe that the rotor jumps into the middle of the suspension where the wheel should be present. If this happens, that means you have succeeded in creating a placeholder. Unfortunately, sometimes the opposite can happen, where the rotor does not jump onto the suspension and becomes its own entity. If this happens, you can do one of two things: Try to create a new placeholder, or adjust the rotors position by altering the Position under the PositionAndOrientation, found above the wheel object you just replaced. If moved close enough, it should jump onto the suspension.
Once your placeholder works as intended, add a remote control and a power source to your placeholder (onto the suspension). Then, set the handbrake on the remote control to the ‘On’ position and copy the creation to the clipboard. Go into your blueprints, find your placeholder and replace the existing one with the one in the clipboard. Then, spawn it, remove the remote and the power source and replace the blueprint again so it looks like you just made it. However, this blueprint will have its rotor set to the default state and will always return to that particular state.
Step 3: Making the Vehicle
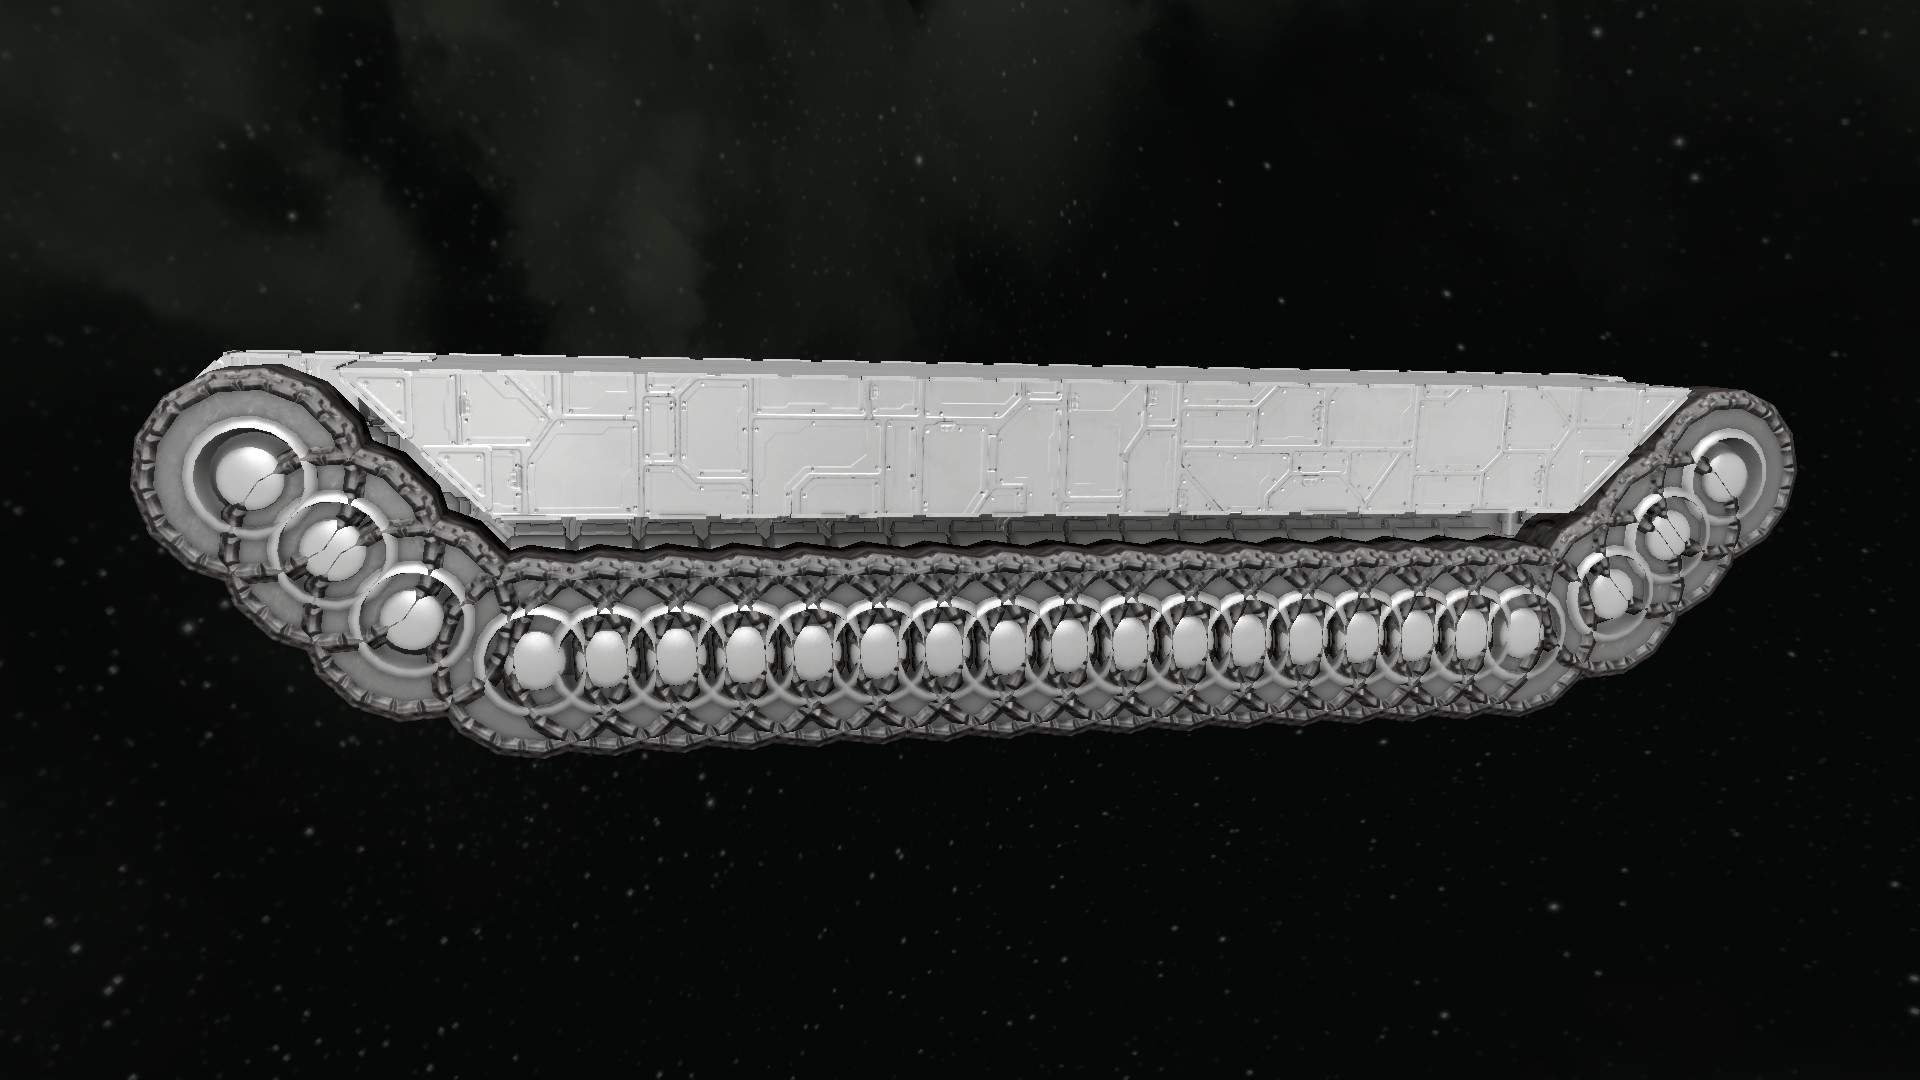
This is the fun part: creating your tracked vehicle. You may design it however you wish, but it’s best to start with a mockup like the one seen in the pictures above if you are uncertain. Now, the reason we made the placeholders is because you can load in your blueprint and easly stack it next to eachother. This method is faster than trying to replace the wheels on the blueprint itself, and also you can use the placeholders everywhere else aswell. Simply load your placeholder blueprint and stack it next to eachother. Since the rotors are only 1 block wide the game should allow you to stack them that close.
The example from above:
Place as many as like but beware that a large amount of wheels may cause lag since too many particles are being created. Placing gaps between the many wheels or grouping them (creating a few closely stacked ones then placing a large gap between the next such group) are ways to reduce the lag created by this method. Also, make sure that you added all placeholders as otherwise you will have to delete a few to make new ones.
Step 4: Creating Wheels
Arriving at this step means you have created a vehicle with suspensions full of rotors. To add back the wheels, we have to yet again edit the blueprint. This time, its the vehicle’s blueprint that you will have to edit. The blueprint is found in the same ‘local’ folder as from before. Delete the sbc5 file and open up the sbc. Then, find the Small/LargeRotor name and replace them with any of the following.
The desired wheels code are:
Small Grid sizes
Wheel size -> Code
1×1 Wheel = SmallRealWheel1x1
3×3 Wheel = SmallRealWheel
5×5 Wheel = SmallRealWheel5x5
Large Grid sizes
Wheel size -> Code
1×1 Wheel = RealWheel1x1
3×3 Wheel = RealWheel
5×5 Wheel = RealWheel5x5
Beware that if a rotor is present in the blueprint thats not from the placeholders, you will also replace that, so its best recommended to remove any rotors before replacing the names (this does not include advanced rotors because they have a different name).
Spawn your blueprint and see if the wheel is where it should be, that your creations works properly and that the wheels do aswell. At this point you should have a working creation full of wheels, or tracks as you may call them.
The example from above:
Step 5: Extra Techniques
This section is for those who wish to experiment further and learn some more about suspensions, rotors and wheels in general.
First up, you might have noticed through experimentation that you can use different grid sizes for suspensions and wheels. This means that you can put a large 5×5 wheel on a small 1×1 suspension, or a small 5×5 wheel on a small 1×1 suspension. This works because the game allows for any entity to be present on the suspension as long as its close enough for the game to identify as ‘parent’. As a side note, this same method also works on rotors and advanced rotors alike. They too can have large / small heads and bases, which allows for putting large grid turrets on small grids and alike. Pistons work aswell (probably), but they aren’t as flexible as suspensions.
Pictures showcasing the concept:

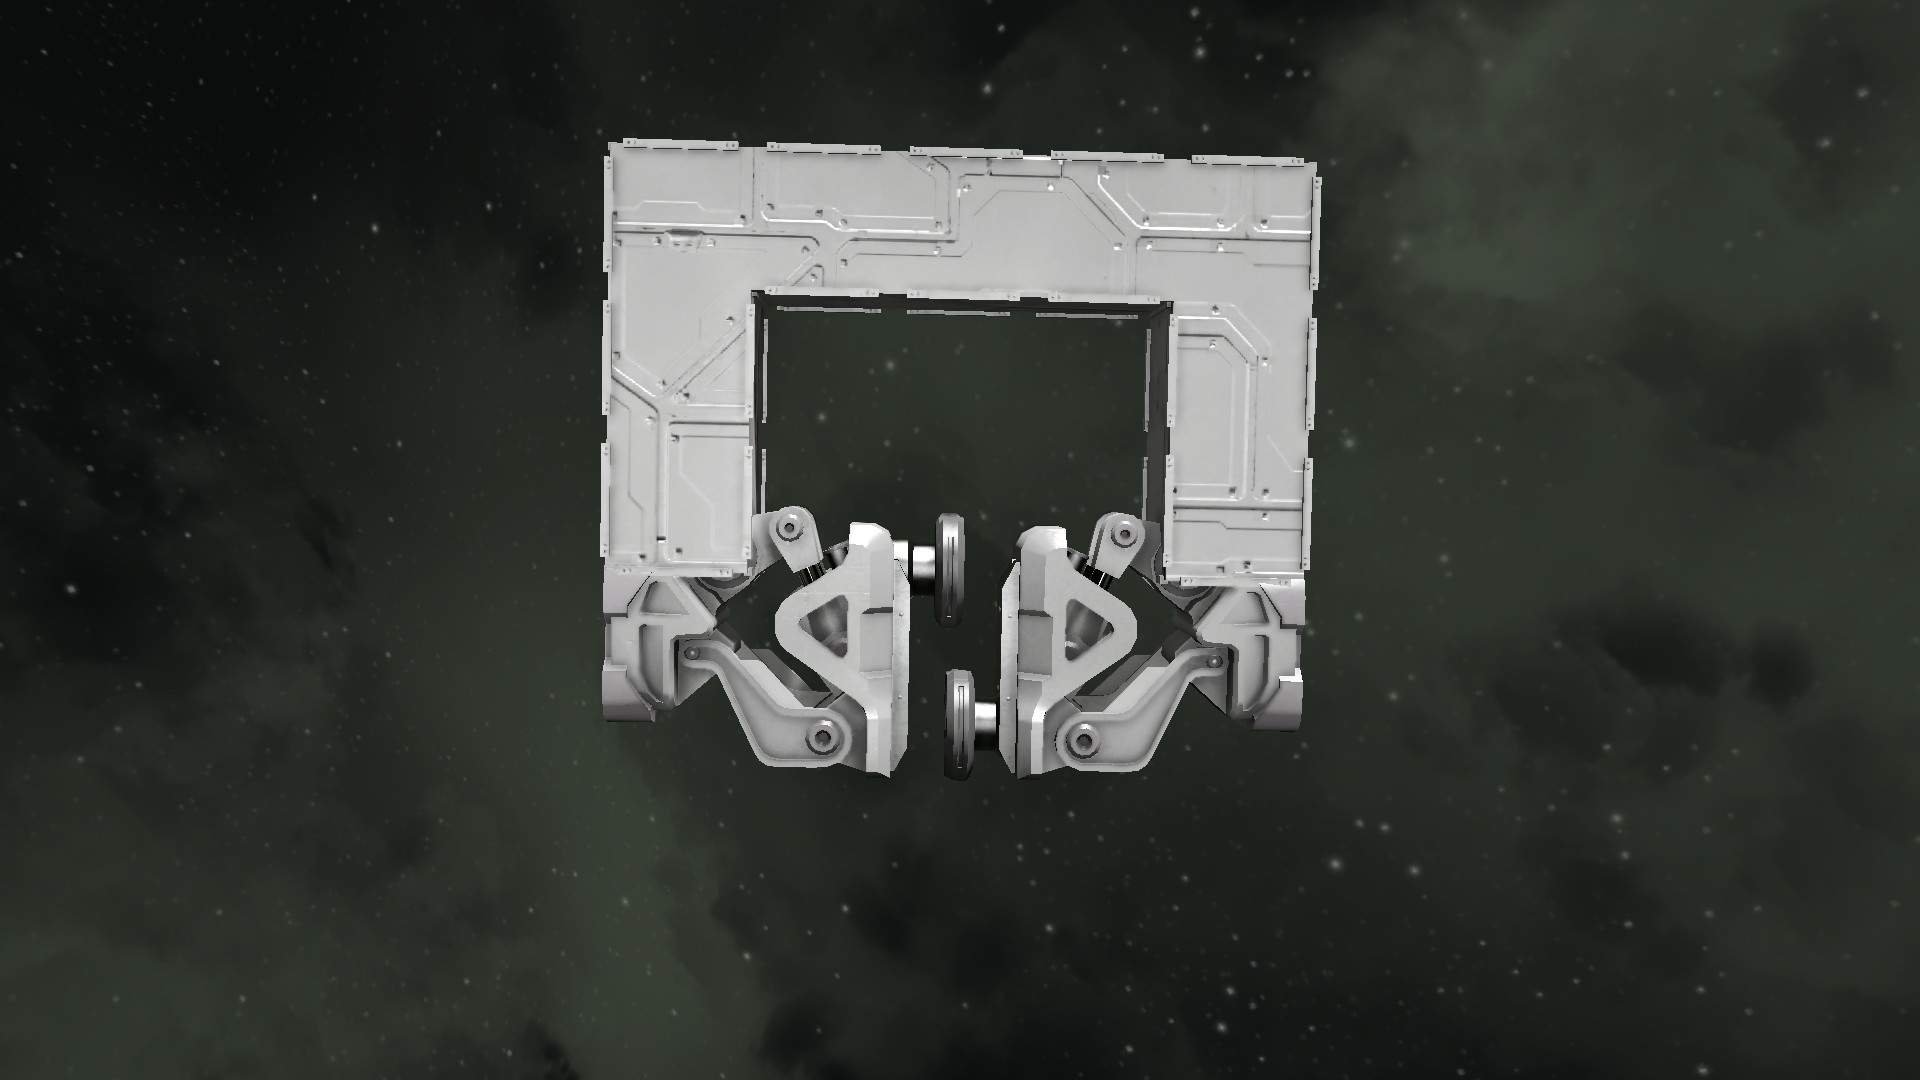
A few tanks also use an ‘interlocking’ type suspension, which is basically two of these placeholders angled towards eachother. This is a bit harder to make but not by much. The trick is that you have to raise the rotor on one of the suspensions so that it makes place for the other one.
Example of ‘interlocking’ rotor suspension:
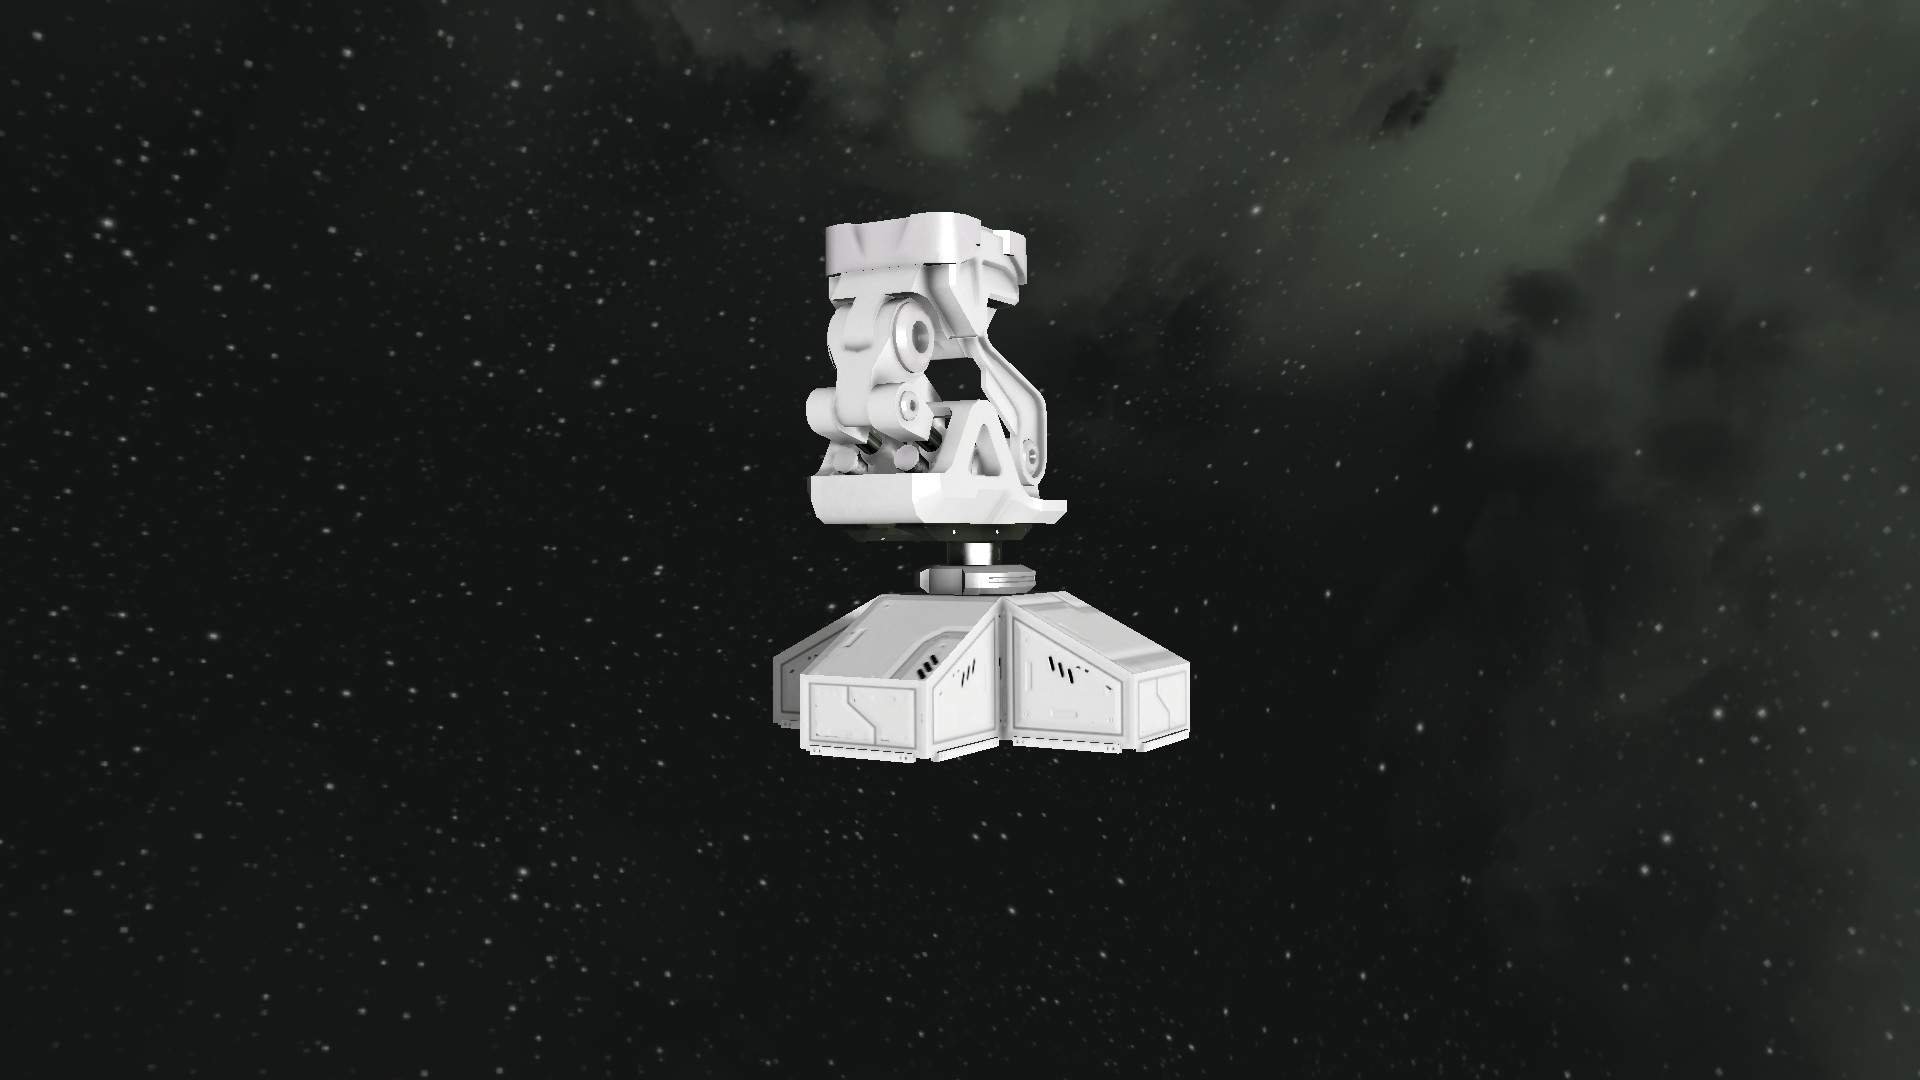
Suspensions with rotors can also be used in larger suspensions. This is because even without the ability to rotate the child grid like a wheel, the suspension is still able to ‘steer’, that is rotate the child grid horizontally. This can be used in custom suspensions, because the main suspension block can hold it steady while providing steering without the need of an extra rotor.
Example of custom suspension:

There are also a few more thing you can do with suspensions. Suspensions can have their ‘child’ (wheel or rotor in this case) have a specific frictional value. This can be abused in creations such as walkers to have extra grip in their feet.
Example of walker using ‘grippy’ feet:
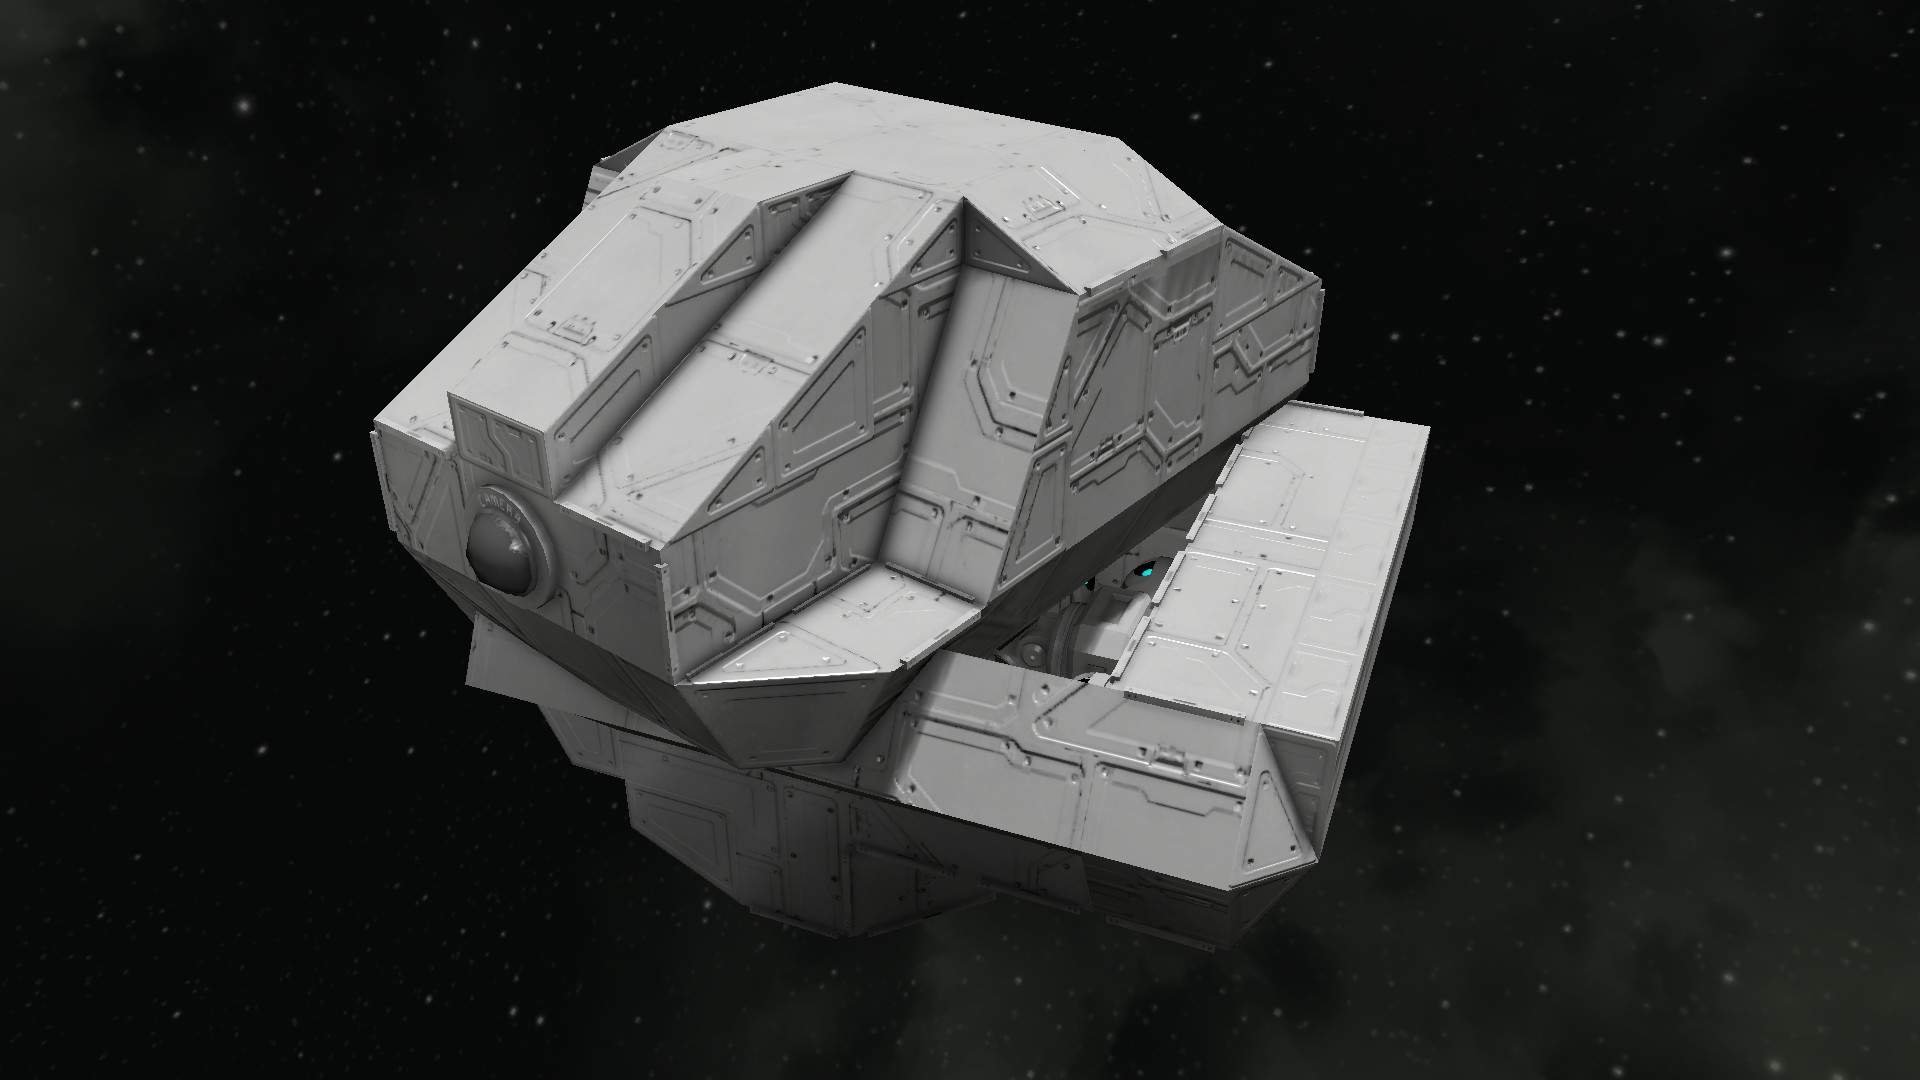
Suspensions also have a particularly powerful ability.The ‘child’ grid does not clash with the ‘parents’ grid. This means that everything on the other end of a suspension can go through this end, which makes it possible to have incredibly broken creations. This only applies to the child and parent grids, anything else will collide normally per game rules.
Example of a ‘clippy’ creation using suspension:

Be the first to comment