
A spoiler friendly, comprehensive guide of every collectible combat log and hidden parts. Unambiguous descriptions of locations and screenshots to help direct yourself are included, as well as a table showing what rewards are granted throughout the Loghunt levels.
Contents
All Combat Logs and Hidden Parts
Сrеdit gоеs to Cup of Joe!
Foreword
First, an important note before you begin collecting:
You MUST complete the entirety of the mission you are playing to receive credit for any logs or parts you collect. If you hit a checkpoint during the mission after a collection, the checkpoint will save your progress, but only for that session; leaving a mission resets progress.
*I avoid mentioning any names of characters or surprise events that occur during missions as much as I can, but there are still some mild gameplay/location spoilers due to the nature of this being a complete guide.
There are a total of grand 85 combat logs and 19 hidden parts across the game. Additionally, you receive 15 more rewards from Allmind whilst completing Loghunt. You can only finish this collection across three full playthroughs of the game.
Chapter 1
Destroy the Transport Helicopters
1x Log
An easy start: there’s a heavy MT, the first you encounter, that Handler Walter tells you to avoid. Ignore his dog ass and blast that thing away in order to receive your first combat log.
Destroy the Tester AC
1x Log
This log is received from completing the mission objective, so it’s unmissable.
Attack the Dam Complex
2x Logs
At about bearing 240 from the second objective, there is a set of dams. Sit in front of the second dam, and you’ll encounter a heavy MT holding this mission’s first combat log.

The second log is technically missable, but unlikely. Near the end of the mission, you’ll encounter an AC miniboss. Defeat this AC to receive the second log.
Operation Wallclimber
3x Logs
At the start of the mission, you’ll come across a cargo yard with a concrete wall along the back left side. Go over this wall, and you will see an abandoned city. Along the left edge of this city there will be three MTs guarding a wreck. Destroying all three will yield the logs for this mission.

Retrieve Combat Logs
1x Log
Despite the name of this mission, there is only one collectible log applicable to Loghunt. There is a large sinkhole containing a wreck with one of your mission objectives. Upon attempting to collect this objective, an enemy AC will ambush you. Defeat this AC to acquire this mission’s combat log.

Attack the Watchpoint
1x Log
Received from completing a mission objective that is unskippable.
Chapter 2
Infiltrate Grid 086
4x Parts and 8x Logs
There’s a lot of content in this mission, and almost all of it is easy to miss so keep your eyes open. The first two logs are after an AC ambush at the beginning of the mission. Upon defeating this AC, you will return outdoors. Go forward and turn around when you reach the end of the landing; look up and you will see another level you can access. Go back and you will see two heavy MTs to defeat in order to obtain the logs.

After defeating these two, the next logs are very close by. Continue in the same direction (bearing 270). Further back on the same platform, you’ll see two toy box mechs lying in wait. They hold logs 3 and 4.

Continuing the mission will have you entering a foundry area. Proceed until dropping after the first ledge (a cavity in the metal grate ceiling). Turn around. Behind some fuel tanks at the back of the room, you will find a chest containing the first hidden part, the HC-3000 Wrecker Head.

The next part and log are a little obtusely hidden. Proceeding through the foundry, you will come across a smelter with two input shafts over it. The pipe pouring out molten metal contains a datalog but nothing else of value. Enter the empty pipe; following its path will take you to a hidden room with an AC waiting to ambush you. This AC holds a log as a reward for defeating it, and it also guards a chest in the room containing the AC-3000 Wrecker Arms.

There is still more contained in the smelter room! After finishing up in the pipe, go in the opposite direction from the one which you originated. You’ll see a drop down; contained within this pit is another chest that holds the CC-3000 Wrecker Core. You’ll find this chest pressed up against the wall you jumped from.

The final three logs are located just after exiting the foundry, where there will be a gap to fly across. Do not follow the objective marker, instead, go towards the right side. One level up from the bottom right platform, you’ll see two garage doors. Around the corner from these doors are two MTs and a toy box mech containing the last logs of this mission.

Finally, the last collectible of the mission is just before the pit fight. Before entering the pit that the objective marker is directing you towards, you’ll notice a rail line encircling it. Follow this rail towards the right side of the structure. It will take you down a ramp, with a chest placed at the end of the slope holding the 2C-3000 Wrecker Legs.

Ocean Crossing
4x Logs
Upon exiting the elevator, you’ll be greeted with a large, open outdoor area. While standing in the doorway, point yourself at bearing 65. You’ll see a gap/indent in the platform; boost over there.

Immediately upon dropping down, you’ll be engaged by two small drones that hold your first two logs. After defeating them, proceed through the nearby railway tunnel; on the other side of this tunnel, there will be two more of these drones above you that hold the final logs for this mission.
Chapter 3
Steal the Survey Data
1x Log
When starting the mission, follow the road towards the closest objective. Continue along this path after completing the first objective; you’ll encounter a heavy MT holding this mission’s log.

Attack the Refueling Base
2x Logs
Shortly before reaching the refinery, you’ll cross a large bridge. Off to the right side of the canyon, you’ll find a laser-sniper LC that holds your first log. The second log is held by an LC hiding under the large bridge.

Eliminate V.VII
3x Logs
The first log will be held by a heavy MT near your first objective marker. There are a few light MTs with cameras near it, so take them out first.

Following this, the remaining two logs are received from completing the mission’s objective; however, you will have to play this mission twice to receive both. The first of these two logs can be acquired by simply defeating the objective target; however, the second is found by accepting a deal proposed by the target mid-battle. Upon accepting this deal, a new foe with a log will enter the fray.
Tunnel Sabotage
1x Part and 1x Log
Pretty soon after the start of the mission, you’ll reach a large expanse in the cavern and hear an alert about the PCA returning. You’ll see several pipelines spanning across the cavern; there is a hidden room on the left side of the highest set of pipes. In this room, there is a laser-sniper LC holding the mission’s combat log. At the back of the room, you will see a large generator that has a chest at its base; this chest contains the IA-C01W1: NEBULA Plasma Rifle.

Survey the Uninhabited City
1x Part and 1x Log
Follow the path of red light markers; almost immediately after the first ECM generator, you’ll come across your first city-defense mech. It will be sitting on a rooftop, waiting to ambush you. On this same rooftop will be this mission’s hidden part — the IA-C01G: AORTA Coral Generator.

Continue following the breadcrumb path; after the second objective, you’ll notice the light markers make a jump to an overpass. Instead of following them further, proceed in the same direction you were already traveling. You’ll find another city-defense mech perched on a low building, holding this mission’s log.

Eliminate the Enforcement Squads
1x Log
Immediately upon gaining control of your AC, turn right and proceed. Despite what you’d probably initially assume, the map border doesn’t block you out, and you can travel pretty far. Hug the concrete pylons; you’ll reach a cliffside and (most likely) be detected by a hidden AC on your left. Said AC holds the combat log.

Attack the Old Spaceport
3x Logs
These guys are a little out of the way, so they’re easy to miss. They are at two locations on opposing sides of the map. Relative to the mission start point: The first is at a logistics area, bearing 105; the second is at a fuel repository, bearing 170. Target 1 is a single LC, and target 2 is an LC duo.
Target 1:

Target 2:

Eliminate “Honest” Brute
3x Parts and 4x Logs
Another big collectible mission. Starting with the first hidden part, proceed until reaching the first set of two laser-trapped platforms. At the front edge of the lower of the twin platforms lies a chest with your part, the WB-0010 Double Trouble Chainsaw. On this same platform, along the right side, there is a dormant toy box mech holding the mission’s first combat log as well.

After taking care of this mech, hop up to the higher of the twin platforms. There is another toy box mech with a combat log on this upper platform, along the right side as well.

There are two more collectibles on the large platform with the train turntable. The first is a heavy MT holding a combat log, right next to the aforementioned turntable. After defeating it, you’ll notice a large crane arm on the right side of this platform. Hop on this arm; there will be a chest near the tip with the BC-0600 12345 Boosters.

The fourth log is almost impossible to miss unless you’re running right past enemies. There is a pulse-protection equipped toy box mech creating a dome along your objective path. Destroy this mech for the final log. The final hidden part is in the open after you enter the gap in the wall following the dome encounter. Drop down to the floor through the laser grid; there’s a chest on the right side of the room with the WB-0000 Bad Cook Flamethrower.

Defend the Old Spaceport
1x Log
Unmissable, complete your objective to receive the log.
Chapter 4
Underground Exploration – Depth 1
1x Part
During the mission a partition will close on your path, and Ayre will designate an access point that will open it. This access point is located at the edge of a room recessed within the wall; along the back of this recess is a chest containing the IA-C01L: EPHEMERA Legs.
Underground Exploration – Depth 2
2x Parts and 3x Logs
The first of these logs is objective related and unavoidable. You will be ambushed by a familiar AC in the heat exchanger room; just defeat them and move on. You’ll encounter a mech wiping out enemy forces in front of you; chase after it until you see it close a door between the two of you. This door will be locked, and you’ll have to find another way through. Check out the room to the right of the door before leaving the hallway. Inside will be two PCA MTs, each holding logs, and a chest with the IA-C01B: GILLS Boosters. After this room is cleared out, follow Ayre’s instructions and find the ventilation shaft located outside the hallway. Abiding by your objectives, take the vertical catapult located just inside the shaft; you’ll see a chest located right in front of you at the apex of your jump. Open it up and you’ll get the IA-C01A: EPHEMERA Arms, the last collectible of the mission.

Underground Exploration – Depth 3
2x Parts and 2x Logs
All collectibles are found within the first area of the mission: the exterior of the generator. The first part is located along the scaffolding near the entrance. Go towards the highest level of scaffolding on the far side of the room, you’ll notice an array of generators, a chest with the IA-C01F: OCELLUS FCS is on the other side.

Next, fly up to the top of the generator, where the laser turrets are sniping at you from. You’ll notice there are six large struts connecting the generator to the cavern walls. You’ll be most concerned with the two struts on the opposite side of the cave from which you entered. On one strut you’ll find a PCA MT holding a combat log, and on the other strut you’ll find the same, as well as a chest on the end of the strut with the IA-C01C: EPHEMERA Core.
Intercept the Redguns
1x Log
Received by completing the required mission objective.
Ambush the Vespers
2x Logs
Both logs are held by mission targets and can’t be missed.
Unknown Territory Survey
1x Part and 1x Log
This “hidden” part is pretty much impossible to miss; you walk past it on your left as you’re about to exit the mealworm cave. Said item is the IA-C01H: EPHEMERA Head. The combat log is found by completing your mission objective, so it is actually impossible to miss.

Reach the Coral Convergence
2x Parts and 13x Logs
Alright, I know there are a lot of logs on this one, but don’t worry! It’s not that bad. First up, logs 1 and 2. You’ll be greeted with a firefight at the start of the mission; just destroy the two target ACs to receive their logs. Near this fight is the first hidden part of this mission, the IA-C01W3: AURORA Light Wave Cannon. Relative to the location where you fought the ACs, the chest holding this part is located at bearing 335 on top of a mid-rise building located at the end of the ruined road.

Right after this, you’ll come across a large bridge over a ravine. Firstly, get on top of this bridge and travel towards the end bridge. This will cause a Helianthus wheel to spawn and attack you; defeat it to receive combat log 3. After this, travel to the end of the bridge. You’ll see off to the right two buildings that have collapsed into the riverbed; go over to them and you’ll see a wreck with a datalog. Interacting with this log awakens two Coral MTs, both of which are holding logs 4 and 5.

Alright, here’s the fun bit. You saw all those grinder wheels on the left side of the bridge, yeah? Every single one of them holds a log. There are a total of eight, accounting for logs 6 through 13, so enjoy! After that, you at least get a nice reward: another hidden part. The chest containing the IA-C01W2: MOONLIGHT Light Wave Blade is located right below the end of the bridge; however, it is guarded by four of the eight aforementioned Helianthus wheels. That’s the last thing to collect on this mission.

Chapter 5
Intercept the Corporate Forces
2x Logs
Right as you start the mission, you’ll see a glass canopy over the skyline. Fly on top of it to spawn a High-Mobility LC. This fight isn’t too difficult, but it can grant a bit more challenge than one might expect due to the lack of cover and the LC’s shield, so play careful because you’ll still need to fight an HC after this (there’s no checkpoint until after you defeat the HC)!
The second log on this mission is dropped by the main boss and cannot be skipped.
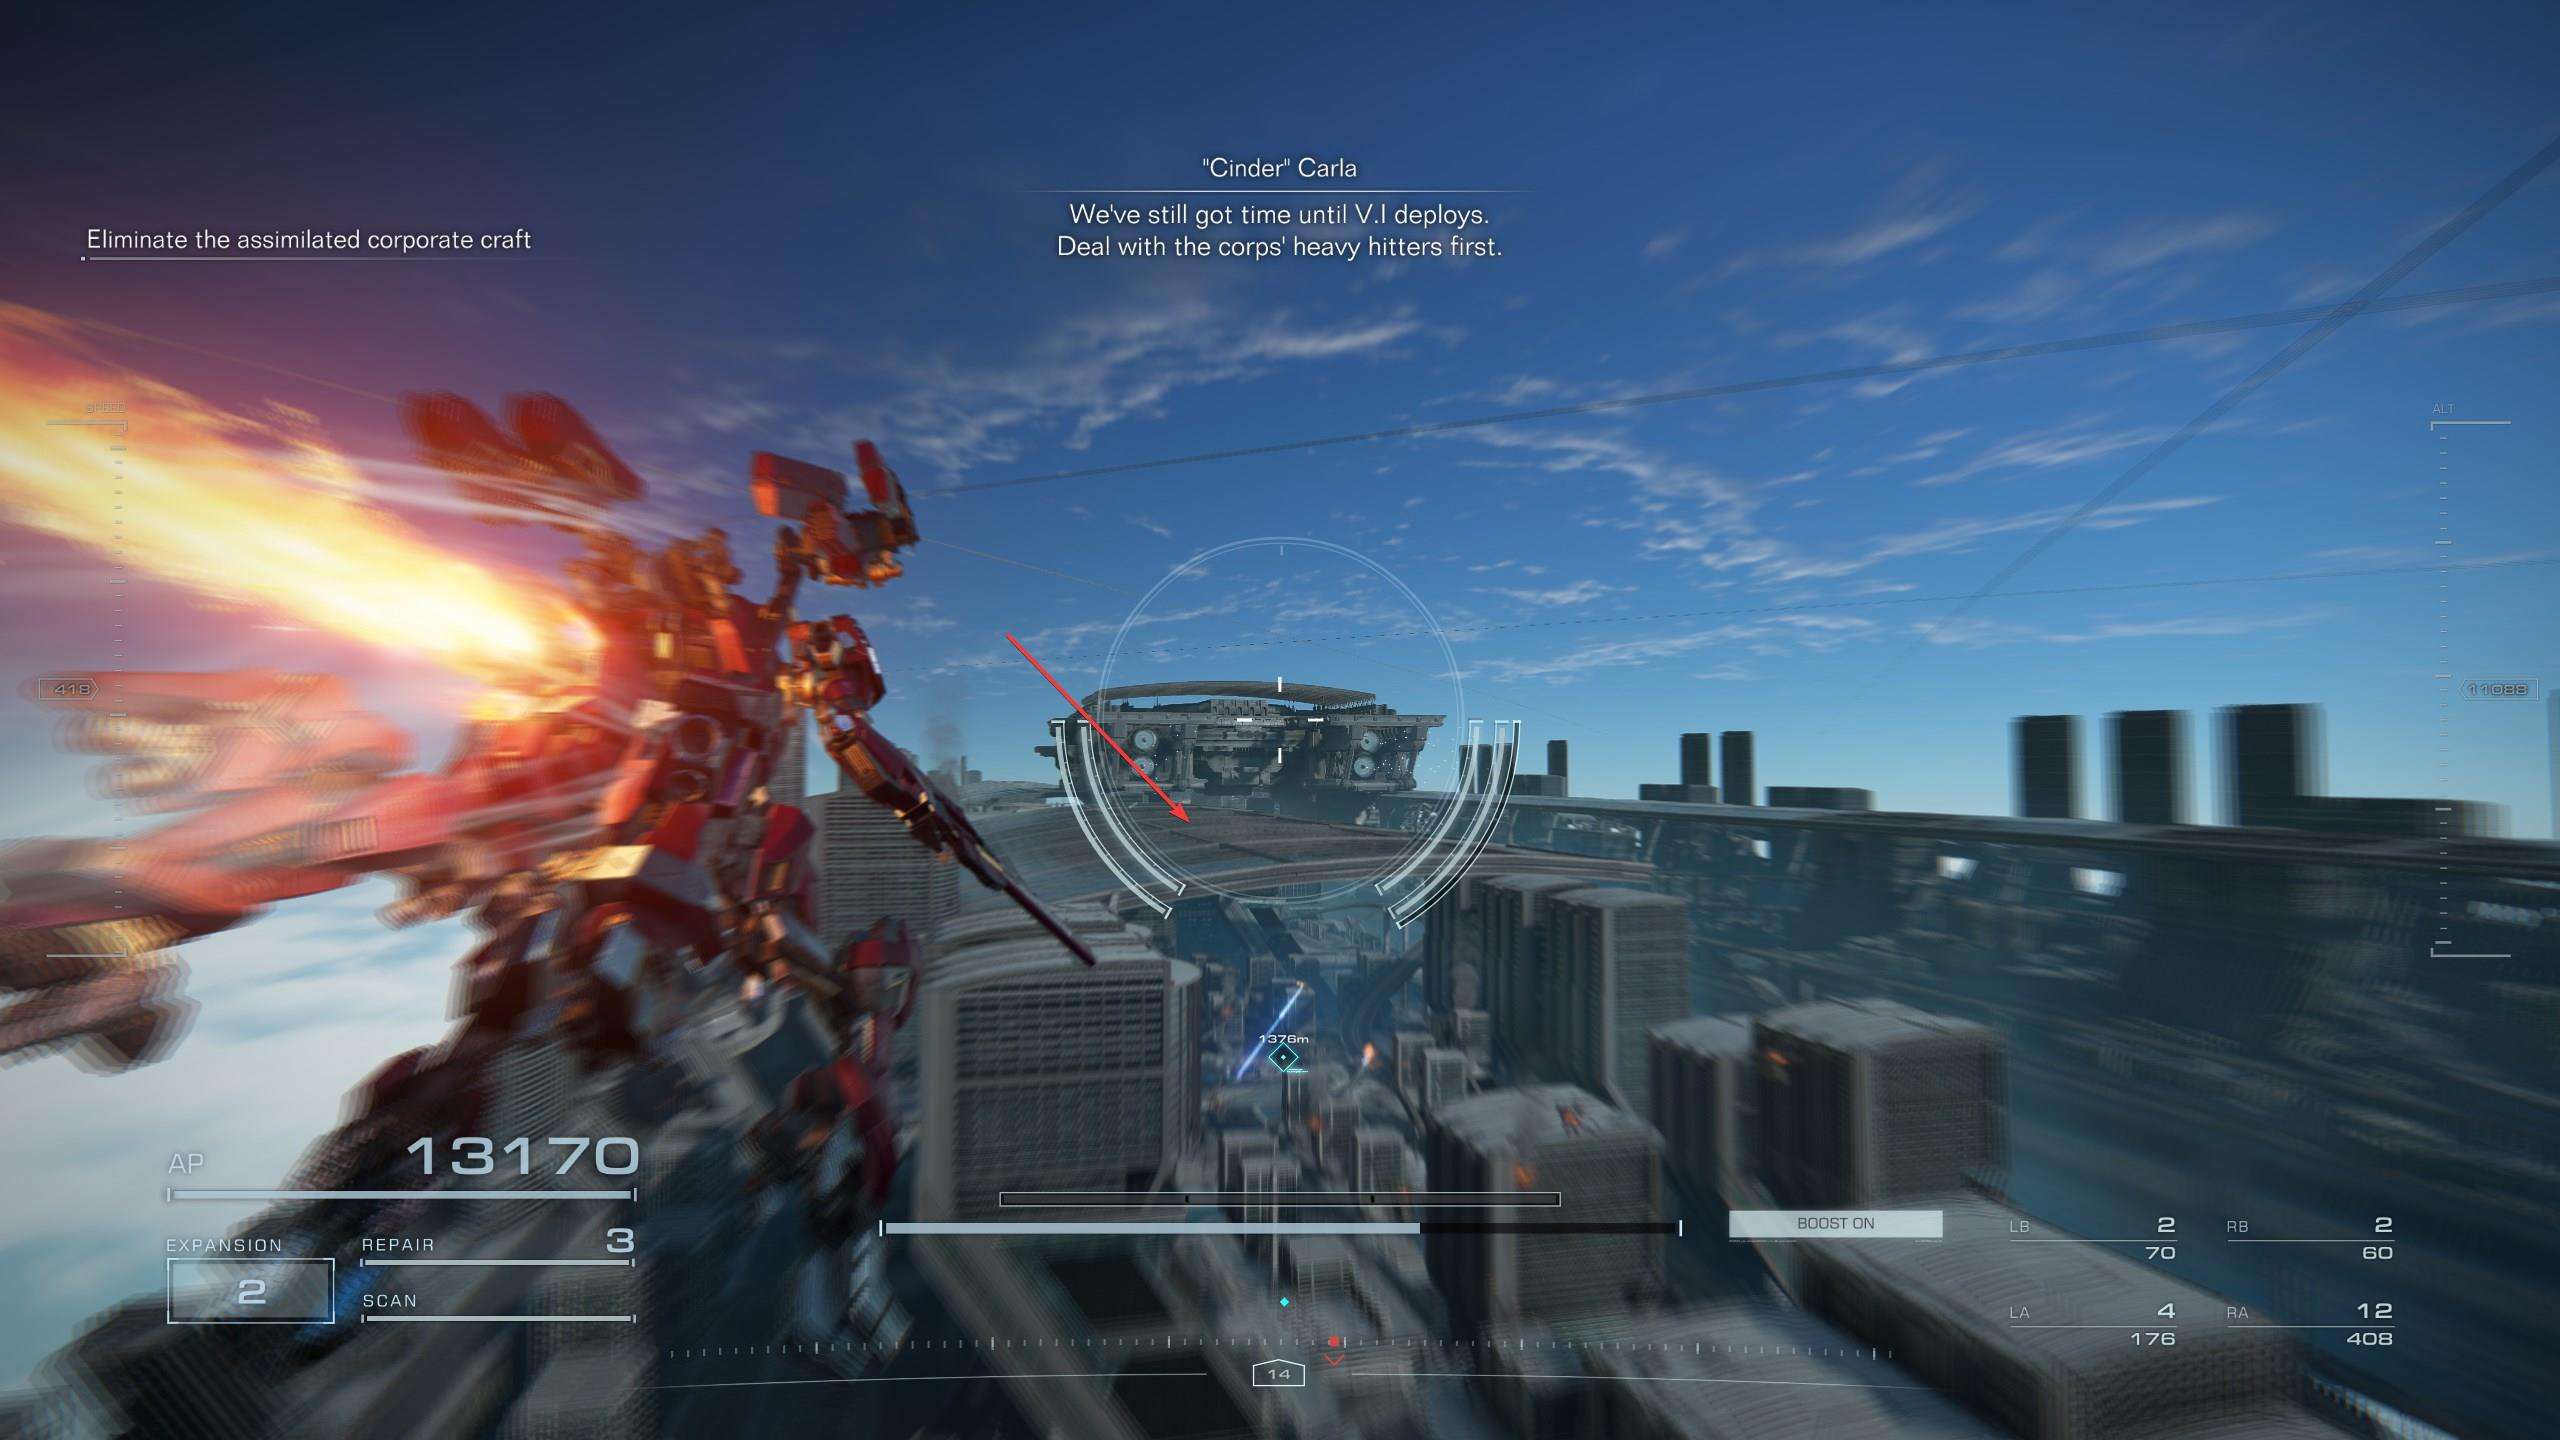
Eliminate “Cinder” Carla
3x Logs
The first log of this mission can be missed, but you must be some kind of nutjob to pass up attacking this guy. En route to your objective, you’ll hear a certain individual’s radio transmission, and Ayre will call out the presence of their AC. You are given the option to fight them or just fly past them. Defeat them to receive their combat log. The last two logs are held by unavoidable mission targets.
New Game+
Attack the Dam Complex (Alt)
2x Logs
This alternate mission contains a choice after completing the second objective; accept the proposed deal to earn the chance for these logs. Both logs are received from completing the new mission objectives.
Defend the Dam Complex
2x Logs
These logs can’t be missed as they are held by your two designated targets.
New Game++
Prisoner Rescue
2x Logs
At about bearing 310 relative to the first landing zone, there is a heavy MT holding the first combat log of this mission. I’d recommend clearing out the first objective and battling during the downtime afterwards in order to minimize damage to the helicopter (this mission has no checkpoints, and destruction of the helicopter results in a failure).

The second log is related to a mission objective: you cannot miss it.
Attack the Watchpoint (Alt)
5x Logs
All logs are held by enemies that must be defeated to progress.
Stop the Secret Data Breach
2x Logs
The first log will be in the smelter room, within the same hidden pipe you used to locate the hidden part and log back in ‘Infiltrate Grid 086’. After proceeding through the pipe, you’ll come across a group of autonomous mines and a heavy MT; this MT holds the log. The second log is held by a heavy MT, which is on the opposite end of the hall from the building’s exit you use after destroying all hacking drones. You’ll likely see this MT before exiting the building as it is very close to a hacking drone.

Survey the Uninhabited Floating City (Alt)
1x Log
This log is unmissable as it is held by a mission-related target.
Underground Exploration – Depth 2 (Alt)
1x Log
In the heat exchanger room you’ll be ambushed by an AC, just like in the regular version of this mission. Defeating this AC is obligatory and will give you the combat log.
Eliminate V.III
1x Log
The combat log is held by the mission target: acquiring it is a certainty.
Unknown Territory Survey (Alt)
1x Log
This time around you’ll have a surprise guest during the big fight of this mission; defeating this second contender awards you with the log.
Reach the Coral Convergence (Alt)
2x Logs
Both logs are held by ACs that you’ll fight after you complete the combat encounter located at the mission’s beginning. These ACs are required targets, meaning these logs are assured.
MIA
1x Log
This log is held by a hidden AC. After a lock-in firefight in the now very warm heat exchanger room, you’ll enter a hall and hear the following radio transmissions: “They’re just drones! Swat them down!” “Wait! There’s something else here… AC!” There will be a room on your right before the door. Inside this room, you’ll find a hole leading to a lower level. Drop down to discover an encounter with an AC and several MTs. Resolving this fight will reward you with the final combat log.

Regain Control of the Xylem
2x Parts
Right as you start the mission you’ll see a gap on your left with 2 small drones near the back wall. Drop down and go to these drones to spot a chest containing the IB-C03W3: NGI 006 Coral Missile Launcher.

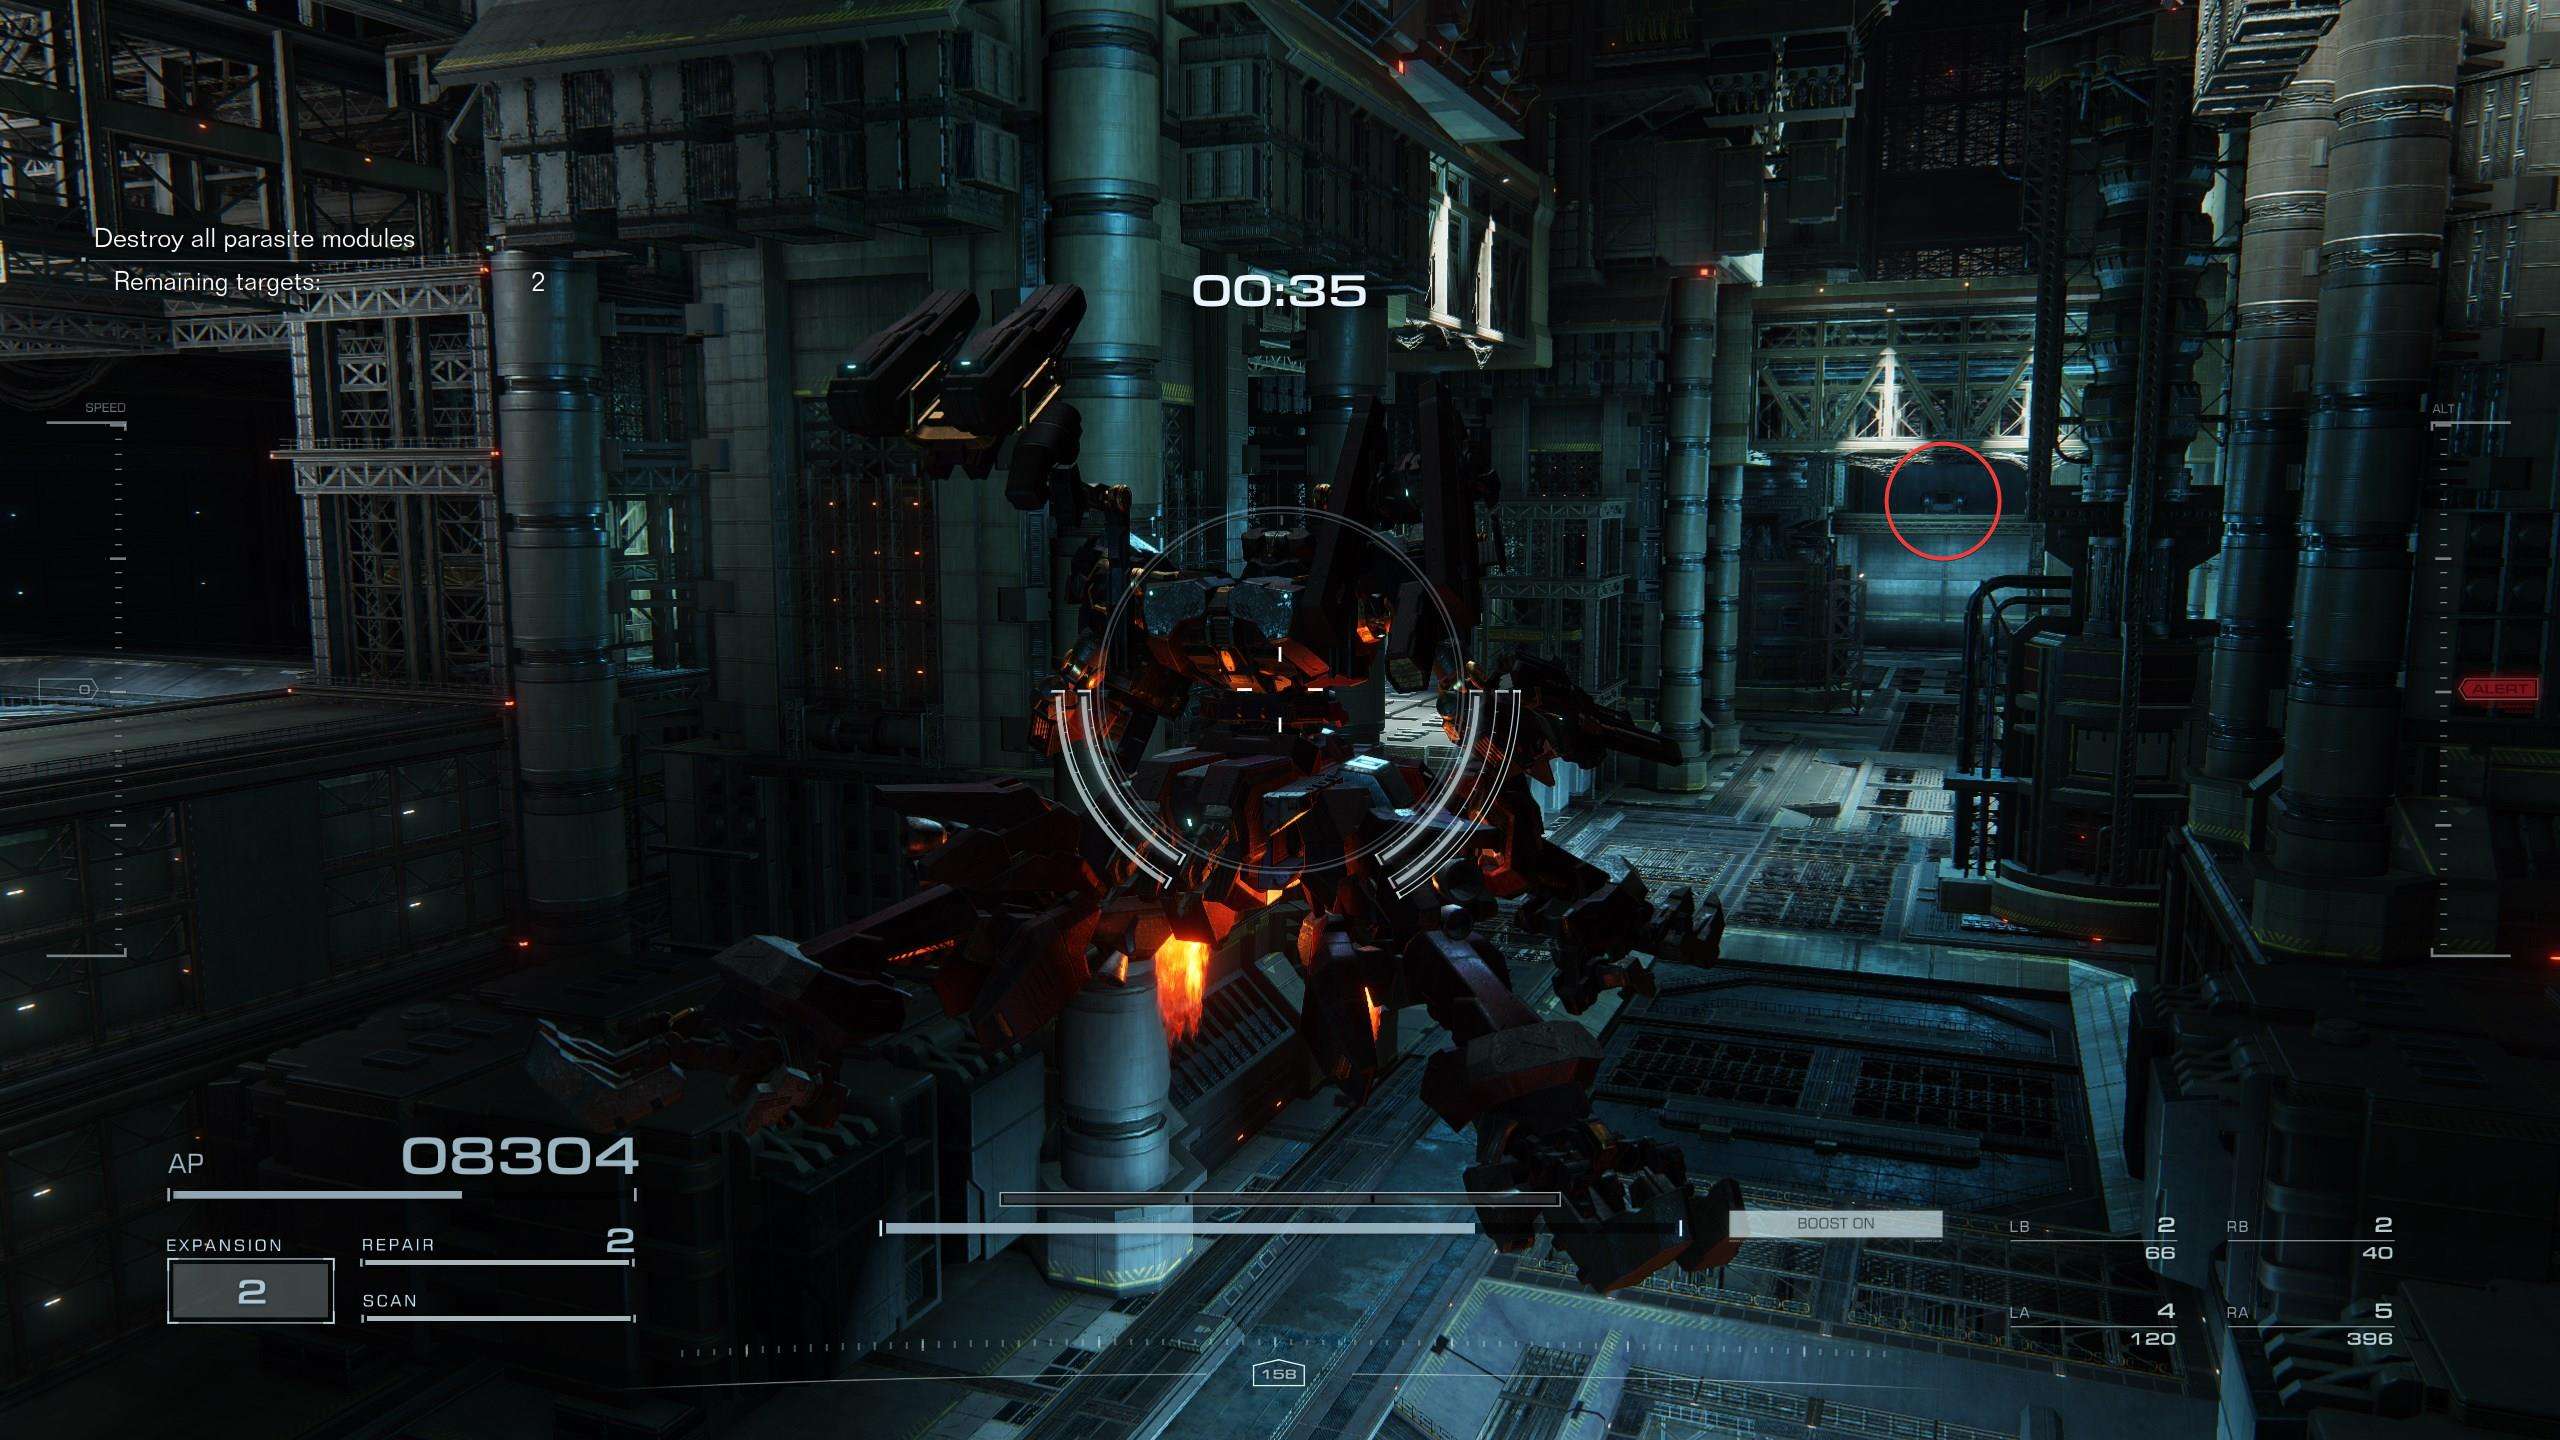
After destroying the first four parasite modules, you’ll enter the third large room where you’ll notice a large center hallway. At the end of this hallway you can see a small, elevated platform; this platform holds a chest containing the final hidden part of the game: the IB-C03W4: NGI 028 Coral Shield!
Loghunt Rewards Table
Loghunt Rank – Unlock Reward
- 04-101 Mind Alpha Arms
- 44-141 JVLN Alpha Detonating Bazooka
- 06-041 Mind Alpha Bipedal Legs
- 45-091 JVLN Beta Detonating Missile Launcher
- 07-061 Mind Alpha Core
- 44-143 HMMR Plasma Thrower
- 06-042 Mind Beta Reverse Joint Legs
- IB-C03G: NGI 000 Generator
- 45-091 ORBT Laser Orbit
- 20-081 Mind Alpha Head
- IB-C03F: WLT 001 FCS
- 44-142 KRSV Multi Energy Rifle
- IB-C03B: NGI-001 Booster
- 20-082 Mind Beta Head
- IB-C03W1: WLT 101 Coral Oscillator


Underground exploration – depth 2 and Unknown territory survey alternative versions i think should be in the NG+ section, at least it’s where i encountered them.
Thank you for your work :).
Unknown Territory Survey (Alt) mission’s combat log also comes from NG+, not NG++
Great guide, been following it along the way.
Just a comment on some of the accuracy, the combat log acquired in Underground Exploration – Depth 2 comes in NG+, not NG++
I just acquired it myself on my journey to get all logs.
One tiny correction: I got the log from Prisoner Rescue in NG+
Unless NG++ added a new one.
“Stop the secret data breach” also shows up on NG+. It might be tied to the decision you take during “Operation Wallclimber”…
I’ve killed all 3 log holders for the V.VII mission and still haven’t completed the mission fully.
Not sure what the issue would be, are you sure you hit the checkpoint *after* destroying the tetrapod? If you had to revert to checkpoint and you had not, that would reset your collection of its log. Otherwise, I couldn’t tell you what’s wrong; there’s definitely only 3 logs on the mission