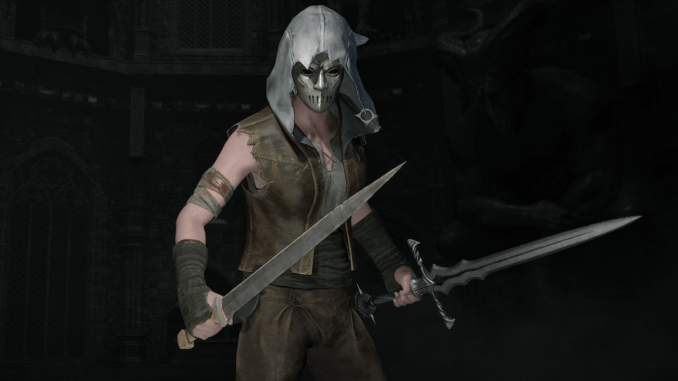
This guide is designed for intermediate and advanced Fighter players and is divided into five parts: Class Overview, Setup, Skills & Flask, Awareness, and Specific Match-ups/Team Builds. By following this guide, you can become a skilled Fighter, winning and thriving in the dungeon.
Guide to Fighter Class
By aimlbsrry
Class Overview
The Fighter is a class with intermediate short-range trading ability and the highest base health. The given ability grants the Fighter a 5-second phase to out-trade any opponent, control crowds by targeting multiple enemies, or force enemies out of high ground positions.
A good fighter must not fear death, and good death leads to afterlife and victory.
Tempest
Setup Overview/ Priority Stats
- Weapon Selection
Two-handed sword
Two Handed Sword is a weapon with slow attack speed and high base damage. It requires the user to have great control in range. This weapon excels in short range trading with perfect parry and charge attack. This weapon is considered as a counter to S&S, S&M charge attack since it has a shorter charging duration compared to others.
Tips
- The third attack of the combo has an extended attack range, which suggests taking advantage of this during melee trades to gain an upper hand.
- Perfect Parry is a precisely timed parry that allows the defender to unleash a powerful counterattack dealing 300+ damage. It is suggested to maintain a close distance to your enemy when executing the counterattack due to its limited range.
Sword and Shield
Sword and Shield (S&S) is a combo that holds an extremely powerful charge attack, which gives defensive effects while charging and having follow-up dealing 250+ damage with yourself protected when closing the distance. This weapon is considered the King of mid-range with the charge attack.
Tips
- The second & third attack of the combo have an insanely high dps with its short interval between attacks.
- While charging toward the enemy with the charge attack, you can change direction by moving your mouse. This technique is useful when the enemy is attempting to parry, allowing you to adjust your approach and potentially avoid their defense.
Sword and Mace
The Sword and Mace (S&M) combo features a charge attack similar to Sword and Shield (S&S), but with a slightly longer charge duration and no movement penalty upon completion. Compared to S&S, this combo can close a greater distance. Additionally, the S&M combo delivers insane DPS when all hits connect.
Tips
- Only the second swing of the charge attack can break the defense of a weapon.
- Unique Weapon “Beastlord’s Mace” charge attack has an extra hit in the combo, which makes the charge dealing 700+ damage.
Double Sword
A specific combo binded with the Q ability “ Warcry”.
- Passive
How you set up your builds depends on two factors: party size and the tiers of your accessories and armor. The general aim is to unlock all of the tier 1 passives in most occurrences (skipping the will passive in solo). In comparison, stacking a single stat is generally just flat out weaker to do. When prioritizing these passives, focus on Strength and Stamina first. Then if playing in teams you should focus on grabbing the will passive (if your comp needs it, else dex).
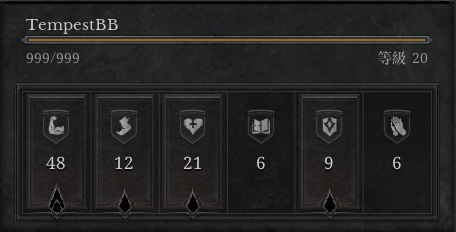
Moreover, strength has two passives that can be activated, one being at a much higher stat requirement. When aiming to unlock this tier as well as the other stat passives (dex, will, stam), equipping blue-tier gear helps as this allows for higher maximum rolls for each attribute. To activate the first tier strength passive as well as multiple other passives, you will need to equip full purple-tier (epic) accessories, with relevant secondary attribute rolls. Unlocking every passive option available will require legendary and unique gear with plus all stats attributes.
- Passive insight
It is worth mentioning two specific passives for Fighters to reach their maximum potential: Weapon Mastery, and Hamstring. Weapon Mastery restricts enemy movement, while Hamstring allows you to tank at least one hit, enabling you to survive until your Q ability’s duration ends. To fully utilize these passives, it’s best to use Stone Wall and Thunder Flask in combination with them. This combination of flasks and passives ensures you can pin down enemies and change the game in seconds, making you an effective Fighter.
Note: This paragraph are connected with Skills & Flask if you want to have a better understanding please read these two section as a whole.
- Skills & Flask
The Q ability Warcry is specifically meant for solo players, while Whirlwind is better suited for duos or trios. The E ability, Charge, is the only viable option due to the recent patch (the July 21, 2024) enhanced the importance of shields, making extended trades less ideal for Fighters. Therefore, Charge is crucial for quickly closing the distance and getting in your enemy’s face. Additionally, the existence of lighting staff and cryomancer makes Charge the only selection.
Your Skill Set must be used as a whole in offensive
Tempest
Fighter’s active abilities are deadly and game-changing if used properly. In light of this, the mentality is to play slow until life-saving skills are used such as: pyromancer and cyromance E. Following with the combination of S&S or S&M charge attack, the ability charge, and flask to pin down the enemy (Further details will be mentioned in the respective section).
The Whirlwind serves two purposes, one is for controlling the enemy, by having them standing in place to block. Second is for insta-killing opponents in certain situations. To achieve the aim, you’ll need to close the gap between, which could be achieved by S&S or S&M charge attack, and the ability charge. Second, make sure the opponent’s escape route is either blocked by you or the stone wall flask. Third, spin to win.
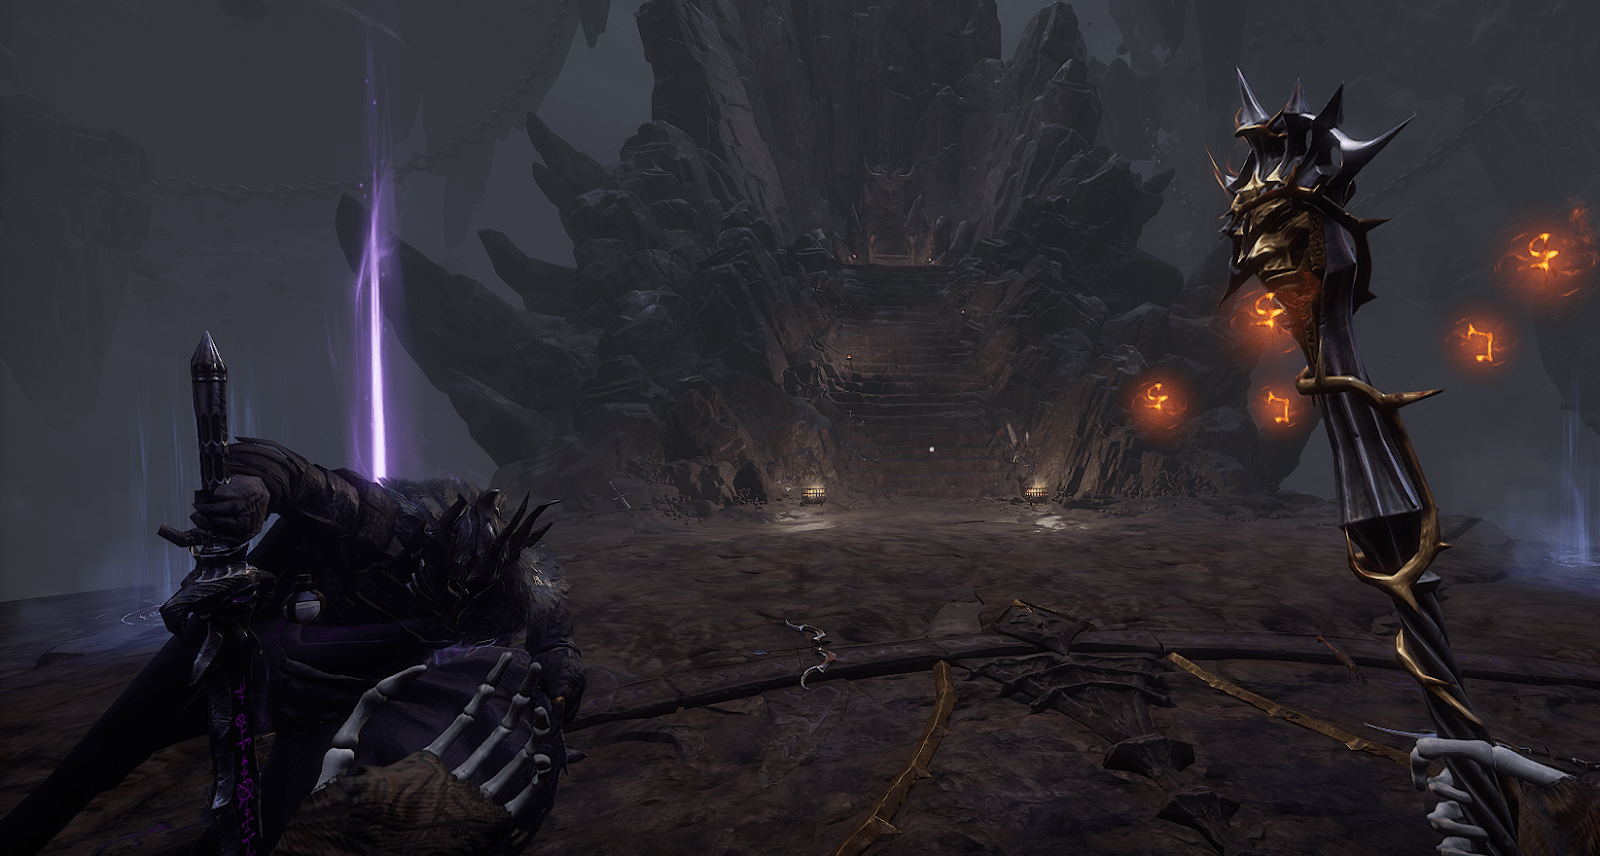
Classic Monach Duo kill
Flask
Heirloom (Items for progression)
The mechanism for
- Double Handed Sword

True Dmg on Block/ Max life stack on kill/ Shielding Bonus or CDR
- Chestplate

Attributes Needed/ Max life stack on kill/ Shielding Bonus or CDR
Choosing between a Chestplate or Gloves/Boots can be a topic of discussion. There are two main differences to consider: opting for Gloves/Boots allows you to select the enchantment that provides a max damage stack on kill. However, I believe the Fighter already has sufficient damage potential. Therefore, choosing a Chestplate would be a better economic option since it is the most expensive piece in the set.
- Neckless

Attributes Needed/ Max life stack on kill/ True Dmg on Block.





Be the first to comment