
The guide is overview in general and contains a lot of tips and tricks that might help you during the HELLDIVERS 2 gameplay.
Guide to General
General
Controls
- You can hold the reload key R to bring up a weapon menu (assault rifle mainly) to change range, flashlight, and firemode (auto, single, burst).
- Navigation: Scroll up, scroll down, right click, left click
- Firemode helps with management of ammo, recoil, and accuracy.
- For machinegun you can change your RPM.
- You can drop equipment, weapons, objectives, and samples via holding X.
- You can enter firstperson ADS via middle-click or dynamic aiming option enabled.
- You can mark enemies and locations via tapping Q.
- You can communicate with your team by holding Q.
Player mechanics
- Red X hit markers: hitting no armor.
- White X hit markers: hitting light armor but is penetrating.
- You are more likely to have bullets glance off if shooting at a surface (armor) that’s angled.
- Armor deflection icon hit marker: unable to penetrate with weapon being shot.
- You can prime the grenade by holding G, you can blow yourself up if held too long.
- You can pickup thrown grenades and throw them again, e.g. enemy/ally grenades.
- You can use stimpacks to refill your stamina bar.
- You can only use stimpacks if you’re damaged.
- Stimpacks will keep healing you for a bit. So being hit right after using a stimpack will take you back to full HP.
- When spawning in as a reinforcement you can kill targets you land on like bile titans.
- You can swim roughly 10 meters so you can try diving and swimming the rest to cross the gap, that is if you can climb the ledge from swimming.
- Being prone reduces the likelihood of dying to nearby explosives
- It might be ideal to have reticle changed from dynamic to visible in settings so you can always see your reticle without having to aim.
Weapons & Equipment
- Single hand weapons like the pistol lets you jog (not sprint) without slowing down when hipfiring (not aiming), unlike 2-handed weapons.
- Useful when enemies are right on you and you have to constantly run and dodge.
- Allows shooting behind you when running away, different camera angles.
- They also let you shoot & carry mission items like SSDs.
- Jump Pack useful getting on mountains + hills that bugs can’t climb.
- Highly advisable if playing as a sniper/gunner as you’ll get a better vantage point for an overwatch position and bugs won’t aggro you as much as the teammates fighting on the ground.
- Also useful for dodging incoming explosives and rapidly flanking large targets with poor mobility.
- Grenade launcher is good for groups of enemies and some light armor targets.
- Can destroy bug nests.
- Can destroy bug nests.
- Resupply fully fills primary and secondary when taken once as well as 2 grenades, 2 stim packs, and some of your special weapon.
- Ammo Pack also gets 1 free ammo box when taking from a resupply
- Recoiless Rifle is 2 pieces: Launcher and Rocket Ammo Pack
- An ally can choose to carry the Rocket Ammo Pack where they load rockets for you, which is faster than solo reloading if you’re carrying the pack instead.
- Autocannon and impact grenades can close bug holes with proper angle.
- Autocannon can destroy spore spewers and bile spewers from a long distance.
- Autocannons can also close bug holes and bot factories. Bot factories take careful aiming or elevation.
- Gatling and mortar sentries are best for hordes. Mortar sentries are insanely good for dealing with bug breaches.
- “Guard Dog”/drone backpack and sentries gives a lot of kills in sustained fights.
- Can get more kills than orbital strikes.
- The drone is not good against automatons because you need to be close.
- Anti-material Rifle seems to have a larger multiplier for damage against headshots.
- Penetrates medium armor
- Cannot penetrate heavy armor like chargers or bile titans.
- Some stratagem beacons stick to enemies and allies.
- Cyborg drop ship cannot be struck with most stratagem call-ins.
- There is armor that can make you (tankier + slower) or (less HP + faster).
- Some armor that you can buy will have passives, e.g. scout giving 30% less detection by enemy + radar to scan enemies every 2s at your map marker.
- Automatons can jam gear. The radar dishes on the towers themselves can be broken by small arms fire (light armor pen weapons) and that will disable the connection without the need to blow up the communication tower itself.
Pheromones & Flare
- Enemies such as patrols will shoot pheromones/flare into the air if either they attack or you attack where they visually see you; them being alert and looking at you doesn’t count yet. Once pheromones/flare is created there will be a bug breach or a bot drop.
- For bugs, if you’re far away enough and prone/crouch + not moving (see stealth & aggro section), you can kill bugs without them triggering pheromones.
- They will come investigate the source of the shooting. Once they visually spot you according to stealth range (see stealth & aggro section) and display the alert animation, they will let out pheromones. So it is highly discouraged to be attacking patrols standing + moving.
- For bots, they will launch flares as soon as you shoot them regardless whether you’re prone/crouch.
- Bot dropships can be taken down via a rocket launcher or another explosive if you hit the engines.
- Bug breaches will keep spawning in enemies even after you kill the bug that generated the pheromones/flare.
- Bug breaches cannot be stopped, they will keep going until all the waves have spawned.
- If a bug breach has occurred, you can use mortar sentries to keep them in check.
- If you’re fast enough, you can quickly kill the mob that generate the pheromones/flare before they start it.
- If a cyborg scout is killed shortly after firing a flare but before the drop ship alert is triggered, it is possible no drop ship will arrive. The timing on this is really tight.
- It’s probably best to use a fast acting stratagem that can instantly kill all the enemies.
- As a rule of thumb, there is no specific mob that sends out pheromones/flares as it changes depending on the selected difficulty of the mission.
- The best method in eliminating patrols without triggering reinforcements is to use a suitable stratagem, stay prone/crouch without moving, and/or have a dedicated sniper/gunner at good vantage point to stand by for any enemy that is about to send out the call while other players take care of the bulk of the patrol. Stratagems like eagle airstrike or cluster bombs are preferable in obscuring weather conditions or when solo.
- It’s not always necessary (though it is of course preferable) to kill the entire patrol quickly.
- It’s possible to prioritize the one attempting to send out the call and then casually deal with rest of the patrol.
Enemies
- For fast moving mobs like hunters, it’s better to just melee them instead of diving. Unless you can manage to dive + melee.
- Chargers can be damaged from behind and (depending on weapon) the joints of their front arms.
- Chargers are very easy to kill if you strip armor off their legs and focus fire the leg.
- If their butt disappears after being dealt enough damage, they will bleed out and die after walking for 5-10s.
- Shield bugs can similarly be shot in the cracks in their armor even when hunkering to damage them through their “shield”.
- You can get titans and chargers to kill other bugs if you bait their spit or charging into each other.
- You can bait 2 chargers to charge into each other. ?Does damage to each other?
- Armor is dynamic, i.e. if you’re using an explosive it can crack their shell/armor and you see a hole you can now shoot through that hole with smaller weaponry to deal damage where you previously couldn’t.
- Explosives and explosive weapons deal full damage to “massive squishy zones” on enemies, like bug butts, while standard rounds only deal 10% damage, according to a dev tweet.
- Bugs will dig (teleport) to you if you’re ontop of an unreachable position if they stayed aggroed on you long enough where they’re running into a wall for too long.
- Robot turret towers have a glowing lightly armored weak point on the backside of the turret. If you hit it with a railgun, grenade launcher, etc, you can destroy the tower relatively easily.
- The best way to destroy the automaton mech walkers is to shoot the robot ‘riding’ them from behind or the side. Good angle + 1-2 shots to the head will knock them down.
- You can destroy Spore towers/pods from a great distance, e.g. autocannon, recoilless rifle, marksman primary, etc, from over 200m away.
Stealth & Aggro
- There are stealth mechanics, you can stealth past enemies. You know if you’re in stealth mode if you hear no combat music.
- It can be ideal to avoid conflict and to focus on objectives vs pointless fighting. Less reinforcements + ammo wasted.
- Throwing stratagems will aggro enemies as if you’re shooting a gun at them. Doesn’t matter if you were prone and still and they didn’t see you while throwing it like if you were behind a rock. As soon as it lands they will aggro you.
- You can lose aggro with lots of distance + breaking line of sight via mountains or smoke by bridge stratagem. However sprinting makes you super loud from afar and standing will make you noticeable from really far away, even crouching isn’t too good (since enemies are already alert). You should dive into prone 90 degrees away from the direction you were running after running past smoke, even better if you hide behind cover like a rock or building.
- Enemies will typically go to where they sighted you last and maybe go in a line past that searching. They will possibly investigate hearing sound.
- Fast mobs like hunters are too fast to lose aggro.
- Enemies will become alert to sound and sight.
- Enemies will get alerted from highest to lowest: sprinting > jogging > crouching > prone + moving > prone + not moving.
- If you want to stay hidden go prone and stop moving and hope they don’t come too close within Line of Sight.
- Enemies being already alert will notice you easier.
- You can sprint away from patrols if you sprint in the opposite direction as soon as they notice you with clear Line of Sight. But they will investigate the sprinting noise created by you.
Objectives & Sites
- When doing mission terminals with radar dishes or gas pipelines, you can press the Q button to read out the necessary information to the team, e.g. saying that the radar needs to point southwest or open valve A1.
- Some side objectives gives you bonuses like another stratagem or revealing the map.
- Artillery side mission will give you access to artillery stratagem.
- Different payloads can be launched, e.g. smoke, mininuke.
- The payloads depends on what you loaded and in what order, i.e. a First In First Out order of fire.
- Fixing radar dish side mission reveals the map.
- You can tell if you’re rotating the dish direction properly into the sweet spot by sound, i.e. BEEP BEEP BEEP vs BLIP BLIP BLIP.
- Some side objectives that require destroying buildings will give a stratagem to help destroying it like a hellbomb.
- Artillery side mission will give you access to artillery stratagem.
- Destroying automaton factories can be done via orbital precision strike, eagle bombing run, air strikes, etc.
- If you need to destroy an ammo dump, grenade the pile of shells. Even a Hellbomb won’t scratch them if it doesn’t have Line of Sight.
- Automaton factories have 2 glowing vents by the entrance. A grenade in either vent will destroy it.
- A randomly thrown turret or hellpod can kill an automaton factory, if it “accidentaly” hits the right spot.
- If an automaton factory opens its door to spawn robots you can blow it up by shooting your autocannon into the open door.
- The objective where you have to deactivate a tower can be completed easily by just blowing up the tower.
- You can destroy them from a great distance, e.g. autocannon or recoilless rifle from over 200m away.
- There are crates and doors and such that have a marker on its surface indicating you can destroy it, usually they’re red or blue; you can find something inside like samples or weapons. E.g. an excavated hole with a shipping container.
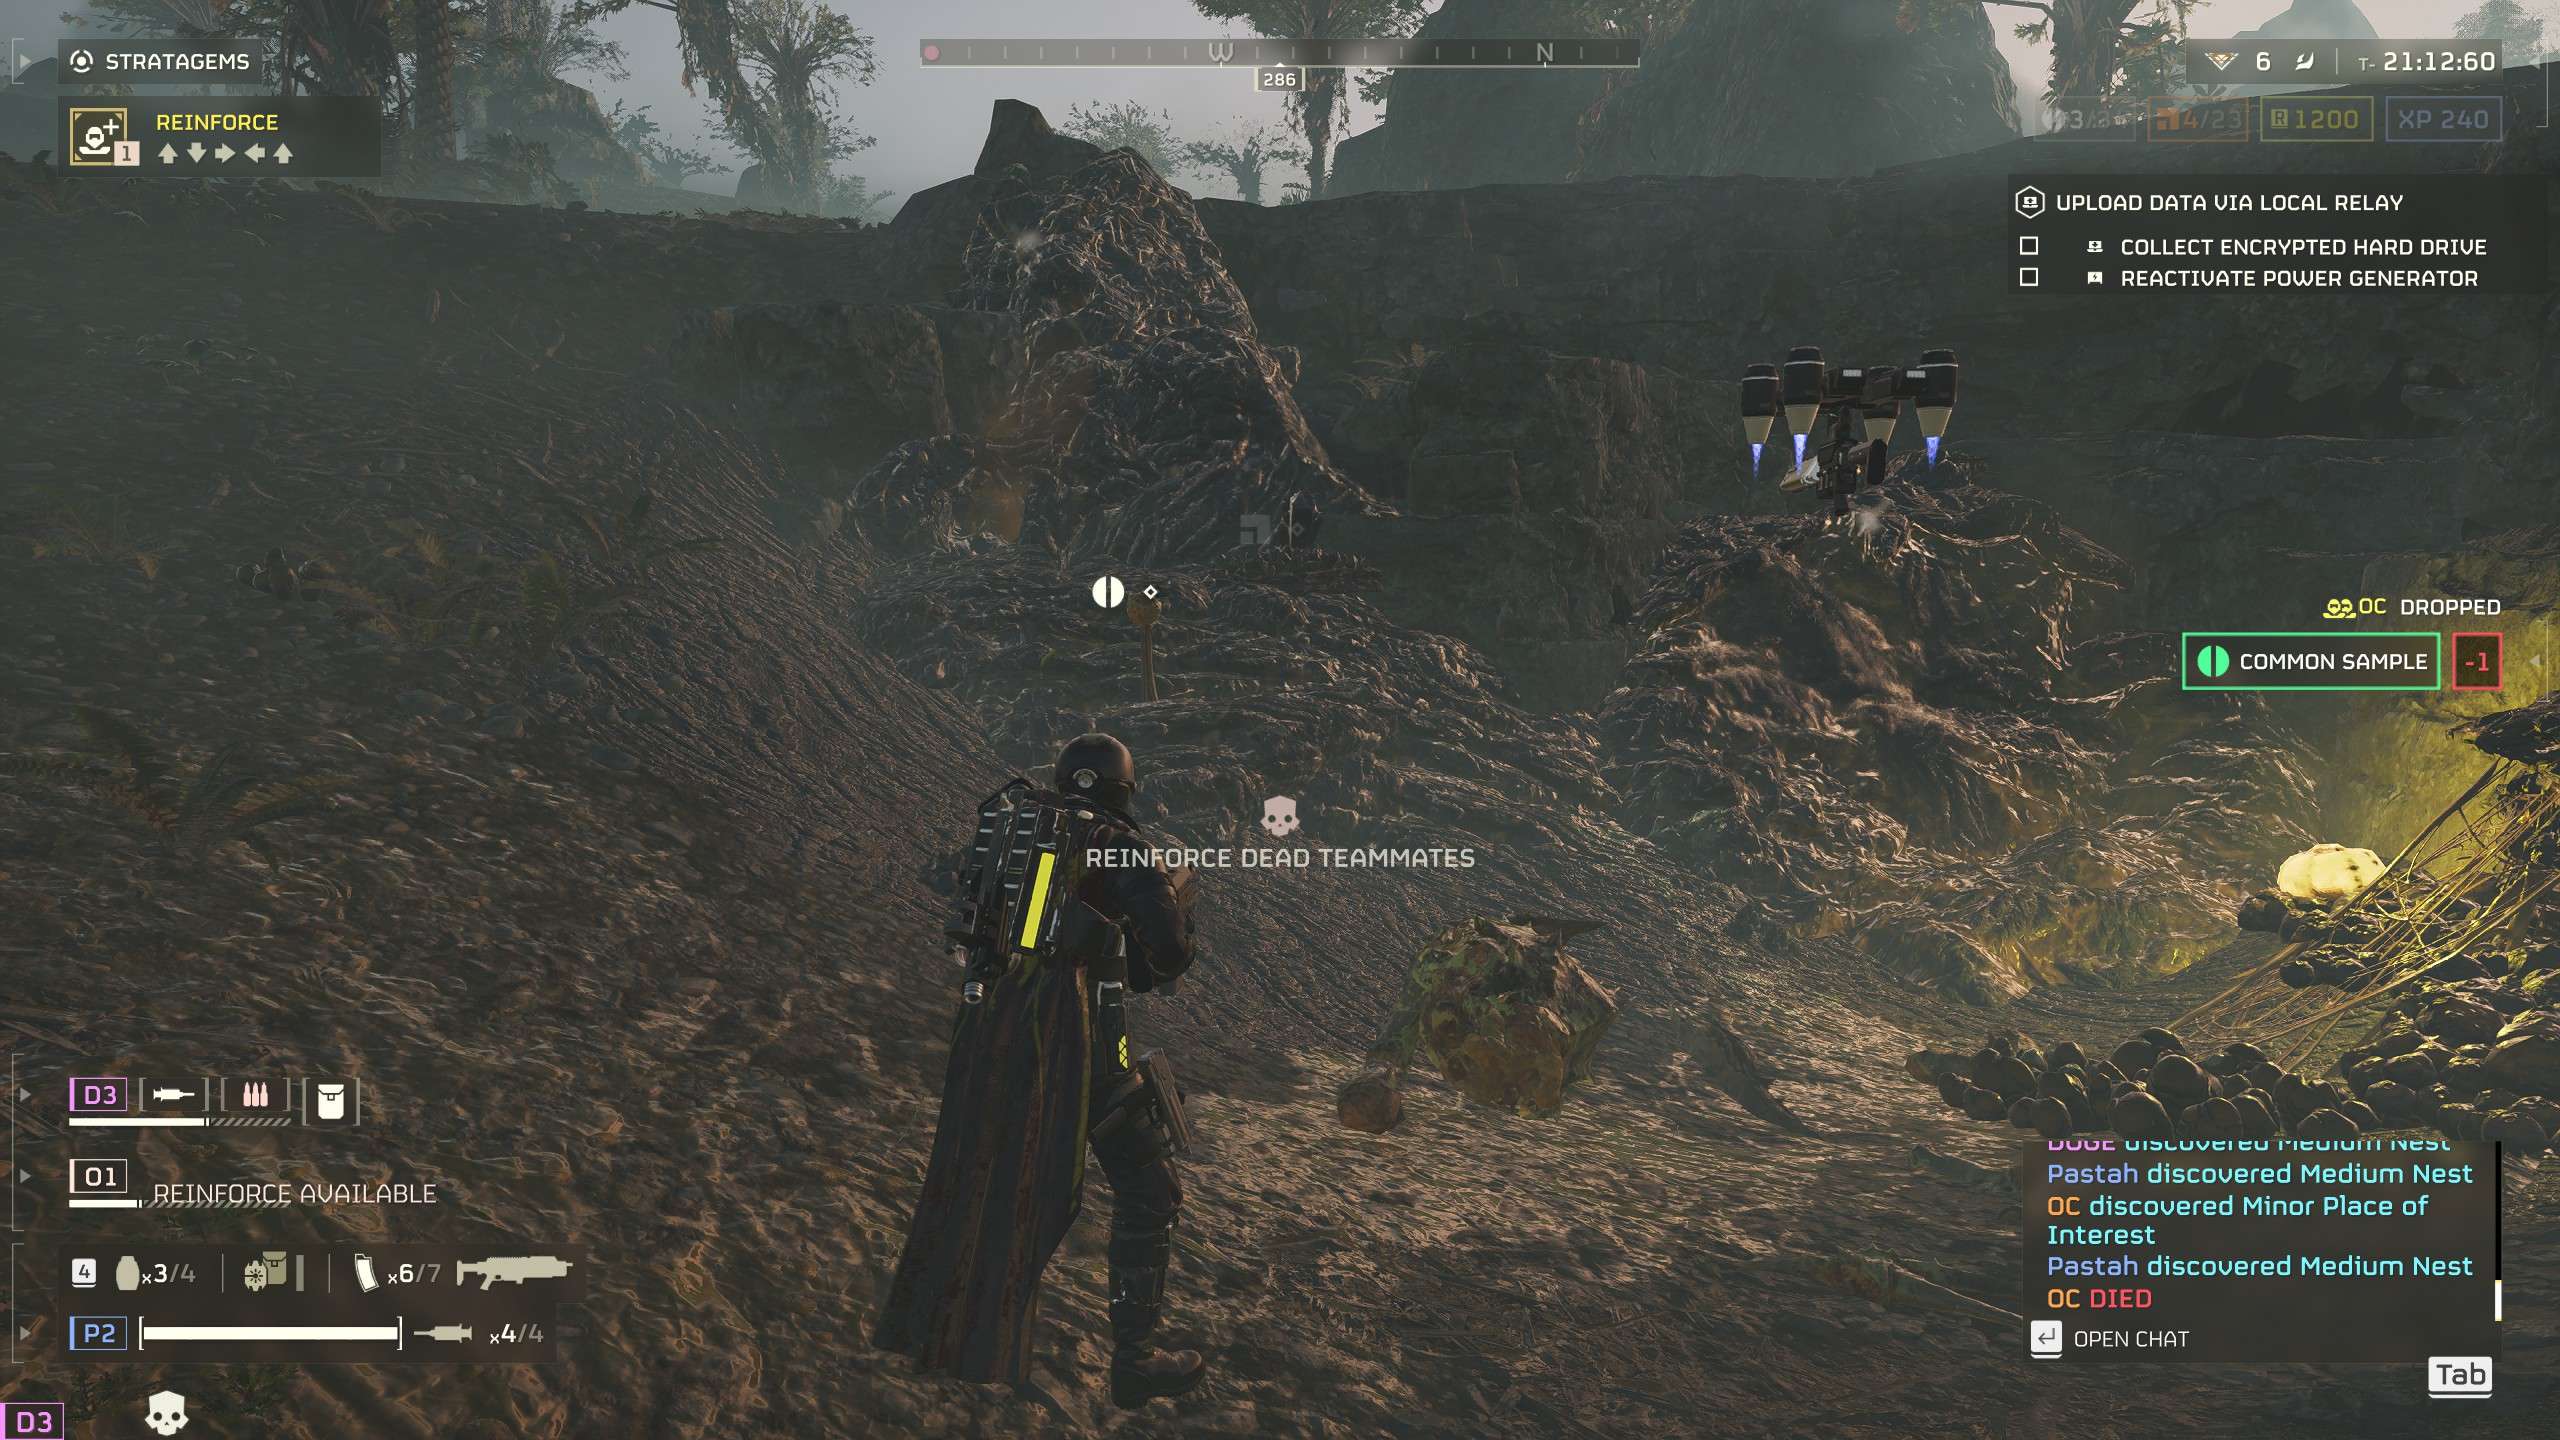
- Map icons with a gem icon contain loot, once the loot is taken it changes to an icon representing a diamond with ripples/radar below it.
- You can hear some samples, they generate sound effects.
- You can find samples by sprinting around and having them show up in the HUD if you’re near enough.
- Having your map open hides them on your HUD.
- This is the range of having to see samples. Closer sample has more opaque text while the farther one is the threshold of having text show at all.
I hope you found this helpful!


I learned recently that the SPEAR stratagem can actually target the bot fabricators from a *really* long distance away. It’s a bit of a pain to get a lock, but it can get it and generally takes them out in one hit, which can be useful in ‘stealth’ missions
During evac, drop all samples where the dropship will land and pick them up as your entering the pelican. This is so you don’t lose them if someone dies and you can’t get the samples back.
Armor rating is bugged. So wear light armor for speed and stamina regen.
Purple resource ‘Super Samples’ spawn only around weird structure that looks like a fist for fisting poinitng at the sky or gray metallic FIFA world cup trophy. There is only one per map. All 3 out of 3 purple samples spawn there. 7-9 difficulties only. It’s so important you better fight and get this one delivered to shuttle and fail the mission, rather than cowardly retreat from this fist because of 3 Bile Titans and complete the mission. You can try to stealth it.
They are also on difficlty 4.
But idk how to crack it. is an high Explosiv weapon or strate needed? cause granades arent working
AFAIK the structure is on the map at all difficulty levels but the resource itself only spawns around the structure on the highest echelon of difficulty
Autocannons can also close bug holes and bot factories. Bot factories take careful aiming or elevation
recoilless rifle can also close bug holes and yes arty will shoot in the order of placed shells from first to last
When fixing some of the terminals like the radar dish or gas pipelines, you can press the Q button to read out the necessary information to the team, like saying that the radar needs to point southwest or open valve A1.
You can destroy/snipe Illegal broadcast advert tower and Spore tree from 200++ meters with auto cannon support weapon
Worthy note on Automaton jamming gear, the radar dishes on the towers themselves can be broken by small arms fire (light armor pen weapons) and that will disable the connection without the need to blow up the communication tower itself.
Just learned that by holding R (Reload), that you can manually turn your flashlight on and off with mousewheel down (Its default is auto)
or change firing mode of guns to single/burns using right click (Grenade launcher is auto fire default, didnt know, thought it was single)
Nice guide, lots of useful information. The only thing that I did not see mentioned off of the top of my head is the fact that: when automatons throw a grenade at you, using the interact key you have assigned, you can actually kick it away/back.
Explosives and explosive weapons deal full damage to “massive squishy zones” on enemies, like bug butts, while standard rounds only deal 10% damage, according to a dev tweet. Supposedly there are a lot of other things like this in the game that are wholly unexplained, that can be figured out “using logic” according to the same dev.
Automaton factories can also be destroyed by throwing a grenade into the exhaust,
or if needed, a (re)spawn on top of it.
The best method in eliminating patrols without triggering reinforcements is to use a suitable stratagem or have a dedicated citizen at good vantage point to stand by for any enemy that is about to send out the call while other players take care of the bulk of the patrol. Stratagems like eagle airstrike or cluster bombs are preferable in obscuring weather conditions or when solo.
It’s not always necessary (though it is of course preferable) to kill the entire patrol quickly. It’s possible to prioritize the one attempting to send out the call and then casually deal with rest of the patrol. I’ve never seen more than one attempt at reinforcements being sent out from a patrol myself.
The enemies can even get so far as to “activate” the pheromone spewing or the flare animation, visually telegraphic the action, but taking them out at just that moment will stop the activation early and prevent the call from going to effect.
Best way to get the most kills every game is with the rover backpack (lets out a UAV that shoots mobs) and sentry turrets. Particularly the gatling and mortar sentries are the best at taking out hordes of mobs. Sentries are way better at getting a lot of kills than orbital strikes, you just gotta place them intelligently. Getting lots of kills is not everything of course, you gotta have a strategy for taking out chargers and heavy mechs. The UAV is not as good against the automatons because you need to be close and they are ranged enemies.
SEAF Artillery follows a FIFO order of fire. So if you load napalm -> nuke -> explosive it will shoot in that order.
Mobs that can spew pheremones/shoot flares are limited to the tiniest bugs, the warrior bugs, the lightest automaton units that do not have rocket launchers. Nothing else (that I’ve seen) can call in reinforcements. You can’t stop a breach/drop in progress unless you kill all enemies or shoot down the dropship (for automatons). You can flee from a breach, but you are unlikely to shake them without smoke. I’m not sure bugs can even be escaped at all.
On higher difficulties, bugs like warriors can also spew out pheromones to summon reinforcements. Not sure which of the heavier bots can do that.
Also you can destroy Spore pods from a great distance, I’ve launched 2 AT rockets at over 100-150m distances and completed the missions
The best way to destroy the robot mech walkers that i call AT&ST’s (Star Wars) is to shoot the robot ‘riding’ them from behind / the side – Simply run to a good angle and 1-2 shots to the head will knock them down.
you can shot of a pare of the enemy and it still 97% active so shot it inits heart or head
Robot turret towers have a glowing lightly armored weakpoint on the backside of the turret. If you hit it with a railgun, grenade launcher, etc. you can destroy the tower relatively easily.
If an automaton factory opens its door to spawn robots you can blow it up by shooting the autocannon into the open door
-Automaton factories have 2 glowing vents by the entrance. a grenade in either vent will destroy it.
-being prone reduces the likelihood of dying to nearby explosives
-The objective where you have to deactivate a tower can be completed easily by just blowing up the tower.
-And i believe setting enemies on fire with the incendiary shotgun will count those kills as yours no matter how they die. I exited a mission with 400 more kills than my team-mates because of this. (Not that it actually matters).
a randomly thrown turret(hellpod) can kill a automaton factory, if it “accidentaly” hits the right spot
It’s somewhat easy to run away from breaches on Everything below Hard from what I have played. Most players don’t know you don’t have to fight a breach and that’s normally what slows people down. The minute you through in stalkers tho it’s pretty hard to not get swarmed while running away during a breach.
Also if you take out the Bugs fast enough you can stop it. But that gets Harder as the Difficulty goes up.
In my opinion, running away from bug breaches usually makes the last person (rear guard) have to deal with all the enemy spawns and gives the illusion that you solved the problem as they’re holding all the aggro. At least if you’re not moving as a group.
I would advocate running away if it makes bug breaches end early.
Air strikes work on bot factories and the illegal lab if they make a direct hit. Additionally holding X opens a context menu for dropping equipped items but you can also drop some of your ammo if a squadmate is down.
Titans can kill eachother with their spit and chargers with their legs if you bait them properly enough.
Autocannon can kill pretty much anything and any objective excluding labs. For a bug pit you want to look at it from the front and shoot inside. Titans can get killed by 1-2 full mags spammed at their belly depending on how many shots you landed that “hit”.
Small correction to what i said. When i said about baiting Titans i meant Titans specifically can kill other bugs. I never noticed Chargers or other bugs doing that. Unless someone checks that part specifically i doubt it’s factual.
bro how we kill automotron factories? I thought i could use an autocannon an aim at the two frront vents where u toss nades but now only nades and airstrikework?
Orbital Precision Strike and Eagle Bombing Run can both destroy automaton factories directly. I’m not aware of any man portable weapons that can do the job.
Word of advice: if you need to destroy an ammo dump, grenade the pile of shells, even a Hellbomb won’t scratch them if it doesn’t have LoS to them. (Learned by bitter experience this one was.)
Chargers are very easy to kill if you strip armor off their legs and focus fire the leg.
Icons with a Diamond gem still contain loot. Once all loot is removed the diamond icon changes.
You don’t need to be told the direction for the satellite task, you can hear the “BEEP BEEP BEEP- BLIP BLIP BLIP!!!!” difference when you hit the ‘sweet spot’.
Some side missions that require destroying buildings will allow use of the hellbombs, which are placeable nukes that require activation. This is useful for saving your airstrike strategems.
Holding the X key on the keyboard can open up your inventory, allowing you to drop backpacks, support weapons, samples. This is useful in some cases, such as when you pickup the recoiless rifle and accidentally pick up the rifle’s ammo backpack along with it.
Navigation: Scroll up, scroll down, right click, left click
You forgot tapping “R”
You can use single hand weapons to shoot behind you when changing the camera angle.
If the artillery sidemission objective has spawned and you need to load the shells, you can press e to drop it and e again to pick it up, basically skipping the slow walking speed.
If there is a random “house” spawn (those small cottages randomly spawning on the map), they can have something like a blue or red door near them/below them that looks like its a container dug into the earth, you can blow up the door to get goodies. Either use nades or blow up one of the red canisters sometimes spawning near them.
You can move your “marker” when opening the map, marking locations for the team and even discover not yet seen “?” locations while hovering over them with the marker.
If you got the autocannon, you can use both the cannon and the ammunition backpack at the same time, no need for another player.
You can drop stuff while holding “x”
You can gun down robot dropships with a rocket launcher or other high powered explosive if you target the engines, makes for some pretty easy missions if done properly.
– You can see your team mates’ line of fire as they aim, indicated by a thin green laser.
– You can destroy Pelican-1 evac transport with a respawn pod (I do not recommend that!)
– Staying away from water is a good idea as players can swim only for a few meters, after which they perish.
I have done a mission entirely stealth. In a game where it’s all DAKKA DAKKA DAKKA
I can confirm, that being sneaky is very viable. Just have to melee a lot of the time though.
Autocannon is very useful weapon – it can close bug holes with right angle, u can get rid of spor tningy and bile spewers from a large distance and has a lot of ammo
Like in Helldivers 1, if a cyborg scout is killed shortly after firing a flare but before the drop ship alert is triggered, it is possible no drop ship will arrive. The timing on this is really tight, however.
Cyborg drop ship cannot be stuck with the stratagem call-in grenade/orb/thingie, which unfortunately means it’s a lot harder to hit them just right with said stratagems.
To avoid friendly fire try to always have something that breaks line of sight with you and your turret. Indestructible terrain works best. A turret can kill a player near instantly if they get shot by it.
Jump Packs are also super handy for dodging incoming explosives and rapidly flanking large targets with poor mobility, such as Chargers. I would say that Jump Packs get more valuable the lower the player count, as there are fewer targets for your enemies to attack and thus leaving you less opportunities to flank or gain advantageous positions.
The Grenade Launcher is incredible for taking out groups of enemies, targets with some armour (like Elite Warriors) and rapidly dispatching egg clusters. It is quite tricky to get your grenades to land just right, so the Grenade Launcher can be unreliable against bug holes. It can also quickly kill bile spewers!
Chargers can be damaged from behind and (depending on weapon) the joints of their front arms, shield bugs can similarly be shot in the cracks in their armor even when hunkering to damage them through their “shield”
Bile Mothers can have their stomachs popped which seems to either stop them from doing puking attack and/or make them slowly bleed out – and can be instant killed by a drop pod through their torso or head from either a resupply, a person respawning, or a weapon drop
armor is fully dynamic – that means that if youre using an explosive that doesnt quite kill the big bugs but it does crack their shell and you see a hole you can now shoot through that hole with smaller weaponry to deal damage where you previously could not touch them
you can change stratagem directional keys from WASD to arrow keys to allow you to continue moving and (depending on finger flexibility) sprinting while running away from swarms and ALSO calling stratagems
you can dive in ANY direction
you can run in between mines in a mine field but if you get too close they will blow up
when you are holding R for the weapon menu, scroll up does the top part, scroll down does the bottom part, right click does the right and left click the left(never actually seen one with a left, but who knows)
The range setting on weapons when holding R changes the zoom level of the scope when using first person zoom(Middle mouse by default)
You can use your friend as artillery when they are dead !
White x seems to indicate reduced damage due to armor but penetrating. Red x seems to indicate full damage.
I’d add the Q key (by default) marker system, since the tutorial utterly fails to mention it and I thought that was some goddamn magic the first time I saw it.
Armor sets can have perks, like ‘where this player pinged you get enemy radar’ from scout armor, and good golly that’s nice to avoid sudden ambush.