
This guide shows how to easily replace any merc portrait with your own portrait or full body image. It does not affect the 3d model of your merc.
Guide to Manually Replace Merc Portrait/Full Image
Tools Needed
You need HPK Archiver for Haemimont Engine game files which you can download here. I use windows so I used this zip file: hpk-v0.3.11-x86_64-pc-windows-msvc.zip
And you need a image modification program, the developers recommended paintdotnet, which I also used.
Extract Portraits
- To extract the portraits go to the installation folder of JA3 and into the subfolder “packs”:
- \steamapps\common\Jagged Alliance 3\Packs\
- I placed the hpk.exe in this folder for easier use.
- The portraits are in the file UI.hpk.
- Open a command line and navigate to the folder above
- Then create a folder for the contents of UI.hpk:
mkdir UI- Then unpack the files into that folder with the next command:
hpk.exe extract UI.hpk UI- Your portraits are now extracted in the folder UI/MercsPortraits
Replace a Portrait
- Go to the portraits that you just extracted and open them in your image editor tool (for me paintdotnet).
- Replace the transparent image with whatever image you want.
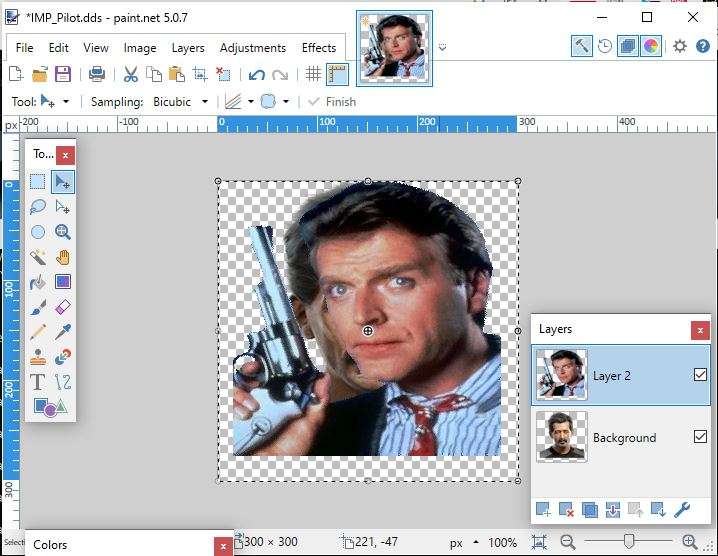
- I added a layer to align it properly:
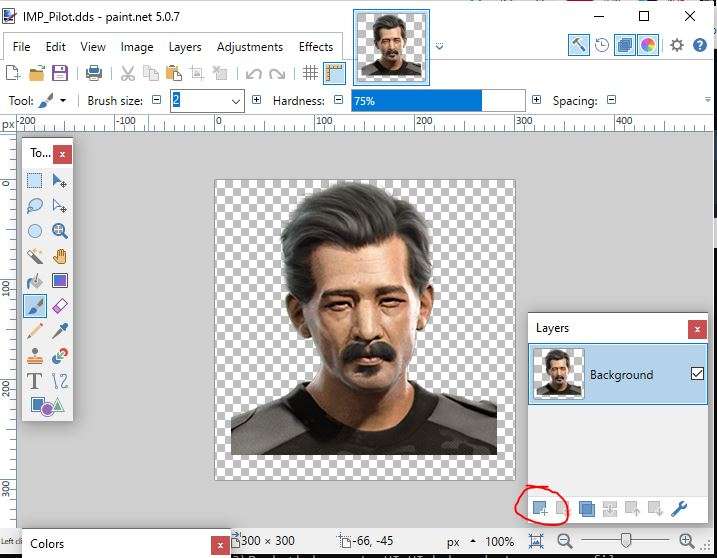
- Then copied the image into the new layer and cut off the exact dimensions.
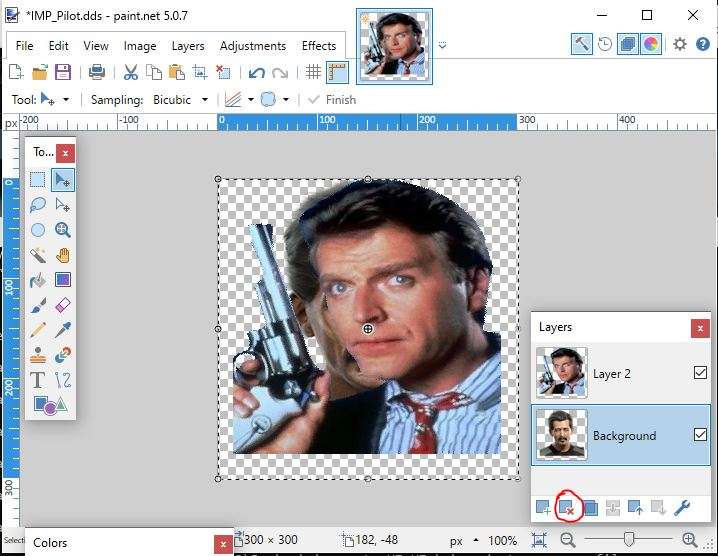
- Then delete the original layer:
- Then save the file as a DDS with the following settings:
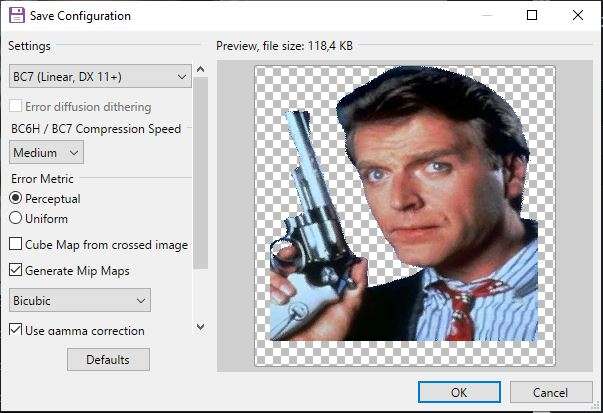
- BC7 (Linear, DX 11+)
- Generate Mip Maps
- So that the file has a file size of 119 KB
Repack the Hpk
- Repacking is very easy as well.
- In your command line you use the following command (it is always a good idea to make a copy of the file you are replacing, but it is an optional step)
- Making a copy:
Copy UI.hpk UI_copy.hpk- Packing the new hpk:
hpk create --dont-compress-files UI UI.hpkAnd you are done!
Replace Full 2d Image for Inventory and Stats Screen
Same procedure as with the portraits.
Just go into the subfolder ‘Mercs’ and replace the merc image you want with the new one.
Nevermind! I was using the wrong BC7 drop down. I missed that paint.net was defaulting to “BC7 (Linear, DXT1)”. Once changed to “BC7 (Linear, DX 11+)”, perfection.
This is very helpful, thank you, but I don’t seem to be able to achieve “So that the file has a file size of 119 KB”.
I have been able to follow these steps to change mod’d portraits, but not the UI pack ones.
Thanks alot man!! Looking forward to diving into the game files and having a little go at changing UI elements, have an award!