
Like a Dragon: Ishin! has a total of 72 substories divided between 6 regions.
Contents
Complete Substories Walkthrough
All credit goes to maji!
Chapter 2 | Fushimi
37. Death of the Author
- Location: Inside Teradaya Inn (2nd floor)
Pass the men in the hall just outside of your room and go around the corner, following the hall to the very end. A cutscene will trigger and you will meet the author. He’ll need your help 3 times, so you will have to exit and re-enter the inn after answering each of his questions.
- Answer 1: A cat might be funny
- Answer 2: Botch-chan!
- Answer 3: Heart
- Reward: Broken Compass, Fine Silk Fabric, European Fabric, 300 Virtue
41. All in the Hips

- Location: At Umai Udon shop in Fushimi Ichibangai
Interact with the owner and order something off the menu to establish a bond. Come back one more time (you can do this immediately) to initiate the substory.
- Reward: 10% cut of earnings, 250 Virtue, unlocks udon shop mini game
43. It’s a Long Story

- Location: Next to Hanako shop in South Yashikimachi
Approach the two women talking to trigger a cutscene. When there’s only one lady left, interact with her and choose to hear her out. Answer her questions in the following order.
- Answer 1: Bamboo shoots
- Answer 2: Outside a tea shop
- Answer 3: Sakiko
- Reward: Gold Seal, 300 Virtue
*After completing, find a building you can enter, go inside, then exit and return to Sakiko’s location (she’ll always be in the same spot). Doing this will make her next substory available.
44. It’s a Long Story: The Final Chapter
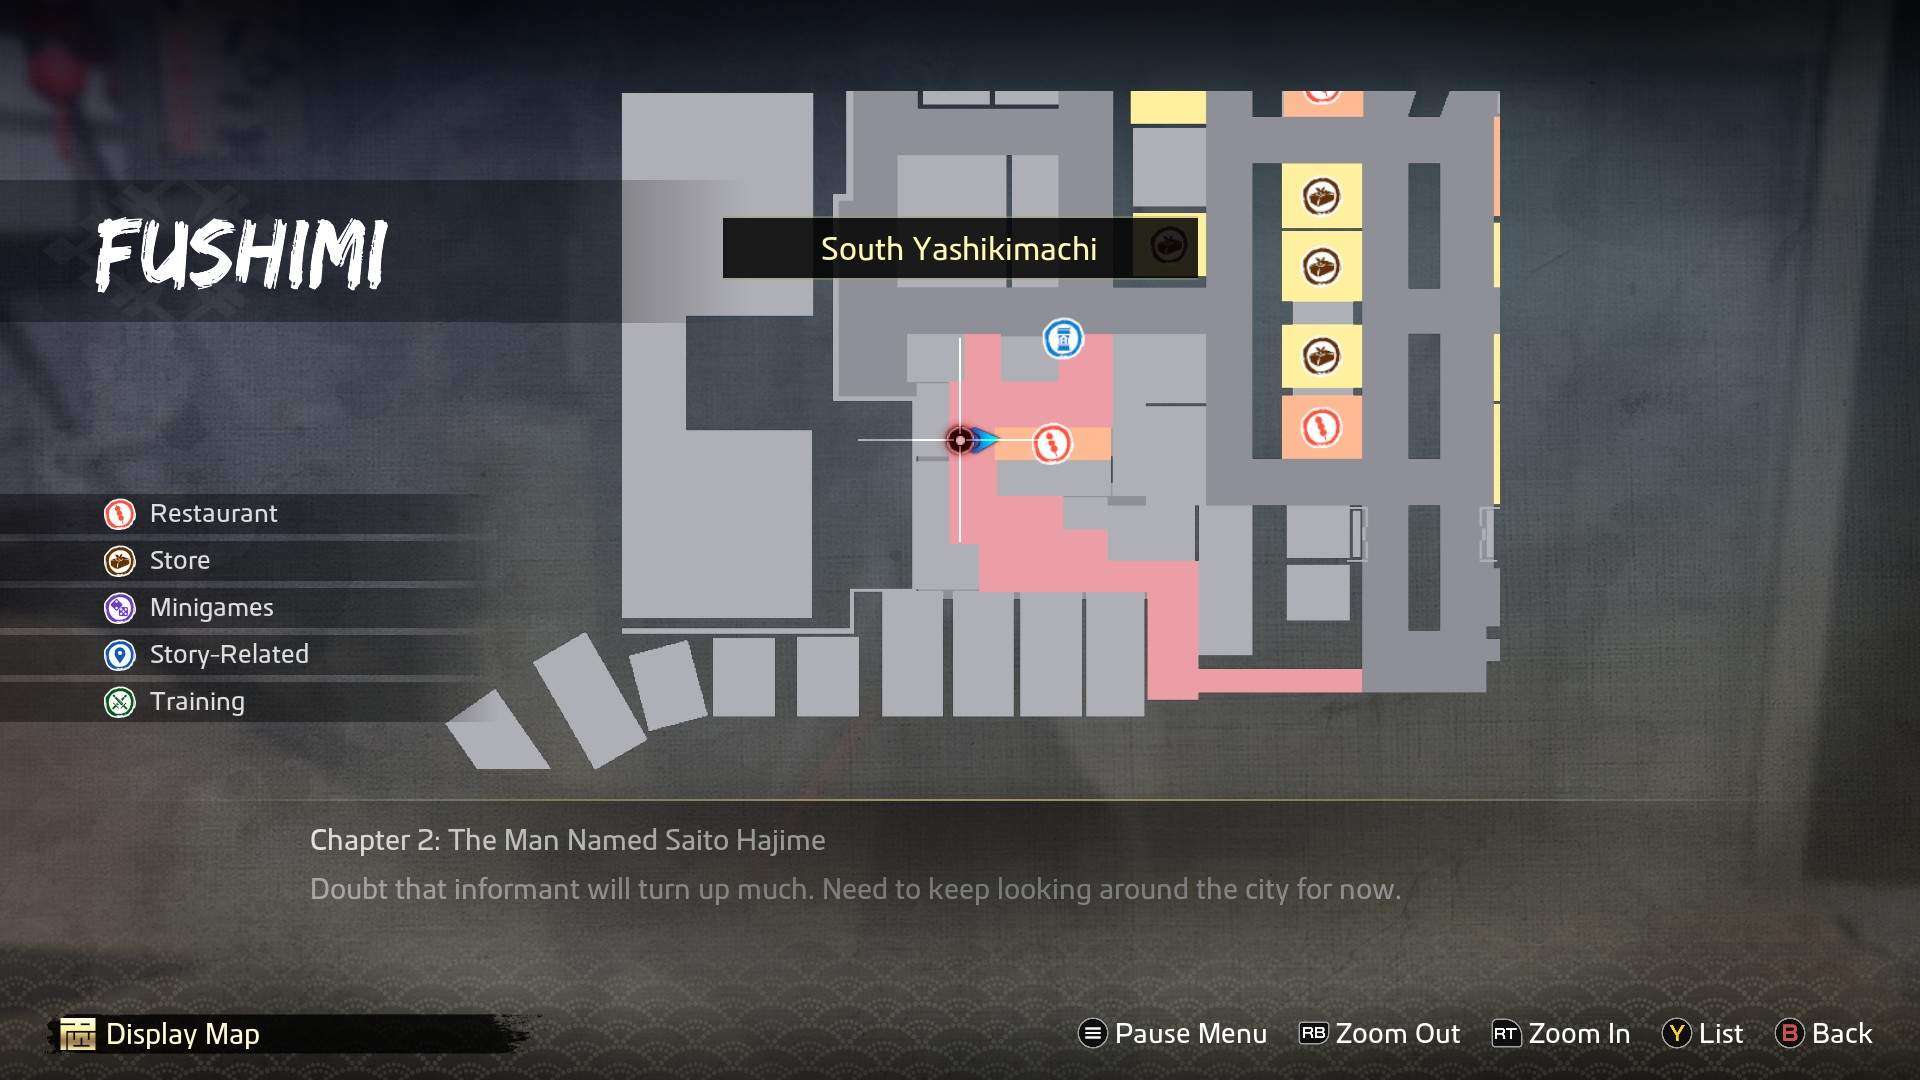
- Location: Next to Hanako shop in South Yashikimachi
Return to where Sakiko is located and speak to her again to start her next substory. Answer her questions in the following order:
- Answer 1: Red, white and green
- Answer 2: Amazake
- Answer 3: Sumire
- Reward: Tear of the Dragon, 350 Virtue
*After completing, find a building you can enter, go inside, then exit and return to Sakiko’s location (she’ll always be in the same spot). Doing this will make her last substory available.
45. It’s a Long Story: Epilogue

- Location: Next to Hanako shop in South Yashikimachi
Approach Sakiko and talk to her one last time. Answer her questions in the following order:
- Answer 1: A scarecrow
- Answer 2: Pickled daikon
- Answer 3: A tuna
- Reward: Golden Medicine Case
47. Ee Ja Nai Ka
- Location: Right outside of Ebisu Pawn Fushimi
Approach the crowd to trigger a cutscene. You’ll end up having to fight off a couple of thugs.
- Reward: Exquisite Cogwheel, 300 Virtue
50. The Desperate Fisherman
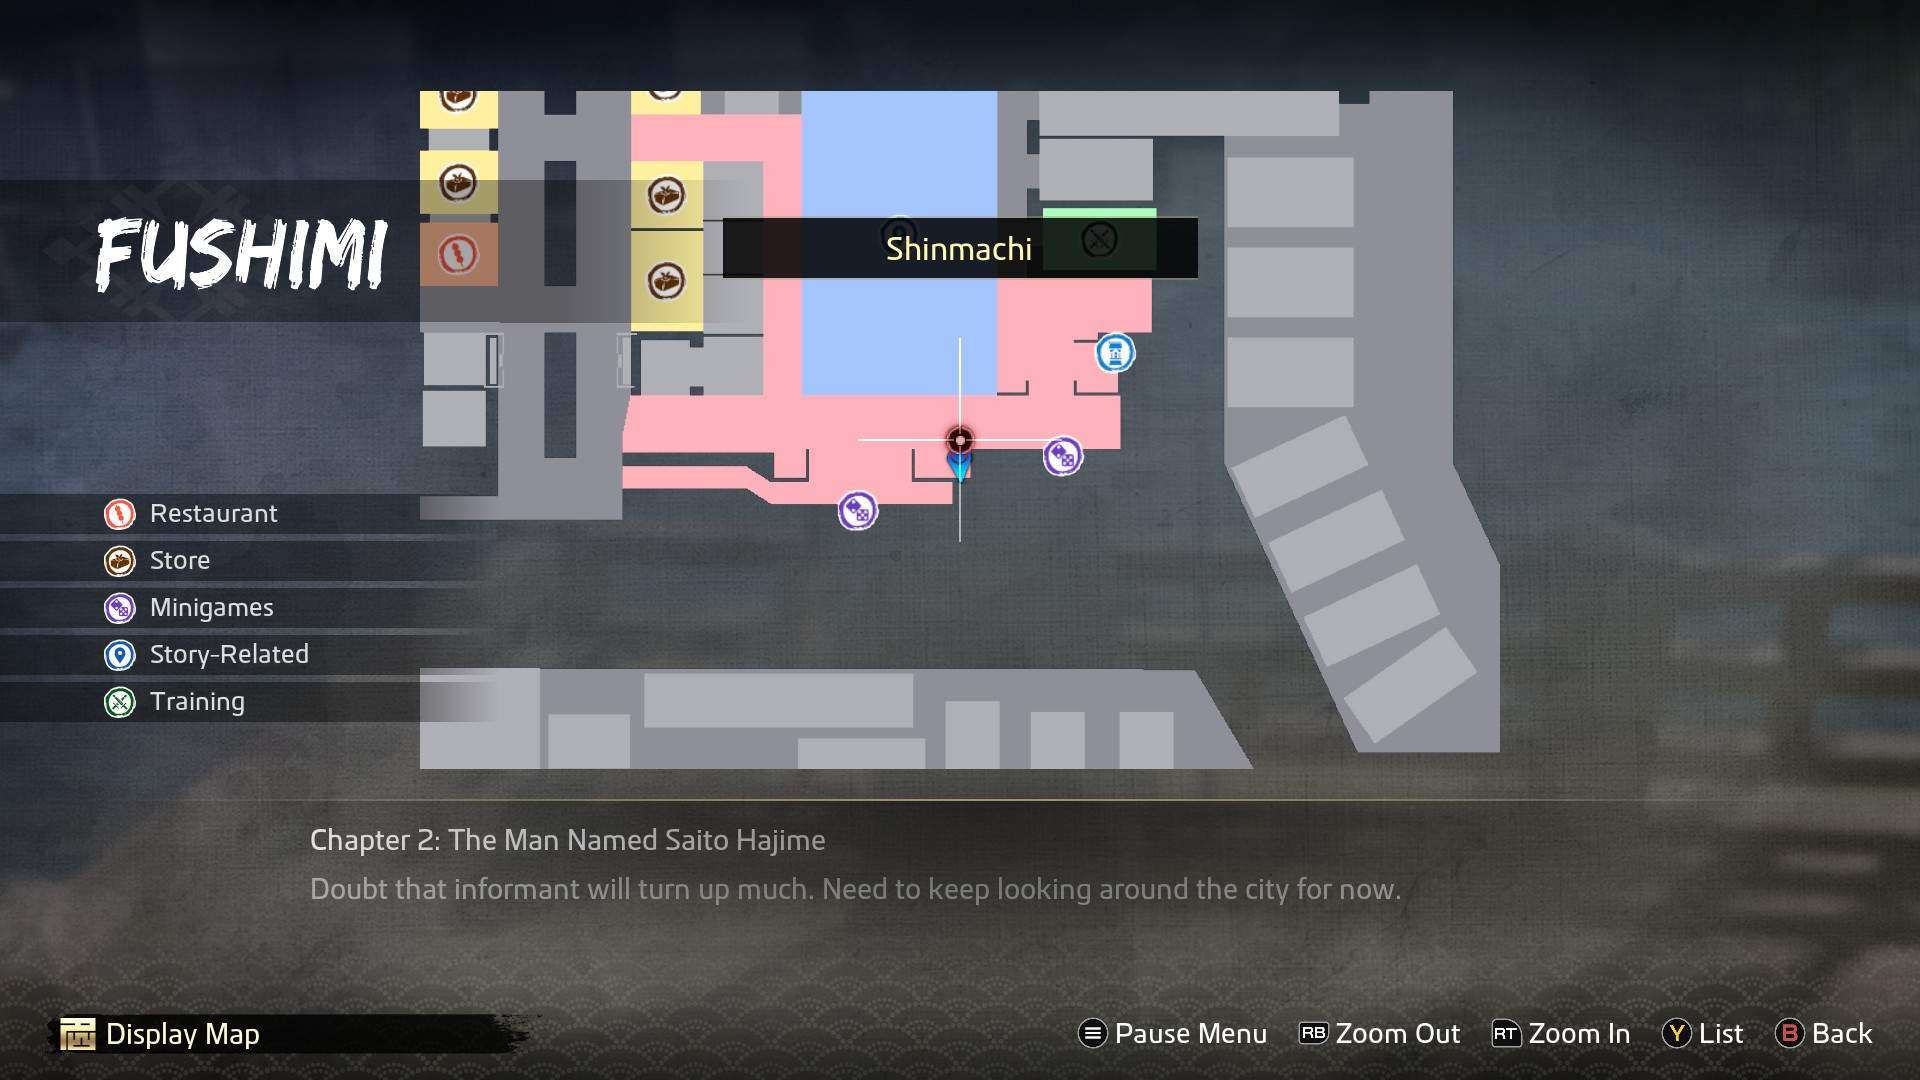
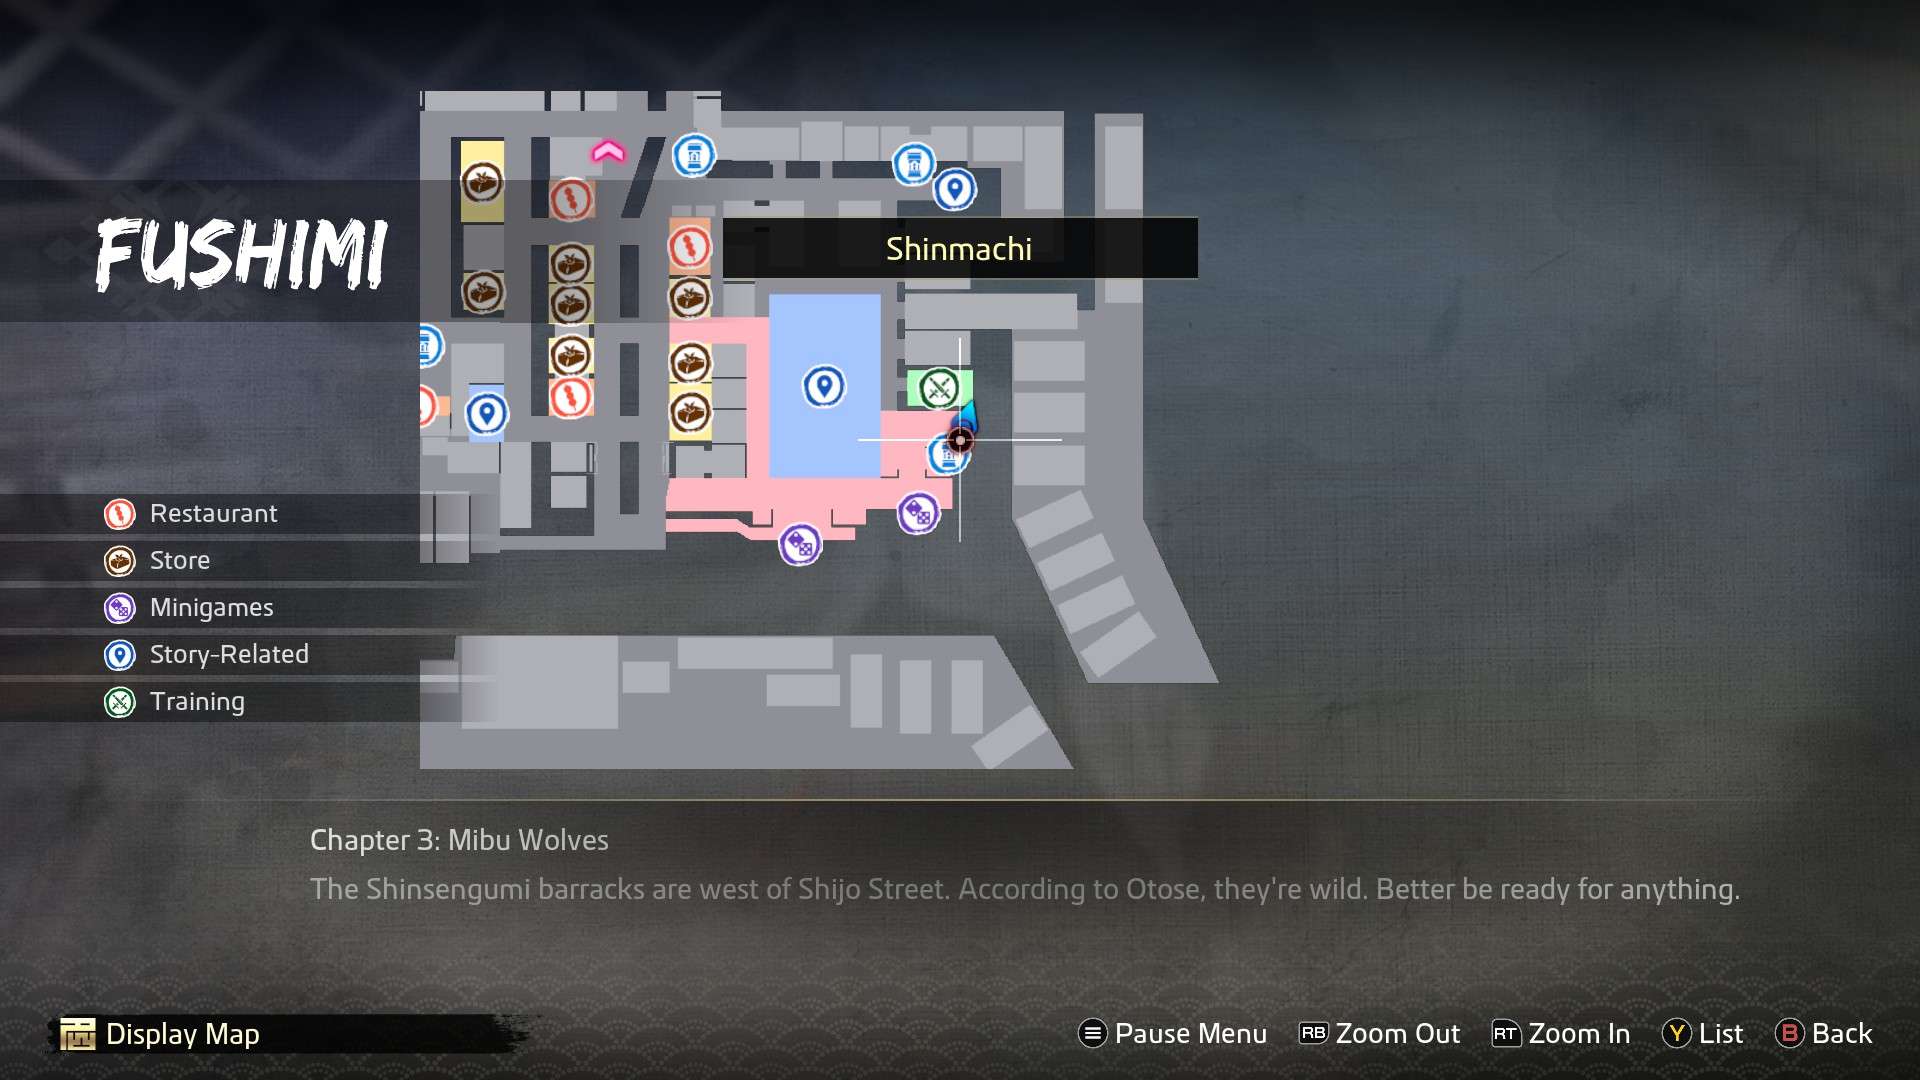
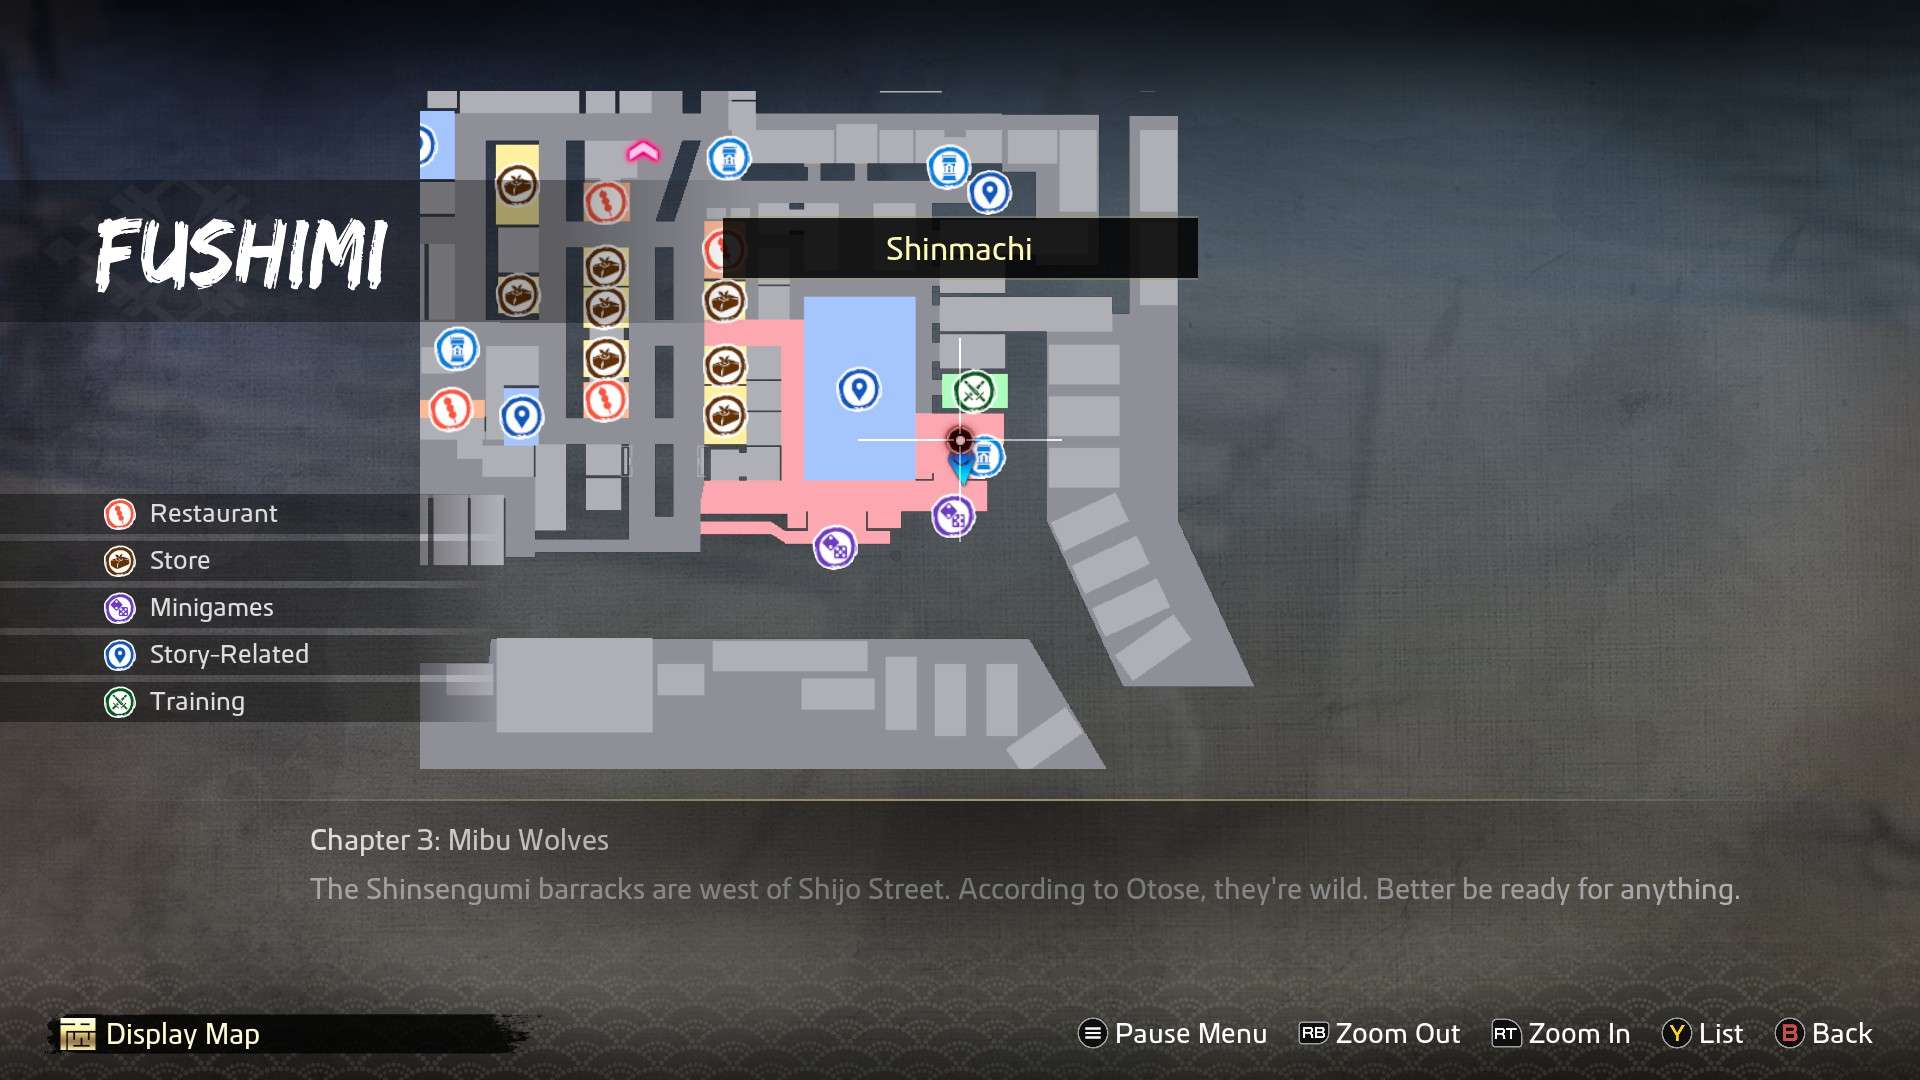
- Location: Southern end of Shinmachi, between the two fishing spots
Approach the lone fisherman standing under the tree to trigger a short cutscene, then talk to him after. Give him any fish you don’t need, he only needs 1 to complete the substory. Doing so will establish a bond with him.
- Reward: 150 Virtue
51. The Junk Boy

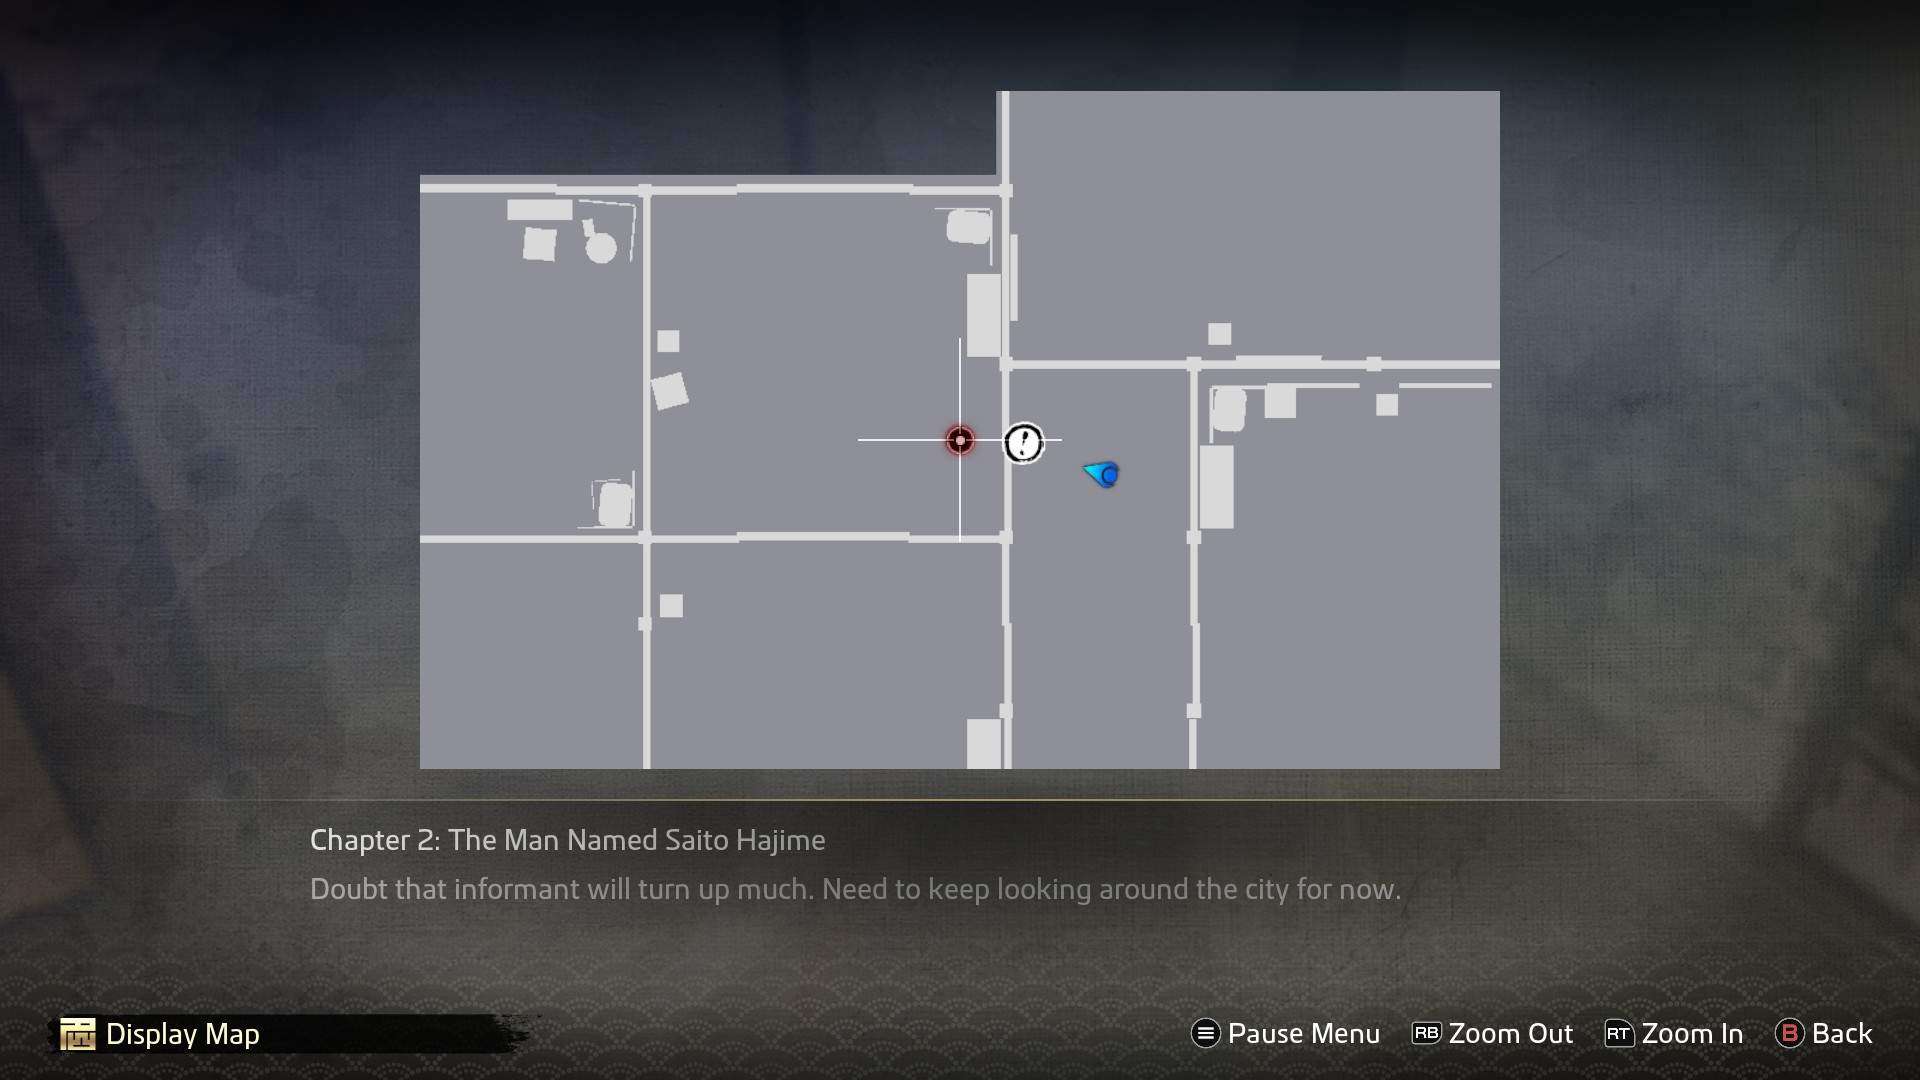
- Location: Central Kuramachi, inside an unmarked building north of the Teradaya Inn
Approach the entrance to the building to initiate a cutscene with the boy. He’ll ask for you to give him any random item, so choose something that you don’t want (I gave him a worm). Doing so will establish a bond with him and complete the substory.
- Reward: 150 Virtue
52. The Wood Cutter
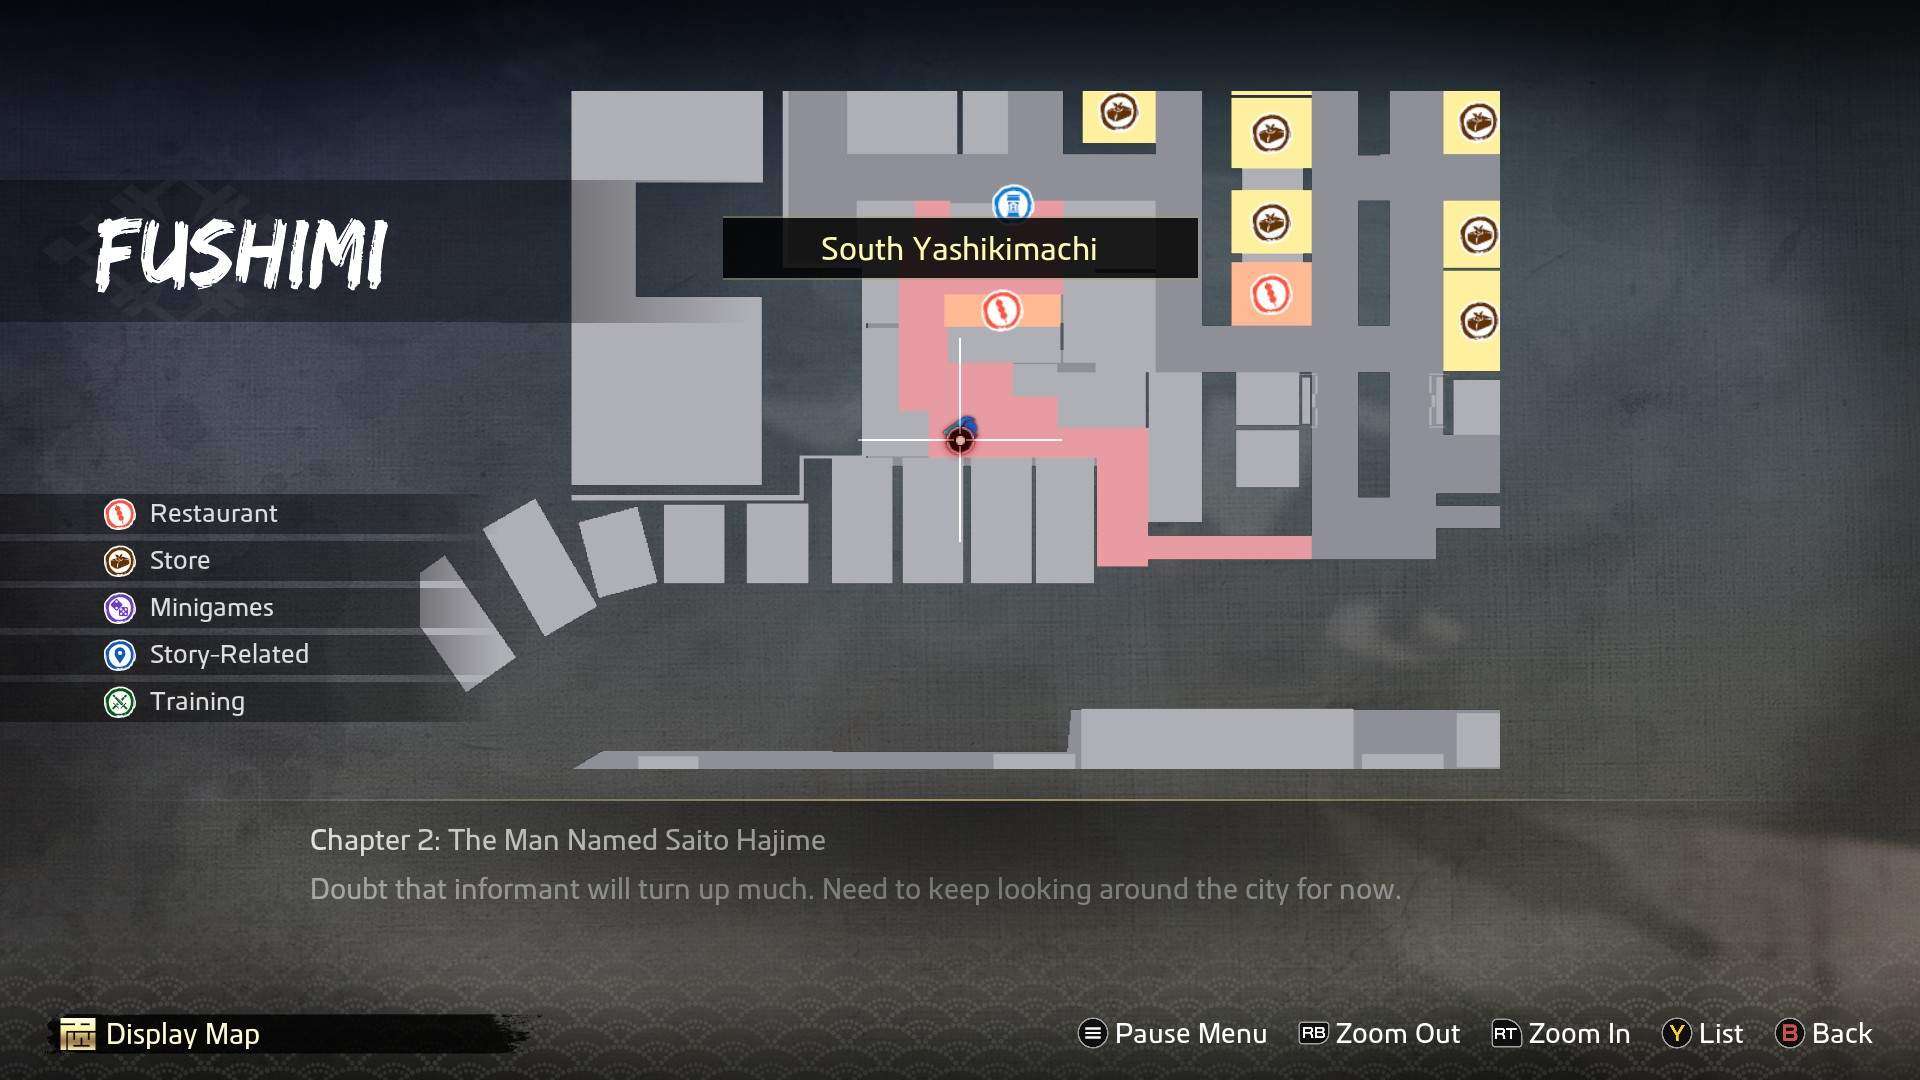
- Location: South Yashikimachi, south of Hanako shop
Approach the elderly man on the ground. He’ll need you to cut 20 wood for him. After that, you will establish a bond with him.
- Reward: 2,000 Mon, 150 Virtue, unlocks wood cutting mini game
Chapter 3 | Fushimi
39. A Clean Streak

- Location: Outside of Harima bathhouse in Yashikimachi
Approach the bathhouse and choose to go inside. Enjoy the events that follow.
- Reward: Crystal, 300 Virtue
40. A Man and His Sack
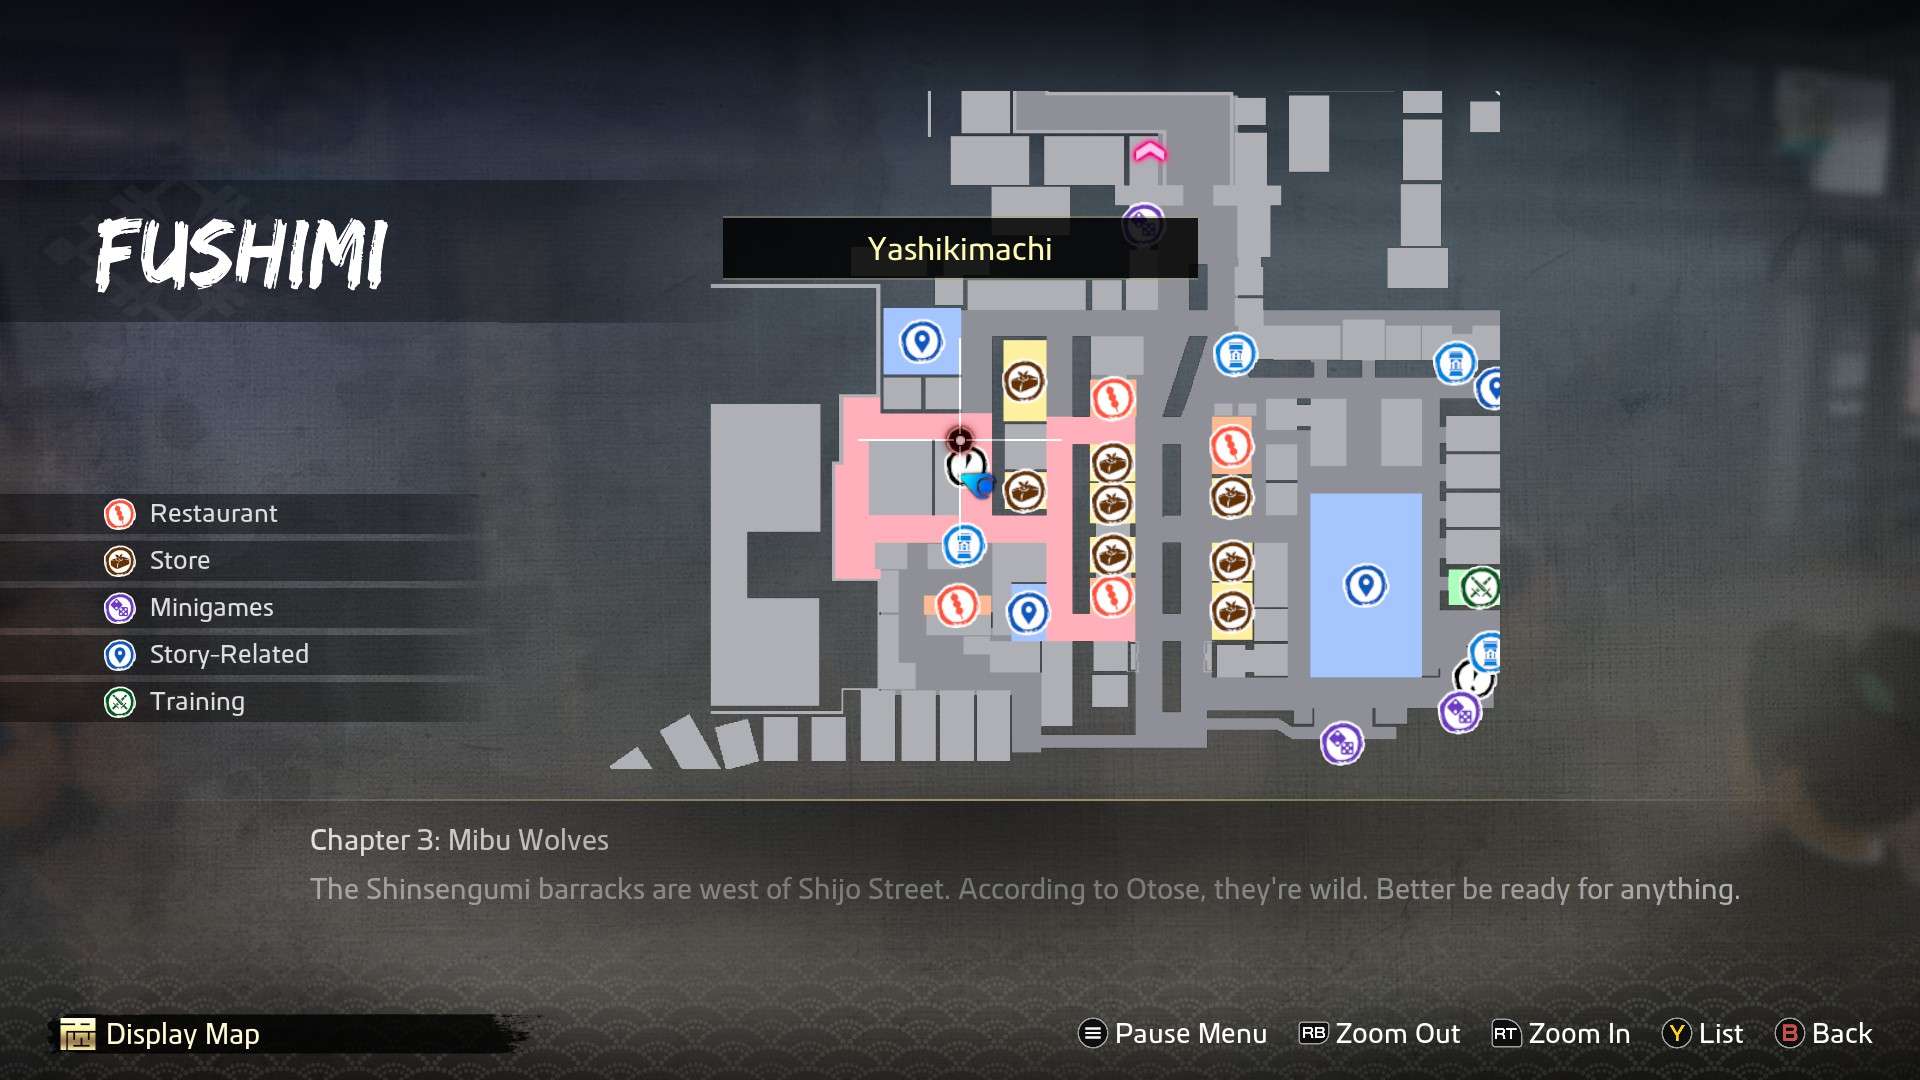
- Location: North of the jizo statue in Yashikimachi
Approach the men standing in line to trigger a short cutscene, then head to the back of the line and choose to wait. The vendor will sell out for the day, so you’ll have to come back later. Enter a building to start the line again, (I just ran back to Teradaya Inn, since it’s not too far) return to the vendor and get back in line a second time. As luck would have it, you’ll have to return again, but it’ll be the last time, so get back in line to finally complete this substory.
- Reward: 300 Virtue
46. Scented Water
- Location: Just south of Komaki Dojo, near the backside of the building
Speak to the woman waiting on the dock next to Komaki Dojo. She wants to buy some perfume in Mukurogai, but she’s debating if it’ll be worth the potential risks. You’ll offer to go there instead, so she’ll give you 3 ryo to cover the cost. Head to Mukurogai – you’ll find the merchant in the southeast corner of the 2nd floor. *Fair warning: If you have anymore business in Mukurugai, do that first before talking to the merchant.
*You can initiate this substory at the start of chapter 3, however you may have to progress the main story a bit for the ferryman to appear at the same dock.
- Reward: 300 Virtue
53. The Frequently Lost Courier

- Location: Next to the jizo statue south of Komaki Dojo
Speak to the lost courier to give him directions. After he runs off, you’ll eventually find him in the same spot again. Give him directions a second time. Return to his location after a while and he’ll give you a package to deliver, which will establish a bond and complete the substory.
*You don’t need to deliver the parcel to complete the substory, but completing deliveries will increase the bond gauge.
- Reward: 150 Virtue
Chapter 3 | Rakugai
18. The Reclusive Son

- Location: East Umekojicho
Look at the mother and son in the middle of an argument. Approach the mother and she’ll ask you to speak to her son. Agree to her request and she’ll take you in the house, where you’ll have to choose from a few dialog options. I don’t think specific answers matter too much, just avoid the aggressive ones. These are the responses I chose:
- Answer 1: What are your passions in life?
- Answer 2: Make a personal connection
- Answer 3: Appeal to his conscience
- Reward: Iron Gauntlets, Rainbow Shard, 350 Virtue
*If you went the aggressive route, you’ll get a single silver scrap instead.
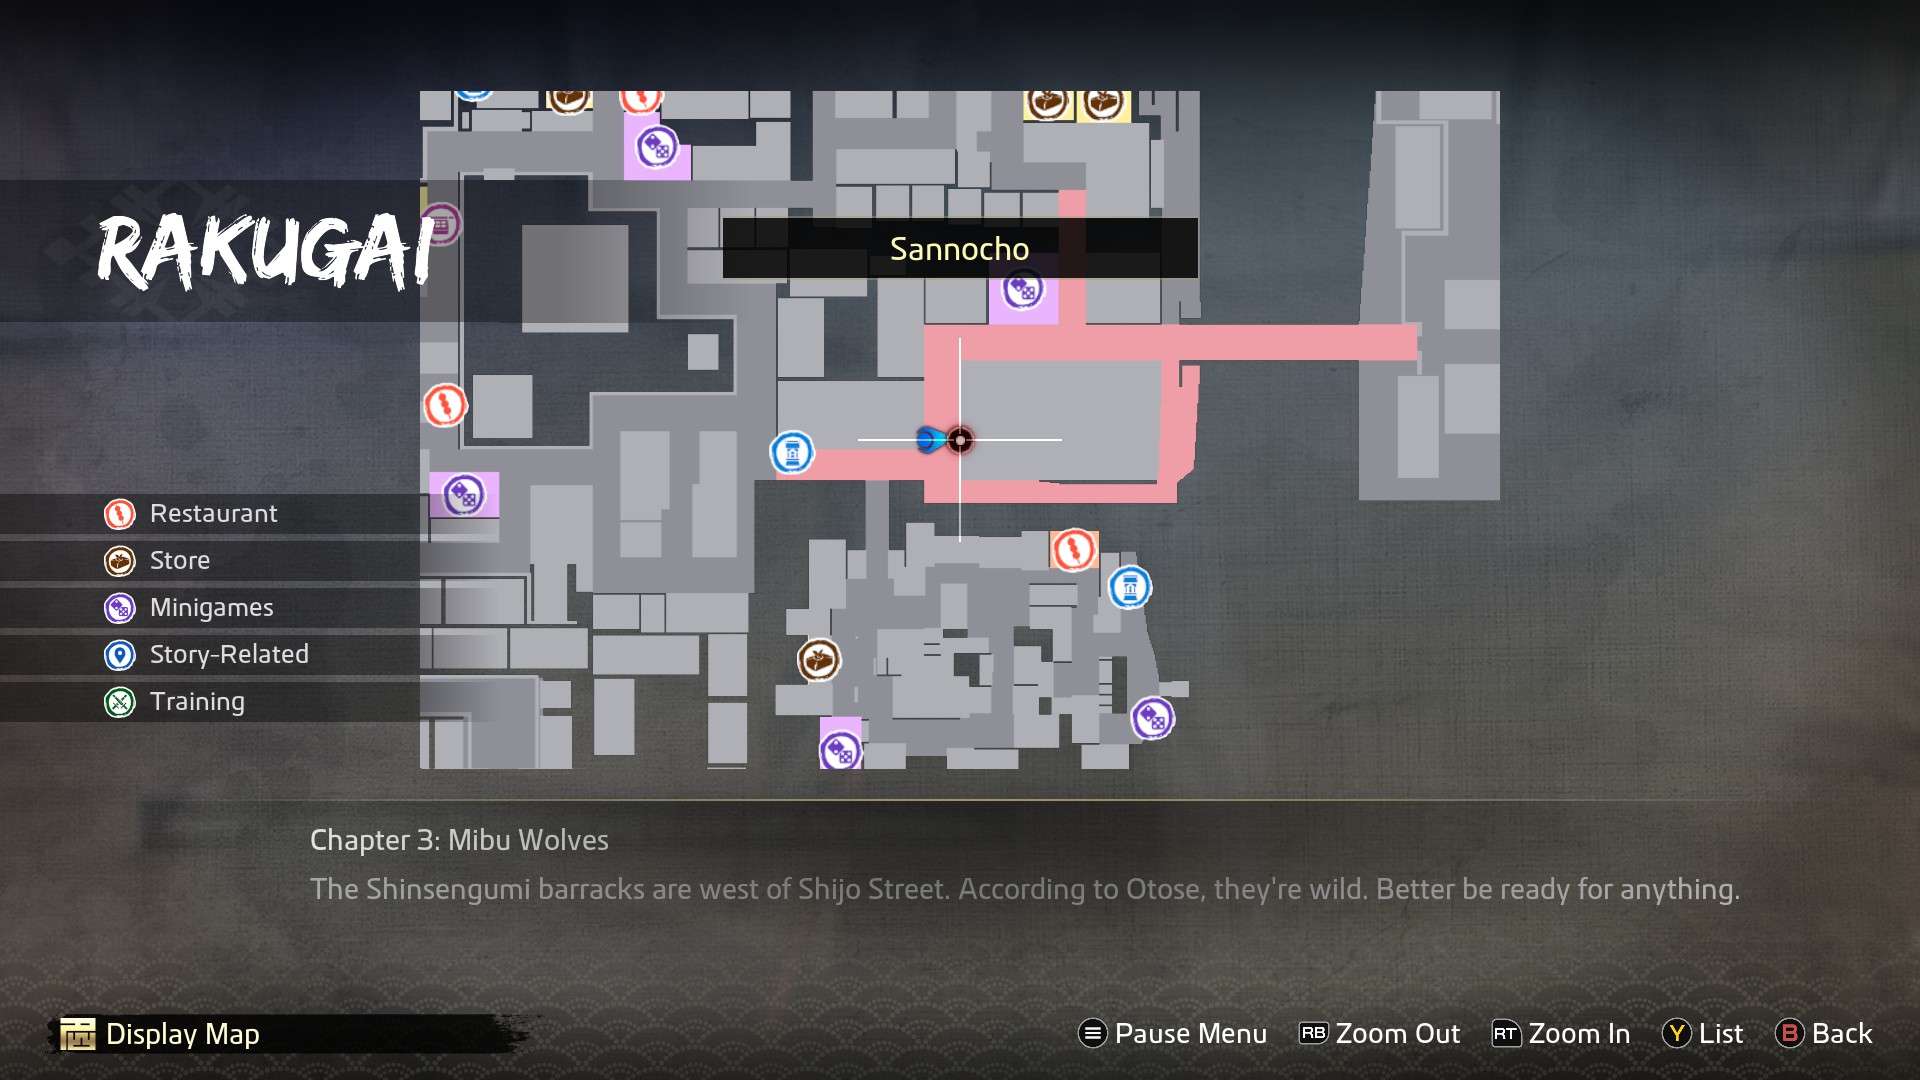
21. Sonna Joui
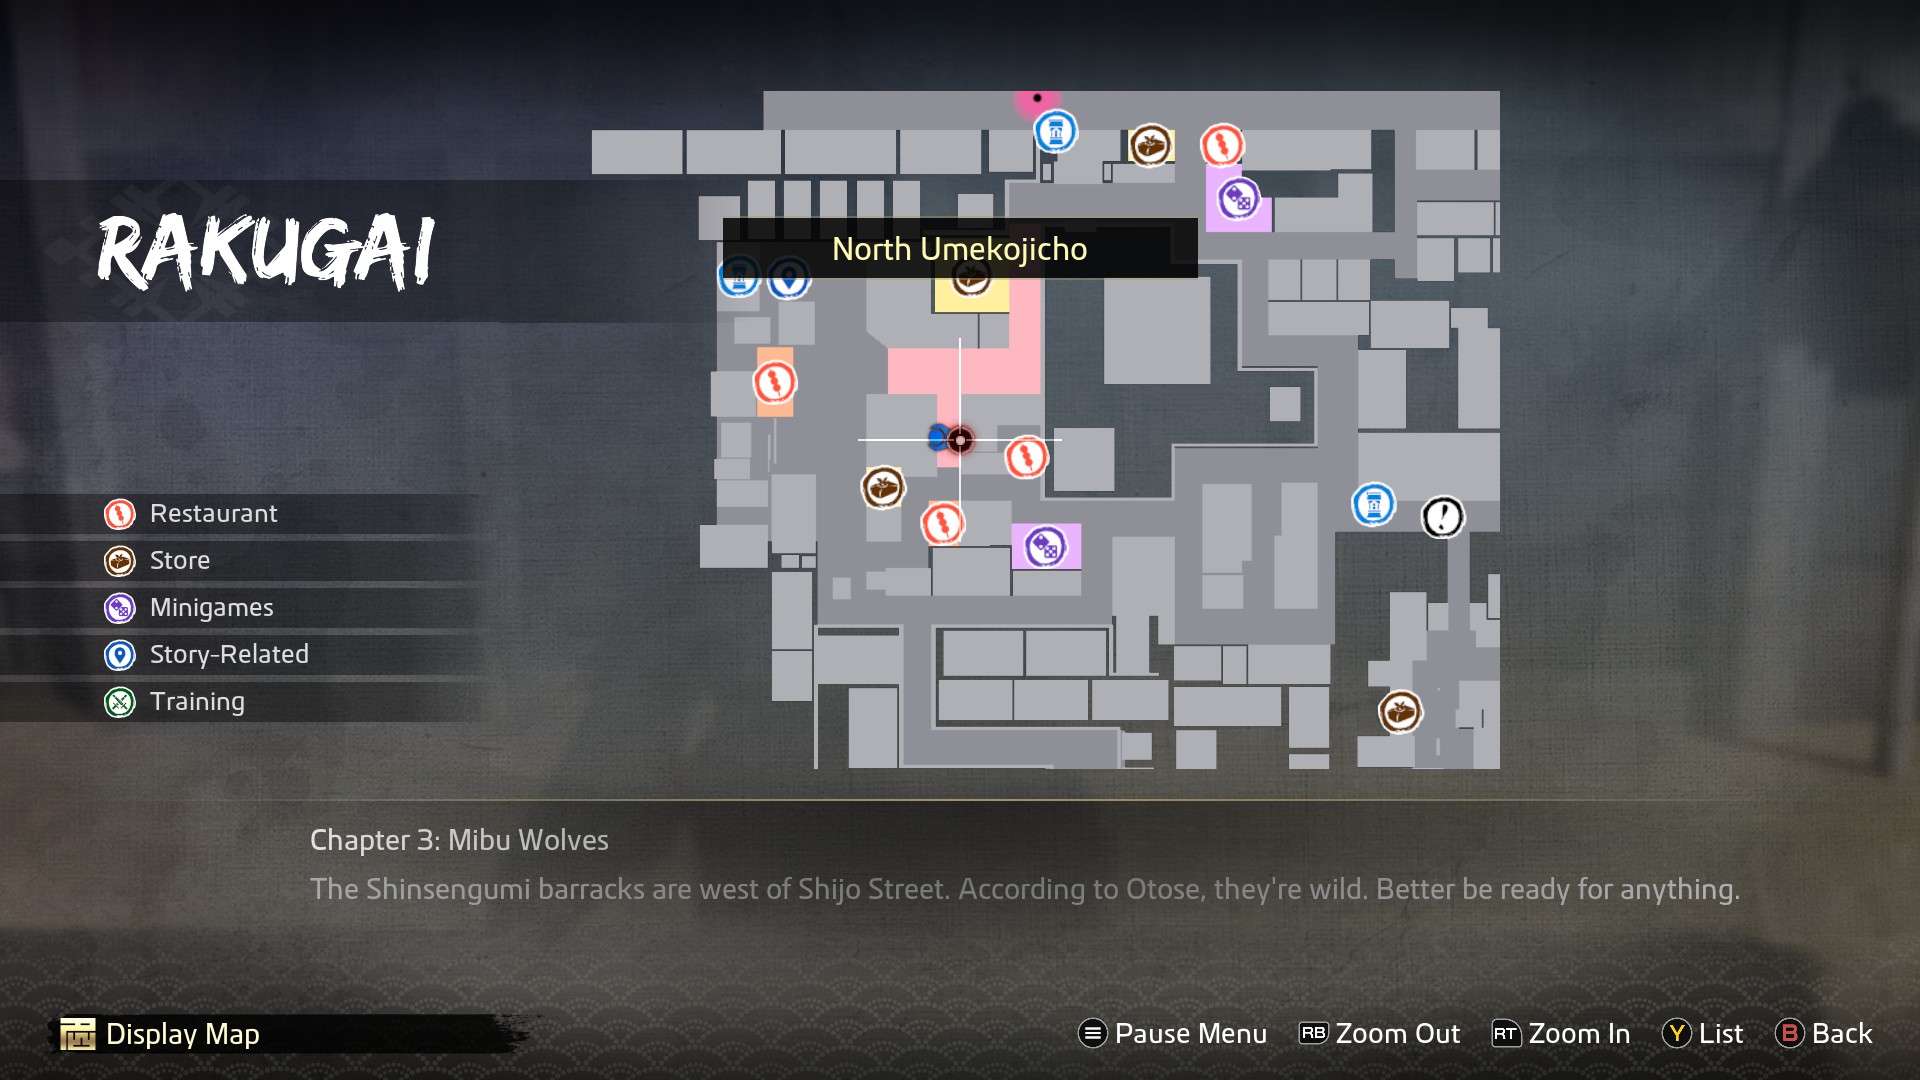
- Location: In an alley in the south end of North Umekojicho
Listen to the two men speaking about a group that is targeting foreigners. When Creek walks away on his own, follow him to Sannocho (near the entrance to Mukurogai) where he’ll be approached by the extremists. After dealing with them, make your way to Mukurogai, where you’ll find Creek again on the east end of the second floor (near the stairs) and partake in one last fight.
*You may have to progress the main story to gain access to Mukurogai (via ferry will be available first, so you’ll have to find the ferryman in Fushimi).
- Reward: 350 Virtue
22. Ee Ja Not Ka
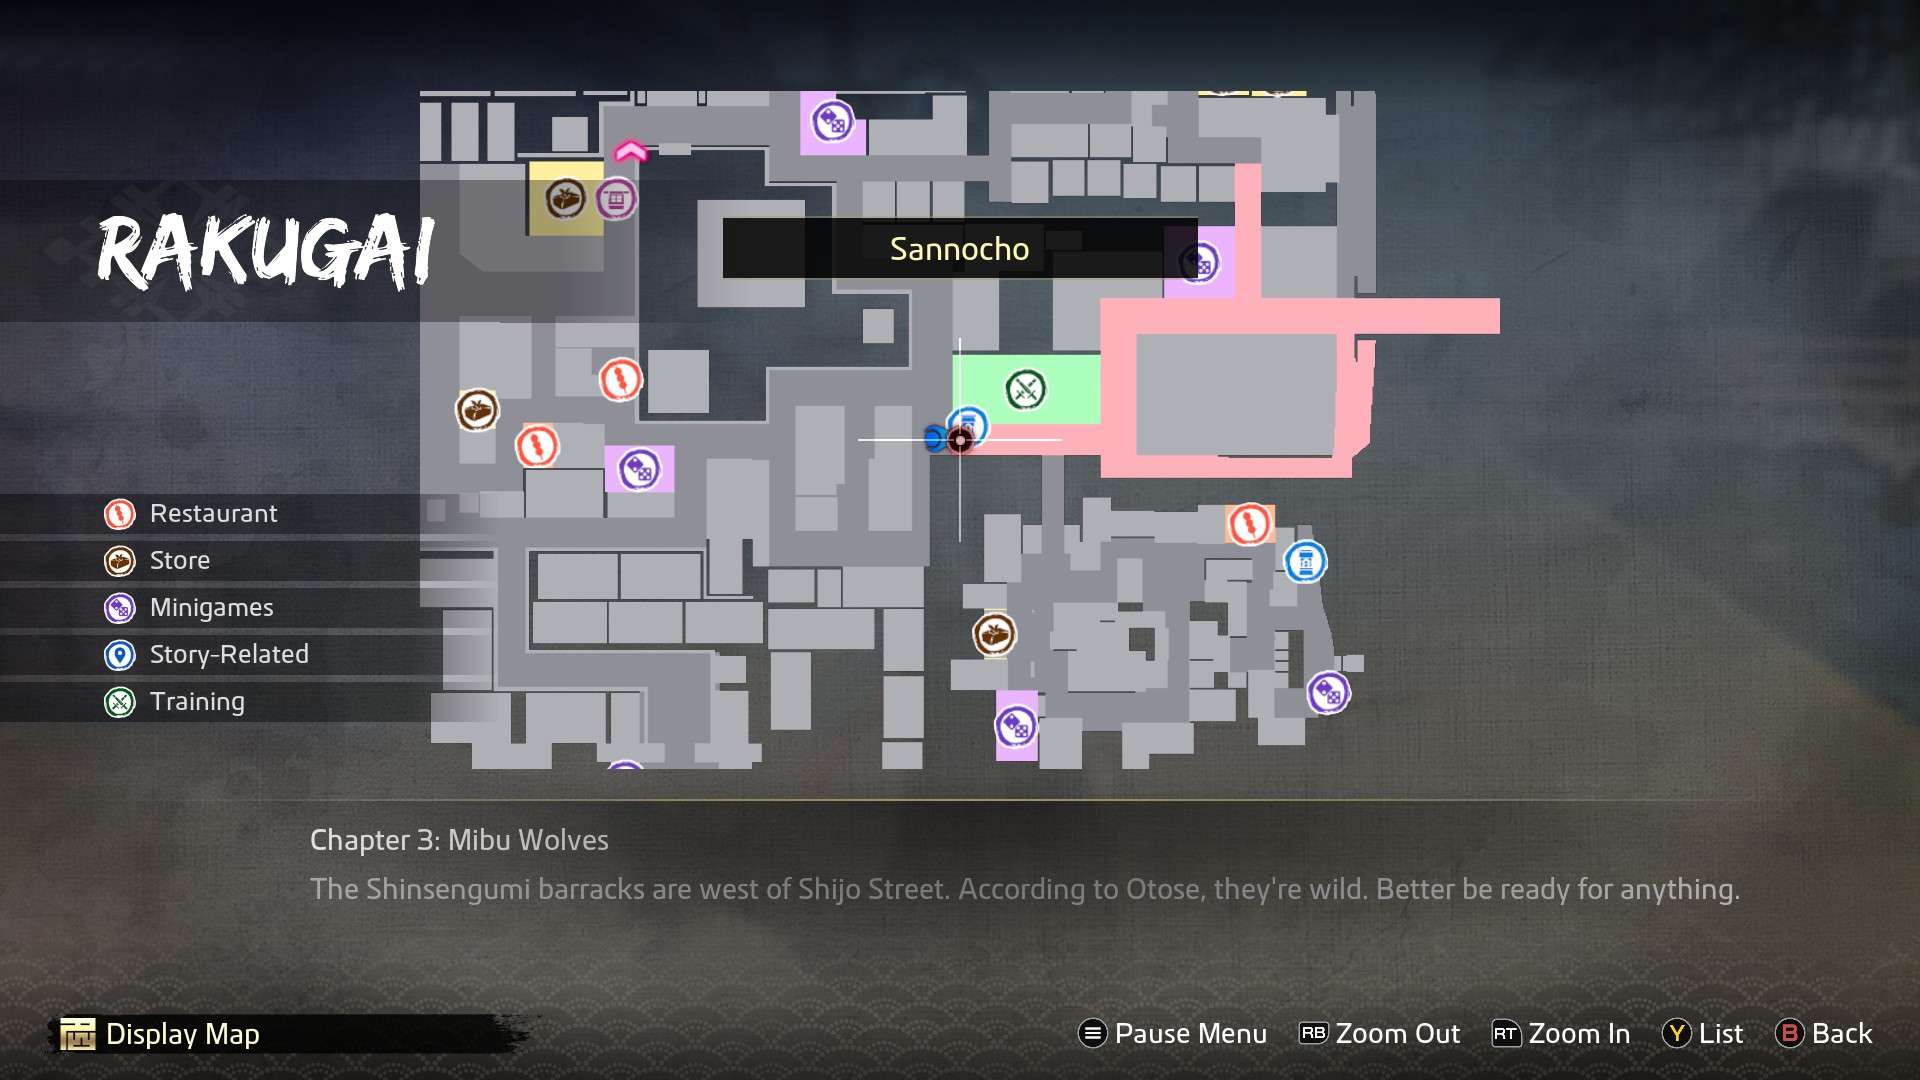
- Location: At the jizo statue in Sannocho
*If you’re having trouble getting this substory to trigger, I had to run towards East Umekojicho from Sannocho. Maybe because there are quite a few substories in this area?
Approach the dancing crowd and fight off some more ruffians.
- Reward: Vermilion Fabric, 300 Virtue
25. The Sword Nut
- Location: East of the jizo statue in Sannocho
Approach the sword enthusiast to trigger a cutscene. Afterwards, you will establish a bond and this substory will be complete.
- Reward: 150 Virtue
Chapter 3 | Rakunai
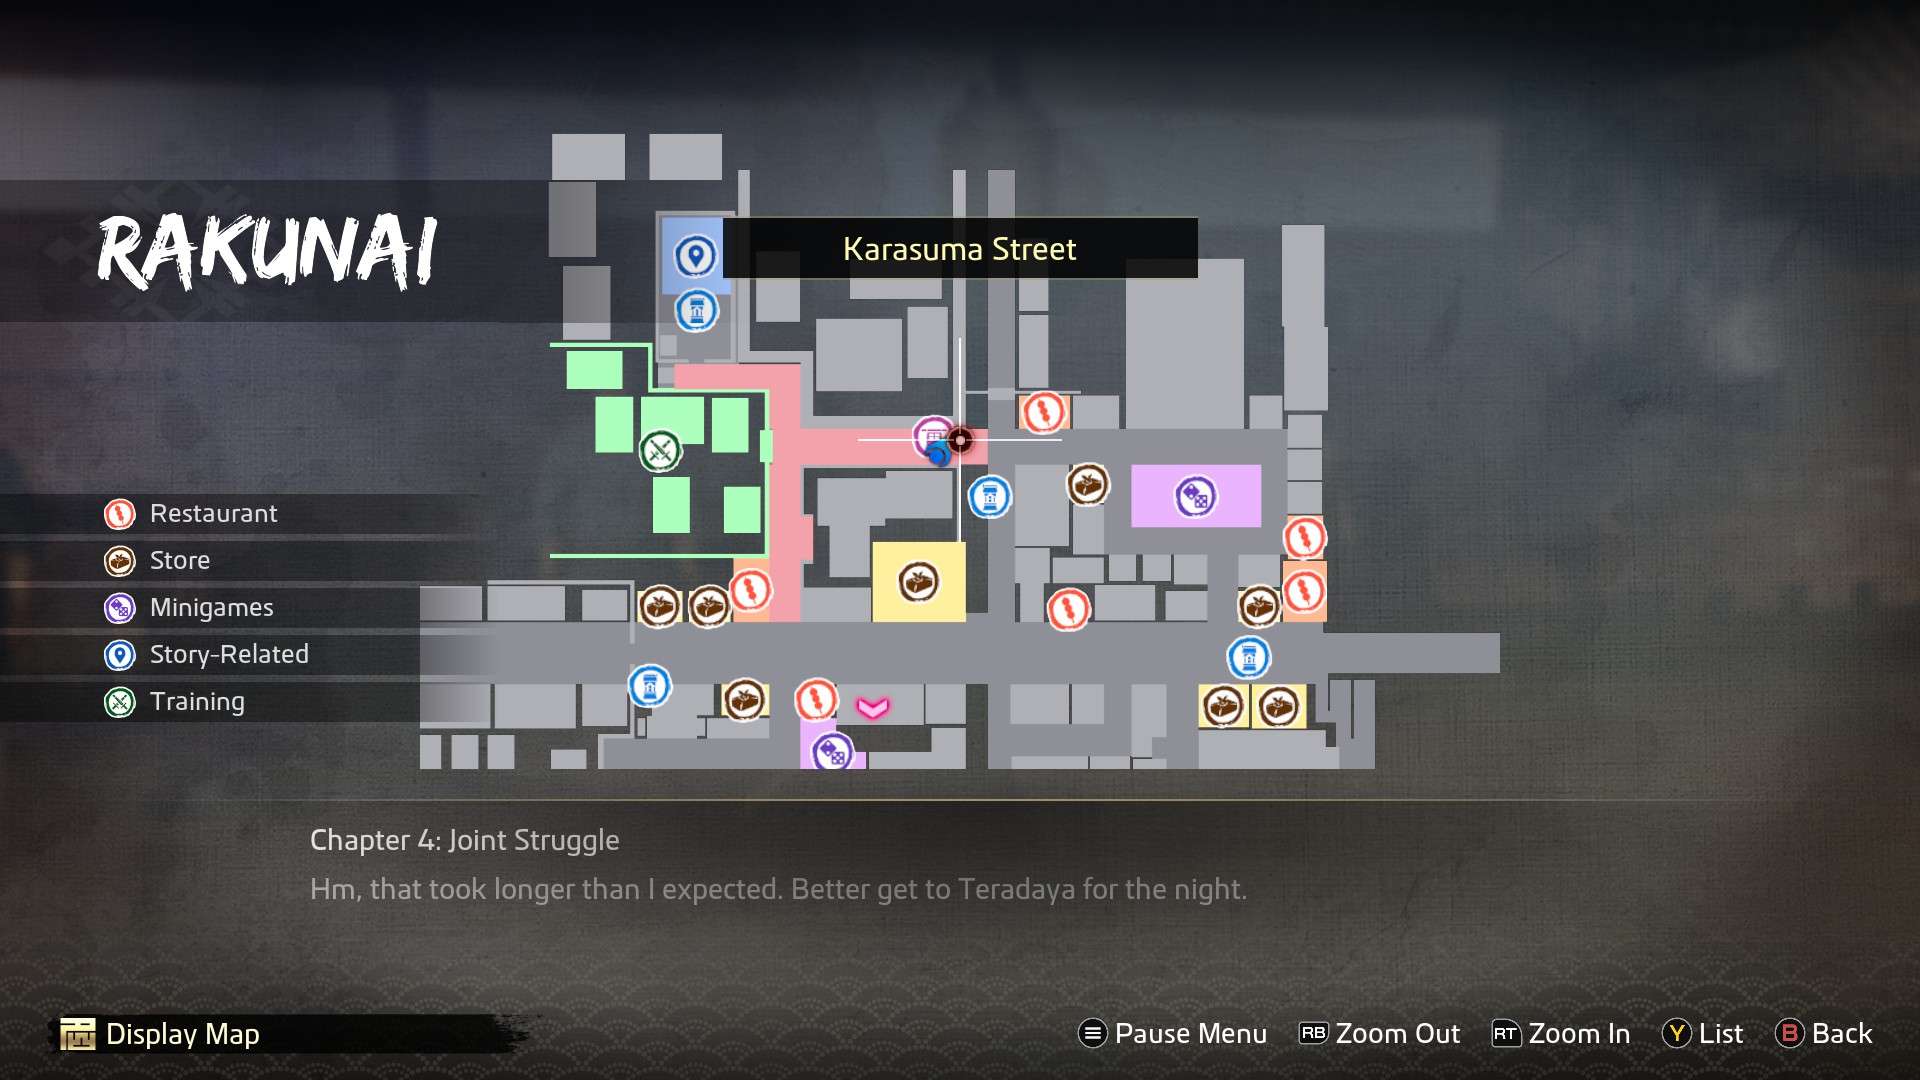
1. Nichibuza’s Newest Fan
- Location: In front of Nichibuza dance school
Head towards the school entrance and a cutscene will automatically trigger. Follow the short series of events to complete.
- Reward: 250 Virtue, unlocks buyo dancing minigame
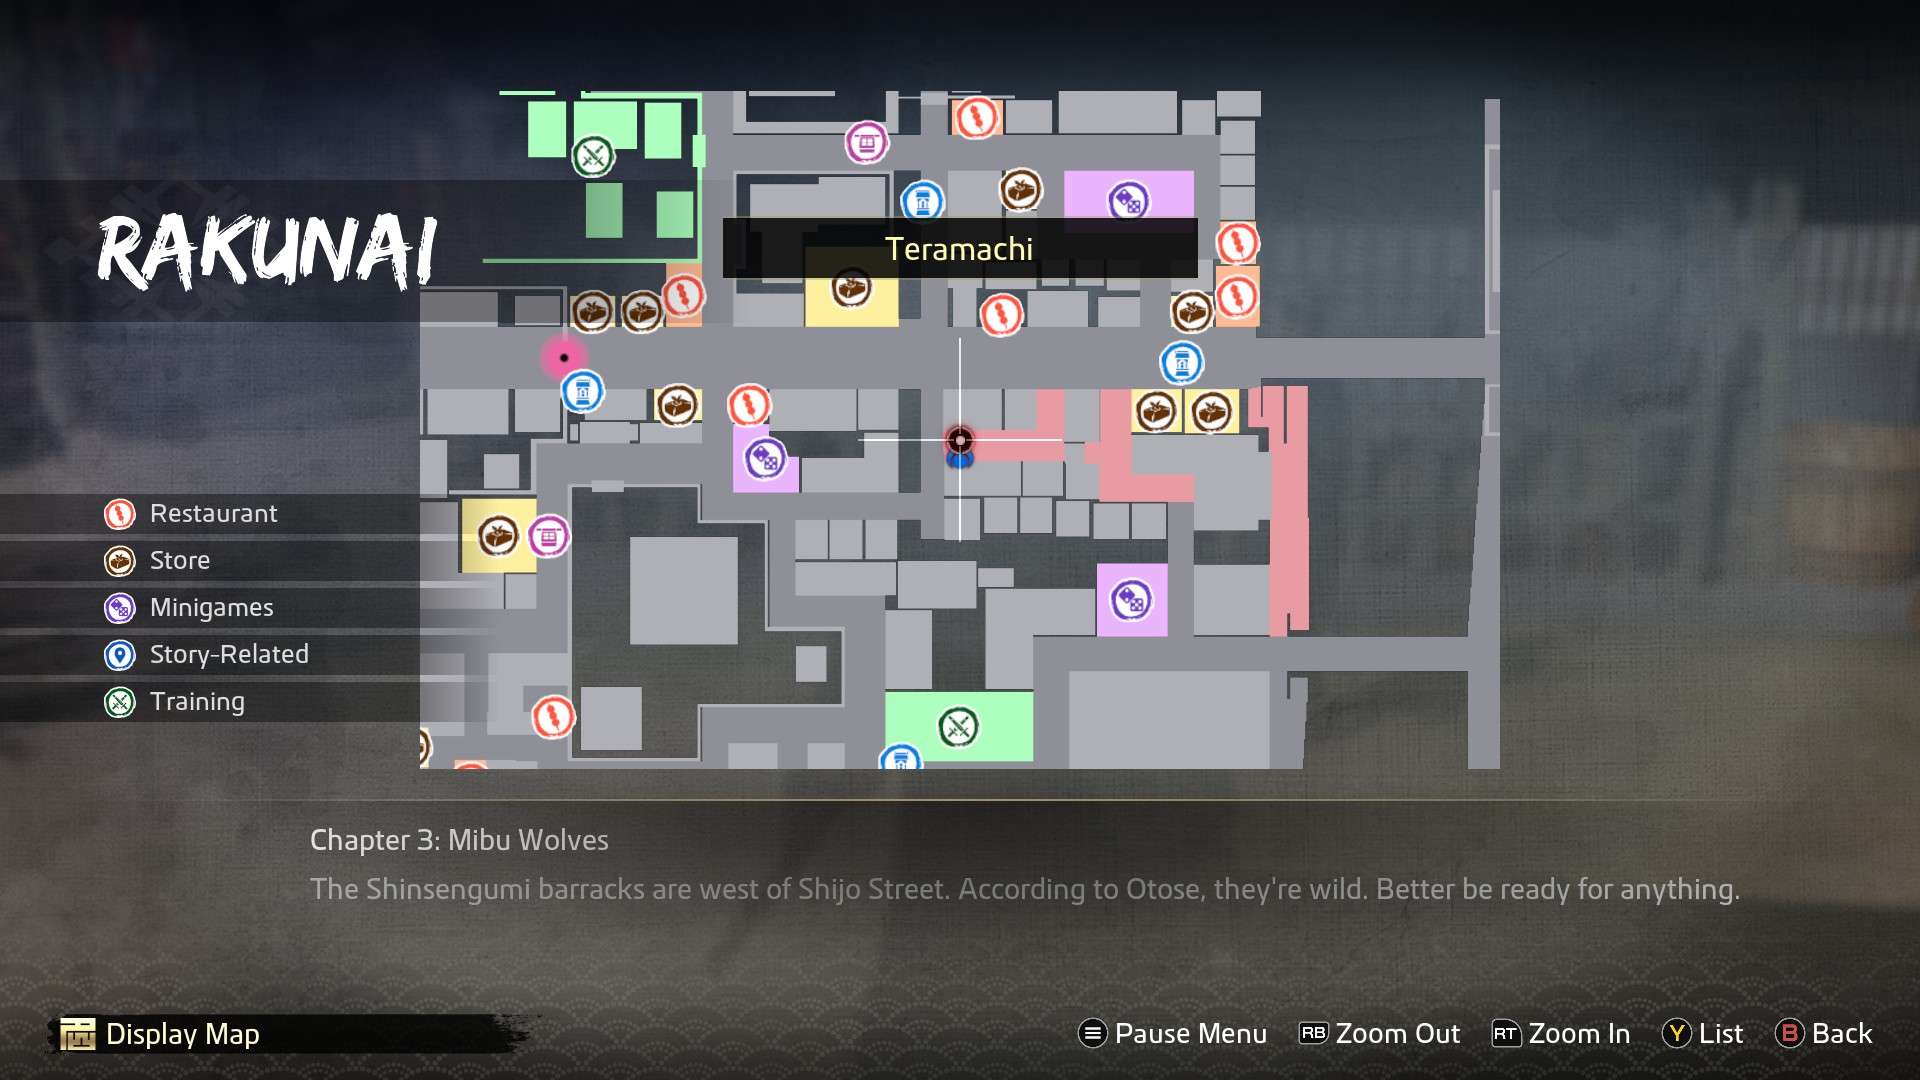
2. Deceitful Deity
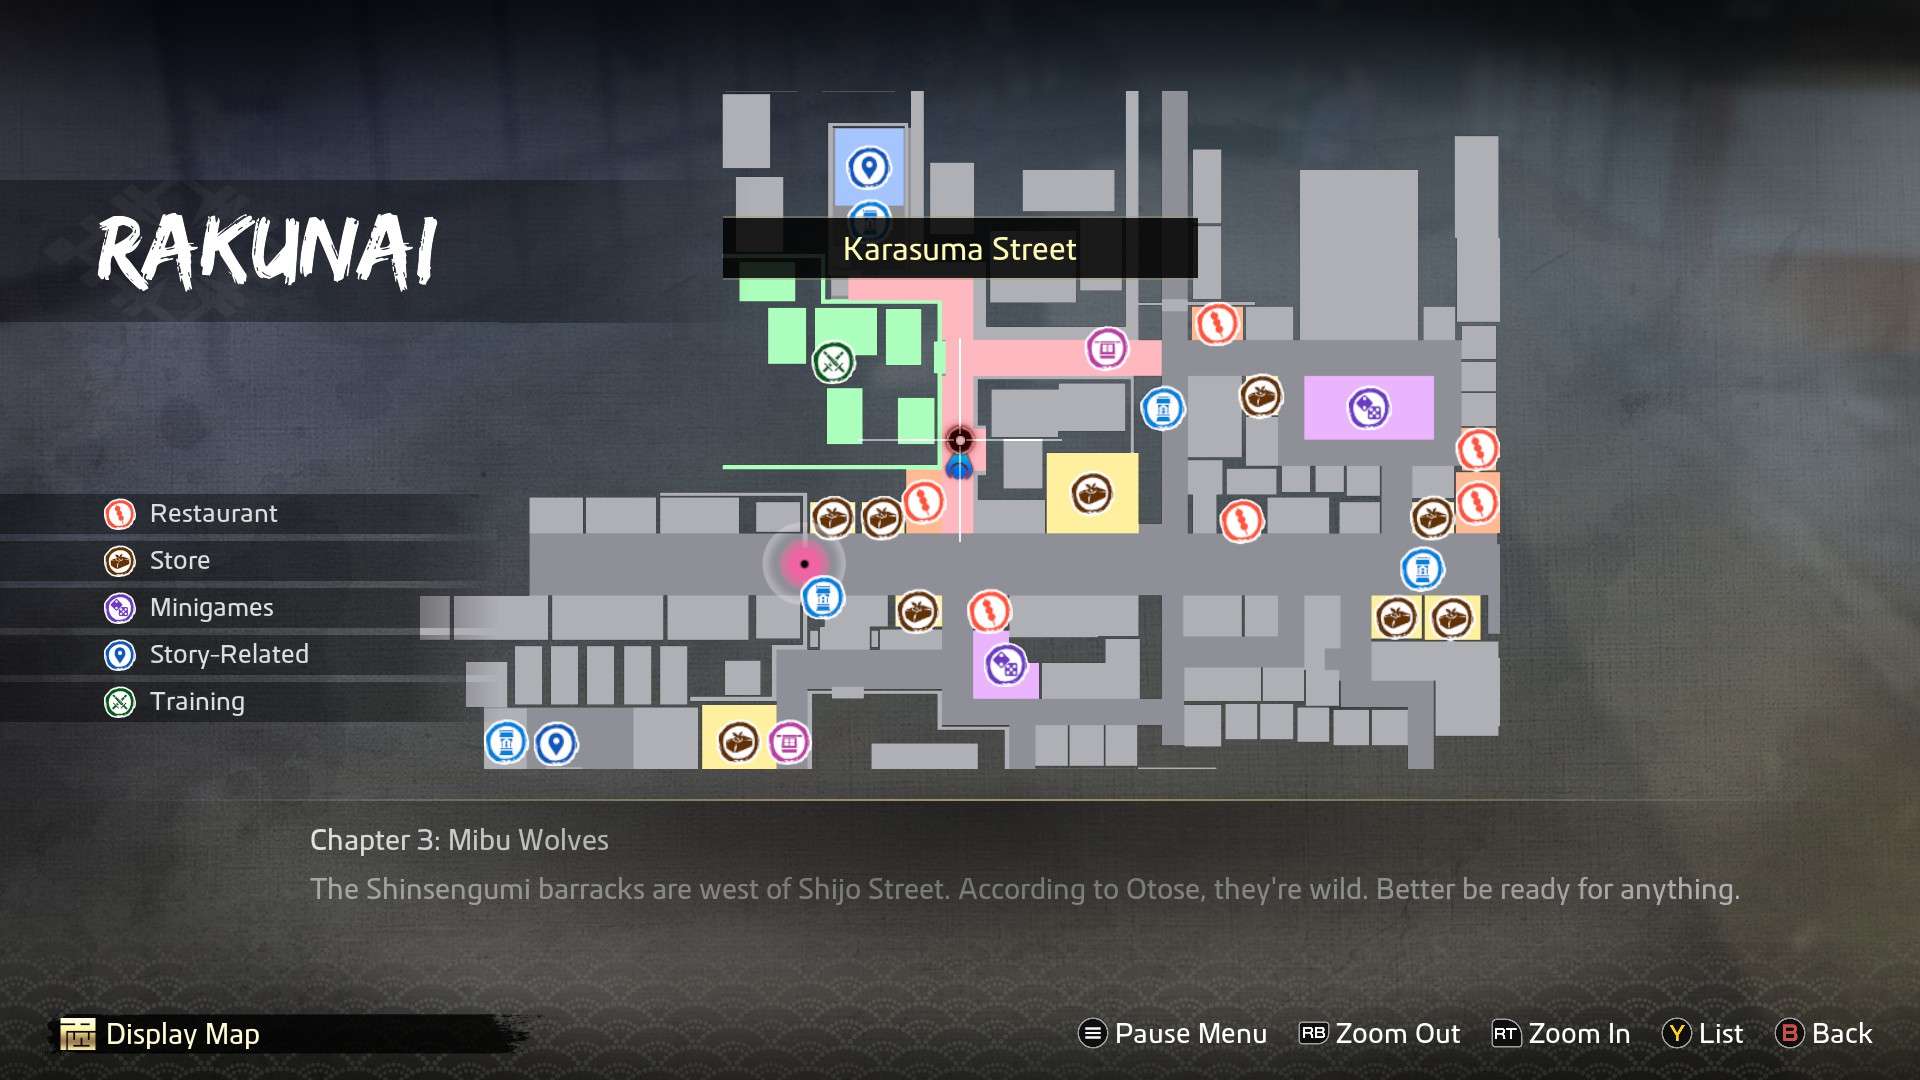
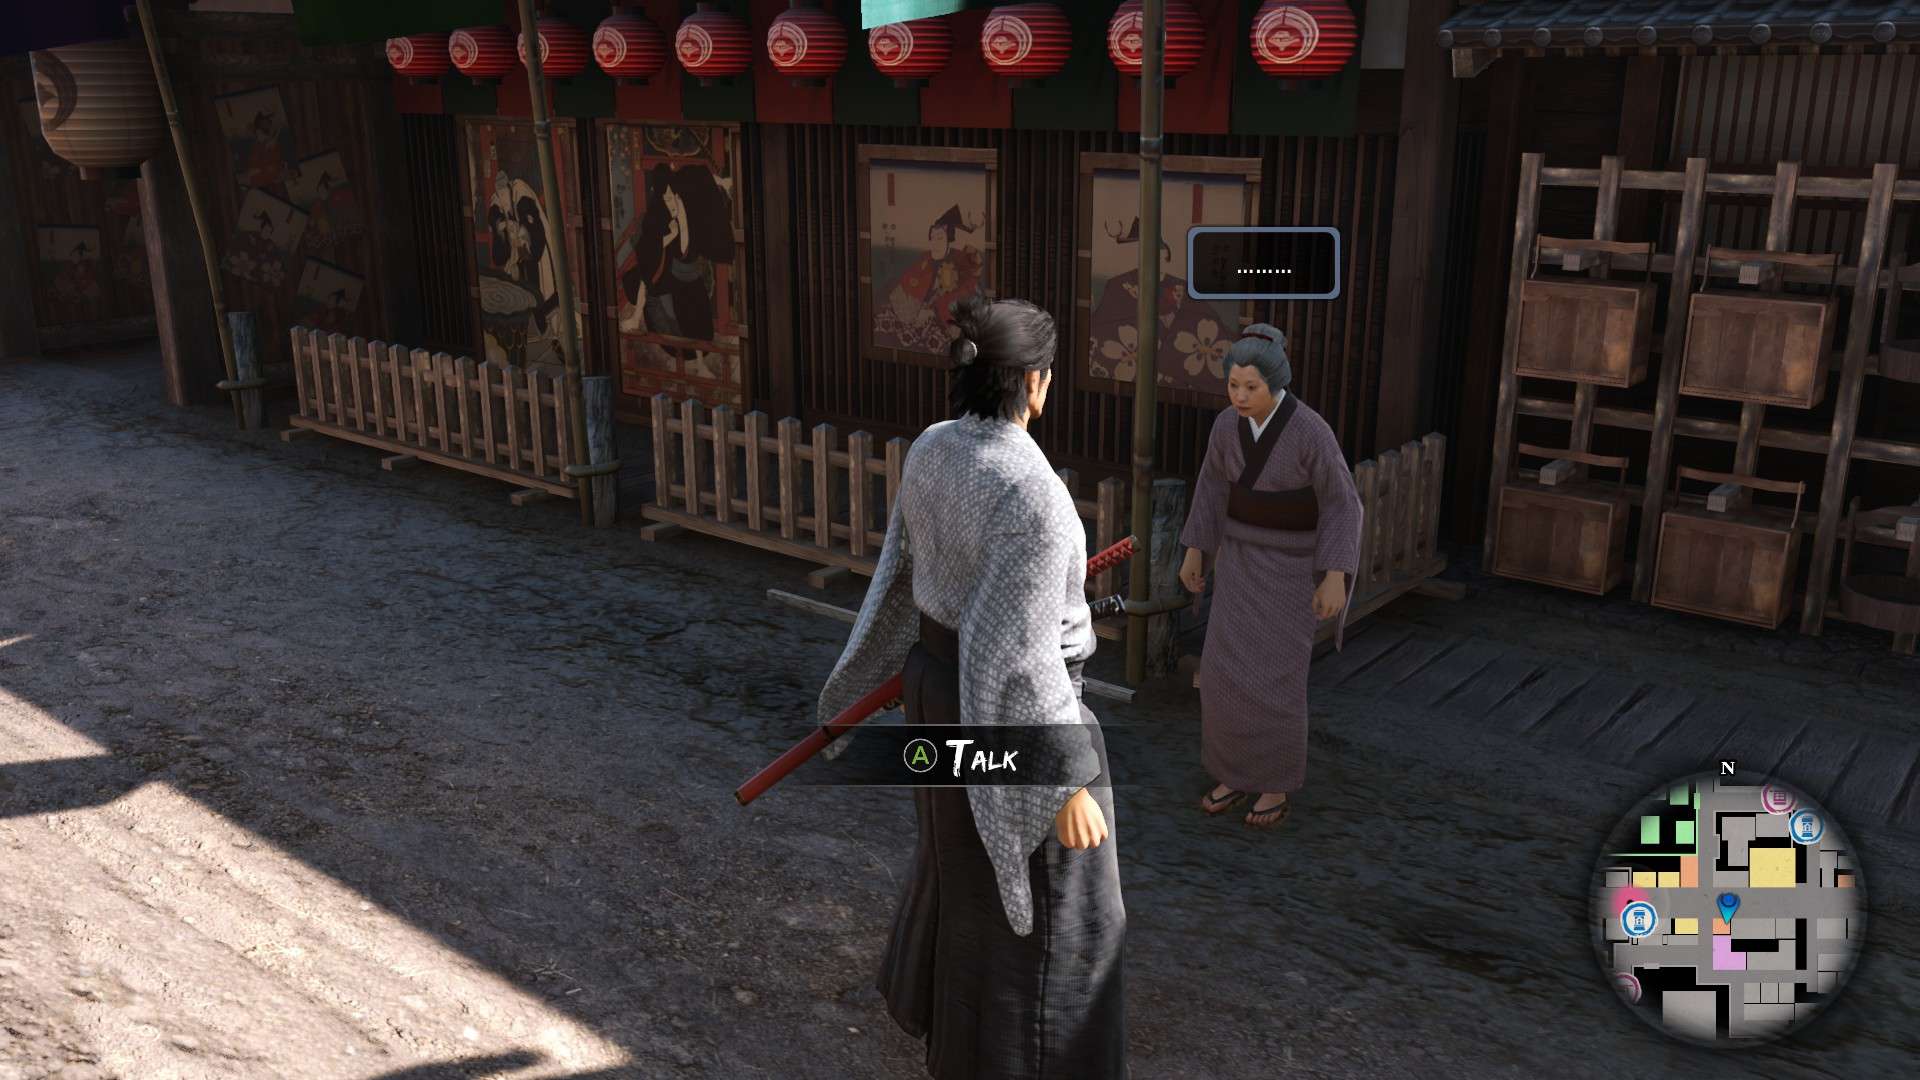
- Location: Karasuma Street, just north of Watami izakaya
A man will run up to you and ask if you’ve seen a particular con artist that dresses as the god, Ebisu. Speak to the elderly woman on West Shijo Street, standing in front of Kamatora, to gather more info. After speaking with her, head to the west end of Teramachi (in the corner of the alley) to catch the conman with another elderly victim. Fight him off to complete this substory.
- Reward: 300 Virtue
3. Who’s Entertaining Who?
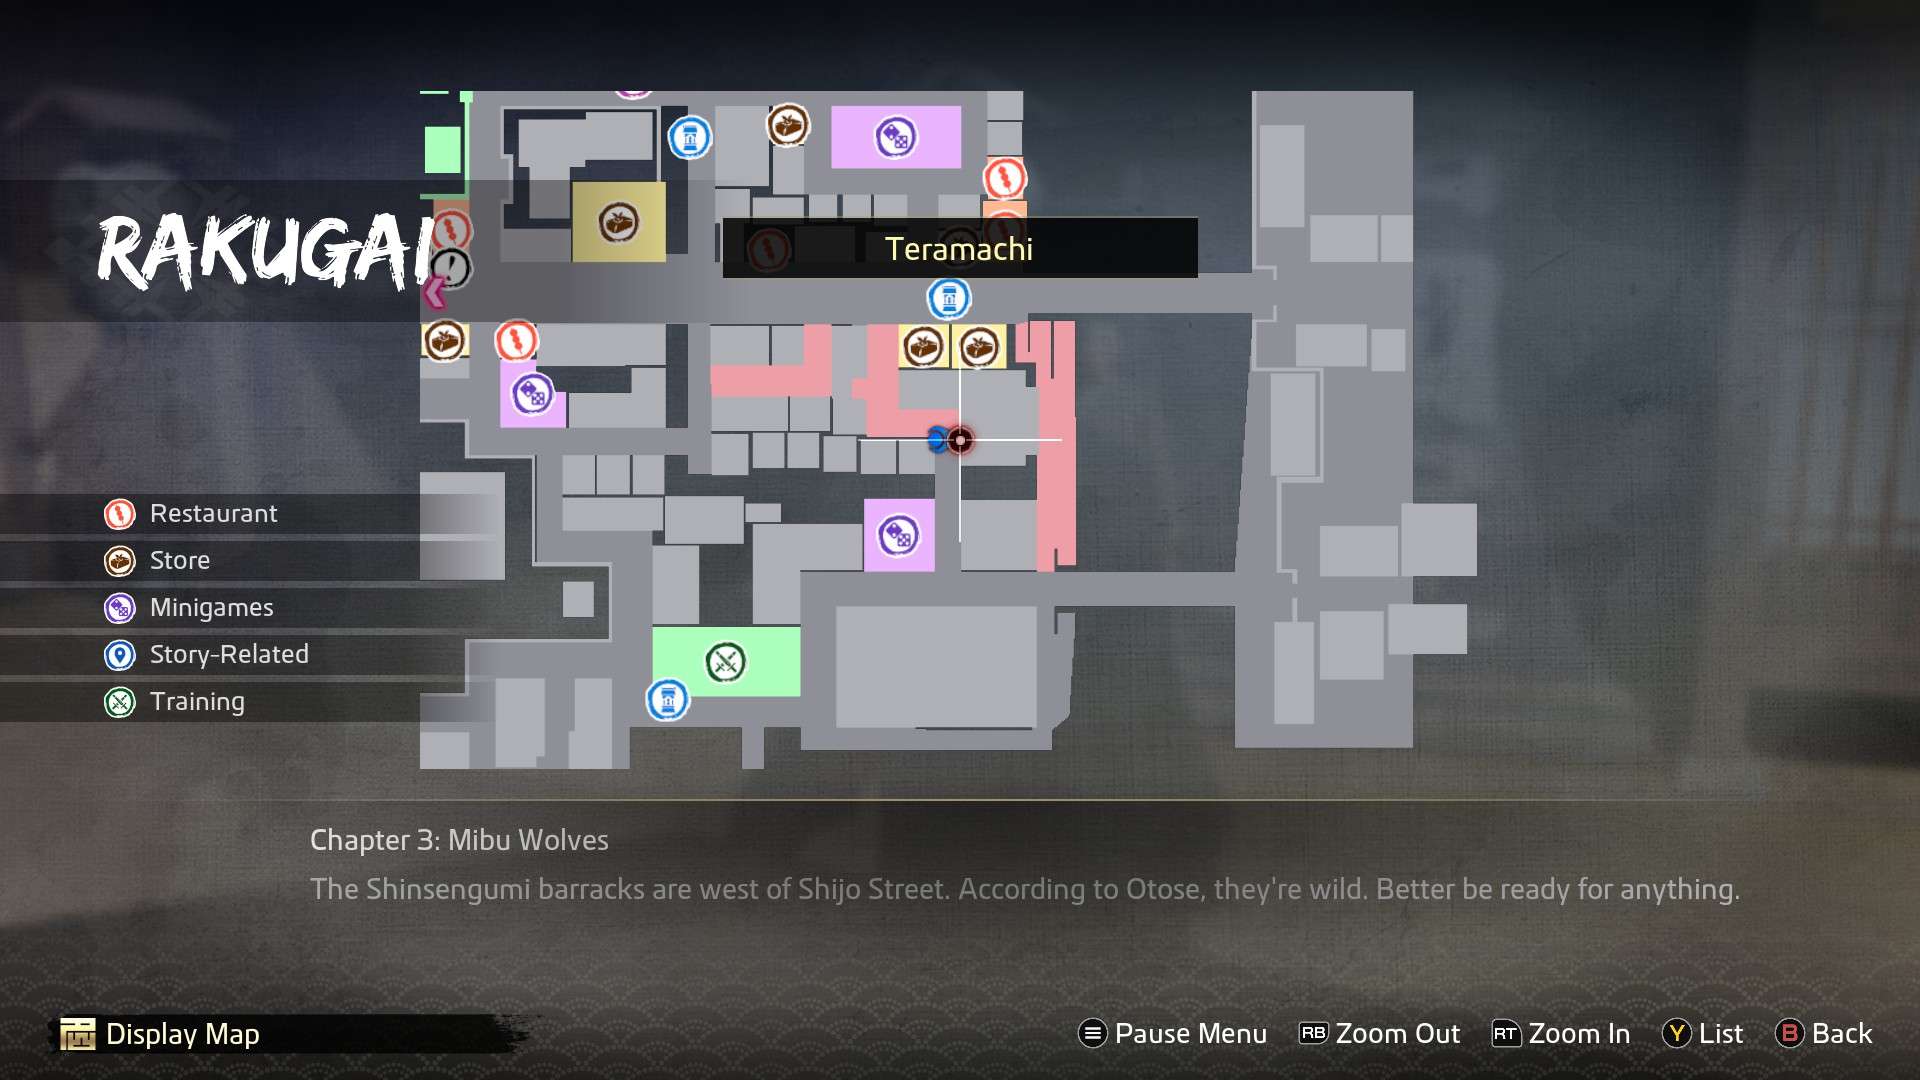

- Location: Watami on West Shijo Street
To start this substory, you’ll have to speak to Shikokuya Okami at the central end of Teramachi, where it meets the northern end of Sannocho. She’ll ask you to entertain a guest, agree to her request, then meet them at the izakaya, Watami. You’ll end up having to sing and dance for him, then he’ll ask some general art questions after each of the minigames.
- Answer 1: It was bold and virile
- Answer 2: It’s bold, yet elegant
- Reward: Ancient Amulet, 350 Virtue
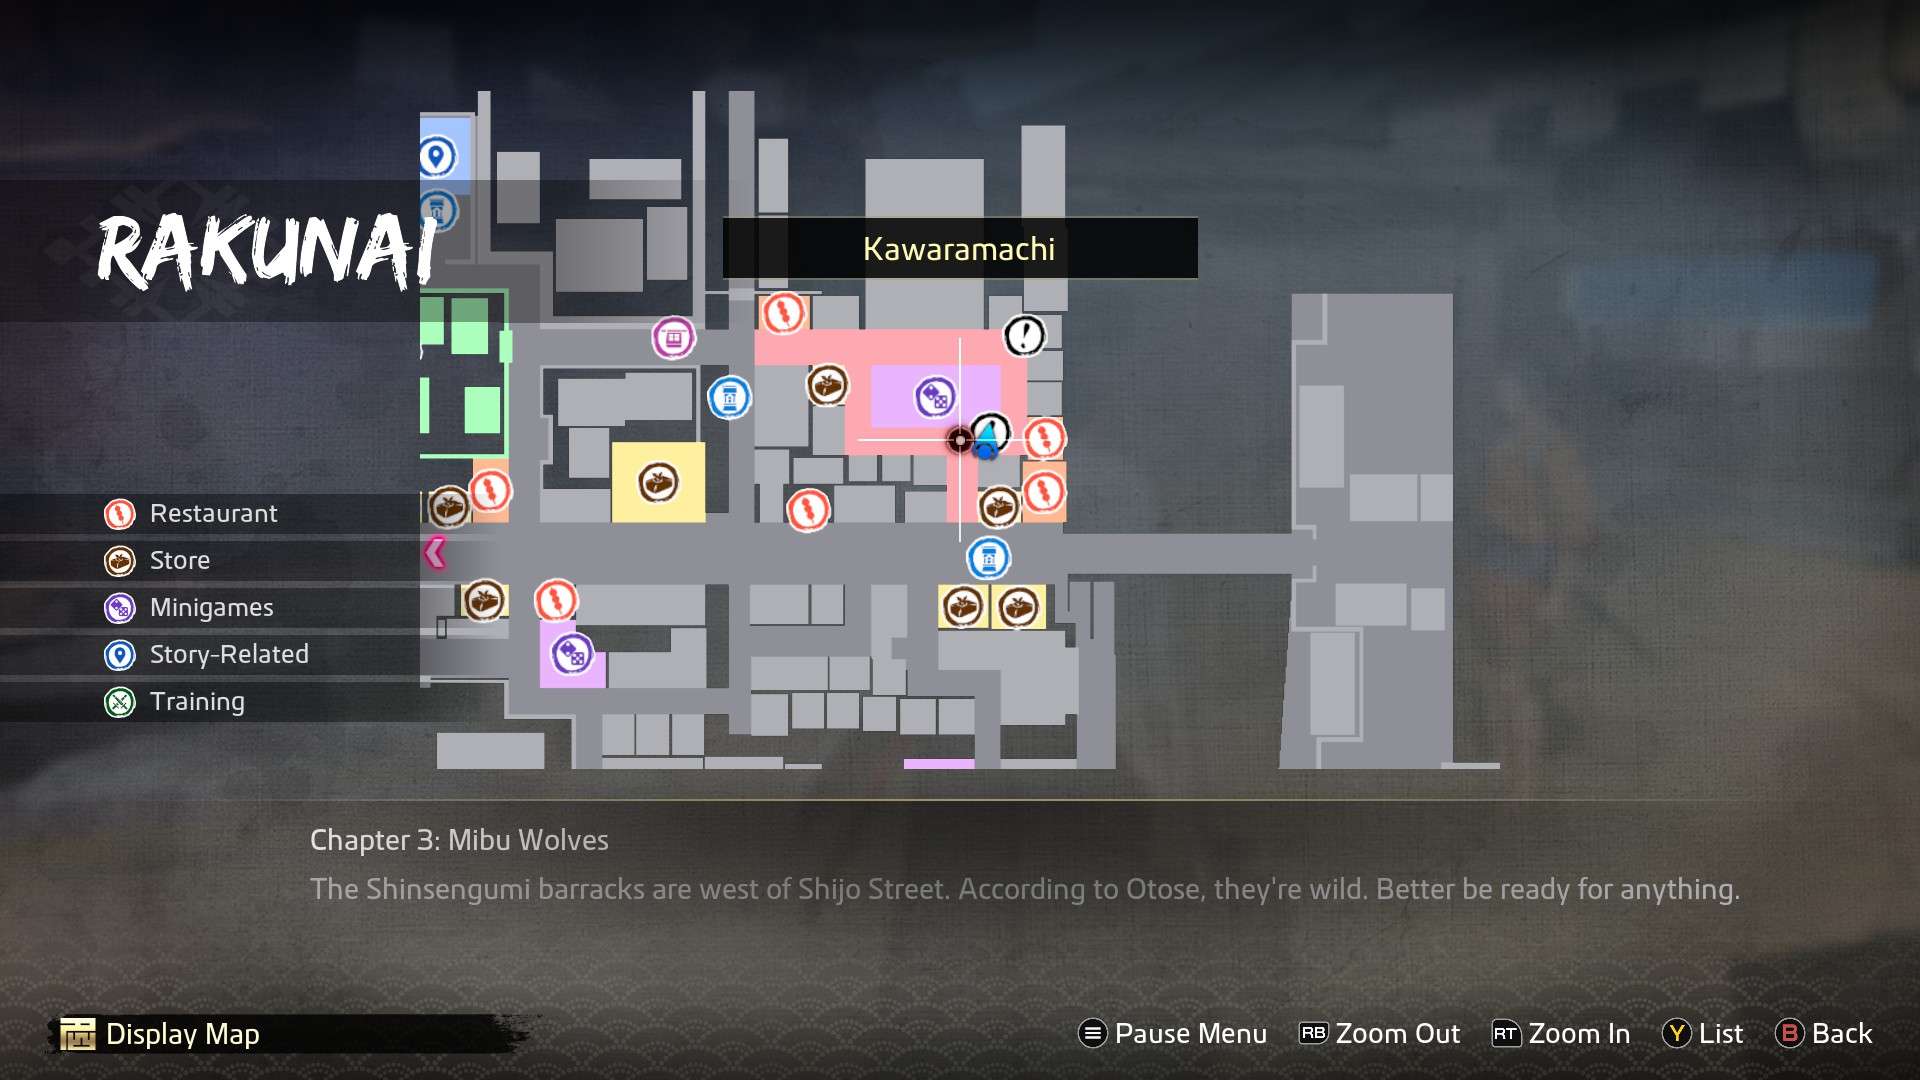
4. I’ll Miss You, Miho
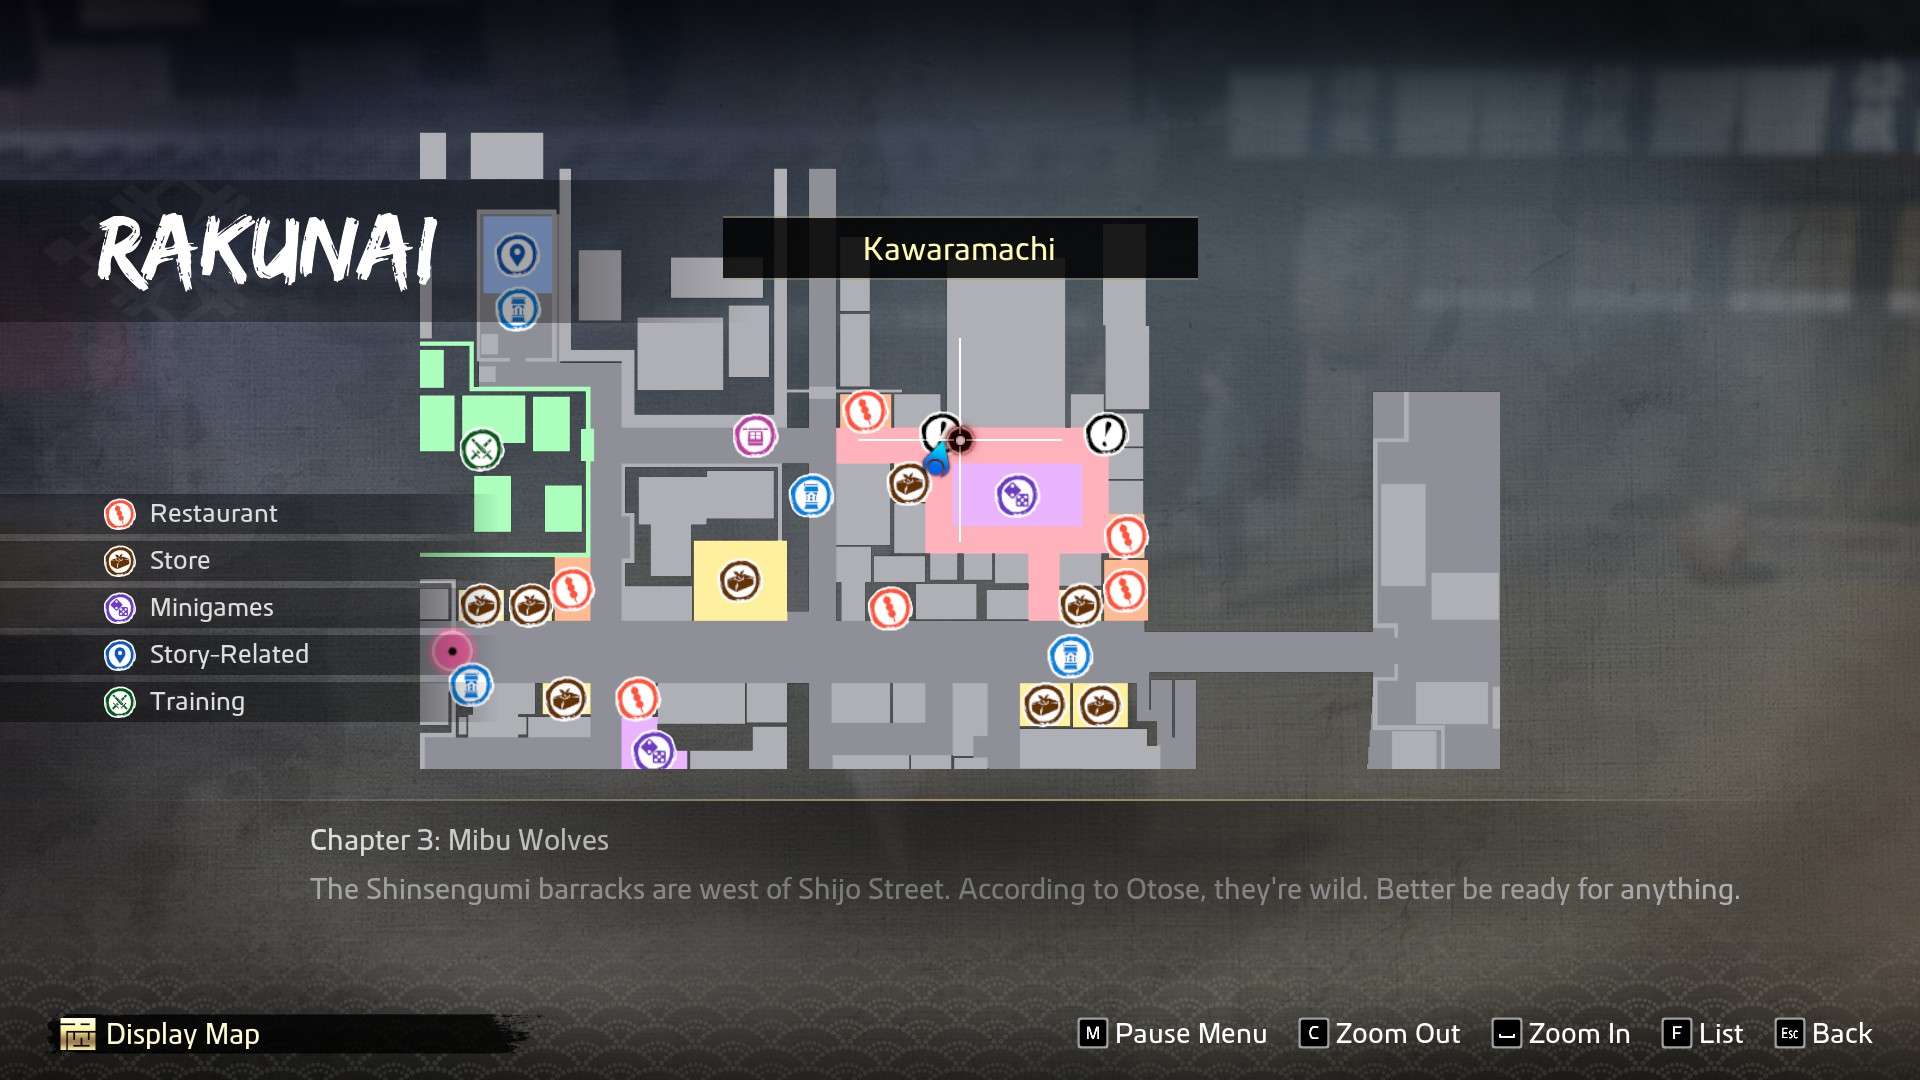
- Location: Northern side of Kawaramachi, by the dance school
A boy will run into you by the dance school. After a brief cutscene, approach the kids to continue the scene, then speak to the girl. Go after the boy to deliver a message (there will now be a substory icon at the temple on your map, at the northwest end of Karasuma Street). When you find the boy, he won’t understand the message, so you’ll have to clear up the meaning behind it.
- Answer 1: Thank you for your friendship
- Answer 2: You’re important to her
Head back to where you met them and see how everything turns out. If you’re having trouble catching the palanquin, they’re heading toward Shijo Bridge, so try cutting them off on the main road).
- Reward: Rainbow Fabric, 300 Virtue
5. Talkin’ Tosa


- Location: Northeast corner of Kawaramachi
Speak to the man standing in the corner of the alleyway. He’ll need help translating multiple letters, so you’ll have to leave and come back a couple times.
- Answer 1-1: It’s been a while
- Answer 1-2: I
- Answer 1-3: She means “you”
- Answer 2-1: She means “is that every day?”
- Answer 2-2: Her heart aches
- Answer 2-3: Meet soon
- Answer 3-1: Stumble and fall
- Answer 3-2: Cowardly men
- Answer 3-3: Tell her how you feel
- Reward: Fine Silk Fabric, Platinum Chunk, Phoenix Feather, 350 Virtue
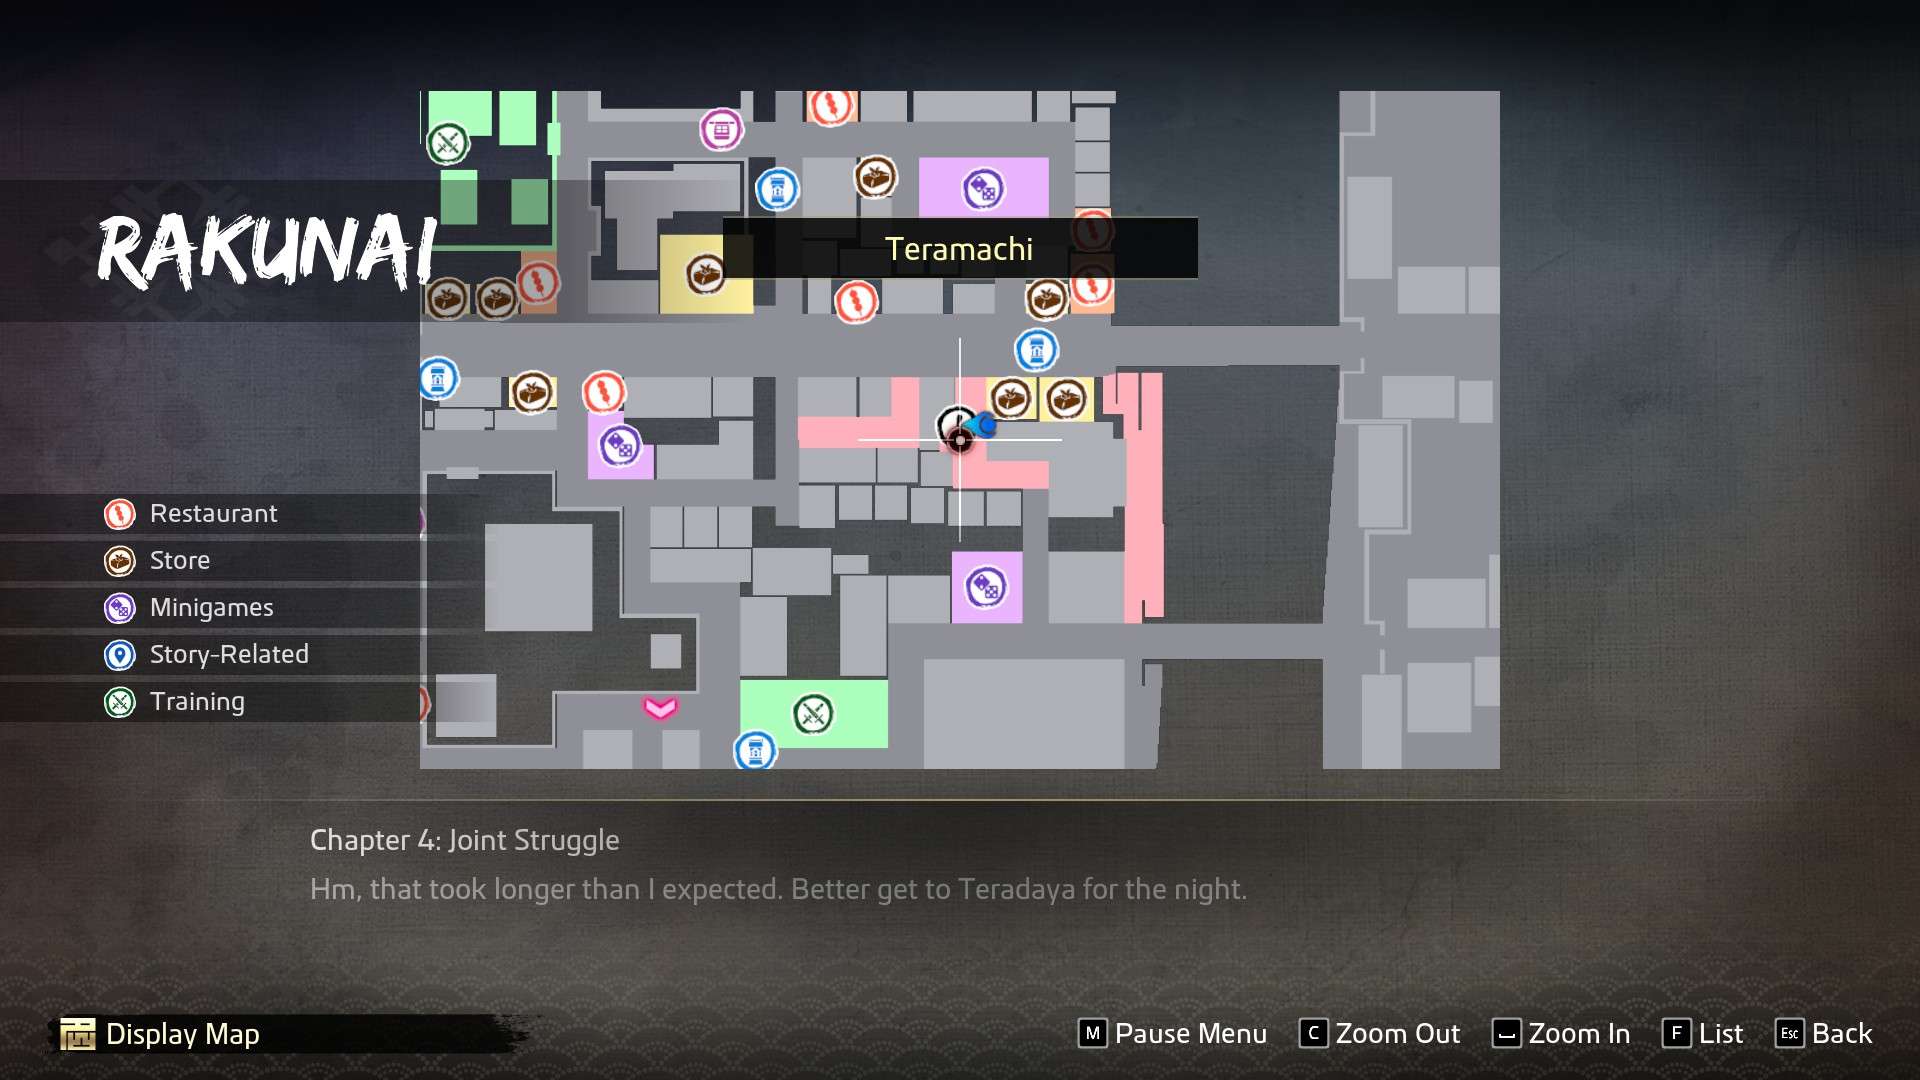
6. The Mochi Mystery
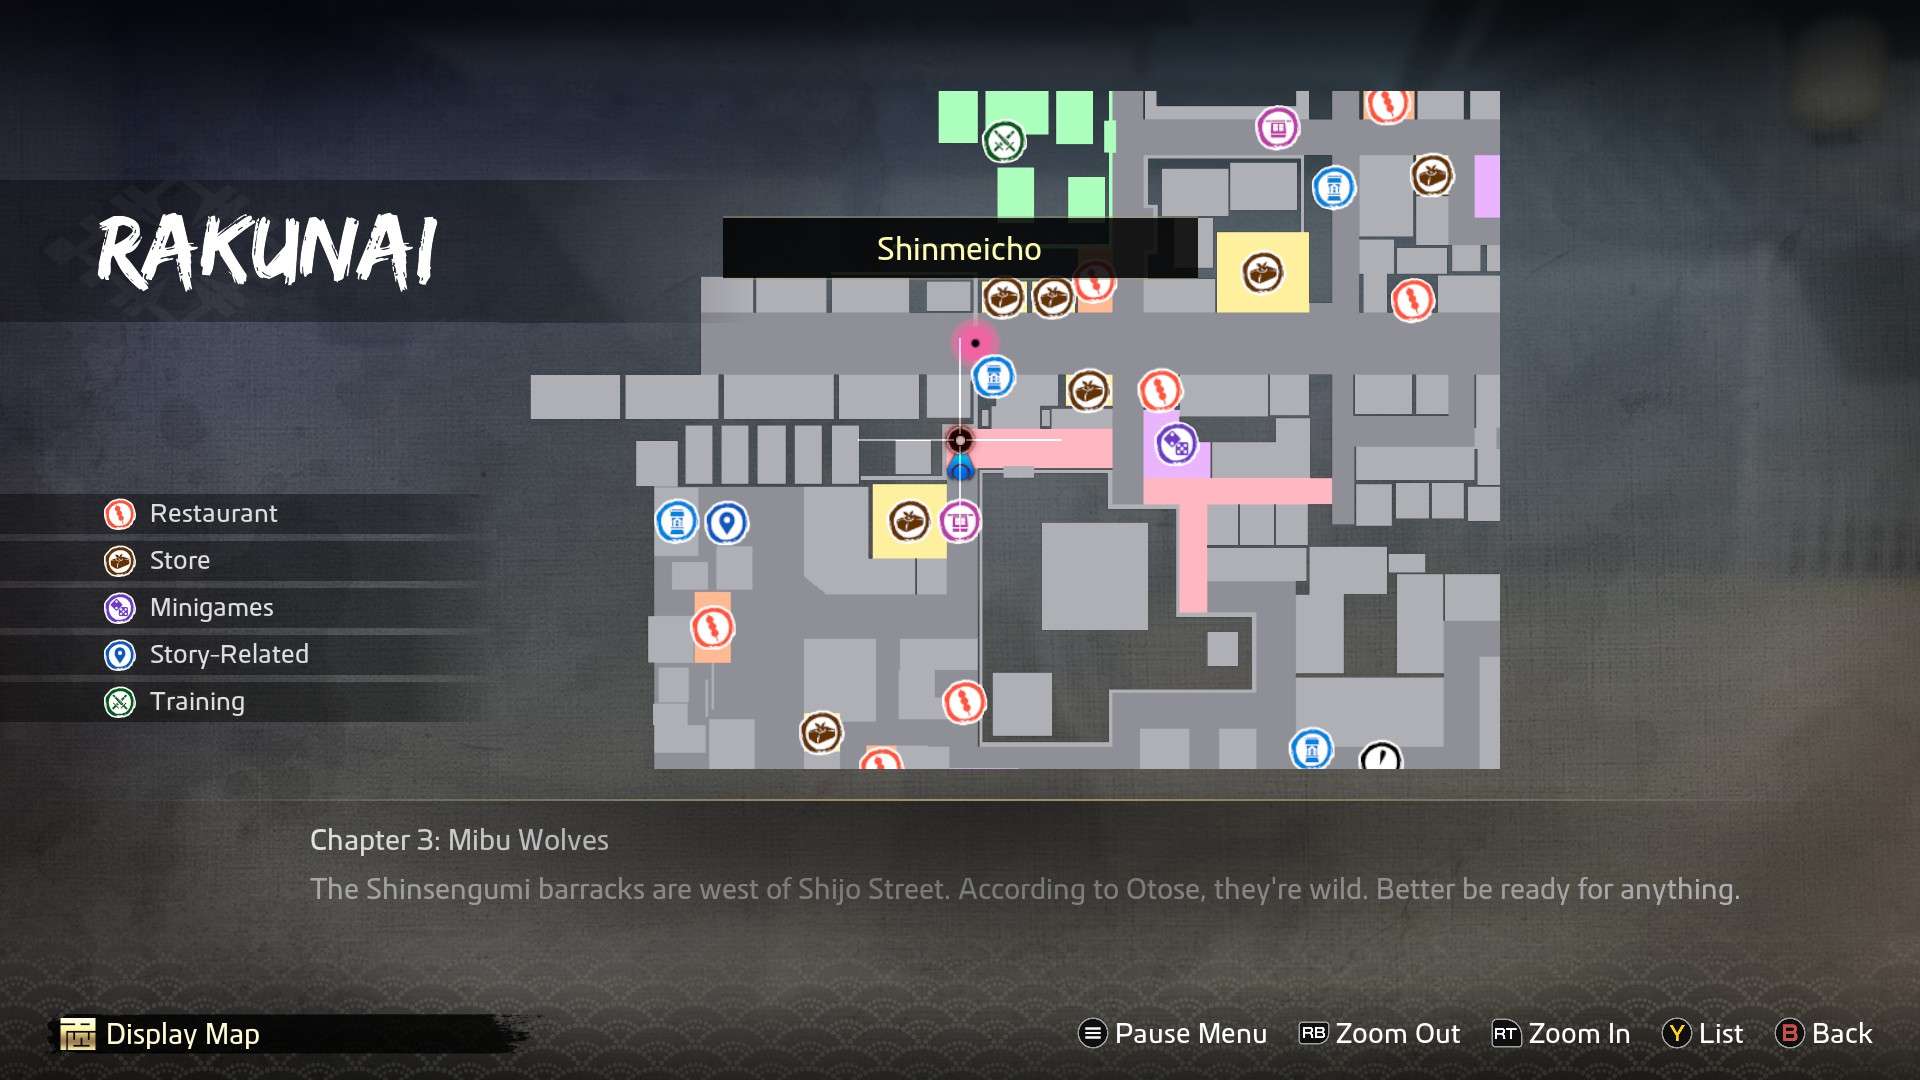
- Location: West end of Shinmeicho
Approach the group of men, only to find out that someone stole this man’s snack. You’ll have to interview them individually to determine who the two culprits are.
- Answer: Higashihara and Minamino
- Reward: Godslayer’s Talisman, 300 Virtue
7. Ee Ja Nai for Justice
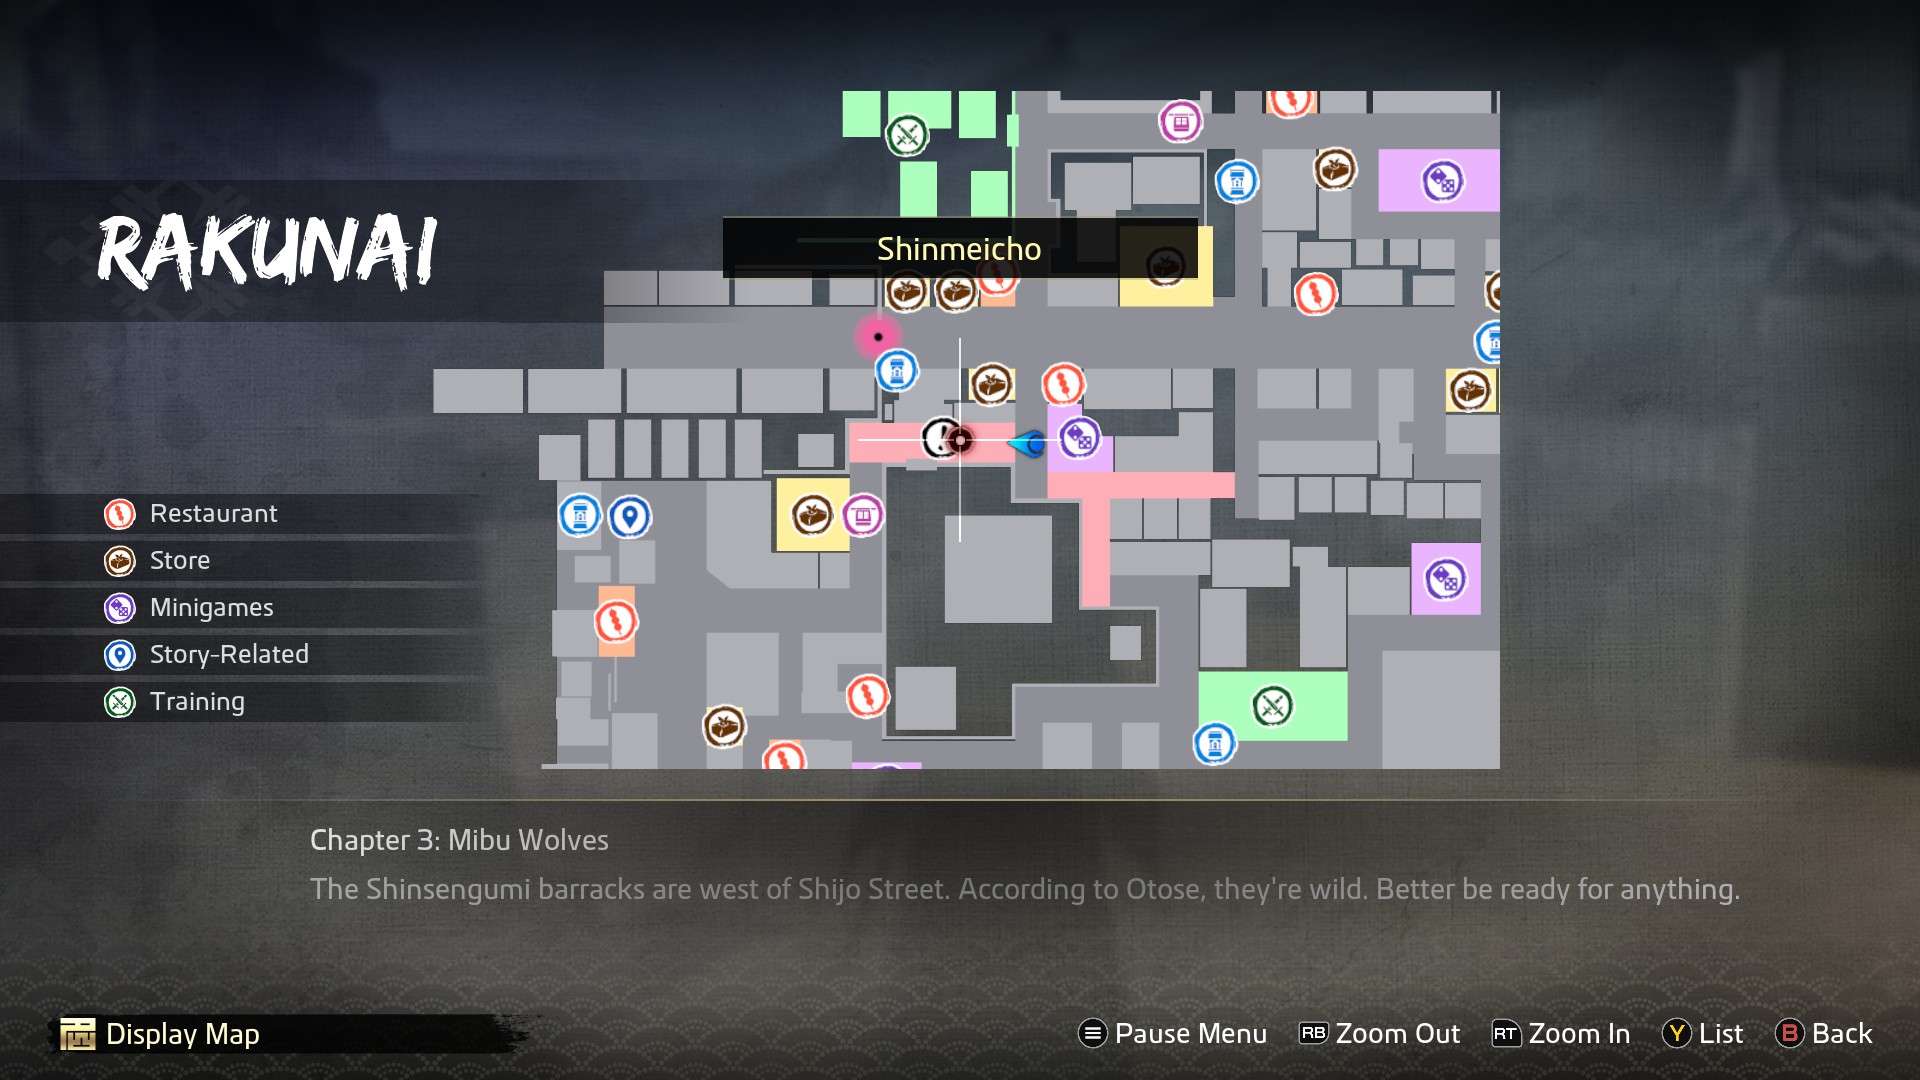
- Location: West end of Shinmeicho
Approach the dancing crowd once again, where you’ll end up fighting some guards this time.
- Reward: Tranquil Towel, 350 Virtue
11. Global Fraud
- Location: West end of Teramachi
Approach the elderly man standing outside of a school. He’ll explain that he’s a teacher, but can’t read a globe. He’ll ask for your help teaching his students geography (accepting his request will take you straight to class). The students will take turns asking you questions and you’ll respond in this order:
- Answer 1: Japan
- Answer 2: The Great Qing
- Answer 3: Country 4
- Reward: European Fabric, 300 Virtue
15. The Injured Grandma
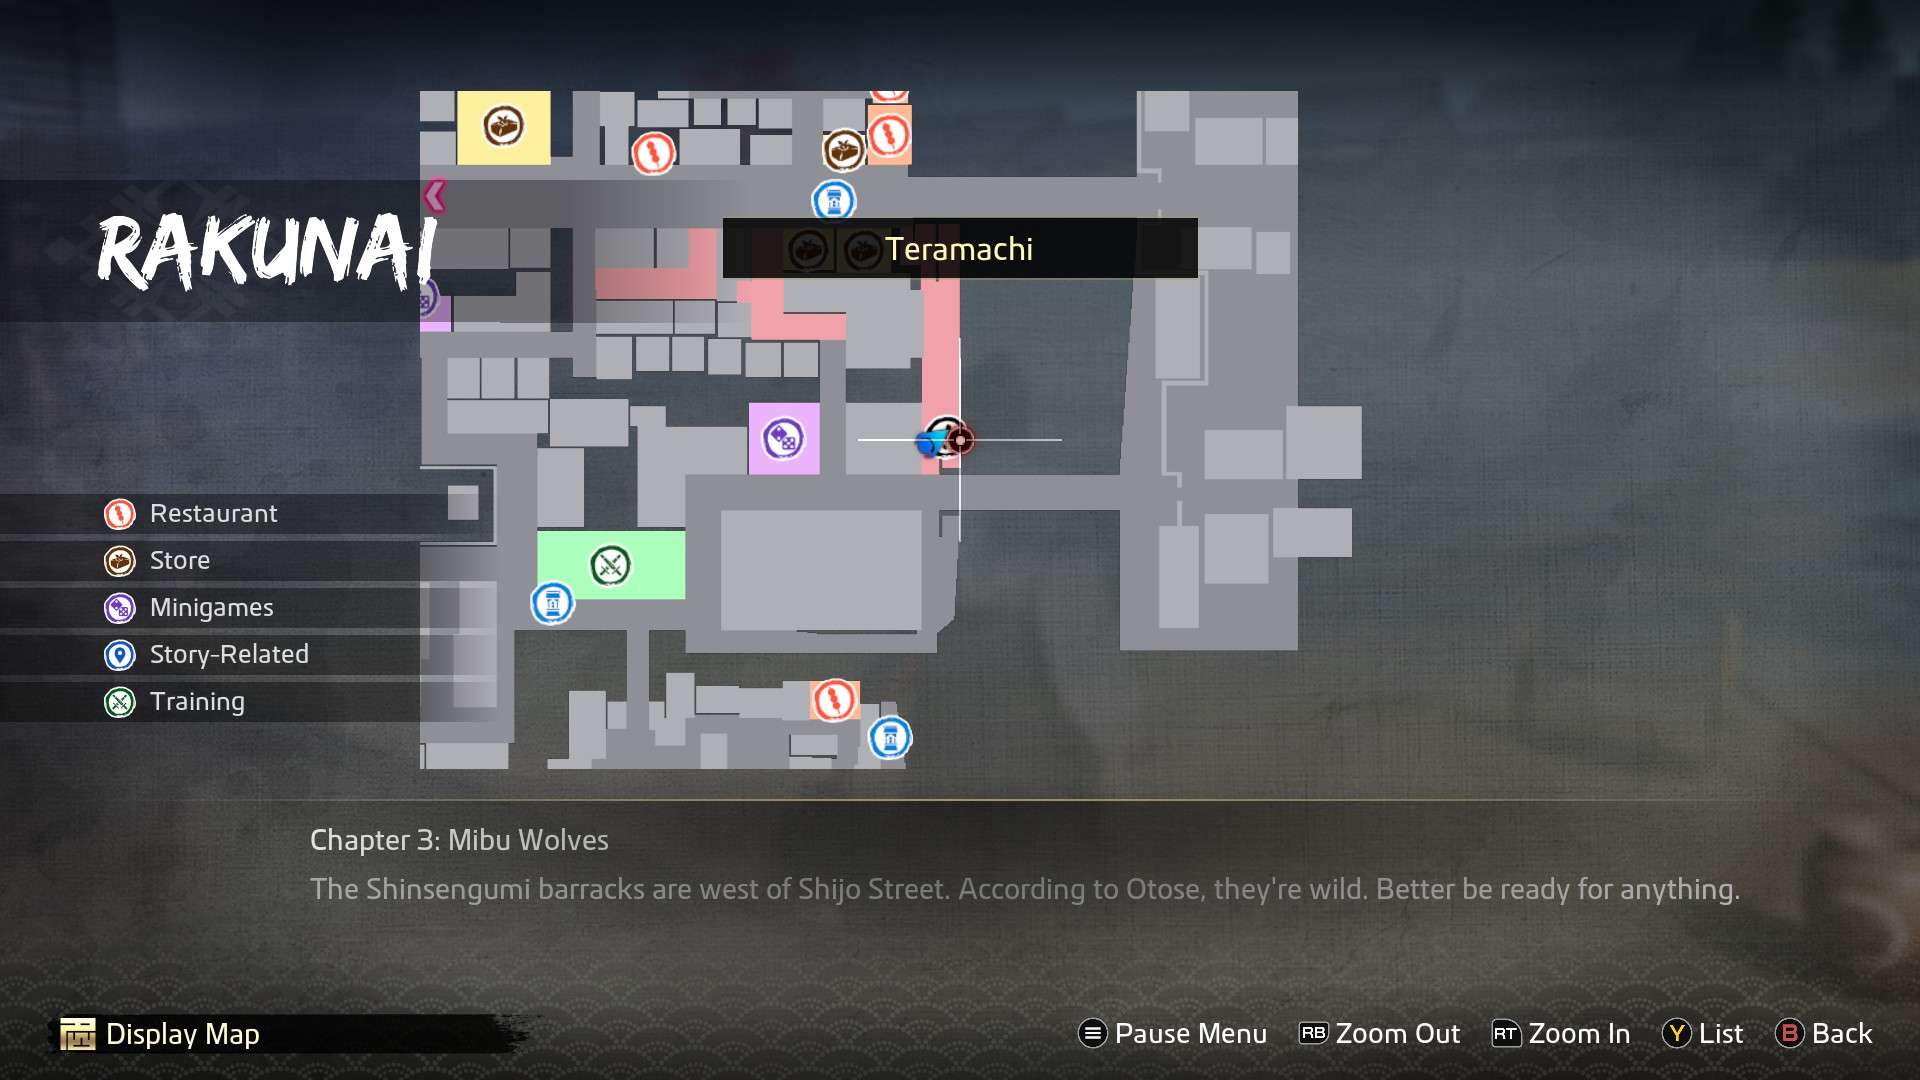
- Location: Teramachi, by the river east of the Gambling Den
Approach the elderly woman on the ground. Choose to take her home and you’ll establish a bond.
- Reward: 150 Virtue
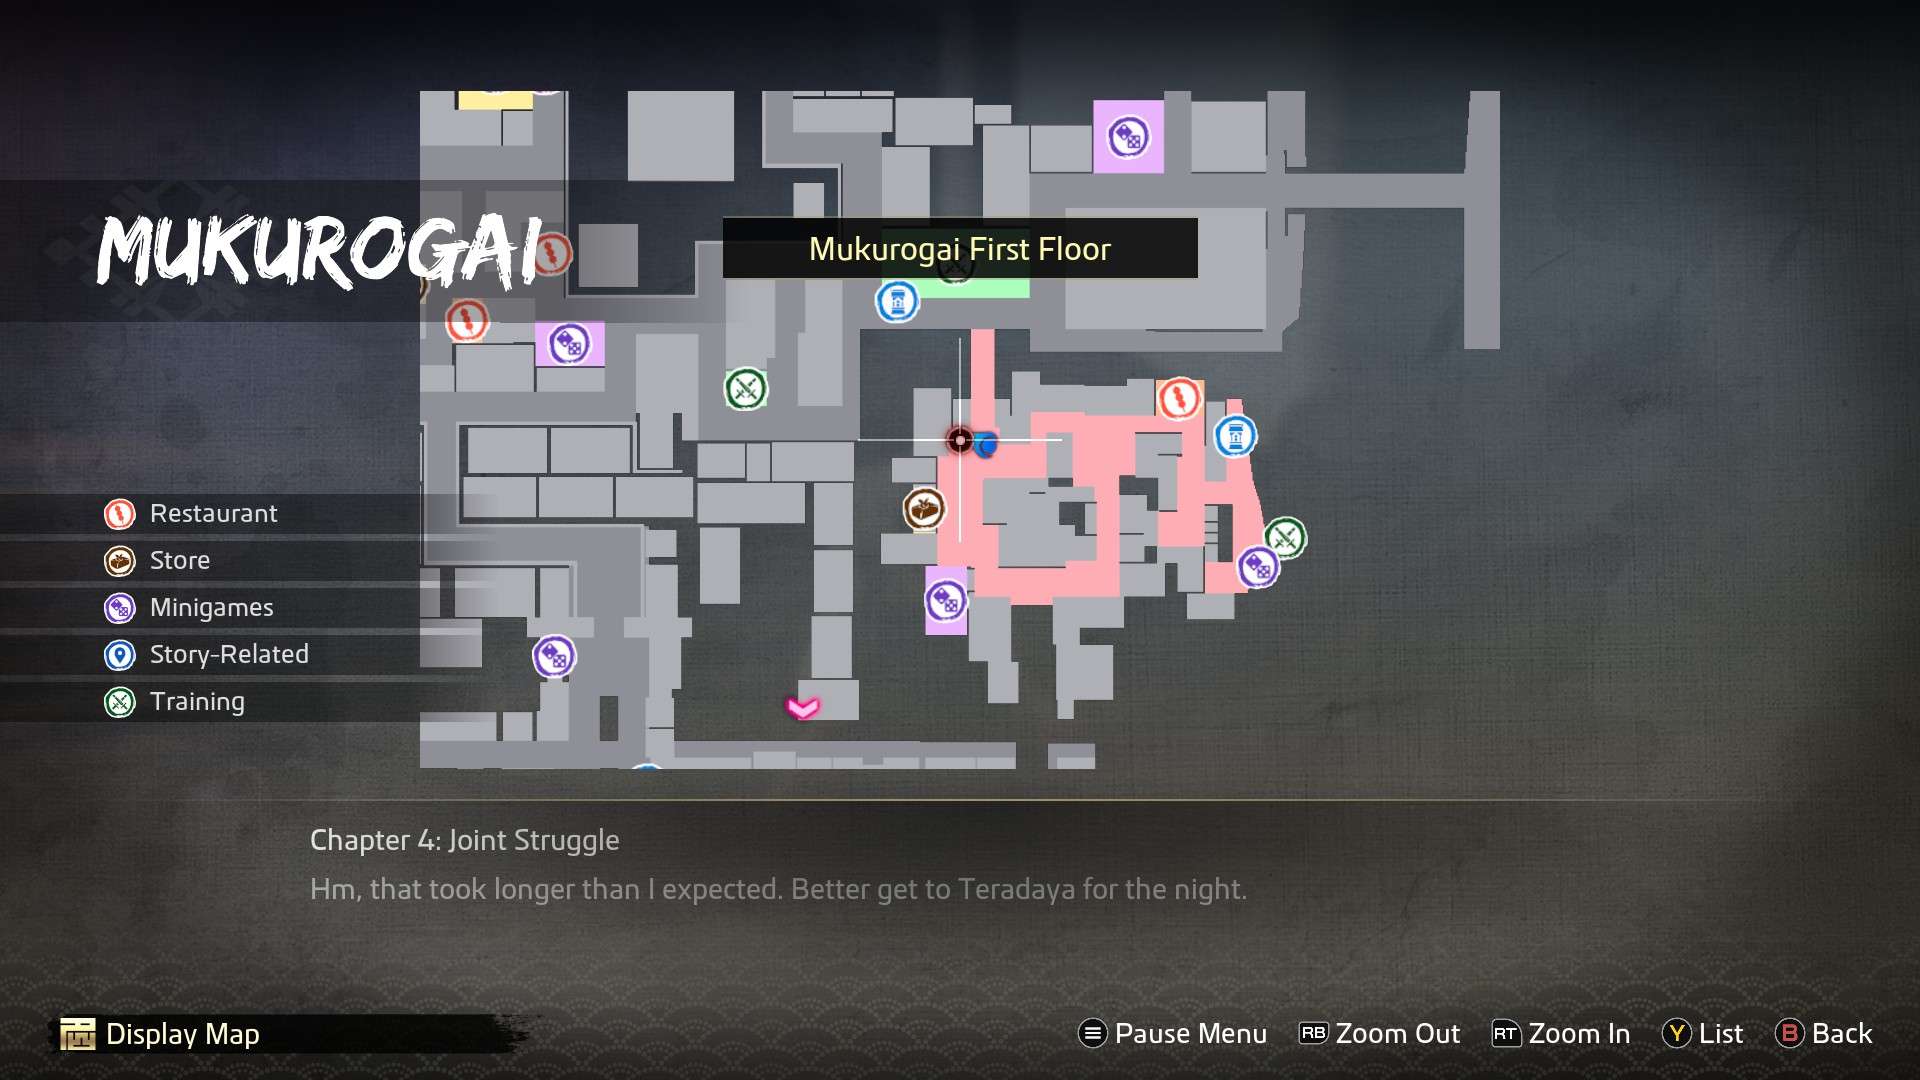
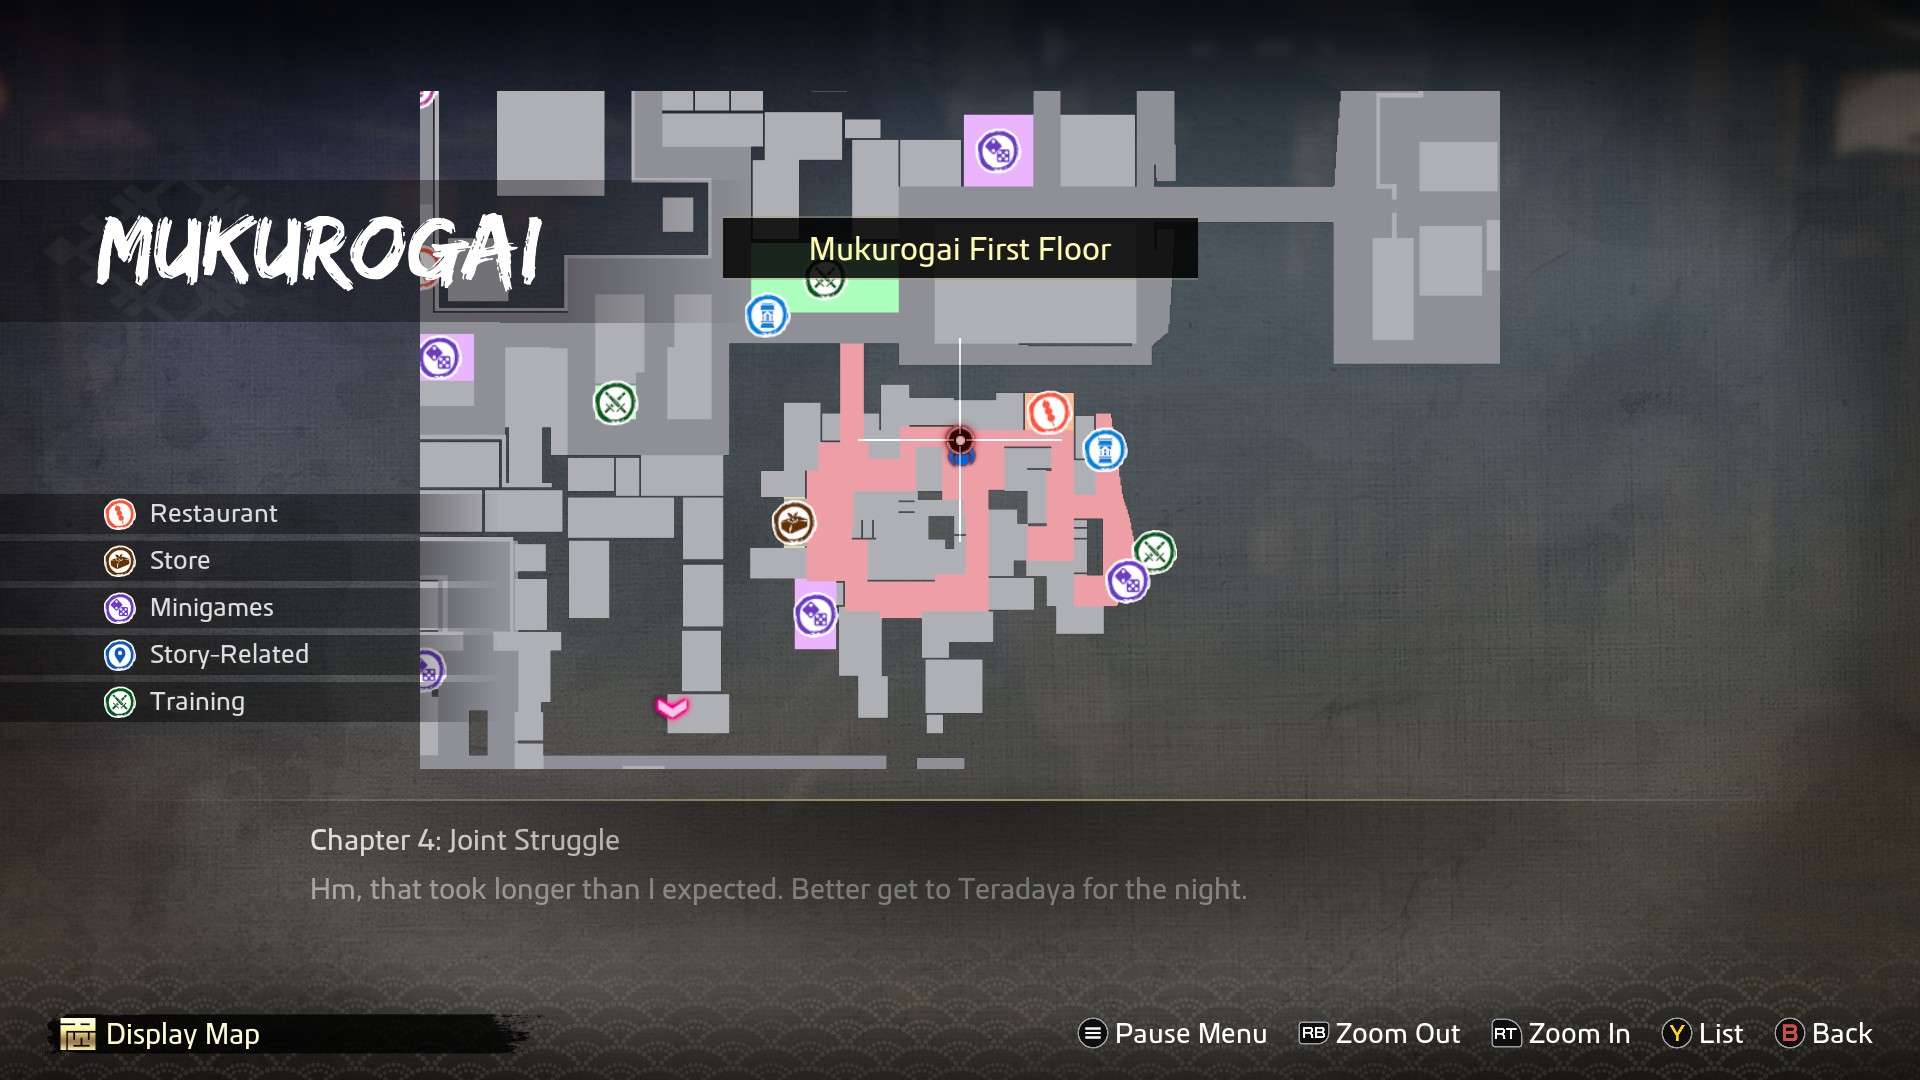
Chapter 3 | Mukurogai
29. The Bad Side of Town
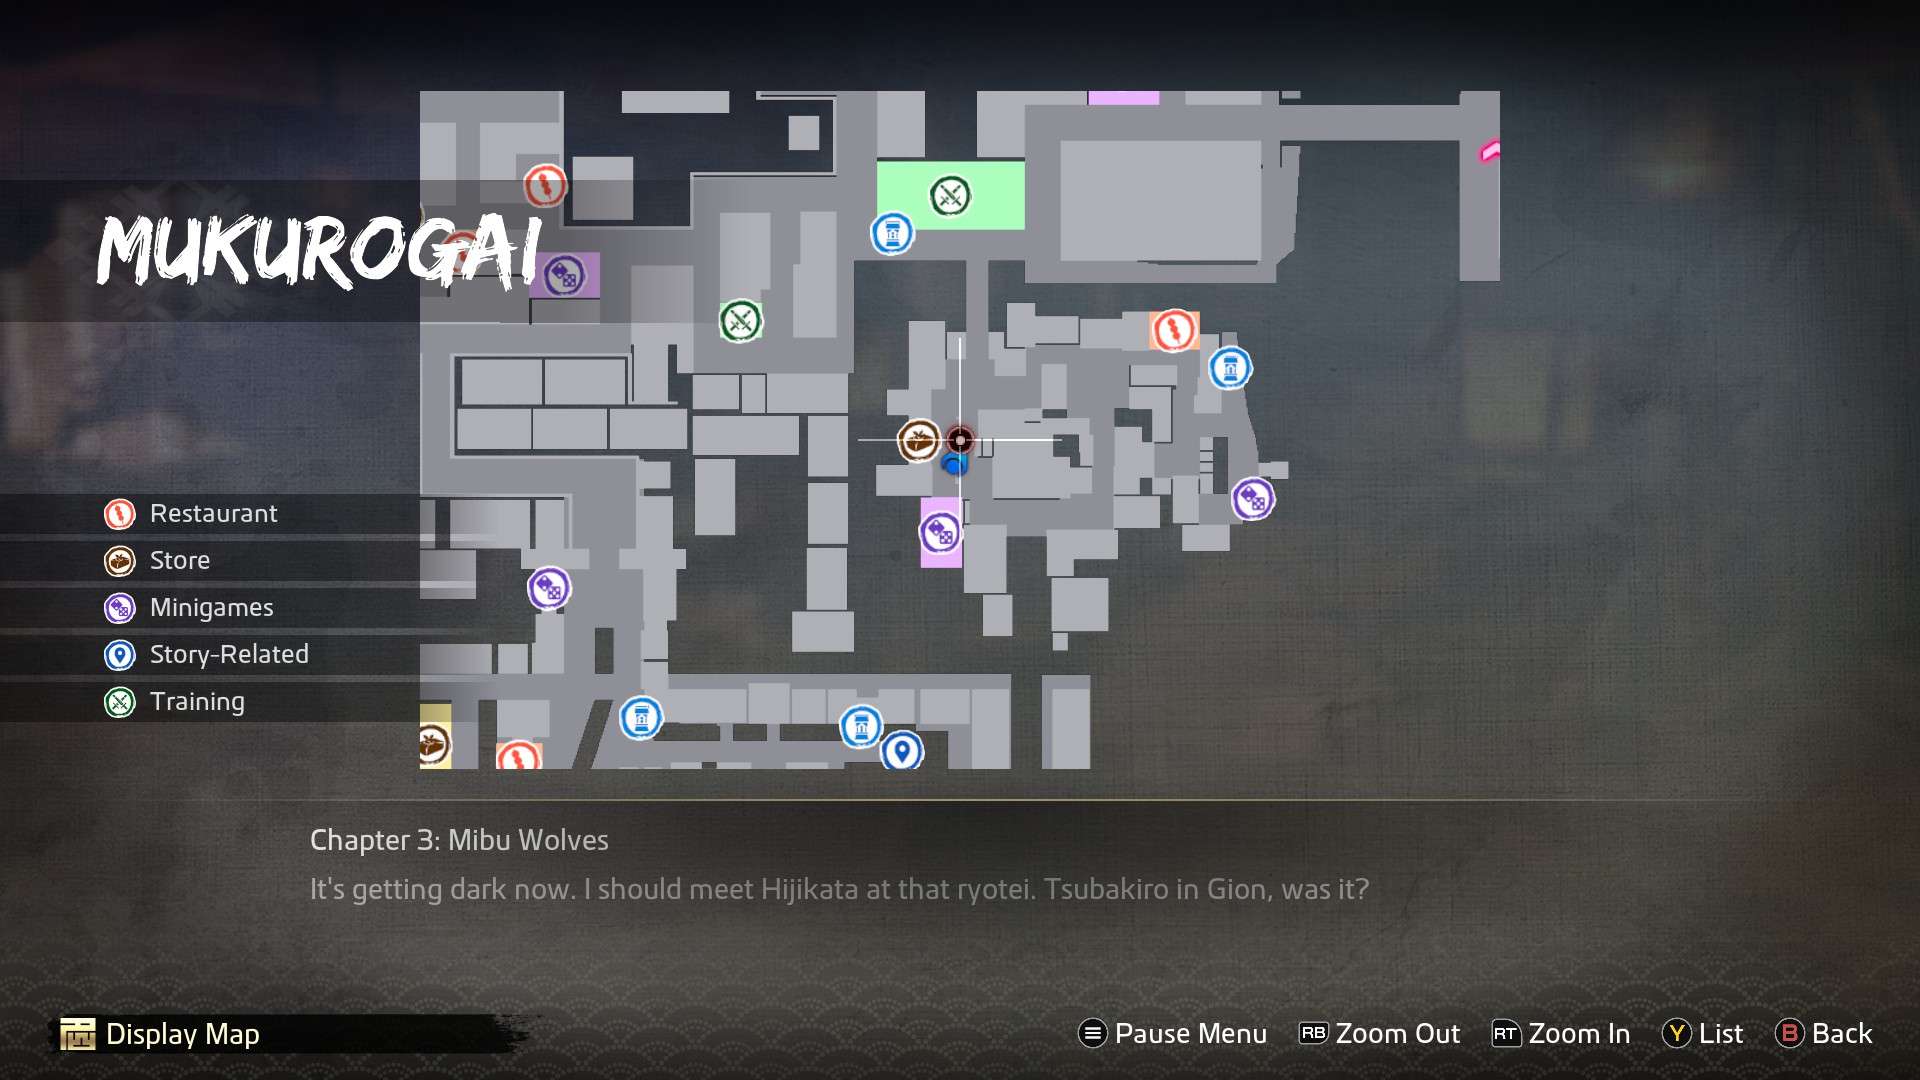
- Location: Western side of Mukurogai, by the arms dealer
A cutscene will automatically trigger once you get close to the arms dealer. Fight off the thugs to complete.
- Reward: 250 Virtue
30. Brawler for Hire

- Location: Top middle part of the first floor
You’ll meet a guy selling his brawler services, when an unexpected guest arrives. Fight the brawler to complete.
*You’ll have to finish the substory, Ee Ja Nai for Justice, for this to become available
- Reward: 300 Virtue
34. The Servile Beggar

- Location: Around the corner from the northern gate
Speak to the man on the ground and offer him some food. Any food item will do, so pick whatever you want. Afterwards, you’ll establish a bond and this substory will be complete.
- Reward: 150 Virtue
Chapter 3 | Gion
57. Soft and Supple
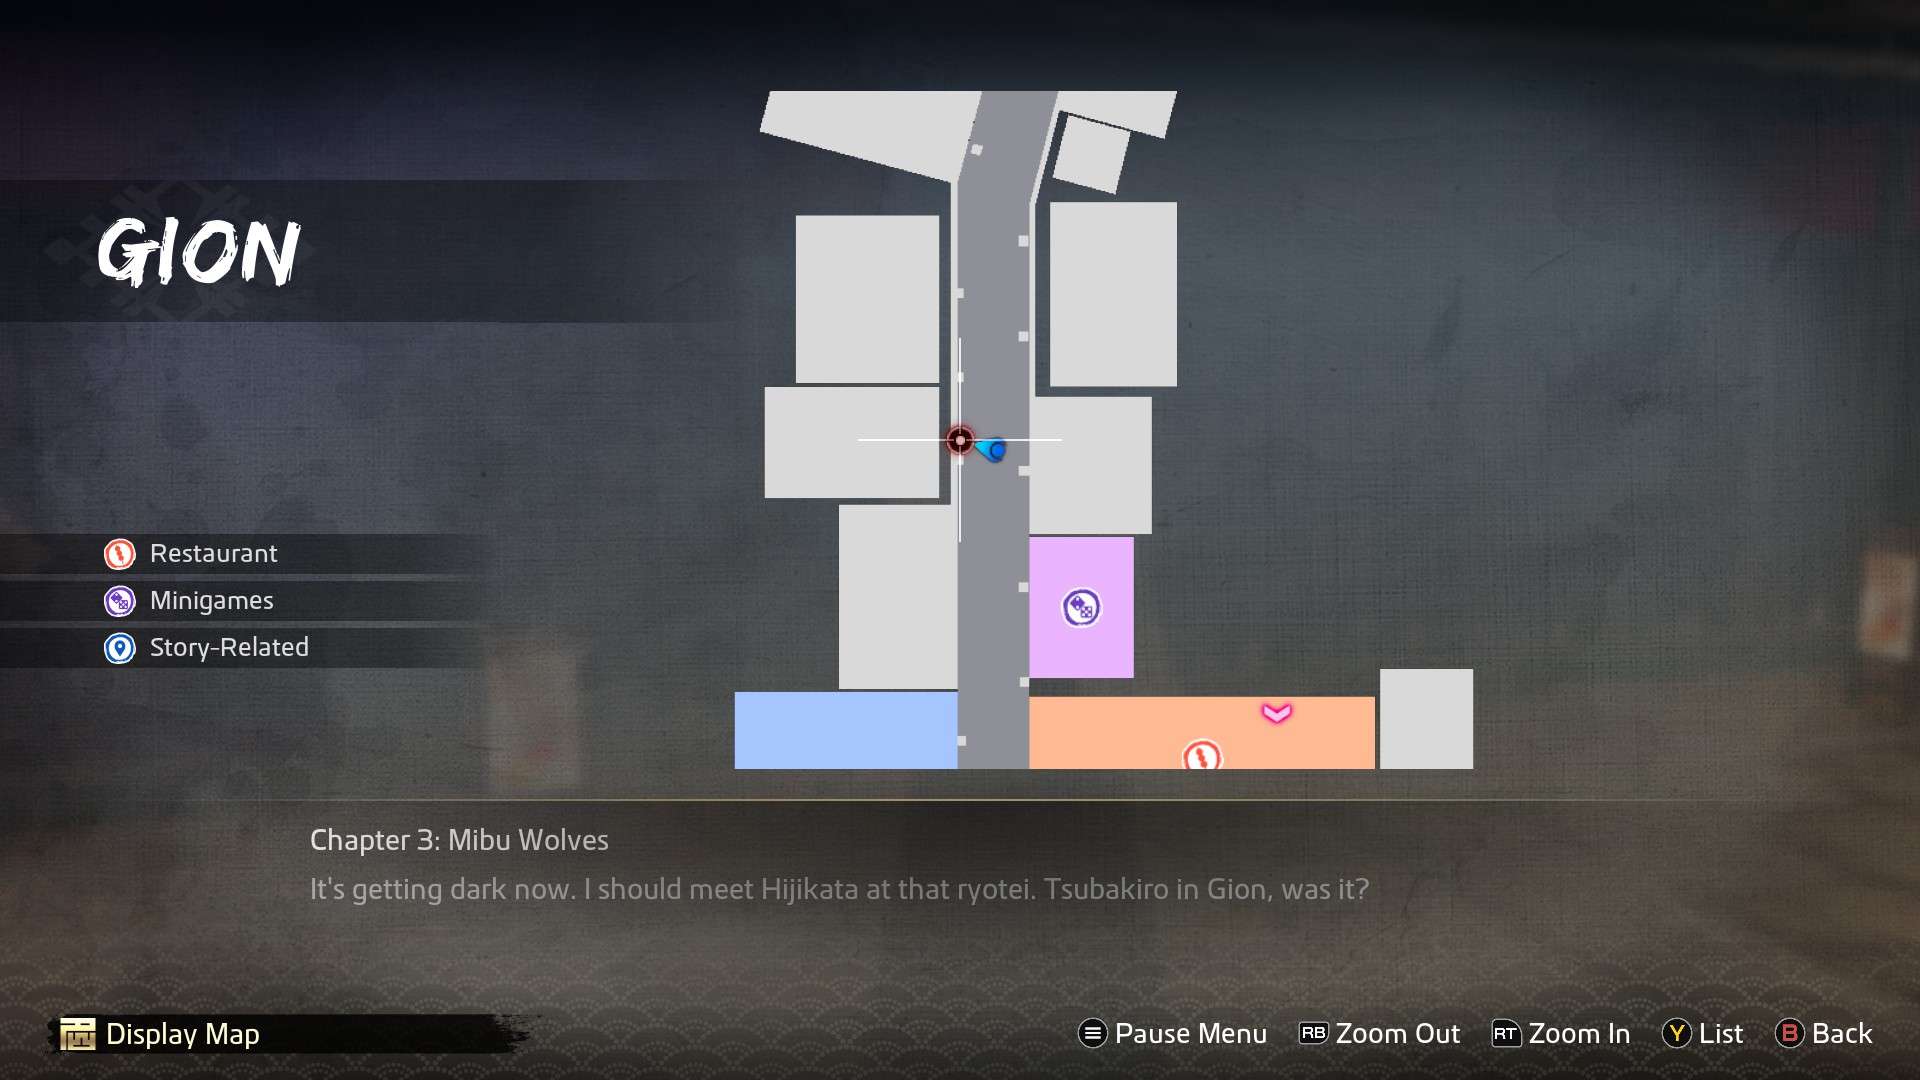
- Location: A little north of the brothel, Yamabuki
Walking towards the north end of Gion, down the alley, you’ll get waved down by a barker. Agree to take a look and you’ll leave with him. Answer his question however you like, it won’t change the outcome. Next, choose the first option (not to give him money) – now you’ll have to get yourself out of this awkward situation.
- Reward: 3 Ryo, 300 Virtue
Chapter 4 | Fushimi
54. The Patient Dog
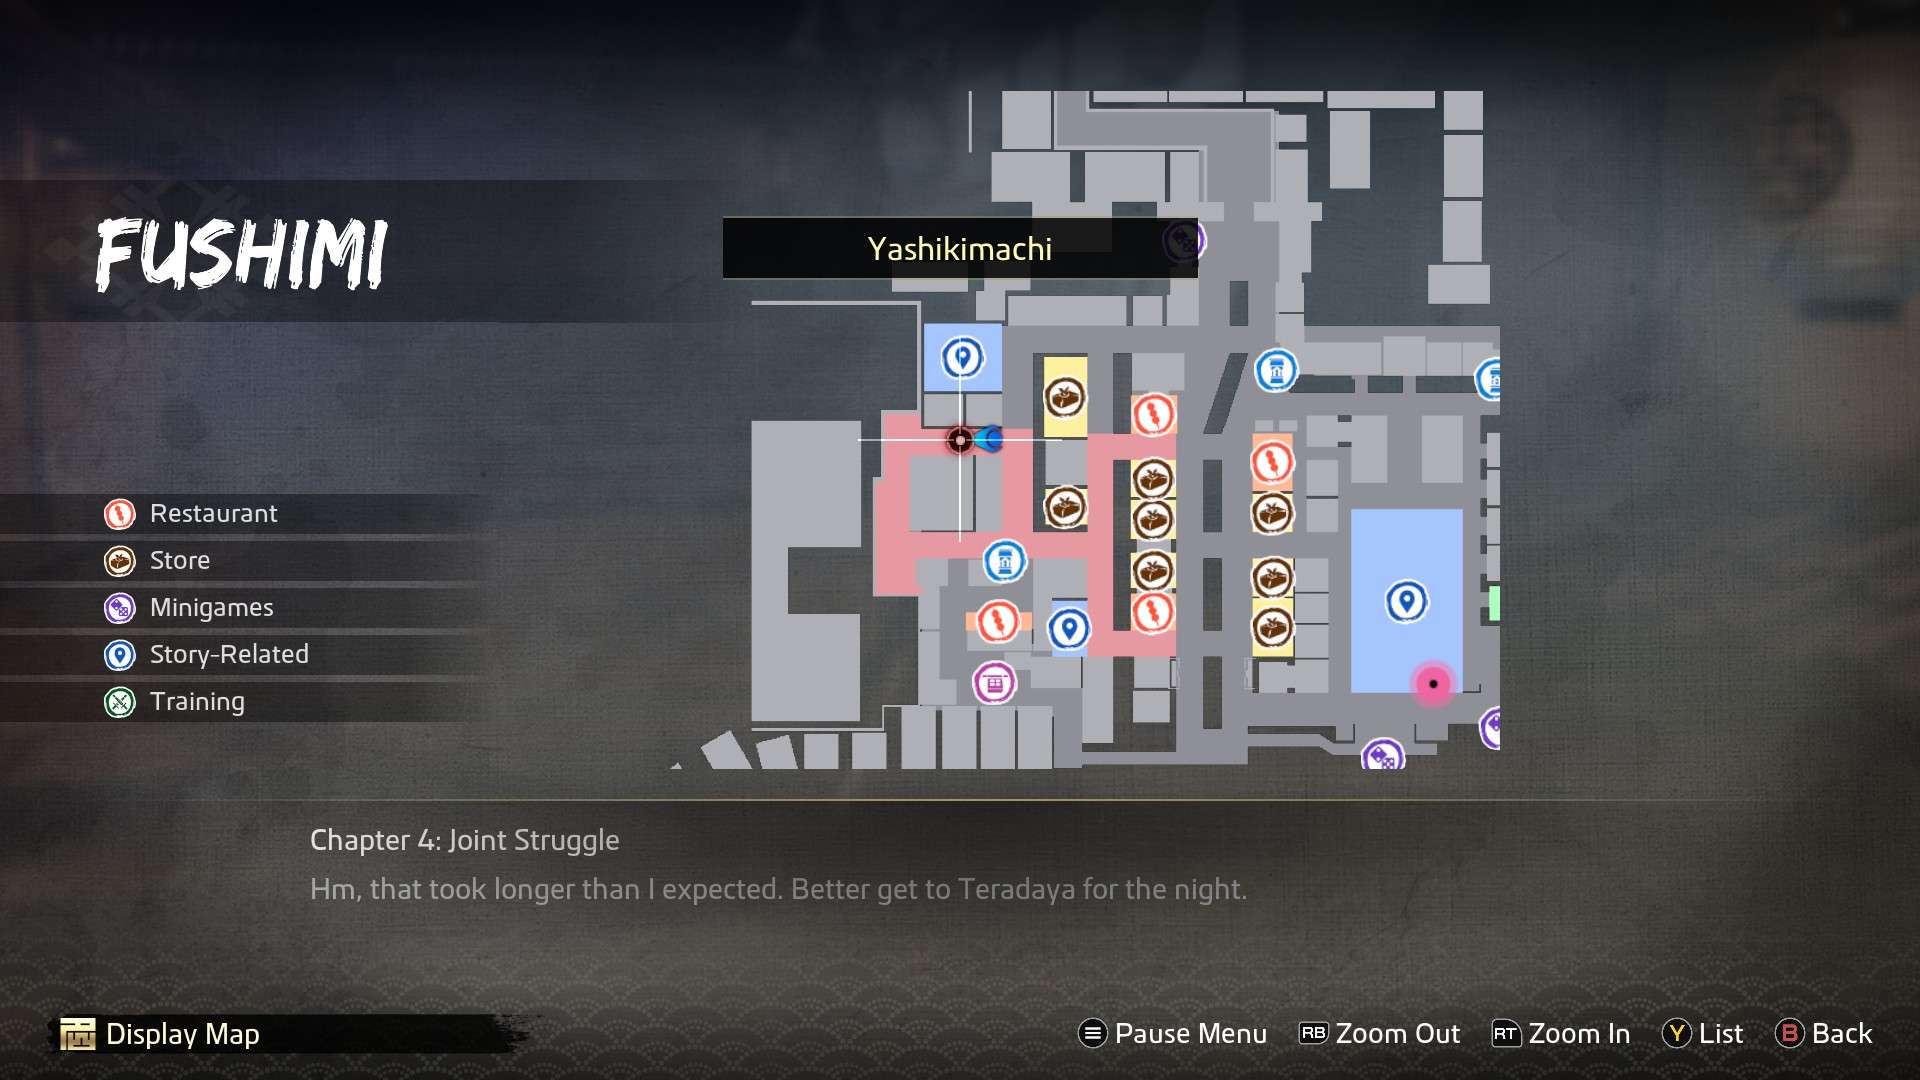
- Location: Yashikimachi, just south of the dojo from the start of the game
Interact with the dog on the ground and offer it some food. Another bond with a furry friend is formed.
- Reward: 150 Virtue
55. The Filthy Cat
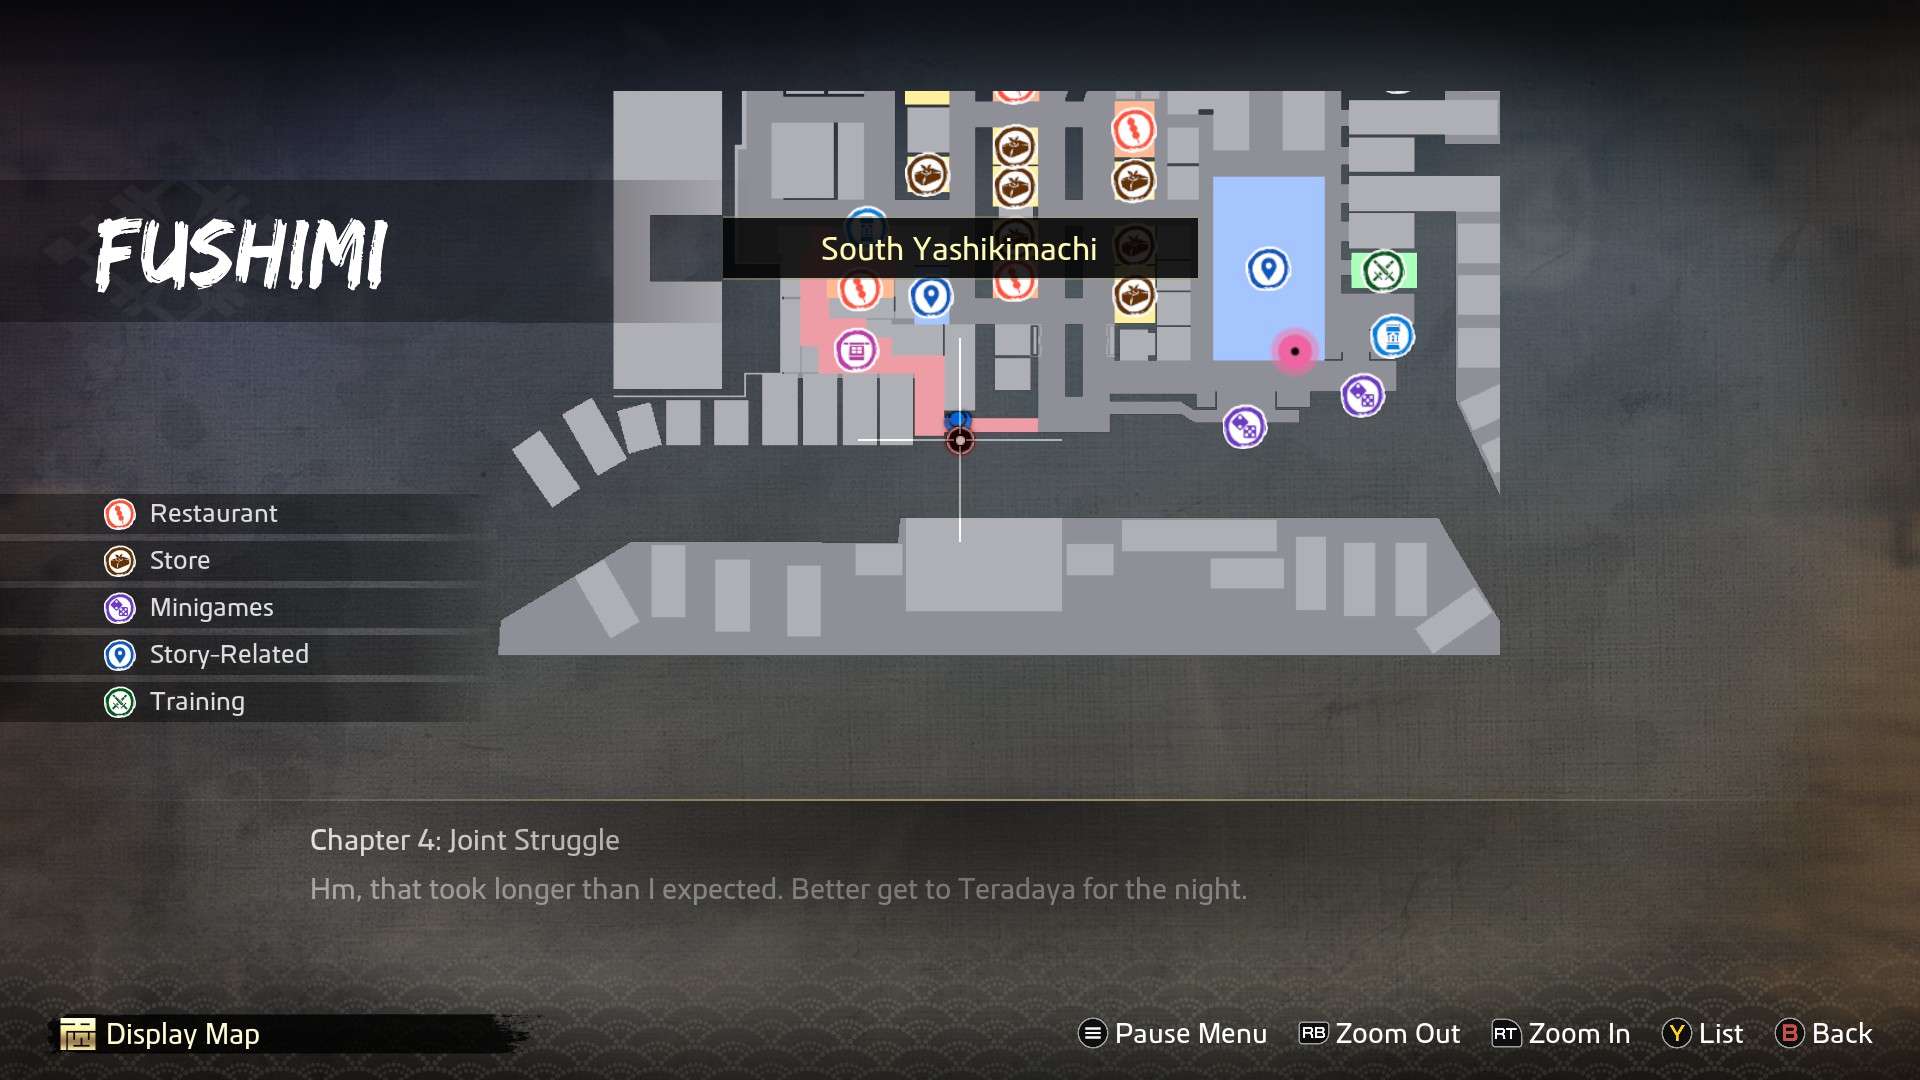
- Location: At the edge of the dock, just southeast of the palanquin
Simply look at the cat and enjoy
- Reward: 150
Chapter 4 | Rakugai
27. The Mysterious Merchant


- Location: Southern end of West Umekojicho
Approach the little hut that’s near the well and interact with it. You’ll be asked to bring 10 tomatoes, which can only be obtained through farming (and they take forever to grow). When you finally have the precious tomatoes, hand them over to the merchant to close the deal and establish a bond.
- Reward: 2 Ryo, 150 Virtue
28. The Hungry Cat
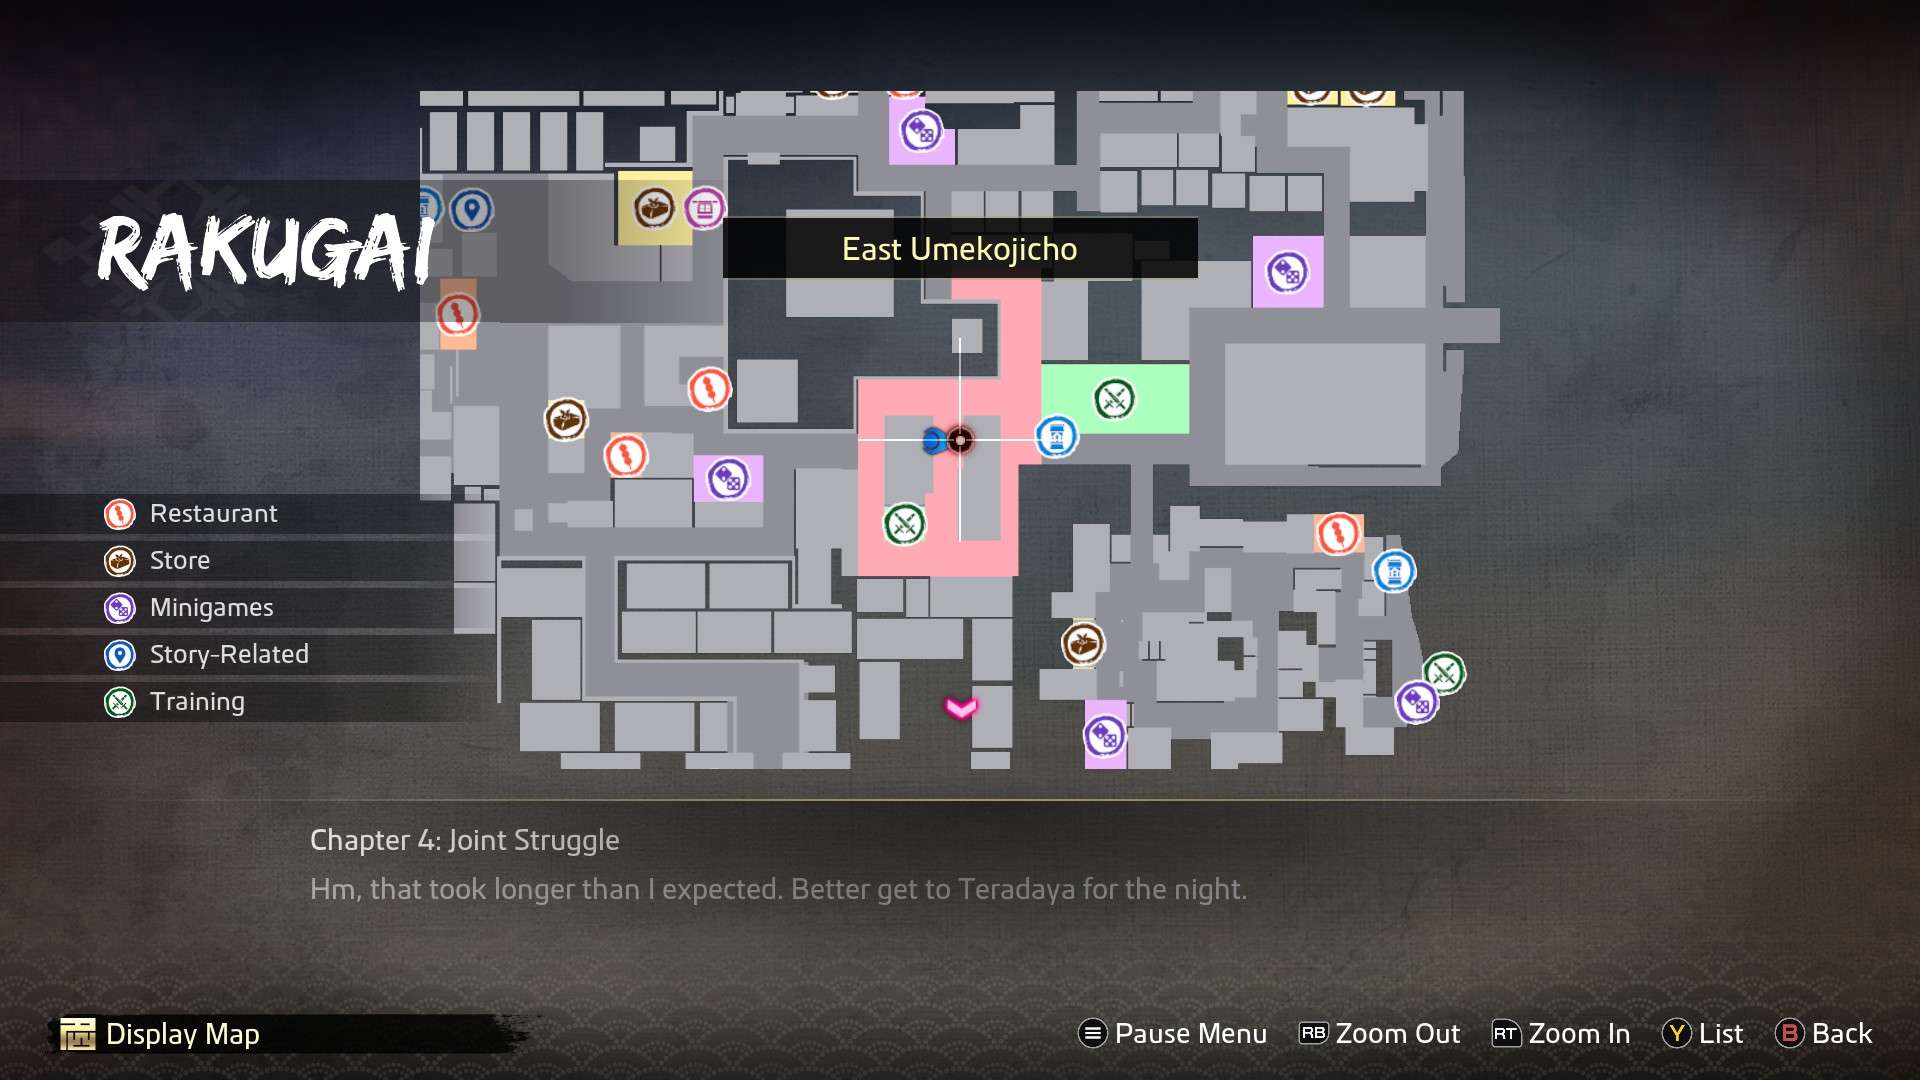
- Location: East Umekojicho, between the two buildings
Give the hungry kitty a fish and it will bond with you.
- Reward: 150 Virtue
69. The Spitfire Town Protector
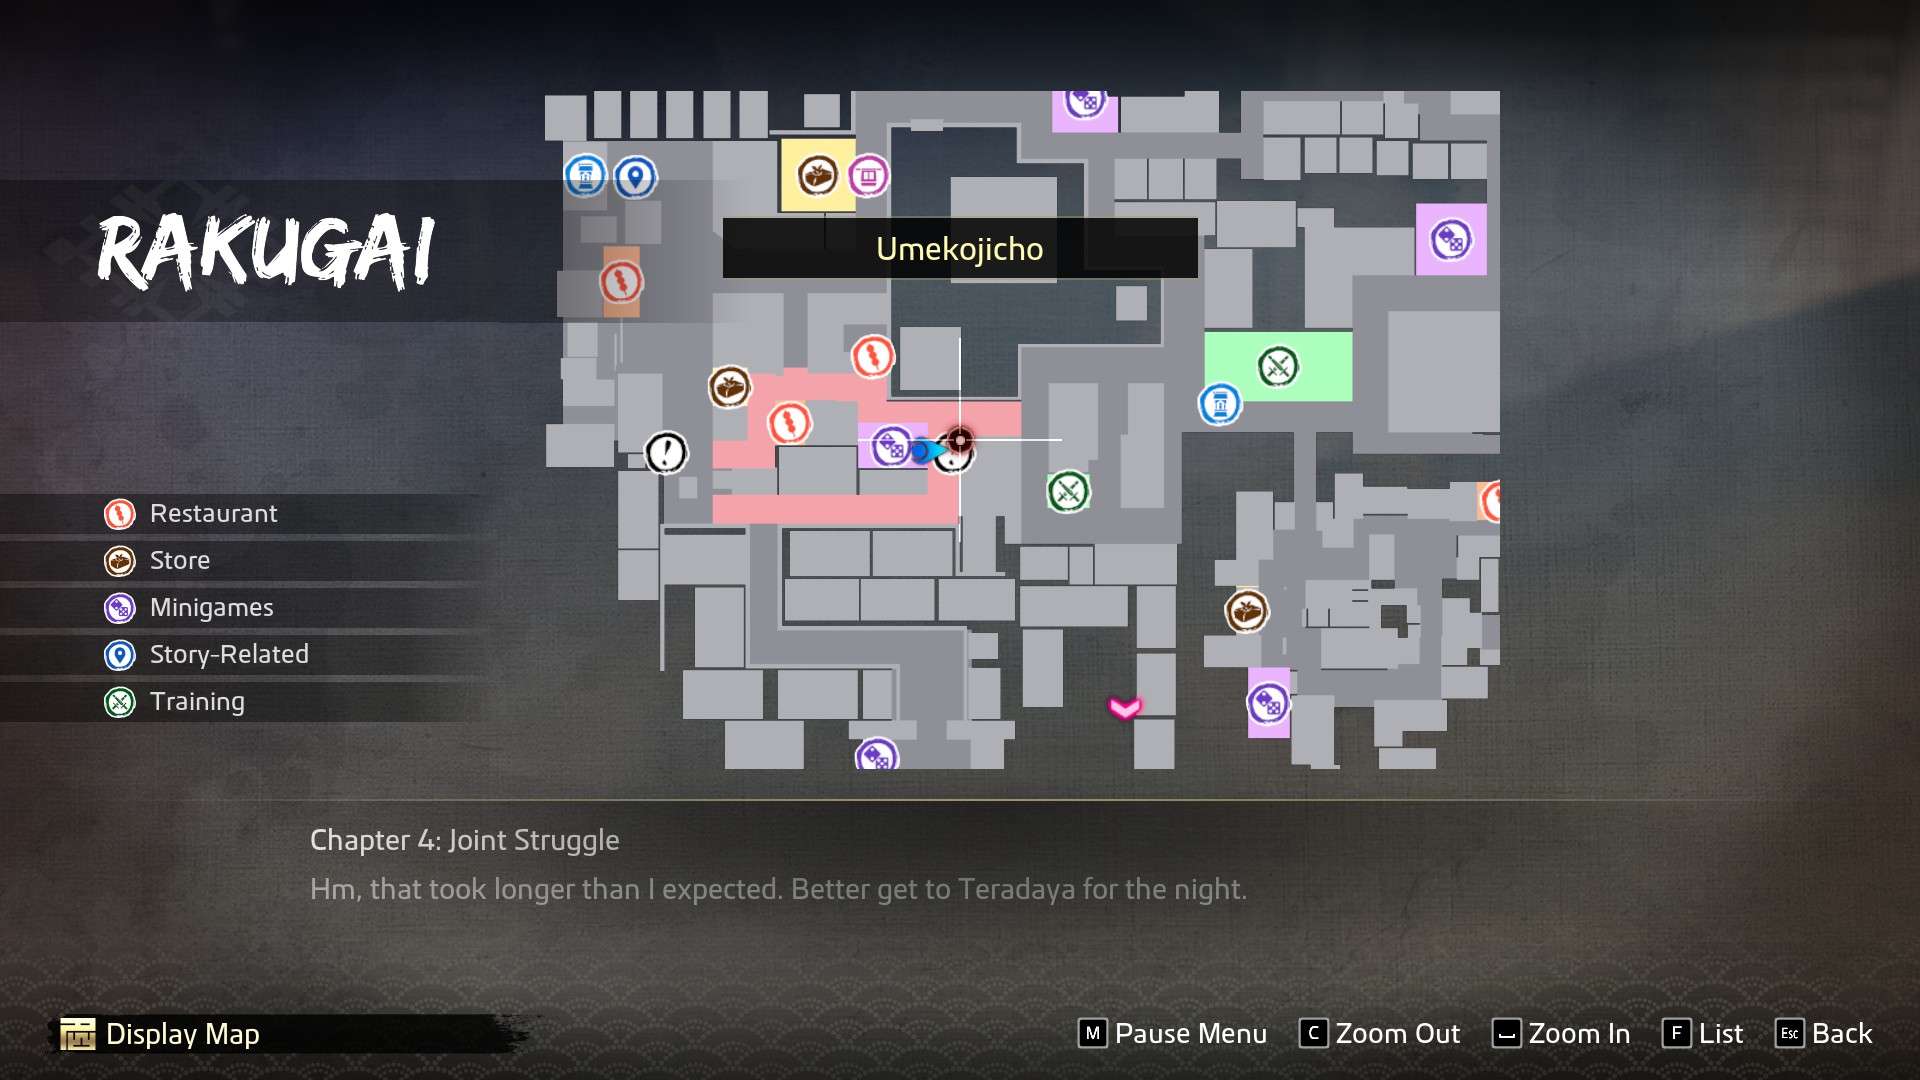
- Location: Umekojicho, slightly east of the chicken racing building
Approach the couple arguing to trigger a cutscene, then observe the scene after. You’ll end up in a fight with some tougher opponents, but it’s manageable – have some healing items with you, just in case. After the fight, it’ll be complete.
- Reward: 3 Ryo, 300 Virtue
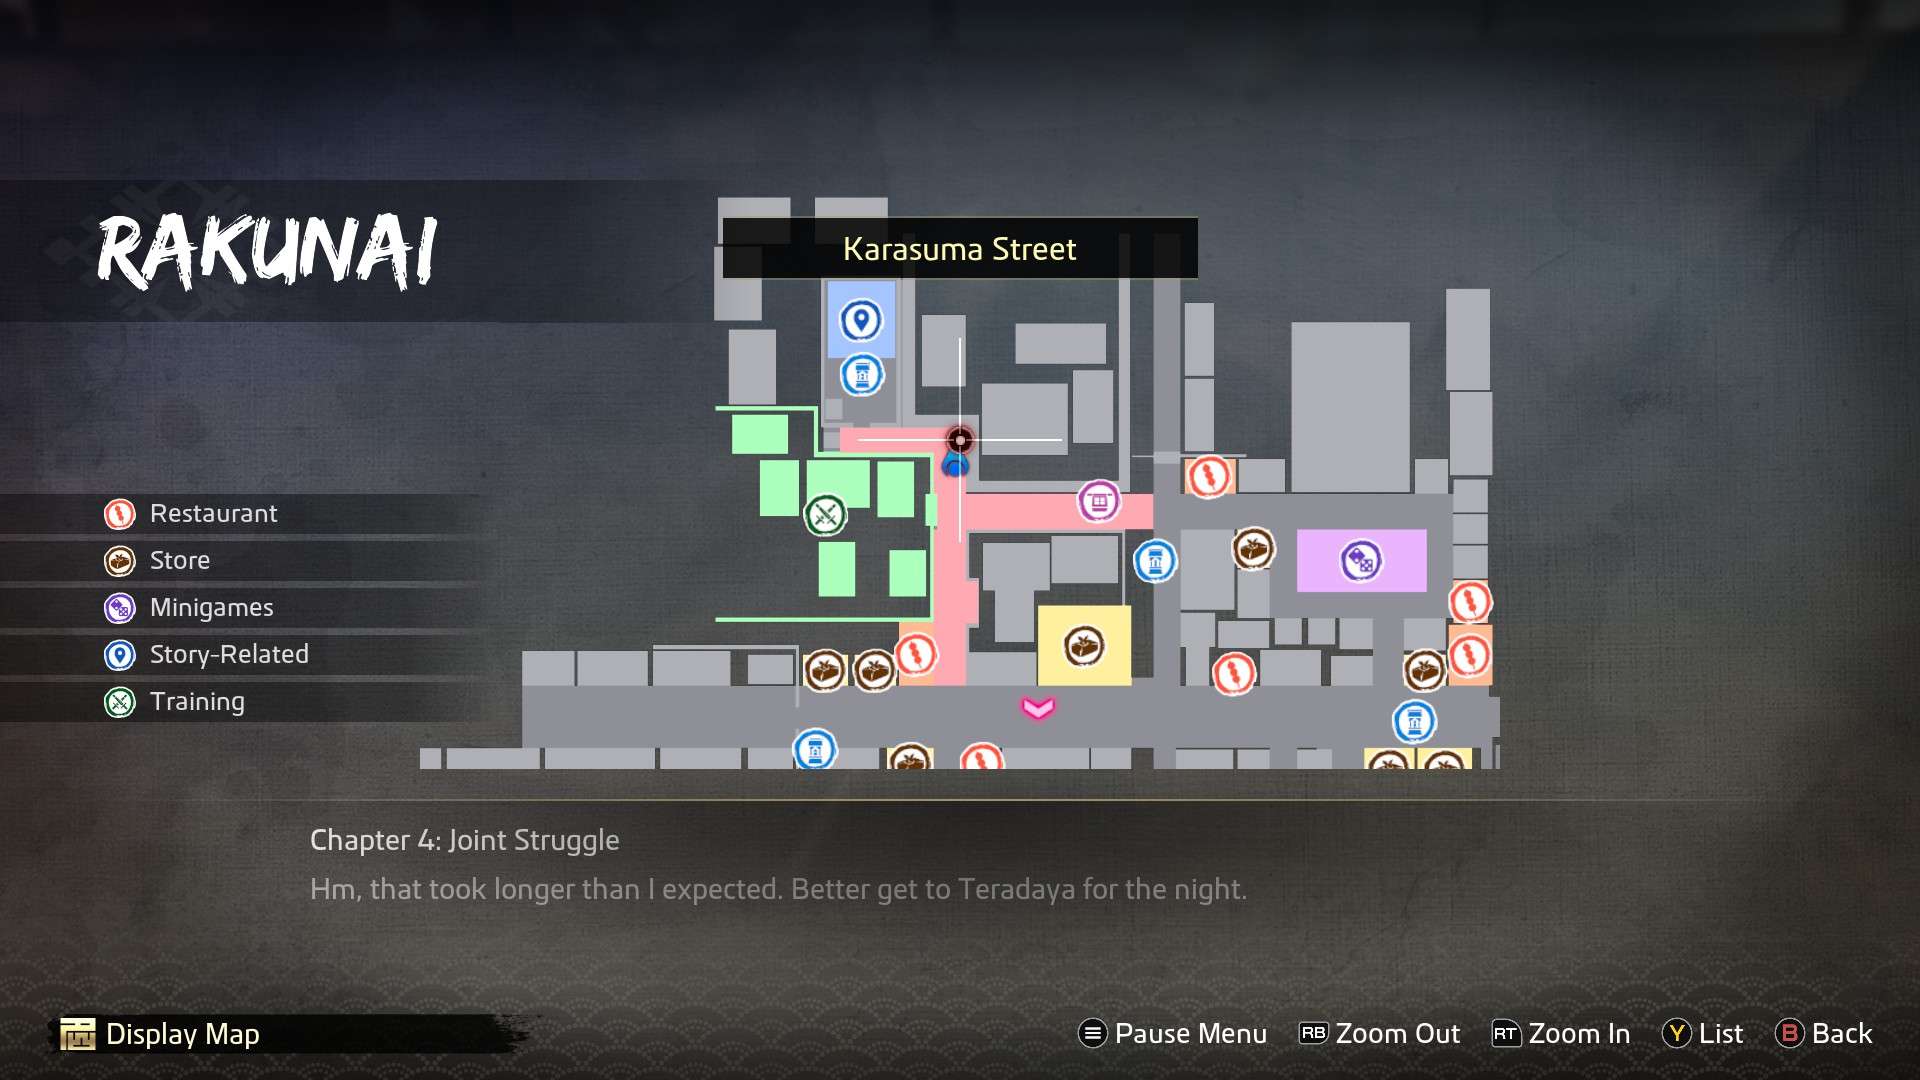
Chapter 4 | Rakunai
Substories will be locked until you head to Fushimi and run into a familiar face. The palanquins are also disabled at the start of the chapter, so you can’t miss this important event. After taking care of that, substories and the palanquin rides will be available again.
13. The Love-Starved Husband
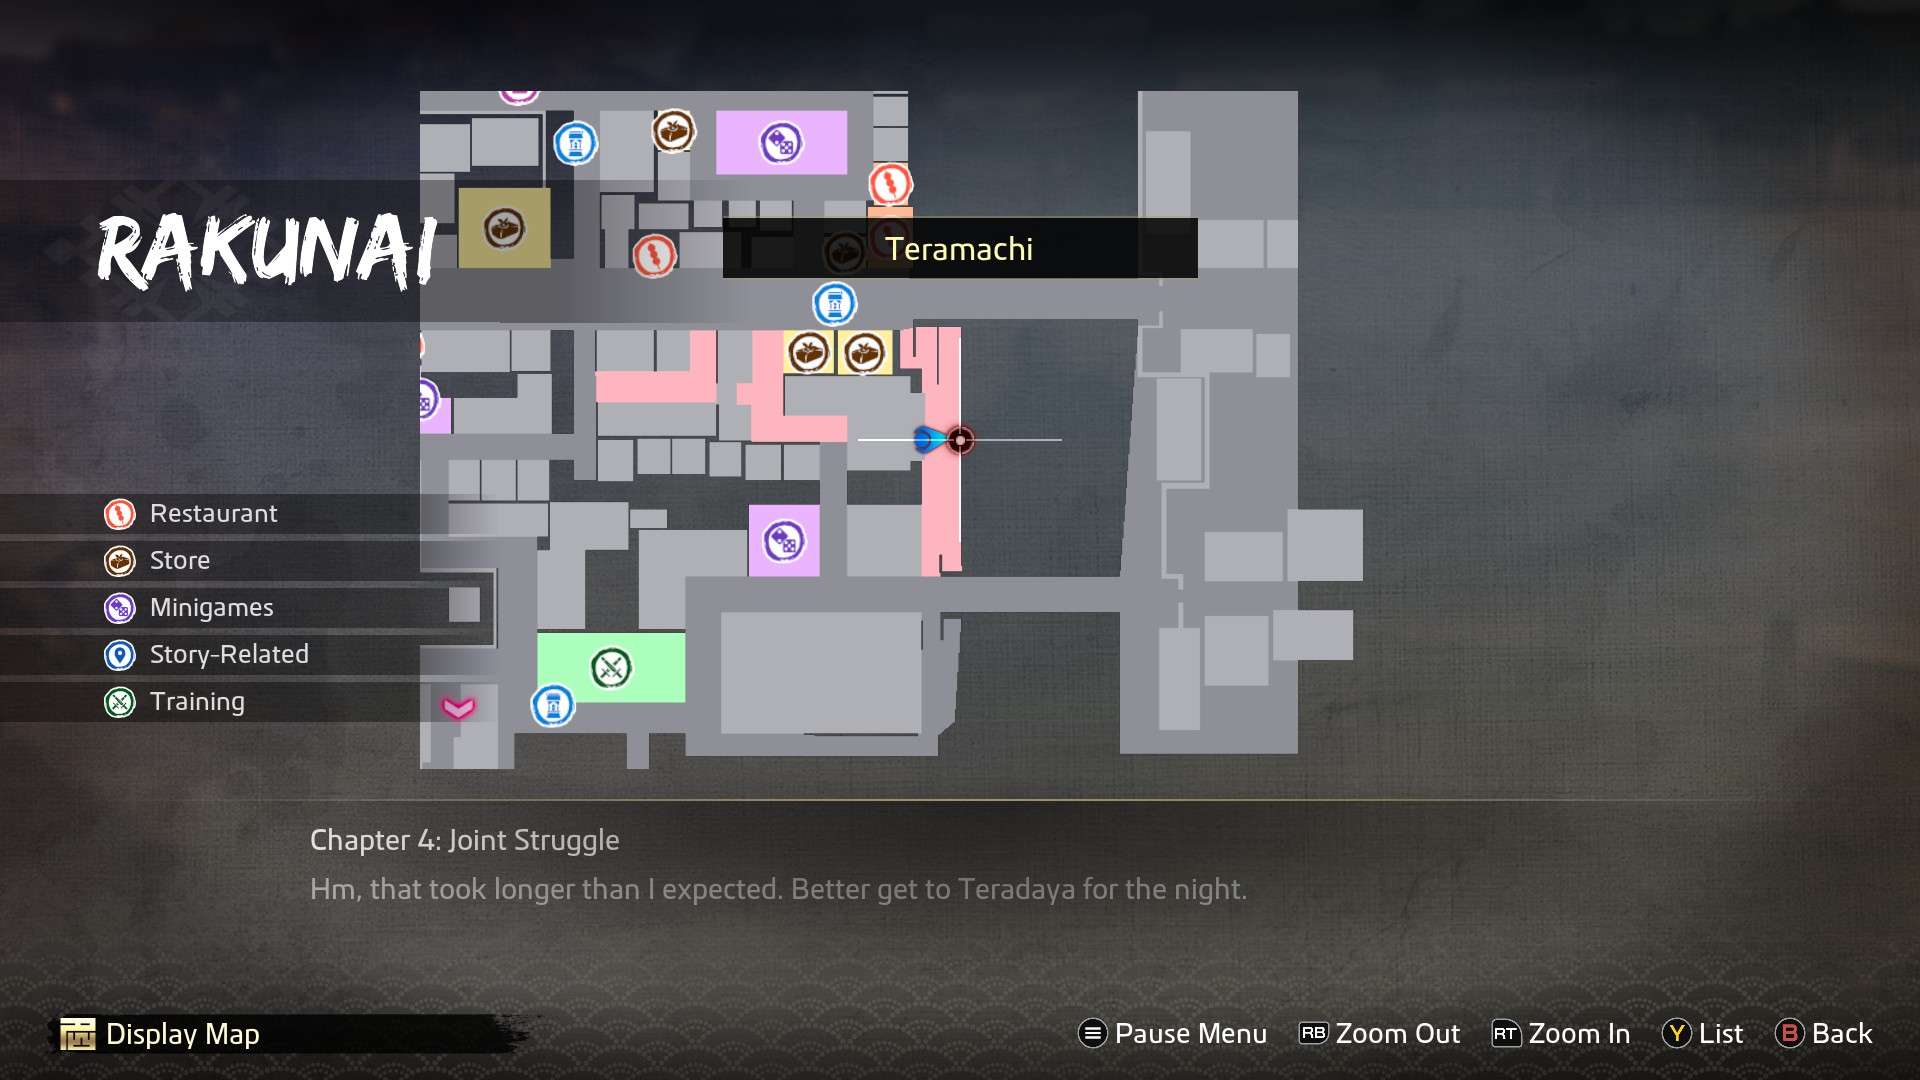
- Location: On Teramachi’s eastern shore
Speak to the man standing alone and choose “why not?”. If you have a homemade meal on you, then great! If not, you’ll have to make something to bring back. It can only be something from the cooking minigame, so keep that in mind. When it comes time to choose which dish to eat, pick anything you want – I just went with something I had too much of. This’ll wrap things up and begin a bond.
- Reward: 150 Virtue
14. The Oblivious Woman
- Location: Next to the palanquin
There’s a woman standing right next to the palanquin – approaching her will trigger a cutscene automatically. She’ll fill you in on her situation and, long story short, she’s looking for vegetables. She’ll only need one, so give her something you have plenty of to complete her request. Doing so will also establish a bond.
- Reward: Vitality Pill, 150 Virtue
16. The Barking Dog
- Location: Next to Ebisu Pawn in Teramachi
Walking down this alley will automatically trigger a cutscene with a barking dog. Give him a bone, if you have one, or you can buy one from the pawn shop nearby. This will complete the substory and form a bond with the stray dog.
- Reward: 150 Virtue
17. The Lucky Cat
- Location: North end of Karasuma Street
In the alley going towards the temple, you’ll see a man with a cat. Go ahead and speak to them, then speak to the cat again. Choose to give it some money to complete and establish a bond.
- Reward: 150 Virtue
67. The Spitfire Debt Collector
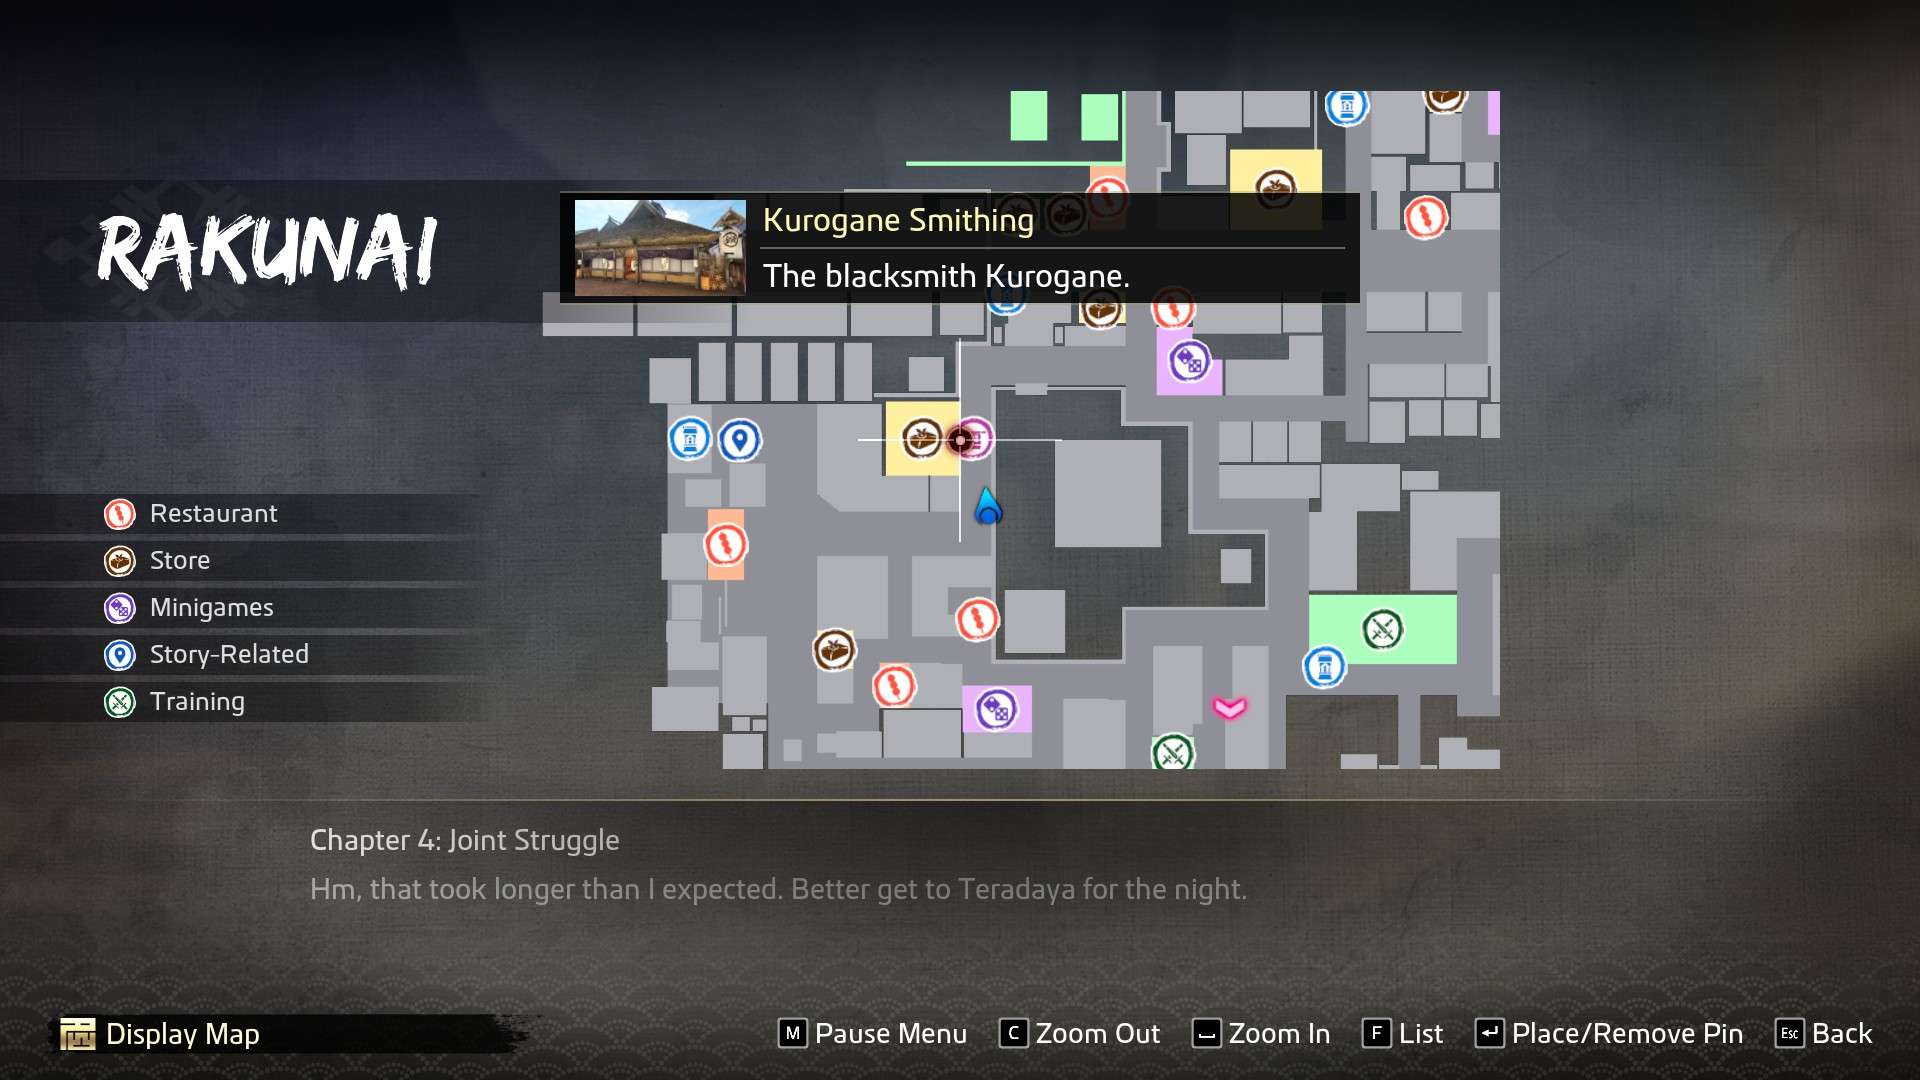
- Location: In front of Kurogane Smithing
*Note: You will need to complete The Spitfire Town Protector first.
Meet up with your new acquaintance and agree to help them out – this’ll start a slightly lengthy build-up to the substory. After that, you’ll return to the entrance of the blacksmith, giving you a chance to stock up on any items or upgrade your gear, as needed. When you’re ready to go, talk to the debt collector again to continue the substory, which will put you in another long cutscene and tough fight. Finish the final cutscene and your job will be done.
- Reward: 3 Ryo, 300 Virtue
68. The Spitfire Lie Detector

- Location: In front of Kurogane Smithing
*Note: You will need to complete The Spitfire Debt Collector first.
- Reward: 3 Ryo, 350 Virtue
Chapter 4 | Mukurogai
35. The Trash Dealer
- Location: Right next to the northern gate
Speak to the man standing to the side of the gate. He just wants some trash, so give him something you don’t want to complete and bond with him.
- Reward: 150 Virtue
36. The Injured Dog
- Location: East of the gate
Interact with the dog laying on the ground and give it a healing item – a bond will be formed.
- Reward: 150 Virtue
Chapter 4 | Gion
56. Finders Weepers

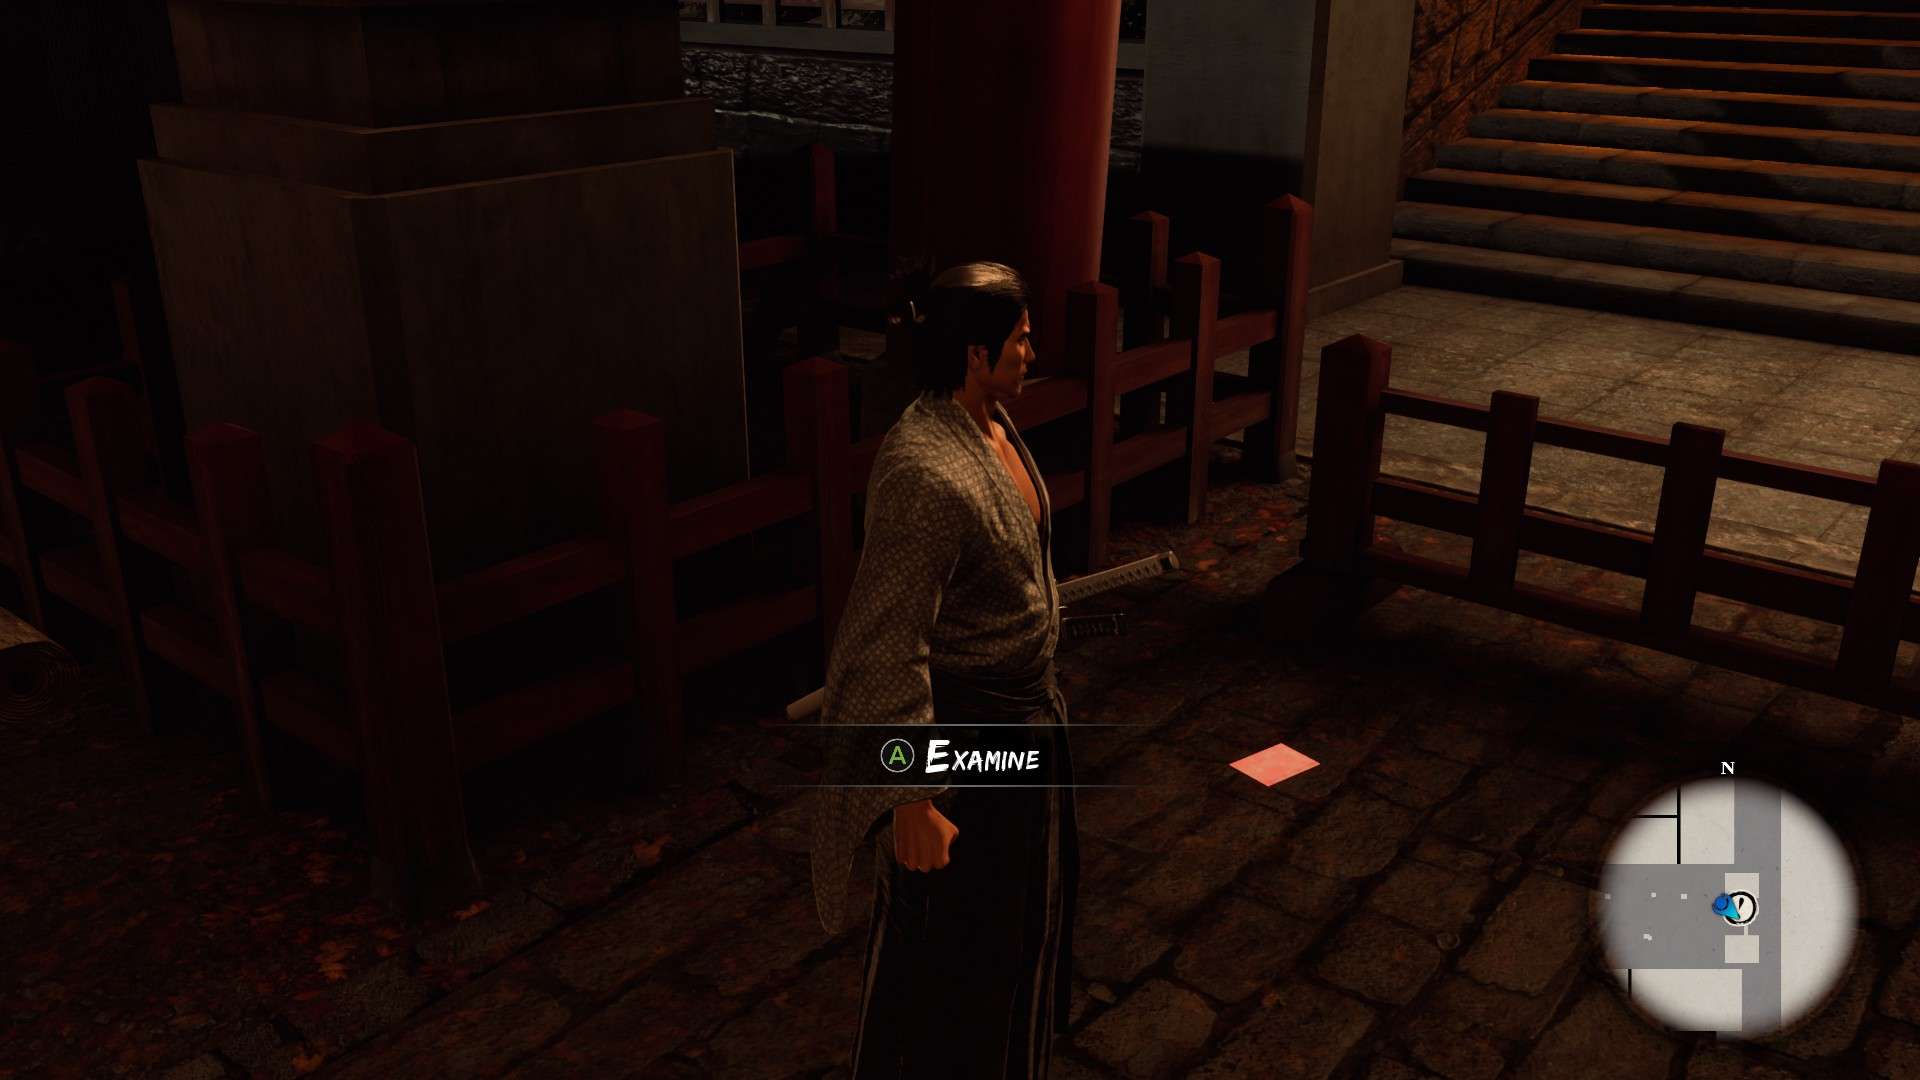
- Location: Next to southeast shrine gate
Note: For this substory to become available, you’ll first have to meet Akari, who is at the Rakunai shrine, and get to at least rank 4 of Haruka’s trust.
Approach the gate to find a diary on the ground – get closer to examine it and take a peek. You’ll have to leave the area and come back here a few more times to answer some prompts:
- Answer 1: All love is precious.
- Answer 2: Try getting to know him.
- Answer 3: Better to be simple and direct.
Return to the spot one last time to witness a closing cutscene.
- Reward: 350 Virtue
58. The Revolutionary Chef
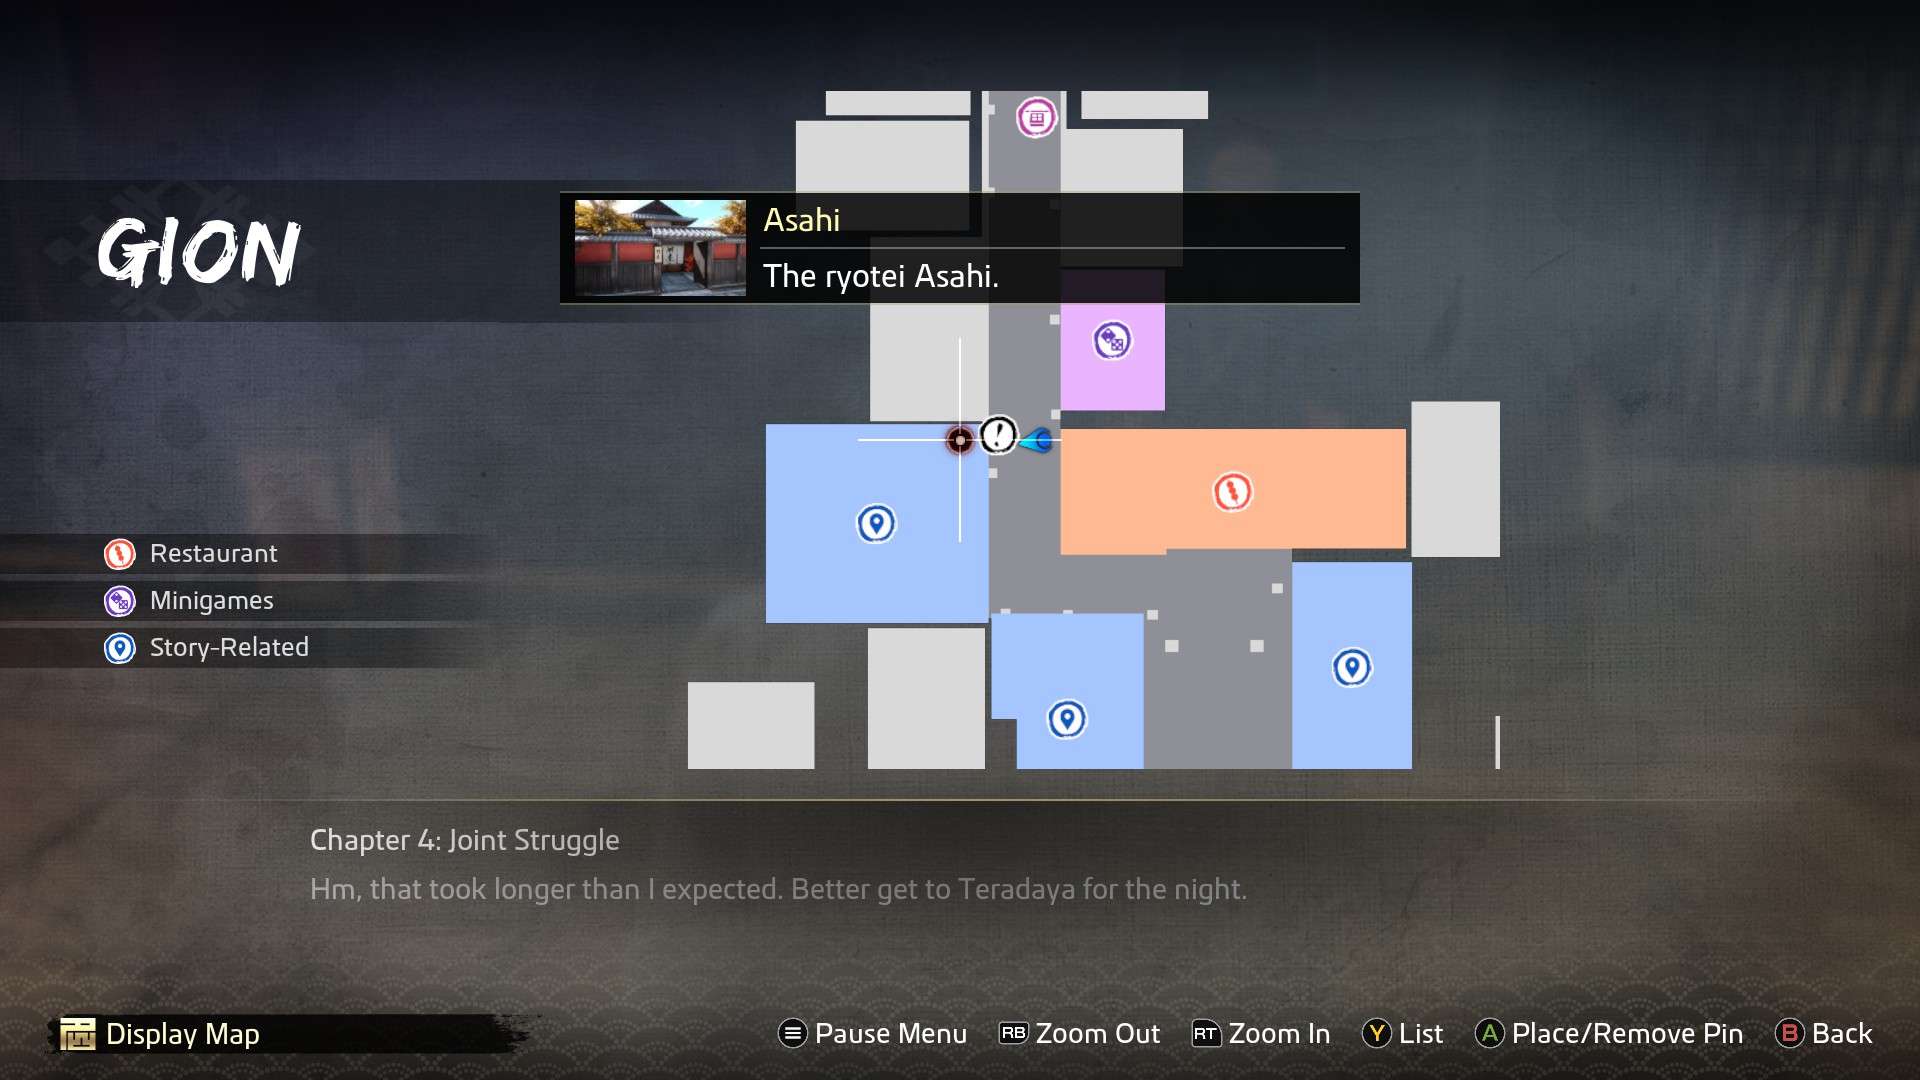
- Location: Near brothel, in front of Asahi
Head towards the brothel and a cutscene will trigger with a man standing outside of the ryotei. He’ll ask you for a homecooked meal from your kitchen. Give him whatever dish you have cooked to complete his substory.
- Reward: 150 Virtue
59. The Sexy Madam

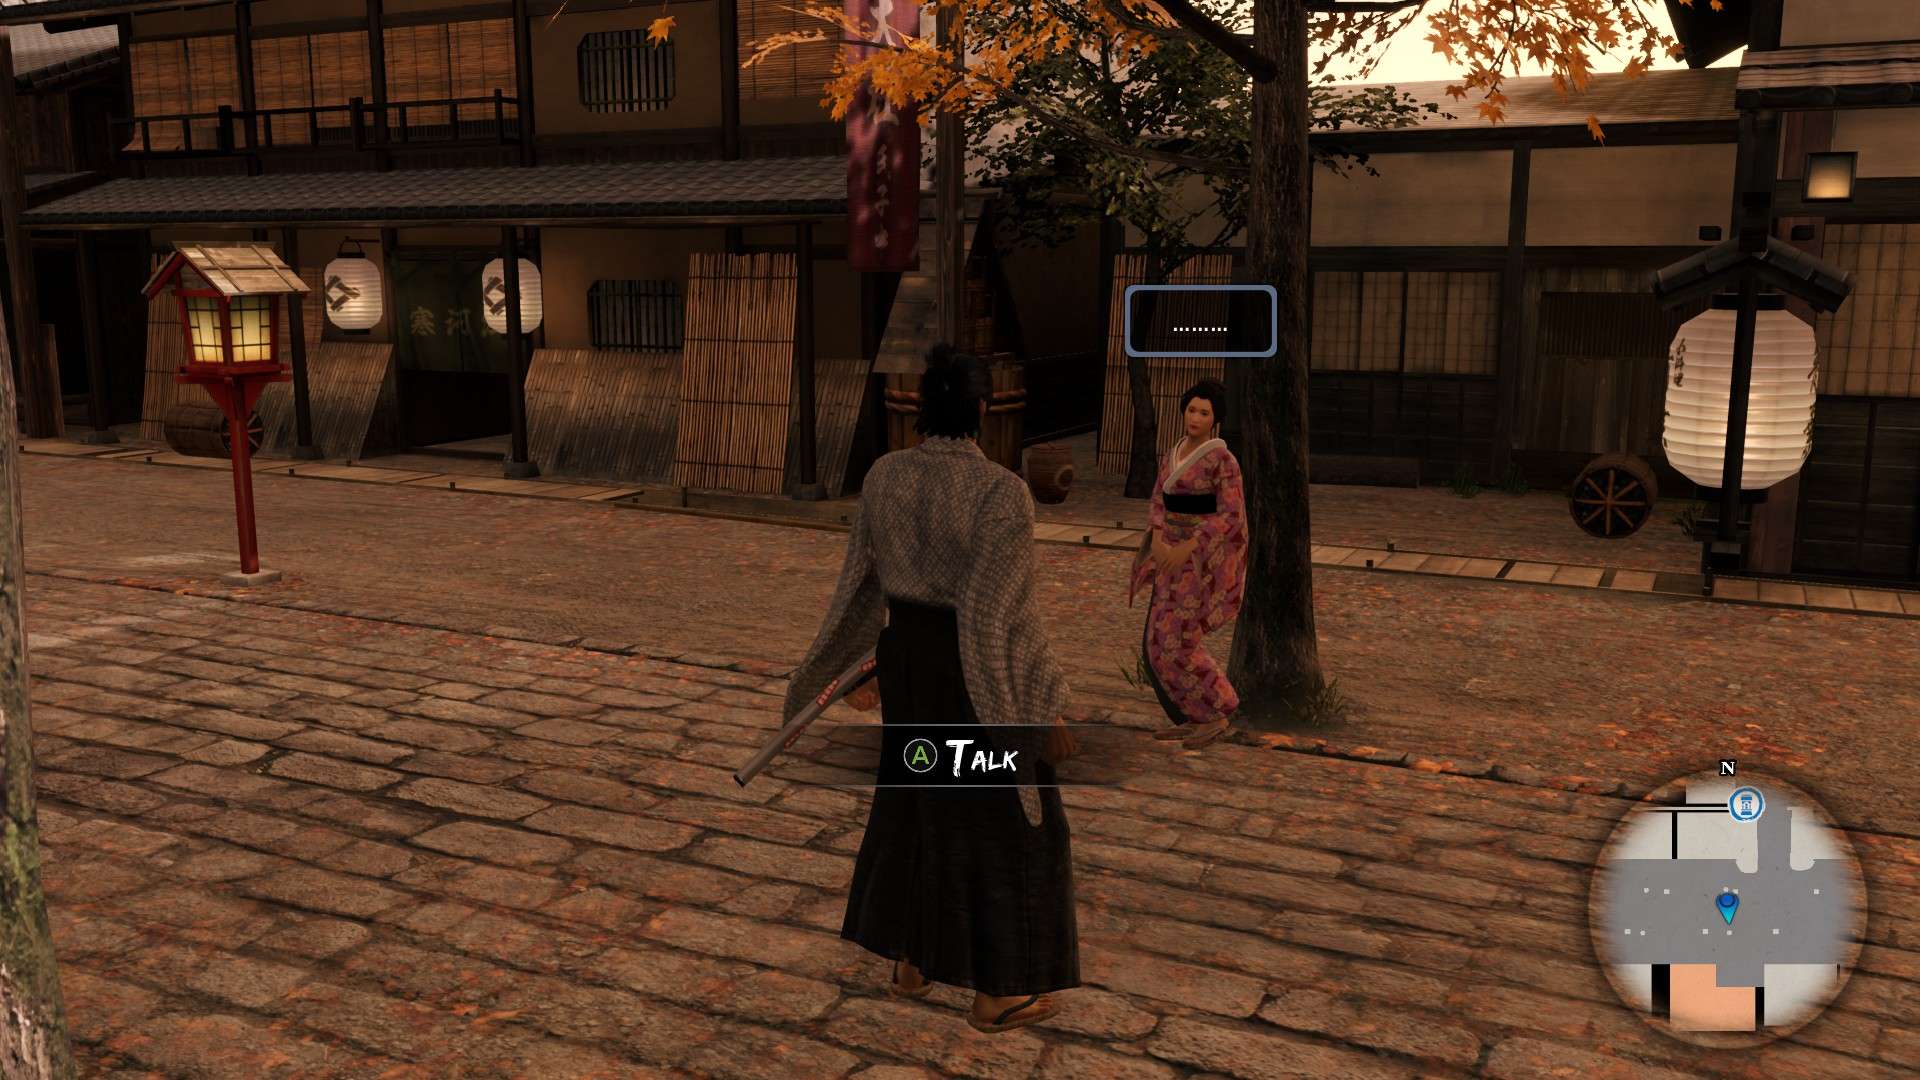
- Location: Standing next to a tree in the southern end
Speak to the woman in pink and hear her out. Give her a cucumber to fulfill her request.
- Reward: Vitality Pill, 150 Virtue
Chapter 4 | Mibu
61. Hope Blossoms Again
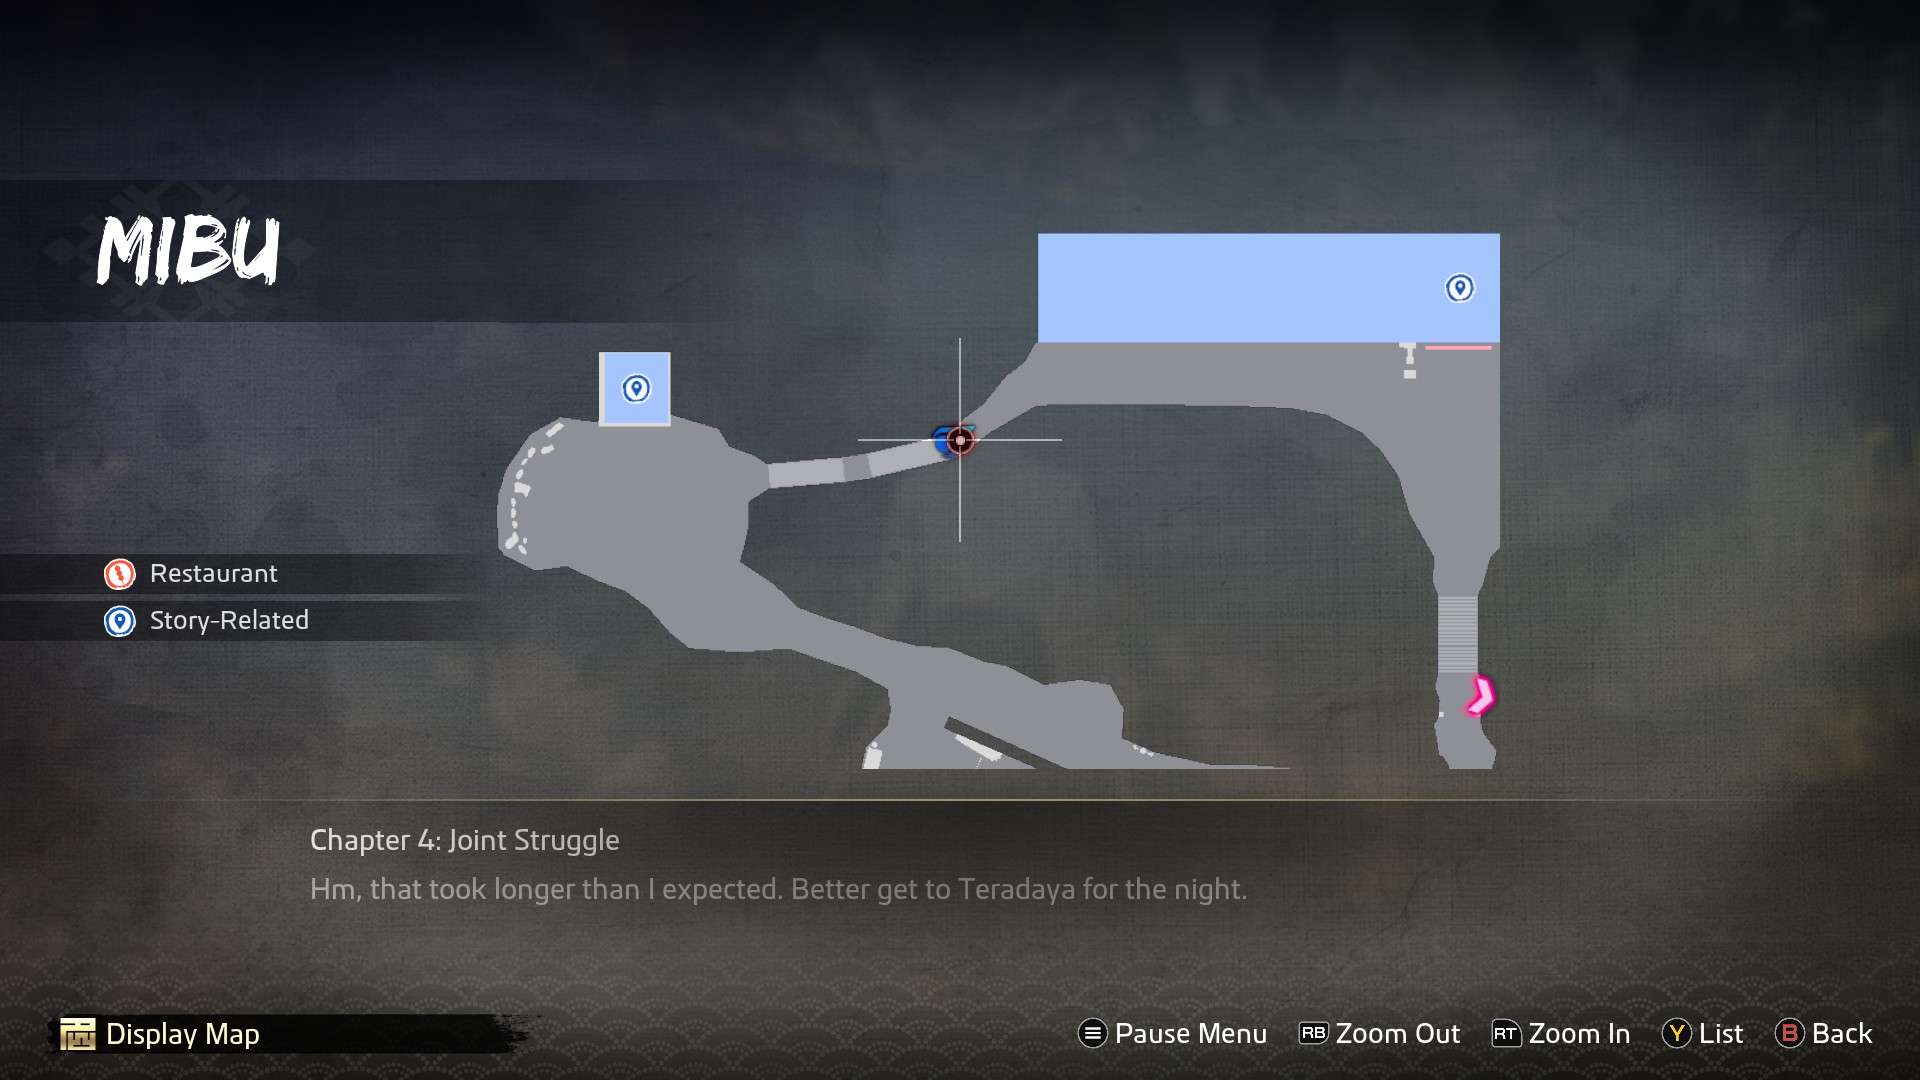
- Location: Head to Shinsengumi HQ from the west path
Going up the stairs from the western path, a brief cutscene will automatically trigger. Head back down to the home you had passed just before to continue the cutscene and fight off the joshi. At this point, this is where the substory will officially begin. You’ll have to look for a cherry blossom tree, which can actually be found on your farm. Head back home and Ryoma will automatically notice the tree – go take a closer look and another scene will trigger. Meet with the couple again to let them know you found a tree and you’ll all head back to your farm.
Note: This substory got me right in the feels….I’m not crying, you’re crying!
- Reward: Double Worship Talisman, 350 Virtue
64. Mama Ryoma

- Location: East of the palanquin
Note: You must complete Hope Blossoms Again first.
Approach the group of children to trigger a cutscene and agree to play with them. You’ll have to answer a couple questions to really get into your role, so choose what you think is best for the situation. Things take a turn real quick and you’ll end up having to fight someone off.
- Reward: 350 Virtue
66. The Boy Who Loves Veggies
- Location: Close to the eastern exit
Approach the mother and son, standing off to the side. Speak to the boy and give him any vegetable you could spare – he only needs 1. Doing so will complete his request and establish a bond.
- Reward: 150 Virtue
Chapter 4 | Kiyomizudera
65. The Amnesiac
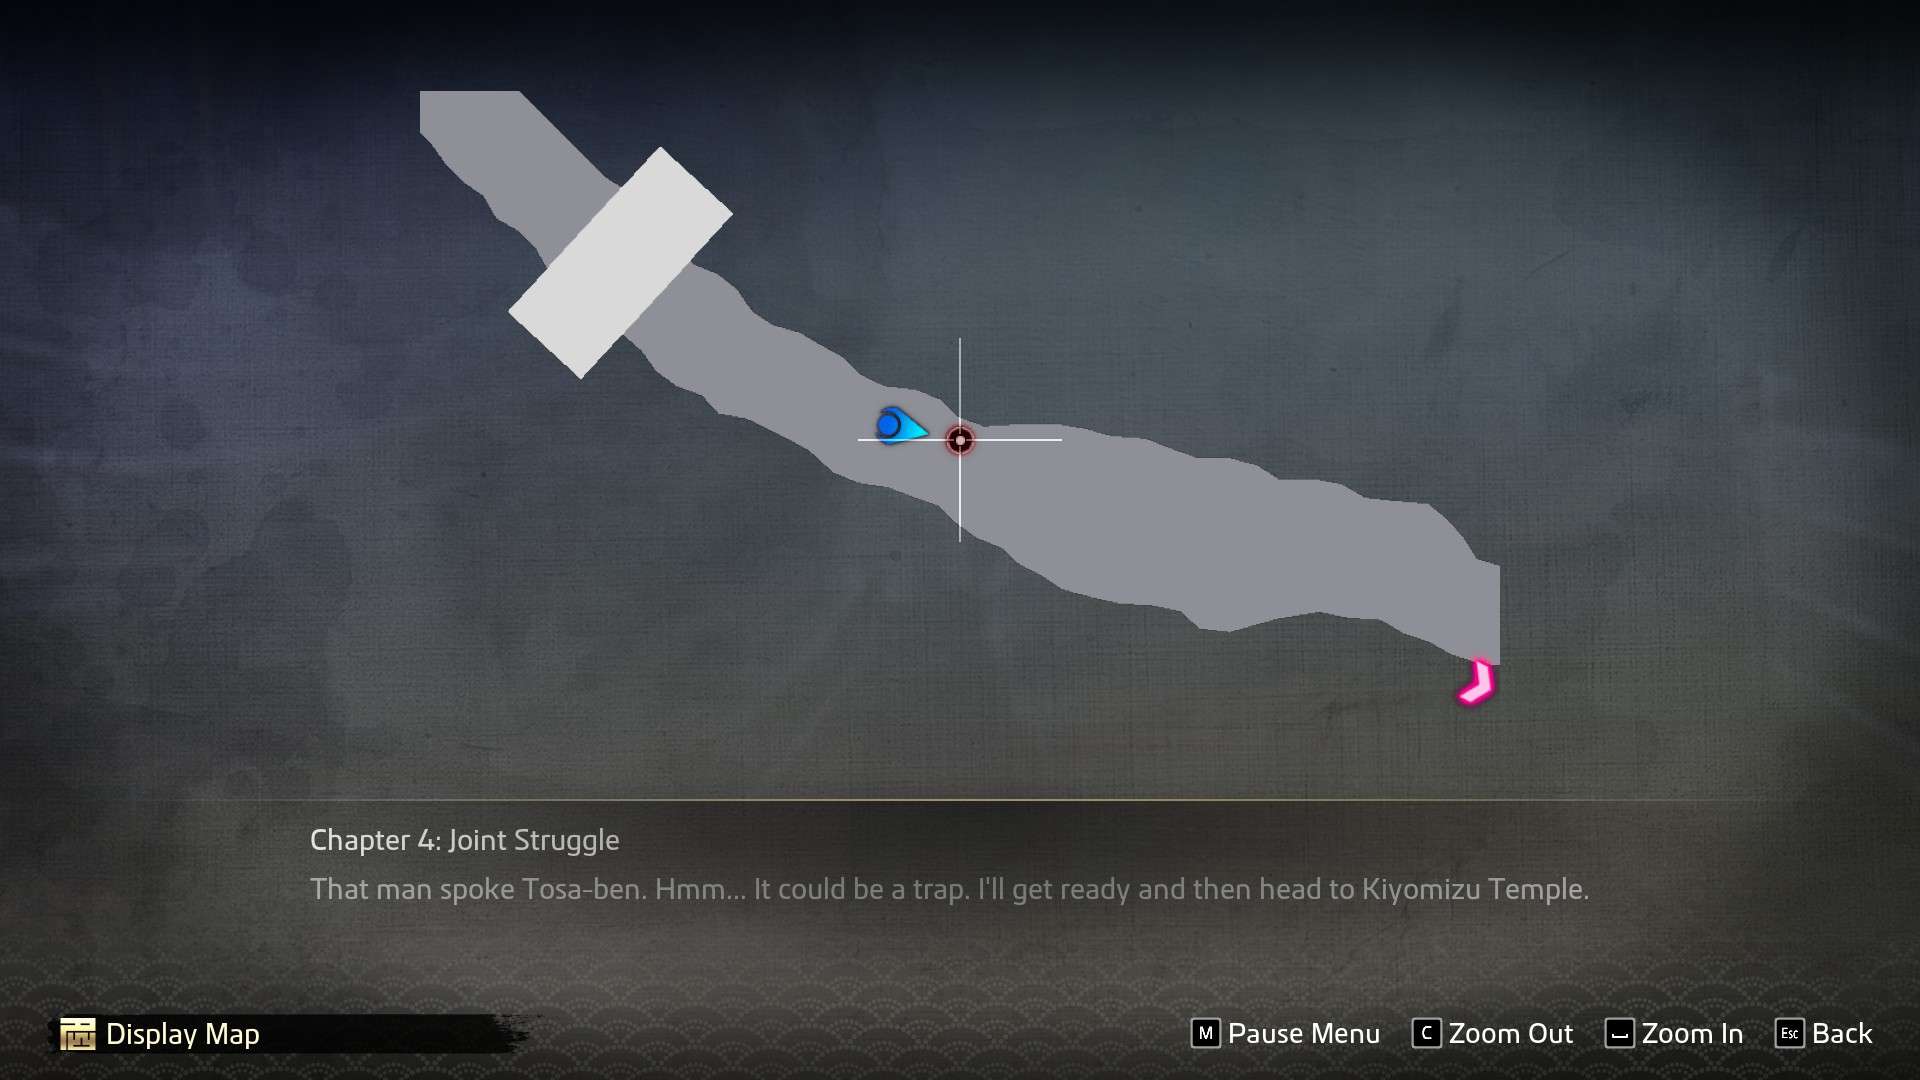
- Location: On path to Kiyomizudera
Note: You will gain access during the tail end of Chapter 4, after the events at the Teradaya Inn.
Talk to the man lying on the ground, you can’t miss him. This one is pretty simple, you just have to give him a healing item. Establishes a bond.
- Reward: Dead Branch, 150 Virtue
W.I.P.

That’s pretty much what you have to do for the memoirs, just run around. One was at the farmhouse near the chicken coop.
So my memoir just went from 89% to 96%. I found the memoir in chapter 13 in front of the gambling hall in Rakugai. After that in the Teradaya Home at the second floor i found the next one after that. That one in front of the Temple mentioned down there spawned way before 😀
So yeah – it depends on the mainstory too. :>
I just kept picking up random things from the ground while doing substories, turning the memoirs in to Bacchus, and then eventually got all the memoirs. I think I got some of them near the spots from previous cleared substories with the final coming from Bacchus. So don’t worry if you need to find that last one at 96%. (I think)
You get Ame no Murakumo from Bob for clearing all the substories! The armor damage+high atk on that sword really helped me clear the dungeons faster since I haven’t done them yet and haven’t touched smithing. Good luck to those trying to finish this!
In the meantime, I was looking at Twitter and saw the information, so I’ll write it down.
If the sub-story is at 69/72 in the Dragon’s Restoration Pole and the remaining 3 do not occur
1. clear No.70, the drunken alien.
2. collect 80~90% of the memoirs of the collectibles added from the pole by running around the city.
Collect 80~90% of the memoirs of the collectibles added from the pole
3. give it to Satou at the restaurant “Yum-ya” 4.
4. sub-story No.71 “Targeted Friend” will occur.
5. after clearing sub-story No.71, No.38 “Swapped Baggage” will occur
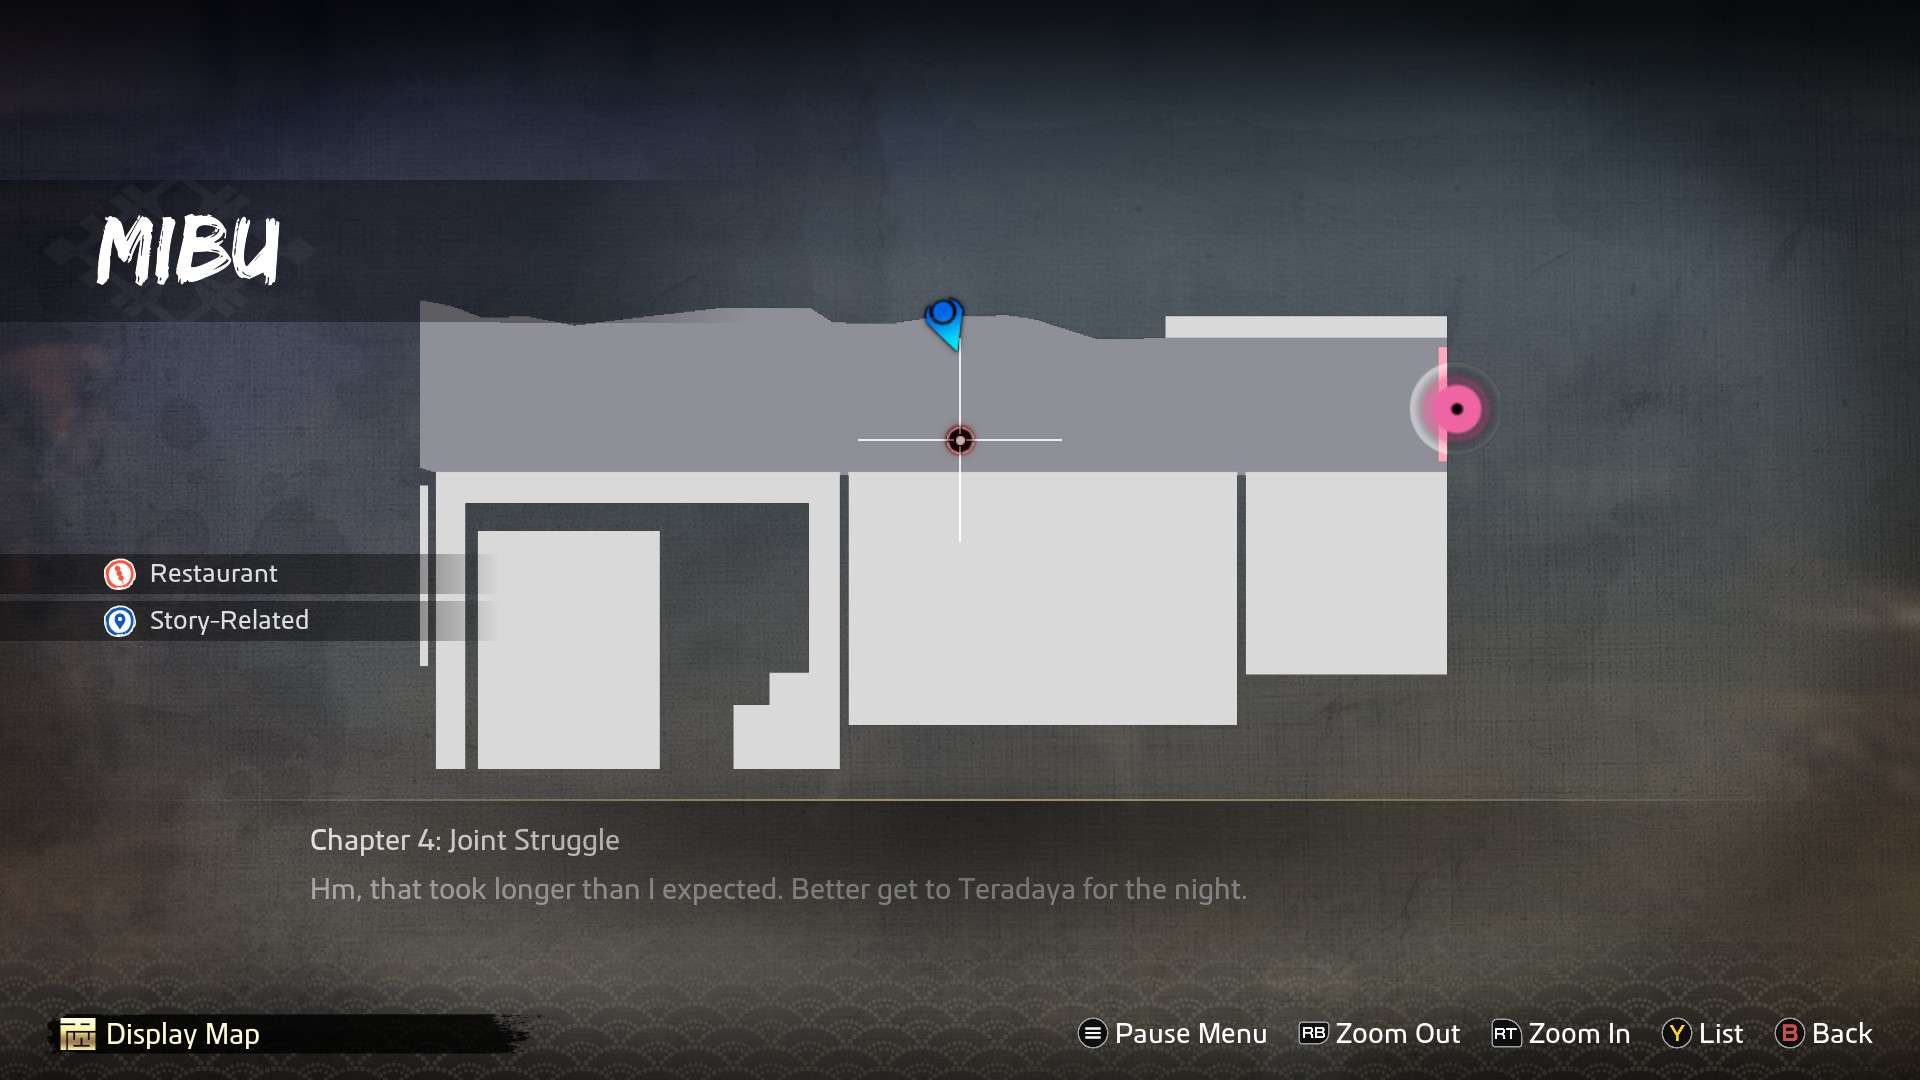
6. when you collect up to 92% of the memoirs, a memoir will appear in front of the entrance of Kiyomizu Temple (collection rate becomes 96%)
7. hand the above memoir to Satou, leave for a while, and then approach again to start sub-story No. 72 “Unshakable Thoughts”.
Sorry if this is hard to read.
1 of the memoirs are unlocked by exchanging aquamarines with a lackey in the Gunman trainer, hes going to tell you to give him 10 aquamarines for a proven dojo certificate, so thats one that you can miss easily. Im currently missing one more memoir for the last substory but cant find it
I have checked the streets of Shimizu-dera Temple and the wreckage area, but I can’t seem to find it.
(In case you are wondering about this sub-story 71, it seems that only one Japanese person has found it yet, so its credibility is low. I’ll comment again as soon as the information is solid :))
Thank god that you mentioned the bacchus thing, i was wondering why 2 substories were still not showing for me
They need to collect all of Bacchus’ memoirs in order to get the 71 sub-story out.
Substory 39 will appear after completing Substory 71. (I don’t know, it’s still unclear, but that’s probably the case.)