
Expeditions 11 can be a real hassle, especially with a notable chapter being bugged and unable to complete.
Necessary Spoilers!
Сrеdit gоеs to [DarkmindGames]♙SLIVER !
I’m going to write this guide in a 2 step sort of way. The first part is going to be an “only absolutely necessary,” setup of what’s needed to complete Expedition 11 and the second part is going to be a “if you want to complete the Expedition in a single sitting,” kind of setup. So just know that although this first part could be considered as a spoiler, it’s absolutely necessary.
Why?
Because Expedition 11 is very buggy at the moment and very troubled and not knowing this ahead of time can lead you doing what I and a friend of mine ended up having to do and running the Expedition twice just to complete it once.
So, with that said, let’s move into the first part of the guide: Corrosive Blood.
Corrosive Blood
Here’s the elephant in the room. Plain and simple, this chapter is broken for most people, but I have a quick and easy solution for you getting this chapter complete and out of the way first thing in Voyages so you can determine if you actually need to restart before you’ve made hardly any progress. The mission is simple enough, but if you don’t complete it in a certain way, it will never complete, so I’m going to help you get it done quickly and with as few steps needed.
Here’s the mission, it’s called Corrosive Blood, it’s in Phase 2, Chapter 4:
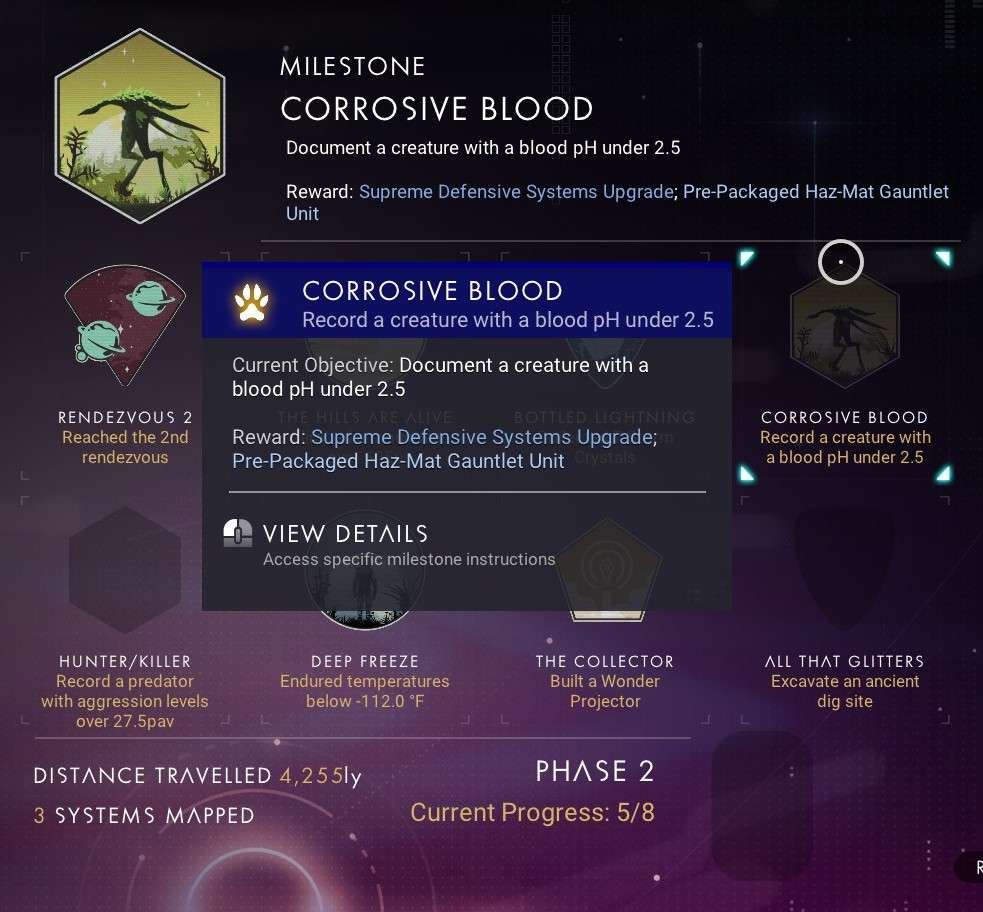
So you’ve just got to find a creature with an acidic blood, which are typically found on Corrosive/Toxic planets. The only problem is, if you scan a creature that doesn’t have a low enough pH, the pH value of the next creature you scan won’t count. So basically, you have to scan the right creature the first time you attempt to scan which throws this mission entirely into the luck category if you’re attempting to run this naturally.
Actually, the best way to get this Chapter done is to complete a further Phase Chapter first. In case you’re new to No Man’s Sky’s Expeditions, the Phases don’t have to be completed in any specific order and that’s honestly a lifesaver this time! So we want to look at completing Phase 3, Chapter 7 first and then getting Corrosive Blood done will be no, big deal.
Important: it’s best that you do NOT scan any creatures during this process until you’ve completed Corrosive Blood so do your absolute best to NOT scan any creatures until then! If you select Corrosive Blood in your Expedition Menu and it displays a record for a scanned pH creature has already been set, you’ll have to start over. If not, continue on but don’t scan anymore creatures whatsoever for a bit.
So in Phase 3, Chapter 7 we’re given the task called Fear the Sun and it looks like this:
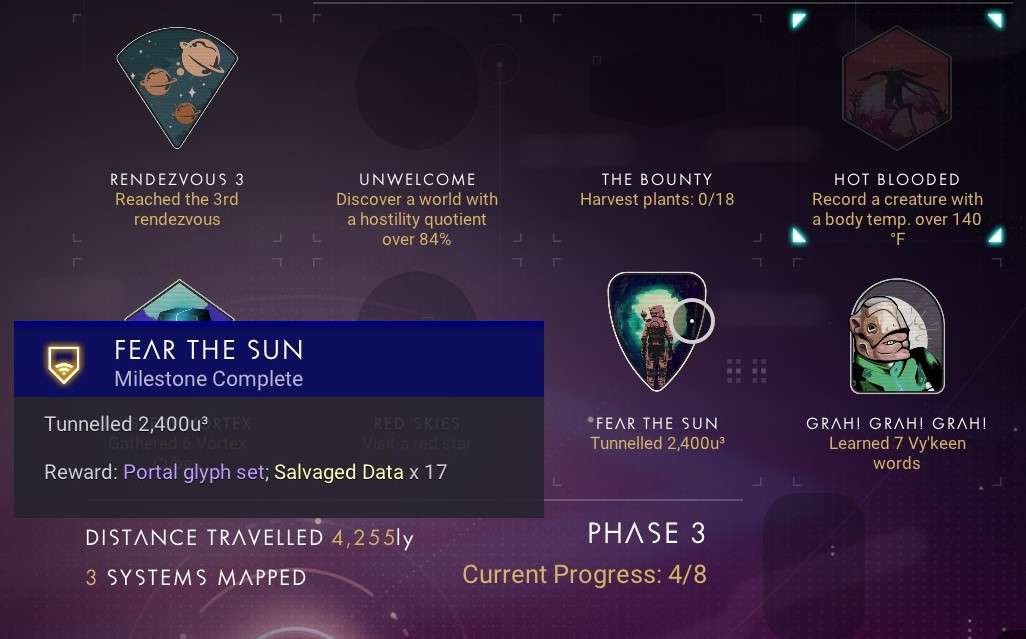
The labor of this task is to tunnel out 2,400 units cubed and the reward for doing so is the entire Portal Glyph Set. Now that’s cubed units, not linear units; so what I did was tunneled down underground until I hit bedrock (indestructible land) and then switched my Terrain Manipulator to Level Mode.
You really won’t have to tunnel very much to get the rest of the units needed. In fact, you should be able to stand in place and level the area within your visible field and complete this. The point of this is to get the Portal Glyph Set, so once you’ve completed the Chapter, be sure to cash in on that reward instantly.
Important: At this point you’re going to be activating a portal so you’ll need to prepare for charging the glyphs at the portal. For which you’ll need to gather some Di-Hydrogen, Carbon, Sodium, and Copper. Some of these elements have substitutes, but these are typically the easiest to find and harvest in the starter system of the Voyages Expedition. You won’t need a ton of these elements and a solid 300 of each should definitely cover all of the bases.
Great, now we just need a portal. At this point I could say that an easy way to find a portal is to fly around looking for Nav Com Relays, collect the Nav Communication Data’s, go back to the Station Cartographer and exchange those Data’s for Alien Structure maps, fly back to a planet, scan with a map, solve a monolith puzzle, and then fly to the portal, but…I said this was fast track guide.
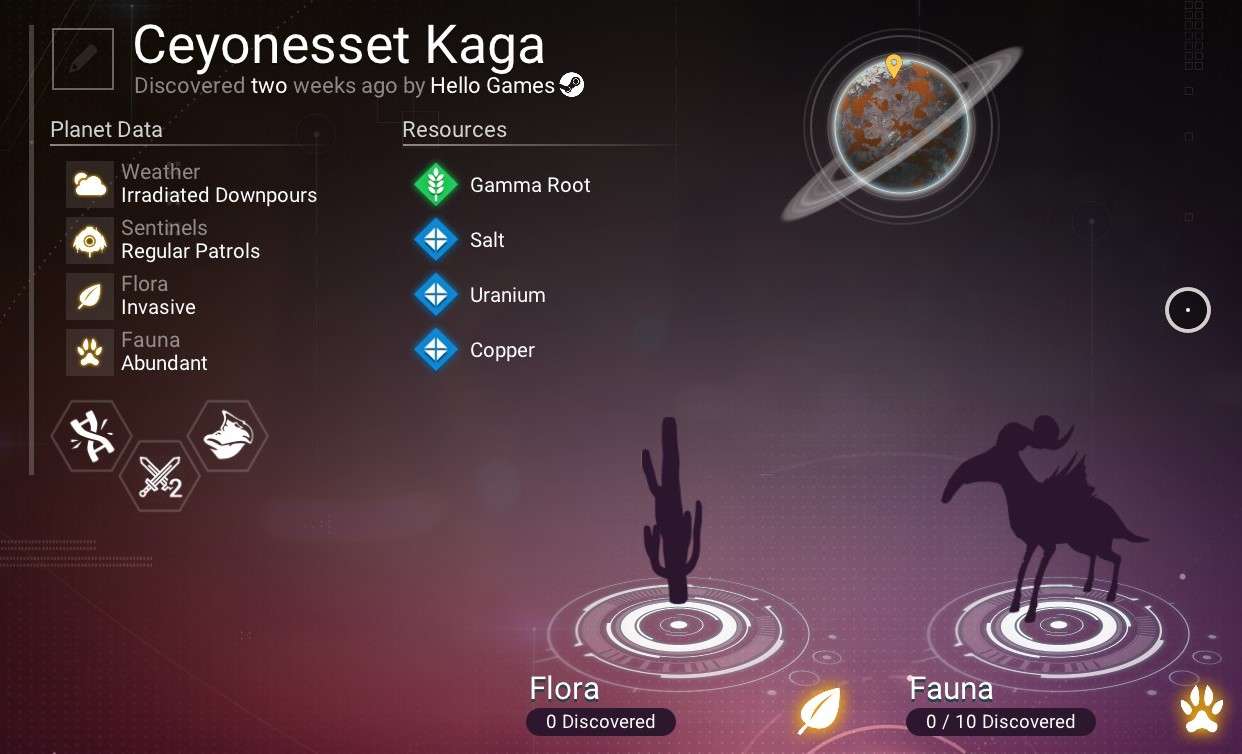
So, we’re going to go to the smallest planet in the starter system: Ceyonesset Kaga. It’s the only infested planet in the system and it’s the only one with an asteroid belt around it. On approach you want to try and head towards the North pole of the planet, but since that can be a little subjective in a 4D space here’s an overhead picture of where you want to land (yellow waypoint on the planet thumbnail).
By the way, side note, if you’re not aware you can see this overhead position of the player -the yellow waypoint- in the Discovery tab of the ESC menu once you’re in the atmosphere of the planet.
Once you’re in the general area, you’ll want to use your ship’s dash to get to the location:
+35.27, -172.50
But once you start getting fairly close to the specified location, you’ll likely see the huge stargate there anyway.
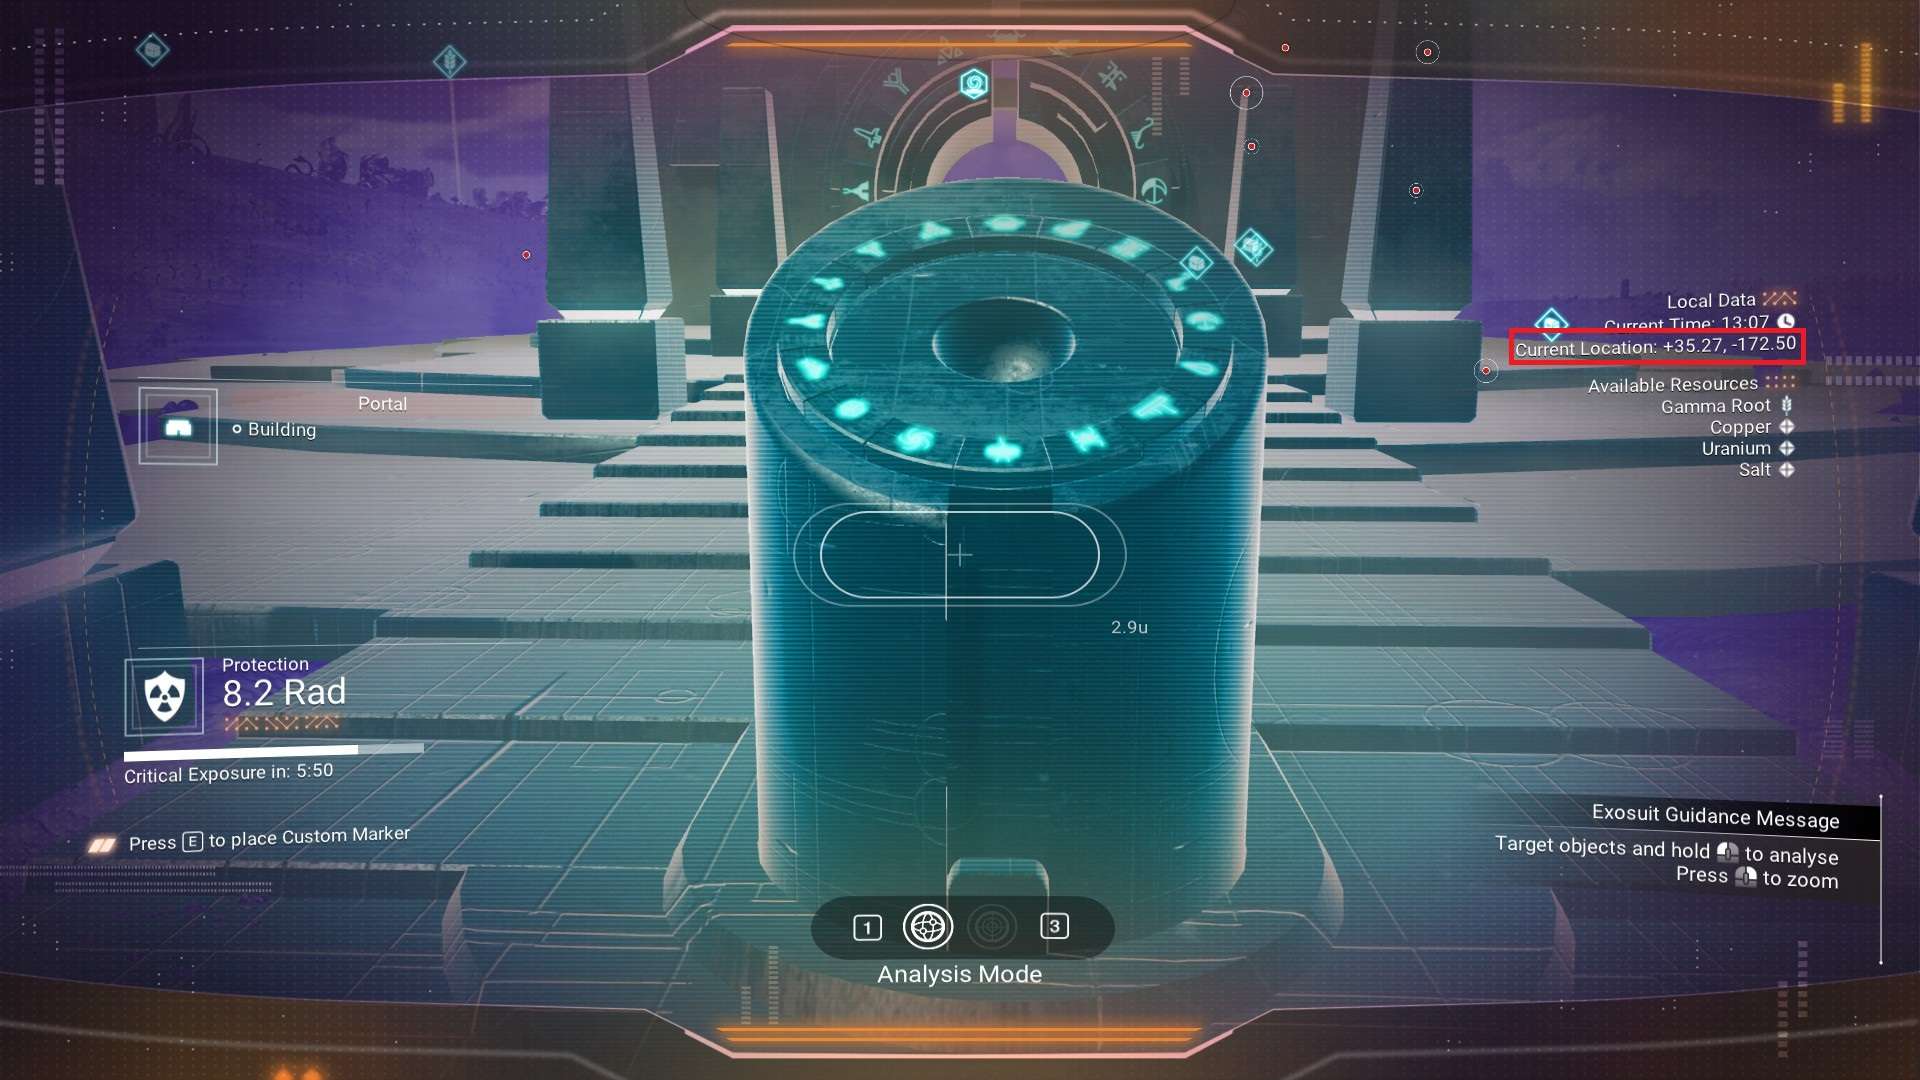
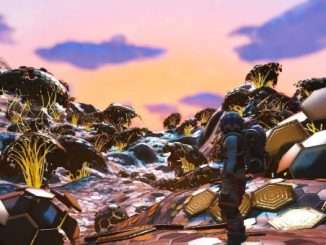
So, now you’re here with a charged portal, what now? First, activate the portal and then you’ll put in this gate address. Once you’re through the portal, you’ll want to find this Starship Troopers worthy beetle and scan it and only it.
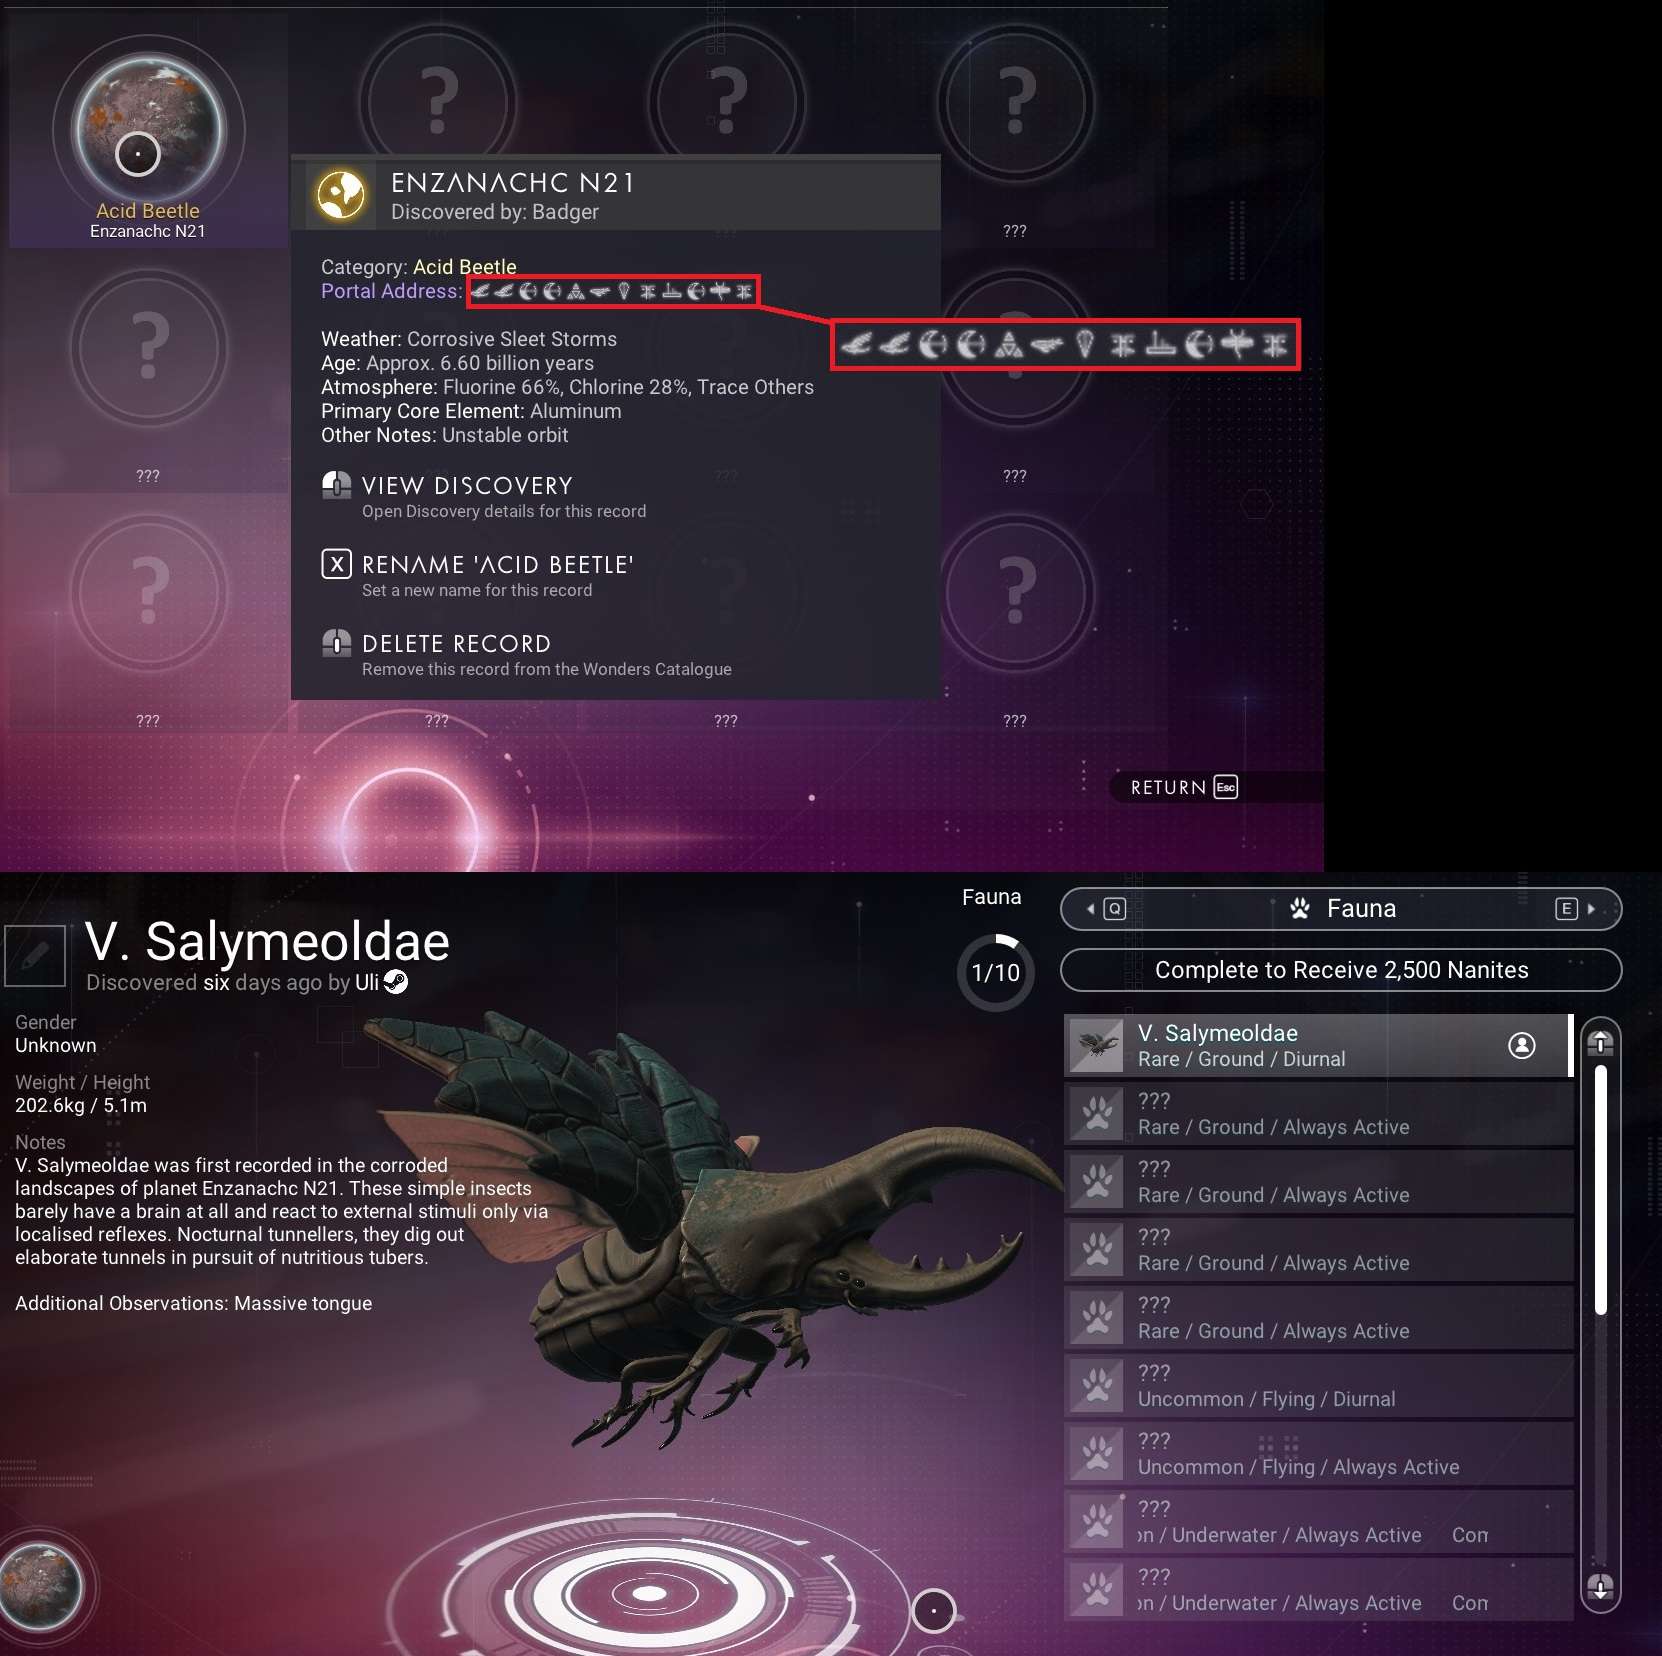
This, should complete the Corrosive Blood Chapter for you and at this point, you can hop back through the very same gate you came through and progress normally/casually through the rest of the Expedition. This concludes the absolute, necessary spoiler section of this guide. If you want to continue reading the rest of the guide, I will show you the easiest way (that I know of) to complete the rest of the Voyages Expedition in one sitting.


Be the first to comment