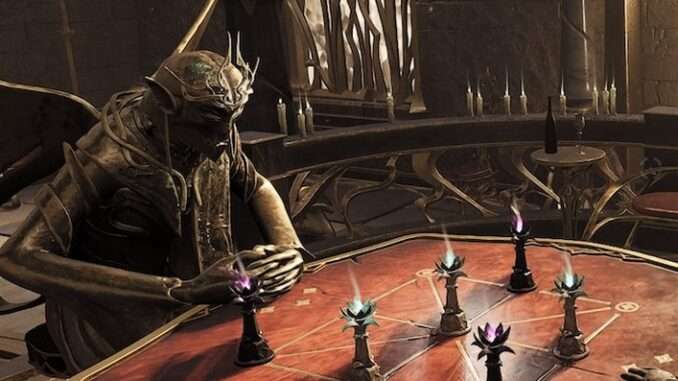
It took me hours, but I eventually got the timing down on his attacks and beat it Solo.
How to Beat Annihilation Boss
Сrеdit gоеs to Gifts Ungiven!
I had an impossible time trying to beat this boss multiplayer though, and would recommend against bothering with that unless both players really know the dodge patterns. A few quick tips :
Phase 1
He always starts the fight with a downward sword attack, easy to dodgeroll. Get as much DPS as you can between his entrance and the wind-down from that first attack.
His next pattern is either a delayed sword-drag or the AoE sword smash. The drag delay is tricky, has some big Elden Ring Margit vibes to it, but just remember to dodge-roll later than you initially anticipate. His AoE downward smash usually consists of 2x back-to-back, but sometimes he’ll only do 1 before his next move instead. Either way, be prepared to dodge twice just in case.
Anytime he does the delayed drag attack, he will always follow that up with his charged smash-wave afterwards.
Anytime he does the 1x/2x downward sword smash, he will always follow that up with either releasing 6+ orbs or rooting you. In either case, this is also the biggest spacing window he will give you. Quickly kill the orbs / escape the root if it got you, then unload into his face while he dodges sideways a few times. Alternatively, this is the only realistic window to revive a teammate if they’ve fallen and are in range to do so.
He has one other attack that he seems to mix in randomly, which is a downward slice followed by a delayed horizontal slice. I seemed to get hit by this the most, but thankfully it deals much less damage than others.
Phase 2
He always starts the fight with a downward slice, followed by a horizontal sweep in your direction.
Turn off music, listen closely to sound cues. He will always give ample warning with a metallic “zing” sound before sweeping towards you. Roll towards the blade as soon as the “zing” has audibly concluded and you’ll dodge the attack every time.
There’s a lot of visual nonsense, most of which I realized could be ignored. The roots and the floor traps are annoying, but do significantly less damage and you can avoid most of that incidental damage with simple positioning. The Resident Evil Movie Lazer-Walls do a ton of damage though, so always avoid them.
Try to remember which attack pattern was happening prior to the scene transition, as that’s exactly what will be concluding whenever it switches back. There’s a short delay before it resumes as well, so don’t panic-roll too soon or it will catch you. The Dragon scene has the exact same moves as Phase 1, which is altogether easier to read and learn imo, so consider that your chance to get in more DPS and chill a bit.
In terms of relics / build, I eventually had the best success using the standard Dragon Heart + rings & amulets that gave a % chance to not use a Relic charge when at low HP, increased relic or healing efficiency, and increased Relic use speed. I was able to get in a ton of heals this way whenever I dropped below 50%, still had relic uses remaining at the end, and could heal between almost any two attack patterns fairly freely. I ran Gunner/Hunter archetypes, both level 10, and used +19 versions of the Bonesaw and the Sureshot. Leto Mk2 Helm + Boots + Gloves, Void Armor.


Be the first to comment