
A solo walkthrough for completing the Campaign Mission “Operation Red Sword” on realism, with intel. Oh, spoilers (obviously).
Contents
How to Complete Operation Red Sword Mission in Solo
All credit goes to JD!
Mission Prep
The Big Picture

Welcome Operators. This is a soloist’s walkthrough of Operation Red Sword on realism difficulty. This guide aims to be a source of continually updated knowledge regarding item spawn locations, enemy routes and behaviors and any other worthwhile information. Should you feel I missed something, inform me in the comments and I will update this guide.
Loadout
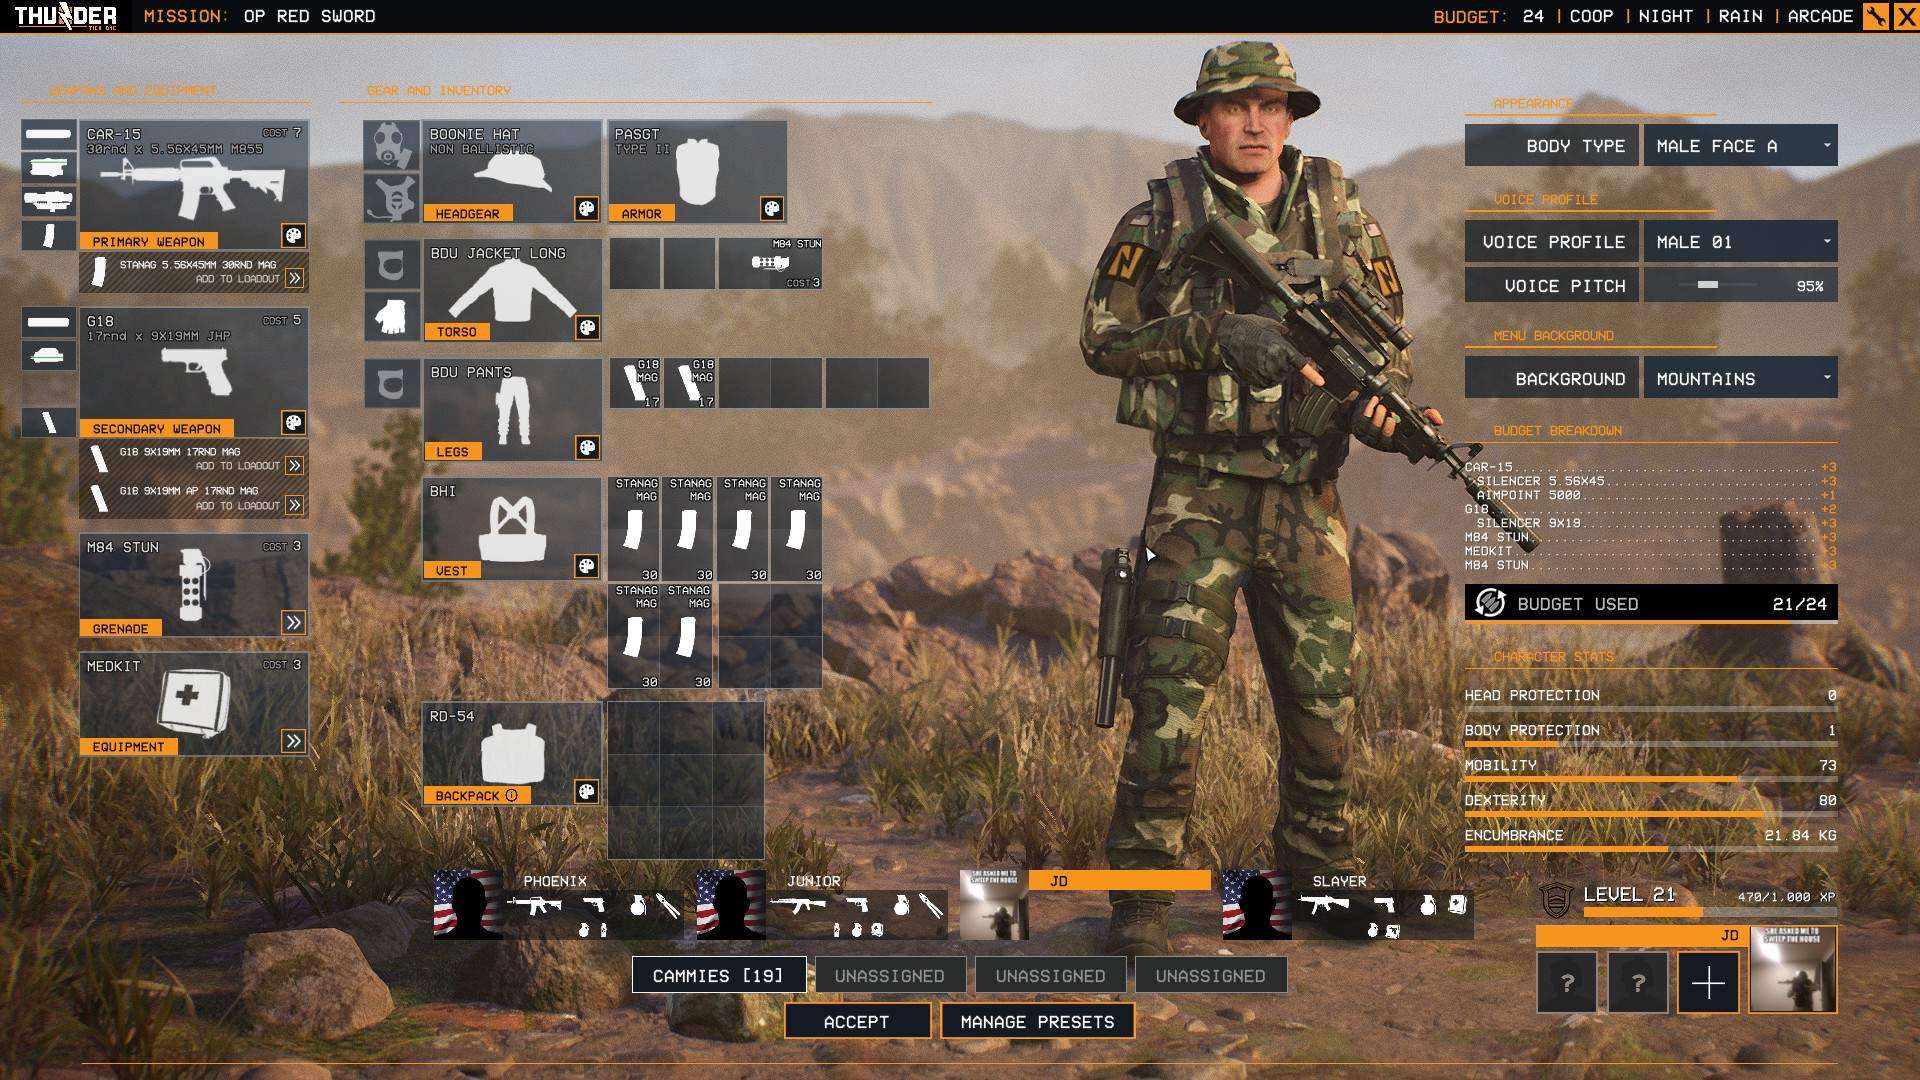
Whenever possible, utilize the information provided regarding the mission and what challenges you can expect. A raid requires totally different gear than a hostage rescue, so be mindful of that. Above I have my loadout, and a few things of note. Firstly, I have not maxed my character’s level so all the unlockables are not accessible to me. Second, I have not min/maxed my loadout either, I just took the essentials and picked my weapons loosely around what I use to use back in the service. No real rhyme or reason. Lastly, the kit I display here is not the end all be all kit for Red Sword. If you want to run a different loadout, do it. I advise at least 1 handheld device, if not two.
With all that out of the way, let’s get into this.
Exterior Threats
First Contact
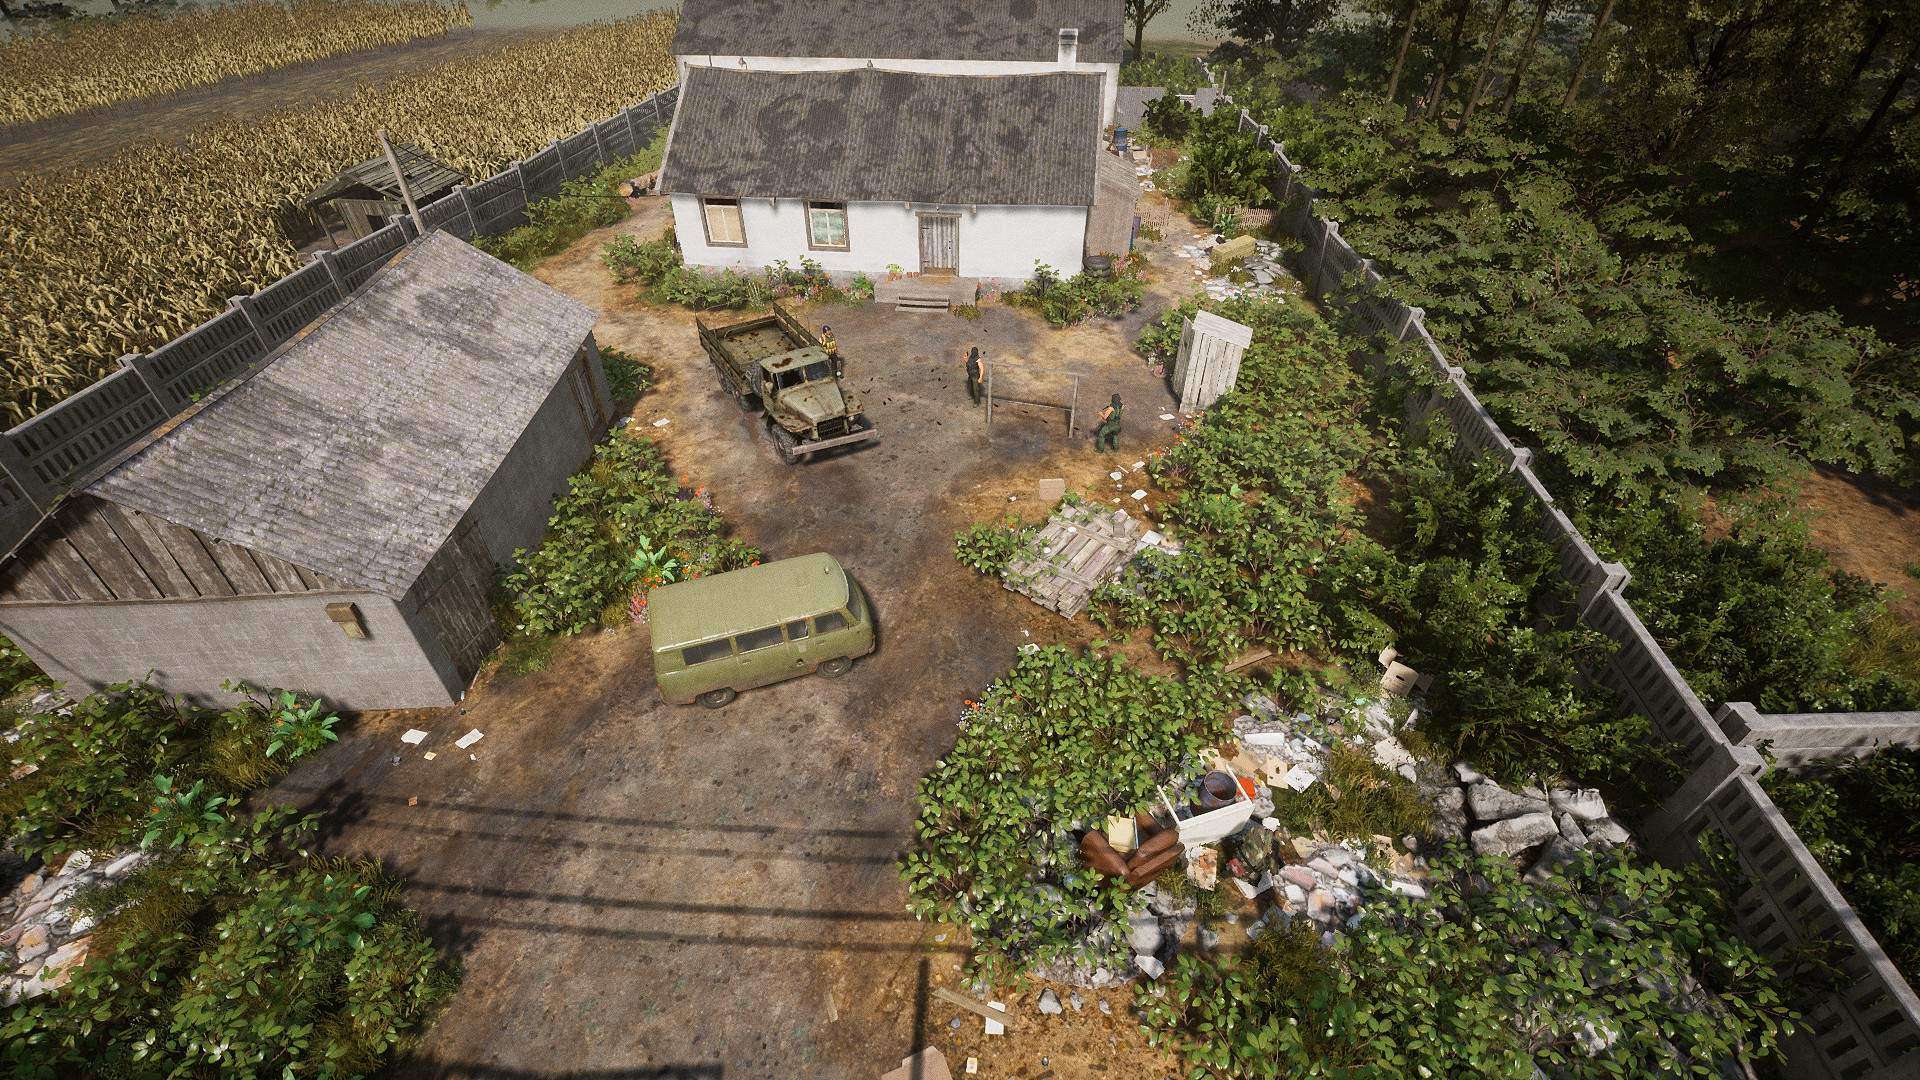
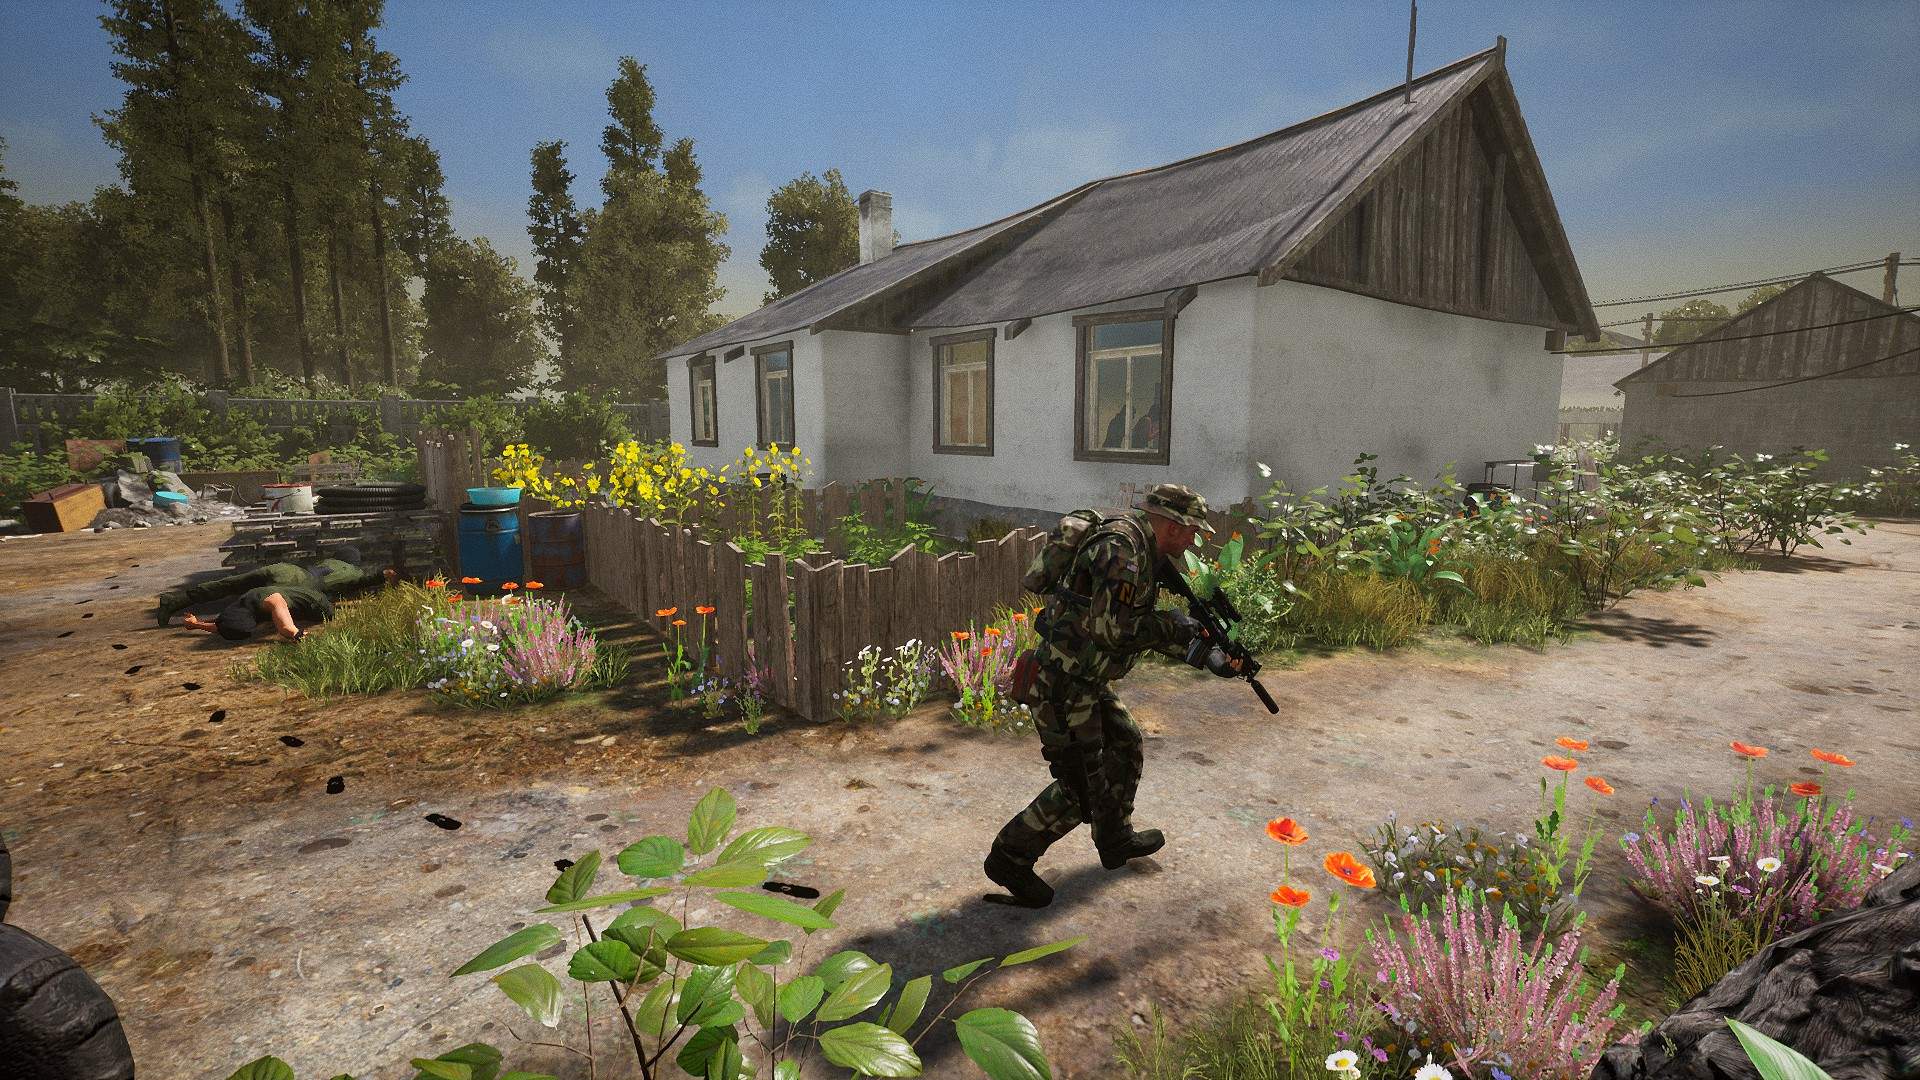
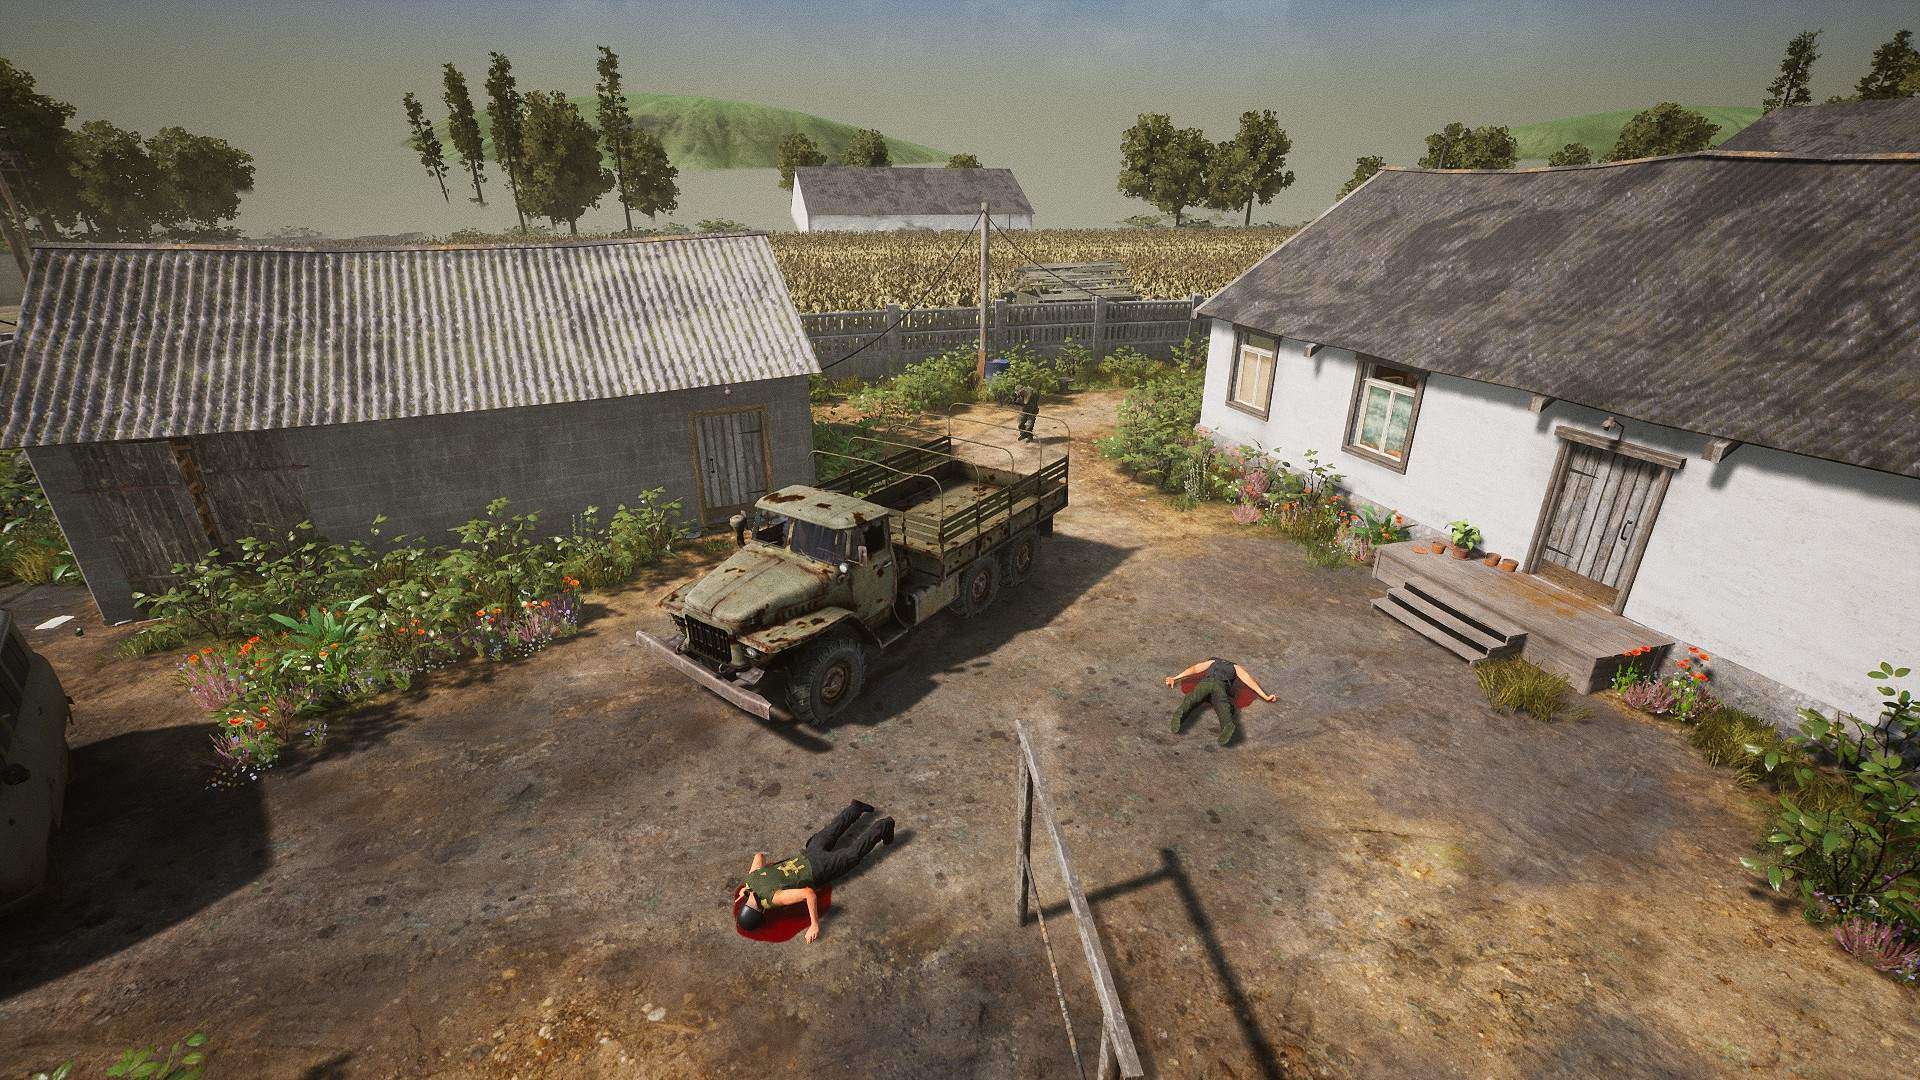
After walking along the road you infil on, you will see a gate to your left, partially open. Proceeding through, you are granted cover by means of a vehicle to your 12 o clock, Bravo Site to your 10 o clock and household appliances to your 2 o clock. I will be taking the household appliances as my cover, as it protects me from the immediate threats, is the closest available cover and gives me the best visibility. Players are presented with three hostiles (more or less appearing in the formation shown in the picture above) that we will be disposing of quickly. Try to aim for whichever enemy is facing you, then dispatch the rest.
Secondary Foes
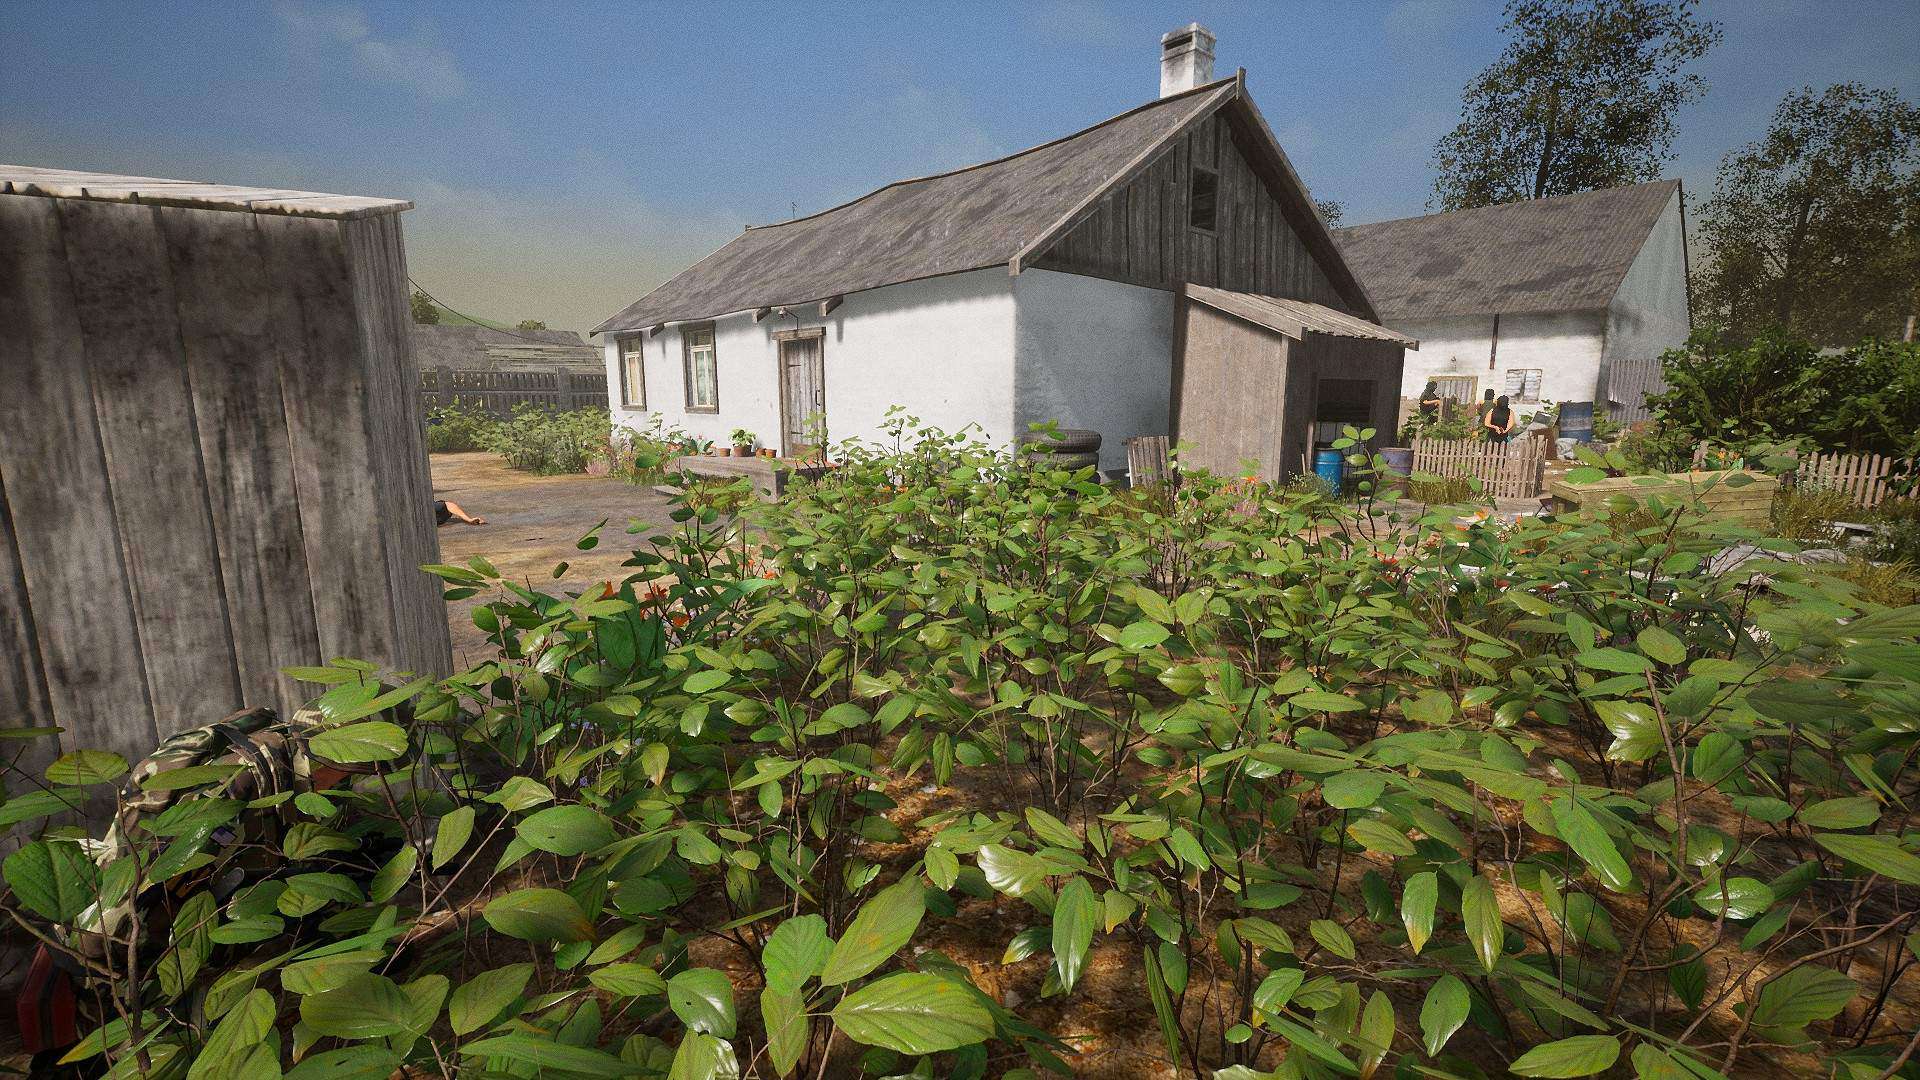
Once these three individuals have expired, I will be working my way around Alpha Site’s exterior to clean up the remaining two patrols. I will first stop by the outhouse (using the foliage to conceal my position) to observe my environment and ensure I won’t be flanked or snuck up on before proceeding in a counter-clockwise motion around the house. It is almost guaranteed that you will catch the left most patrol (that travels in a counter-clockwise rotation around the house) if you exercise a moment of tactical patience at the outhouse, but this step is optional.
Tertiary Enemies
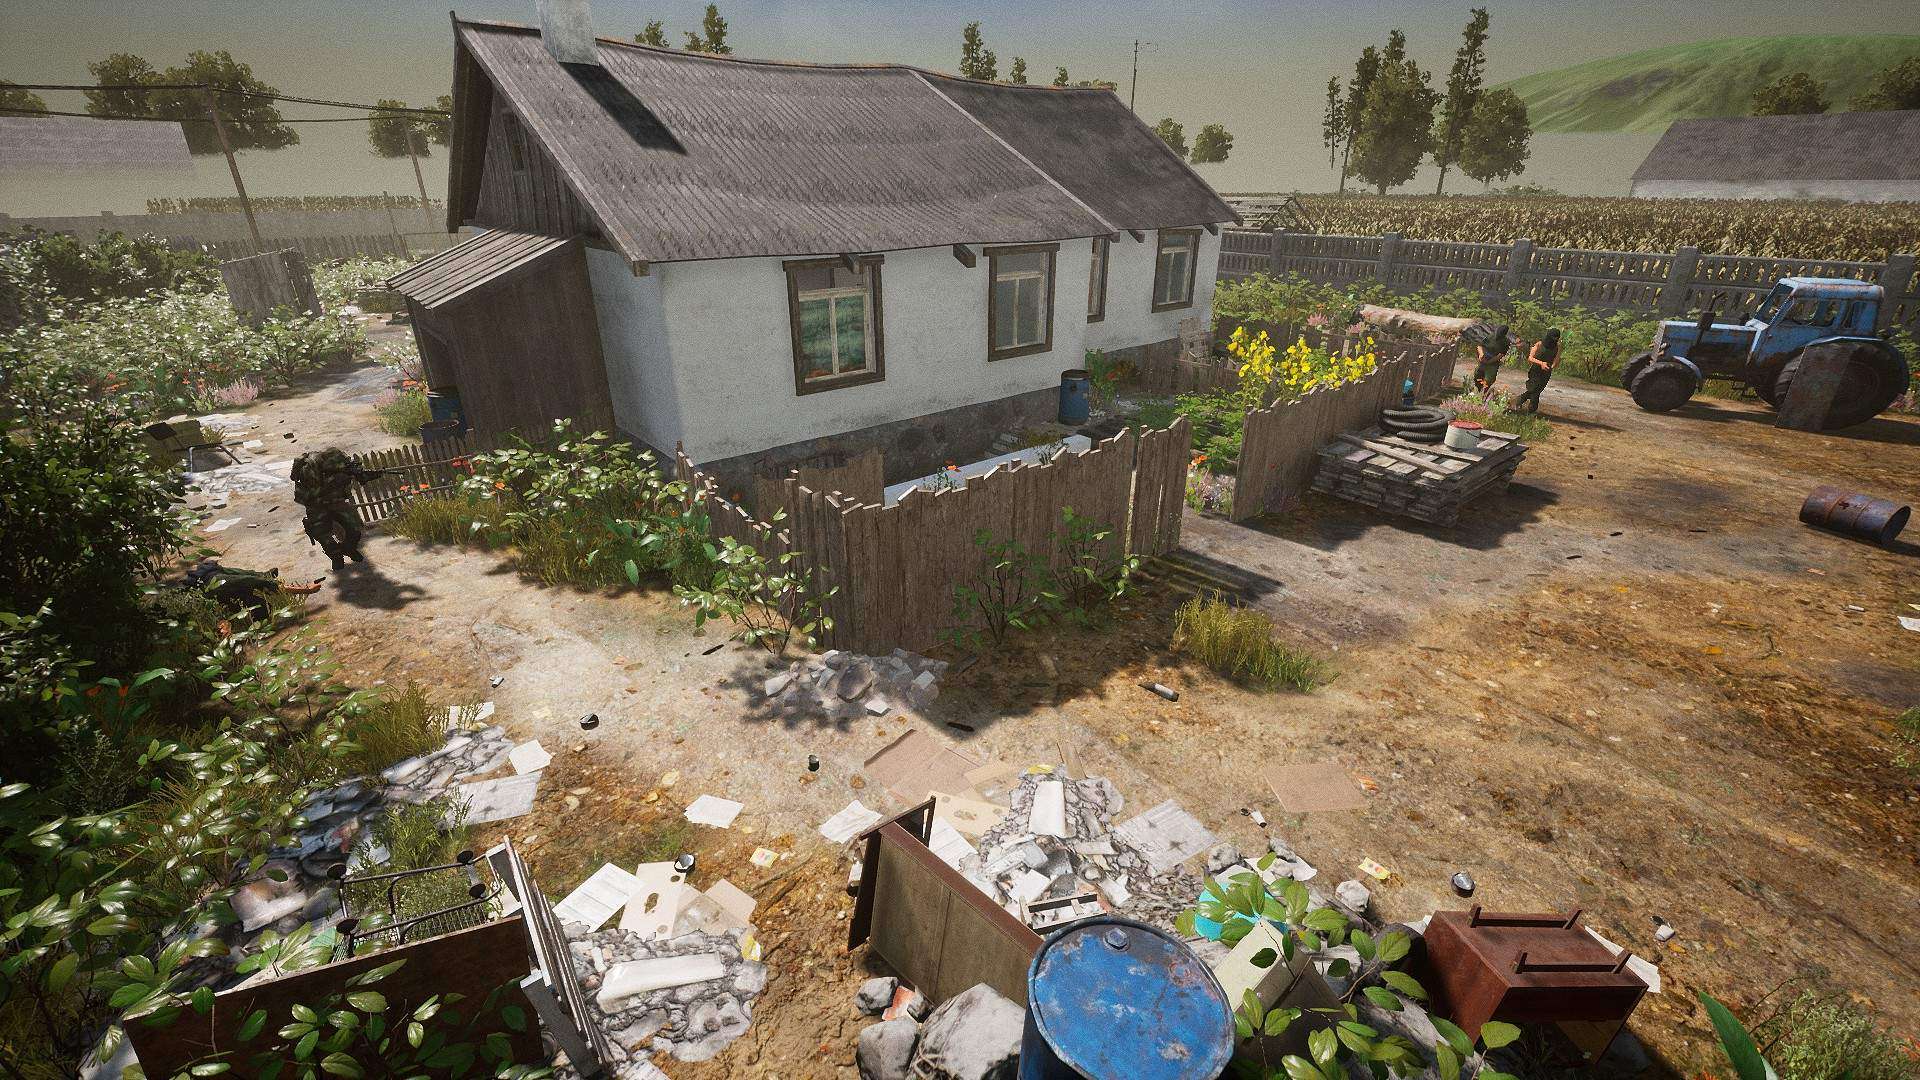
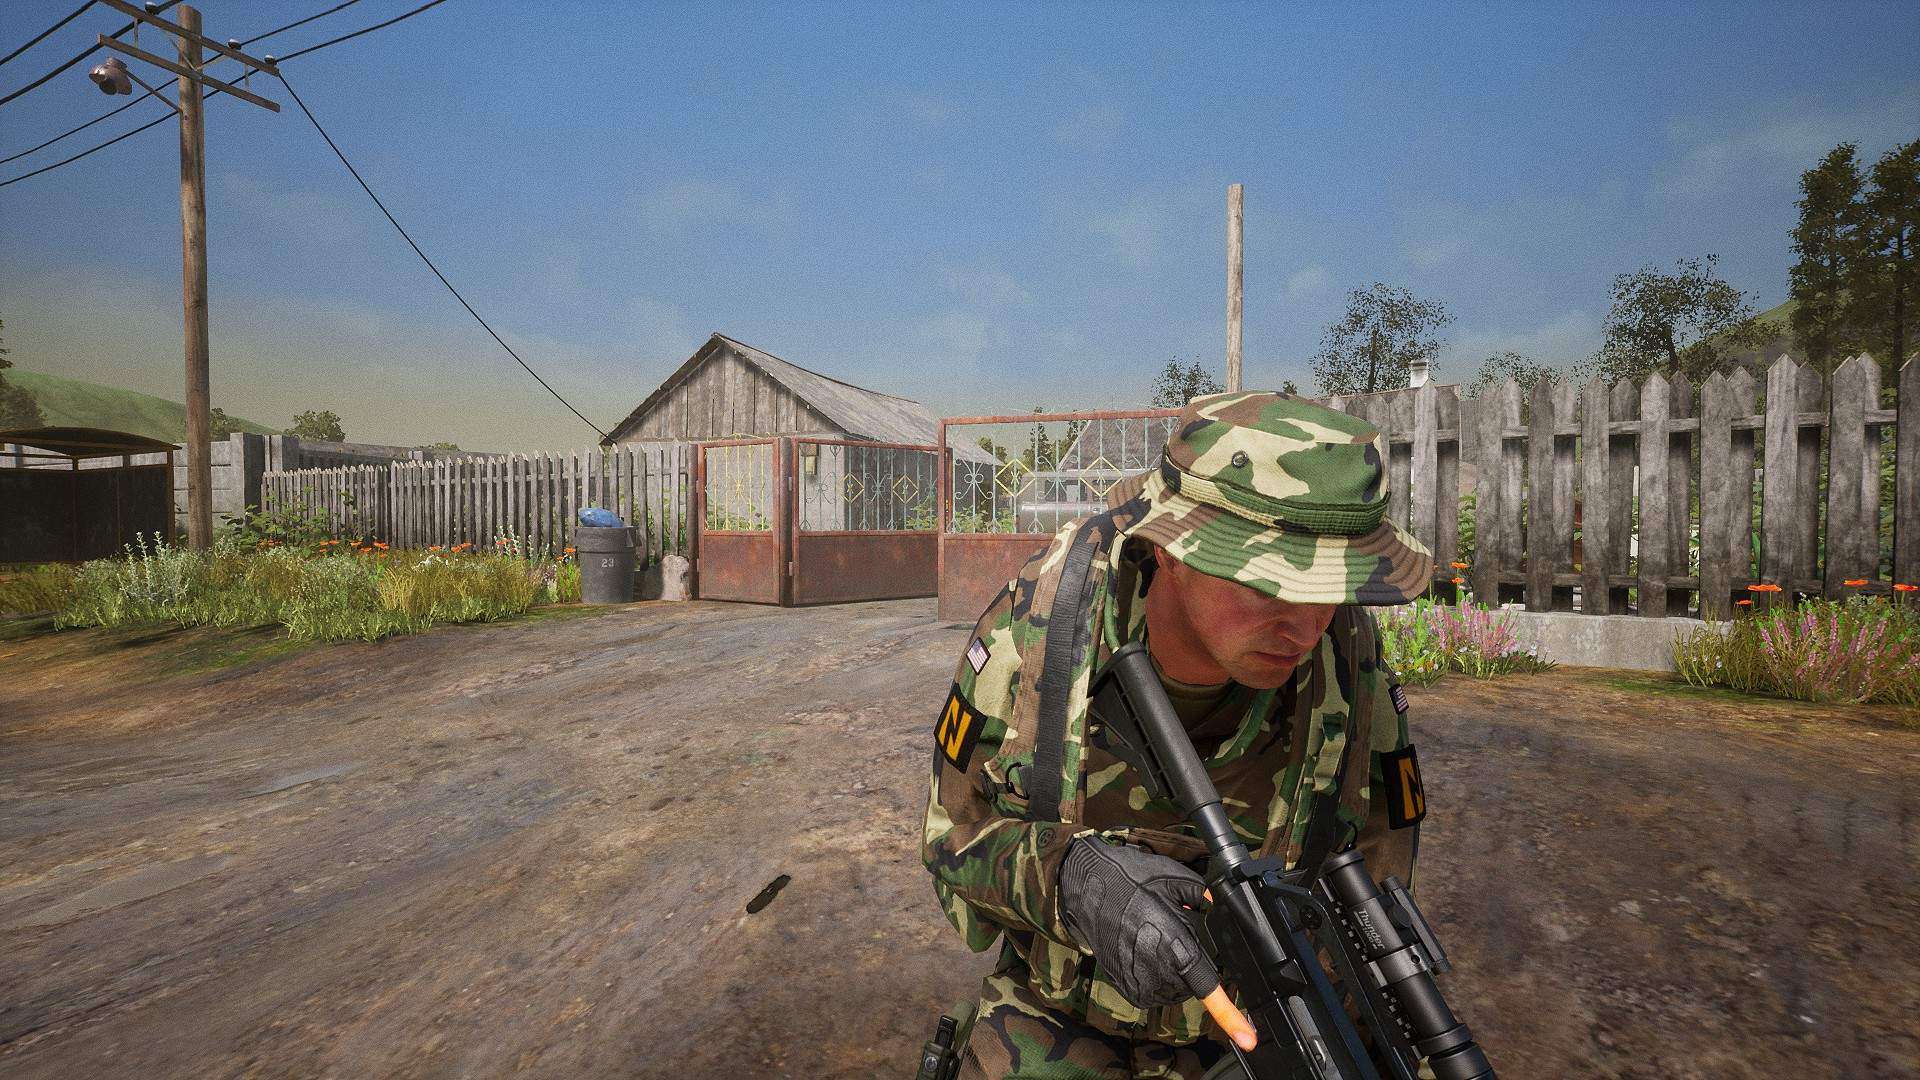
After making your decision at the outhouse be careful when rounding the corner of the building, as depending on how swiftly you handle the adversaries near the main entrance, the positions of the upcoming patrol will vary. Utilize concealment (bullet penetration is a thing) if need-be by hiding behind the fence. Clear out the enemies and continue moving counter-clockwise back towards the main entrance of Alpha Site.
Warning
There are hostiles that can (and usually will) spot you from the inside through an open window. Either utilize the UAV or confirm visually that they do not have eyes on you and continue moving. I intentionally do not engage the threats here because it would only complicate my clearing of that building when I get to it. Leaving them alive and not spooked is the most advantageous option available to me at this time.
Where To First?
Decisions Decisions…

Upon completing your lap of Alpha Site’s exterior, you can go to either objective first. Alpha Site has two distinct floors and a healthy number of foes to dispatch of; whereas Bravo Site has but two (I’ve seen up to three) hostiles with an easy approach. Feel free to pick whichever appeals to you, as the rest of this guide will be applicable. I will be clearing Bravo Site first.
Alpha Site, Top Floor
The Front Door
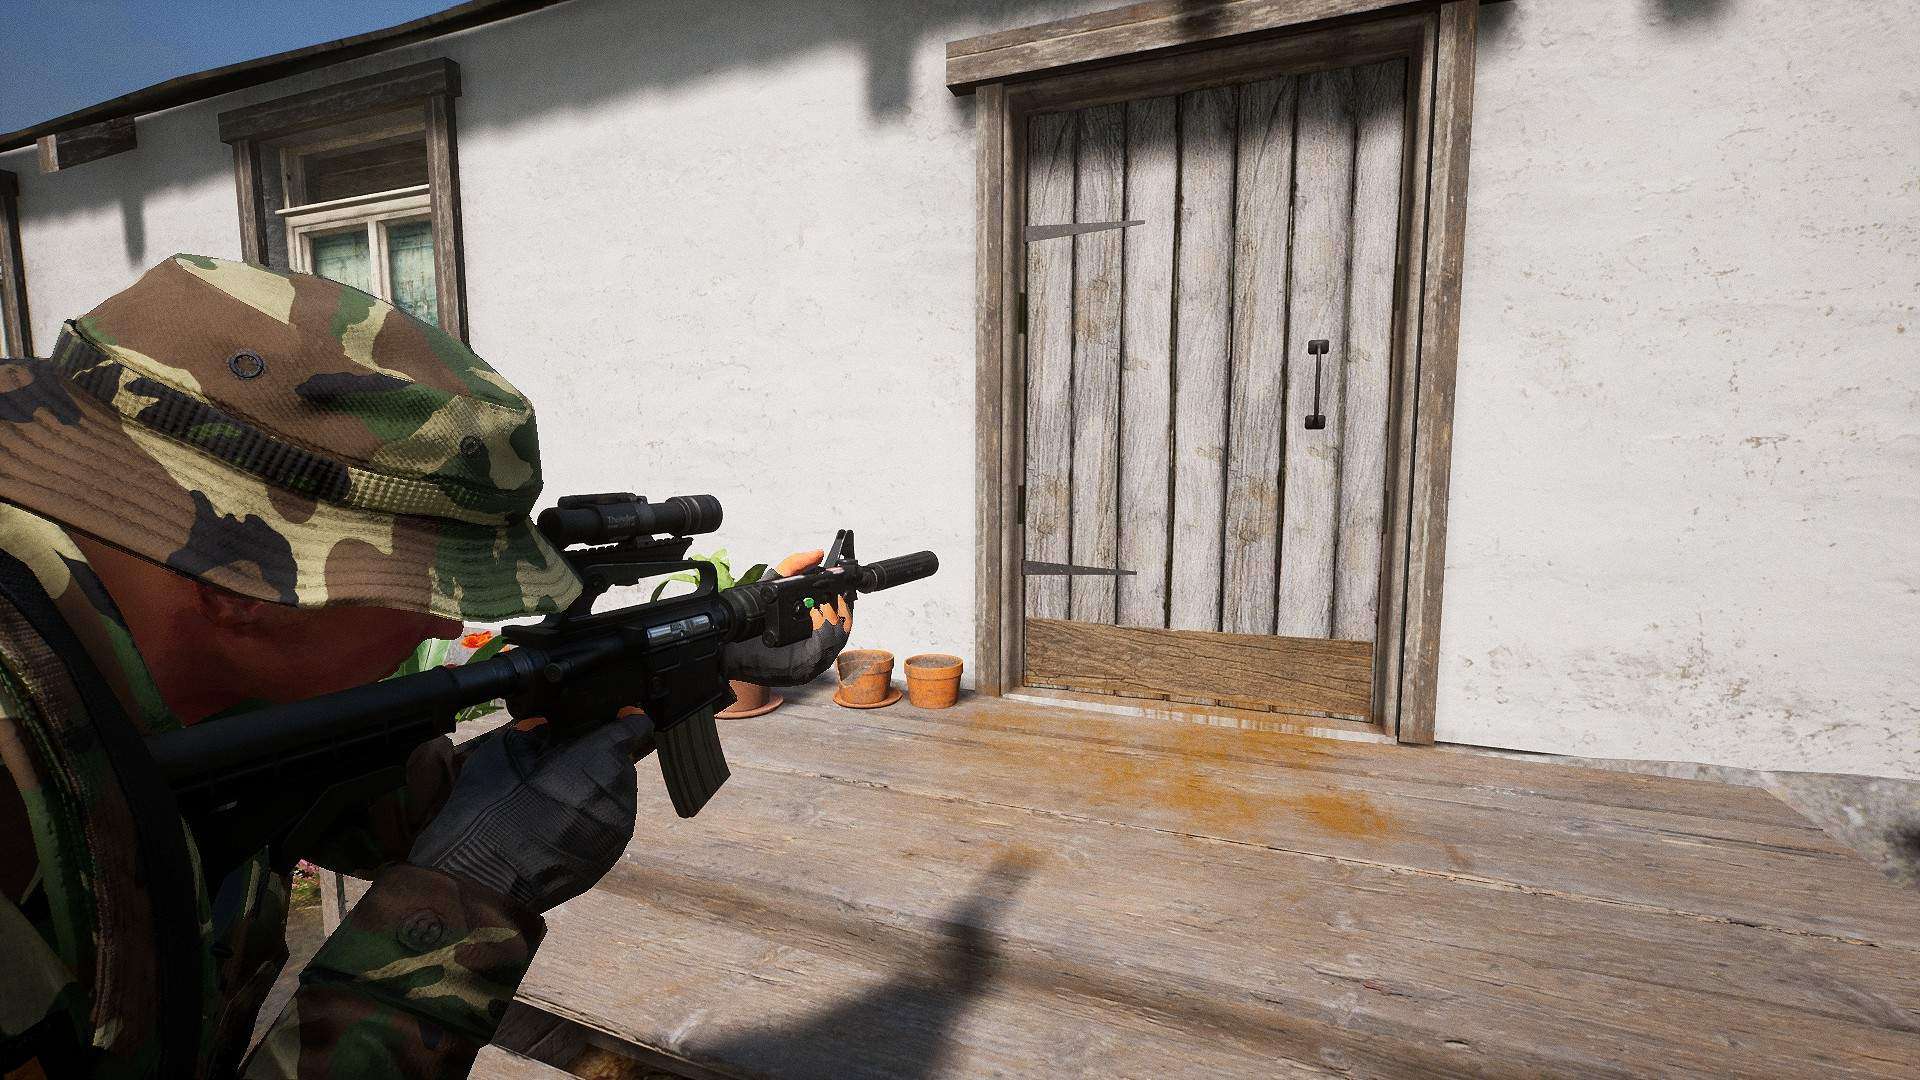
Believe it or not, I have found that the front door (not the basement door) is the most viable approach when trying to complete this mission as a Lone Wolf on realism mode. Here’s why: the enemies will not be able to sneak around you if they are on the top floor, and you have eyes on all avenues of approach the enemy could use from within the first room. Not to mention that we can (and will) access the basement from the top floor via secret hatch in room two. Now let’s clear some rooms!
First Room
This room will never have an enemy in it (if those occupying the building have no reason to suspect you), so either pick the front door to enter the house or kick it in. Once you are inside of the room you are presented with two doors, which I will be calling Door 1 and Door 2 respectively. Door 1 is in the left third of the picture above and Door 2 is in the center. We will be clearing Room 2 via Door 1 as we will have the best angles for fighting the enemies in Room 2, and from Room 2 we will have the best angles for fighting the enemies in Room 3.
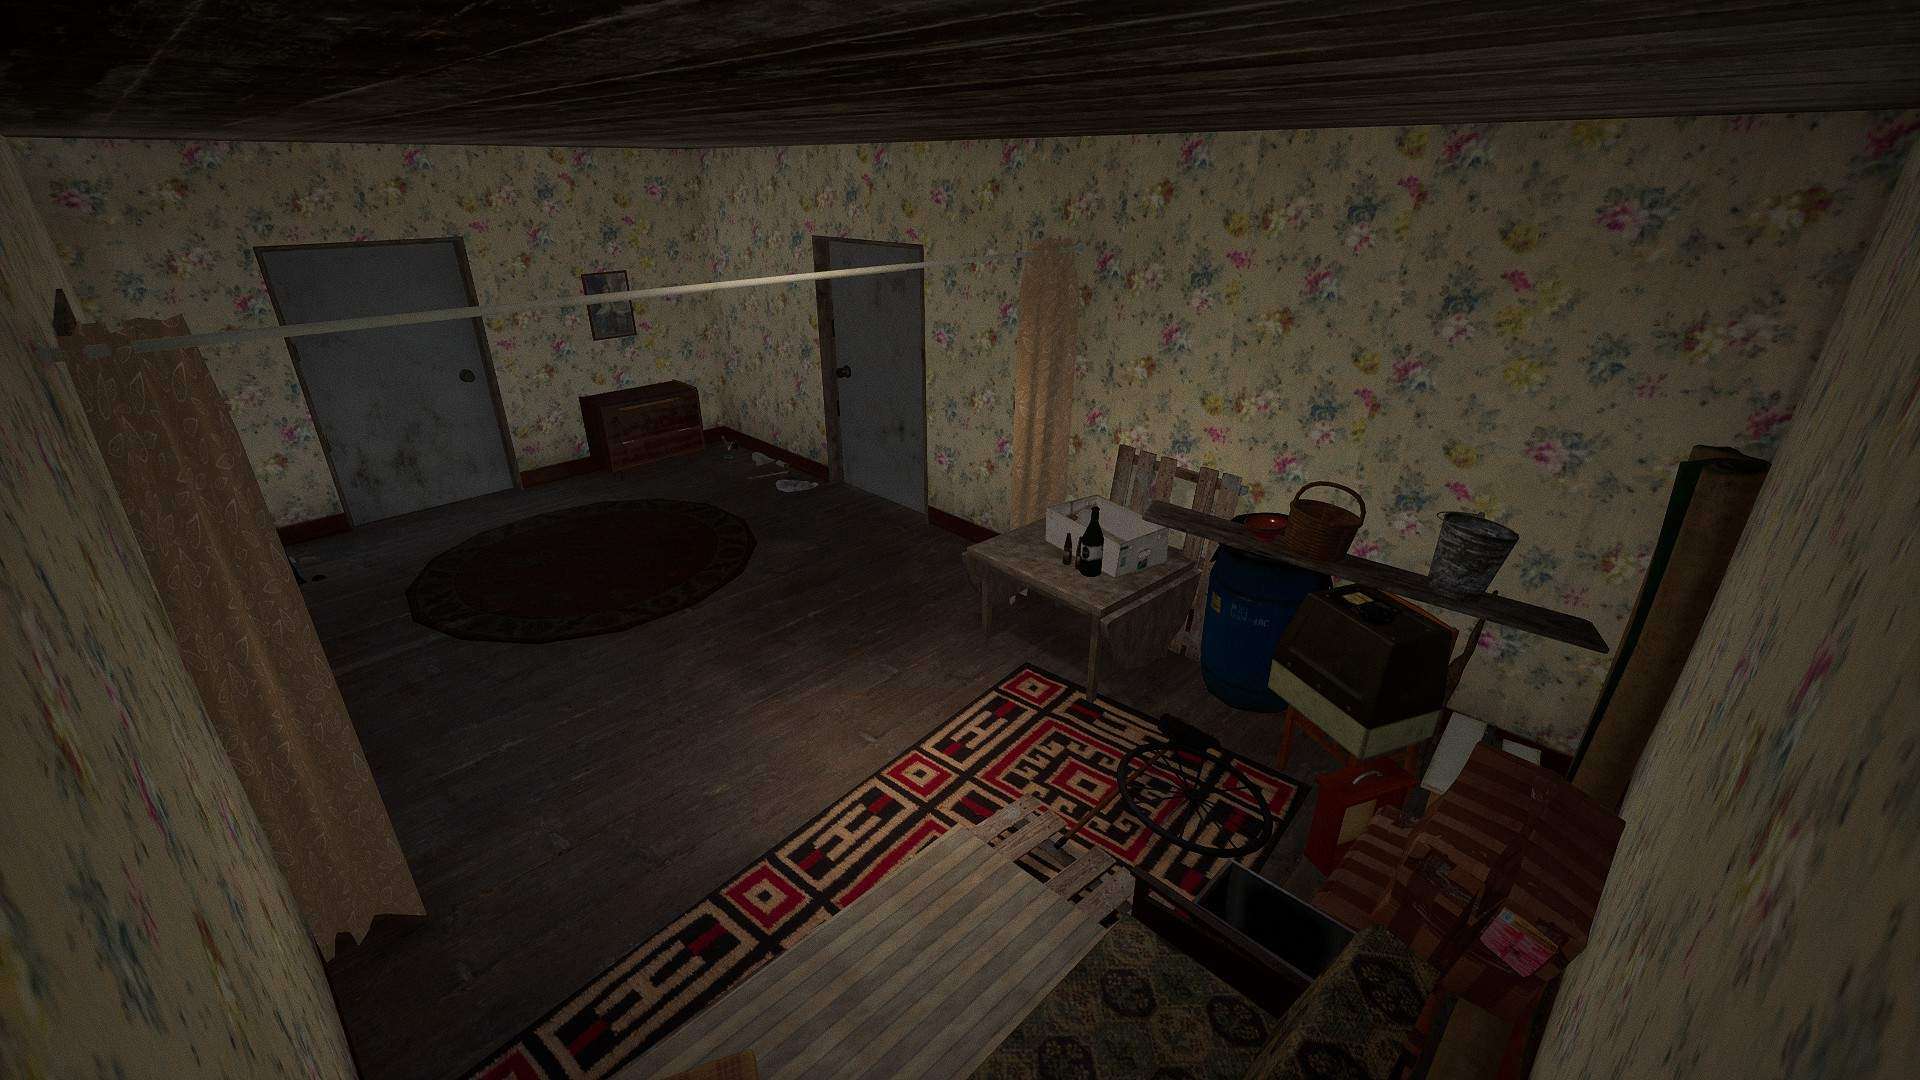
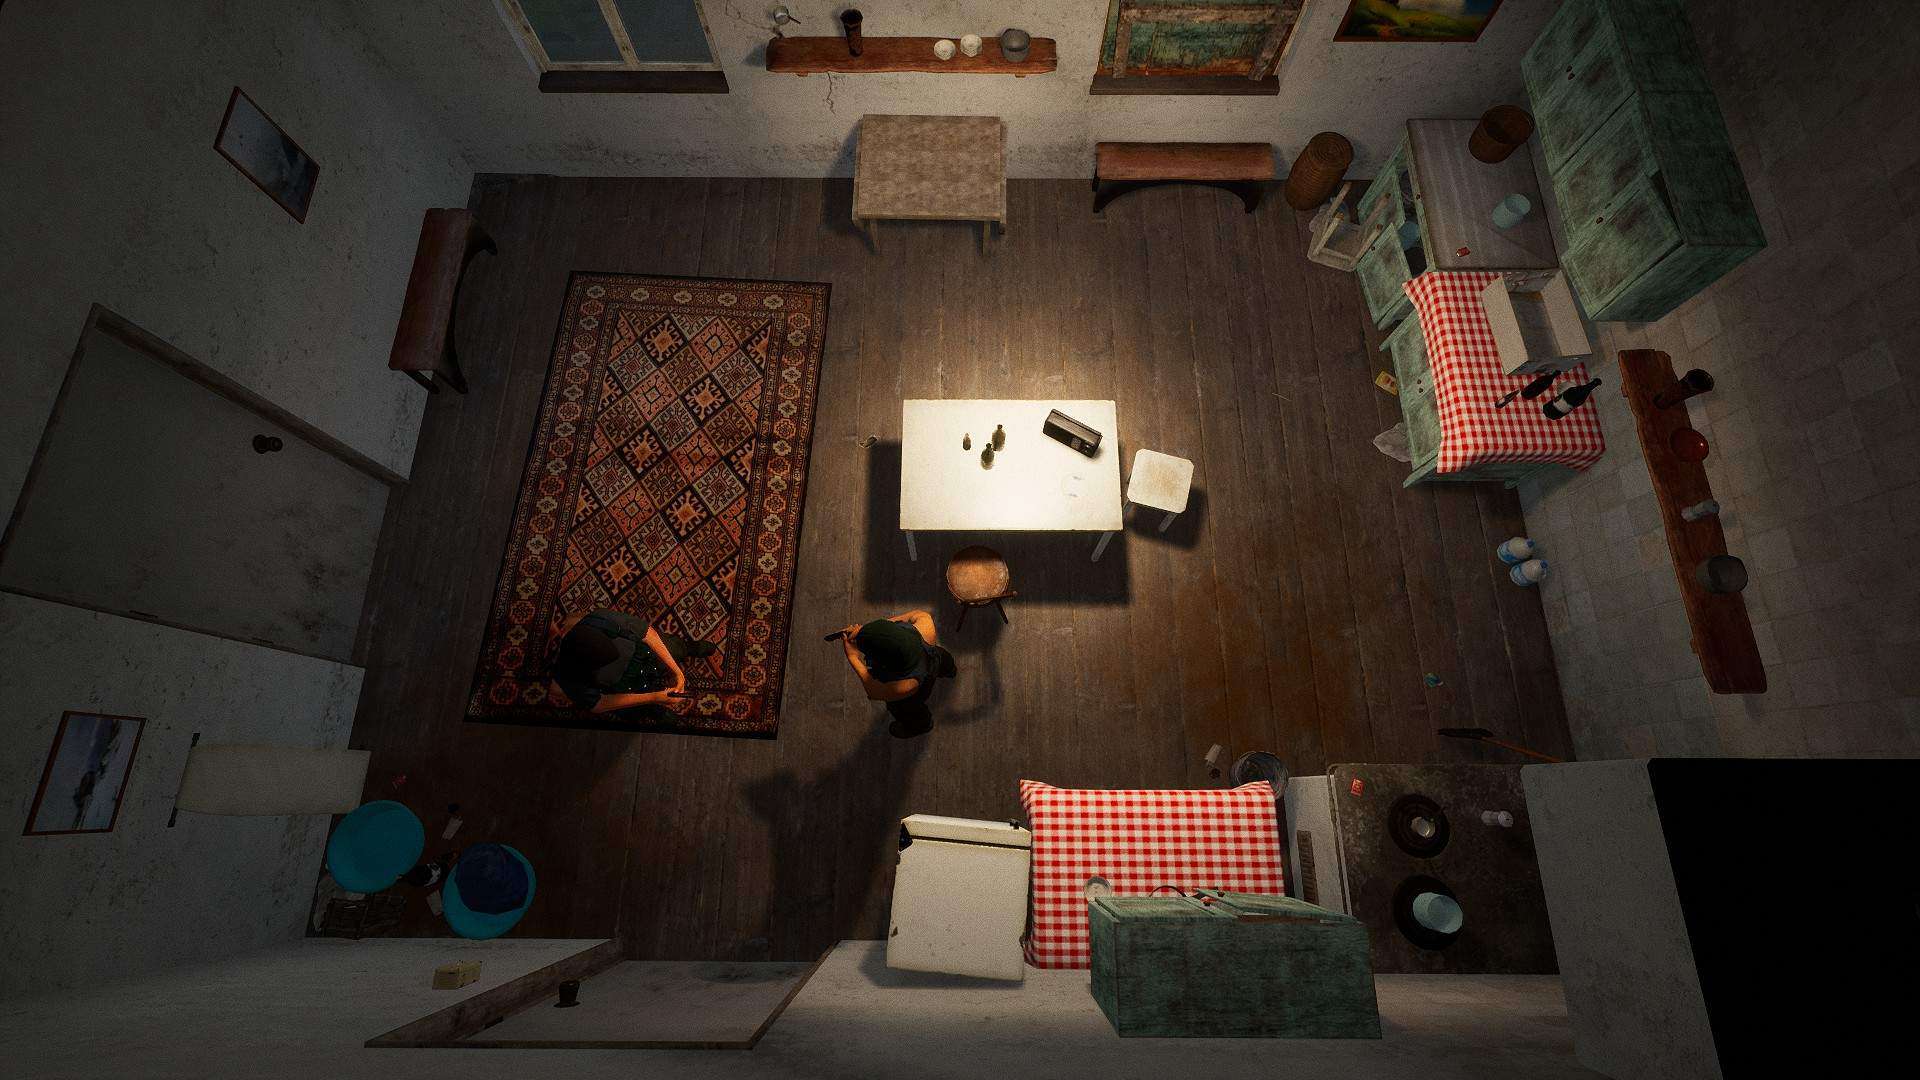
Second Room

Above is one of the possible configurations I have seen the pair of foes in. They will seldomly occupy the same spot in the room, but can occupy any combination of the four corners, seemingly favoring the left side top and bottom (relative to the pictures perspective). Fight from within Room 1 and only commit to Room 2 when you cannot clear it any more from the first room. You should not need the use of any handheld devices here.
Third Room
You may be uncomforted to know, but these two are almost always standing by Door 2 of Room 1 (they don’t shoot through walls without PID, so you were safe), however that will be an advantage for us. From Room 2 position yourself against the leftmost wall (relative to the Room 2 picture above) and hand open the door. Pie your corners and place well aimed shots to secure this room. You should not need the use of any handheld devices here.
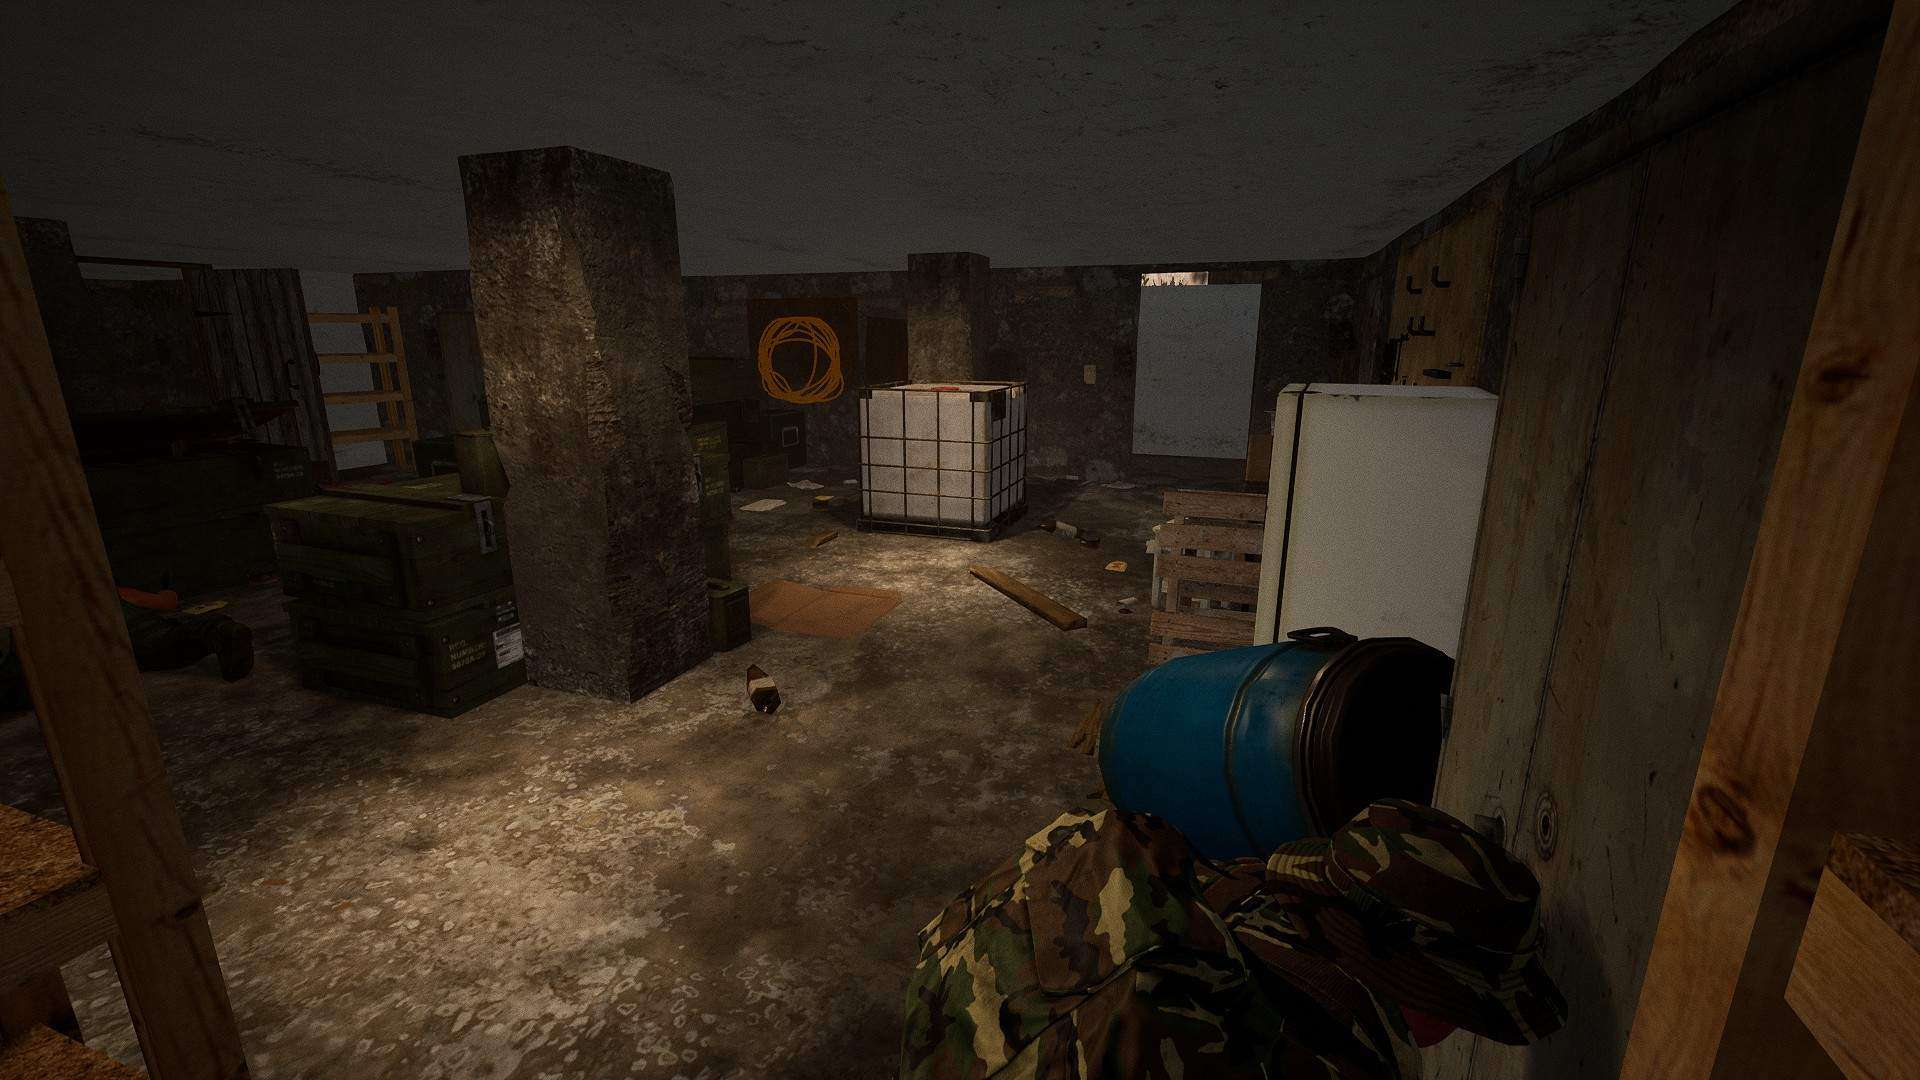
Alpha Site, Basement
The Trap Door
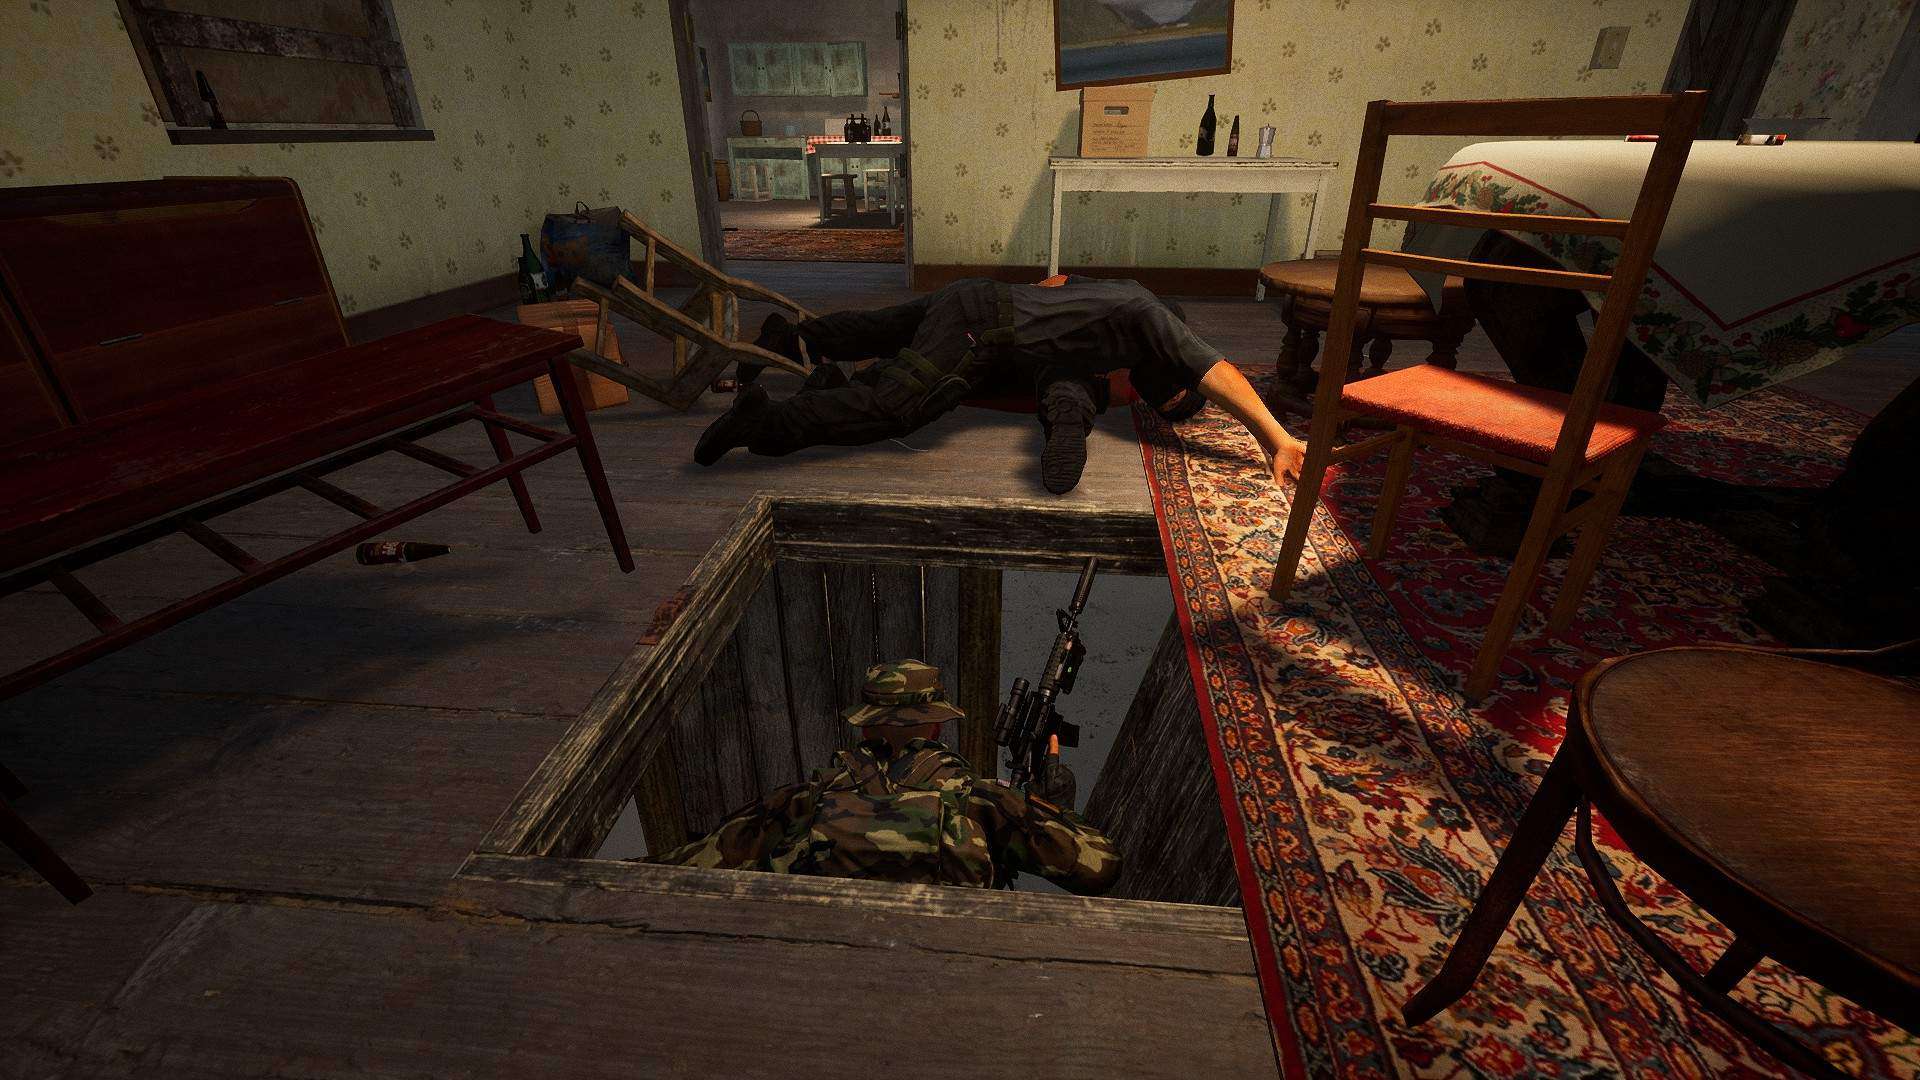
After clearing Room 3 return to Room 2 and go to the left side of the rug (relative to the picture on the left). From here you will see a hidden trap door that we will be using (see right picture). Once inside you will be in the basement, in a small room with a closed wooden door in front of you. Now comes the tricky part.
The Basement
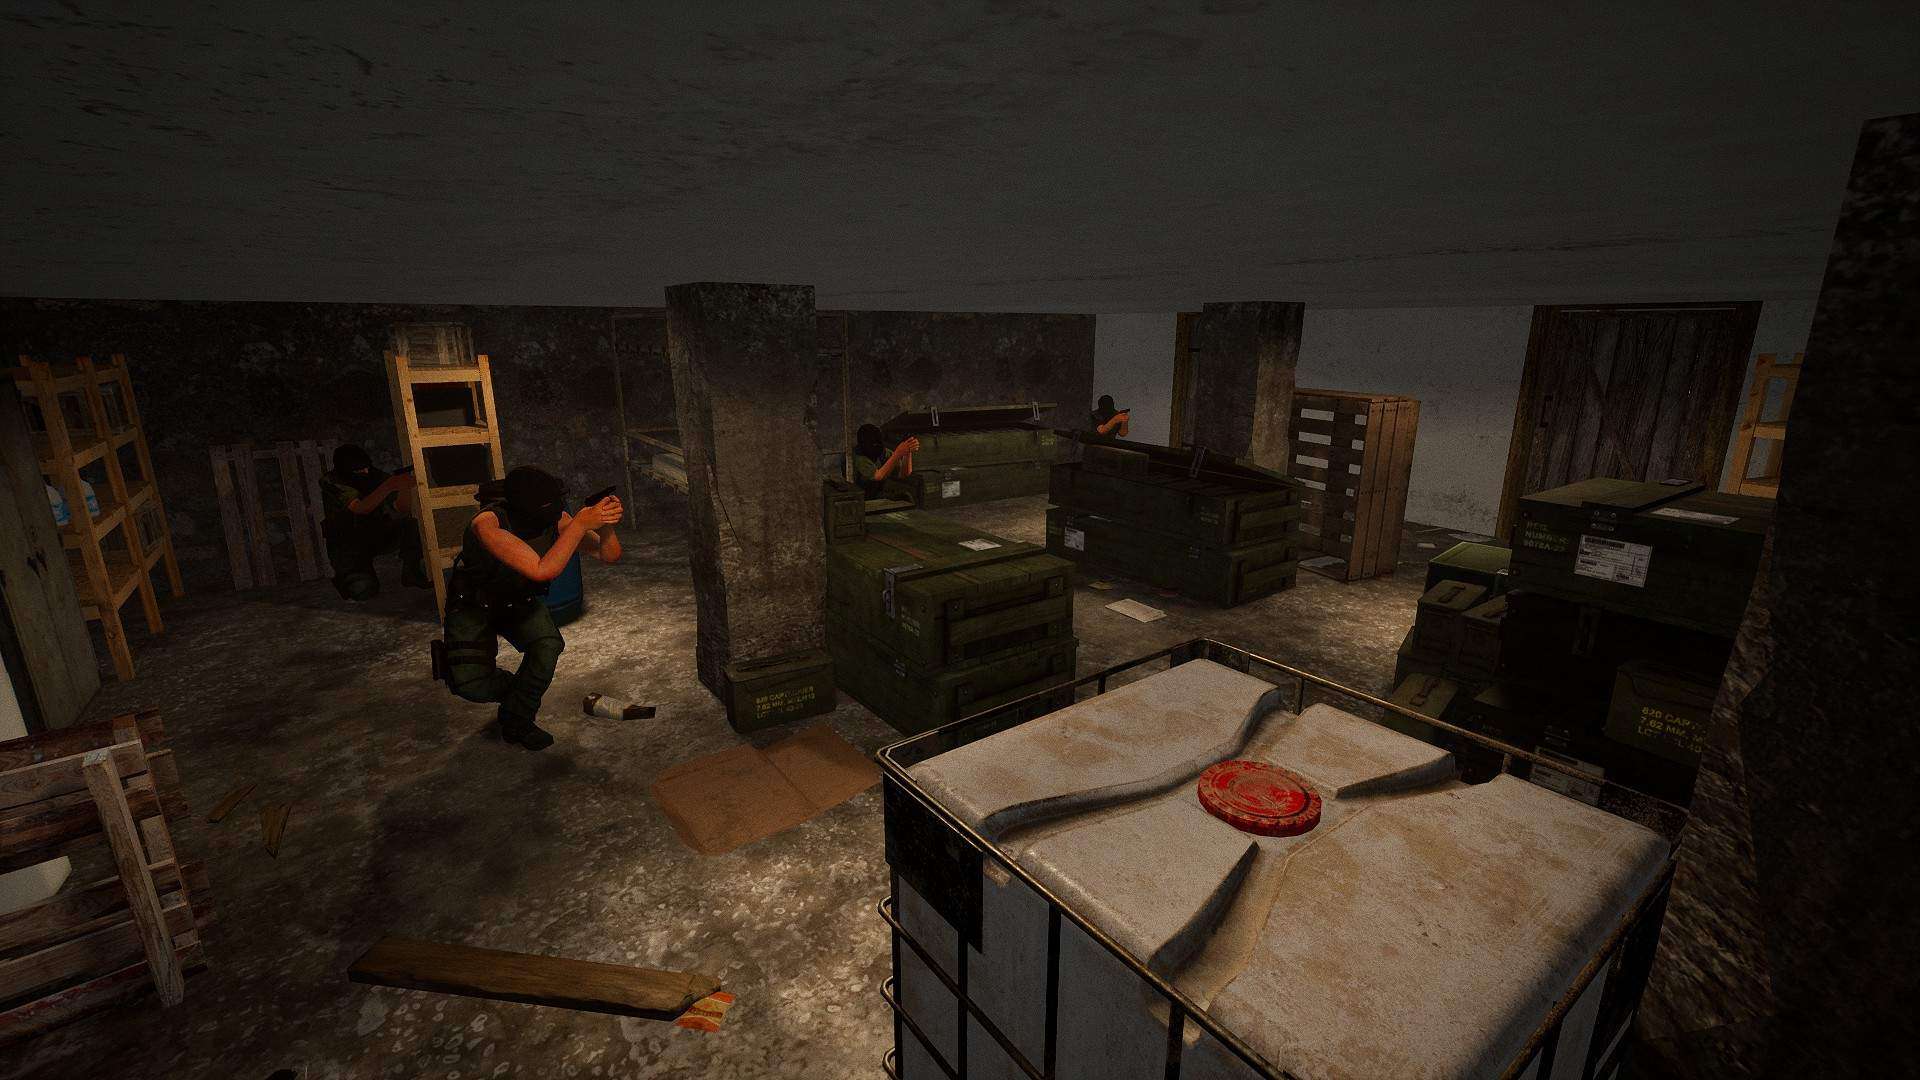
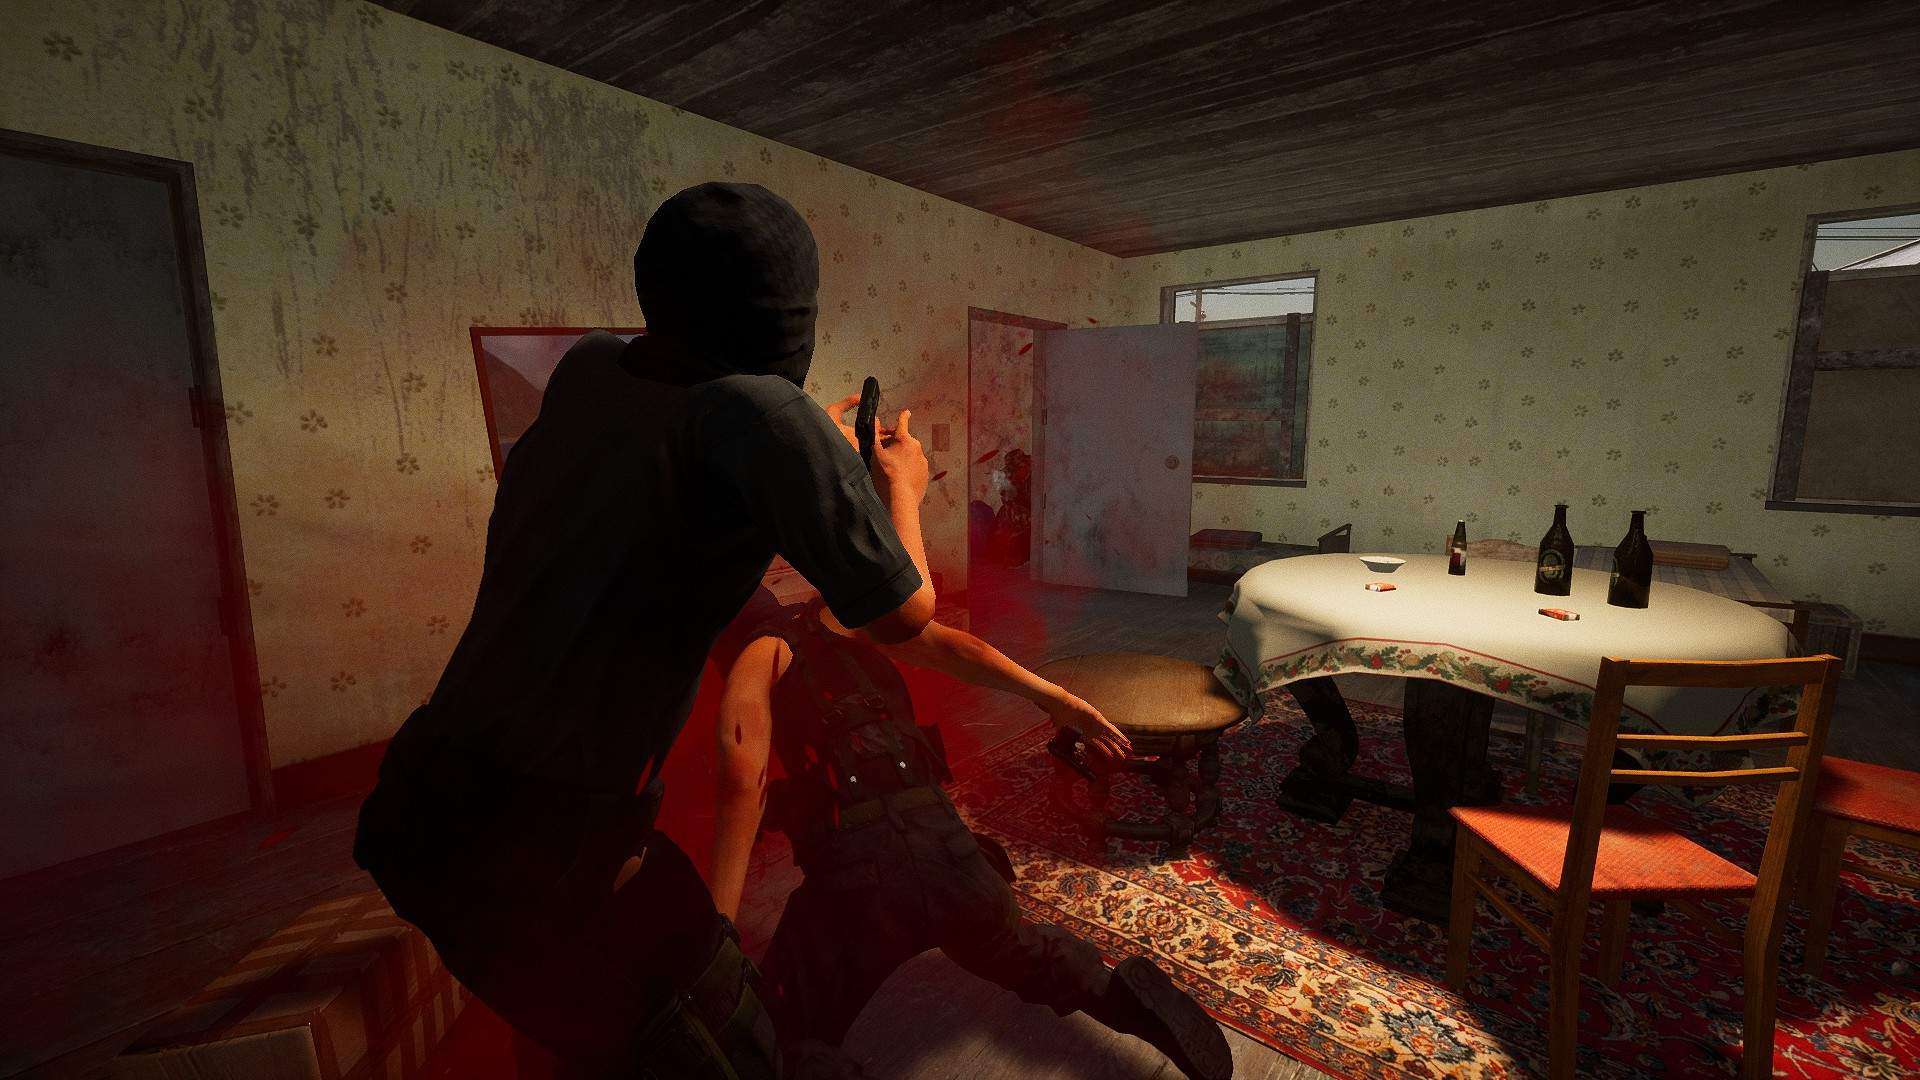
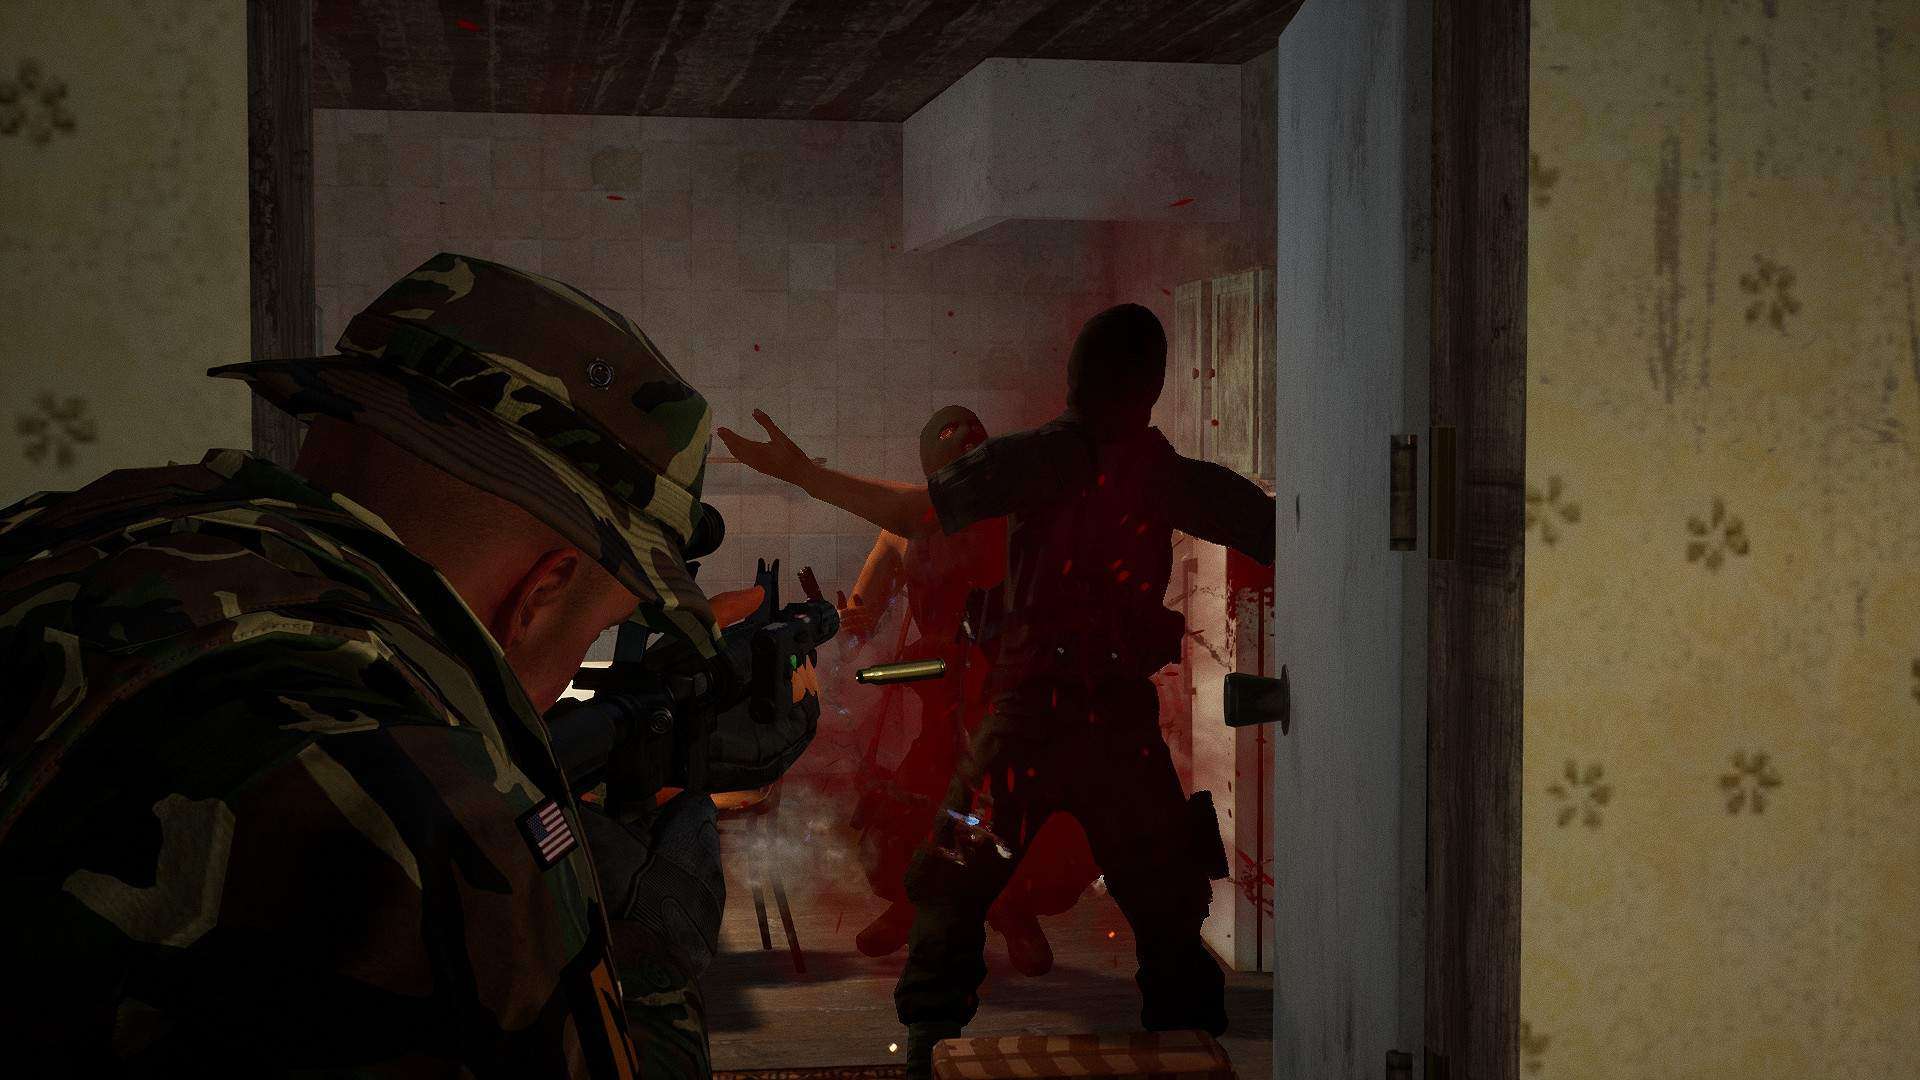
This picture is taken from the basement door entrance (the one we didn’t use), and after dropping into the basement we are hidden from these foes behind the door on the right side as seen above. What I find to be the most effective method of clearing the basement is via handheld device (either a stun or frag grenade). Prep your handheld, kick the door in and throw it as close to center as you can, and retreat to the cover provided by the wall to your left inside the room you dropped in. Rinse and repeat the pie technique and don’t be afraid to take a step back if you get pushed. We’re going for a clean realism run here, not dying after getting this far in the mission.
Tactical Patience
This section may take a moment to clear so be patient with yourself. You’ve set the conditions and I’ve yet to see the enemy employ handheld devices in this specific area (whilst being mindful of that, however), our strategy will work if we allow it to unfold. Do not let your guard down until you hear Zeus radio that the basement is clear of hostiles. Once that traffic comes through, we can proceed to the next objective.
Alpha Site Intel Locations
It’s Around Here Somewhere…

After clearing the basement (see Alpha Site, Basement section) we will be tasked with finding mission critical intel, hidden somewhere in Alpha or Bravo Site. I have never seen the intel spawn at Bravo Site, so until evidence comes forth I will say that you will always find it in the basement of Alpha Site. But where?
Lockers
The first location to check is Locker 1 (of 3), located immediately left of the room we dropped into and fought from. I don’t commonly find the intel in this locker, but it’s worth checking.

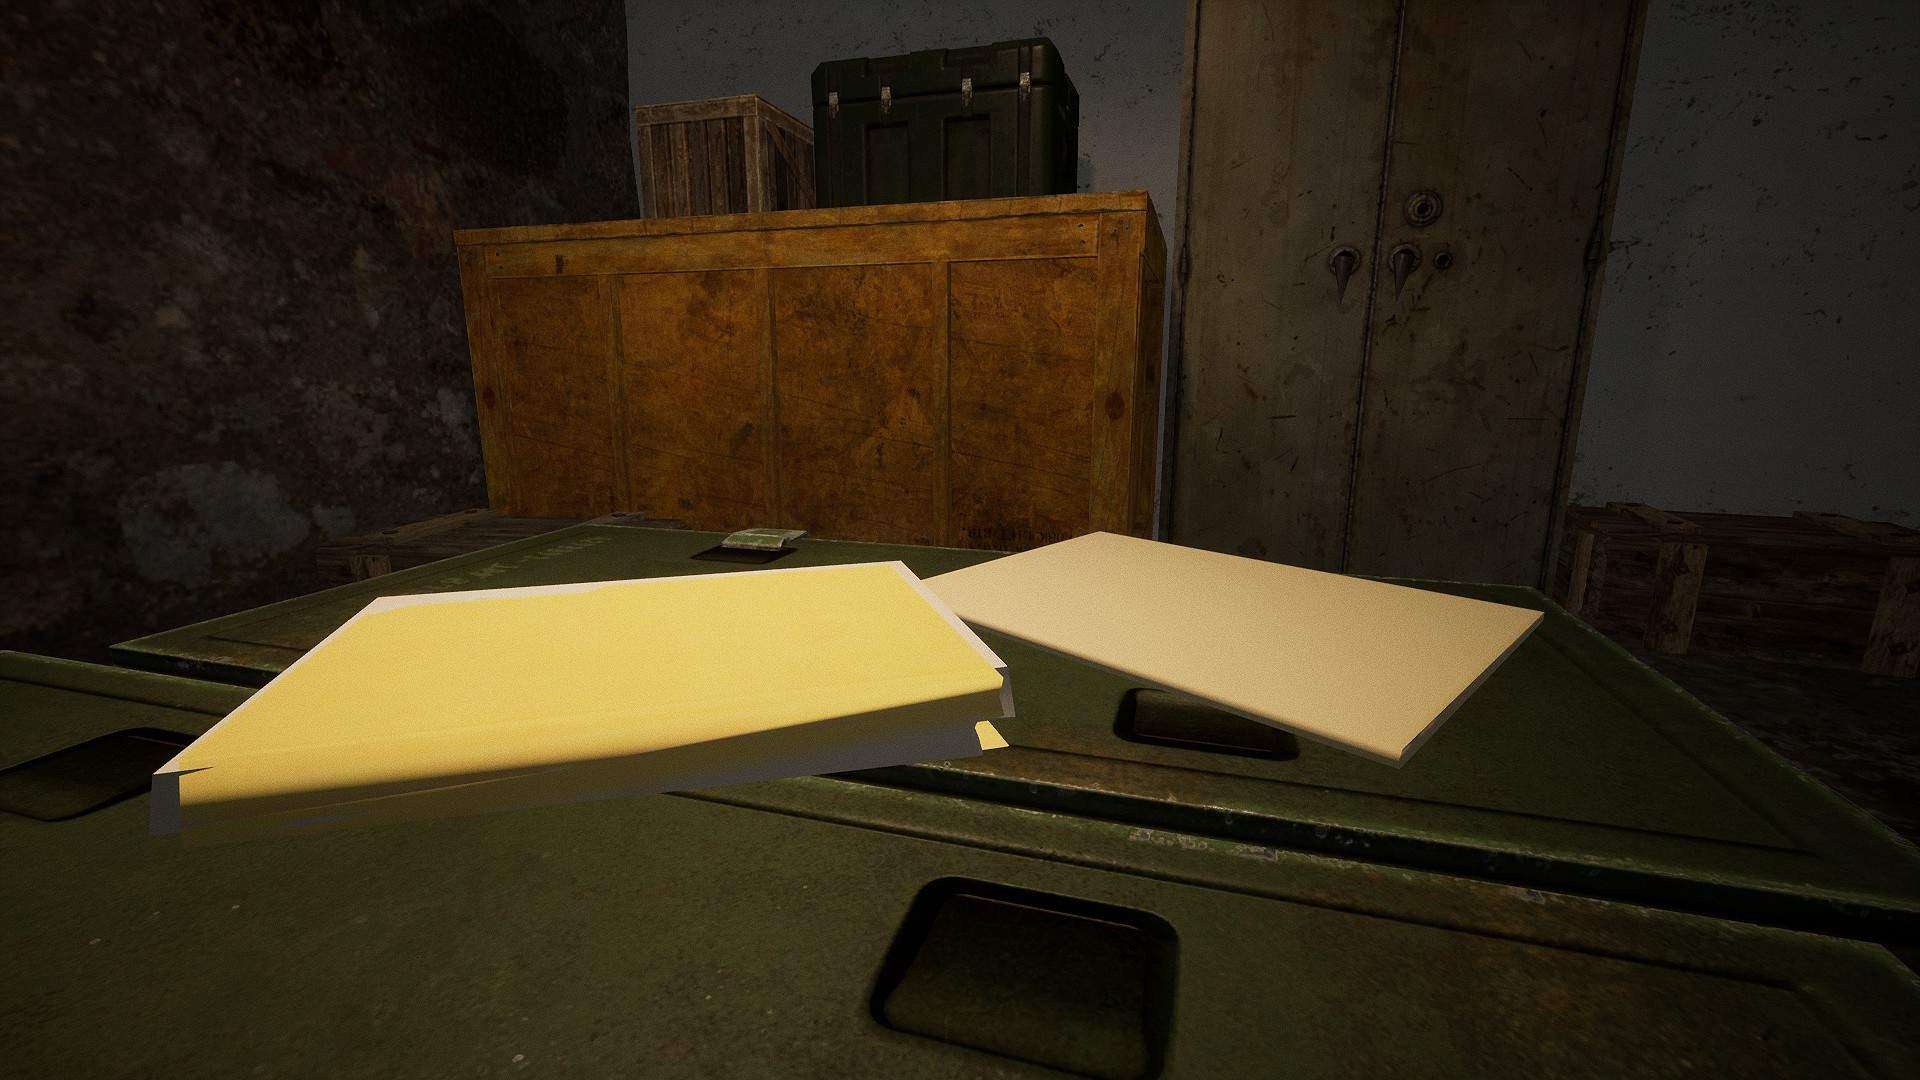
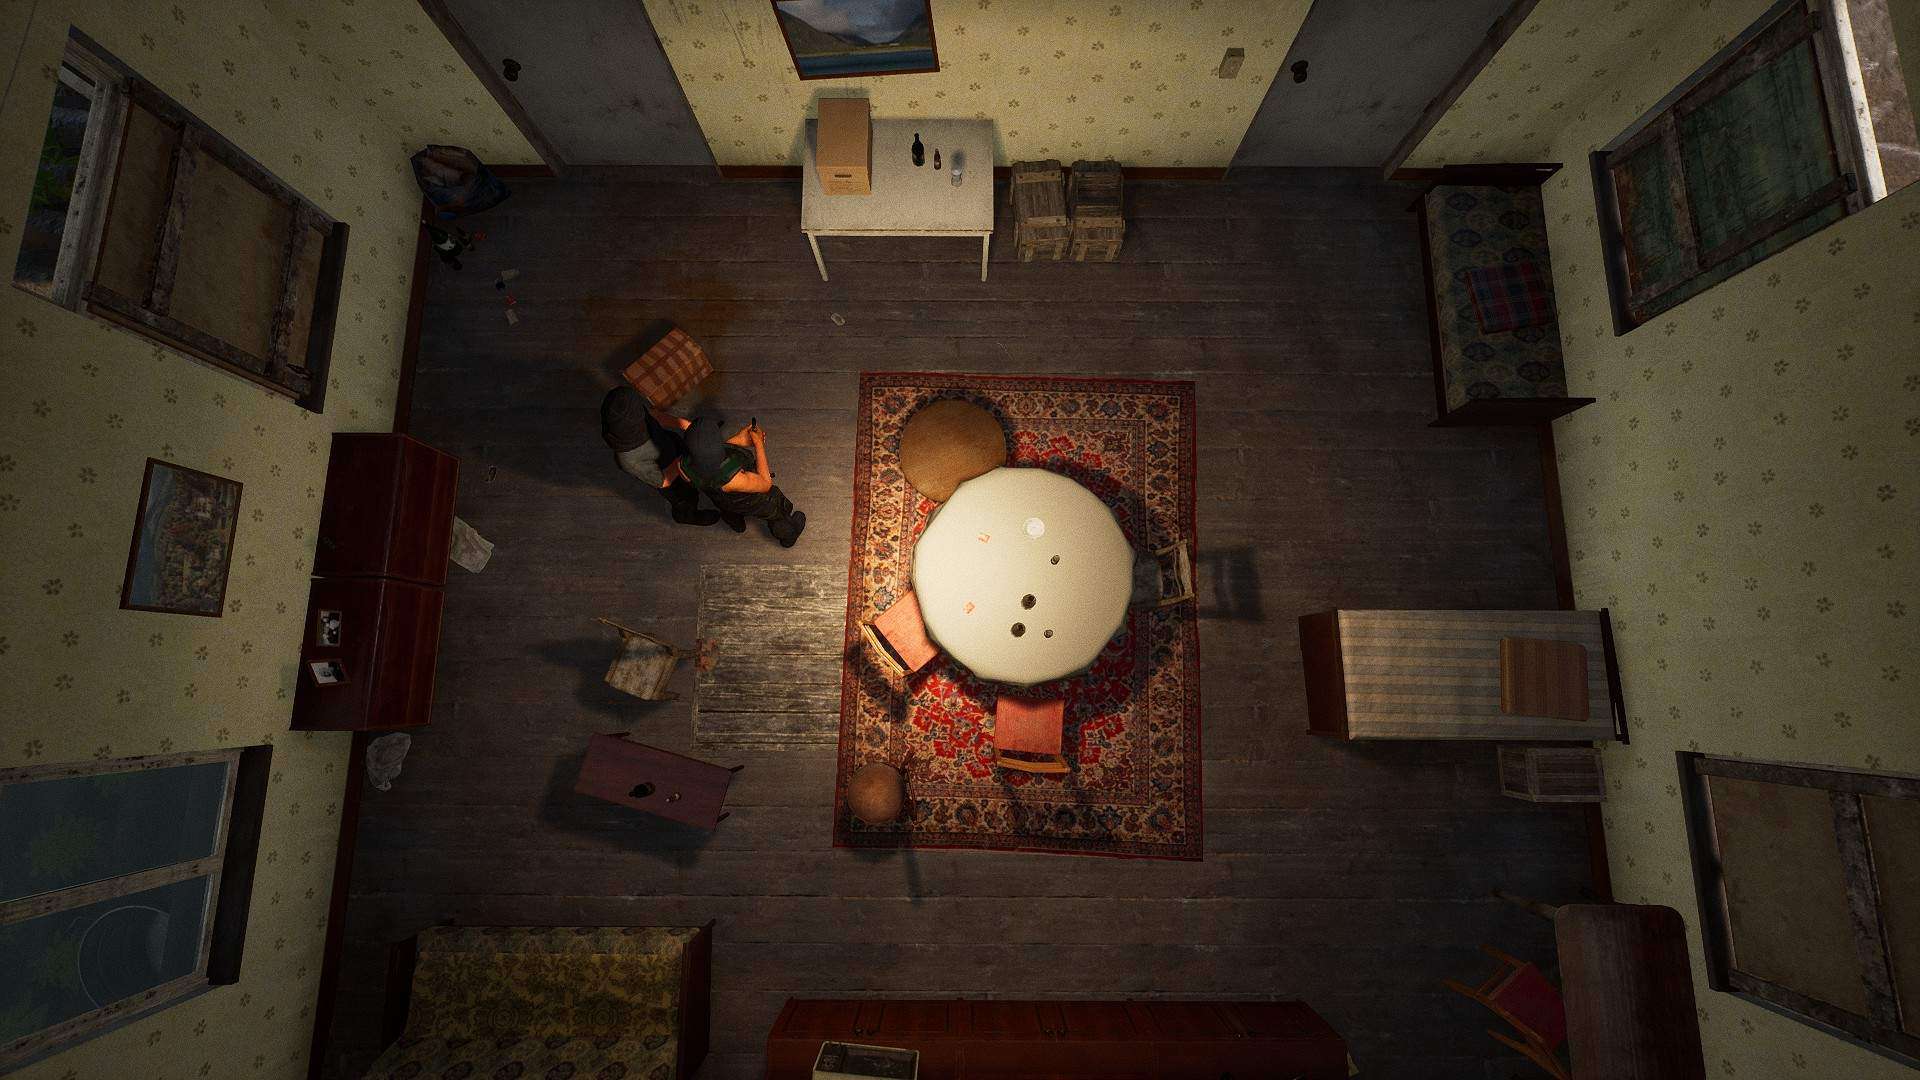
Perform an about face and you will see another door (now on your character’s right side). Open the door and on the right side as you enter you will find Locker 2. Note: It is very rare but I have had the intel laying on these crates, just out in the open. Worth checking if your search has not yet been fruitful.
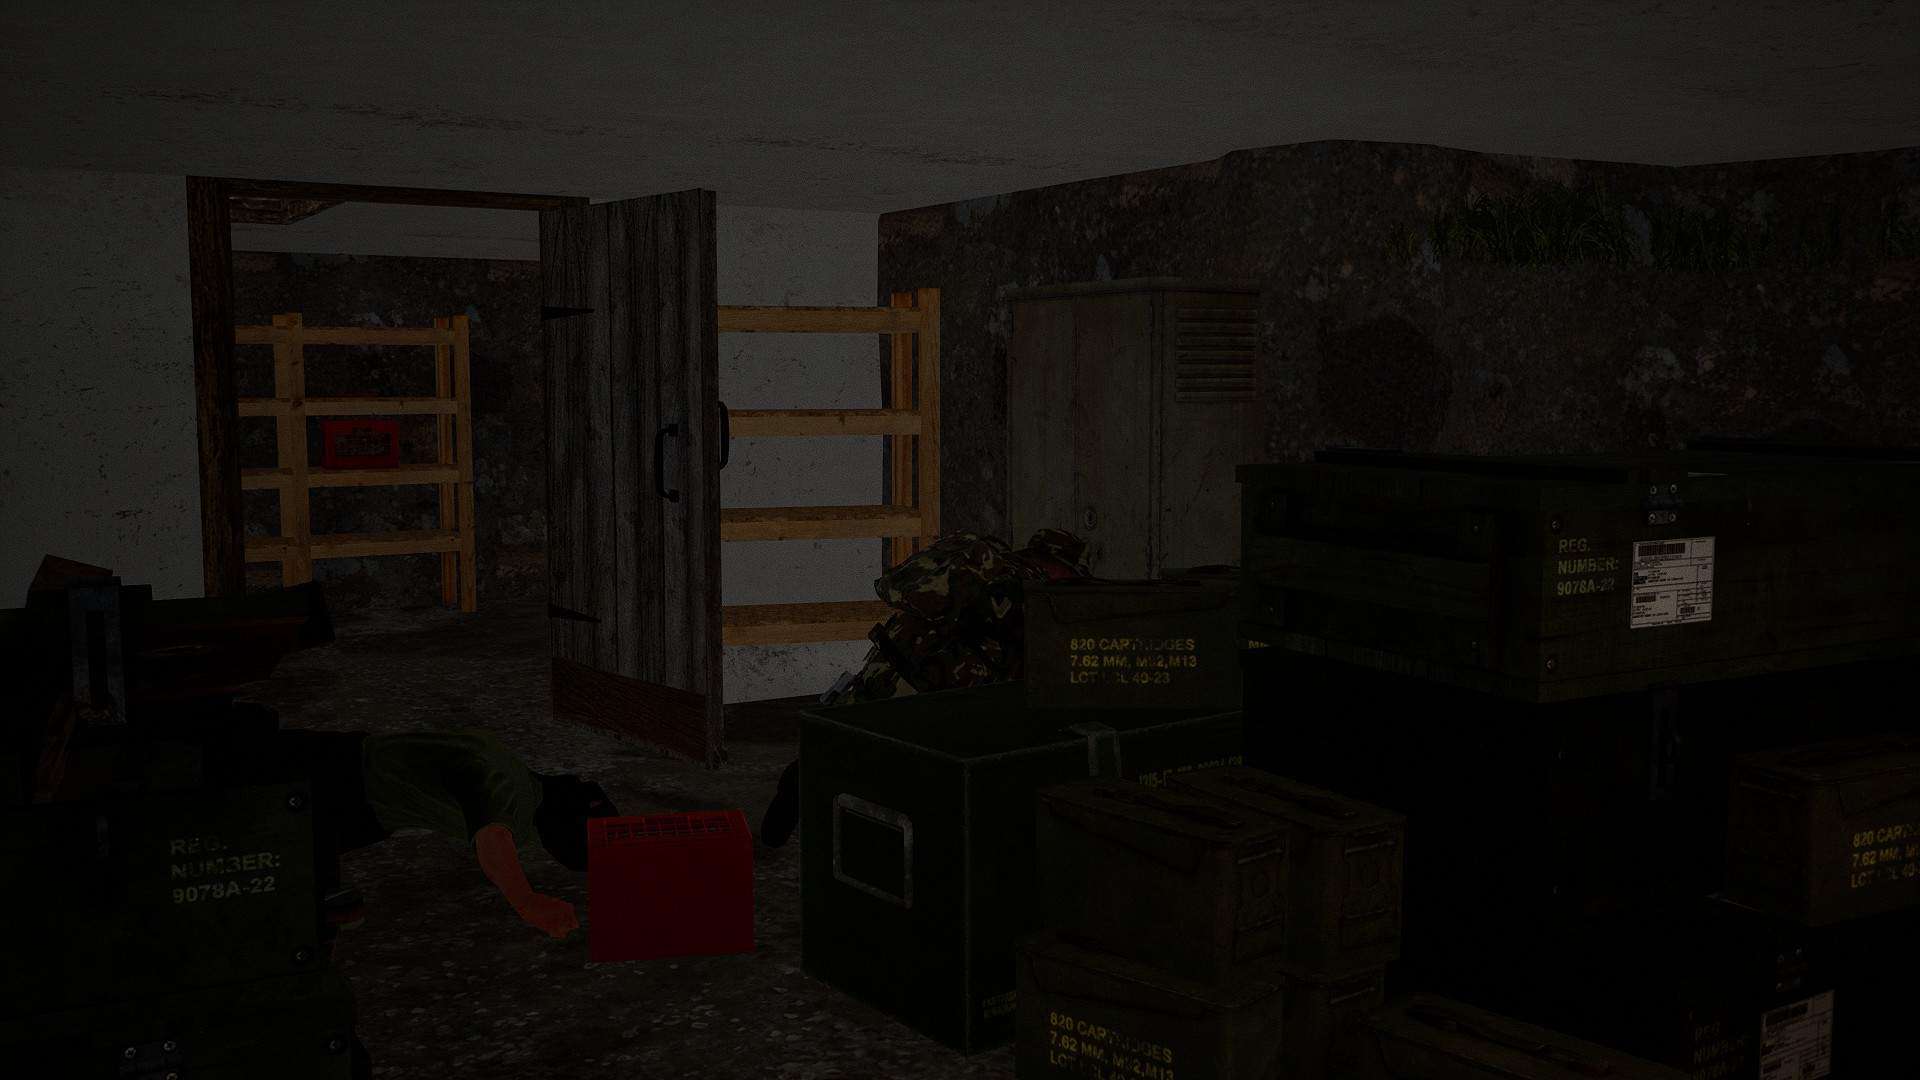
Finally, we approach Locker 3. For reference, we came through the basement via the open door on the left side of the image, and the basement entrance is center in the image. I find this locker has the best RNG for containing the intel. Should you still be unsuccessful in finding the documents, search the bodies in the basement. Rarer than the loose documents spawn, I have seen a hostile carrying the item in their inventory.
Time To Go
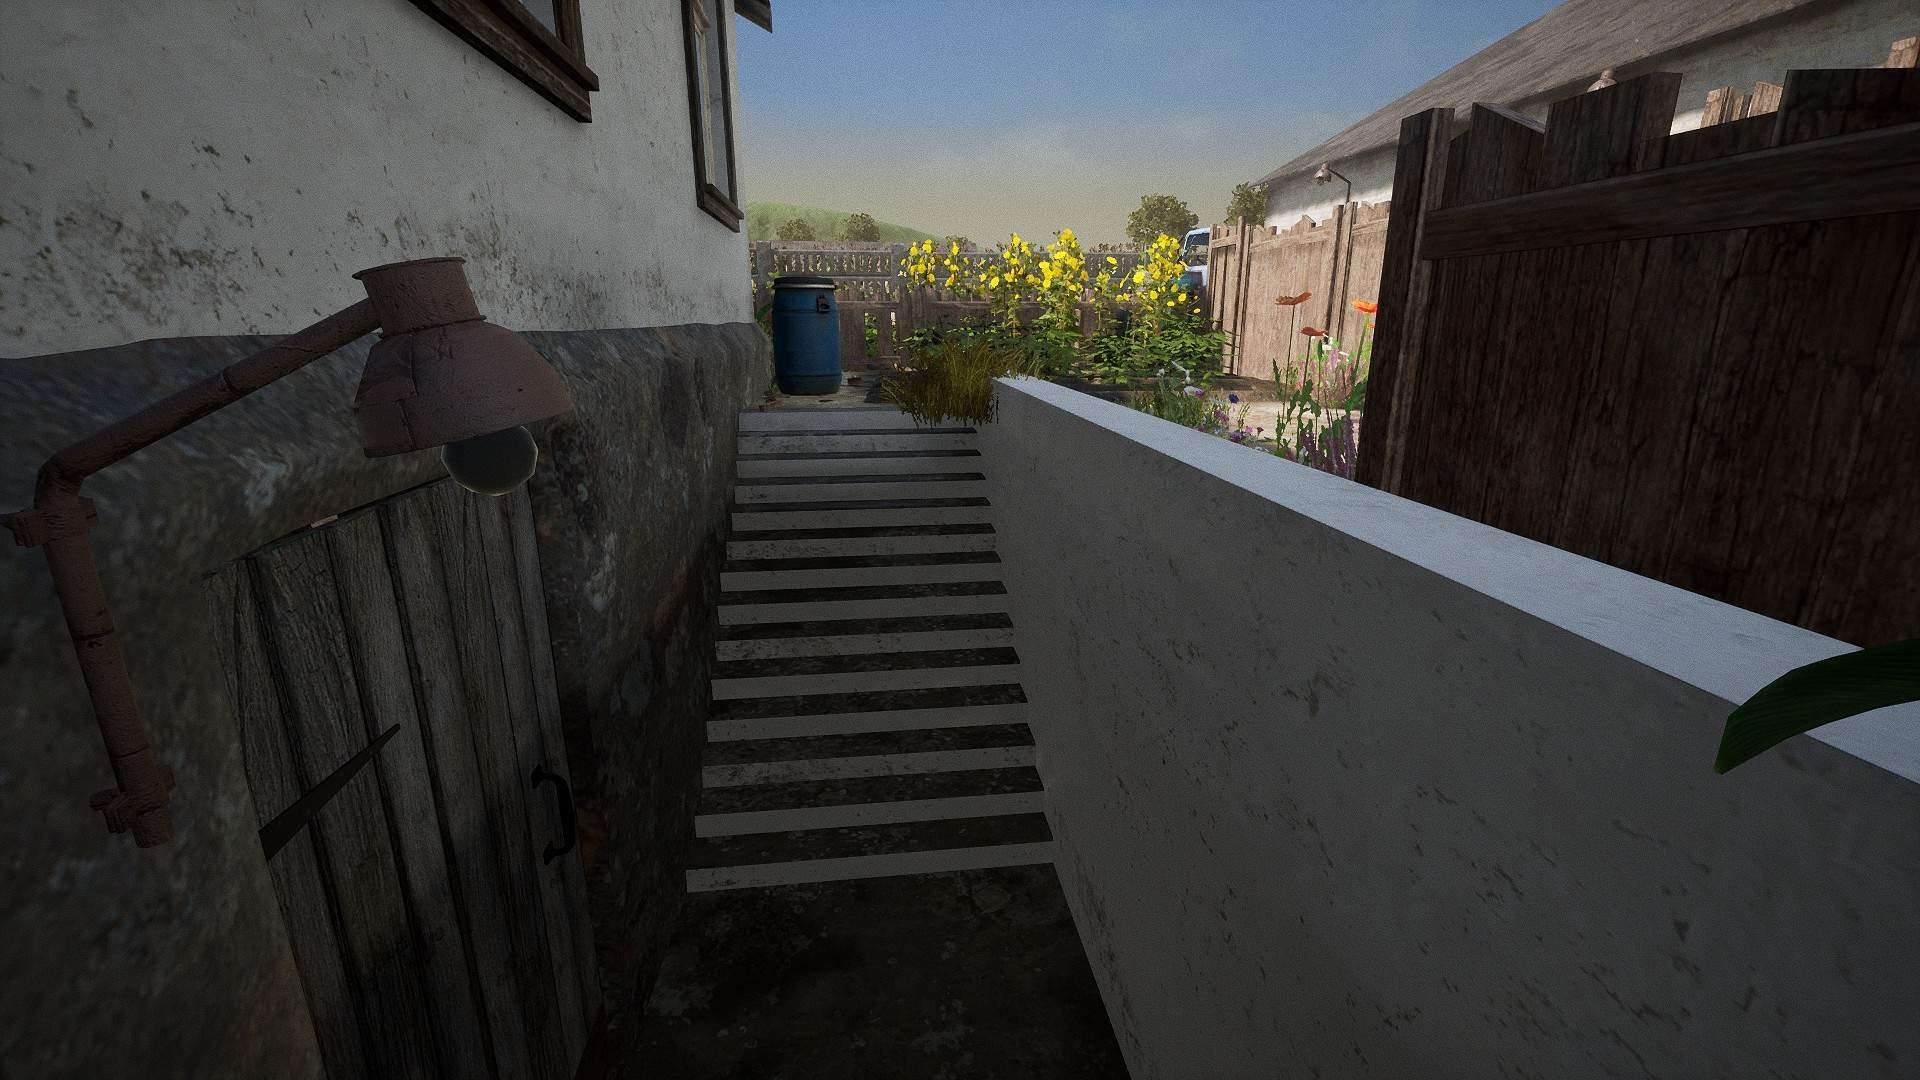
Utilize the basement door to leave Alpha Site, and you will have accomplished this portion of the mission. I advise going counter-clockwise as you leave, in the event that Bravo Site is still needing to be dealt with. Otherwise, you can bypass Bravo Site and head back through the gate for exfil.
Bravo Site
Two Guys Walk Into A Barn…
Referencing the above image, Bravo Site is located on the left hand side. You have a barn door on the left, partially open, and a traditional door towards the center that’s closed. I prefer the closest door to me, but the technique will be applicable to either.
And The Third Guy Leaves

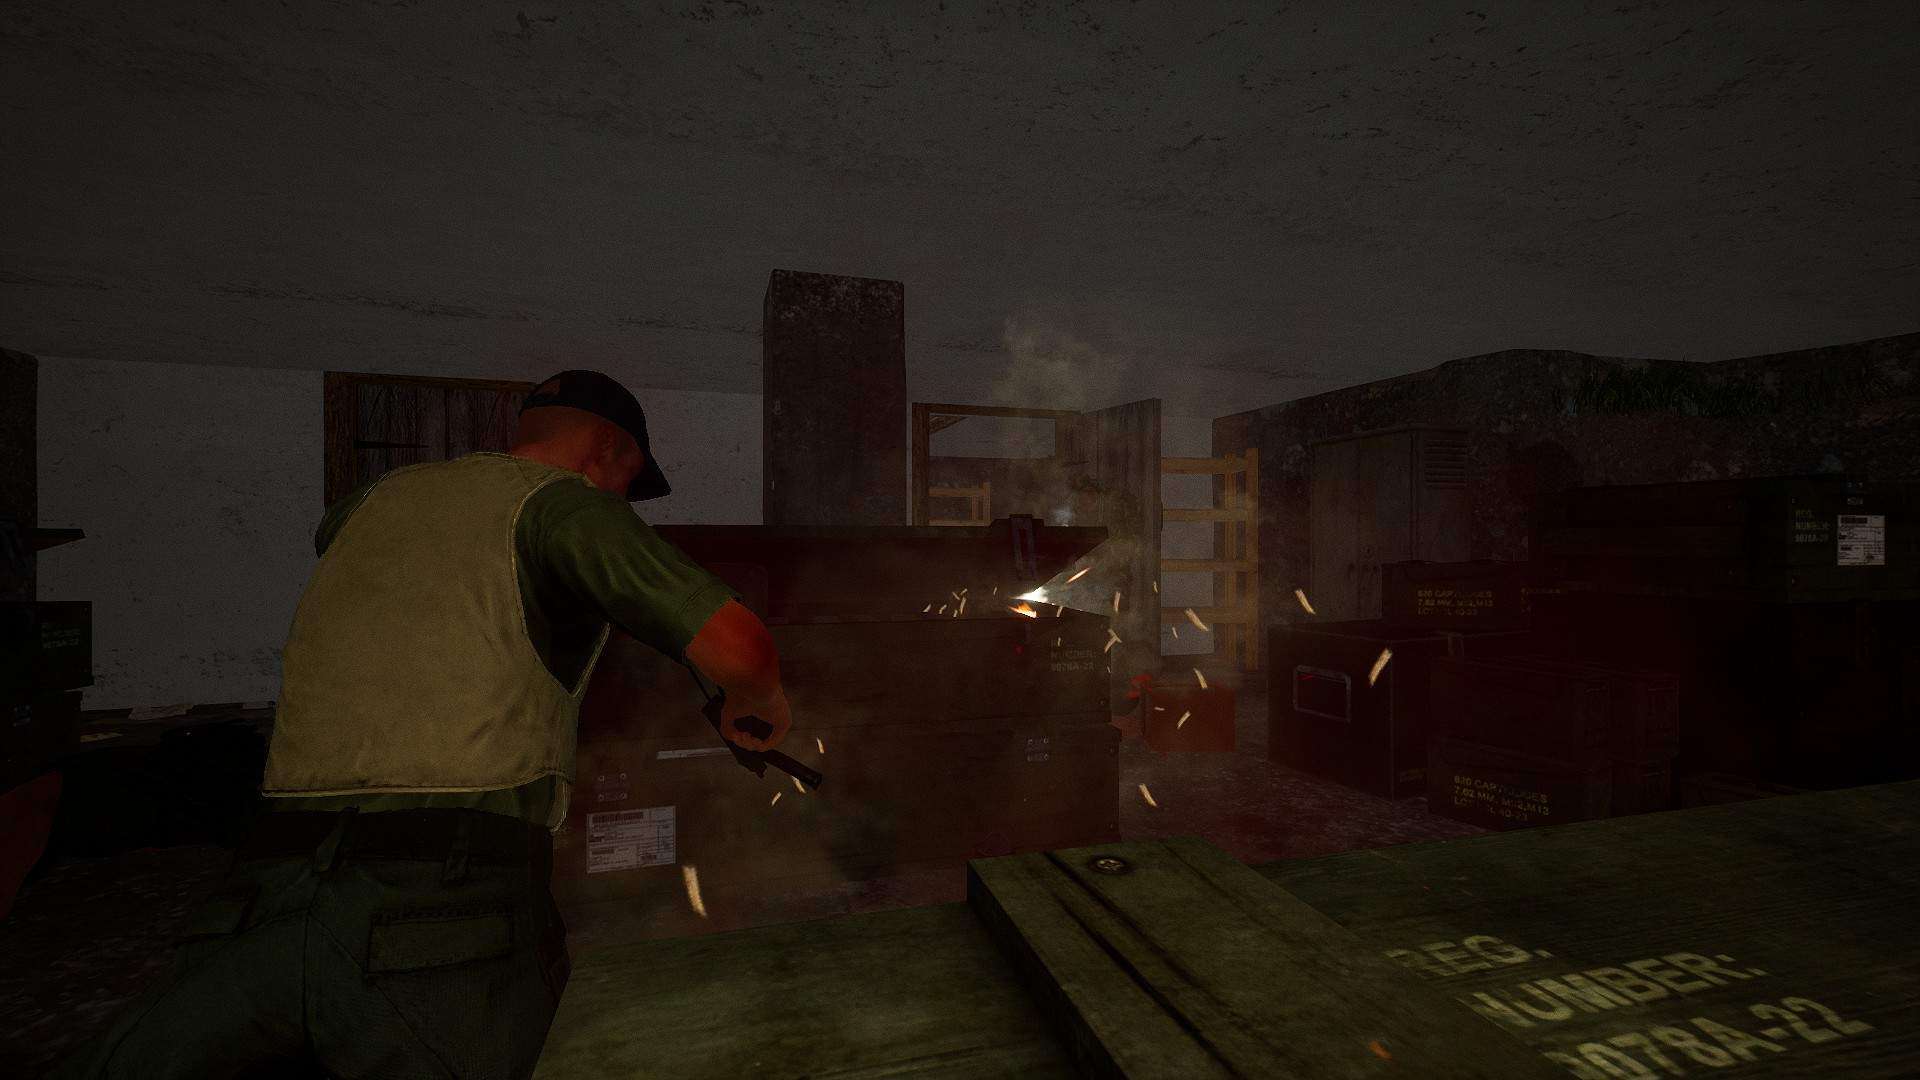
Upon reaching the door, prep a handheld (I prefer stuns, but frags work if that’s your speed) and open the door. Throw the handheld in and once it activates, sweep into the room and dispose of any hostiles that still pose a threat.
I have yet to find the intel needed to complete this mission in Bravo Site, so I will say it does not spawn here. After clearing this building, Bravo Site is clear. See Alpha Site, Top Floor section if you did Bravo Site first. Otherwise, proceed to Extraction.
Extraction
So Easy A Caveman Could Do It
Very Straightforward. Return to the street you came from and your exfil will be awaiting you. No reinforcements will be coming, so don’t worry.
Congratulations on a successful completion of Operation Red Sword on Realism difficulty, solo! My PB is 4:48. This will conclude the guide.


Be the first to comment