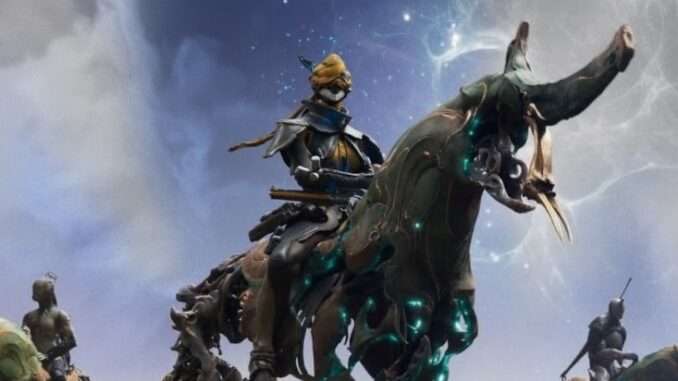
A guide to the Archarbor puzzle in Duviri.
Intro
This guide contains spoilers for one of the locations in Duviri. If you want to do this puzzle on your own, stop reading this guide.
Archarbor seems to only spawn during the Joy Spiral. Maybe it shows up in another Spiral, but I’ve only managed to play during a few.
First Steps
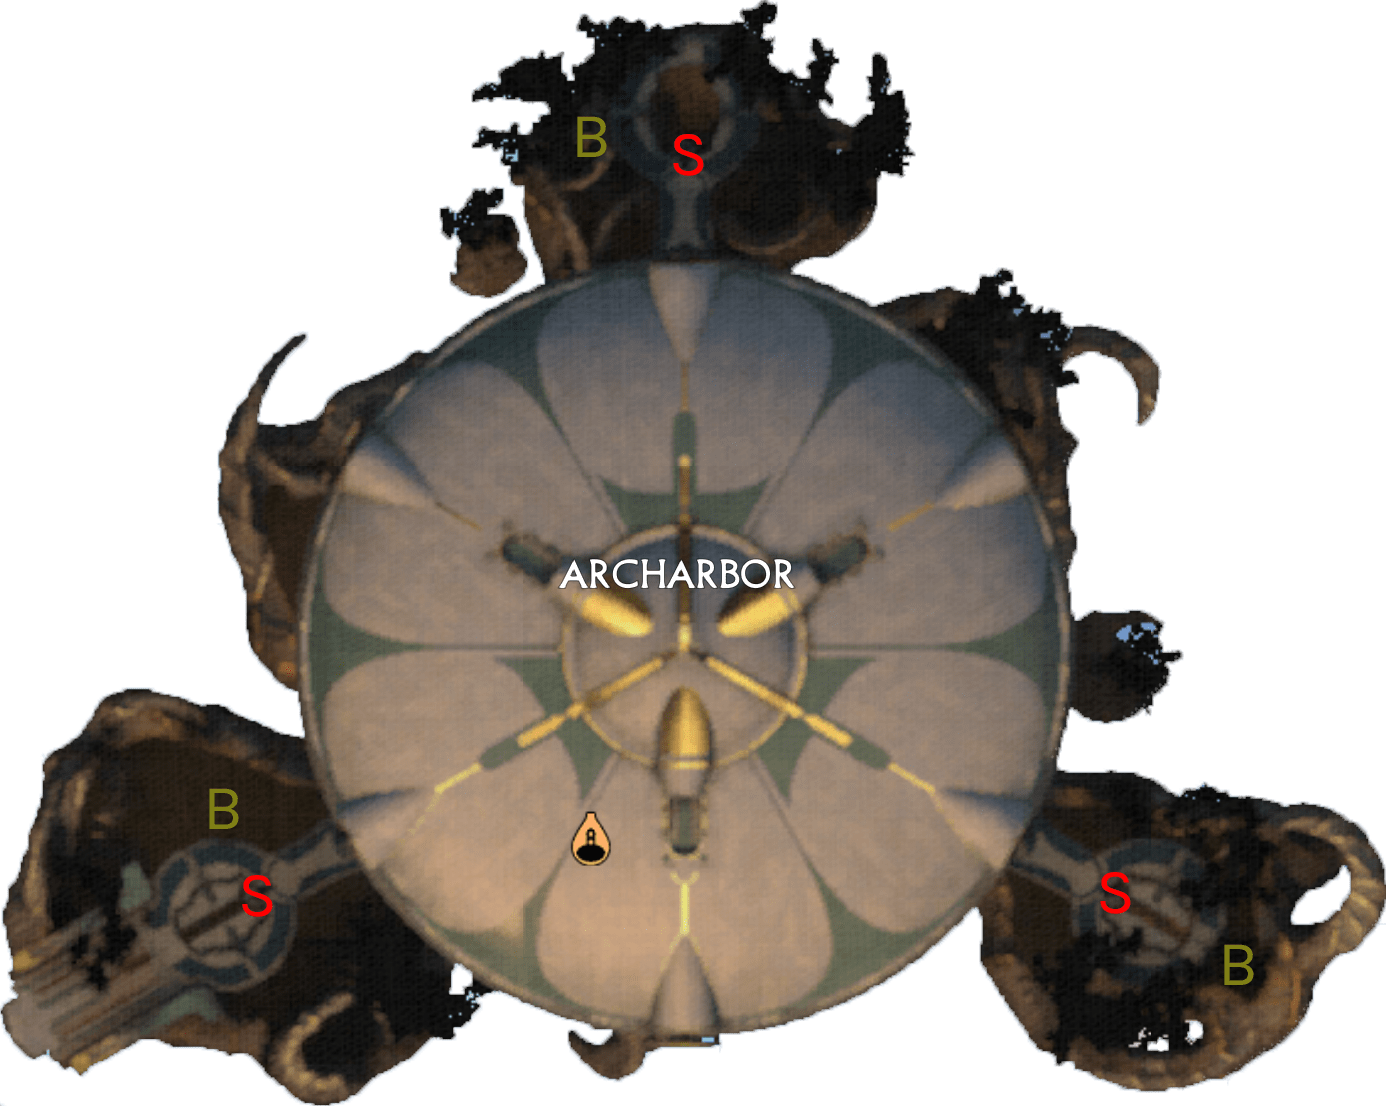
Here’s a map of Archarbor.
- B = Bust
- S = Security
Your first goals are to disable security in these three areas by interacting with the podium (labeled “S”) on the map. Every time you do so, the floor opens up nearby.
Alongside these security consoles, you want to interact with the busts of Dominus Thrax (labeled “B”) so they face the center of Archarbor, the same way the podiums are facing. Once they are in the right position, they will all start glowing.
Once you disable all three security consoles and move all three busts, head to the southwest security node and head underground. There, you’ll find a glowing object with a console next to it. Interact with it and look outside, and you’ll see the door to your next objective being opened. Now you’ll want to head underneath the island and go to that door.
Solving the Puzzle
Once inside, you’ll find an owl sitting in the center of the room with several glowing blue objects around it. In case you haven’t seen these weird tube/pot objects yet, you shoot them in order to change the symbol it shows. On one of the walls, you’ll see this:
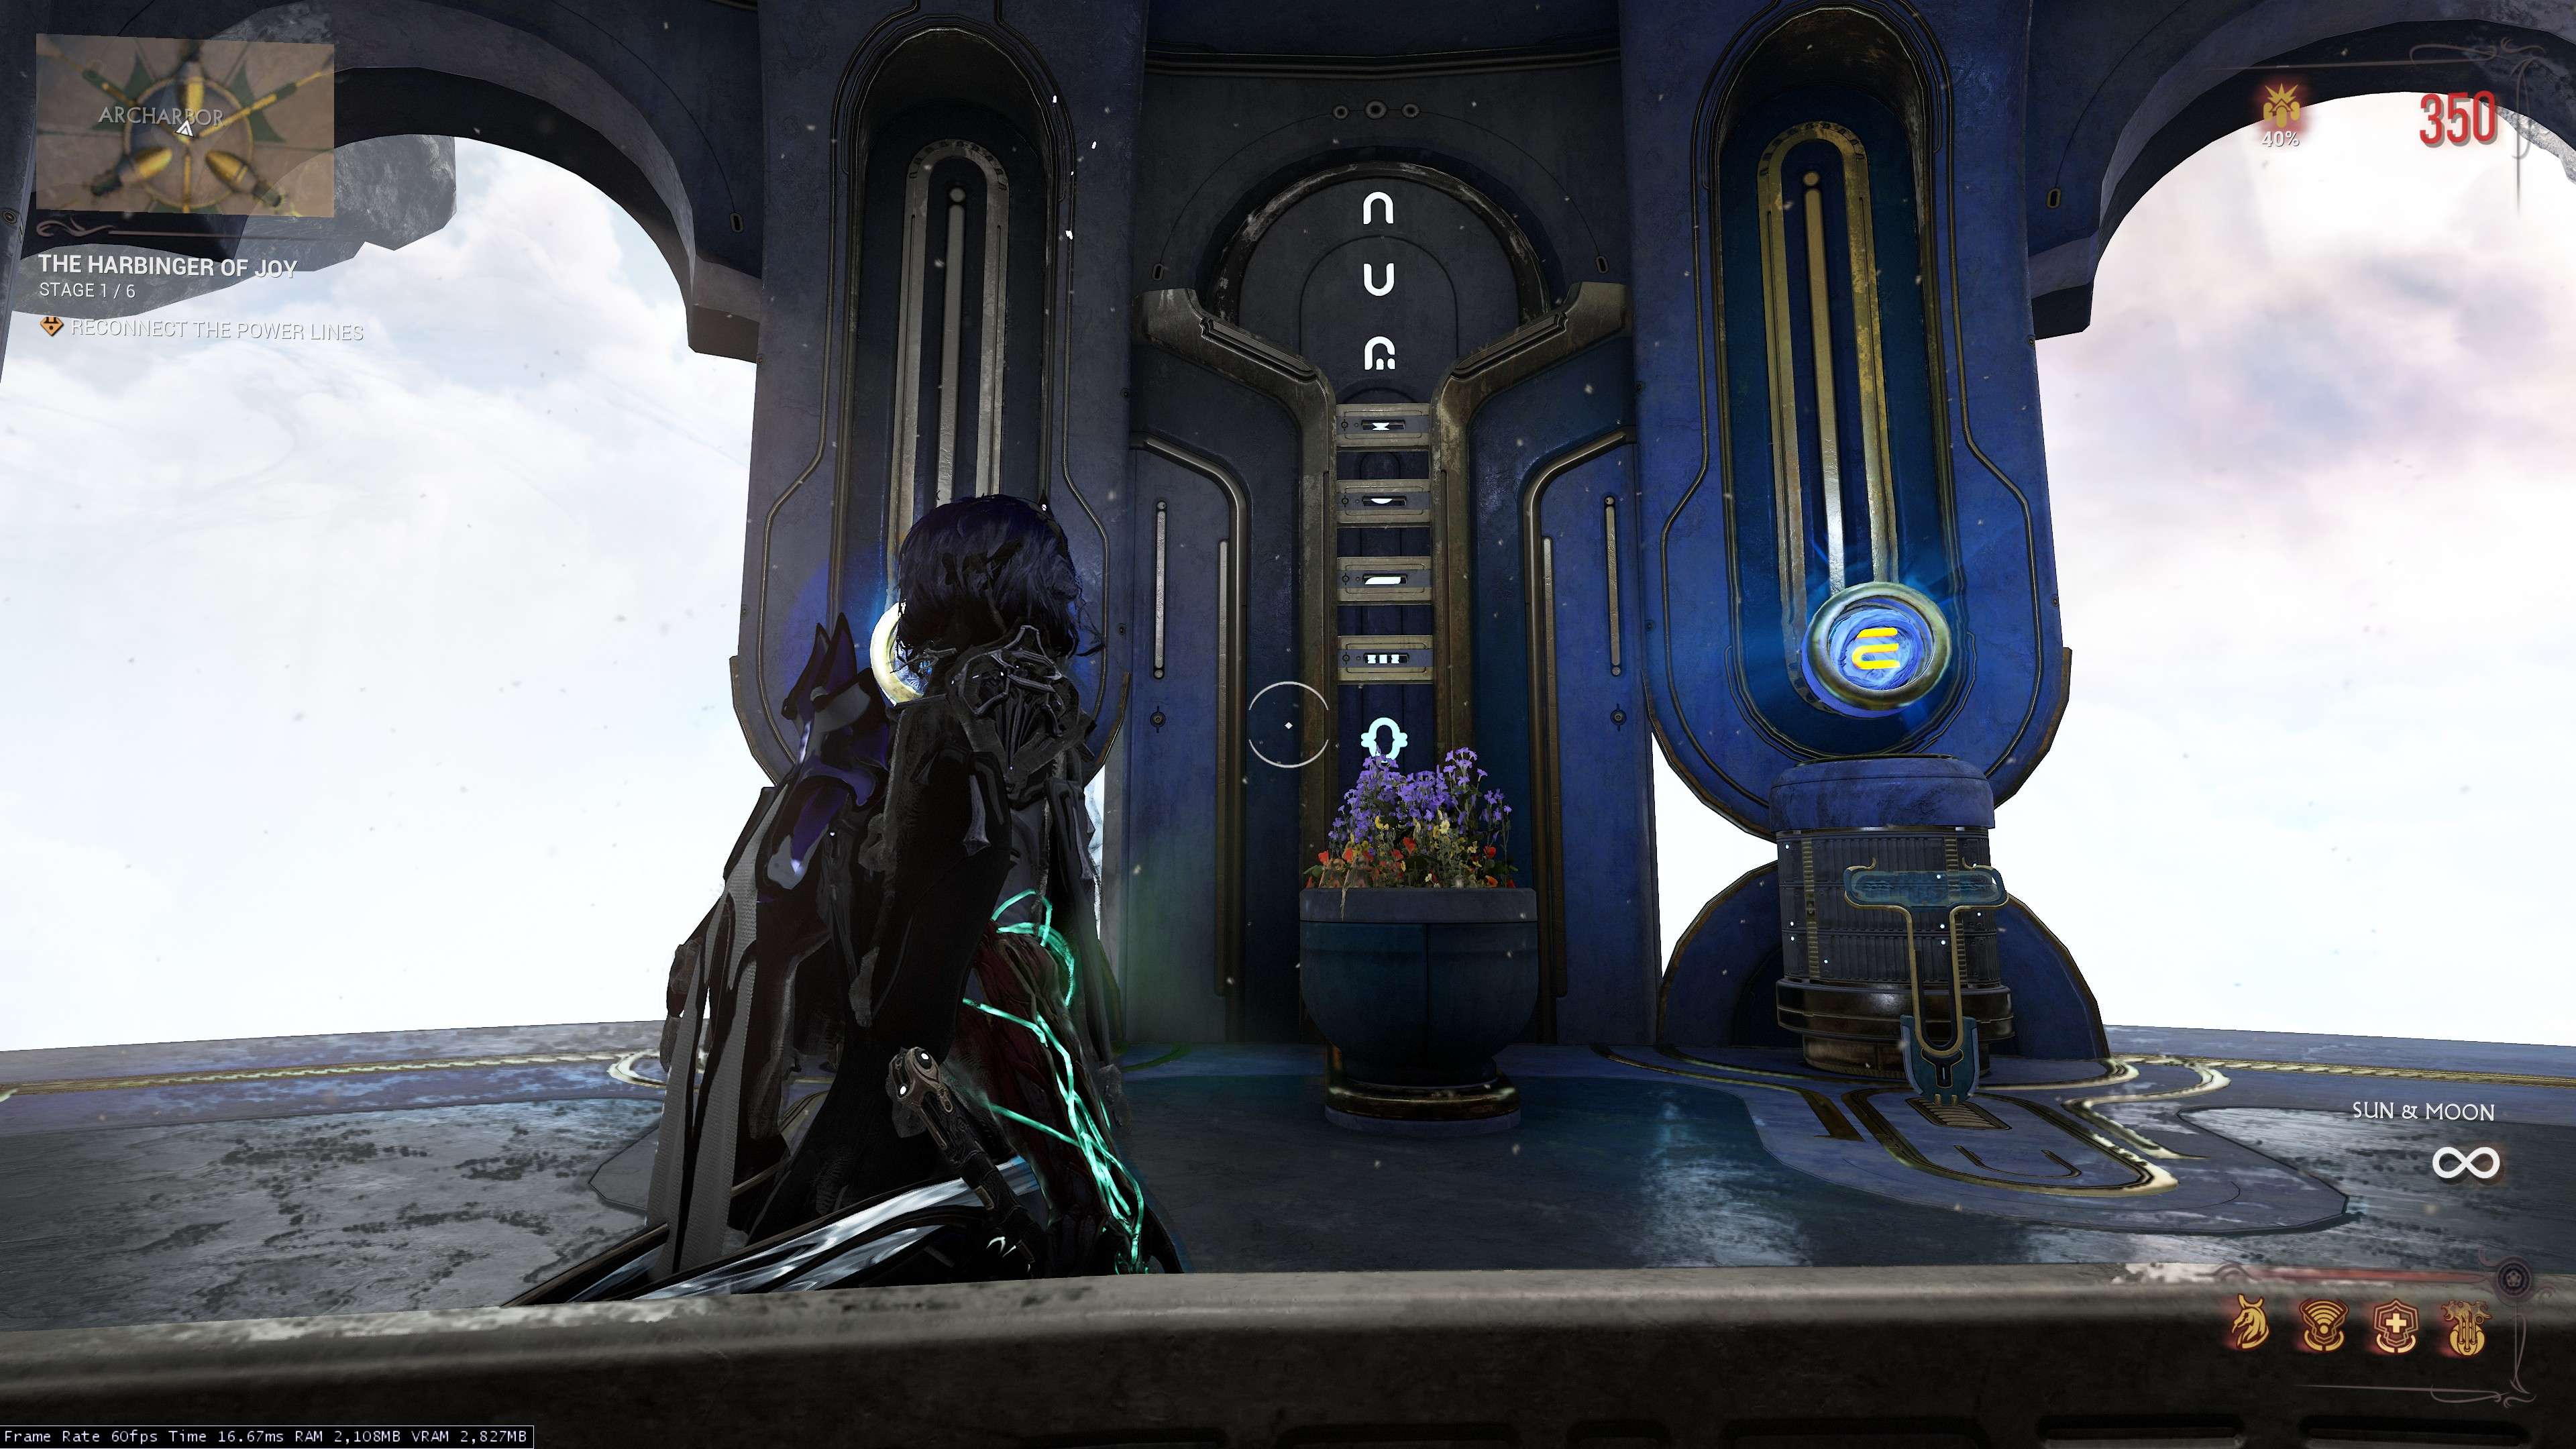
You need to match the symbols in the tubes with those on the wall. But hold on, you’ll notice that some of the tubes on the wall aren’t glowing and half of the symbols are obscured.
To get started, you’ll want the four podiums on either side of the symbol wall functional. All of the ones that need to work have podiums in front of them. Starting from the fourth tube to the left of the symbol wall, tubes 2 and 3, and on the other side, 6 and 7, all need glowing blue balls in order to work. These are found on the podiums without consoles that sit opposite the symbol wall.
You’ll want to interact with these four podiums to get a glowing blue ball. One you shoot, for one you push the podium, one is already out so all you do is grab it, and for the last one you shoot a lit-up bit that’s connected to it. Once you have them all running, from left to right, here’s how you interact with the tubes to change the symbols (or open them, if you haven’t figured it out):
- Shoot the little node attached to it to open the tube.
- Shoot the bottom tube to open the top one.
- Shoot the symbol, don’t shoot the node.
- Shoot the symbol.
- Shoot the symbol.
- Shoot the symbol, don’t shoot the node.
- Stand on the platform to open the tube.
- Shoot the black vines to open the tube.
Tubes 1, 3, 5, and 7 shoot damaging lasers at you as you change the symbol. If you dodge quickly, you won’t take any damage. For future reference, whenever you see these puzzles out in Duviri and you see them flashing rainbow lights like here, get ready to dodge.
Getting to the symbols themselves, you figure out the obscured symbols based on the tiny slits showing a little piece of them. These slits always show the exact middle of the symbol you want. so once you take a while to look through the symbols, you’ll slowly start to figure out which ones fit. There are no “maybes” here, and there are no two symbols that fit a single slit, so if you write down the symbols and match them with what shows up on each blue ball, you’ll figure it out pretty quickly. The symbols do not need to be in any particular order. With a piece of paper in hand, you can figure out the symbols 😀
You’ll know once you’ve set all the correct symbols as the game will immediately reward you with loot and a decree. Once you see that message, go to the owl and collect some more loot off the ground.
Solution in My Game
Just to be clear, this puzzle is randomized every time you go into Duviri. I’m sharing my puzzle solution so you get a better idea of what the right symbols might be for you in your own game.
Here’s my symbol wall:

In order, going left to right:
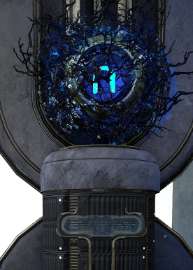
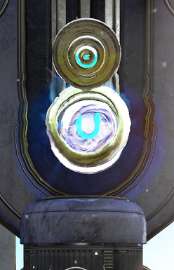
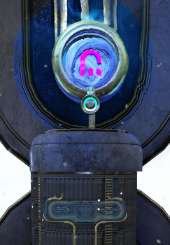
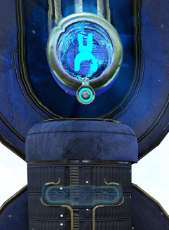
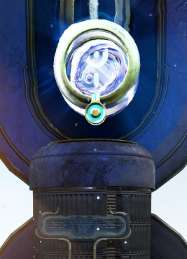
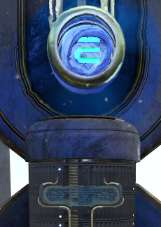
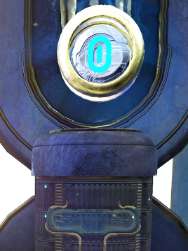
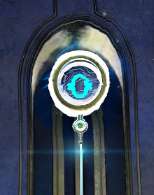
Remember that the slit shows the middle portion of the symbol, they don’t need to be in order, and it’s a lot easier if you write it down. Good luck!


No longer relevant. Now you need to take the ball out of cell 4 after the correct symbol and insert it into cell 1.
Can also confirm getting a Cinta part. Because it’s still an Enigma puzzle, albeit a longer one, it still can drop a Cinta part. It probably has a higher drop rate but not 100%
Yeah they sometimes drop Cinta parts, but it’s definitely not 100%. I even went back to do it again and I still haven’t gotten any from doing it around 5-6 times now lmao.
Can you pull this off solo
Yes it can be done solo, there’s nothing about it that requires other people.
Great guide so far.
Here’s a couple things I found/tested:
– pretty sure the island only appearing in some spirals are intentional, similarly the amphitheater island isn’t always active.
– the security consoles themselves doesn’t seem to have anything to do with the puzzle, you only need to open the southwest one with the console inside.
– unlike normal enigma puzzles, the corresponding symbols on the wall doesn’t light up when the their disc is correct
– as per reward, I got a cinta part, but I’m unsure if drop rate is quaranteed 1 part, higher than the normal enigma puzzles or what.
It does seems to give a lot more rare resources, like 5 enigma gyrum
States that it shows up during Joy, Envy, and Sorrow Spirals. As for the Cinta part, I saw a lot of people saying they got one from this, but I’ve done the puzzle twice and I’ve never gotten any Cinta parts from it. Unfortunately I forgot to write down what the rewards tended to be, but “rare stuff” seems pretty apt for this.