
A brief overview of the difference and similarities of the 4 Force Staff types available to the Psyker Psykinetic, as well as what kind of playstyle they fit with.
Psyker Force Staves Explanation
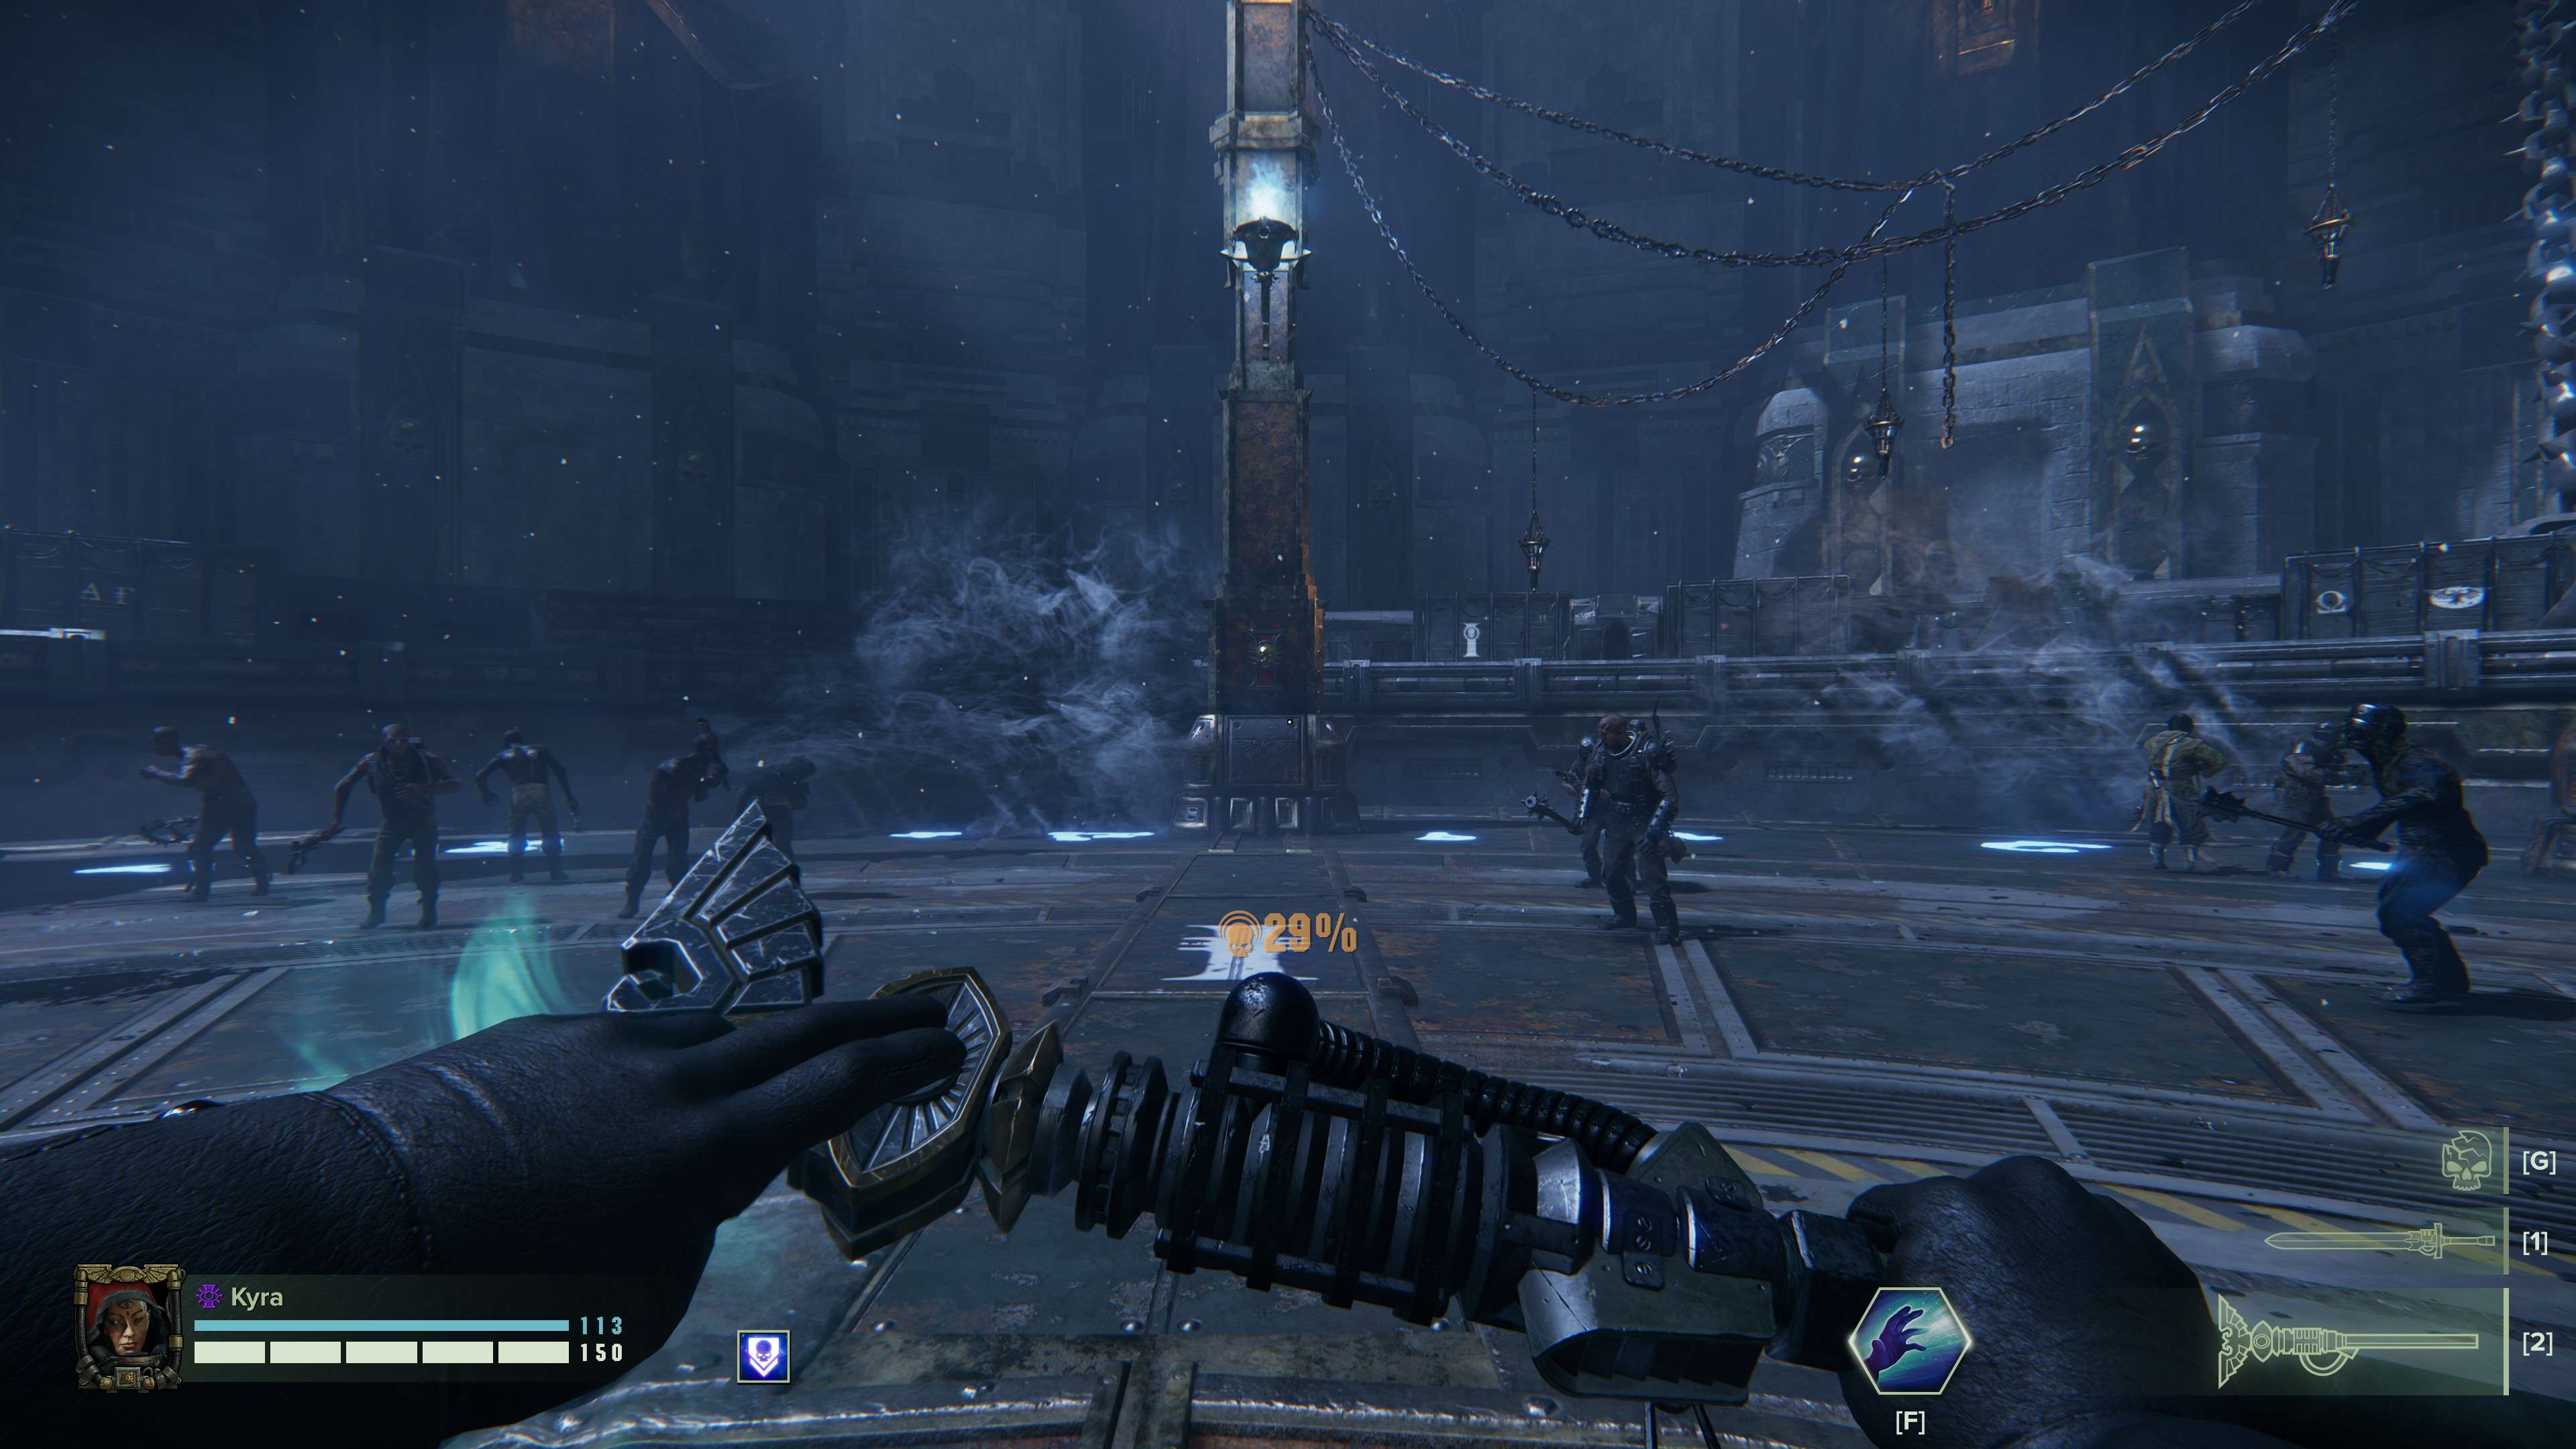
General Notes
All Force Staves have a “Special Attack” that will allow you to use the staff as a club. This deals minimal damage and is generally pretty useless as switching to a melee weapon is usually very quick.
With the exception of the Purgatus Force Staff, all staves have the same primary attack:
Primary Attack
Sends out a bolt of warp energy that travels in a straight line but quite a bit slower than a bullet or las-bolt, so you’ll have to adjust aim on moving targets and hitting mobile enemies at a distance can be tricky.
It’ll deal decent damage on par with most regular ranged weapons and can hit weakspots like heads for extra damage. Depending on the “Warp Resistance” stat, one shot of this will generate between 3.75-6.25% of Peril.
Charging Secondary
All staves have a Secondary Attack that can be charged and released. I’ll go into detail in the sections on the specific staves, but they all have one thing in common: Your Peril% WILL rise as long as you keep Secondary Fire pressed. Regardless of whether you Unleash or not, you will gain Peril steadily as long as you press that button.
Unleashing Secondary
You’ll Unleash your Secondary Attack by pressing your Primary Attack button at any point during Charging. Depending on the staff, higher Charge Levels will result in different outcomes, but you can always Unleash at any Charge Level, even right after beginning to Charge your Secondary. Depending on the type of staff, as well as its “Warp Resistance” stat, Unleashing will generate an extra “jump” in Peril%.
Quelling Peril
All staves also allow you to quell (reduce) your Peril % by pressing and holding your Reload Key. Efficiency depends on your staff’s “Quell Speed” Rating.
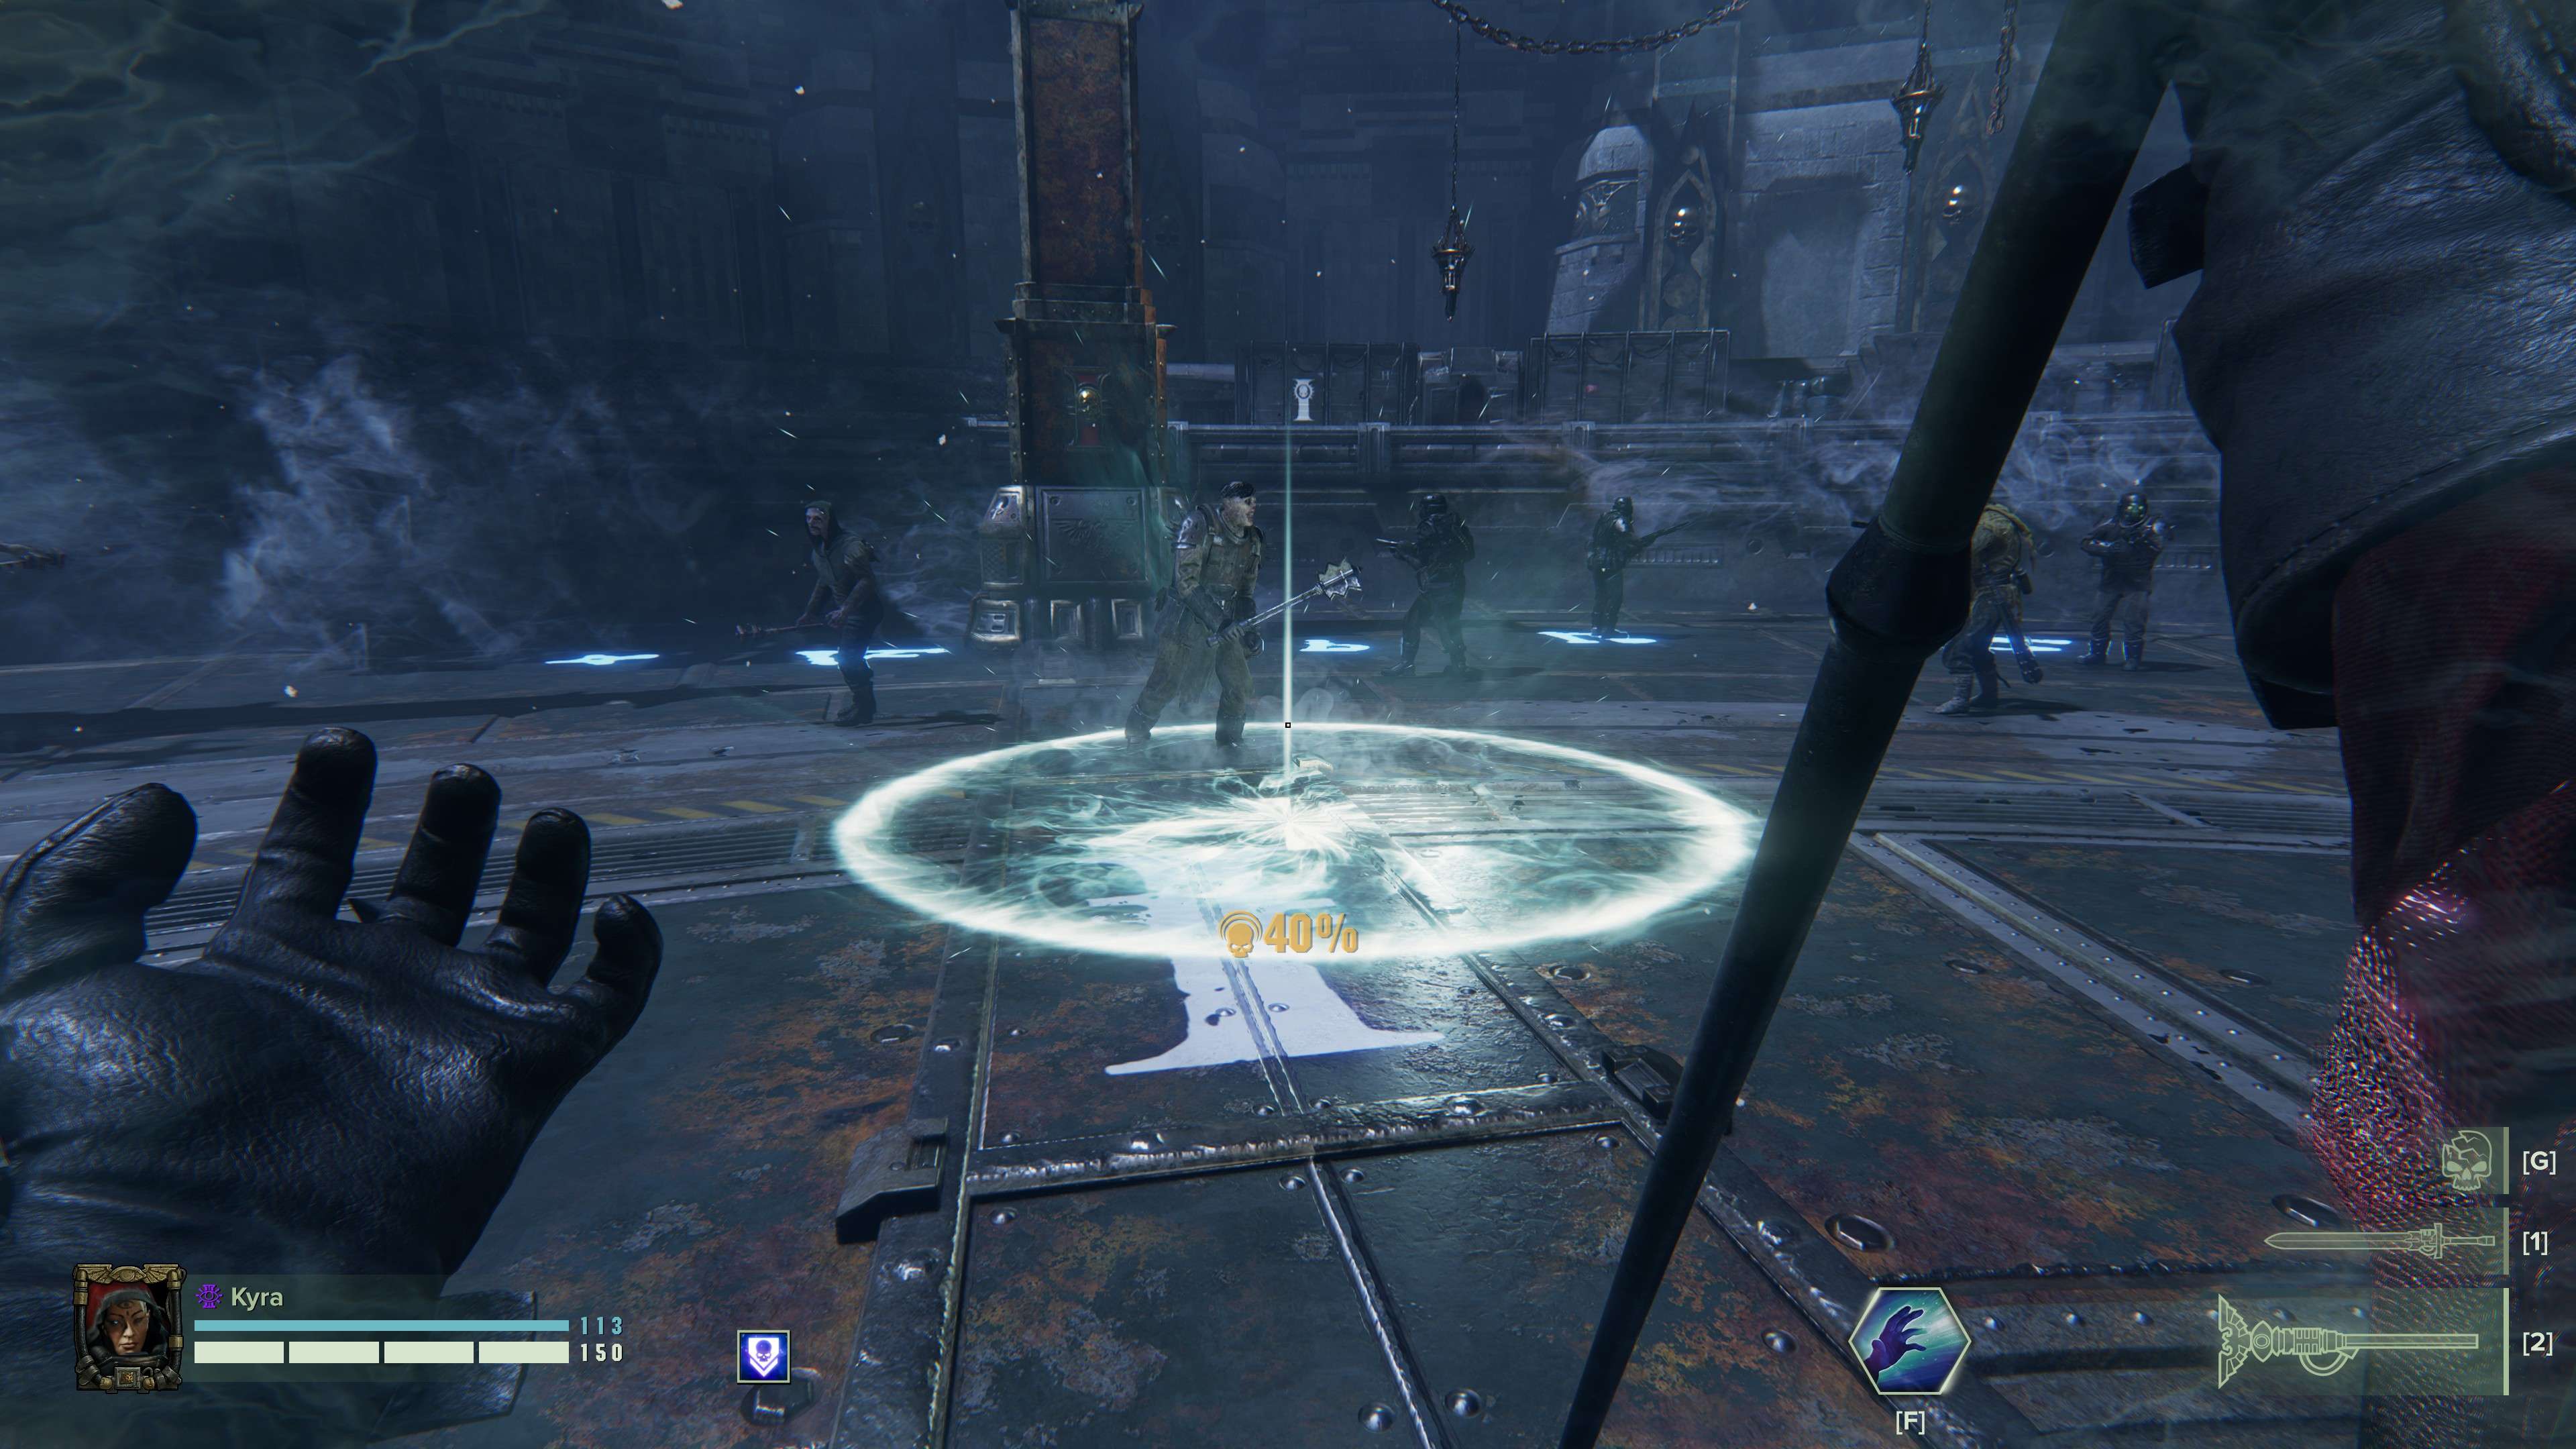
Trauma Force Staff – Make Floor Go Boom!
- Unlocks at: Level 5
The Trauma Force Staff allows you to make the floor under your foes literally explode with warp energy.
What it does
Pressing your secondary attack button will show you a glowing circle outline on the ground which will forcefully explode when you unleash it, dealing damage and staggering most enemies.
What charging it will do
Charging the attack up to a higher level will increase the size of the blast as well as the damage and force projected, increasing the stagger effect.
100% Peril Behaviour
You’re fine to Unleash your secondary as long as you’re below 100% (99% is fine), even if the Unleash theoretically takes you past 100%. You will just enter the “warning state” animation.
What is it good for?
- The Trauma Force Staff is decent at breaking the charge of a horde and its Secondary deals damage regardless of armour, which can be quite useful.
- For hordes, you’ll probably want to start with a large blast followed by several smaller blasts on enemies still clumped together, rather than trying to charge every blast to its fullest.
- Sadly, the Trauma Staff suffers from rather short range on the blast making it hard to set up more than one blast before the enemy reaches you.
- It can be quite devastating in a good bottleneck, though, and the fact that its Secondary basically ignores armour can really help out. Like most other staves, though, it struggles to break through a Bulwark’s shield.
Playstyle?
The Trauma Force Staff is somehwat split between a horde-breaker and stagger-support weapon. However, the limited range in particular makes it quite hard to use and means it can’t perform in either capacity as well as other staves can.
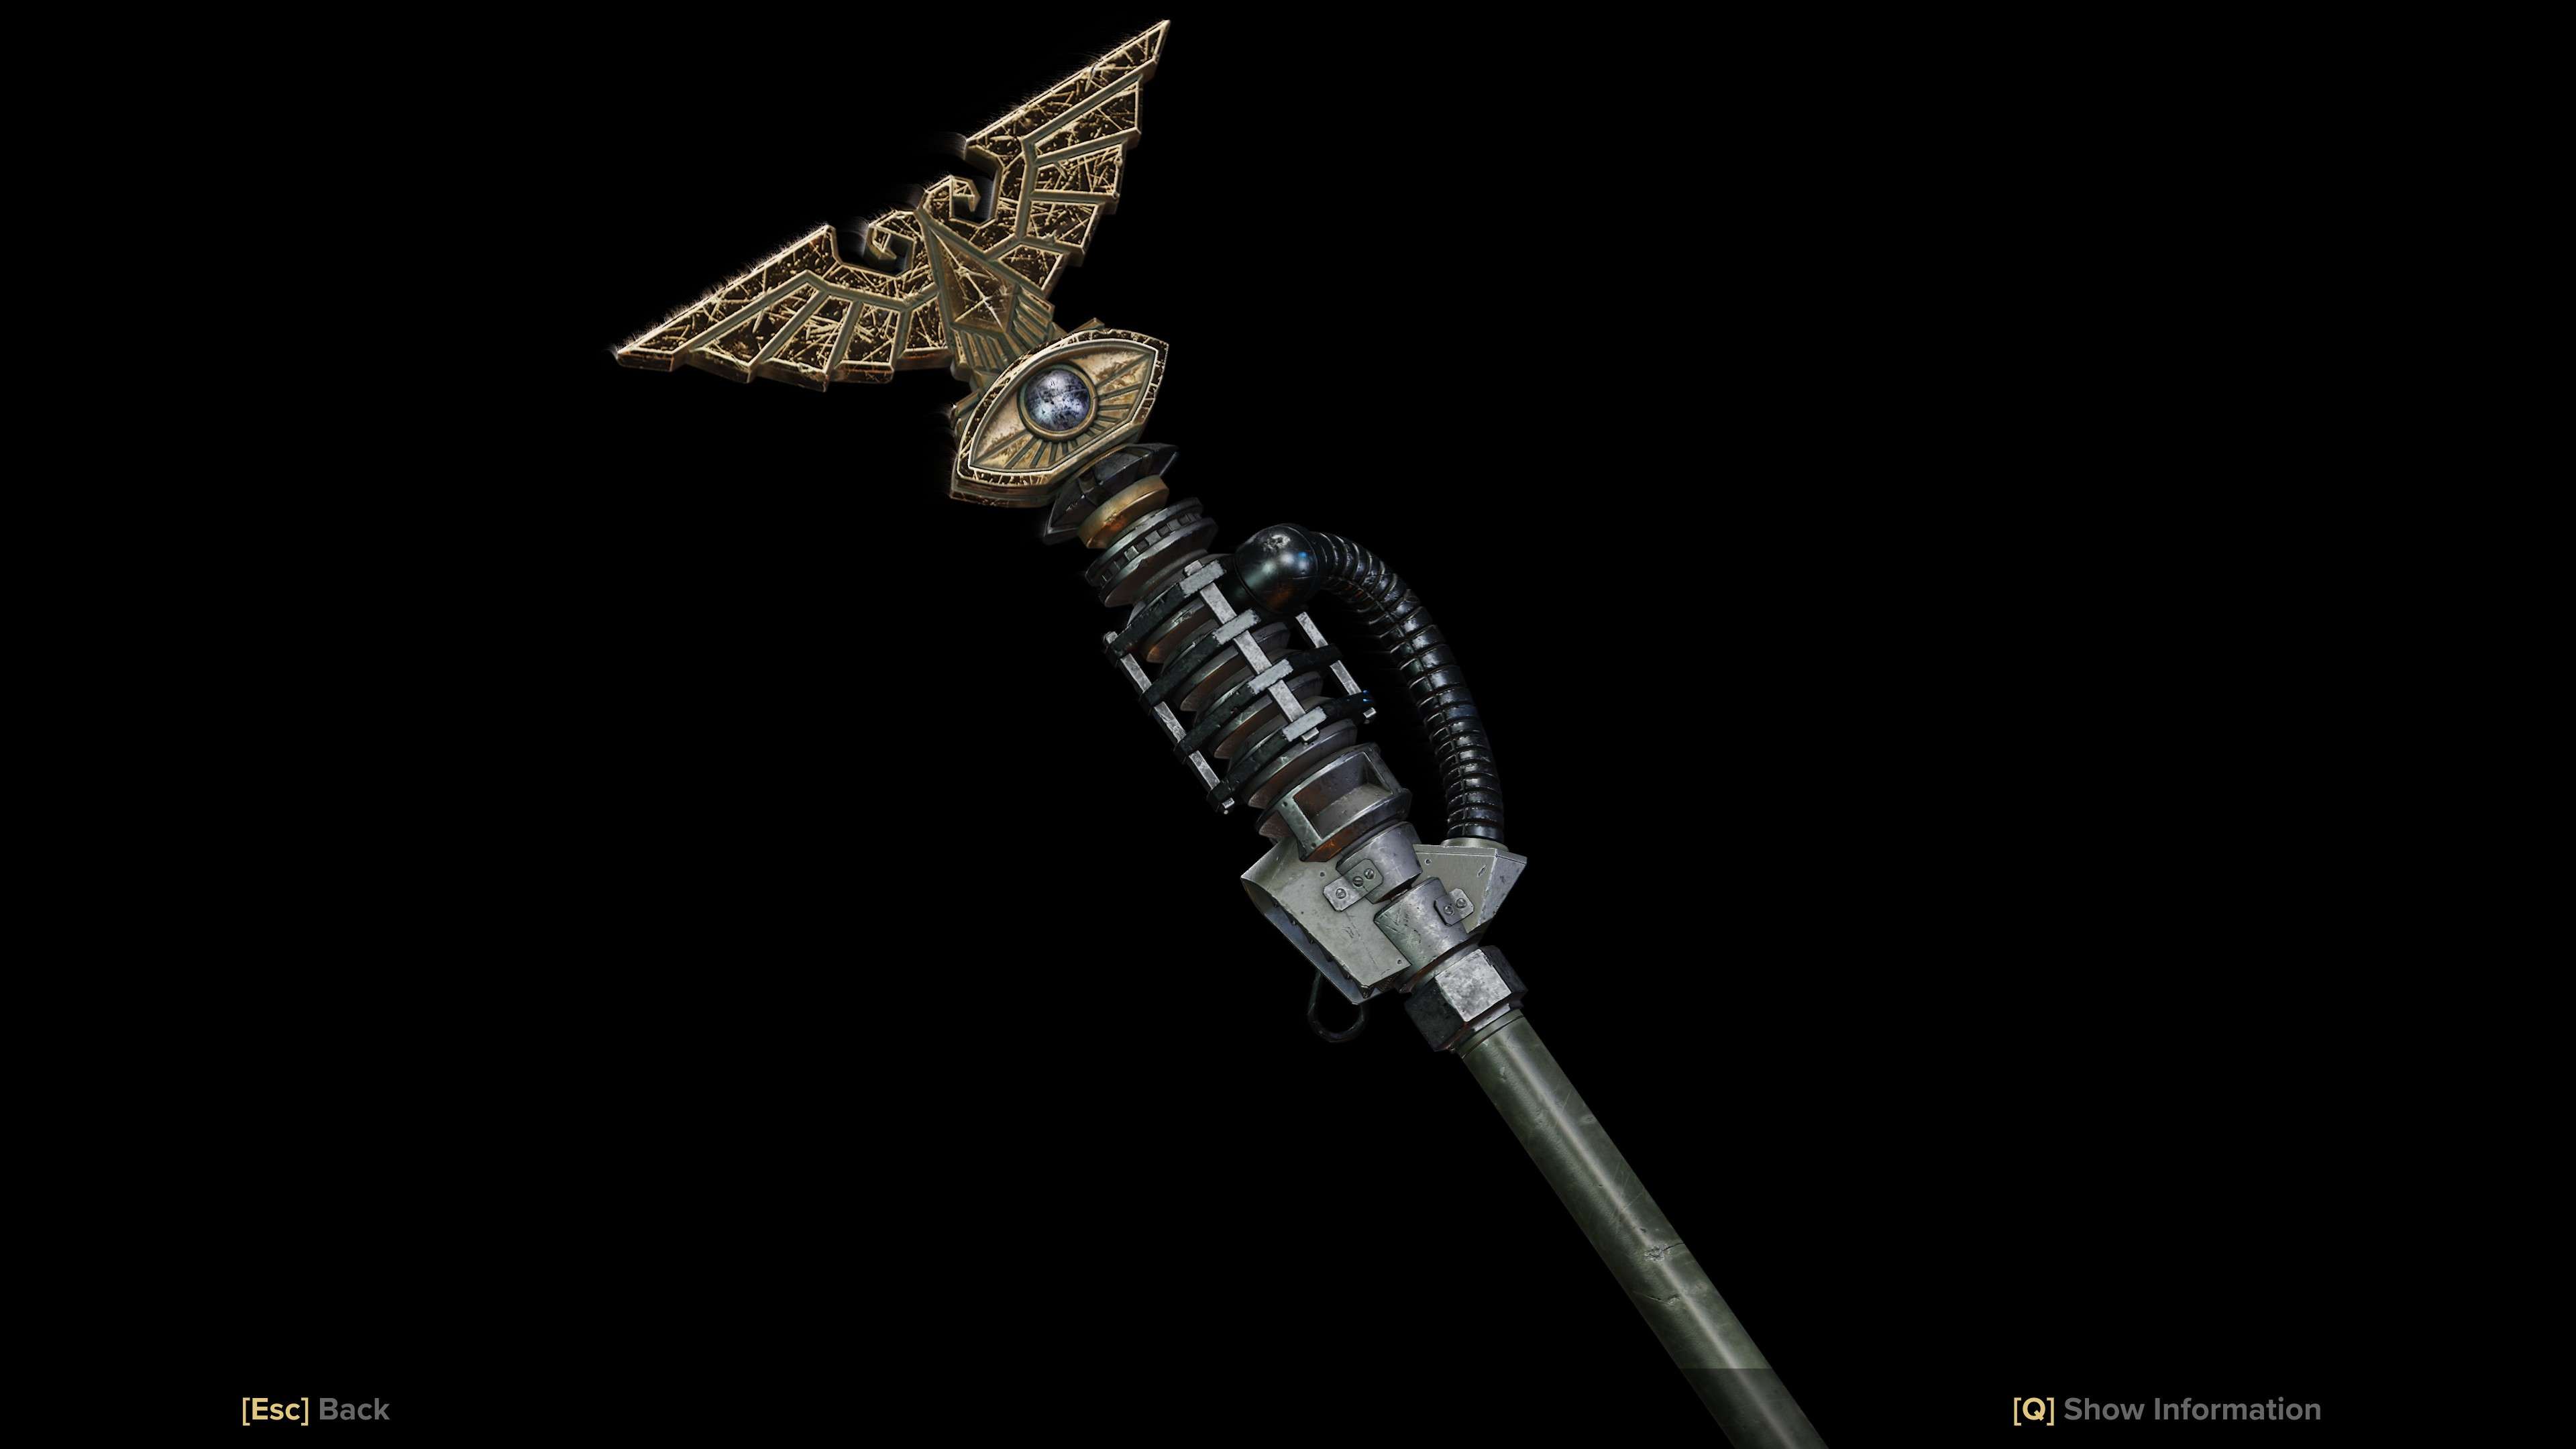
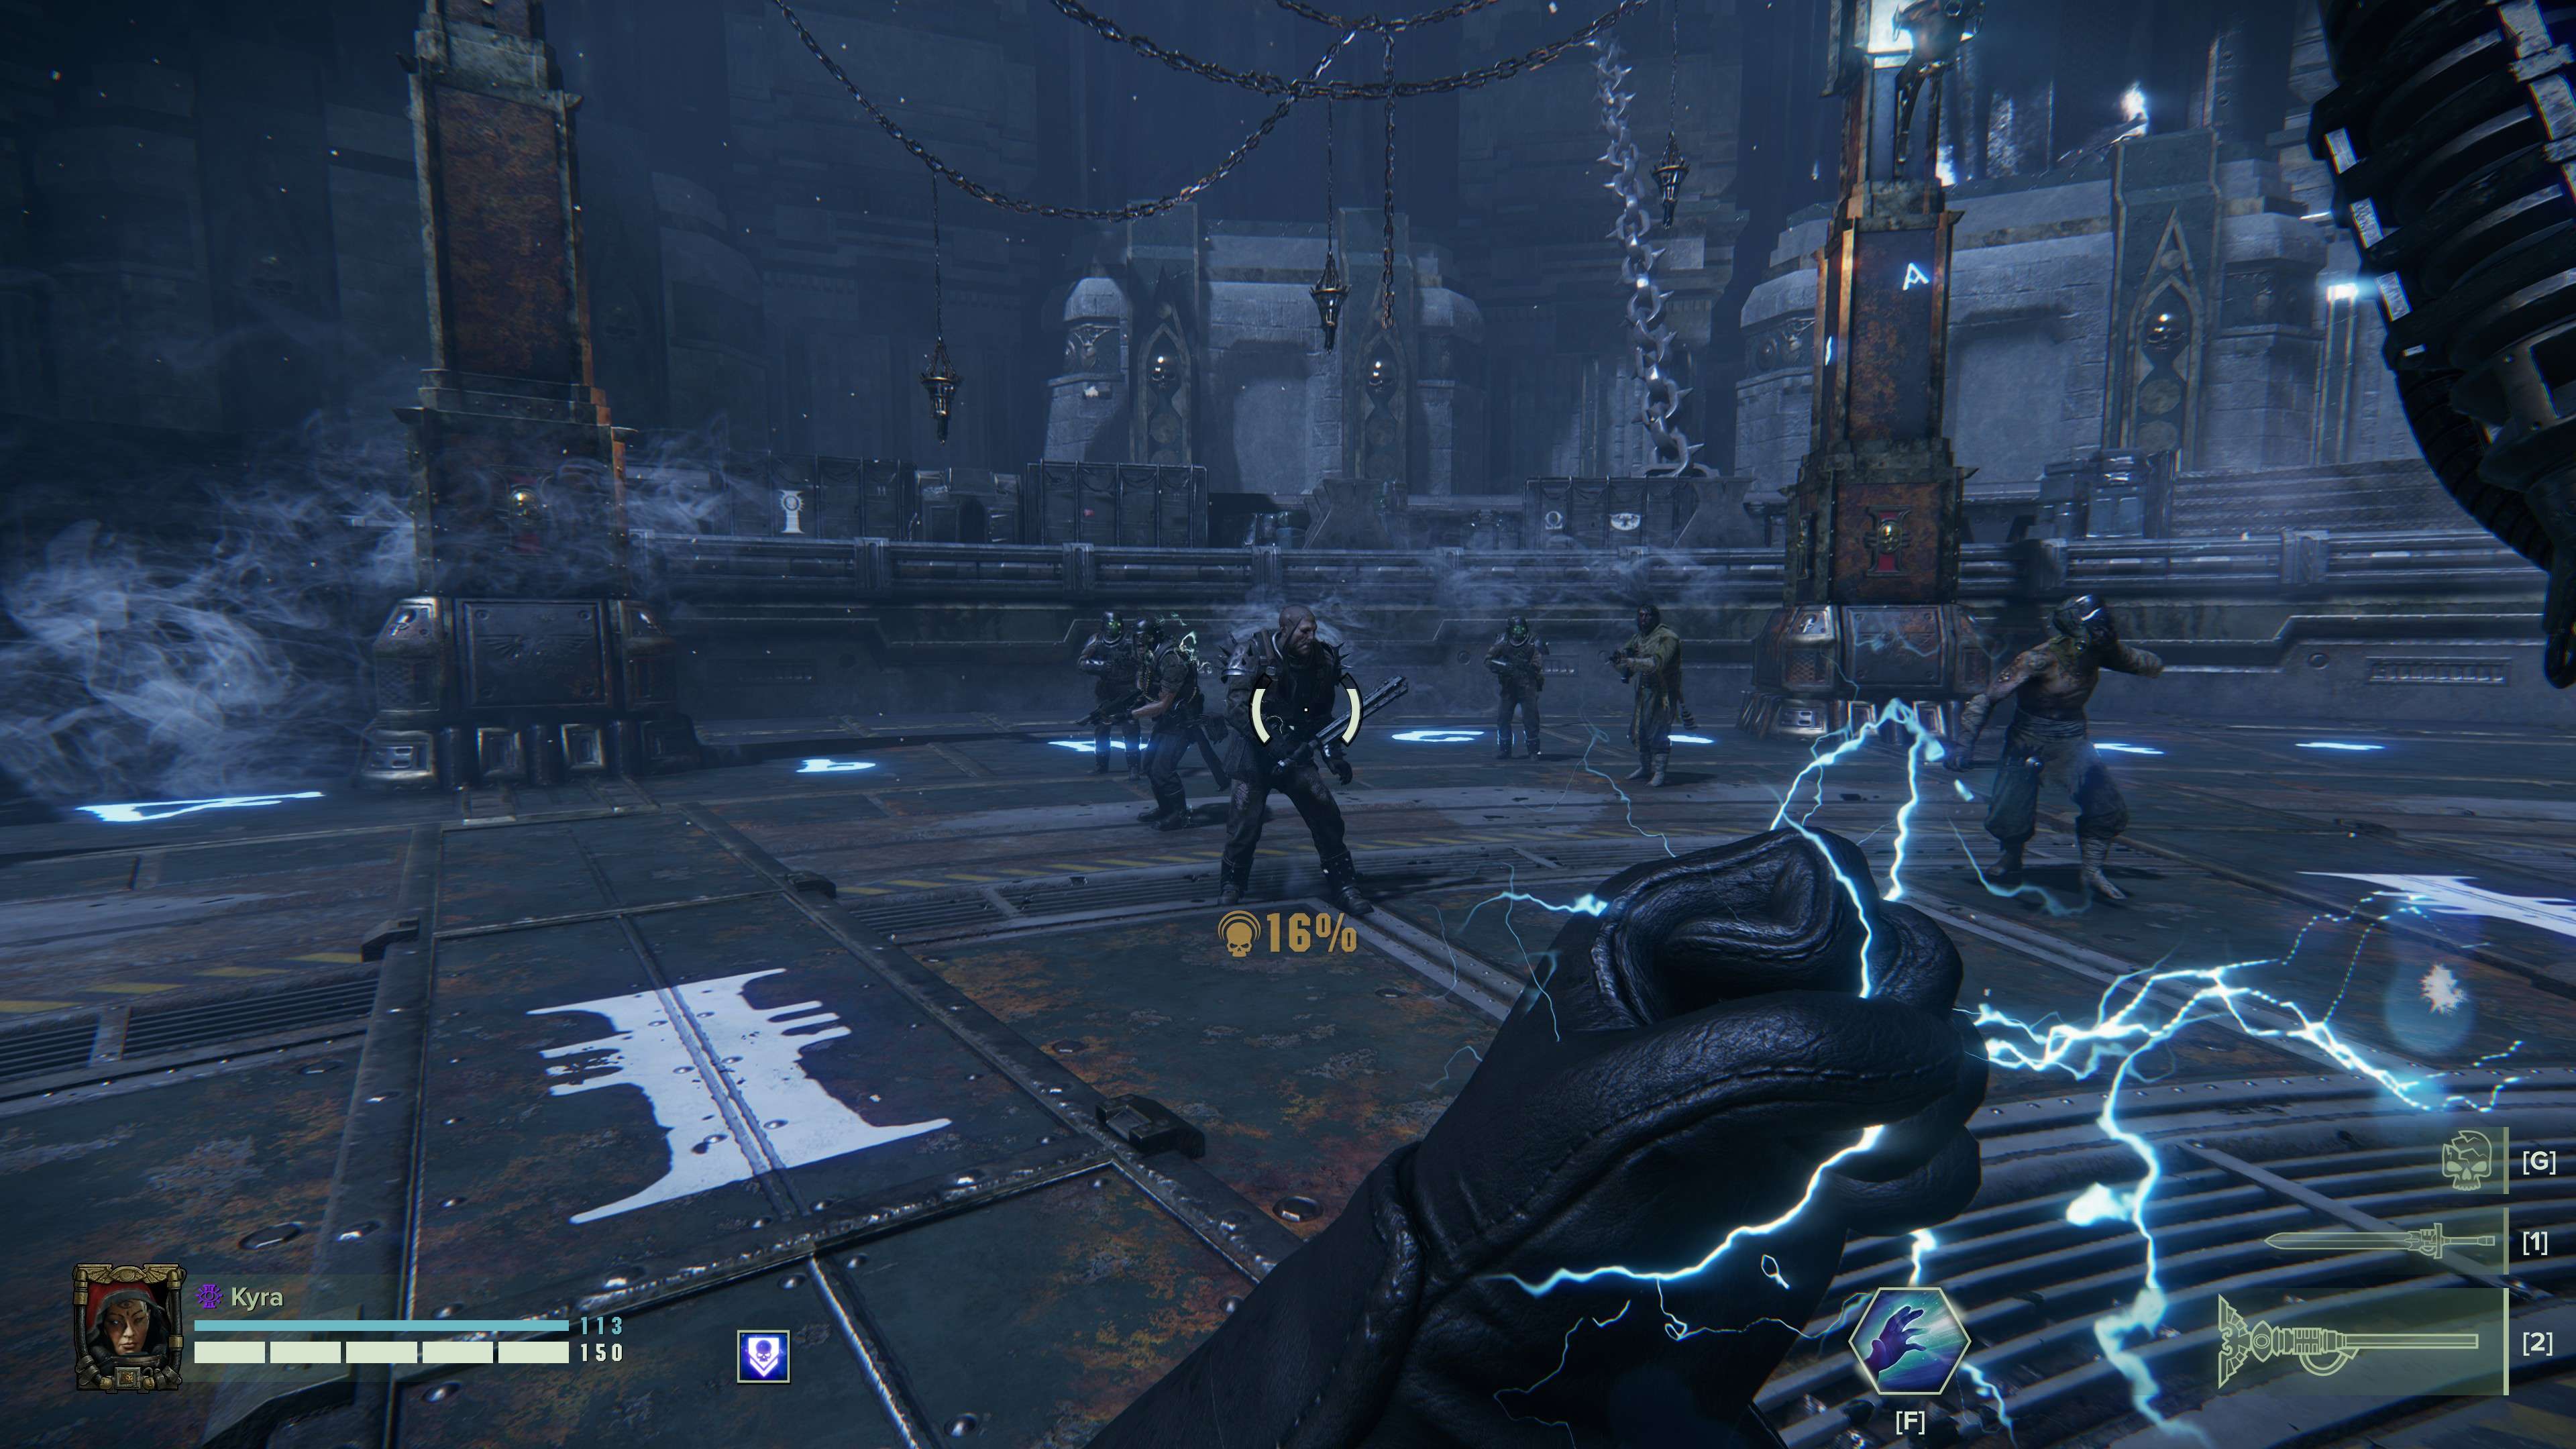
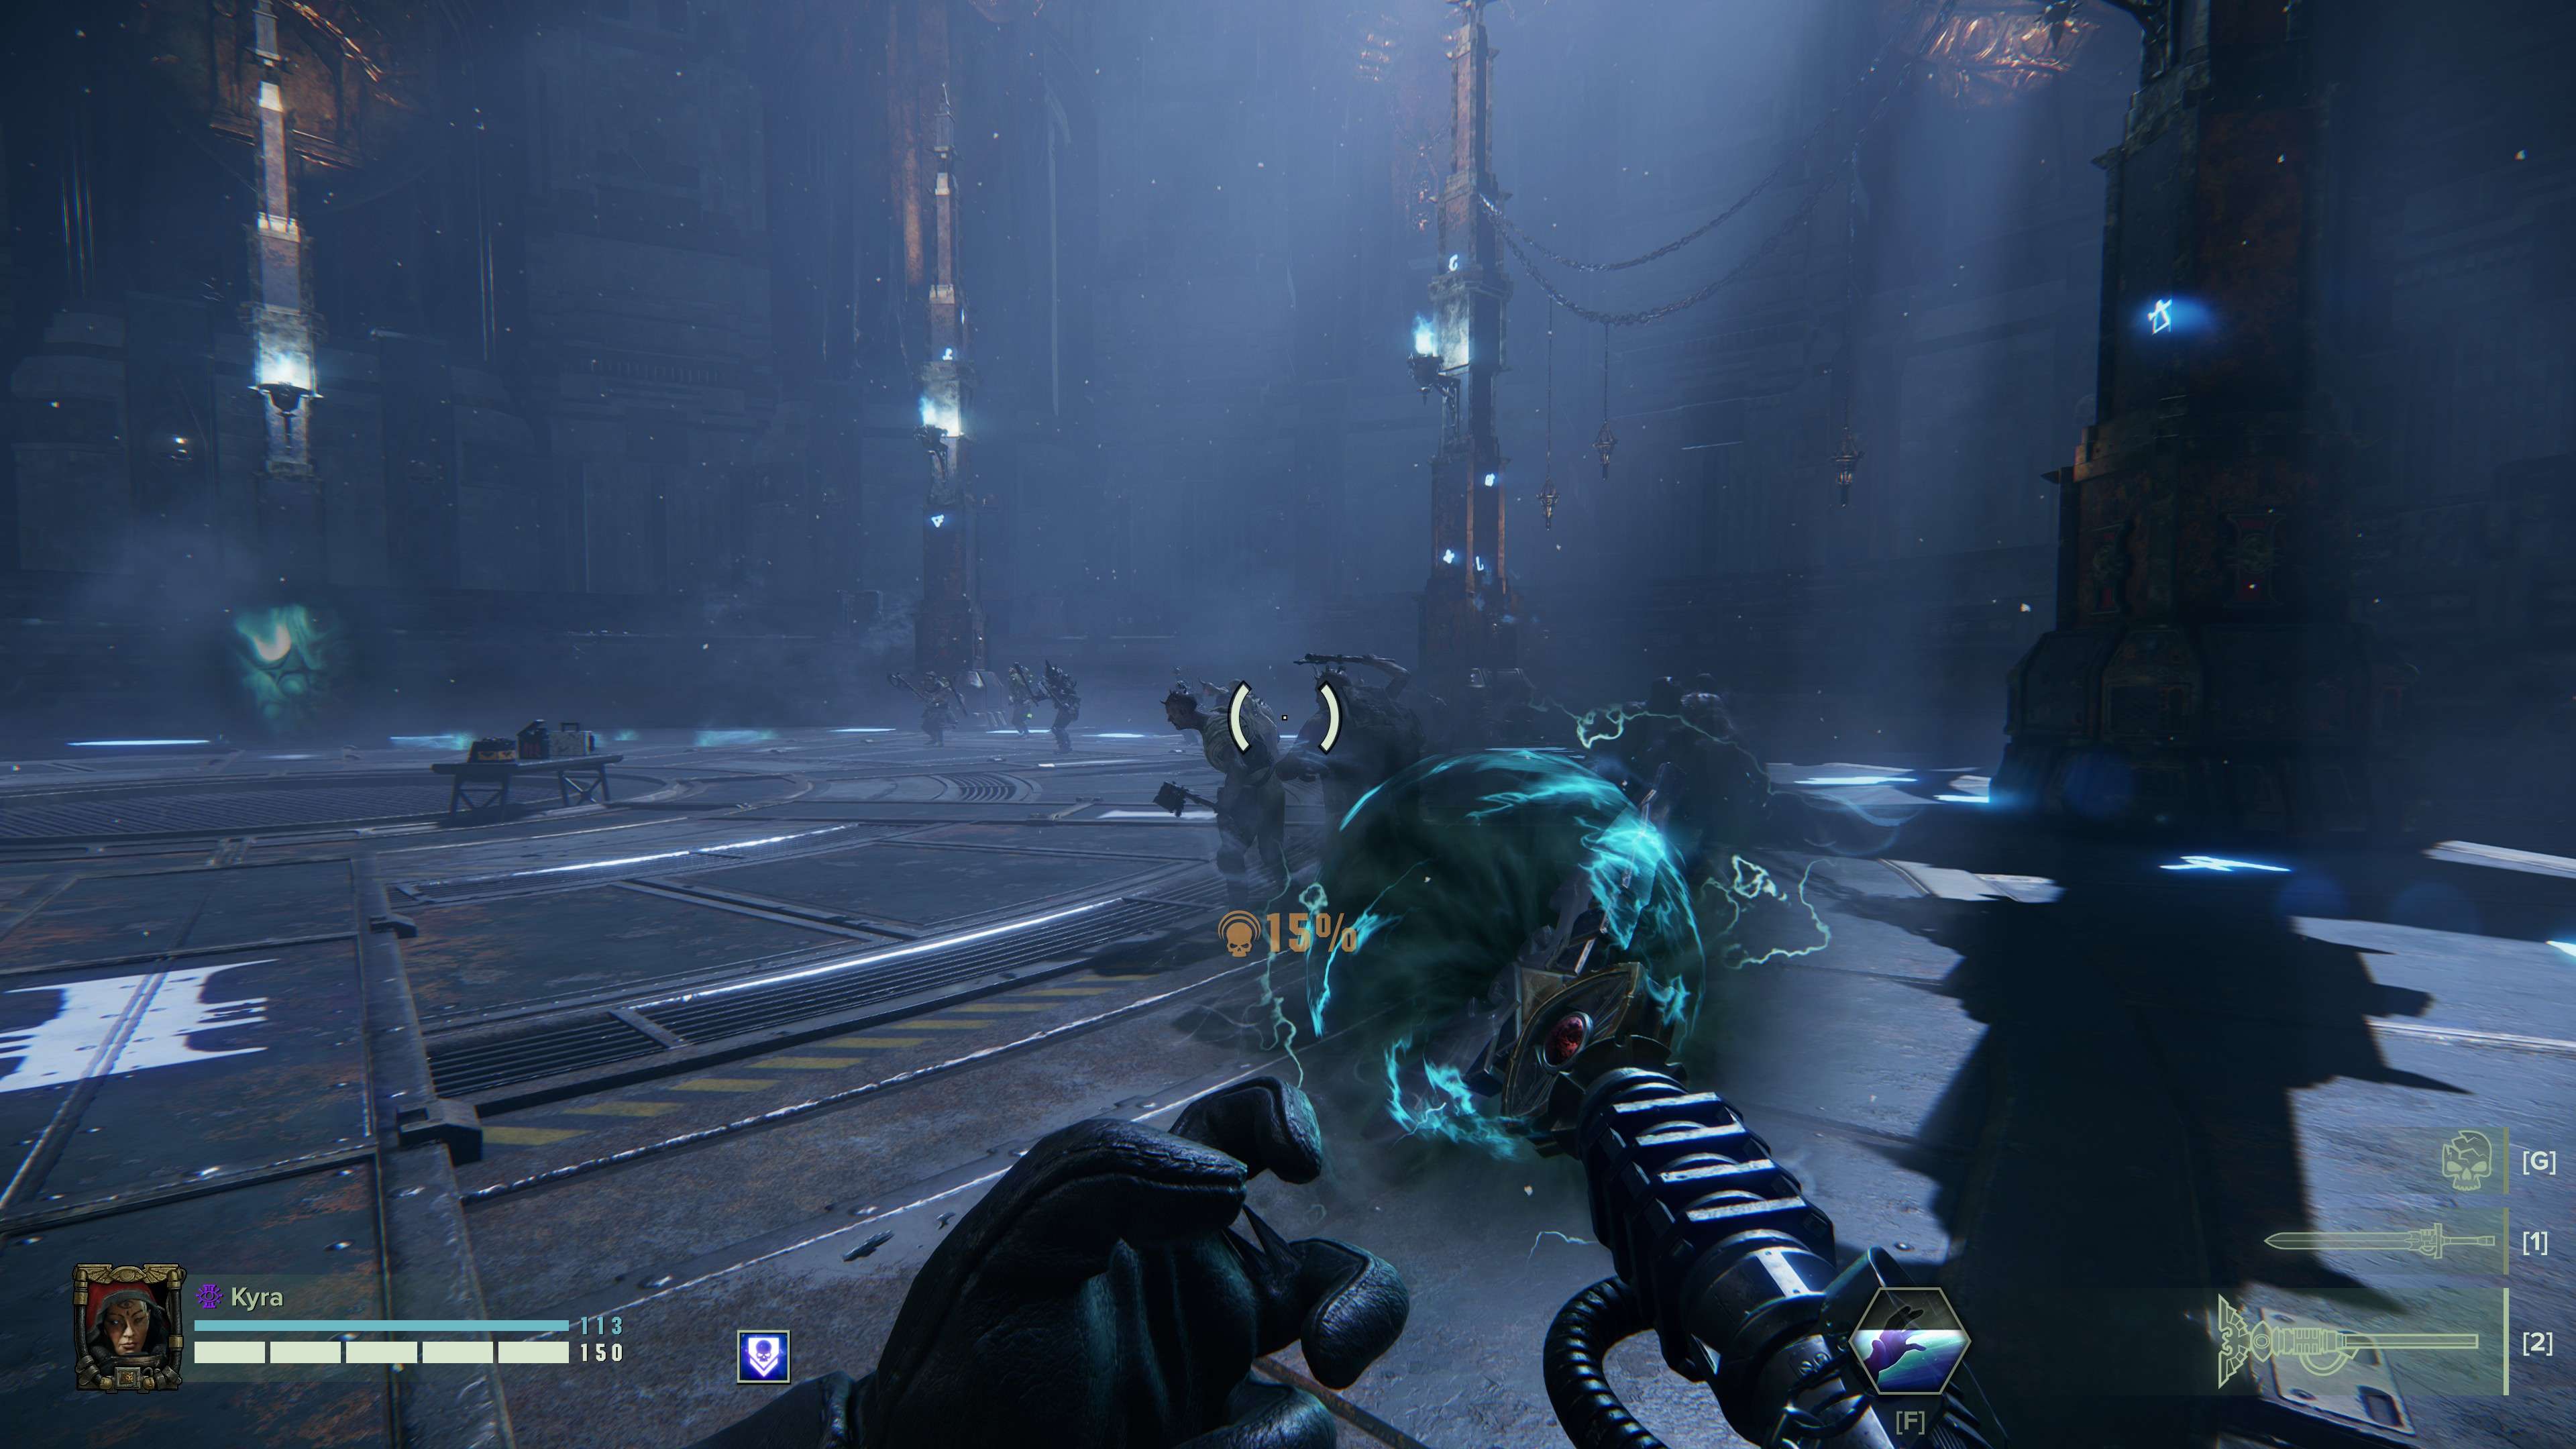
Surge Force Staff – Come to the Dark Side

- Unlocks at: Level 8
The Surge Force Staff makes you feel like a Sith, by allowing you to throw chain lightning at your enemies.
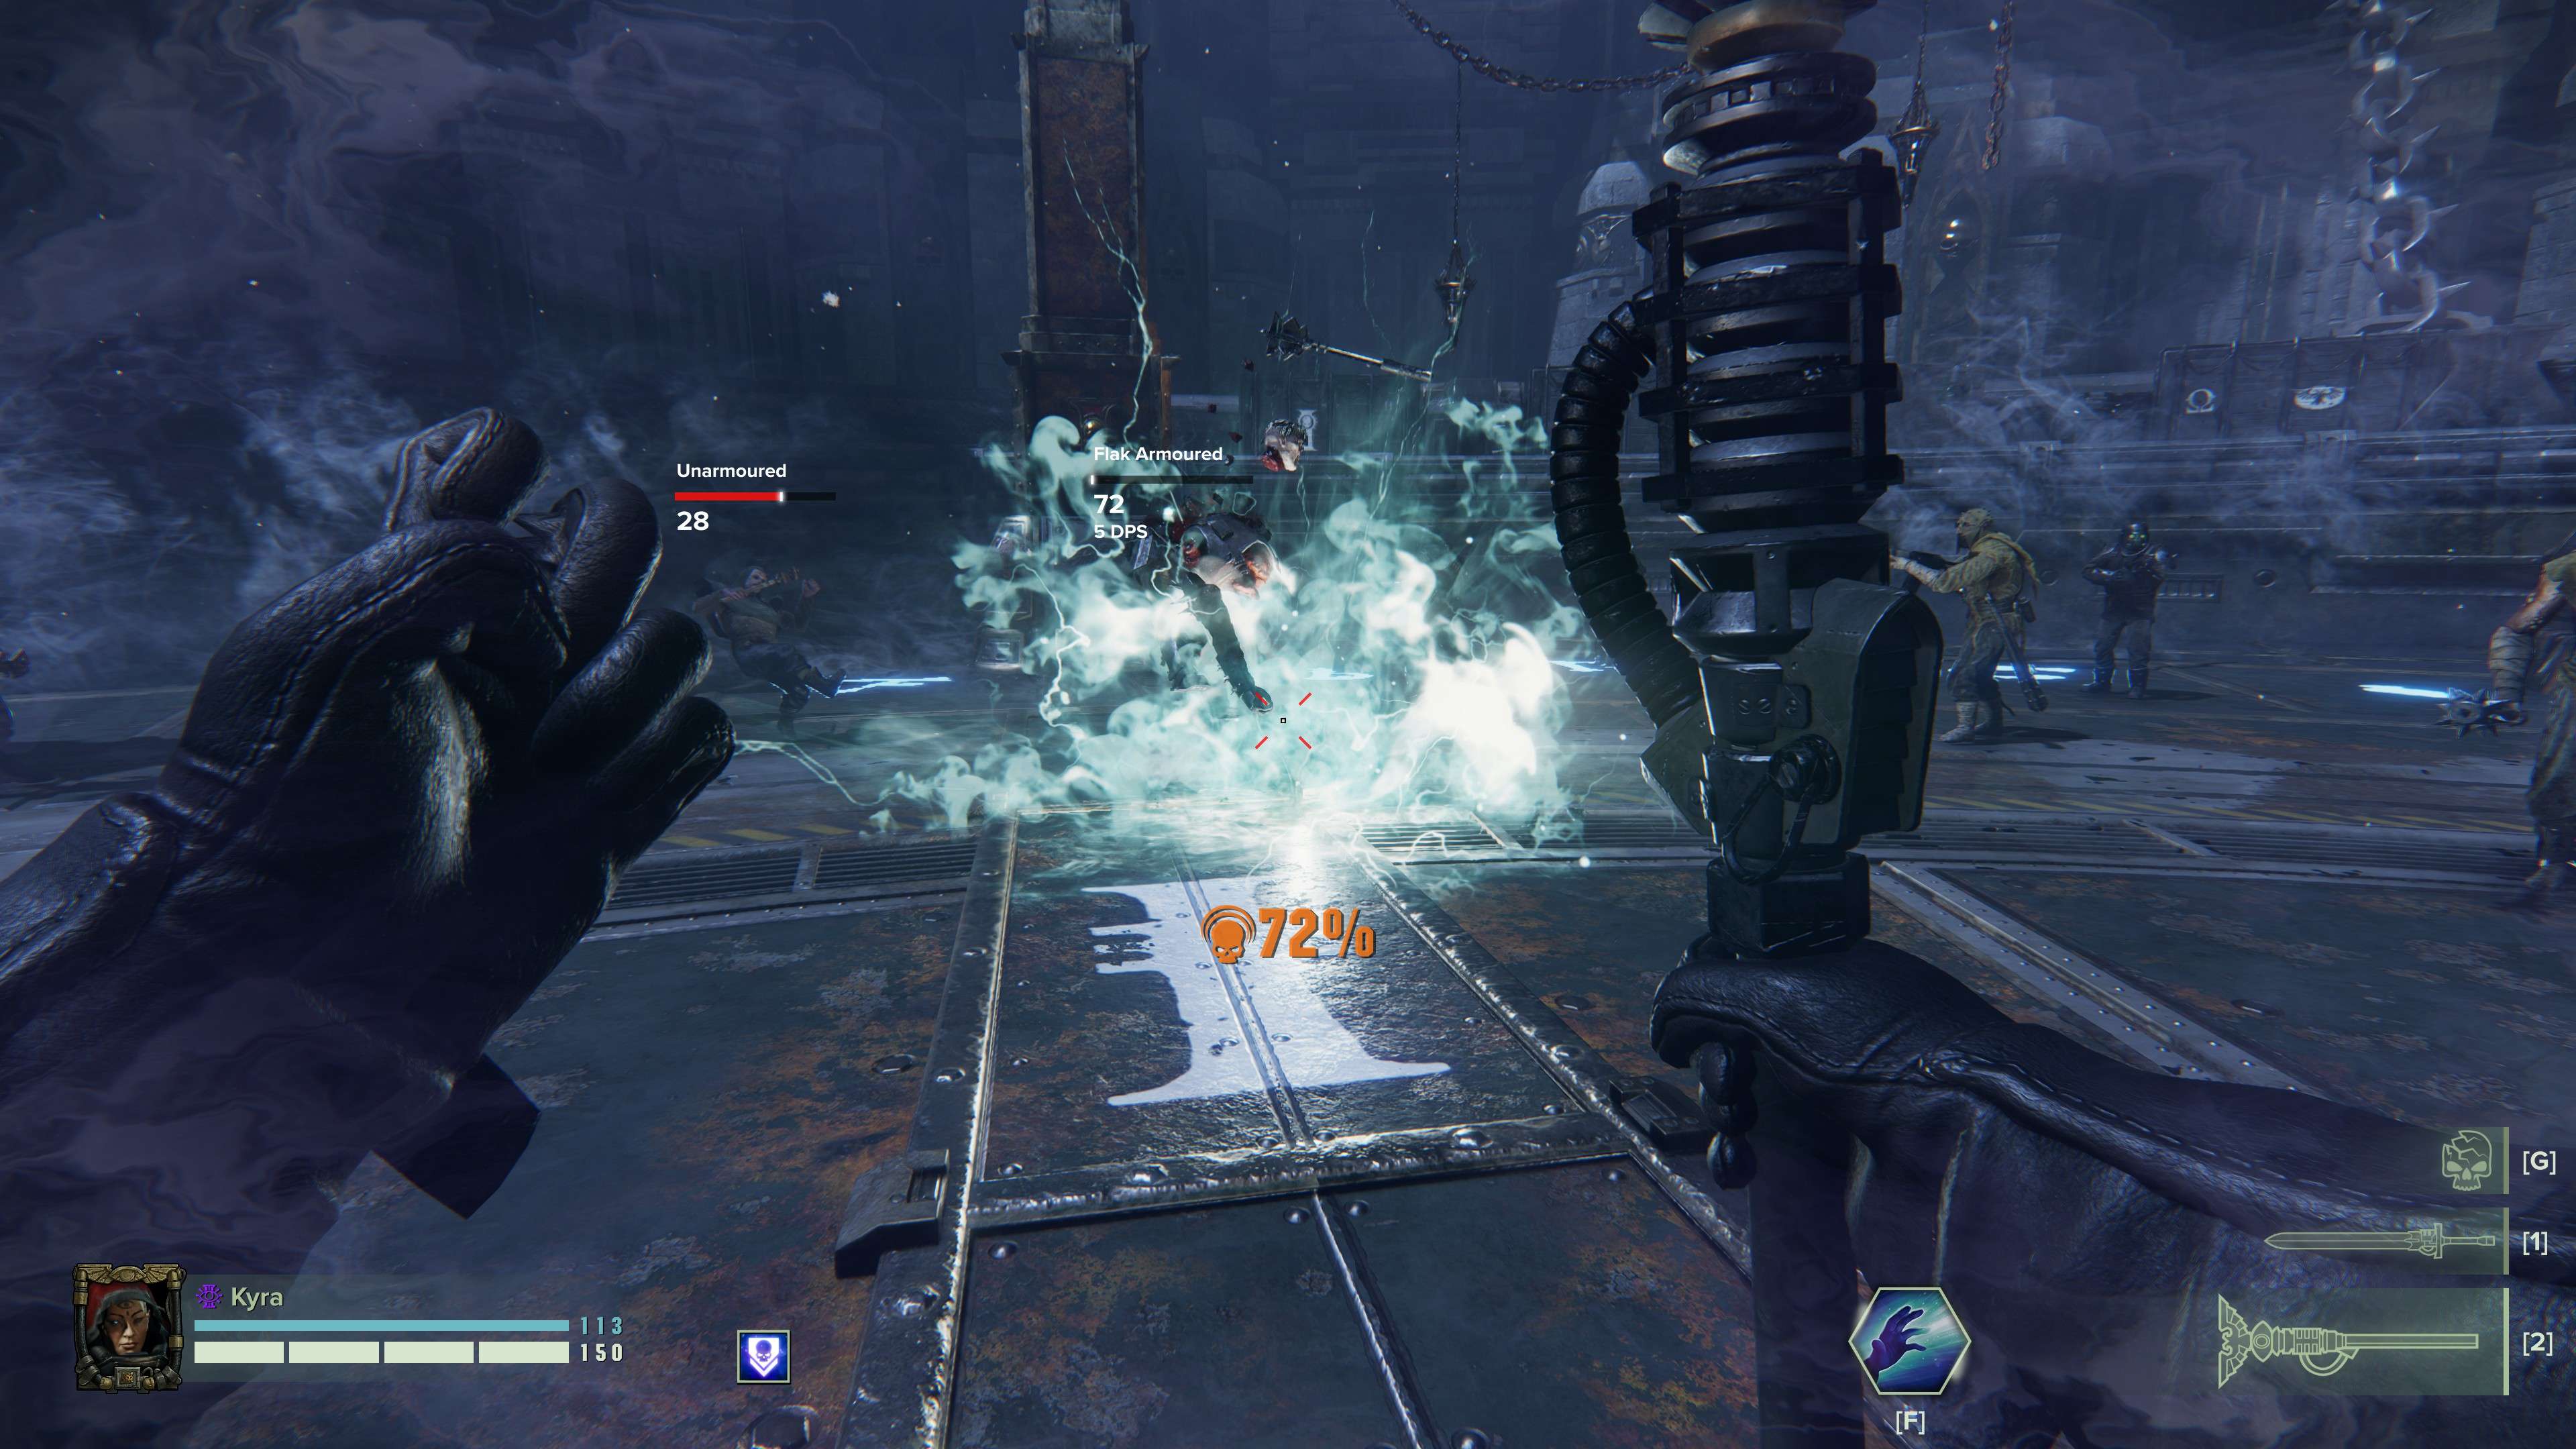
What it does
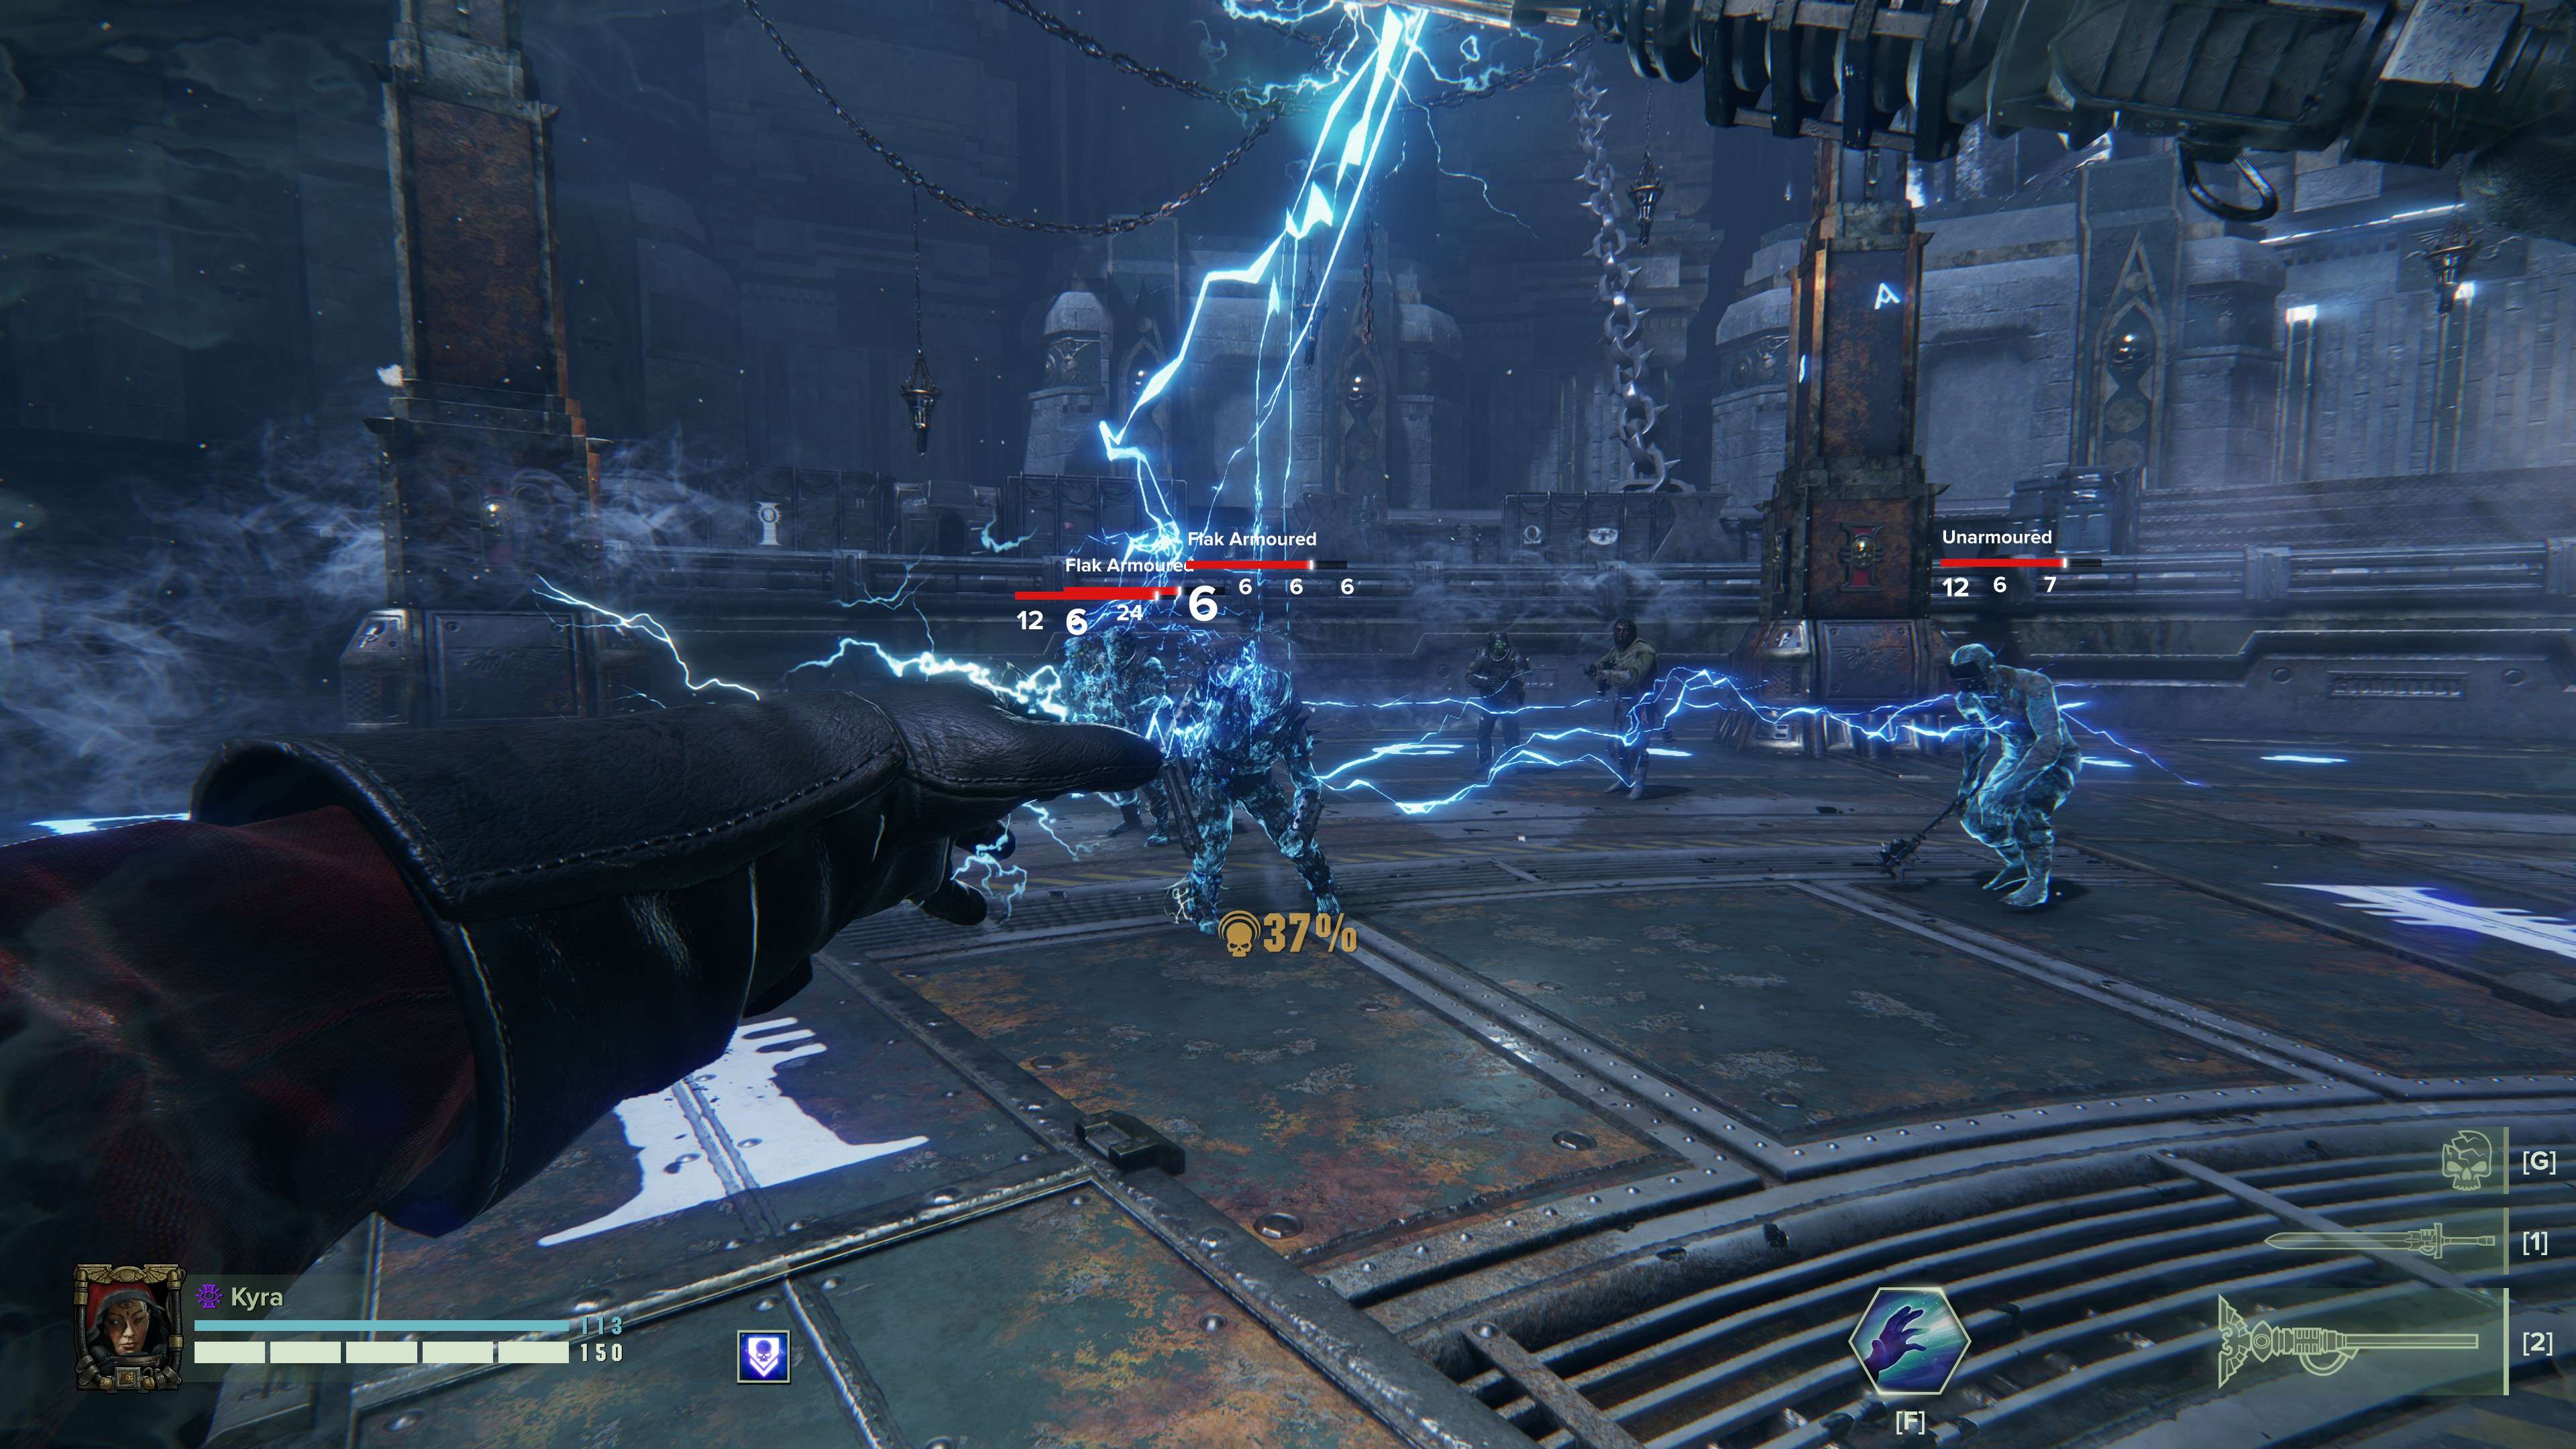
Charging your Secondary will gather lightning in your fist and enemies you aim at will have sparks dancing around them. When you Unleash your Secondary, the lightning will lance out to the closest enemy in the direction you are aiming (generally…aiming is a bit random…) and then jump to several further targets staggering all of them and dealing damage, starting with the first target and reducing in damage the further it goes.
The Peril cost to Unleash the attack are between 12.5-17.5%.
What charging it will do
Charging the attack up to a higher level will increase the damage. That’s it, as far as I can tell…no extra enemies hit, no extra stagger (It already staggers everything). On the plus side, that means you don’t have to charge at all if you just want to stagger enemies.
100% Peril Behaviour
Warning: If your Unleash takes you to or past 100% Peril, you will immediately enter “about to explode” animation. Depending on your Warp Resistance, Unleashing the Surge staff gives up to 17.5% Peril, so anything past 82% might be dangerous (check you Warp Resistance).
This has been acknowledged as a bug and might be fixed any time soon.
What is it good for?
The Surge Force Staff is king of staggering. Even on the shortest of charge the lightning will stagger any enemy that can be staggered (so no Monstrosities). It stops chargin Muties cold, it breaks through Bulwark shields, it will even (briefly) stop a Burster.
Plus it actually deals more damage the more armoured your target is. So while it sometimes struggles dropping Poxwalkers, it will deal huge damage to Maulers, Bulwarks and the like (Did I mention it actually breaks through Bulwark shields?).
Playstyle?
Be the support your team needs, and your team will thank you for it. Don’t be greedy for mass kills, just give all those baddies a quick zap and let your teammates dispatch them safely. Your time for killing will come when the enemy heavies show up!
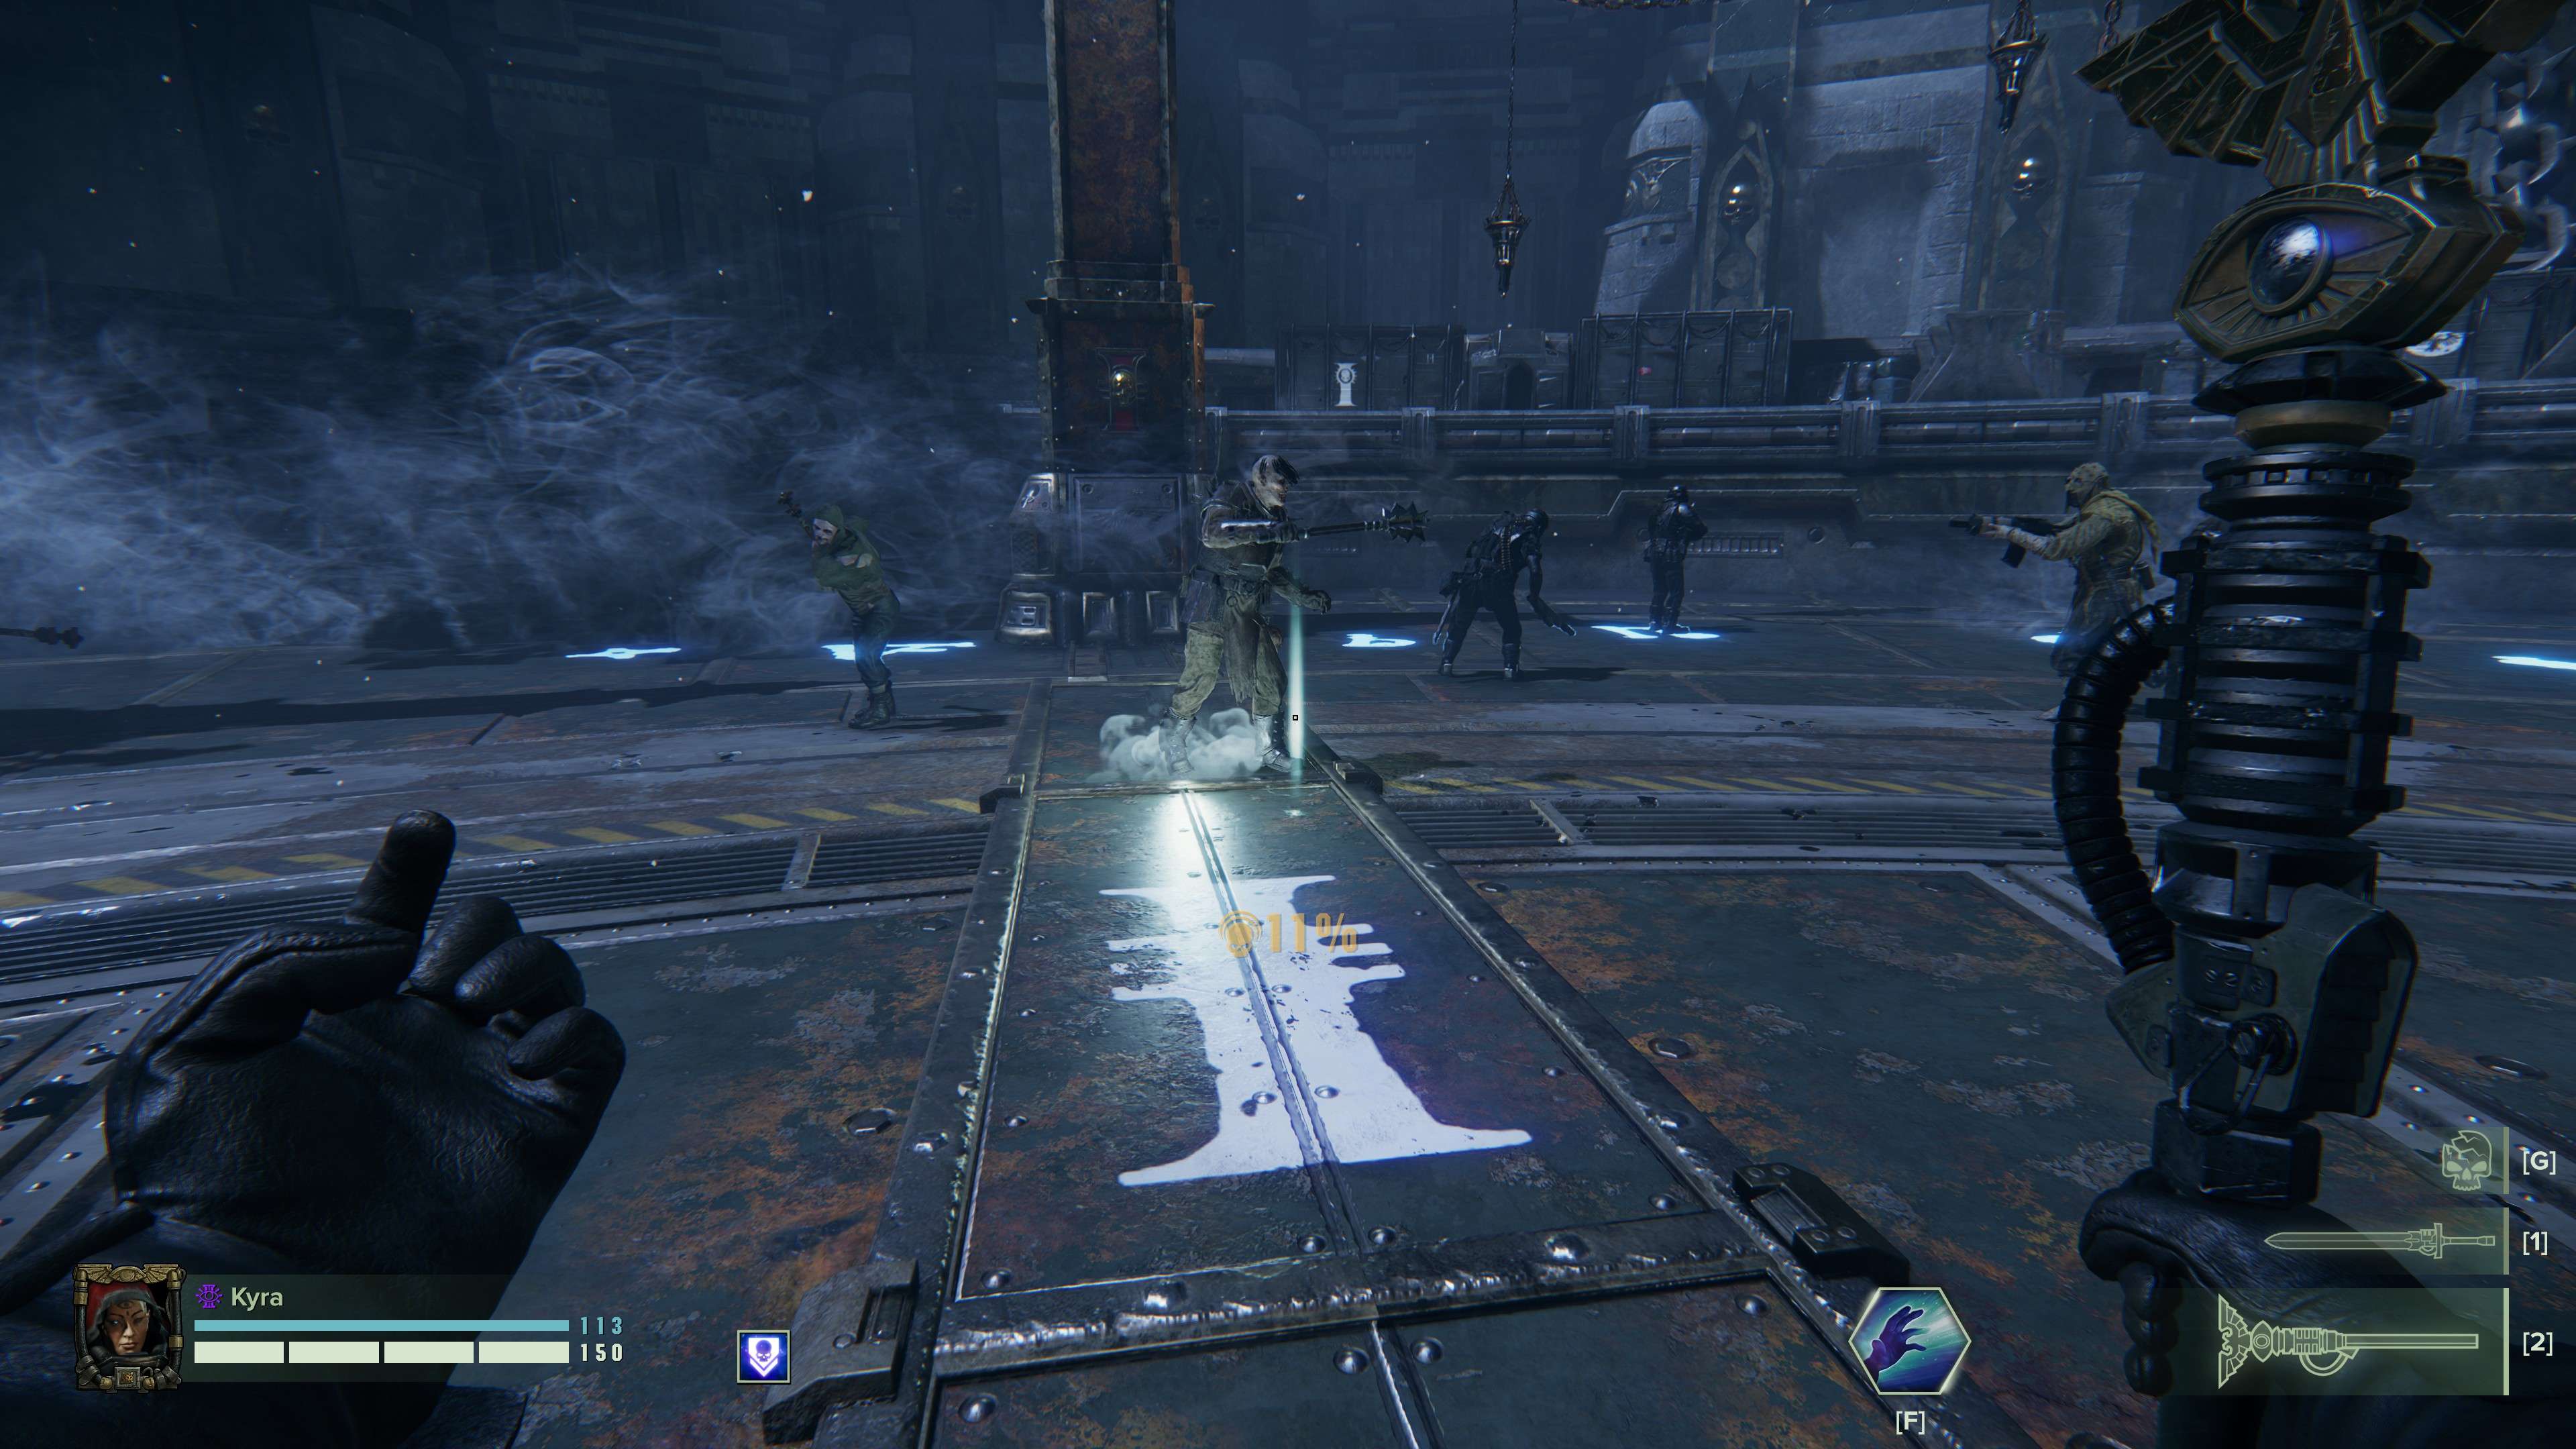
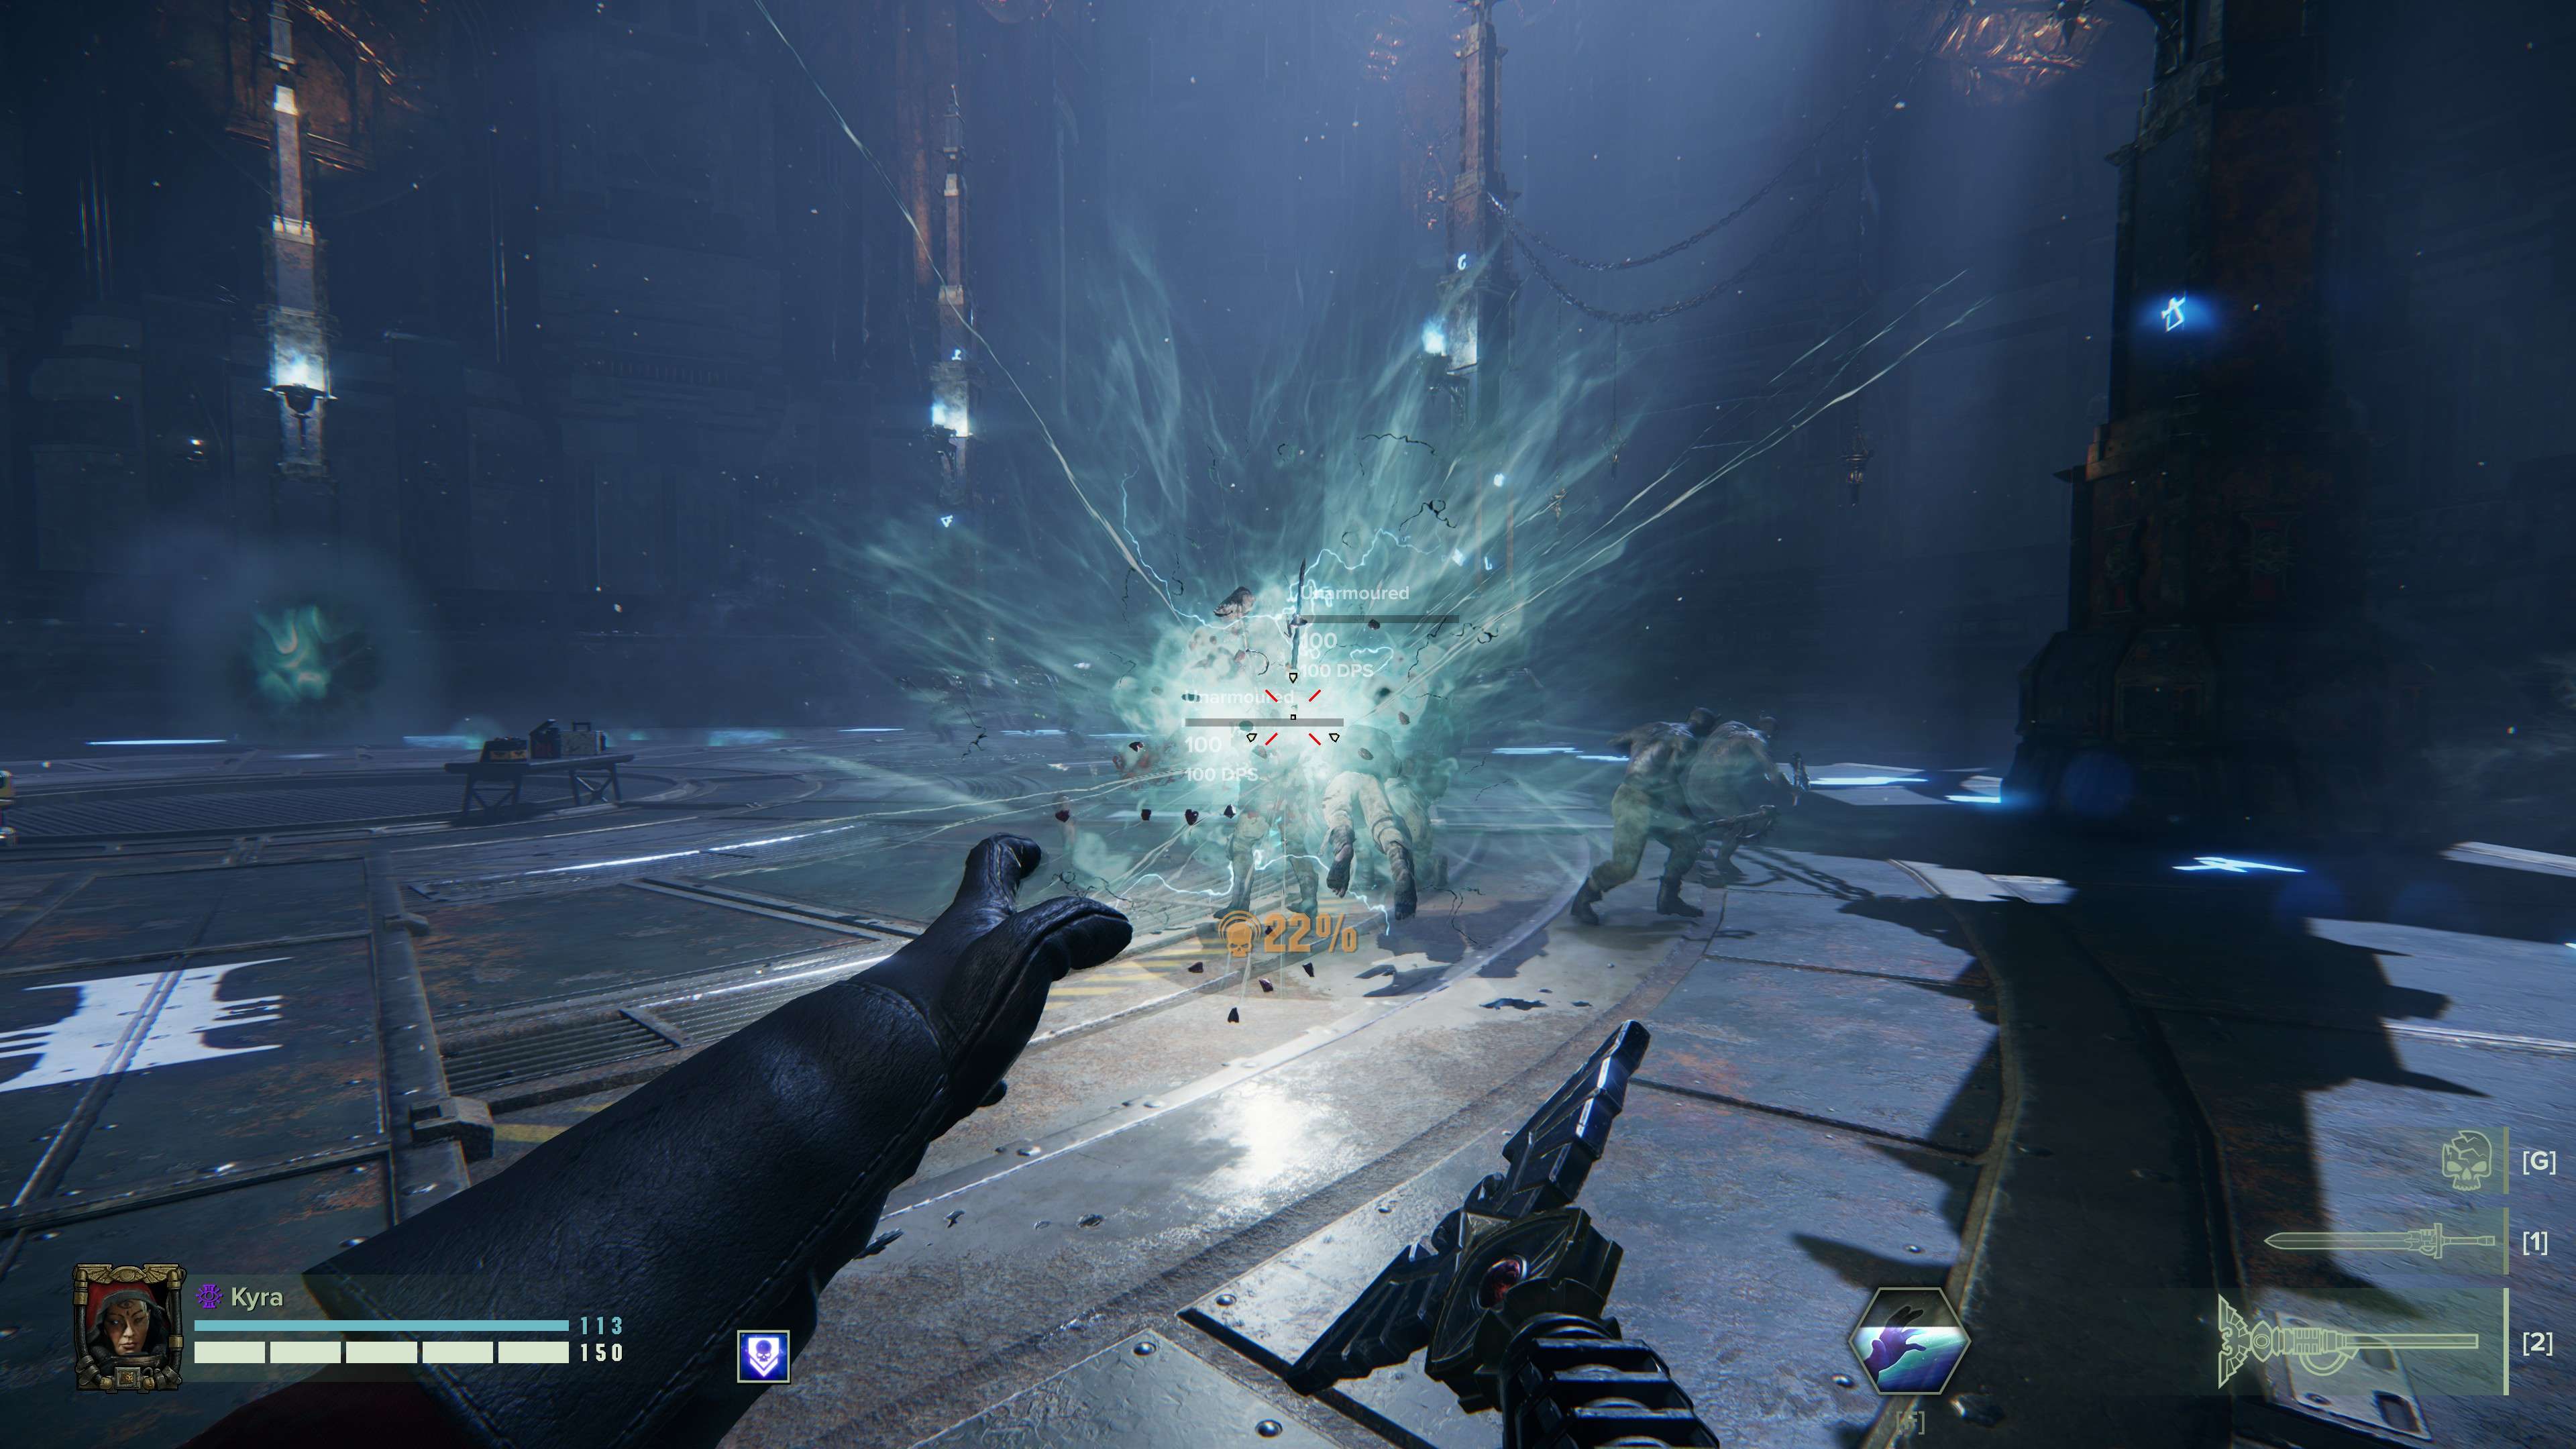
Voidstrike Force Staff – Warp Blast Goes Bratt
- Unlocks at: Level 11
The Voidstrike Force Staff let’s you fire off a warp blast that explodes on impact with an enemy and pierces them to keep going and exploding and piercing and exploding…
What it does
Charging your Secondary will gather a ball of Warp Energy at the tip of the staff which, when unleashed, flies and looks very similar to the regular Primary Attack Warp Bolt but which will explode on impact with an enemy, dealing damage and pushing/staggering enemies away from the blast. The Ball will then keep going, potentially hitting multiple enemies in a row and exploding every time.
The Peril cost to Unleash the attack are between 12.5-17.5%.
Note: The cost is currently bugged and uses the value of the Primary Attack 3.75-6.25%.
What charging it will do
Charging the attack up to a higher level will increase the damage (to significantly more than that of Primary Attack) as well as the number of possible targets hit. With the shortest charge the Ball will only explode once and not pierce but on the highest charge it caan pierce upwards of 5 enemies and keep going (I couldn’t find a better angle in the Psykhanum to get a more accurate count.). As far as I can tell charging doesn’t affect the blast radius. (But the Staff has a stat for Blast Radius).
100% Peril Behaviour
You’re fine to Unleash your secondary as long as you’re below 100% (99% is fine), even if the Unleash theoretically takes you past 100%. You will just enter the “warning state” animation.
What is it good for?
- The Voidstrike Staff strikes a good middle ground between offense and crowd control and of all staves it has by far the highest range for its Secondary, if the user is able to aim it well.
- It’s devastating if fired into a horde head-on, but even short charged Blasts can help stagger a group of enemies and give even a distant comrade some breathing room. It’s stagger rate is severely less than that of the Surge Staff, though. It will not bother Muties or anything larger or heavier like Maulers etc. it also won’t stop a Burster (though it might kill him at full charge). Bulwark shields will stop it cold, resulting in no further penetration even at full charge.
- And don’t bother aiming for weakspots, you won’t get a relevant amount of bonus damage.
Playstyle?
The Voidstrike Staff is a “jack of all trades, master of none” kind of weapon. It can do well in most situations, but it struggles against large and tough enemies in particular. It also depends very much on the users abilities of aiming and positioning, much more so than most other staves.
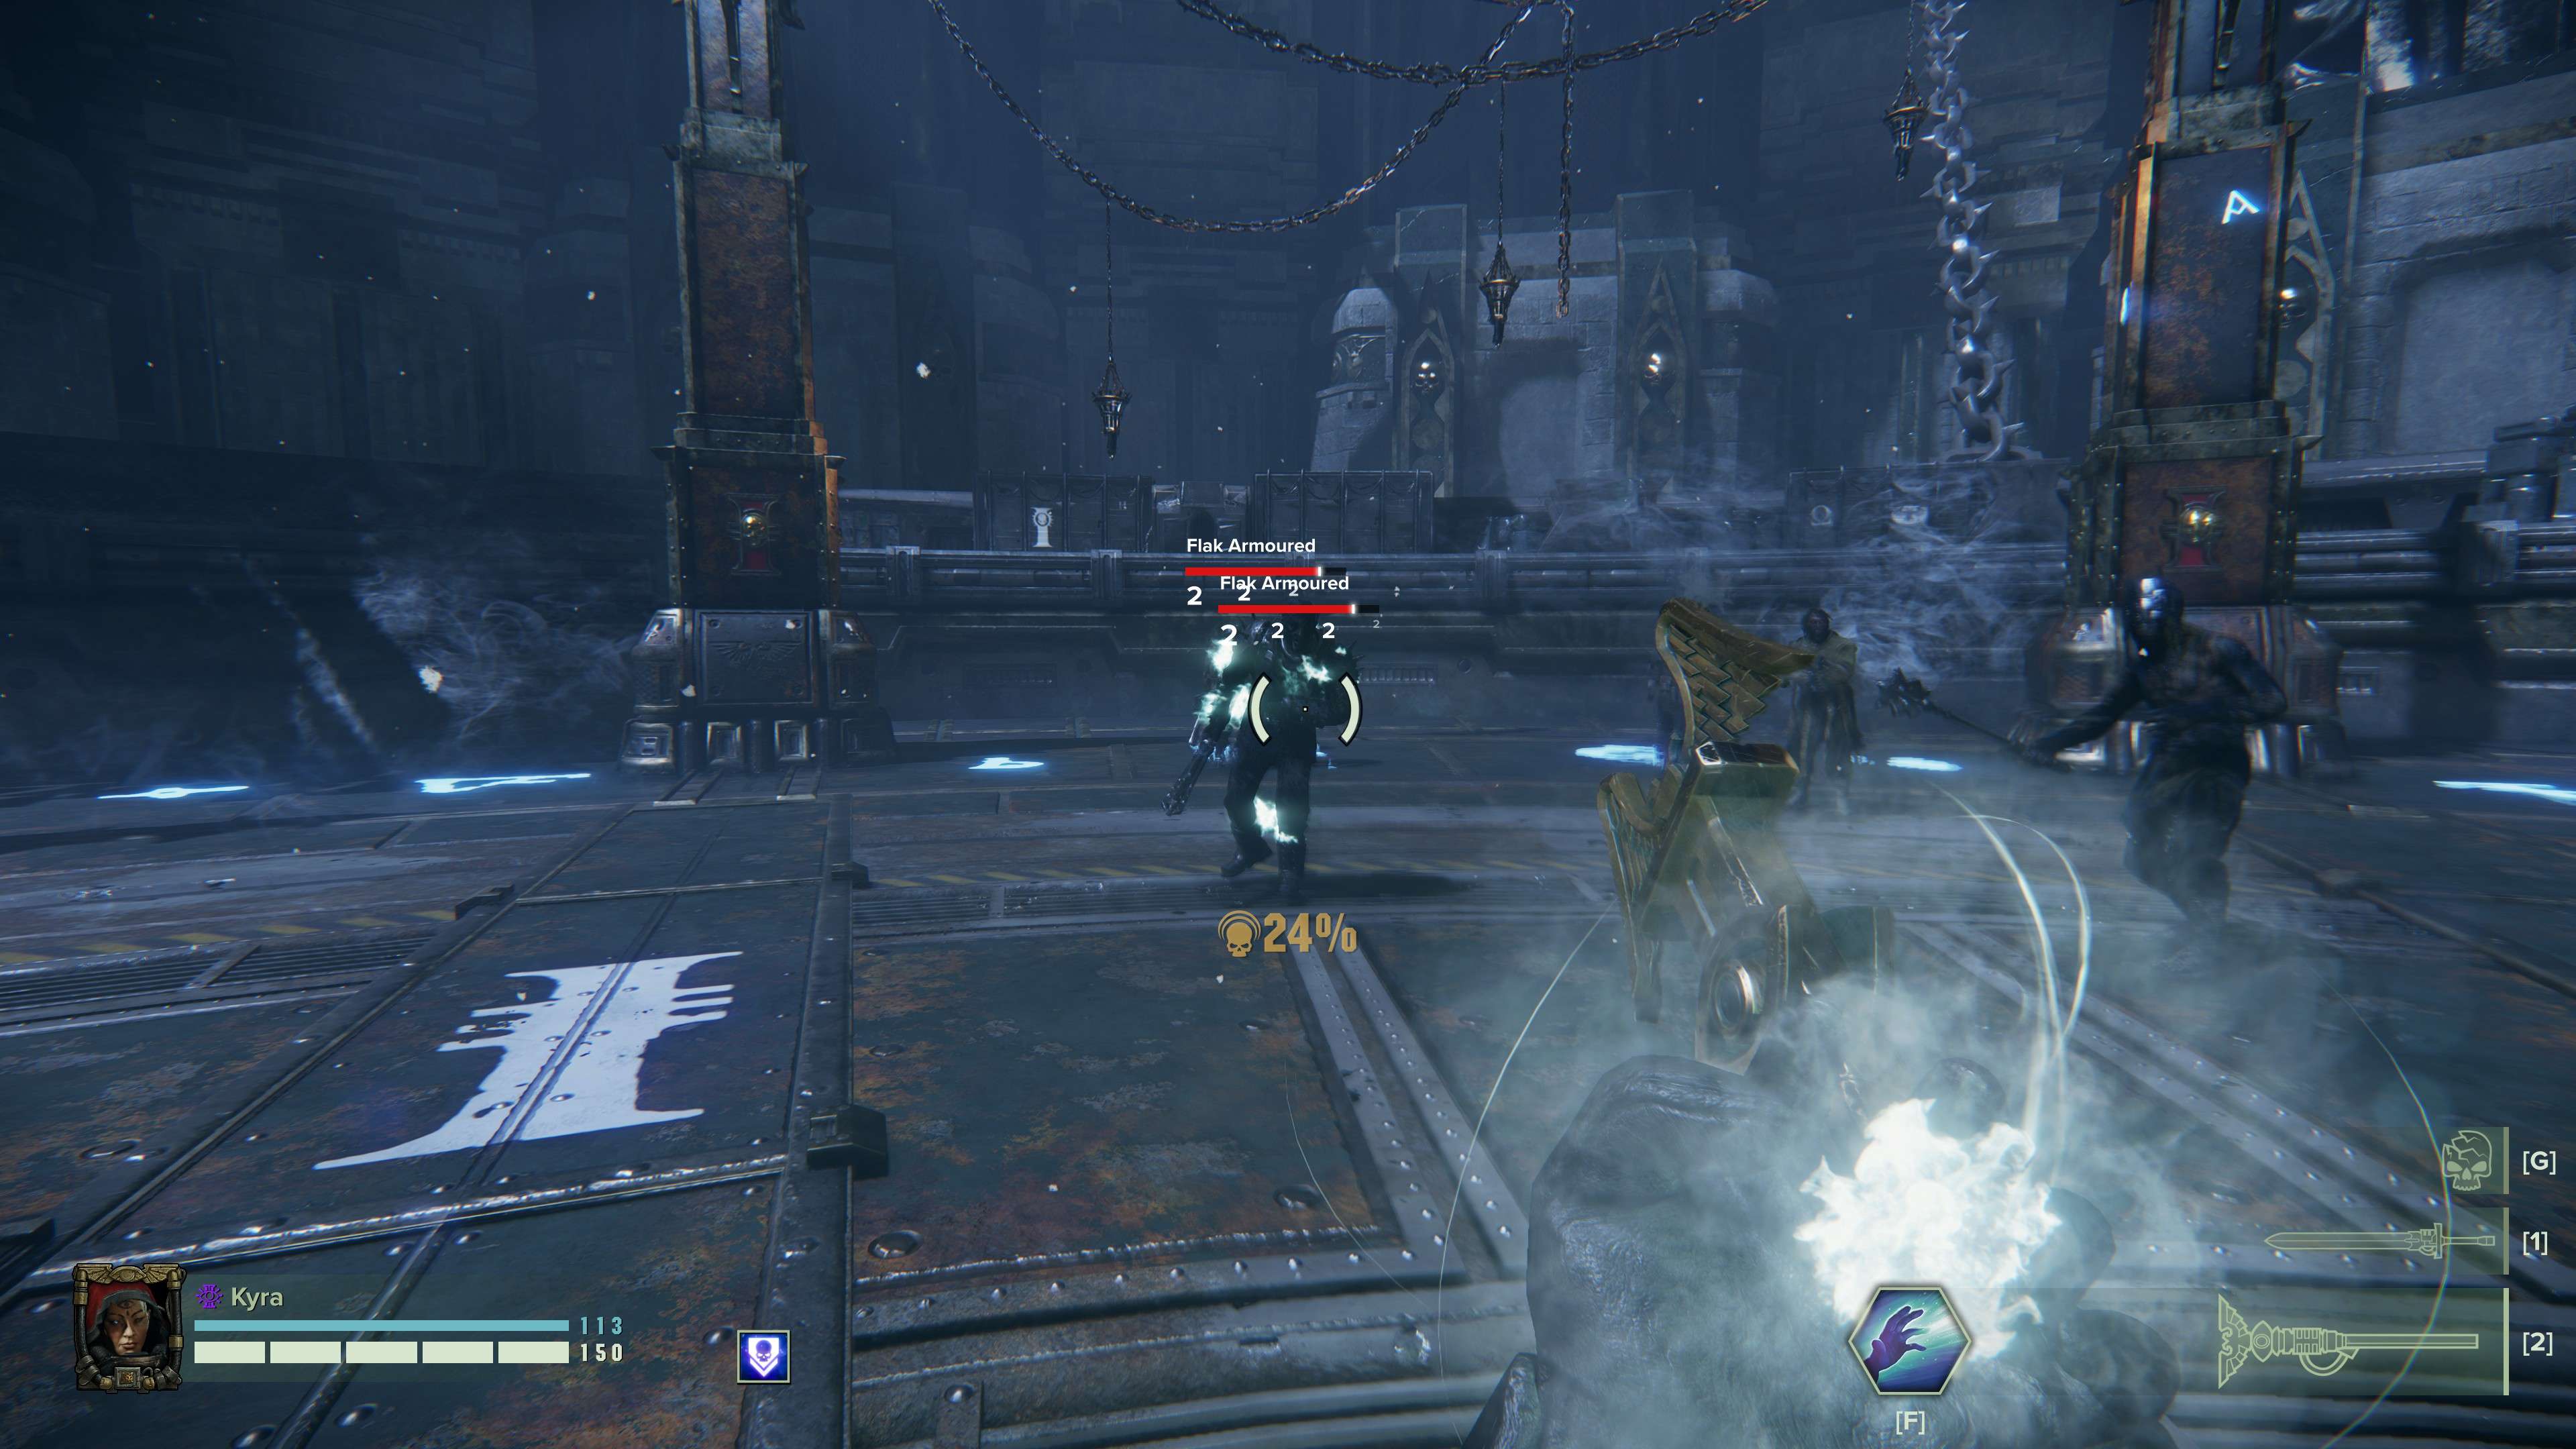
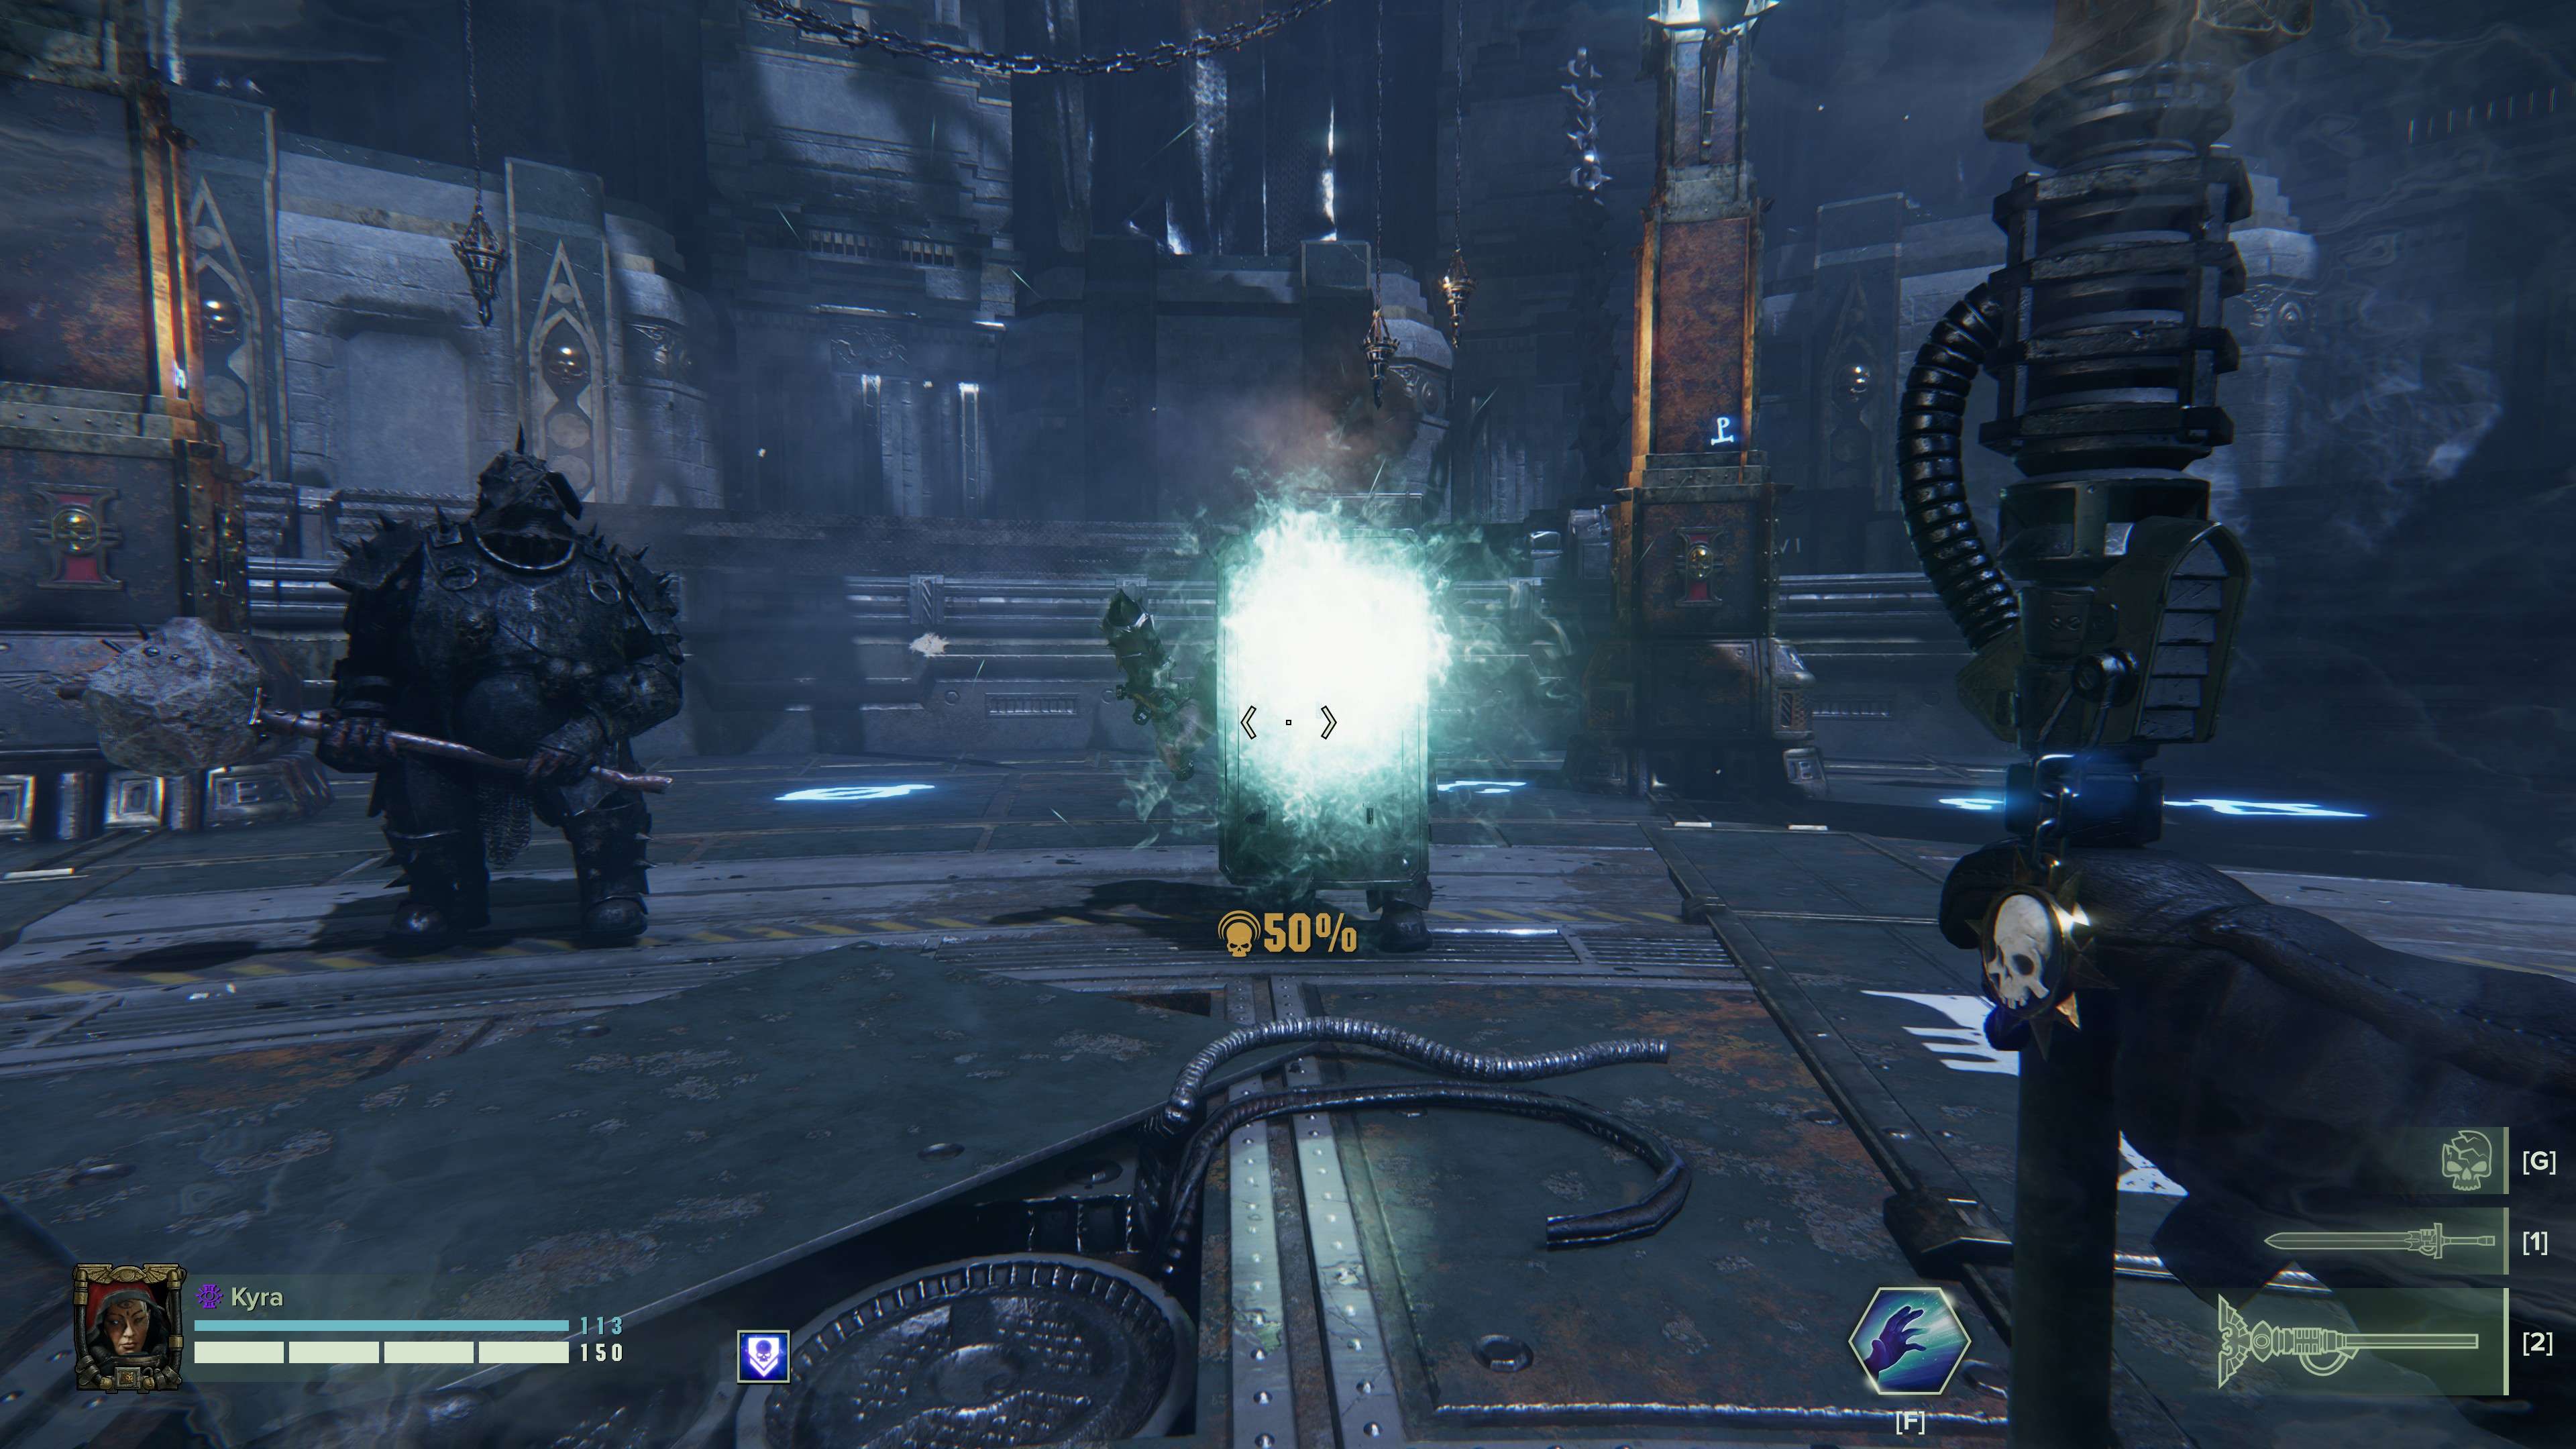
Purgatus Force Staff – Hans, Get the Flammenwerfer!
- Unlocks at: Level 15
The Purgatus Force Staff let’s you gather Warp Energies in your hand and fire them off in a stream of Soulfire Flames that set the very souls (and bodies) of your enemies blazing in bright white light.
What it does
First off: This staff has a unique Primary Attack. It does not fire a blast of Warp Energy, as the other staves do, but it fires a short puff of Soulfire at the enemies. This can hit and damage multiple enemies and will Suppress enemies, but it is rarely enough to kill on its own.
When you Charge up the Secondary of this staff you will gather flames which, when unleashed, are cast at the enemies similar to a flamethrower’s plume, only bright white instead of orange/red. Enemies hit will be damaged and set ablaze with stacks of “Soulblaze” which damages them over time.
The Peril cost to Unleash the attack are higly variable and depend on the time you charged beforehand. They can be cut short if you release the Secondary Attack button early, thus stopping the attack.

What charging it will do
- Charging the attack up to a higher level will increase the duration and thus amount of flames you can pour out in one go. This potentially increases damasge as you can hit enemies longer/multiple times, or allows you to move your aim to fan out your flames and hit more enemies.
- One important thing to note: Unlike with most other staves, you will have to keep Secondary Attack pressed while Unleahing the attack. If you let go off Secondary Attack early, you will cut the attack short and lose the charge. This also means that you will continue to accumulate Perils % while Unleashing, so be mindful of the 100% threshold.
100% Peril Behaviour
When Unleashing the Purgatus staff, make sure you release the Secondary Fire button before your Peril% hit’s 100% or you will (most likely) immediately enter the “about to explode” animation.
What is it good for?
The Purgatus Staff is mostly good for roasting hordes, or at least groups of enemies. It can melt most types of enemies pretty evenly, but will deal next to no damage to Carapace armoured enemies. It will also be stopped cold by a Bulwark’s shield.
Playstyle?
The Purgatus Staff is relatively limited in what it can do, namely melt big groups of enemies. However, there are multiple Feats that play around with the “Soulblaze” mechanic, so there is something to be said for a Build that centers on the Purgatus Staff.


Very nice guide.
Do you know the peril breakpoints associated with each type of staff, and if it changes based on warp resistance?
Dou you mean the point where unleashing the secondary will push you past 100%. Yes, there is a staff specific cost and yes, it depends on Warp Resistance, you can actually see it when you check out your staff and hover your mouse over Warp Resistance.
I could add the averages of those to the guide, though. Thanks for the idea.
I think it’s worth mentioning that the Psyker’s class ability (The push) can save you just before you detonate from overcharging. It cuts your peril in half I believe. Imo it’s especially useful with the Trauma Staff because you kinda need to charge it all the way up.
Great guide
Does the Purgatus Staff Soulblaze count as the same type for Ascendant Blaze?
As far as I can tell, yes.