
I was struggling to farm astral orbs in an easy and realiable way, so I’m sharing my strategy.
Guide to Astral Orb Farming
Intro
This is a simple guide to help you farm your early Astral Orbs.
The mains streategy revolves around filling the map with spiders and mage watchers and just wreck them over and over again. This build relies on many enemies to make sure you have a ton of trophies and top-notch equipment at all times.
Deck
Overview
We want a deck that can help us get the most Watcher and Watcher Mage spawns, while also making sure we are alive to see those Bookeries getting abandoned.

Check the section below for a rundown of each card.
Detailed List
Here’s a rundown of each card and its purpose. The ones marked as “Optional” can be removed if you want a thinner deck.
Road cards
Village + Wheat Field
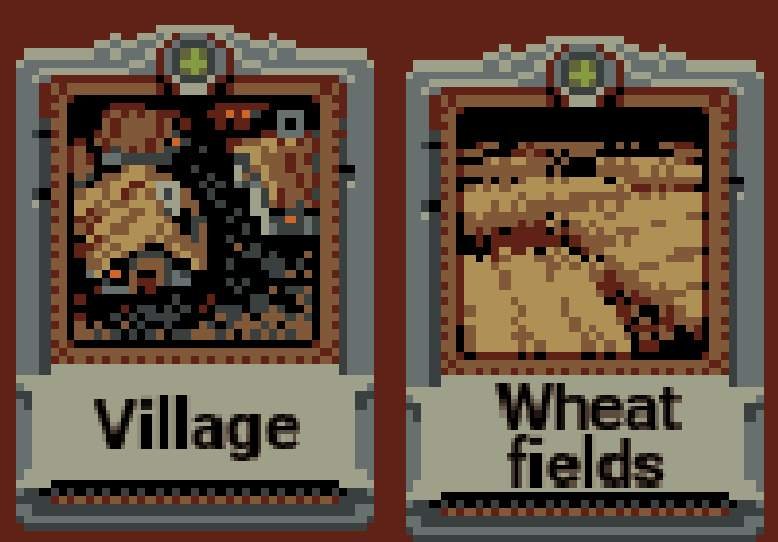
You need to have at least 2 cards from this row. I think the Village and Wheat Fields are the least harmful ones for the build. They grant you some extra healing and Scarecrow spawns, which are harmless to the Rogue. The only downside is that Scarecrows might scare Watchers off, but since we won’t be placing too many of these I don’t think that is an issue. You can try switching this for other cards though I think they are all more trouble than they’re worth it in this specific build.
Roadside cards
Spider Cocoon

Early spiders will get your exp and trophies going quickly. Later on, having a lot of spiders on the map will ensure that watchers are always spawning. They are also an enemy that won’t get too dangerous later on when you get your landscape buffs going.
Bookery
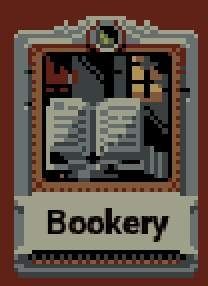
This is the source of our Astral Shards. The card swapping is also the way to ensure we have the cards we need. With a lot of these, you can make a landscape with only upgraded versions of the cards (Thicket, Mountain and Sand Dunes instead of Forest, Rocks and Desert).
(Optional) Chrono Crystals
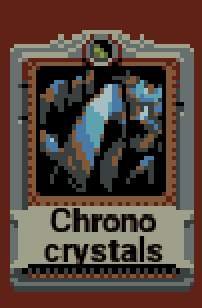
Place this next to the Spider Cocoons to spawn 2 spiders per day. More spiders mean more trophies, which means higher quality loot (and also HP depending on the traits you get).
Landscape cards
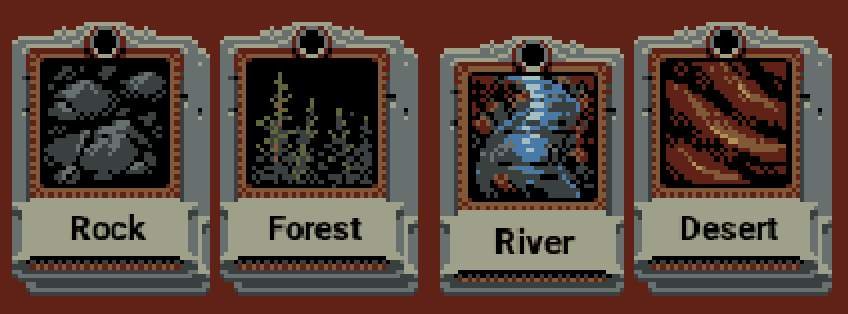
(Optional) Rock/Mountain
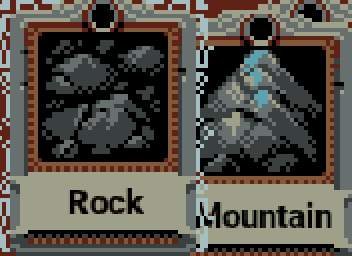
Helps you survive early game and unexpectedly difficult battles. Use this to build a Peak and a few mountains to have some survivability. You can remove this if you’re feeling lucky and just compensate with Desert/Dunes.
Forest/Thicket
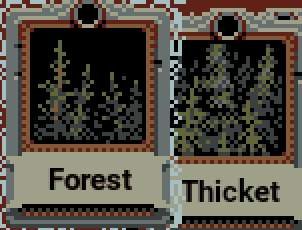
The main part of your damage. This will help you get insane attack speed, especially in combination with River. Don’t overdo this, though, since attack speed doesn’t help as much in the late game as the -%HP and -%AtkSpeed debuffs from Dunes and Oasis.
River
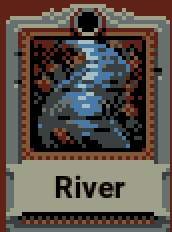
This will make those Thicket’s really shine as you see your attack speed going through the roof. It will also be necessary for some Oasis in the late game.
Desert/Sand Dunes
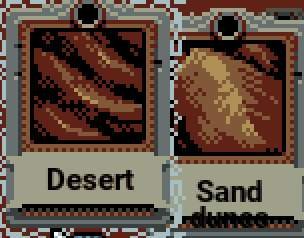
Scale very well into the late game. This will be covering most of the map after you build a sizeable thicket/river area. It will also be used in combination with river to build Oasis for that extra late game survivability.
Unknown Cards
Oblivion

Essential to help eliminate high-threat collateral effects, such as Village? that spawns from placing Forests and Thickets. This can also help you undo some misplacement and fix your run if necessary.
Temporal Beacon

The main source of astral shards via spawning of Watchers and Mage Watchers in Spider battles.
(Optional) Treasury
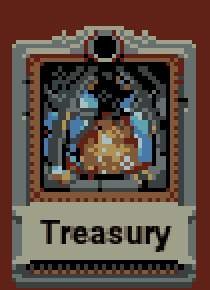
I really don’t know how to explain, but I really like treasury, so I usually take this in most runs. It’s totally optional though. Be careful, though, because it might ruin your river layout if you get too many of these…
Gold card
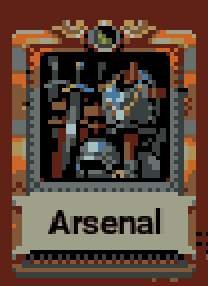
Arsenal
The amulet slot gives you magic armor, which is essential in staying alive throughout the game with this low-ish HP setup. The -15% rarity for items won’t really be a problem since you will be getting so many trophies from spiders.
Tile Placement

Landscape Cards
A thing that makes this build so strong is using the un-abandoned Bookeries to always place high tier landscape cards. Make sure you only place Thickets and Sand Dunes, and just ignore your Forests and Deserts. You can use Rocks early on to quickly build your peak.
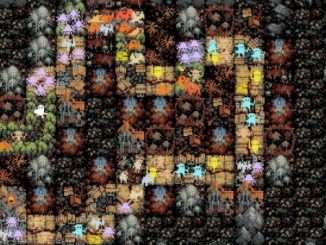
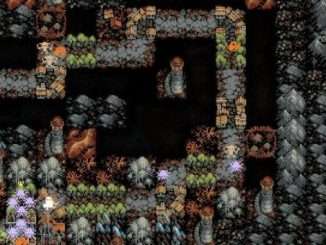
Rocks, Mountains and Peak
I use them to build a Peak and a few neighbooring Mountains. This is useful to build a decent HP pool to avoid unnecessary deaths. After this you can just ignore them. Check the image to see the small area I used for mountains.

Thicket+River
You want to build a combination of Rivers and Thickets across roughly half the map to get a high amount of attack speed. You don’t need it to get Ultra High, as it scales off with Stamina (check explanation below). Use only Thickets and ignore all the Forests.
Sand Dunes
You want to start placing your Sand Dunes on the opposite side of the Thicket+River. This is not very useful in the early game, but will be your best friend on the late game. Use only Sand Dunes and ignore all the Deserts.
If you are running Treasury, make sure to use the dunes to surround them. Be careful as to not close the map, since we will be passing the River from one side to the other once our Thicket Forest is complete.
Stamina expalanation
Have you ever noticed a bar under your HP/Attack timer bar? That’s Stamina. It gets spend every time you attack or dodge, and when it gets depleted you get a debuff that greatly reduces your attack speed and dodge while its recharging (it turns yellow).
This is the reason why attack speed is only efficient up to some point; If you get a ultra-high attack speed, your stamina will deplete in a couple seconds of the fight, and you will have too many windows where the depleted stamina debuff will be up. For that reason, its better to use Sand Dunes and Oasis to weaken the enemies instead of only building AS.
River and Oasis (Sand Dunes + River)
The river is the trickiest part of Landscape placement. You want to make a swirly river on one side, to touch as many Thickets and you can, and then move it to the other side to make some Oasis. As an alternative, if you already have a Brige in your camp, you can cross the road to transition your river to the other side. The Fishmen spawns won’t be a problem since they will be competing for space with the spiders (Fishmen get a buff for each other Fishman in the fight).
When you get a reasonable amount of attack speed, you can start making some Oasis. This will help you survive long fights, especially when your stamina is depleted. I usually go for around 150%-200% attack speed before starting building Oasis.
Other Cards
Bookery

Good bookery placement is a vital part of this strategy. Save the 2-3 spaces that have 3 neighbooring roads for the Bookery, as to make them quickly abandoned and to make sure you always have the cards you want. After that, you can start putting them into spaces that have 2 neighboors, or any Temporal Beacon that are not affected by Bookeries yet.
It’s important to make sure your hand has at least 3 cards before getting near a Bookery, since that is the amount of cards it reshuffles. It main pain your heart to hold a card that you wanted and get it replaced, but its important to get your Abandoned Bookeries.
When going near each Bookery, be sure to pause into Strategy mode to use the cards that you wanted, before they get reshuffled again, since a well placed bookery will reshuffle your hand 3 times.
Temporal Beacon
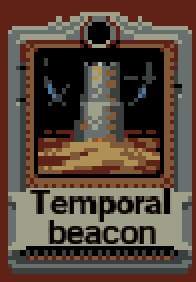
You want to cover your whole map under your temporal beacons’ influence area, prioritizing placement near Bookeries, to get those nasty Mage Watchers.
I usually start placing everything near the camp, since the Watchtower can help you kill regular Watchers before they can run away.
Spider Cocoons and Time Crystals

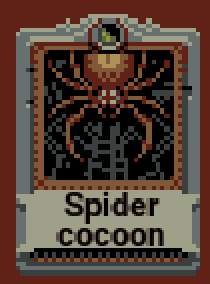
You want to place your Spider Cocoons evenly across the map. It’s a good idea to fill out your tiles near the Camp to get help from your watchtowers.
If you are running Time Crystal in your deck, place them near Spider Cocooons for a faster spawn rate. Be carefult though as to not occupy important tiles – that would be good for Bookery or Temporal Beacon – with Time Crystals.
Village + Wheat Fields
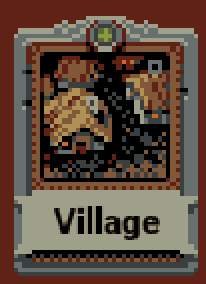
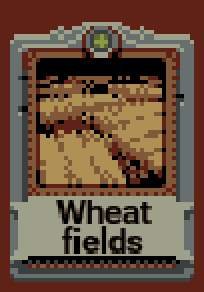
I place around two Villages in the map, for the early Quest rewards and for some backup healing. If you are also running Wheat Fields, you can place them neighbooring the village for extra heal power. I usually Oblivion the Bandit Camp that spawns, because their passive can mess up an important equipment without you realizing it.
Oblivion
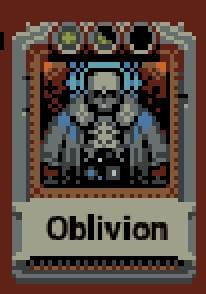
Use it on every Village? and Bandit Camp that spawns as a result of other tiles’ placement. The Dummies that spawn on Villages? can get really dangerous when your attack speed is too high, and the Bandits are just annoying.
Aside from that, you can either use it to remove unwanted Goblin Camps or just to undo mistakes you make, especially with the river pathing.
Treasury
If you are running treasury, place a few on the lower right corner and surround them with Dunes. This gives some adittional loot and also a few Gargoyles.
Gold Card (Arsenal)
Just place it far from your camp and away from spaces that would nicely fit a Bookery and you will be fine.

it worked for me, first attempt.
I let rocks and crystals out tho (chapter 2)
A very detailed guide Thank you very much!