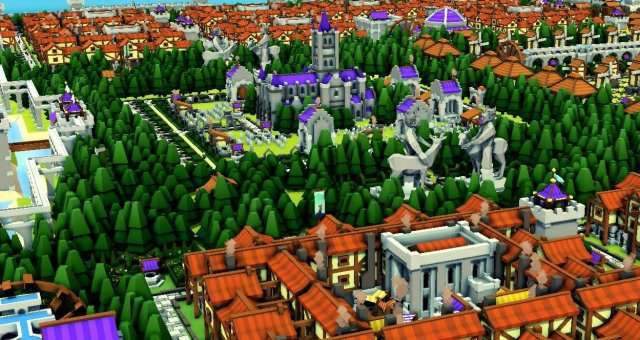
This guide explains how I created a balanced 10×10 housing unit with all necessary service buildings and food production. The structures are efficiently arranged to prevent distribution problems, and the design can be easily stacked for expansion.
Introduction
There are two main approaches to building games. Some players build as they go, placing items where they look nice and focusing on creating a beautiful kingdom that’s visually appealing. That’s not my approach.
I’m part of the group that places everything strategically, planning the entire kingdom before starting, and making sure everything is optimally positioned. I calculated the possibilities, tested different arrangements, and recorded the results. This guide summarizes my findings and shows you how to achieve the perfect balance.
The Setup
Peasants are people too, and they like to have all the conveniences they can get. They don’t want to walk far to get their food, they want door to door healthcare, and easy access to all the facilities.
Therefore I created a unit that has all the buildings they need, along with enough food next to it to feed the entire district. I’ve made it as compact as possible to not waste any space and made it perfectly stackable as well to construct as many adjoining districts as needed.
Living Arrangements
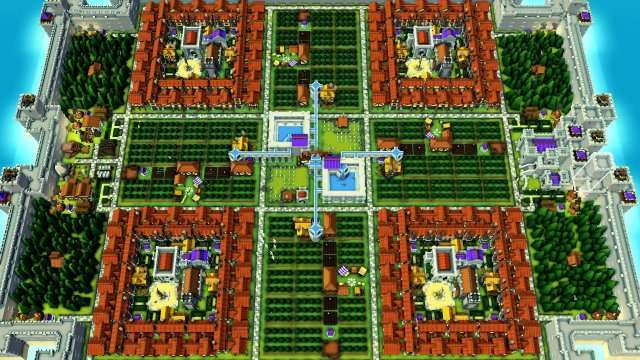
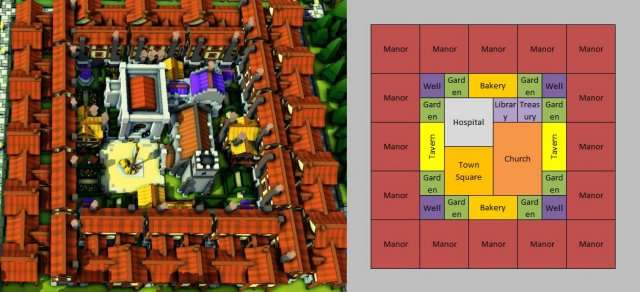
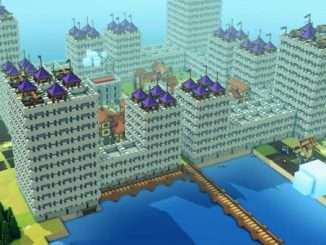
The housing units are 10 by 10 blocks that has manors along the entire outside rows. This means 16 manors per block for a total of 400 beds.
All houses have access to all town buildings with the sole exceptions of a Cathedral and Great Library. Overcrowding isn’t an issue here are there are enough buildings to prevent that. This makes them perfectly content and easily reach the 100 happiness cap.
Here is a detailed breakdown of the housing unit:
Farming Grounds
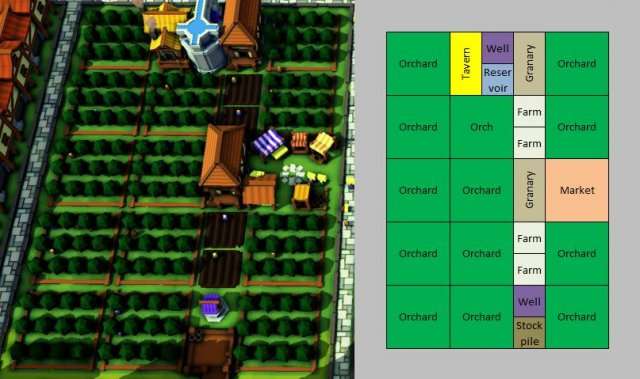
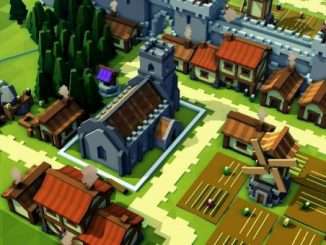
Right next to the housing unit is a market and granaries surrounded by farms and orchards. All of these are irrigated to provide a maximum yield. The only thing that influences the harvest is the quality of the soil here. On fertile land the orchards yield 30 food per year.
This is less for barren ground and more for very fertile land, so these need to even each other out to maintain an average of 30 food per orchard. This should be easily achieved however as most ground in the game is balanced as well. Make sure that the small stockpile here is set to only accept coal, as that is the only resource needed here.
Here is a detailed breakdown of the farming grounds:
The Centerpiece
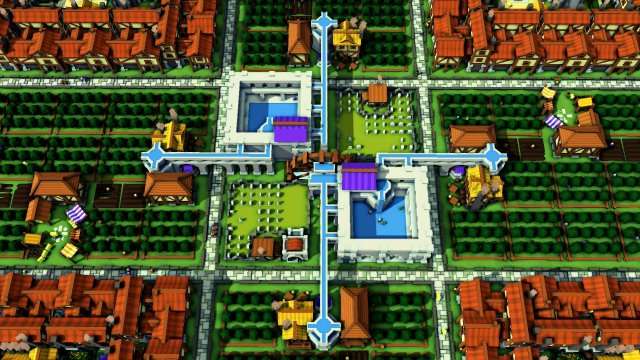
Like with any good arrangement, the centerpiece is very important to tie the whole package together. This is a 7 by 7 area that has to host 2 bathhouses and supply all farming areas with water as well. The extra space is occupied by the dead population in two graveyards large enough to sustain the four surrounding neighborhoods.
The Noria in the middle can be placed in any of the directions, as long the buildings are properly placed around it to supply all four neighborhoods access to a bathhouse. (To place the Noria you need to dig a moat first to get fresh water.)
Additional Resources
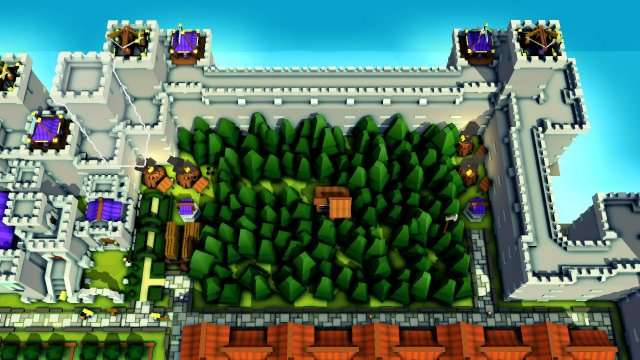
Each housing unit needs enough charcoal to keep them warm in the winter, and to bake bread to increase the food supply. This means per housing unit you need to have 1 Forester and 4 Charcoal Makers, preferably somewhere nearby.
This generates a little more than needed, but you’ll need some extras when new people are moving in to fill up their houses.
Upkeep
After everything is setup there shouldn’t be any need to micromanage the neighborhood anymore, everything should run smoothly. Each district has a Treasure Room as well as you need to collect taxes in order to keep the service buildings running.
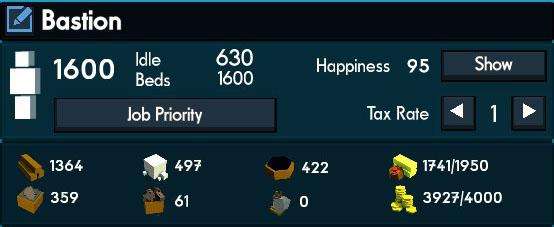
When set to 1, the overall happiness will drop to 95 which is no problem at all. When set however you’ll generate a way more gold than needed, and you’ll have plenty to set up defences or pay soldiers as well.


Be the first to comment