
Here you can find all cheats, secrets and Unlockable Modes in Resident Evil 2 Remake (2019)
Complete Guide to Cheats, Secrets and Unlockable Modes
All Safe Combinations and Other Codes
These are all of the codes you can complete at any time in Resident Evil 2 Remake, allowing you to get some items out of order.
- Lion Statue Lock Solution – Lion, Leafy Branch, Bird.
- Rookie’s First Assignment Initials in West Office Solution – Left Lock: NED, Right Lock: MRG.
- 3F Stairs Dial Lock (Letters) Solution – DCM (Found in a film roll).
- Unicorn Statue Lock Solution – Fish, Scorpion, Vase
- Men’s Locker Room Dial Lock (Letters) Solution – CAP – Found in note in room attached to Operations Room.
- West Office Safe Solution – Left 9, Right 15, Left 7 – Found in S.T.A.R.S. Office memo.
- Maiden Statue Lock Solution – Woman, Bow, Snake.
- Waiting Room Safe Solution – Left 6, Right 2, Left 11 – Found in Confiscation Report File.
- Control Room Dial Lock (Letters) Solution – SZF – Found in Jazz Festival Flyer.
- Treatment Pool Room Safe Solution – Left 2, Right 12, Left 8 – Found on side of safe (lol!).
- Greenhouse Control Room Code 1 Solution – F, II, two small L shapes, and F – Found on ladder top.
- Greenhouse Control Room Code 2 Solution – Two L, L, I, a big square above a little square, and a thicker I – Found on bottom of DNA Trophy.
How to Unlock Leon’s Desk
- MRG – Code to unlock the right side.
- NED – Code to unlock the left side.
When you unlock the Leon’s Desk you’ll get a High Capacity Magazine (Pistol). But if you are Claire, you get a Speed Reloader (Revolver).
How to Unlock Lockers
- DCM – Combination for the locker on the third floor.
- CAP – Combination for the locker on the second floor (Shower Room).
- SZF – Combination for the locker in the Upper Sewer Control Room.
How to Open Safes
- L9, R15, L7 – West Office, First Floor (in the safe you will find a Hip Pouch).
- L6, R2, L11 – East Wing, Waiting Room (you will find a Muzzle Brake or Extended Mag).
- L2, R12, L8 – Treatment Pool Room (you will find a Shotgun Stock or Hip Pouch).
Note: L and R means left and right.
Unlockable Weapons
- Unbreakable Combat Knife – Destroy all Mr. Raccoon Toys.
- Unlimited Ammo Samurai Edge Handgun – S-Rank the game on Standard Difficulty.
- Unlimited Ammo LE-5 Submachine Gun – S-Rank the game on Hardcore Difficulty.
Unlockable Modes
Like the original game, there are several modes to unlock with different characters and scenarios.
- Leon’s Story Second Run Mode – Beat Claire’s Story, any difficulty and rating OR beat Claire’s Second Run.
- Claire’s Story Second Run Mode – Beat Leon’s Story, any difficulty and rating OR beat Leon’s Second Run.
- The Fourth Survivor Mode (Play as Hunk) – Beat Leon’s Second Story.
- Tofu Survivor Mode (play as Tofu) – Beat The Fourth Survivor Mode.
Greenhouse Lab Code Puzzle Solutions
This puzzle is in the Greenhouse Control Room, which is on the second floor.
You need to find the Dispersal Cartridge. It’s used to hold the stuff you’ll make in the Greenhouse Drug Testing Lab.
Look to the left side of the room. There’s a table there with some computers for employees. The Dispersal Cartridge is next to that table. Grab it.
Also, there’s a big screen in the corner of the room with a control panel right underneath it. You’ll need to use that panel.
It will show a very weird design. Let’s imagine it was a simple Keypad console. The first column’s keys would be would be 1-4-7-BACK. The second column’s keys should be 2-5-8-0 and the final column’s keys ought to be 3-6-9-ENTER.
If you’re playing for the first time:
- 3 / 1 / 2 / 3 (To unlock the stairs out of the Greenhouse).
- 2 / 0 / 6 / 7 (To unlock the Greenhouse Drug Testing Lab).
If you’re playing for the second time:
- 2 / 0 / 4 / 8 (To unlock the stairs out of the Greenhouse).
- 5 / 8 / 3 / 1 (To unlock the Greenhouse Drug Testing Lab).
Head to the Drug Testing room and immediately to the left of you will be a machine with Green, Red and Blue colored buttons on it. Place the Dispersal Cartridge inside the machine, and press the keys in the following order:
If you’re playing for the first time:
- Red / Green / Blue / Red / Green / Blue / Red / Green
If you’re playing for the second time:
- Blue / Red / Green / Red / Blue / Red / Blue / Green / Blue / Red / Green
Chess Electronic Parts Puzzle Solutions
This puzzle can only be completed once you have completed the previous ‘The King & Queen Electronic Parts’ puzzle. This puzzle starts in the Monitor Room of the Police Station.
Head to the Lower Sewers and head towards the Workroom Lift. You may need to take a lift to reach the Lower Sewers.
You will find a Rook outside this Workroom Lift. Retrieve the Rook and move back to the Monitor Room. You will find three Electronic Parts already placed in slots. Take them out. Let’s tag them King, Bishop, and Pawn.
You will have to plug the EPs in different slots. There are two scenarios for this puzzle.
If you’re playing for the first time.
On the side where the door to the stairs is:
- Bishop / Rook / Knight
On the other side:
- Pawn / Queen / King
If you’re playing for the second time.
On the side where the door to the stairs is:
- Queen / Bishop / King
On the other side:
- Pawn / Rook / Knight
A door will open down the stairs. Head down the stairs and follow the path until you reach a small room. You’ll find a switchboard in the corner. Turn on Switch #01, Switch #02, and Switch #04.
The King and Queen Electronic Parts Puzzle Solutions
Rewards: King Electronic Part & Queen Electronic Part
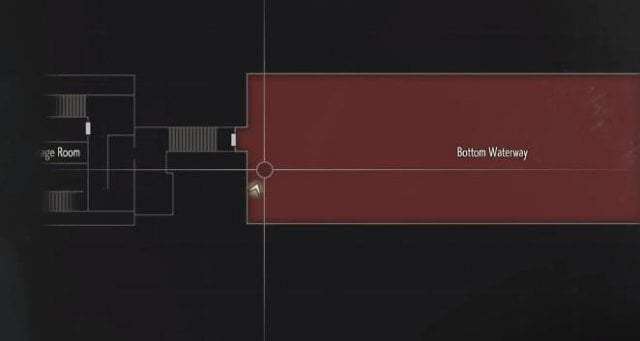
You’ll find both the Queen and the King Electronic Parts (EP) in the Lower Sewers. The Lower Sewers can be accessed after getting through the Bottom Waterway to the Supplies Storage Room.
The main puzzle walkthrough starts in the Supplies Storage Room.
Note: This puzzle is one of the most confusing puzzles in Resident Evil 2.
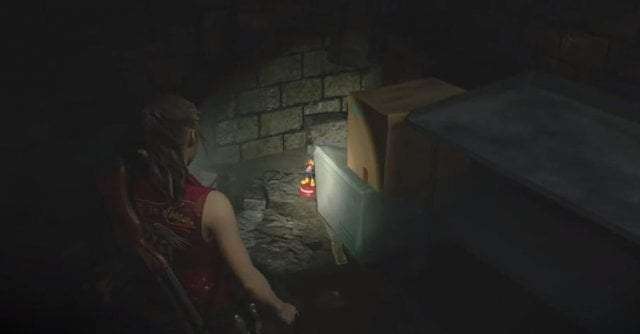
- Pick up the Queen EP in the Supplies Storage Room (King EP 0, Queen EP 1).
- Use the Queen EP on the door to the right side (King EP 0, Queen EP 0).
- Go upstairs, pick up the King EP outside the armory (King EP 1, Queen EP 0).
- Put the King EP on the Armory door (King EP 0 Queen EP 0).
- Take out both the King EP and the Queen EP (King EP 1 Queen EP 1).
- Place the Queen EP on the same place you originally found it (King EP 1 Queen EP 0).
- Place the King EP on the first area you can find when backtracking (King EP 0 Queen EP 0).
- Pick up the Queen Plug and go back towards the King Plug (King EP 0 Queen EP 1).
- Pick up the King Plug and you’ll find yourself at the start of the Storage Room (King EP 1 Queen EP 1).
- Follow the path and you’ll enter the Monitor Room. Kaching. Puzzle solved.
Prison Switchboard Puzzle Solutions
You can find the Prison Switchboard in the Generator Room of the Jail in the Police Station. Head into the room and turn on the electric board you see here.
There will be four switches here. Just flip the Switch #3 and Switch #4 to ‘ON’ status. This will unlock a path.
(Leon) Electronic Door Panel
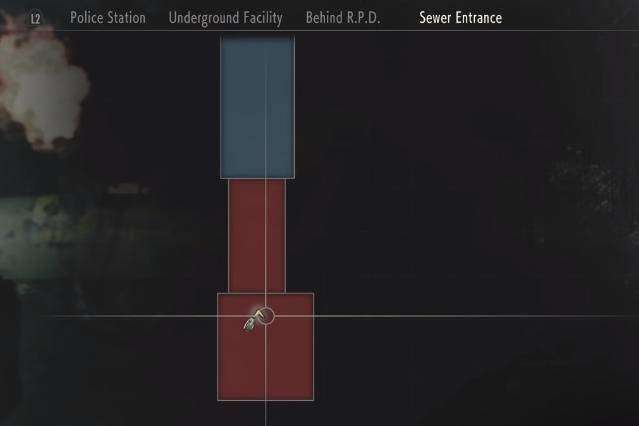
This is the Leon version of the Electronic Door Panel Puzzle. Head down the Jail in the Basement Area of the Police Station. You will need to complete the Maiden Puzzle to unlock the Basement though.
Head into the Jail and take the last right you see, into a big room. You’ll see an Electric Door Panel on the middle of the wall.
Insert two Electronic Parts, which you found in your play-through, here. Complete the puzzle by aligning the cords together and bam! you’re done.
(Claire) Electronic Door Panel
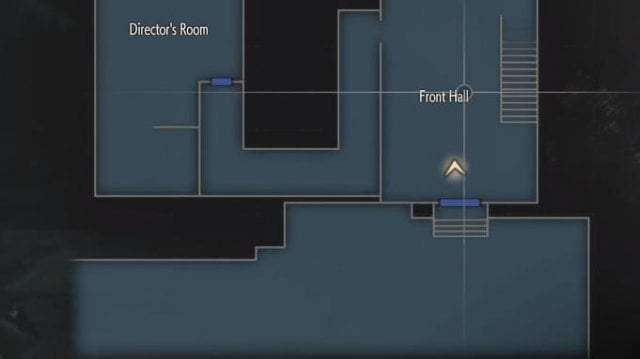
This is the Claire version of the Electronic Door Panel Puzzle. Head into the Private Collection Room that should be on the Second Floor (2F) of the Police Station.
You will find the Electric Door Panel just adjacent to the entrance of the stairs, to the right.
Insert two Electronic Parts, which you found in your playthrough, here. Complete the puzzle by aligning the cords together and bam! you’re done.
(Claire) Sherry Playland Puzzle
If you are playing as Claire, you’ll come across a small gameplay sequence where you’ll have to play as Sherry, the small cute kiddo. You might remember her from the classic Resident Evil 2, or even her role in Resident Evil 6?
If you’re already in the Toys Room, you’ll find a Teddy by the Windowpane. Pick it up. Open Inventory and examine it.
You’ll find a block hidden in the back of the Teddy. Right by the door of the Toys Room, you’ll find a Box on which there’s a Block missing. Here, use the Block you originally found and align the Blocks in the following manner:
- Circle / Box / Star / Box / Star
Goddess Statue Puzzle Solutions
The Goddess Statue Puzzle is a relatively big puzzle and in order to do it, you must solve three smaller puzzles. These puzzles are the Lion Statue Puzzle, Unicorn Statue Puzzle, and Maiden Statue Puzzle.
After obtaining the medallions from each of these puzzles, you will need to insert them in the Statue. The Statue should be somewhere in the Main Hall. Completing this puzzle will unlock the entrance to the underground section of the Police Station.
Lion Statue Puzzle
Rewards: Lion Medallion
The Lion Statue Puzzle is a part of the bigger Goddess Statue puzzle. This puzzle does change when you’re playing for the second time.
Head to the Main Hall of the Police Station. It should be on the first floor. You should see a Goddess Statue in the middle of the room. Take the stairs to the left of this statue and you’ll see a Lion Statue on the upper floor. Enter the following combinations:
If you’re playing for the first time:
- Lion / Twig / Eagle
If you’re playing for the second time:
- Crown / Flame / Flying Bird
The automation inside the statue will activate and give you the Lion Medallion as a reward.
Unicorn Statue Puzzle
Rewards: Unicorn Medallion
The Unicorn Statue Puzzle is a part of the Goddess Statue Puzzle. You will have to get the weapon “Knife” and use it to cut open a path to the “Blue Key”. The Blue Key will give you access to the Unicorn Statue Puzzle.
Note: You may need a Combat Knife before proceeding.
You can find one in the Safety Deposit Room of the Police Station. Just enter the code “102” in the terminal to unlock the Combat Knife. Head to the Second Floor (2F) of the Police Station, into the Library.
There should be a locked door somewhere in the room, note the location of that door.
On the west side of the Library’s Lounge, you will find a Panel. Pry open the Panel using the Combat Knife and follow the path that is now revealed. You will reach the Third Floor (3F) soon enough.
You’ll find a Blue Key lying here. Pick it up and head back to the Lounge. Use the Blue Key to open the locked door that you marked before. It will reveal the Unicorn Statue inside.
If you’re playing for the first time:
- Fish / Scorpion / Aquarius
If you’re playing for the second time:
- Twins / Scale / Worm
The automation inside the statue will activate and give you the Unicorn Medallion as a reward.
Maiden Statue Puzzle
Rewards: Maiden Medallion
The Maiden Statue is the final part of the Goddess Statue Puzzle. You will have to craft a Detonator if you wish to solve this puzzle.
Remember kids, a Detonator consists of a Battery and an Electronic Gadget. Using the Detonator will reveal the Maiden Statue.
Note: You must possess Bolt Cutters before proceeding.
Head to the East Office on the First Floor of the Police Station and use Bolt Cutters to find a Round Handle.
Climb to the Second Floor (2F) of the Police Station (west) and head into the Shower Room. Use the Round Handle to stop the steam in the room. When the steam has been shut down, the pathway to the S.T.A.R.S Office will finally open.
Head into the S.T.A.R.S Office to find the Battery. Pick it up. Climb down to the First Floor (1F) of the Police Station, into the Operations Room. You will need to use the Bolt Cutters to pry open the door. Pick up the Electronic Gadget you find here.
Once you have both the Battery and the Electronic Gadget, open your inventory and combine them. The resulting item will be a Detonator.
After making the Detonator, head into the West Storage Room on the Third Floor (3F) and use the detonator on the C4 that is clipped on the Barricade here. Boom. Let’s roll!
If you’re playing for the first time:
- Woman / Bow / Snake
If you’re playing for the second time:
- Ram / Harp / Bird
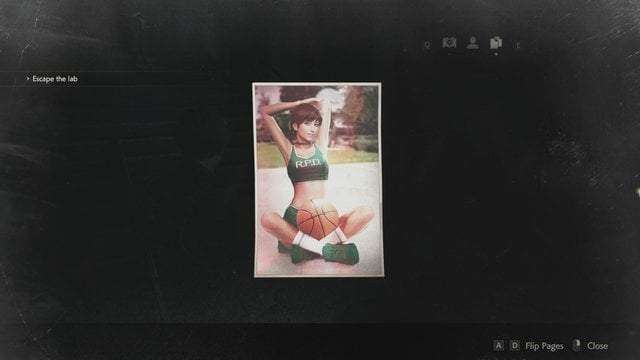
Easter Egg: Rebecca Chambers Picture
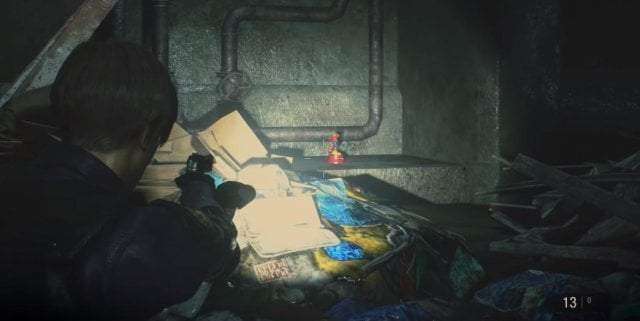
In the Sewers, use the T-Bar Handle to open the door to the Worker’s Lift in the Lower Waterway, and inside you’ll find a lift going up to the Workroom on the upper floor with Film Roll: Hiding Places. Develop this film in the Dark Room to reveal two hidden locations. Note: These will not appear as interactive unless you developed the film!
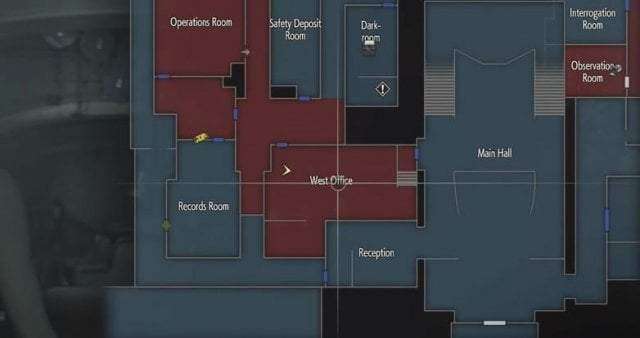
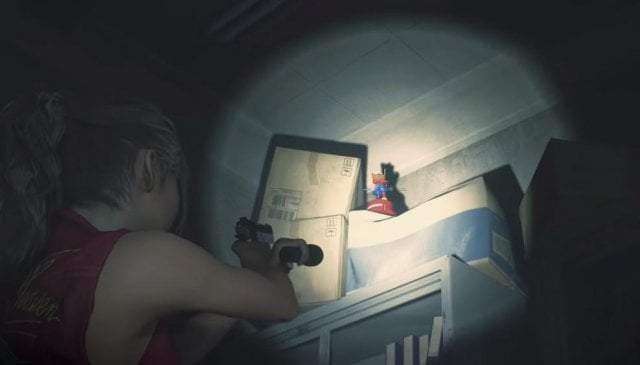
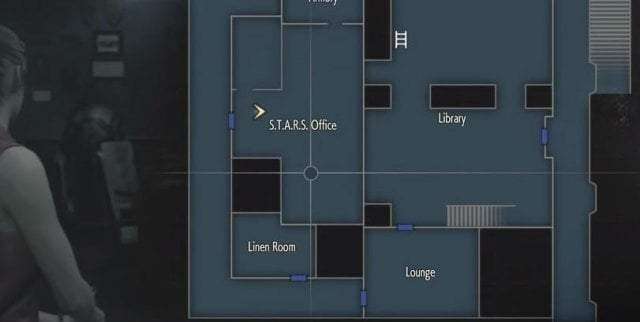
The top photo is a tough one – but there is one isolated desk in an office with a flag – the S.T.A.R.S. Office. Take the path through the Library to get to the office, and inspect the solitary office desk to find a Wooden Box, which you can inspect to find an upgrade to your weapon.
Check the drawer again, way in the back. There’s another Roll Film there called “Rising Rookie” that’s easy to miss.
You can take this Roll Film to the Dark Room and develop it. That will give you the “Rising Rookie” photo file, which is a picture of Rebecca Chambers from the first Resident Evil game.
Mr. Raccoon Bobblehead Locations
There are a total of 15 Mr Raccoon’s that you need to destroy in the game. They are small and well hidden little Raccoon statues.
Some of them can only be accessed in Claire’s Story, some in Leon’s Story and some on a second game. As you cannot backtrack to certain areas of the game, this makes quite a few of these missable.
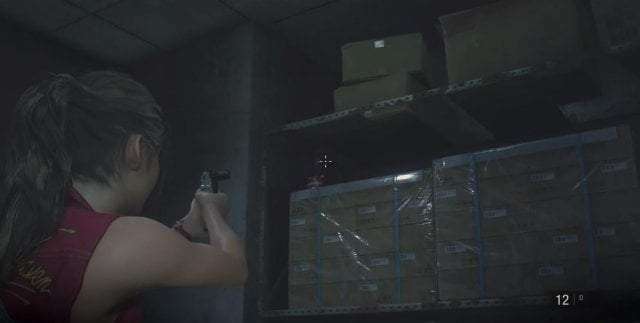
1. Mr. Raccoon Bobblehead
In the West Office of Police Station, the first Bobblehead lies at the top shelf to the north wall.
2. Mr. Raccoon Bobblehead
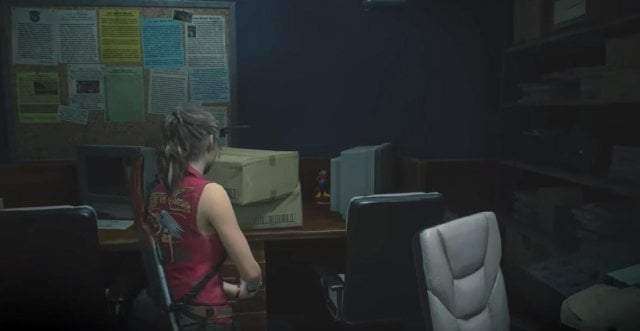
In the S.T.A.R.S. Office on the 2nd floor of the Police Station, towards the southeast corner behind a computer monitor.
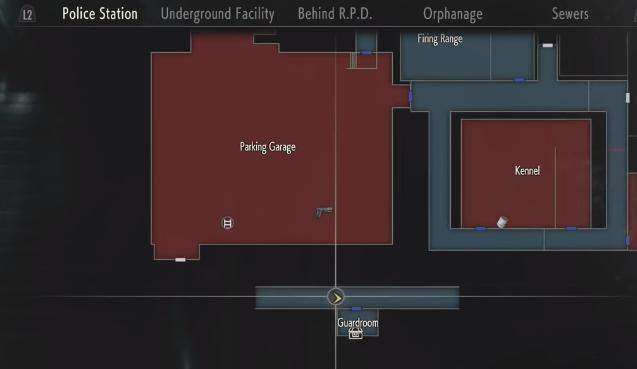
3. Mr. Raccoon Bobblehead
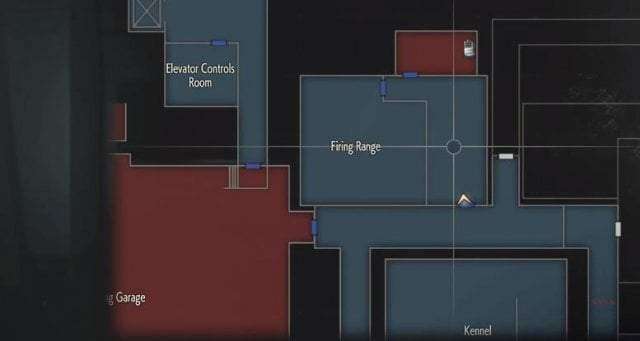
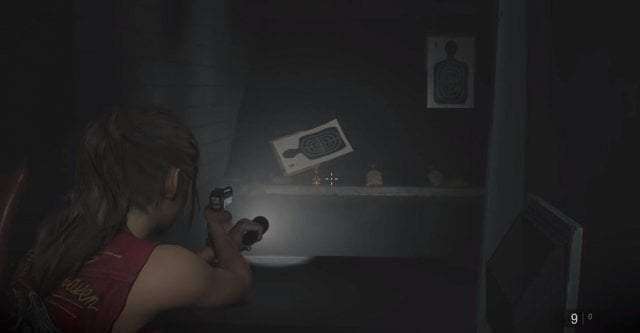
In the Firing Range of the Police Station, in the parking garage to the north-west.
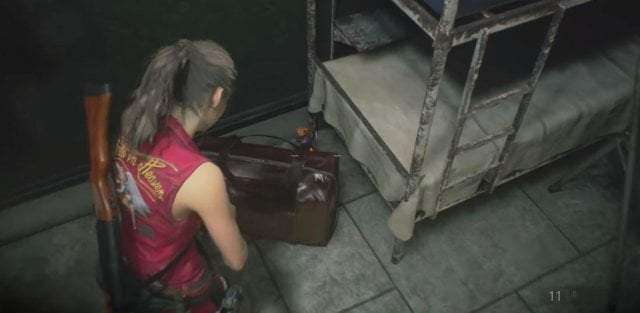
4. Mr. Raccoon Bobblehead
In Leon’s campaign exclusively, or as the 2nd scenario with Claire, in the Break Room of the Police Station. Look for it near the bunk beds behind the briefcase.
5. Mr. Raccoon Bobblehead
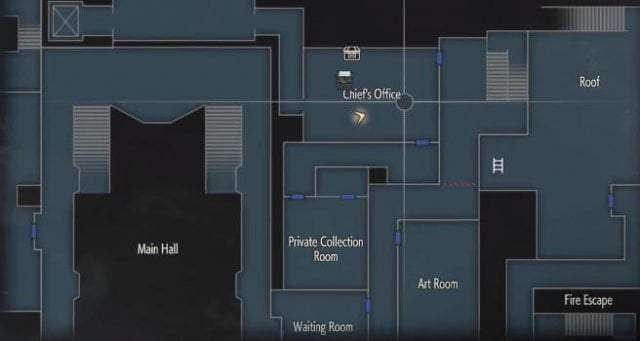
In the room adjacent to Police Chief’s Office in the Police Station, on a table. As a pre-requisite, you’ll need Square Crank as Leon or the Heart Key as Claire.
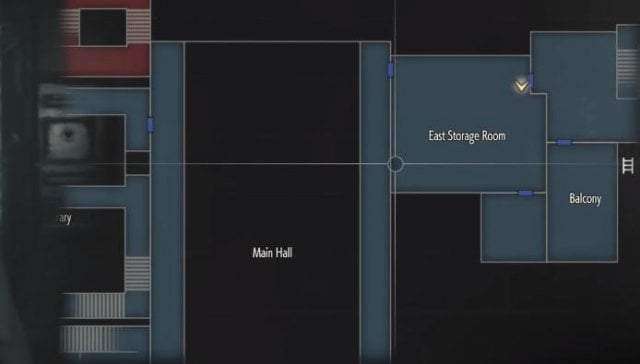
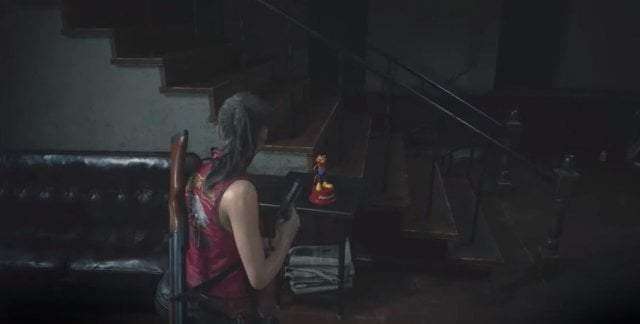
6. Mr. Raccoon Bobblehead
In the south room of the Ease Storage Room area, you can only obtain this particular Bobblehead playing as Claire in her campaign. After getting the Heart Key to unlock the door, find the collectible on the top shelf beside the door of the room.
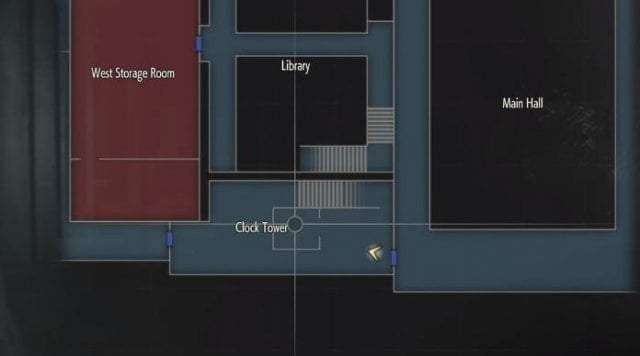
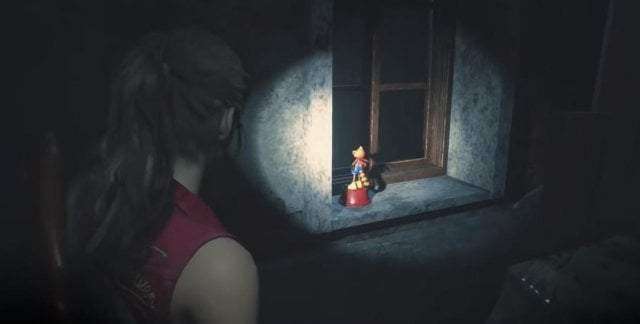
7. Mr. Raccoon Bobblehead
West of Clock Tower, proceed to the end of the hallway to collect the Bobblehead on the sill of the very last window.
8. Mr. Raccoon Bobblehead
In the section after you eliminate the crocodile, playing as Leon in his campaign, you will be able to get your hands on the Bobblehead in the corner before the ladder that leads to Ada Wong.
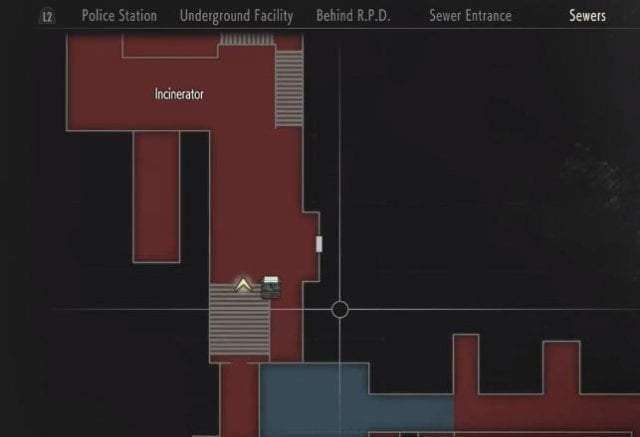
9. Mr. Raccoon Bobblehead
In the Incinerator Room, playing as Ada in Leon’s campaign, you can collect the Bobblehead by searching for it west of the door of the room.
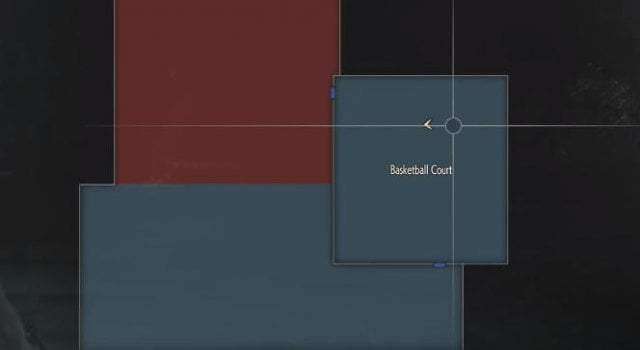
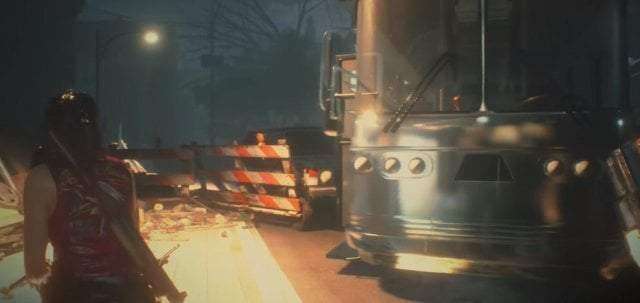
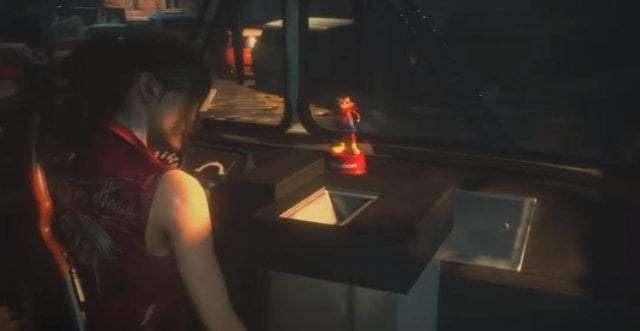
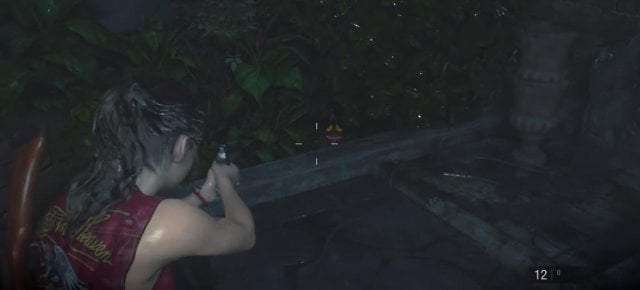
10. Mr. Raccoon Bobblehead
In the basketball court, playing as Claire after crossing the Parking Garage, you need to head past the court and into the bus where the collectible lies nearby the entrance door of the vehicle.

11. Mr. Raccoon Bobblehead
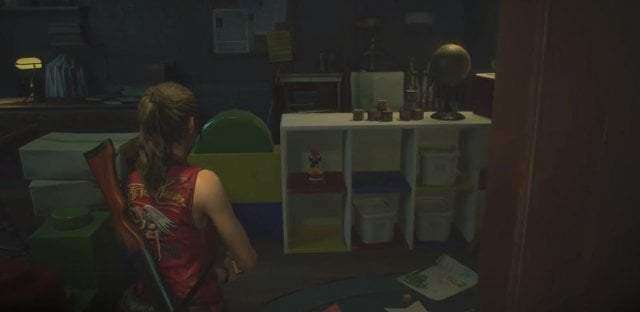
In the Orphanage, playing as Claire in her campaign, you’ll find the collectible on a shelf in the Nursery up the stairs.
12. Mr. Raccoon Bobblehead
In the lower section of the Sewers, the Bobblehead can be found in the hallway leading to the Supplies Storage Room.
13. Mr. Raccoon Bobblehead
In the Laboratory’s Cafeteria, on a table near the ladder.

14. Mr. Raccoon Bobblehead
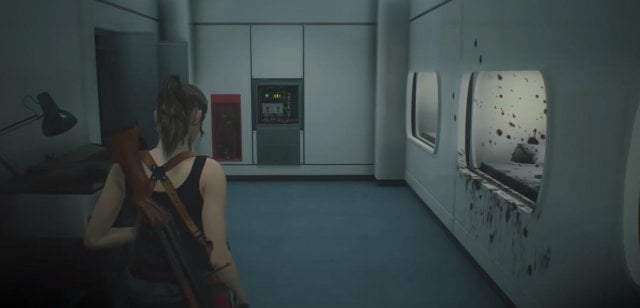
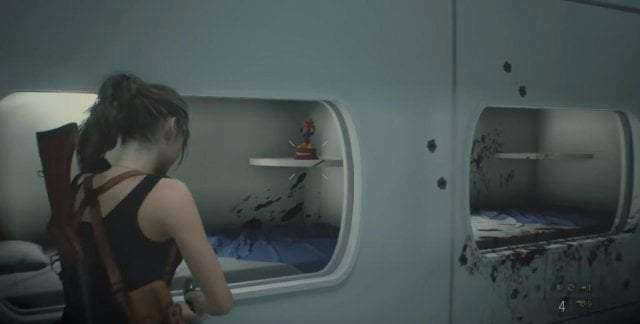
In the Laboratory’s Nap Room, inside a sleeping pod which is unlocked via the Signal Modulator.
15. Mr. Raccoon Bobblehead
By playing as either Leon or Claire but in Scenario B, the collectible lies just towards the exit of the tunnel in the bushes near the stairs.

All Hip Pouch Locations
Hip Pouches in Resident Evil 2 Remake allow you to unlock two additional inventory cells for both Leon and Claire. This upgrade is applied as soon as you pick up the item and works until the end of the game. In Resident Evil 2 Remake, you can find six Hip Pouches, so the size of your inventory might increase from 8 cells to 20 cells.
Here’s their location:
- Hip Pouch #1: west office on the first floor. Inside the safe in a small room of a large office. Turn the handle nine times to the left, fifteen times to the right and seven times to the left.
- Hip Pouch #2: storage room on the third floor. On the table in the far end of the room, not far from the note.
- Hip Pouch #3: underground facility, operator room. Inside the locker, near the typewriter.
- Hip Pouch #4: safety deposit room on the first floor. You will need to find two portable safes and find the keys to the keypad (a room with lockers, where you have found a shotgun or a grenade launcher). After this, just open the locker #203.
- Hip Pouch #5: workroom of the elevator. Use T-bar to raise the rolls and then go up on the elevator. The item is in the room above.
- Hip Pouch #6: nap room of the lab. Restore the power in the nap room of the lab and find the item in the far-right cell. Here, you’ll also find Mr. Raccoon.
The location of portable safes to get the fourth Hip Pouch:
- Portable safe #1: the second floor of the police station. In the room with lockers in the shower room. Search in the corner. Press the buttons so that all lightbulbs light up in a sequence.
- Portable safe #2: laundry on the second floor. You need to open the door using the ‘’diamonds’’ key. It is opened just like the previous safe.
All Weapon Upgrade Locations
Leon and Claire have different sets of weapons. You can find them by doing specific things in the game. There’s a guide that tells you exactly where they all are.
Also, you can make your weapons better by finding special upgrade parts. These upgrades are unique, so you have to find them separately. The guide should also tell you where to find these upgrades for each weapon.
Leon’s weapons
Matilda
- High-Capacity Magazine. The first floor of the west office. Unlock two locks on Leon’s desk. Codes: NED for the left one, MRG for the right one.
- Gunstock. Parking lot B1. Find a yellow jewelry box in the firing range and examine it to get a curved key. Find a right car and click on the button on the key (in the inventory) to open the trunk. If you play for Claire, you will find a unique weapon for the heroine.
- Muzzle Break. Waiting room on the second floor. Enter the code on the safe and take the item: six times to the left, two times to the right, eleven times to the left.
W-870
- Long Barrel. Gun shop behind the police station. When Ada and Leon leave the police station. Increases accuracy.
- Shotgun Stock. Sewers, pool. Open the safe that is located in the pool room: two times to the left, twelve times to the right and eight times to the left. Decreases recoil.
Lightning Hawk
- Long Barrel. Underground facility. During the first trip to the underground facility this case cannot be opened. Read more in a separate walkthrough.
- Red-dot Sight. Office on the second floor (S.T.A.R.S.). In the working room on the upper level of the sewers system you need to find a film. Go to the photo lab and develop it. You will see a shelter in the office. Go there and look inside the box shown in the photo. You need to examine the image to get the opportunity to inspect the item.
Flamethrower
- Regulator. Nap room in the lab. Restore the power using signal modulator. Separate rooms will open, and you will be able to pick up the upgrade.
Claire’s weapons
SLS 60
- Speed Loader. West office on the first floor. Open Leon’s desk (see above).
- Reinforced Flame. Sewers, pool. Open the safe (see above).
JMB Hp3
- High-Capacity Magazine. Open the safe in the waiting room on the second floor (see above).
GM79
- Shoulder Stock. Elevator control room B1. Look inside the locker in the room near the office of the police chief.
MQ-11
- Silencer. Underground facility. Glass case (in a separate guide).
- Extended Magazine. You can get it the same way as Leon’s Red-dot Sight.
Spark Shot
- High-Voltage Condenser. The same way as Leon’s Regulator.


Be the first to comment