
Guide to Melee Assassin Build (Solo Restless Honor Ready)
By Moonheart.
A quick remainder of what the build is supposed to achieve: Playing the game from beginning to end like an assassin, in a immersive way.
This means for me, a character that do not try to enter in a battle, sneak to the mandatory targets to take down to solve a situation, get rid of it before any other foe can react, and flee the scene without being caught.
Quick addition rules for this gameplay:
- The Creed Rule: The Assassin do not perform any needless kills. If he can achieve the same result without killing one additional being, he must try to. (NB: non-living foes, i.e. foes that would die anyway if hit by non-lethal attacks, do not count as kills here)
- The Job Rules: The Assassin’s build must use the Assassin Rogue class, and perform all his kills solo
- The Style Rules: The Assassin must not use any spell slots and kill his targets in melee (a.k.a. “Cloak & Dagger” playstyle, but racial abilities, consumables and tools are ok)
I’ll personally play that build also trying to never sleep, as sleeping will get control to the Dark Urges, which is very un-disciplined for a professional. I also find it more immersive that people with a tadpole in mind try to not leisurely let the time pass like if they don’t have a timebomb within their brains.
I’ll also try to only knock down targets instead of killing them, if the target is a living being, just because I want to play my assassin in a “redeeming” way.
But those are optional rules that the build allows and I want to do, not goals the build itself is made for.
Character Creation
Origin: Dark Urges
It just suits the concept a lot, and the bonus cloak is actually probably the most suited to use in that build, even if my own personal optional rules won’t trigger its special effect often (non-lethal take down do not activate it)
Race: High-Elf
This is a change from my previous version of the build, trading the extra movement speed of the wood-elf for the Minor Illusion cantrip which is the most efficient decoy of the game.
It open a lot of strategical options you cannot achieve even with a cat familiar, and that are really useful for an assassin, by bringing your victims where you want, or luring guards away.
Class: Rogue
As per the Job Rules
Stats:
- Here I worry in priority about what’s we’ll use in combat, not during exploration and skill checks.
- Dexterity 17: This is naturally the main stat for the gameplay the build aims for.
- Constitution 16: This is the second most important thing because we’ll want sometime protect our concentration and sometime we’ll get a few hits trying to flee the crime scene.
- A 14 and a 10: There is not really a better choice here, between the 3 mental stats (do not put points in strength, it’s useless for this build). I’ve picked a 14 INT just for the theme and Minor Illusions lasting a bit longer, and a 10 WIS because… hu, no really 10 in Charisma would have been good too, just picked at random.
Skills:
- Stealth expertise: When you play perfectly, you should never roll a stealth check ever, but if it happens, it can save the day.
- Perception expertise: Nothing more stupid that activate a trap you didn’t see and warn all the foes around you are here.
- Proficiencies: We’ll get Sleight of Hand and Investigation proficiencies for free later, so the only useful left are Insight, Deception, Perform and Persuasion. We need to let one out. I’ve decided to drop Perform here, but any choice is ok
Level 4
I usually make a stop at level 4 to describe build at this level, because on Honor, it’s very easy to reach that level without any fight, but then, you need to get efficient enough to start to take down the first targets.
Class: Rogue 4 – Assassin
This is per the Job Rules
Feat: Great Weapon Mastery
I pick GWM has a feet because it gives the assassin one of the highest spike of damage you can have at level 4.
Items:
- Phalar Aluve: Found in the Underdark and reachable without any fight if you know what you’re doing, Phalar Aluve is both a Versatile weapon (valid for GWM bonuses) and a Finesse weapon (valid for Sneak Attacks)
- Silver Pendant: Found close to the Grave entrance, it provides Assist
- Caustic Band: Bought from Derryth in the Underdark, provides a bit more damage
- Crusher’s Ring: You can steal it from Crusher through dialog. I pick it last because there is a slight chance the rolls mess up and you start a fight… I prefer to be level 5 so I get Sleight of Hand proficiency first.
- A candle: Candles are free damage via Dipping for an Assassin. As long we are low level, ever little extra damage helps.
Minor Illusion proves to be really useful for the first fights, because you can easily pull the foes one by one to kill them, with a bit of patience and some training with that spell.
The fact it can be cast without breaking stealth helps to set up ambushes and smooth the assassin gameplay.
Level 6: Hurdle
Knocking down the goblin leaders to have acces to the act 2 content, exploring as much as possible the Monastery and the Shadow lands without unnecessary fights, as well as tackling the Lava elemental, Grym, the 3 Thorms and Yurgir bring the character to something about 4000xp away from level 7.
The previous run still proved to me that that level 6 isn’t enough to past the Apostle of Myrkul while staying true to the assassin gameplay.
The level 7 is a huge power spike the character might need, so there is a need to harvest somewhere those missing 4000xp before dealing with Nightsong, which locks a lot of contents away from us.
So it’s time to clear up every boss related to a quest that’s left in the diary until we get those.
One thing important there is to leave the altar in the Shar Temple alone for now. It provides a buff against necrotic damage, and I’ll need it intact for Myrkul later
With the rules of the previous run, I couldn’t hit them because no one ordered their death…. with the more lax rules of this one, I can go hit the face of things like Flint, the Spider Queen, the Bulette, the Spectator, and a few more, hoping it will be enough.
At worst, I want to reach level 7 at worst when knocking down Balthazar, ideally a bit sooner to not take too much risk of failing the honor run on some of the hardest bosses still available before the act 2 conclusion.
Never resting can cause buffs to stack up.
Sadly, once cleared every boss in the first part of the game, I’m still 600xp short from the level 7, so I need to move back to the Monastery and it will cause a forced rest… so better I make a screenshot of them for the Memento before they are forcibly cleared.

The forced rests unlock the follow-up of three quest that reduce the amount of xp left to go to 370, so I decide finally to obtain this by just having the shar defenders on Balthazar while staying in stealth mode.
Every kill he does earns me a little xp without breaking the rules. I’m doing nothing than looking on two opposite evils to rip each other throats.
Plus: both sides aren’t living beings but undeads anyway.
And… well Balthazar may be strong, but that’s about 30 Justicars to deal with, that heal themselves with his own legendary power surfaces and they are undeads too.
So, I won’t have to fight him, which is ok. I’m level 7 at least.

Level 7
So the fight between those two factions earned a total of 1180xp which was more than enough. But… well, Justicars of the temple are undeads, so I cleared them all before moving on, bringing the total to a bit more than 1800xp.
This is the state of the build before respec:
Class: Gloomstalker 3 / Assassin 4
Gloomstalker and Assassin is a well-known combo, there is nothing new about it, but it is indeed the best mix you can get at level 7, and it is needed to have that kind of burst to clear the Apostle of Myrkul which is the hardest gatekeeping fight of the game.
Items:
- Phalar Aluve
- Vigilant Bow: Bought in Moonrise Towers. We don’t really use a bow to fight, but this one give +1 initiative, and initiative is great
- Haste Helm
- Deathstalker Mantle: Obtained during the 2nd forced rest, it helps a lot against target we are ok to kill
- The Graceful Cloth
- Flawed Helldusk Gloves: Obtained from Dammon, add a bit of fire damage to our sword hits
- Springstep Boots: Obtained from Ragzlin’s treasure room, make Dashes cover more distance
- Silver Pendant
- Crusher’s Ring
- Caustic Ring
This temporary build will be used to clear everything left before entering Nightsong’s Jail.
I want to reach at at least 2820xp on the level 8 before I move on, because I aim to reach level 9 just before the netherbrain, and clearing the towers and the colony should be enough on top of those 2820xp to reach that goal
A bit more can’t be a bad idea, just to be sure to get that level 9 which is pretty important for the last act 2 boss.
So I’ve go hunting anything left my rules allows:
- Bosses (justified violence)
- Left over quests (like Thaniel’s ones)
- Undeads (non-living beings, doesn’t count as “kills”, left some in the monastery and into the shadow-cursed lands)
- Until I’m statified with the xp count, then tackle Nightsong and the Moonrise Towers.
Preparing for the Colony
The end boss of the Act 2 is the worst gatekeeping battle of BG3 when you’re playing in Solo Honour. So it is important to prepare as much as possible BEFORE jumping in the hole the tentacle of the neitherbrain left in a tower after the first fight against Kethric.
My checklist is as follows:
- Level 8, at 6830 xp minimum
- An elixir of cloud giant strength
- A potion of flight
- 2 potions of speed
- 1 potion of invisibility
- 1 arrow of darkness
- 3 inspirations points left
And then the actions I need to perform before jumping down:
- Pray to the altar of Shar in the Temple so you get a Necrotic Damage Resistance that is cumulable with another elixir
- Add Wyll to the party so he can get a reward from rescuing Mizora
- Respec the character!
Respeccing for Myrkul
Assassin and Gloomstalker heavily suffer from the cutscene of Myrkul fight, and the fact you can’t run away to reset it. So we need to change the build into something else. Time to speak with Withers.
- Classes: Assassin 3 / Open Hand Monk 5
- Stats: 8/17/13/10/16/10
- Feat: Tavern Brawler (+1 constitution)
The reason of this build is double:
- First, Bludgeoning is the only physical type that Myrkul don’t resist totally.
- You need to hit with a magical weapon for the resistant to be by-passed, Monk get that at level 6
- Second, Myrkul can destroy two show you in melee if he hits you with his scythe
- You need to debuff him. I’ll use Radiant Orbs for it, and OH Monk do radiant damage with their fists at level 6
Now you know why reaching level 9 is very important.
We’ll switch a few gear pieces to make it work:
- Ring of Eversight (found is the House of Healing)
- Callous Glow Ring (found in vault room in Shar’s Temple)
- Luminous Gloves (found in a chest near the ambush point in the Shadow-cursed Lands)
Once you have that build, you can jump in the pit left by the giant tentacle, and you’ll need to clear things until you level up.
Myrkul Strat: Preparation 1
With your level 9 (Assassin 3/Monk 6), you can go to the boss room. Be ready for the hardest time of your assassin’s life.
After the initial cutscene introducing Gortash and Orin, check:
- You equip the items specially brought for the place.
- You drank the Elixir of Cloud Giant Strength.
- You activated the passive “Manifestation of Soul”.
- You do not wear the Resonance Strong.
The Illithid will be advantaged on you if you do. So in case he manages to attack, you definitively want that stone elsewhere (but don’t discard it, send it to camp, this is a good item we want probably to use later).
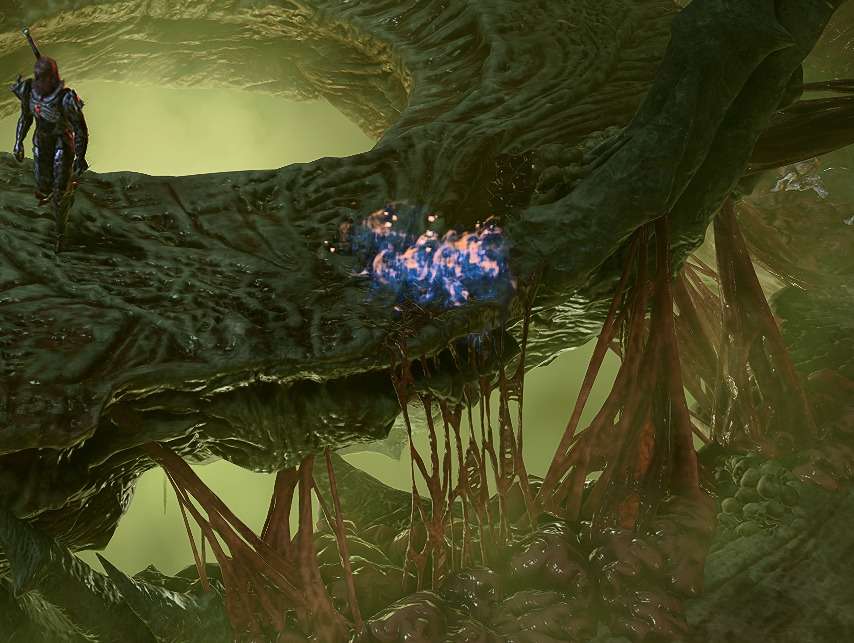
Throw the one potion of the speed careful at the closer edge the platform where Ketheric stand (closer edge so you won’t trigger his dialogue yet).
This is in order to not have to spend a bonus action to get haste one things have started. Every action will be precious then.
The potion throw leaves a puddle, we’ll just have to walk into it to be hasted for 3 turns.
Myrkul Strat: Preparation 2
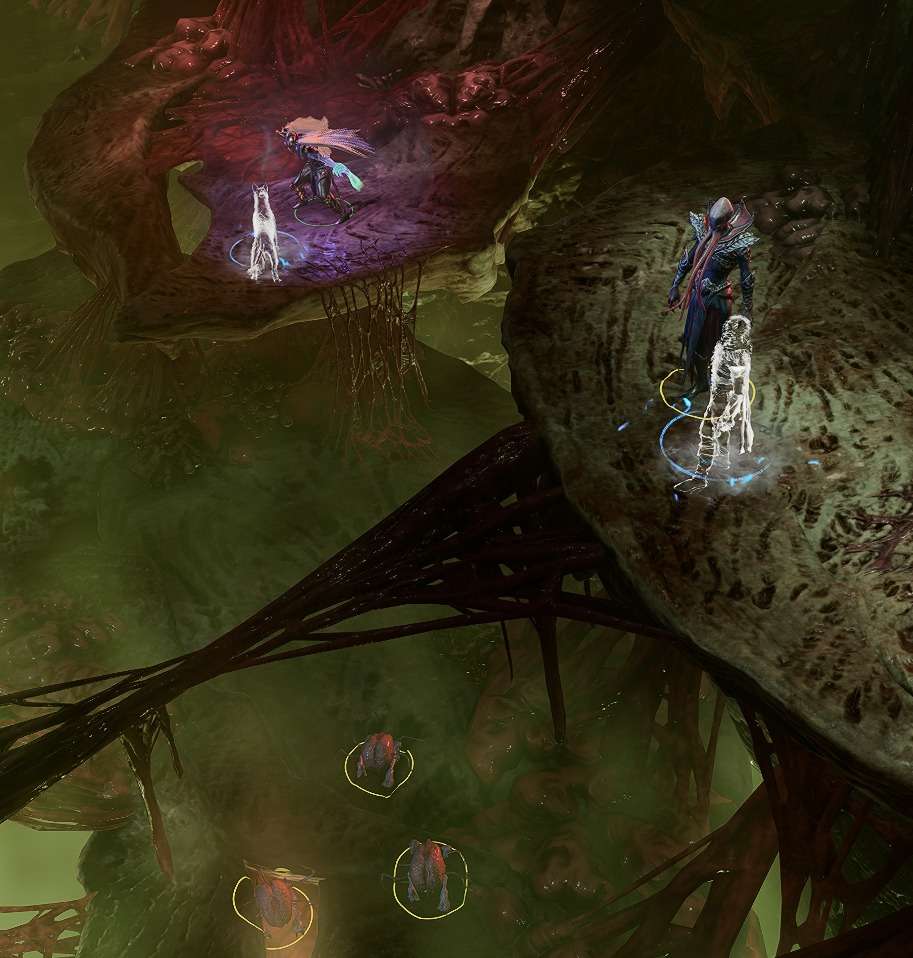
- Get back a little so you don’t risk the wandering devourers to spot you while you prepare.
- Summon Scratches.
Little Scratches will spare you one action to free Aylin and waste an action from Myrkul. Good boy!
- Stand close to him and activate turn based mode.
- Throw the potion of flight at you both.
We don’t want to have to pass by the pit between platform, were the devourer might get Attack of Opportunities on us.
- Throw the potion of invisibility invisibility at you both.
Will allow us to get in an indea position before triggering the fight. From now, we have 10 rounds to do so properly.
- Move Scratches to Aylin and the Assassin to the Illithid platform.
Myrkul Strat: Preparation 3
- Use Cunning Action: Hide.
- Pass a turn.
We want our bonus action back to start properly
- Hit the Illithid with Flurry of Blows: Stagger.
- This should initiate the fight and trigger Ketheric cutscene.
Persuade Ketheric to skip the phase one.
Pray you have enough inspiration points for this! The strat is based on succeeding the check! Beware! The potions on Scratches are still running, so be ready to do the next step after dialogue without waiting. Not the time to sip a coffee there!
- Get control of Scratches, free Aylin (will include the dog in the fight).
- Activate Wholeness of Body.
Preparation is done. Myrkul is here, we start a surprise with Aylin free, 2 bonus action, flight, and a puddle of speed potion. If it’s not the case… we’re doomed, Myrkul is an unforgiving fight.
Myrkul Strat: Fight Round 1
- Finish the Illithid with another Flurry (should auto-crit).
- Fly to the speed puddle to get it (might require to walk on it a few times, strangely).
- Flurry Myrkul.
Myrkul will be at like 340hp with 4 stacks of orbs. Enemies are still surprised. Move scratches to try to bite Myrkul, and then move him as far as possible from his hit range… an pray Aylin do something useful.
Myrkul Strat: Fight Round 2-4
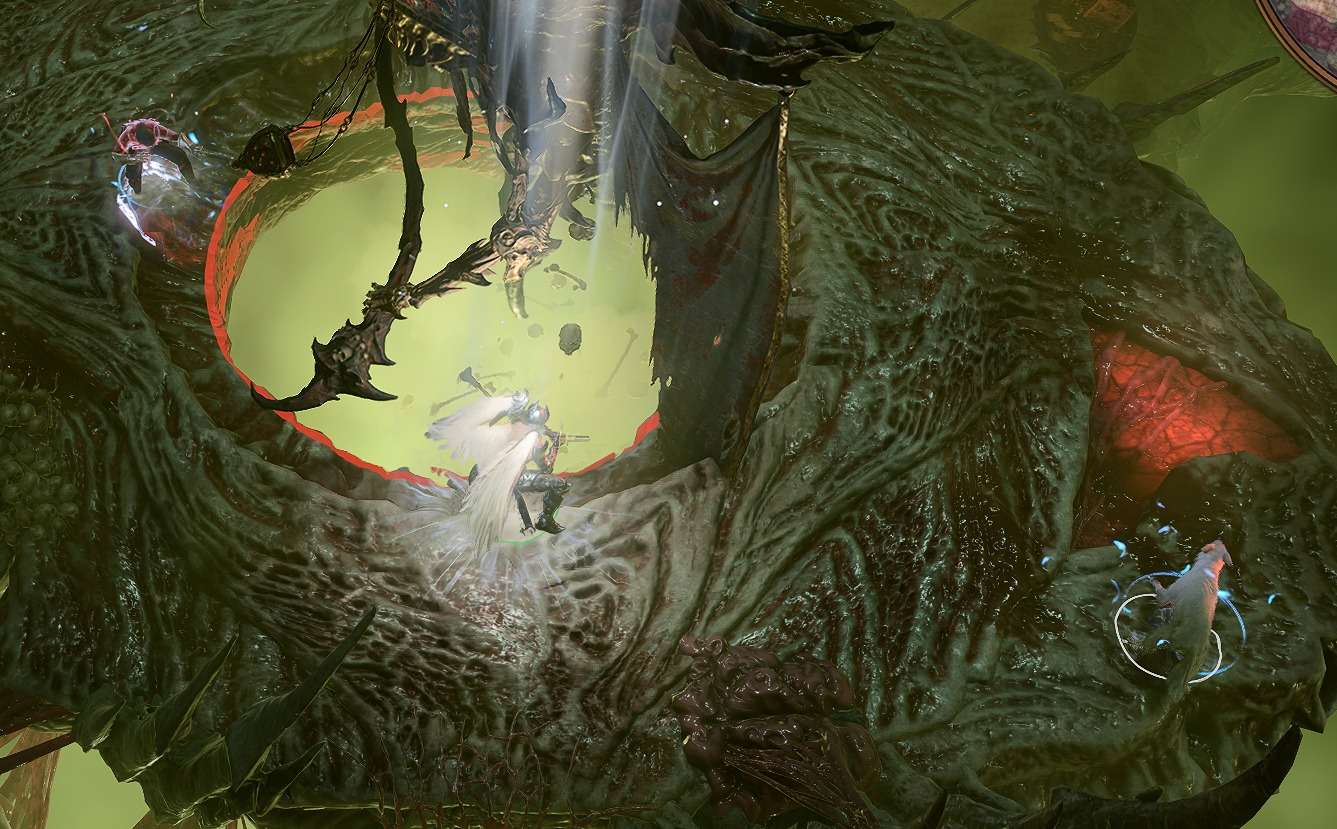
Round 2
- Shoot the arrow of darkness to cover both you and Myrkul.
- Flurry him twice.
- Punch him twice.
Even if Aylin was totally lame, Myrkul should be at like 200hp, with 10 stacks of orbs. He’s blinded due to your arrow, but you’re not, because of the Ring of Eversight. Once again, try to make Scratches bite him and move him afar.
Round 3
There is a slight chance both Aylin and Scratches are dead when you start this round… but with a bit of luck they are not and will play as decoys.
- Flurry once.
- Punch three time.
- Drink your 2nd potion of speed.
You need to drink the potion last, to make the lethargy effect wear off before your next turn but keep your extra action. Myrkul is usually close to 80hp, but sometimes get healed for 25hp here… so count on 105hp left.
Round 4
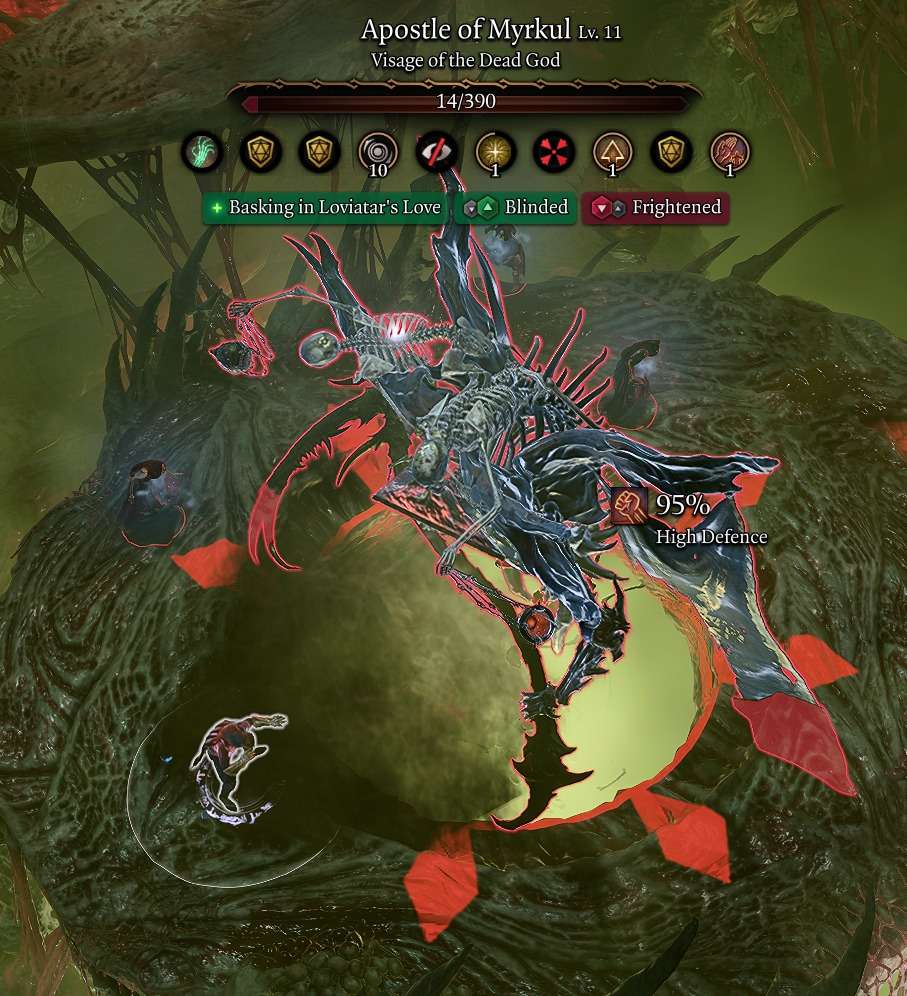
If you’re alive here, you probably won. At least, it was the case for me.
- Finish Him!


Be the first to comment