
Simple Guide to Super Samples Farming. Covers basic info on where to find them and how to farm efficiently.
Introduction
Сrеdit gоеs to One_Random_ID !
For those who are not aware, the various Ship Module Upgrades requires collectible resources called Samples that you find on a mission.
There are a total of 3 tiers of Samples from Common (Green), Rare (Orange), Super Rare (Pink).
Availability:
- Common Samples from Difficulty 1 and above.
- Rare Samples from Difficulty 4 and above.
- Super Rare Samples from Difficulty 7 and above.
Higher Difficulties will have more samples on ground for collection if it is already available. E.g. Common Samples in Difficulty 1 is <10, Difficulty 9 is 30+
No. of Super Rare Samples in each difficulty as follow.
- Difficulty 7: 3 Samples
- Difficulty 8: 5 Samples
- Difficulty 9: 6 Samples
Super Samples
Super Samples are hard to find compared to Common or Rare. It is only found at one location in each mission.
You will need to explore the entire mission map and look for a Rock Pillar-like structure (see image below).
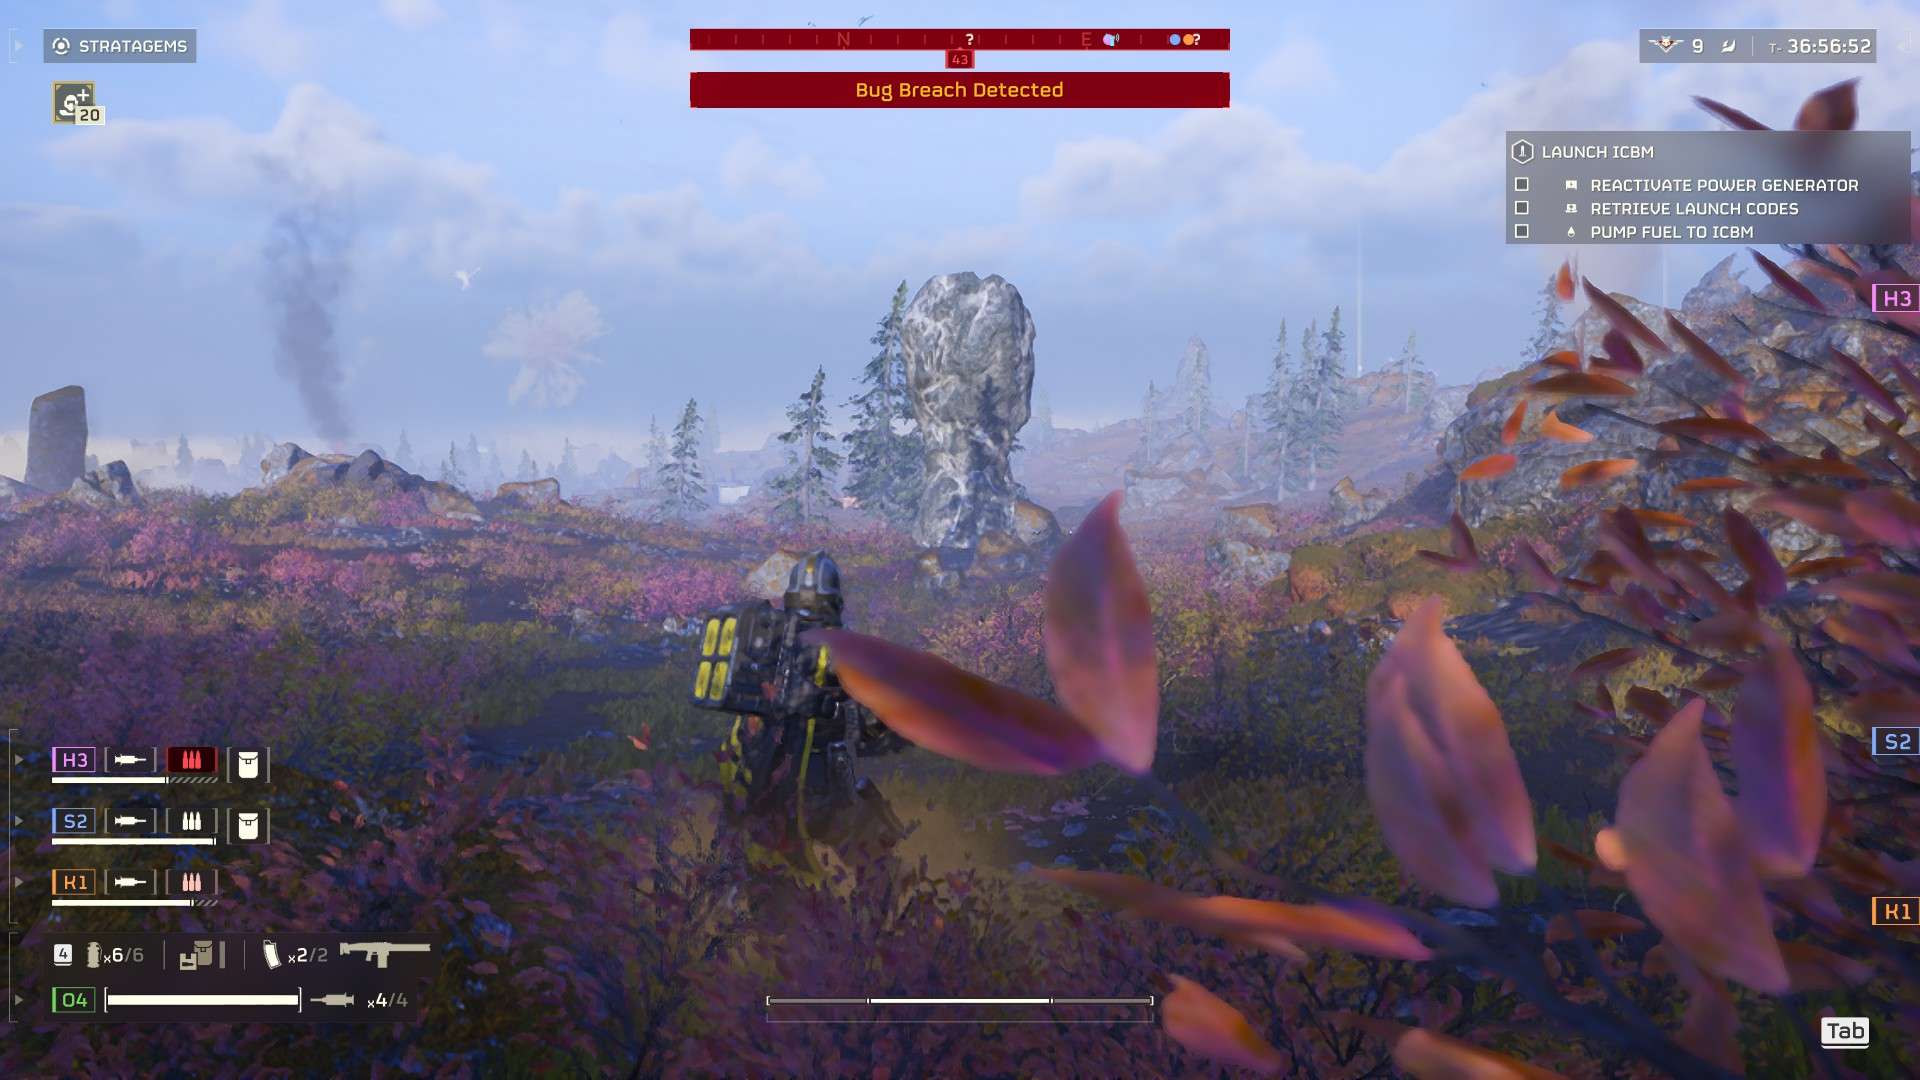
This pillar spawns in all maps except “Arena” maps in Helldivers 2 and appears in random location as far as I am aware. (No clear patterns or fixed locations).
Once found, simply head towards it to find the Super Uranium (Super Rare) Samples (see image below).
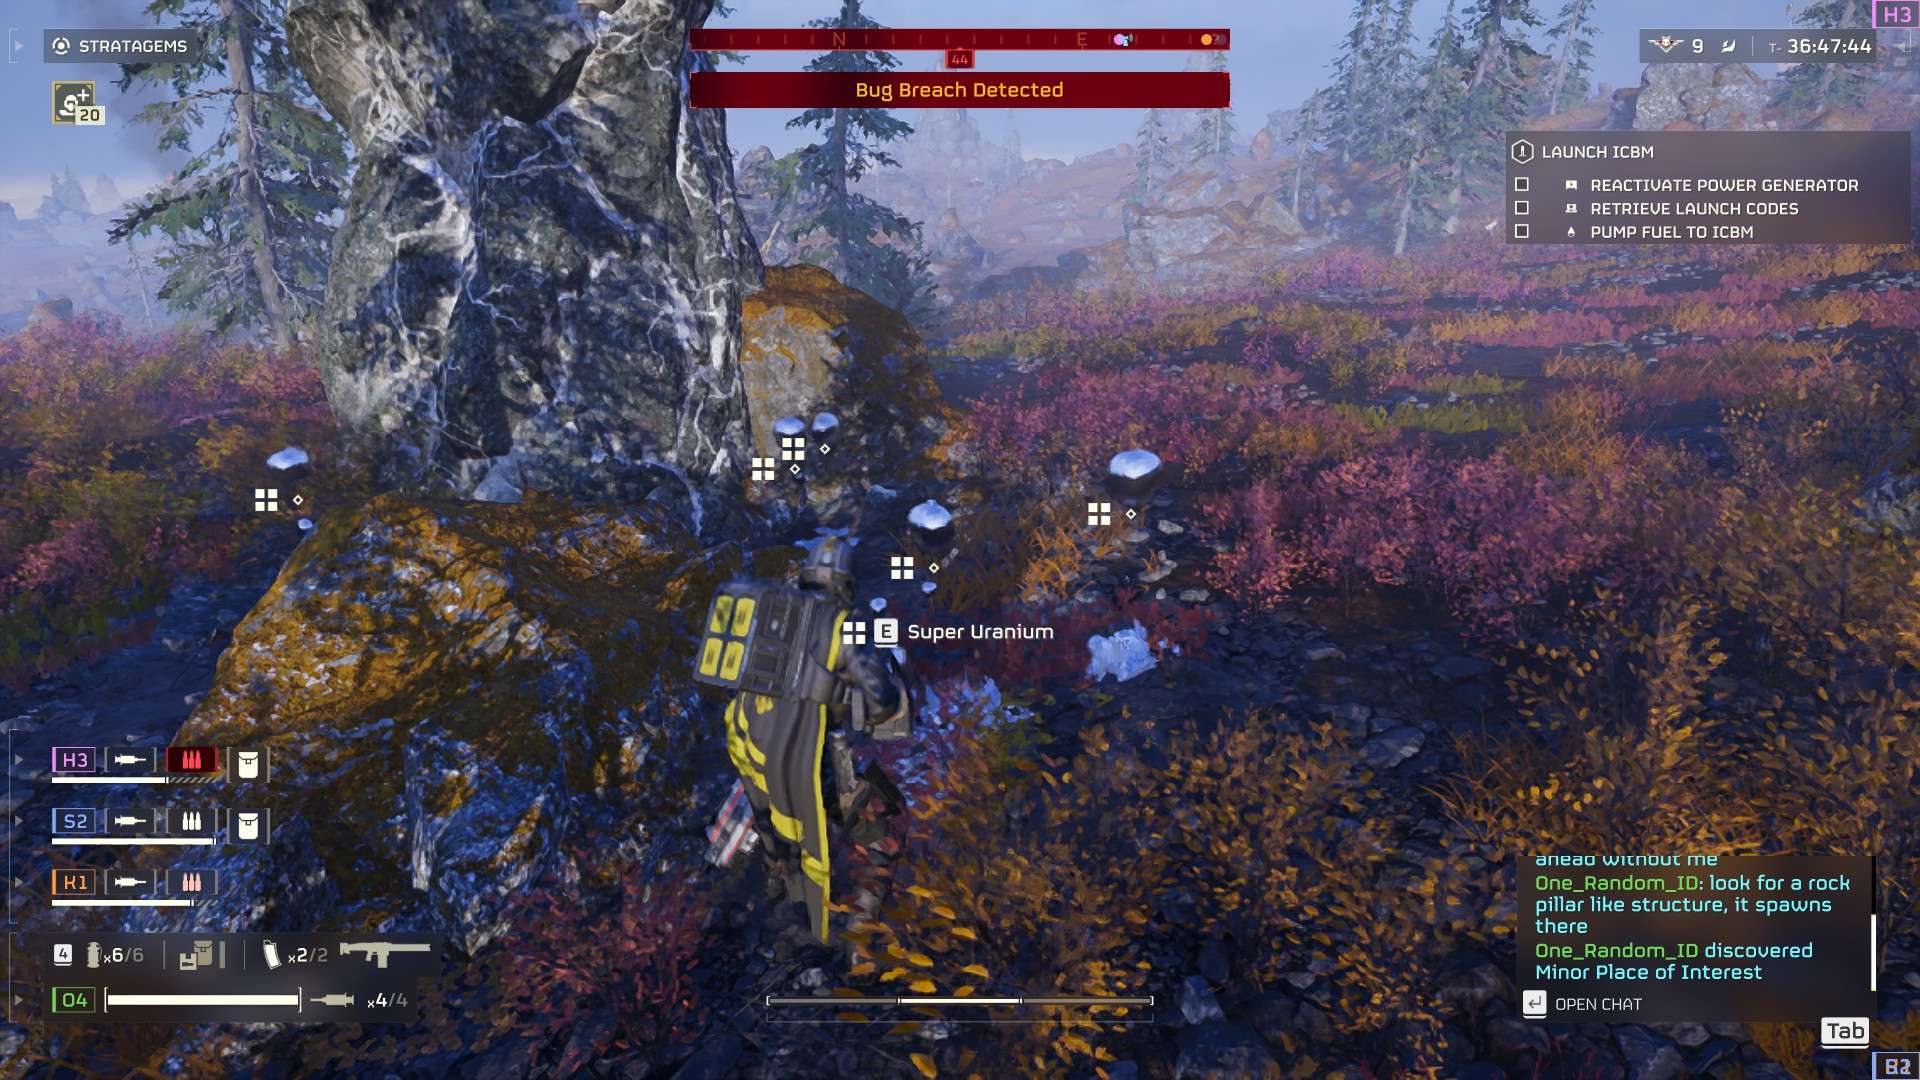
There are some random structures that look vaguely similar so it takes practice to spot the correct one.
Actual Farming (In-Mission)
Ideally done with a 4 player crew but 3 or less is still viable dependent on Player Skills.
Strongly recommend Bugs Missions instead of Automatons as Bugs have limited Range attackers thus increasing survival of the team if they can outrun them.
Setup
- 3 Man “Crew”
- 1 Man “Scout” (Prefarably Player with highest Player Skill)
*Level 20 Optional for Recommended Strategems
The 3 Man Crew would focus on clearing Objectives while the 1 Man Crew roams across the map in search of the Pillar.
This is highly recommended in Missions with Short Timers as you usually won’t have enough time to scout and clear Objectives.
Tactics
- The Team should split at the start upon deployment and move in parallel in a grid like format so that the Crew can reinforce the Scout if they die. Can be disregarded if the Scout is proficient at playing alone without support.
- Once the Samples have been collected, regroup with the Crew to finish the mission.
- Thankfully the Samples are not lost upon death but be sure to pick it up if the one carrying it dies.
Build
The 3 Man Crew can use whatever weapons and strategems they like. The 1 Man Scout should ideally have the following setup.
Armor
- Armor class based on your preference. Skills matters more in this game.
- Armor skill – Scout for reduce enemy detection but not essential if you navigate away from enemies
Strategems
- 1 x Shield Projector Pack (for survivability) or Supply Pack (for Stims/Ammo/Grenades)
- 1 x Orbital Railcannon (for boss or armored enemy clears)
- 1 x Eagle/Orbital (for mob clears)
- 1 x Any preferred strategem
Thoughts: Supply Pack is a good choice f you’re using ammo based weaponary (Autocannon, Machine Gun, etc). It also provides Stims for healing to offset the lack of protection.
Weapons
- Any Primary/Secondary
I personally pair the Arc Projector (Infinite Ammo) with Shield Projector Pack to reduce reliance on Supplies and leave them for my teammates.


It may be worth adding there are 3, 5 or 6 Super Rare samples for respective difficulties.